15 Simple Christmas Nail Designs for an Effortless Holiday Look
Christmas nail art can get complicated fast — tiny reindeer, full winter scenes, glitter on every single nail. But the prettiest holiday manicures are often the simplest ones. These 15 simple Christmas nail designs prove you do not need salon skills or a whole free afternoon to get festive nails. Every look here uses one or two colors and a trick so easy you can do it at the kitchen table. If you keep your nails on the shorter side, our roundup of short nail ideas pairs perfectly with these designs, since nearly every look below works beautifully on short lengths.
You also do not need a drawer full of supplies. Most of these designs need only a base coat, two polish colors, a top coat, and one simple tool — a toothpick, a bobby pin, or a thin brush. That is the whole point: simple Christmas design nails are about doing less and still looking like you tried. Pick one design, give yourself twenty minutes, and your nails are ready for every party, photo, and present-wrapping session December throws at you.
Why Simple Christmas Design Nails Win Every December
December is the busiest month of the year, and your manicure should not add stress to it. Elaborate nail art takes hours, chips faster, and grows out awkwardly — right in the middle of the season you want to look polished. Simple designs solve all of that. A solid color with one accent nail, a few dots, or a single hand-painted detail takes minutes, lasts longer, and still reads as festive the second someone sees red, green, or gold on your nails.
Simple also photographs better than you would expect. Clean lines and uncluttered designs look sharp in close-up photos — the kind everyone takes holding a coffee cup or a gift. And if one nail chips during the holiday chaos, a simple design is easy to touch up without redoing the whole manicure. That practicality is why minimal holiday nails have become the go-to for people who love the season but have real lives to live in it. If this low-effort approach appeals to you, our fall nail designs roundup follows the same easy philosophy with warm, wearable looks.
1. Single Red Accent Nail
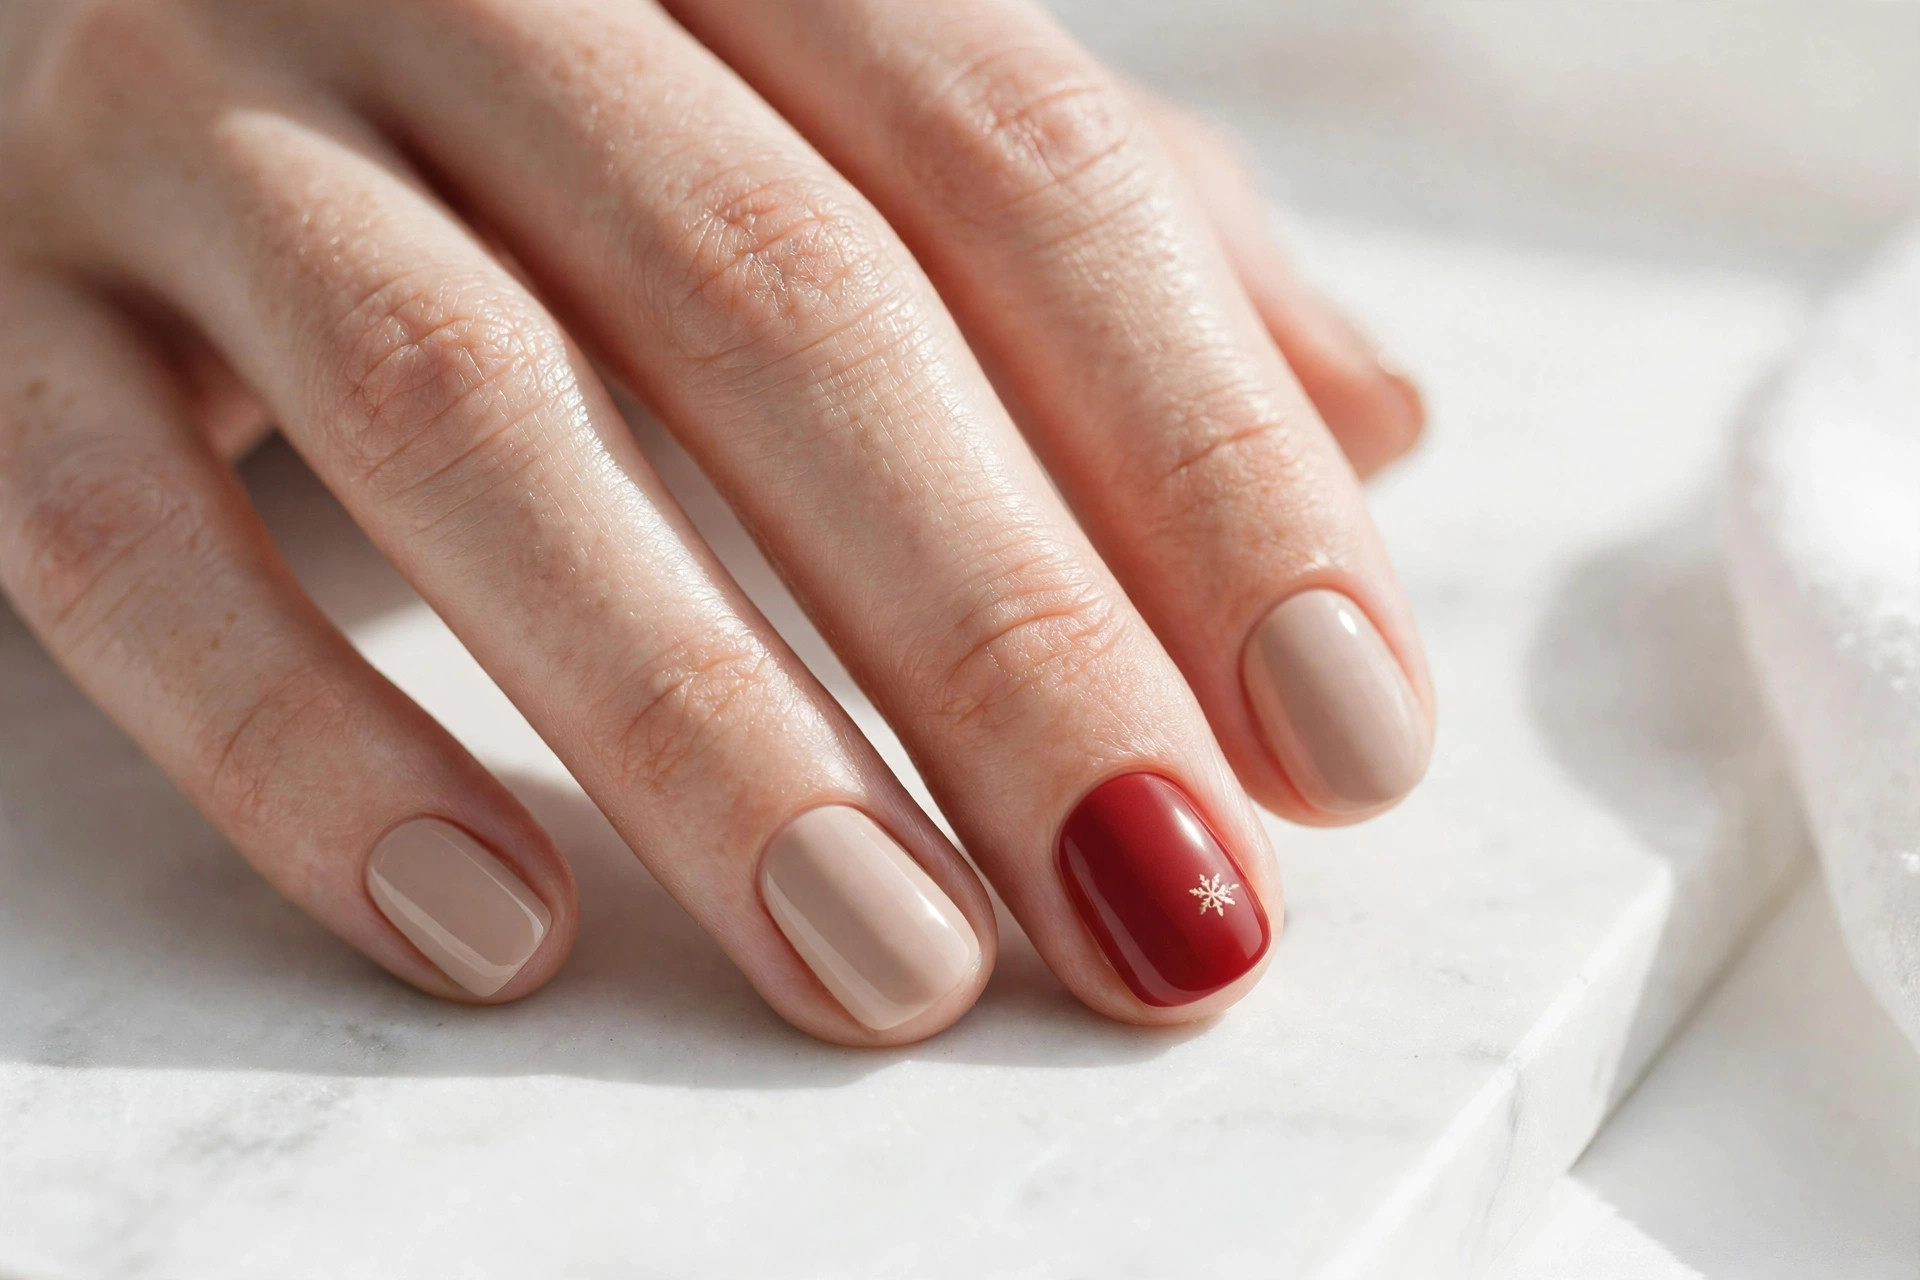
This is the easiest festive manicure that exists: four nails in a soft nude beige, and one solid red accent nail — usually the ring finger. The contrast does all the work. From across the room it reads as a classic neutral manicure, and up close the red pops just enough to say Christmas without shouting it.
It suits absolutely everyone, which is why it is the perfect starting point if you have never tried nail art. Short nails look especially clean with this design, and it works in any setting from the office to a holiday dinner. To do it at home, paint all nails with two coats of nude, then paint the accent nail with two coats of red — no tools needed at all. If you want more ways to wear this shade, our collection of red nail ideas has plenty of inspiration. Finish with a glossy top coat on every nail and you are done in fifteen minutes.
2. Gold Dot Confetti
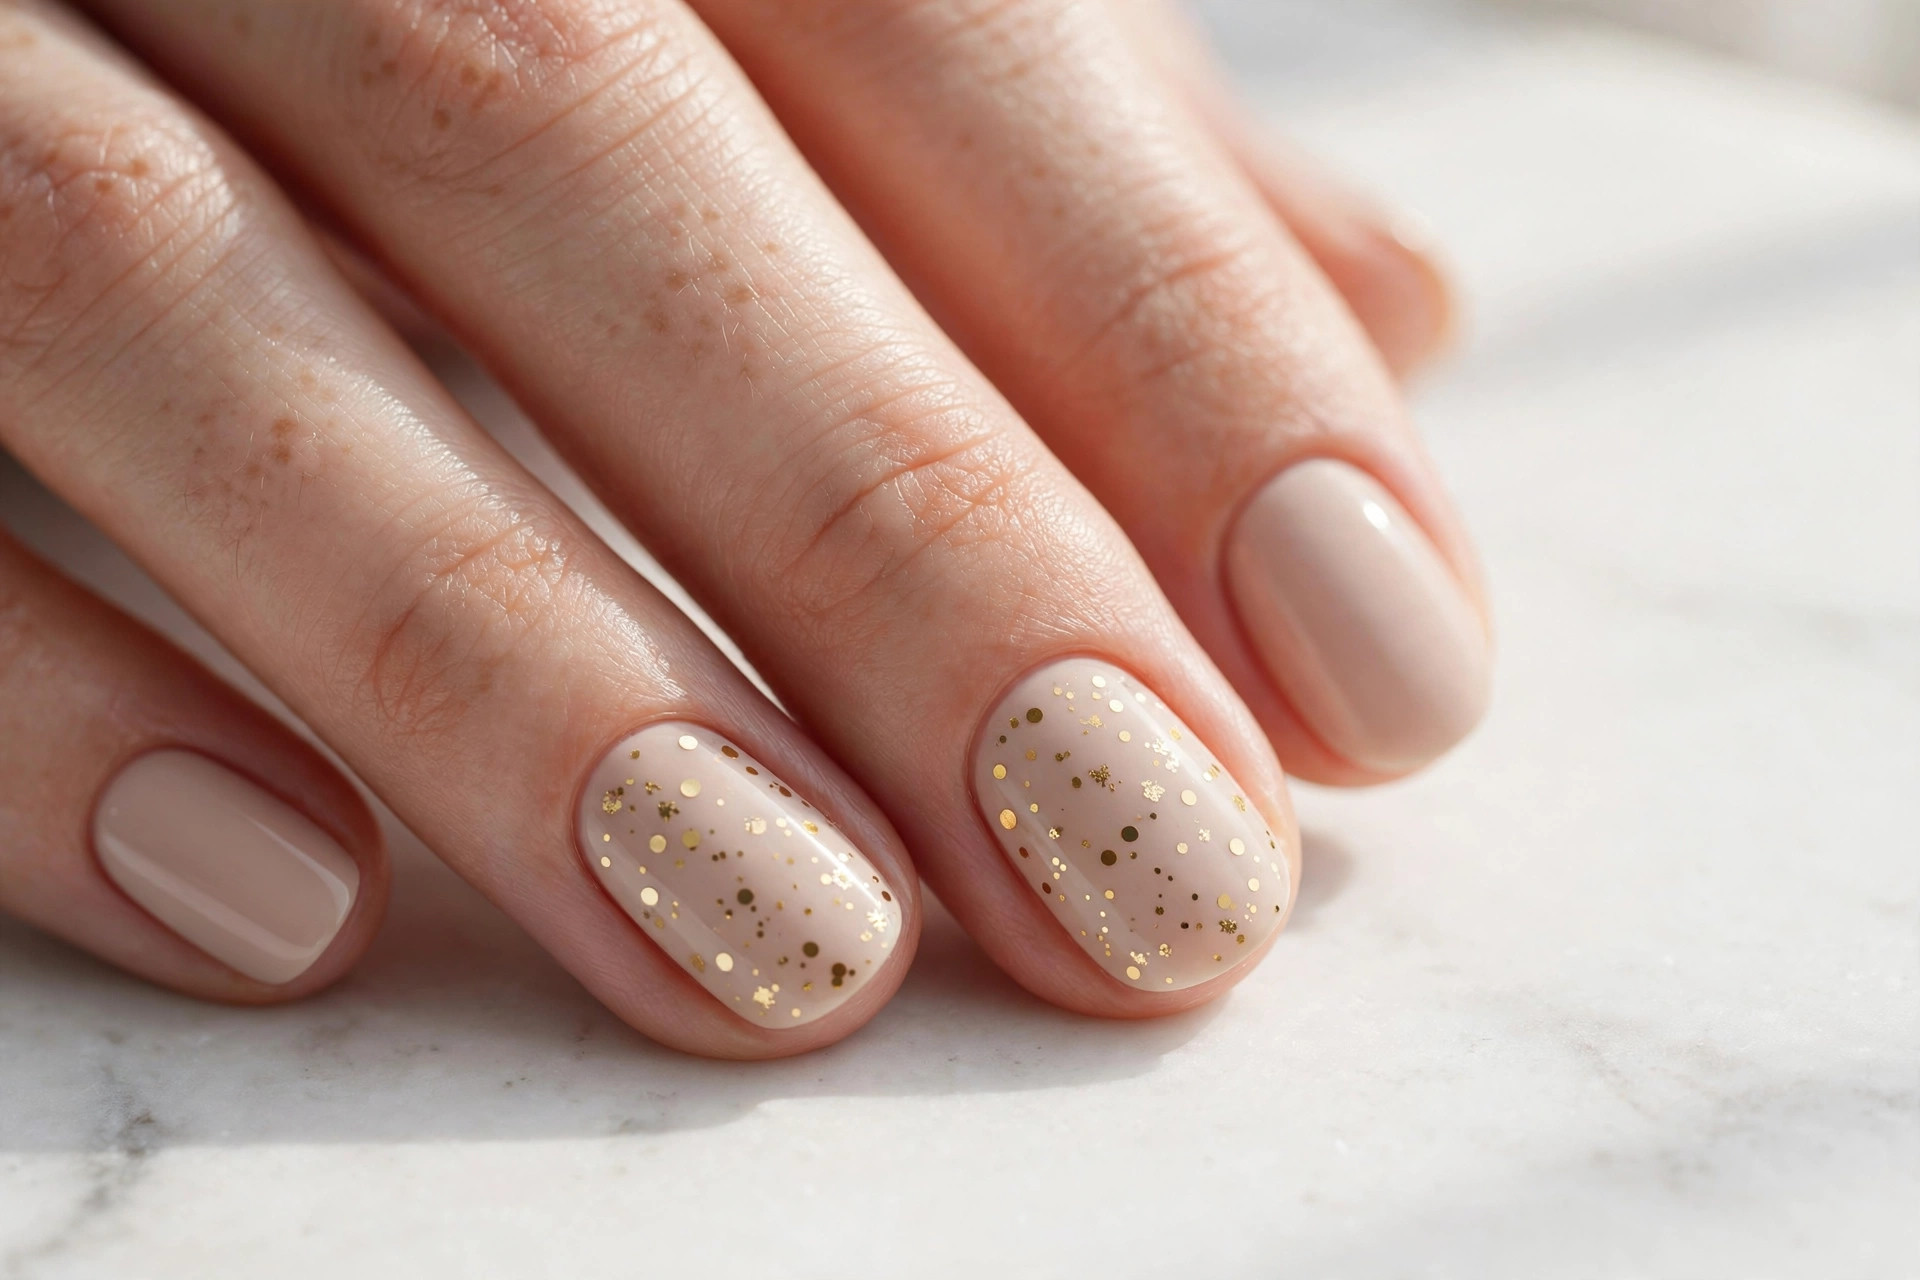
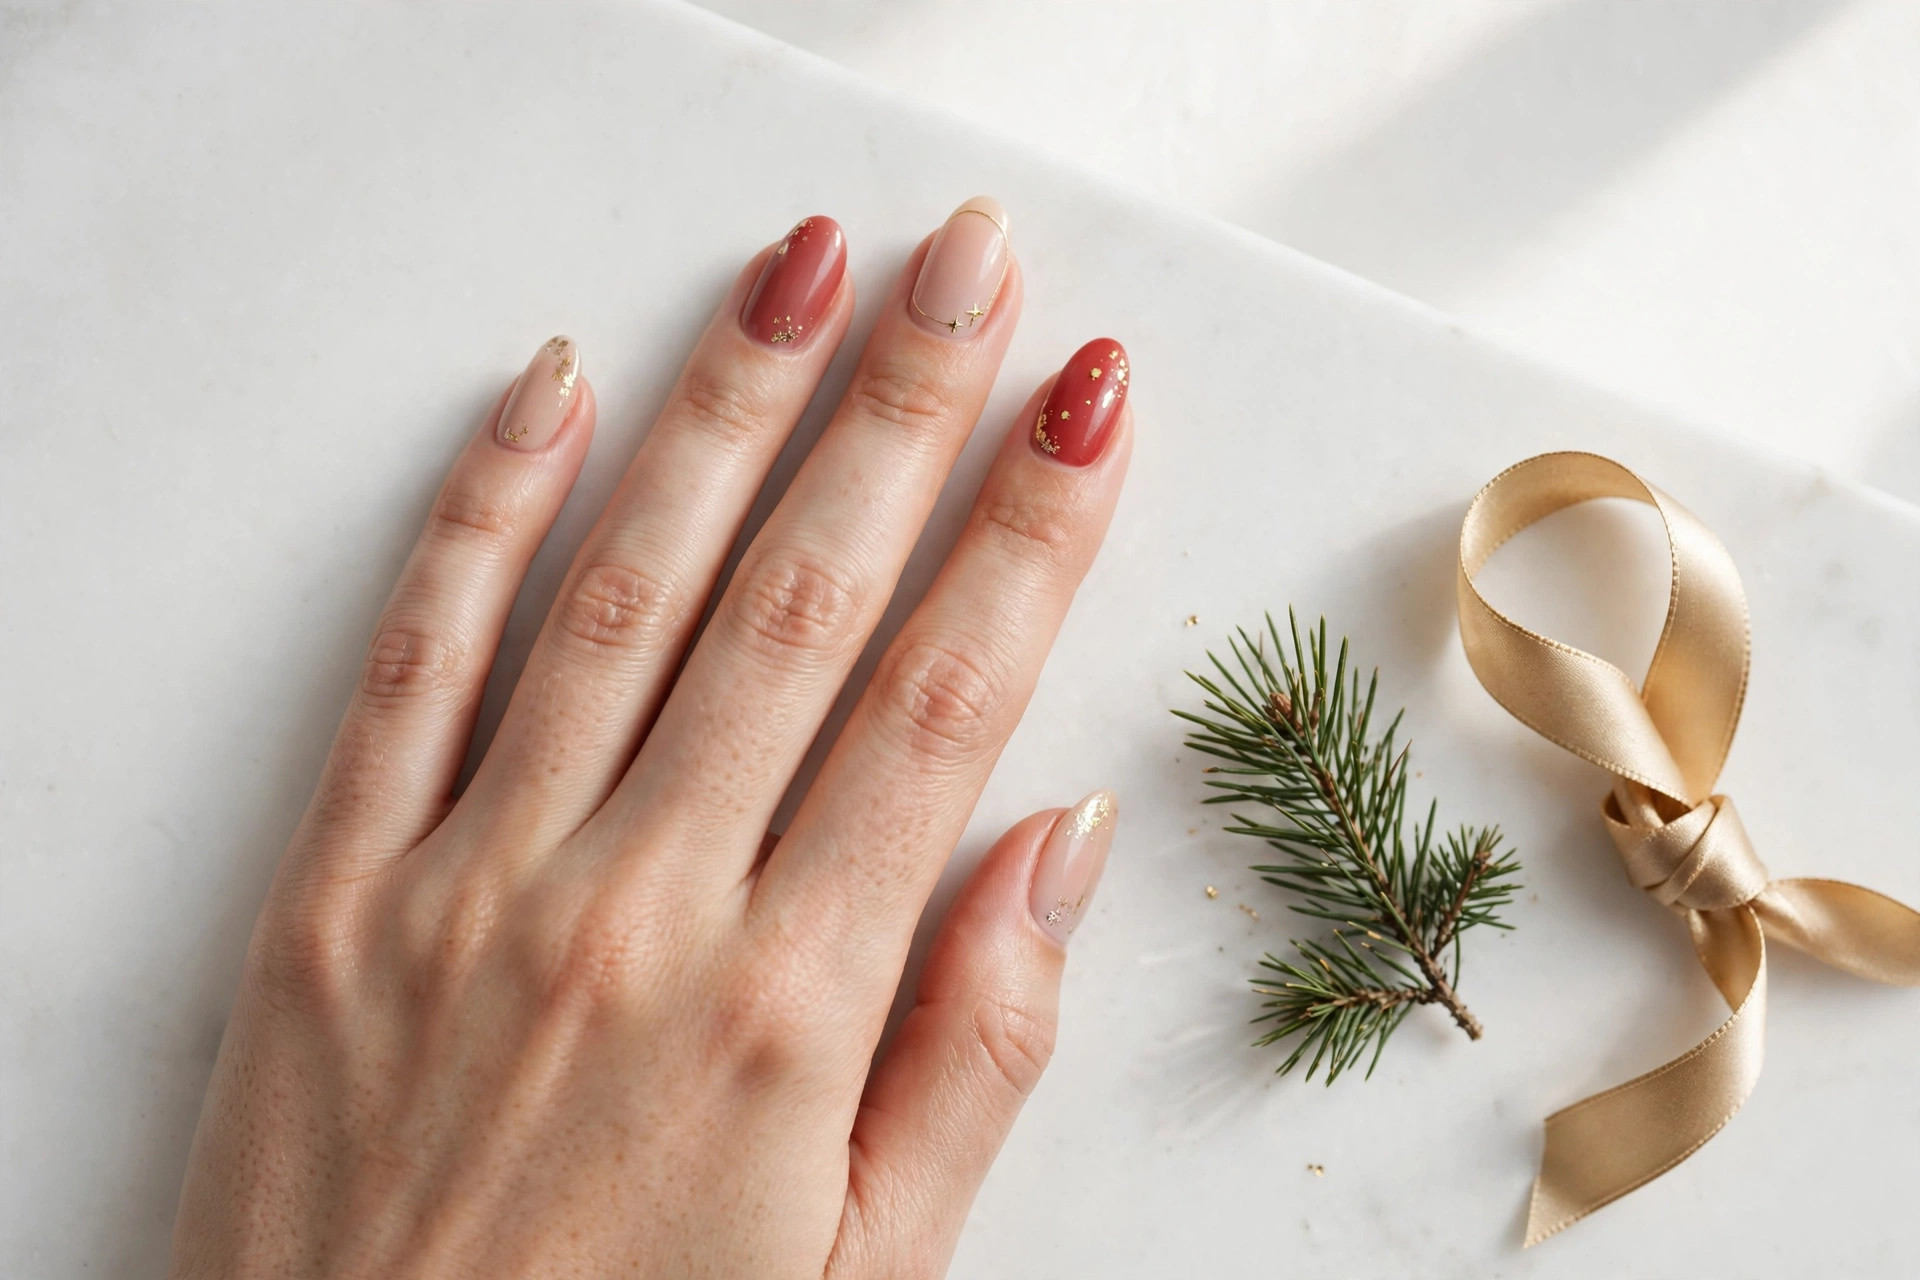
Nude nails scattered with tiny gold dots look like quiet celebration — festive, but in a whisper instead of a shout. The dots catch the light when you move your hands, giving the manicure a lively sparkle that feels right for holiday parties and New Year’s Eve alike. On a nude or sheer pink base, the gold reads as jewelry for your nails.
This suits anyone who loves neutrals but wants a little holiday magic. It is forgiving on every nail shape and length, and the random placement means there is no pattern to mess up. To do it at home, apply two coats of nude polish, then dip the round end of a bobby pin in gold polish and dot it randomly across two or three accent nails — five to seven dots per nail is plenty. Let the dots dry for two minutes, then seal everything with top coat so the dots sit smooth. The whole thing takes about twenty minutes including drying time.
3. Tiny Christmas Tree Accent
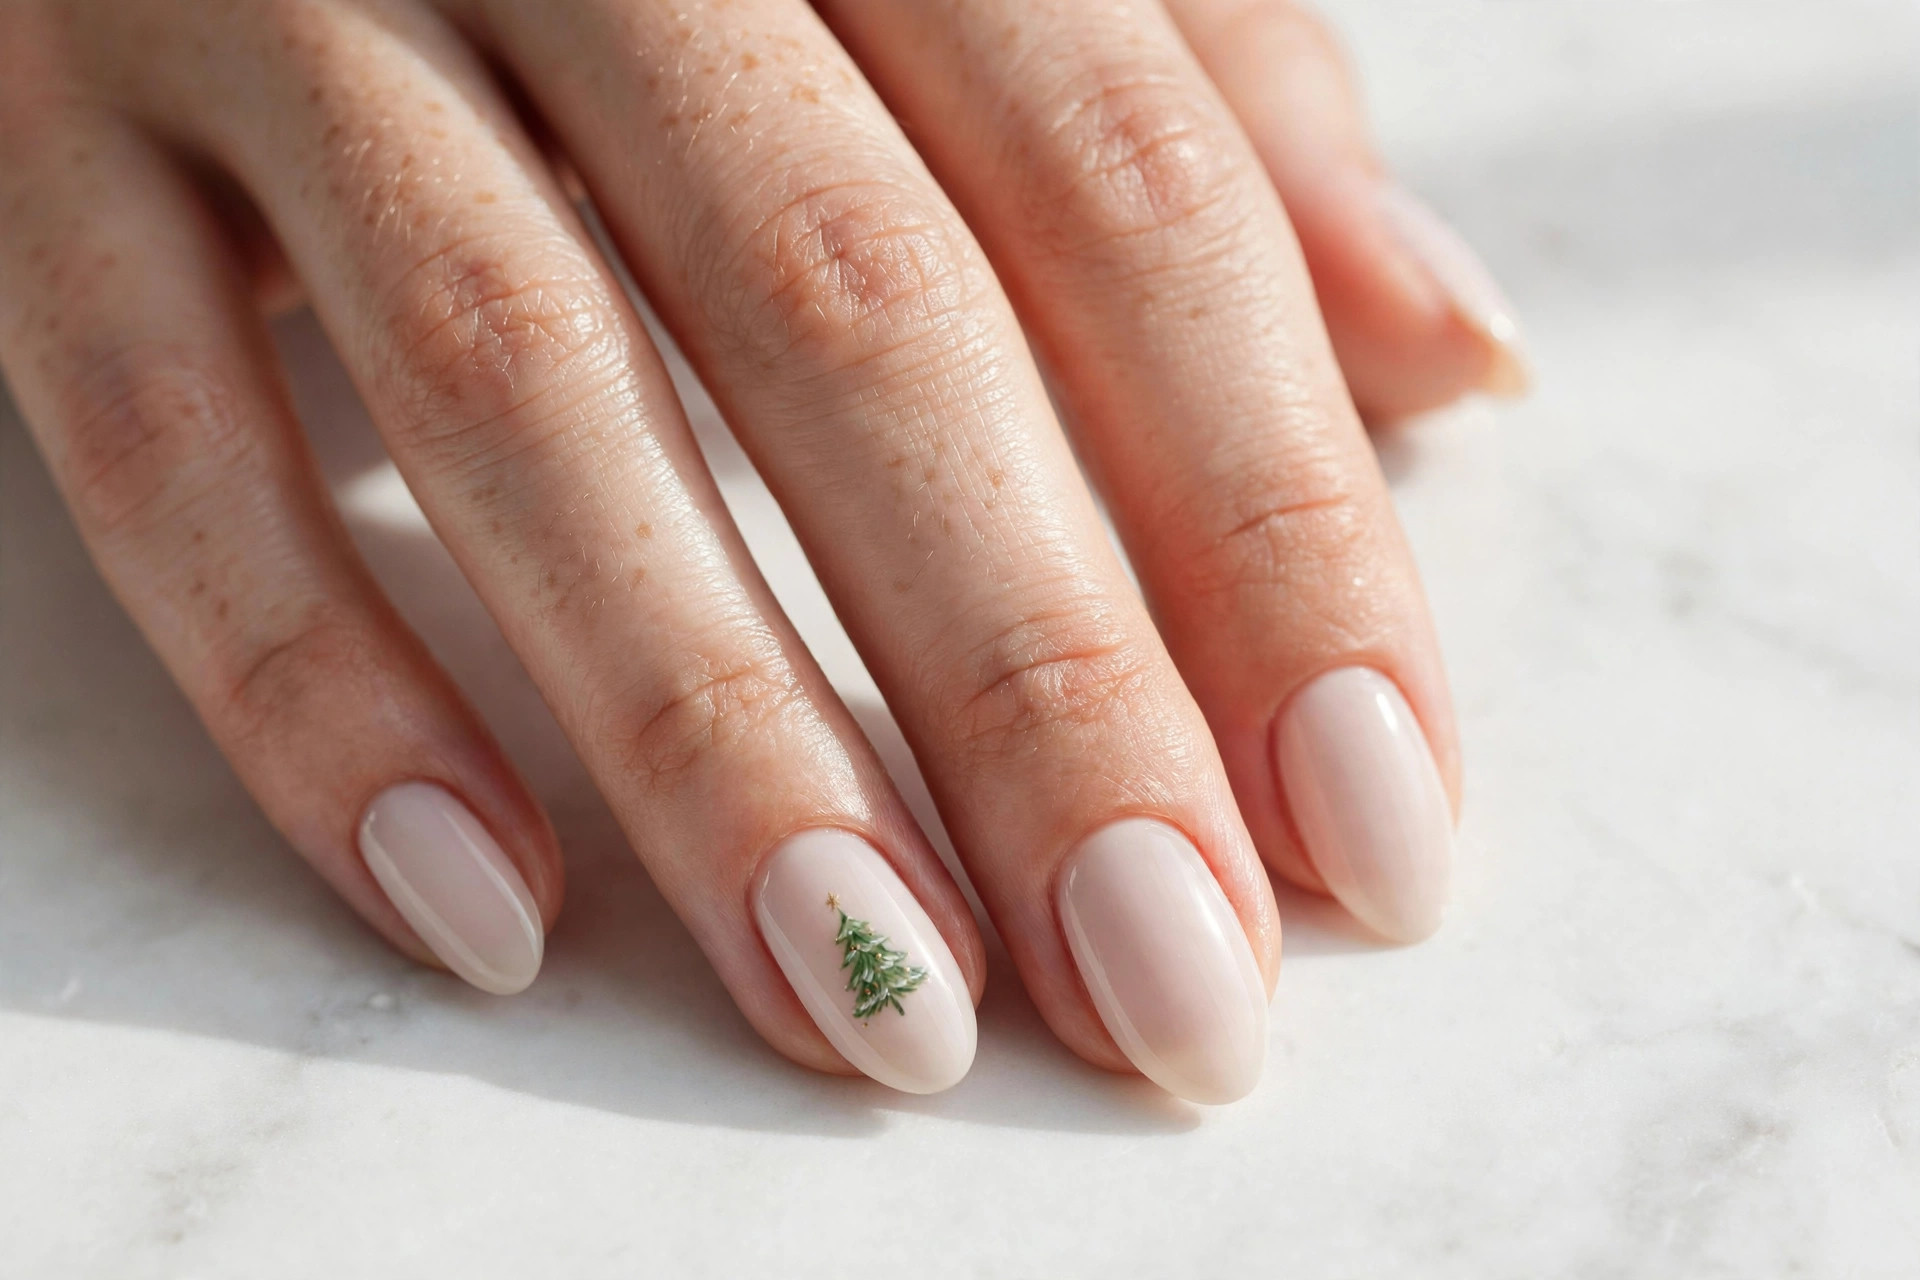
One tiny green triangle on a single nail is all it takes to put a Christmas tree on your manicure. Kept small and simple on a pale nude base, it looks charming rather than cartoonish — the kind of detail people lean in to look at and then smile. The rest of the nails stay plain, which keeps the whole thing elegant.
This suits people who want unmistakably Christmas nails without going over the top. It looks best on almond or oval nails where the tree has a little vertical room, but it works on short nails too if you keep the tree truly tiny. To paint it, use a thin brush or a toothpick: make three stacked horizontal strokes getting shorter toward the tip, then add a tiny brown trunk line and one gold dot as the star. Practice once on paper first. Two thin coats of top coat smooth everything out and protect the little tree for a full week.
4. Minimalist Candy Cane Tips
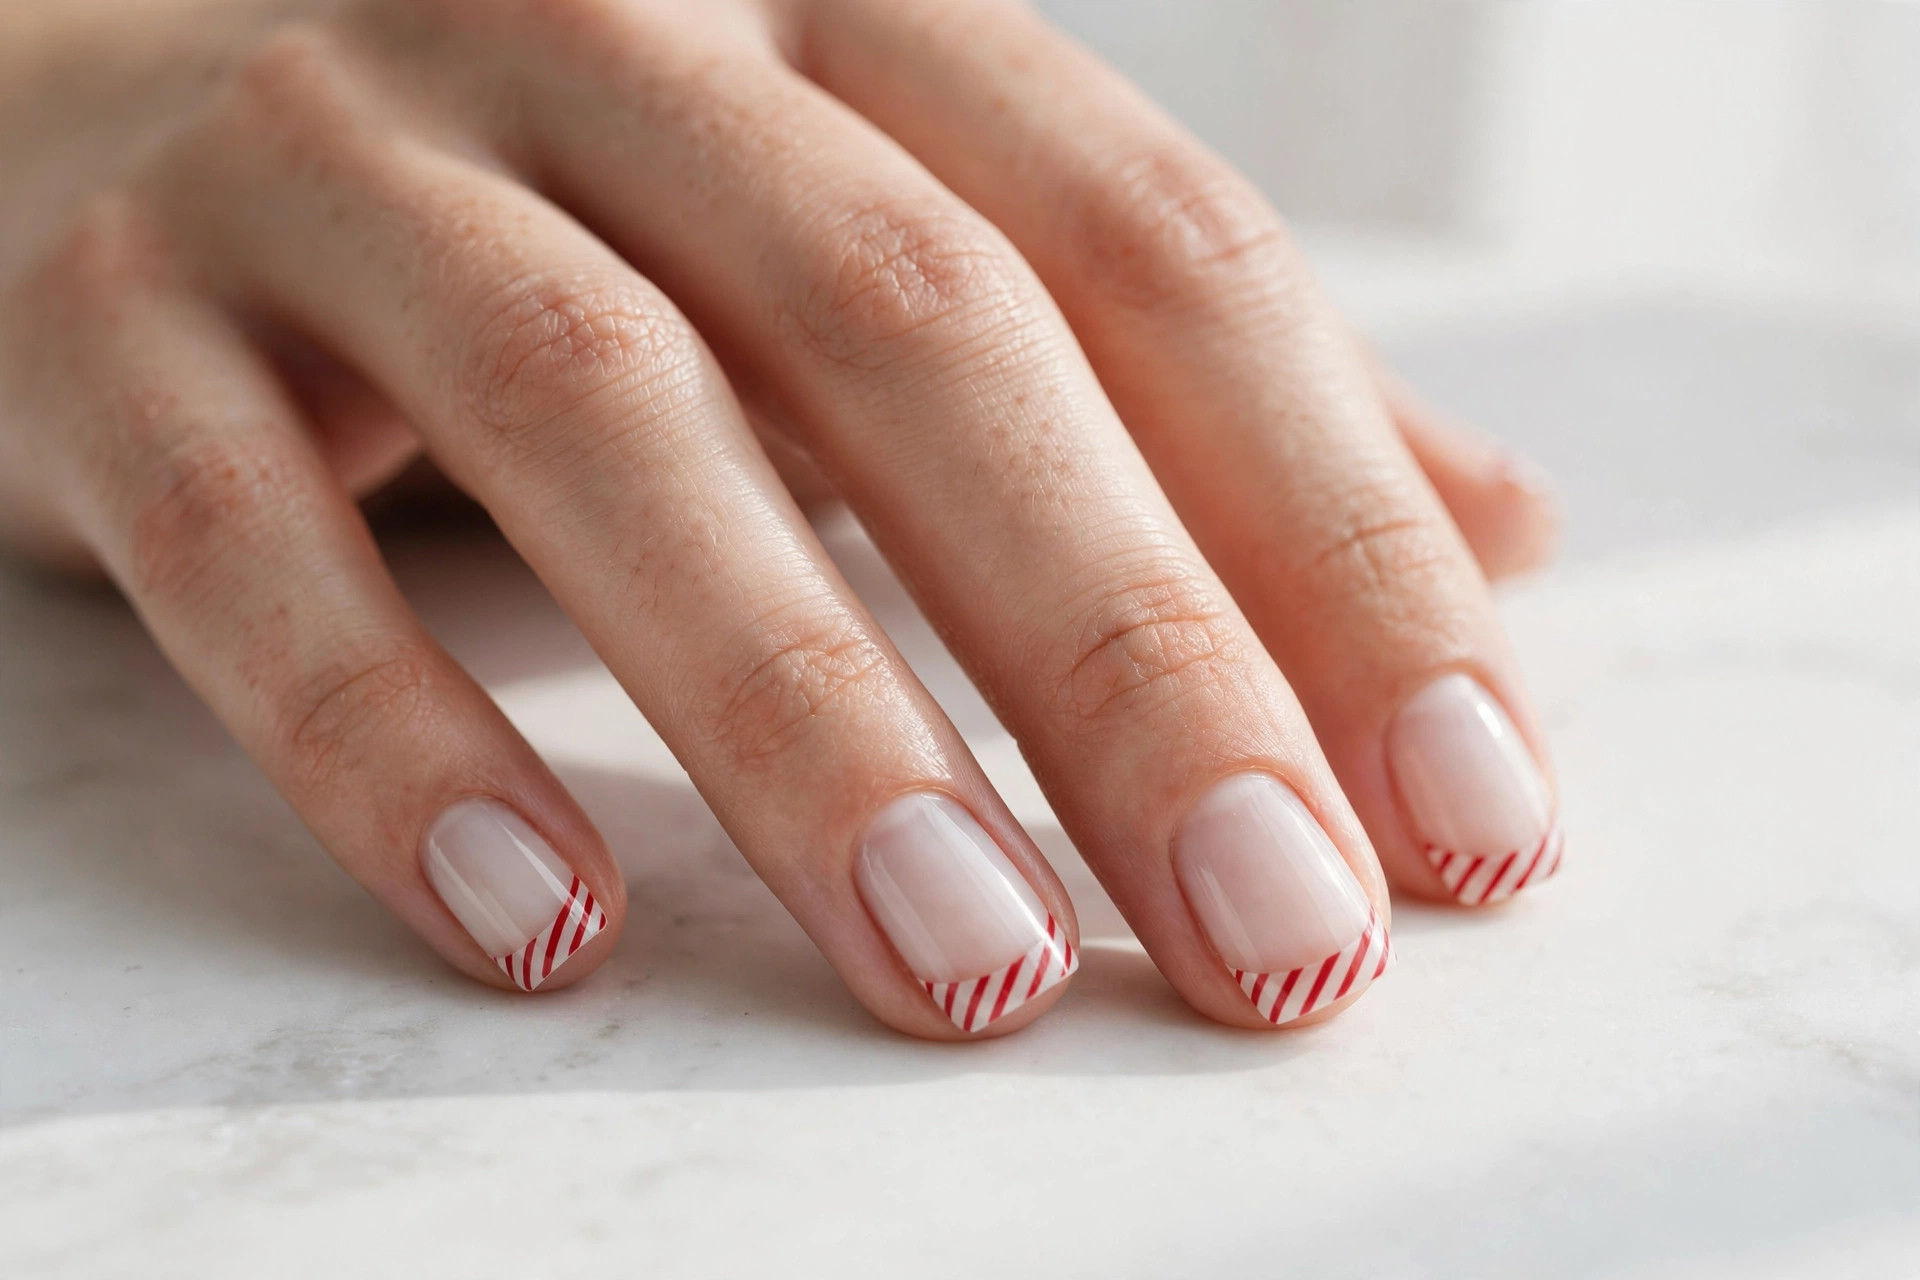
Candy cane stripes are a Christmas classic, but done thinly and only on the tips, they turn into something refined. A sheer white base with fine red diagonal lines across just the free edge gives you the candy cane reference without the costume feel. It is playful, clean, and surprisingly wearable with everything.
This suits anyone who likes a nod to the theme rather than the full theme. Short square nails carry this design especially well since the straight tip gives the stripes a clean edge to follow. To do it at home, paint two coats of sheer white, let dry completely, then use a striping brush or the edge of a toothpick to draw three thin diagonal red lines across each tip. The trick is keeping the lines thin — thick stripes look messy, thin ones look intentional. Seal with top coat and you have holiday nails in under half an hour.
5. Nude Nails with a Red Bow
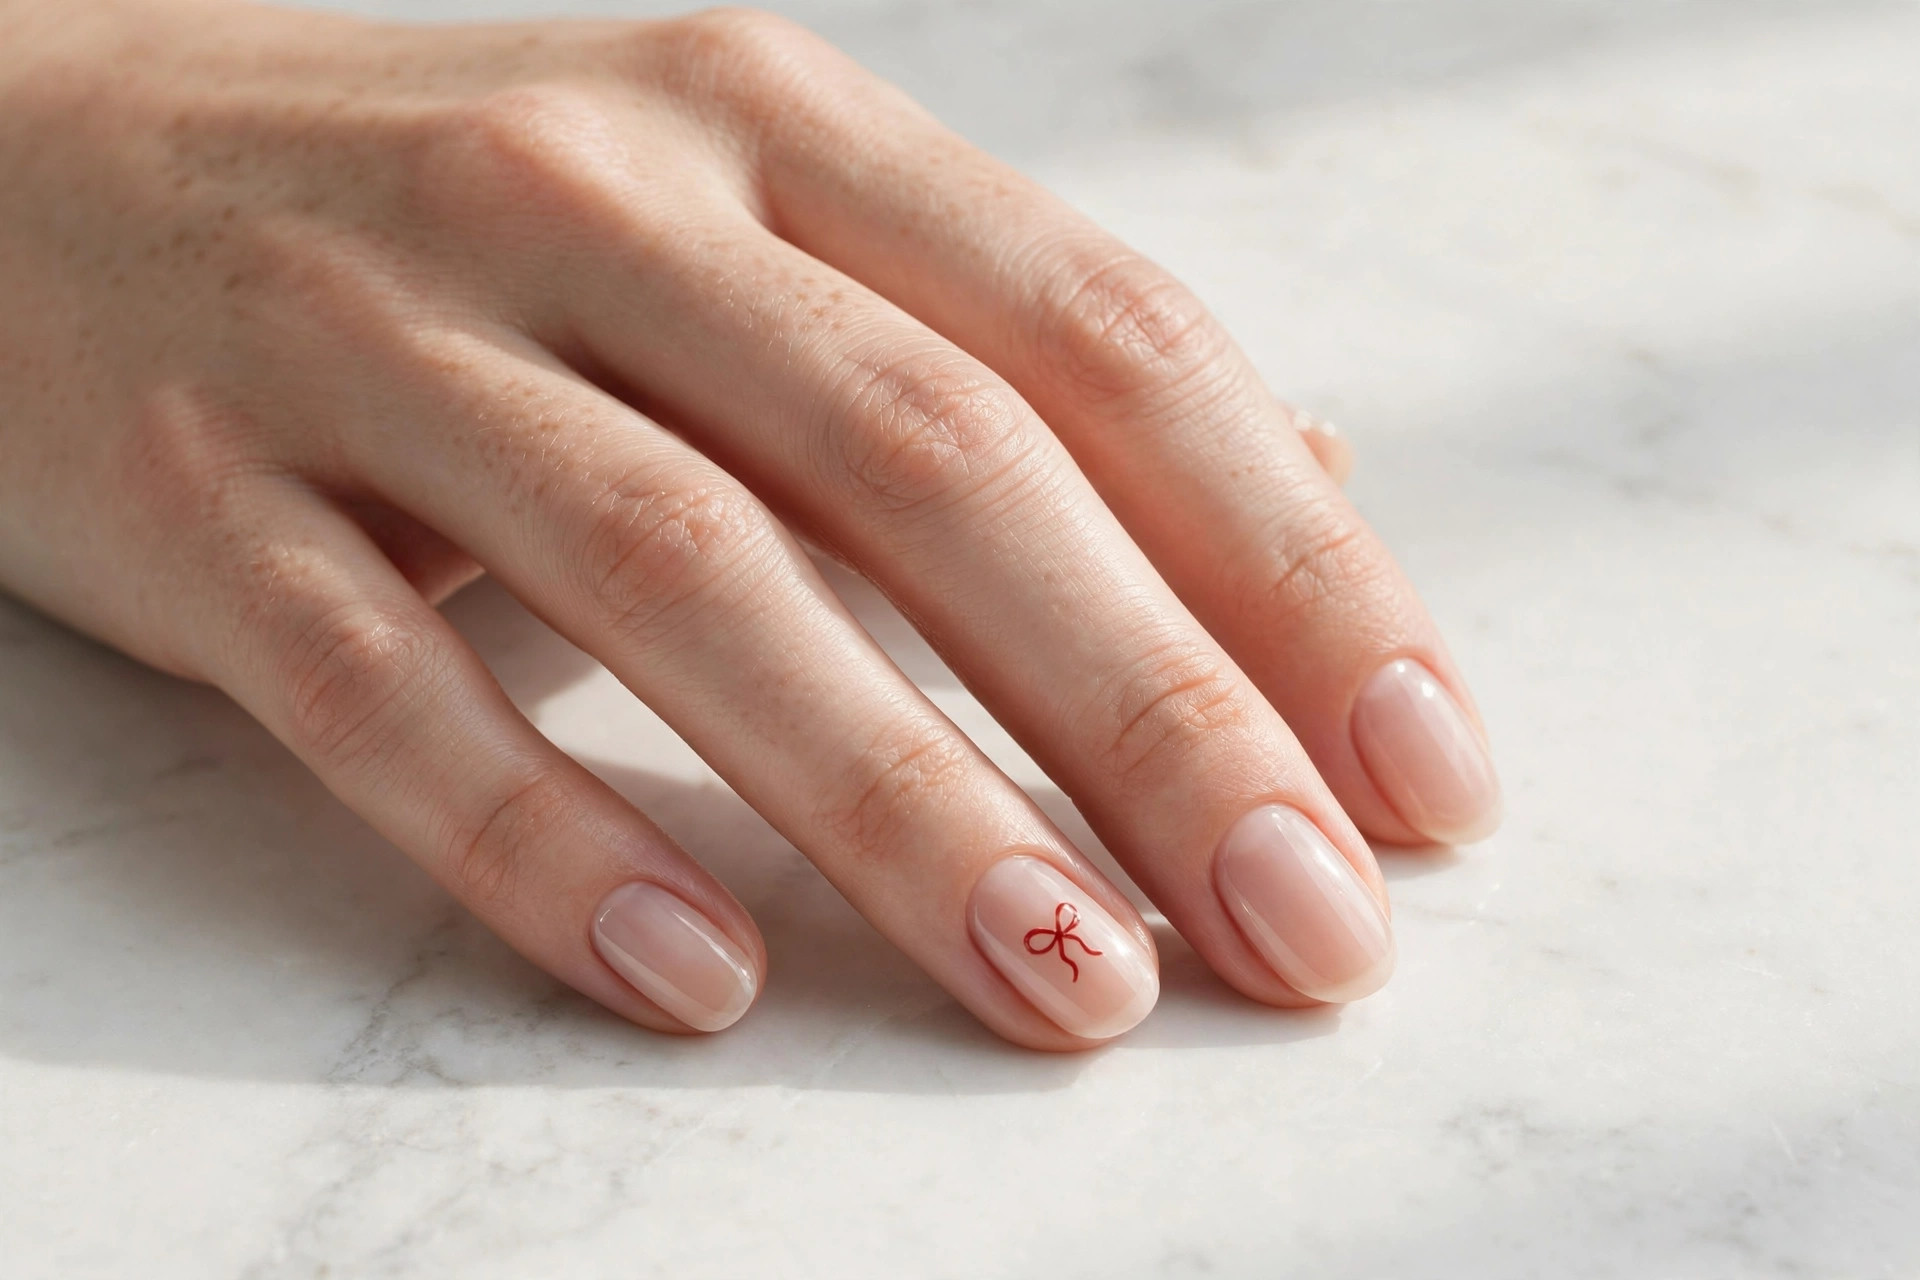
A tiny red bow on one nail turns your manicure into a wrapped present. On a sheer nude base, the little bow looks delicate and sweet — like the ribbon on a gift box. It is one of those designs that gets compliments from people who normally never notice nails, because it is cute without being childish.
This suits romantics and anyone dressing up for holiday events. Medium-length oval nails give the bow the most room, but a small bow fits on short nails too. To paint it, make two small triangles pointing at each other for the loops, add a tiny dot in the center for the knot, and finish with two short lines for the ribbon tails. A toothpick works fine for all of it. Red over nude is high contrast, so take your time on the one accent nail and keep the other nine plain. One careful bow beats five rushed ones.
6. Simple Green French Tips
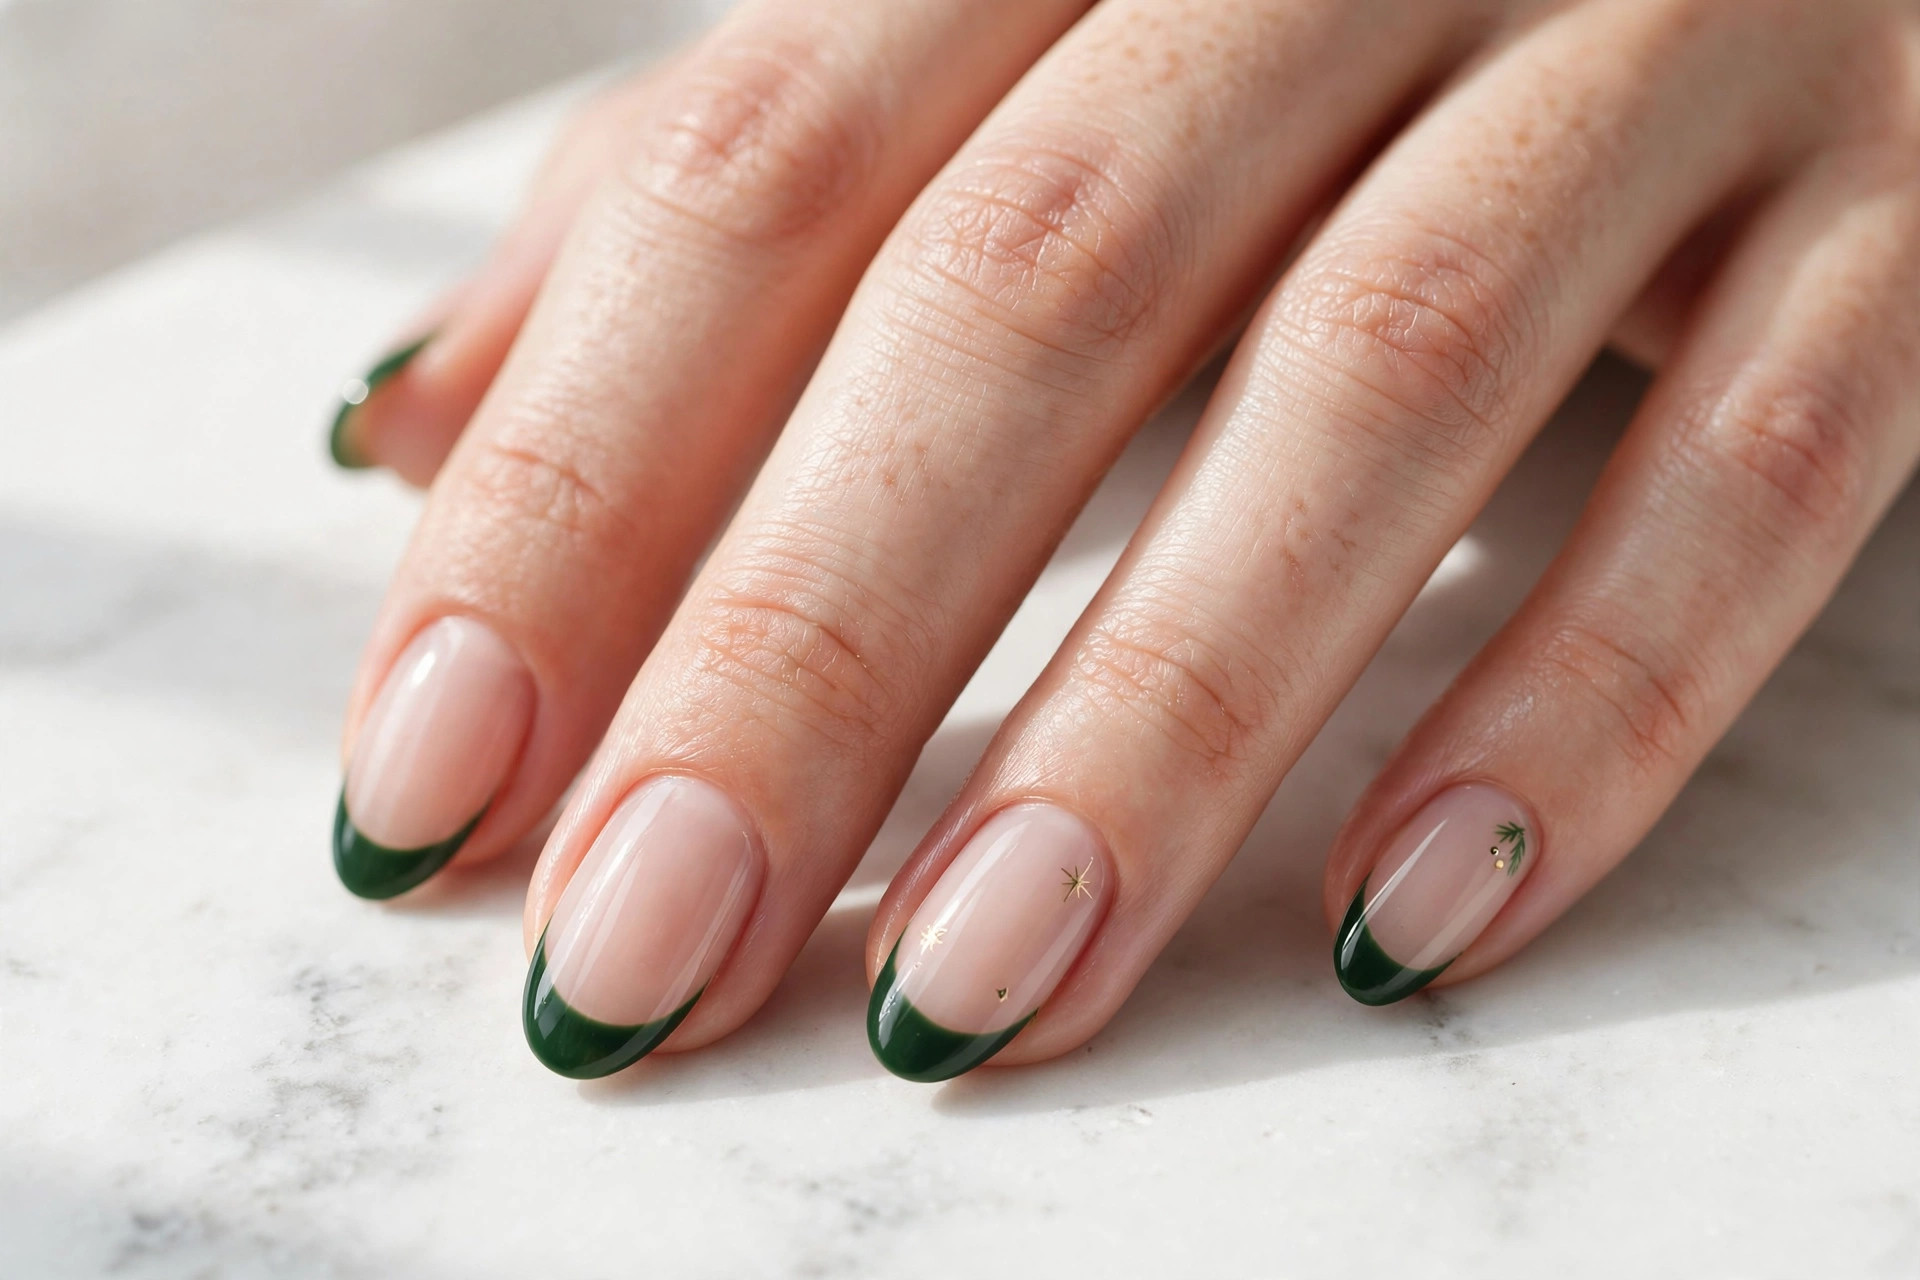
Swap the white tip of a classic French manicure for deep forest green and you have instant Christmas nails. Everything you like about a French — neat, clean, elongating — stays exactly the same, but the green tip makes it seasonal in the most understated way possible. Over a sheer nude base it reads as polished and festive at once.
This suits anyone who wears French manicures year-round and wants a December version. It is office-friendly, wedding-guest-friendly, and works on every nail length. To do it at home, paint a sheer nude base, then paint the tips with green using either a steady hand or French tip guide stickers for a crisp smile line. Peel the guides while the green is still slightly tacky for the cleanest edge. If you love the French shape in general, our invisible French manicures show how versatile the style can be. A glossy top coat blends the tip line slightly and makes it look professionally done.
7. White Snowflake Accent
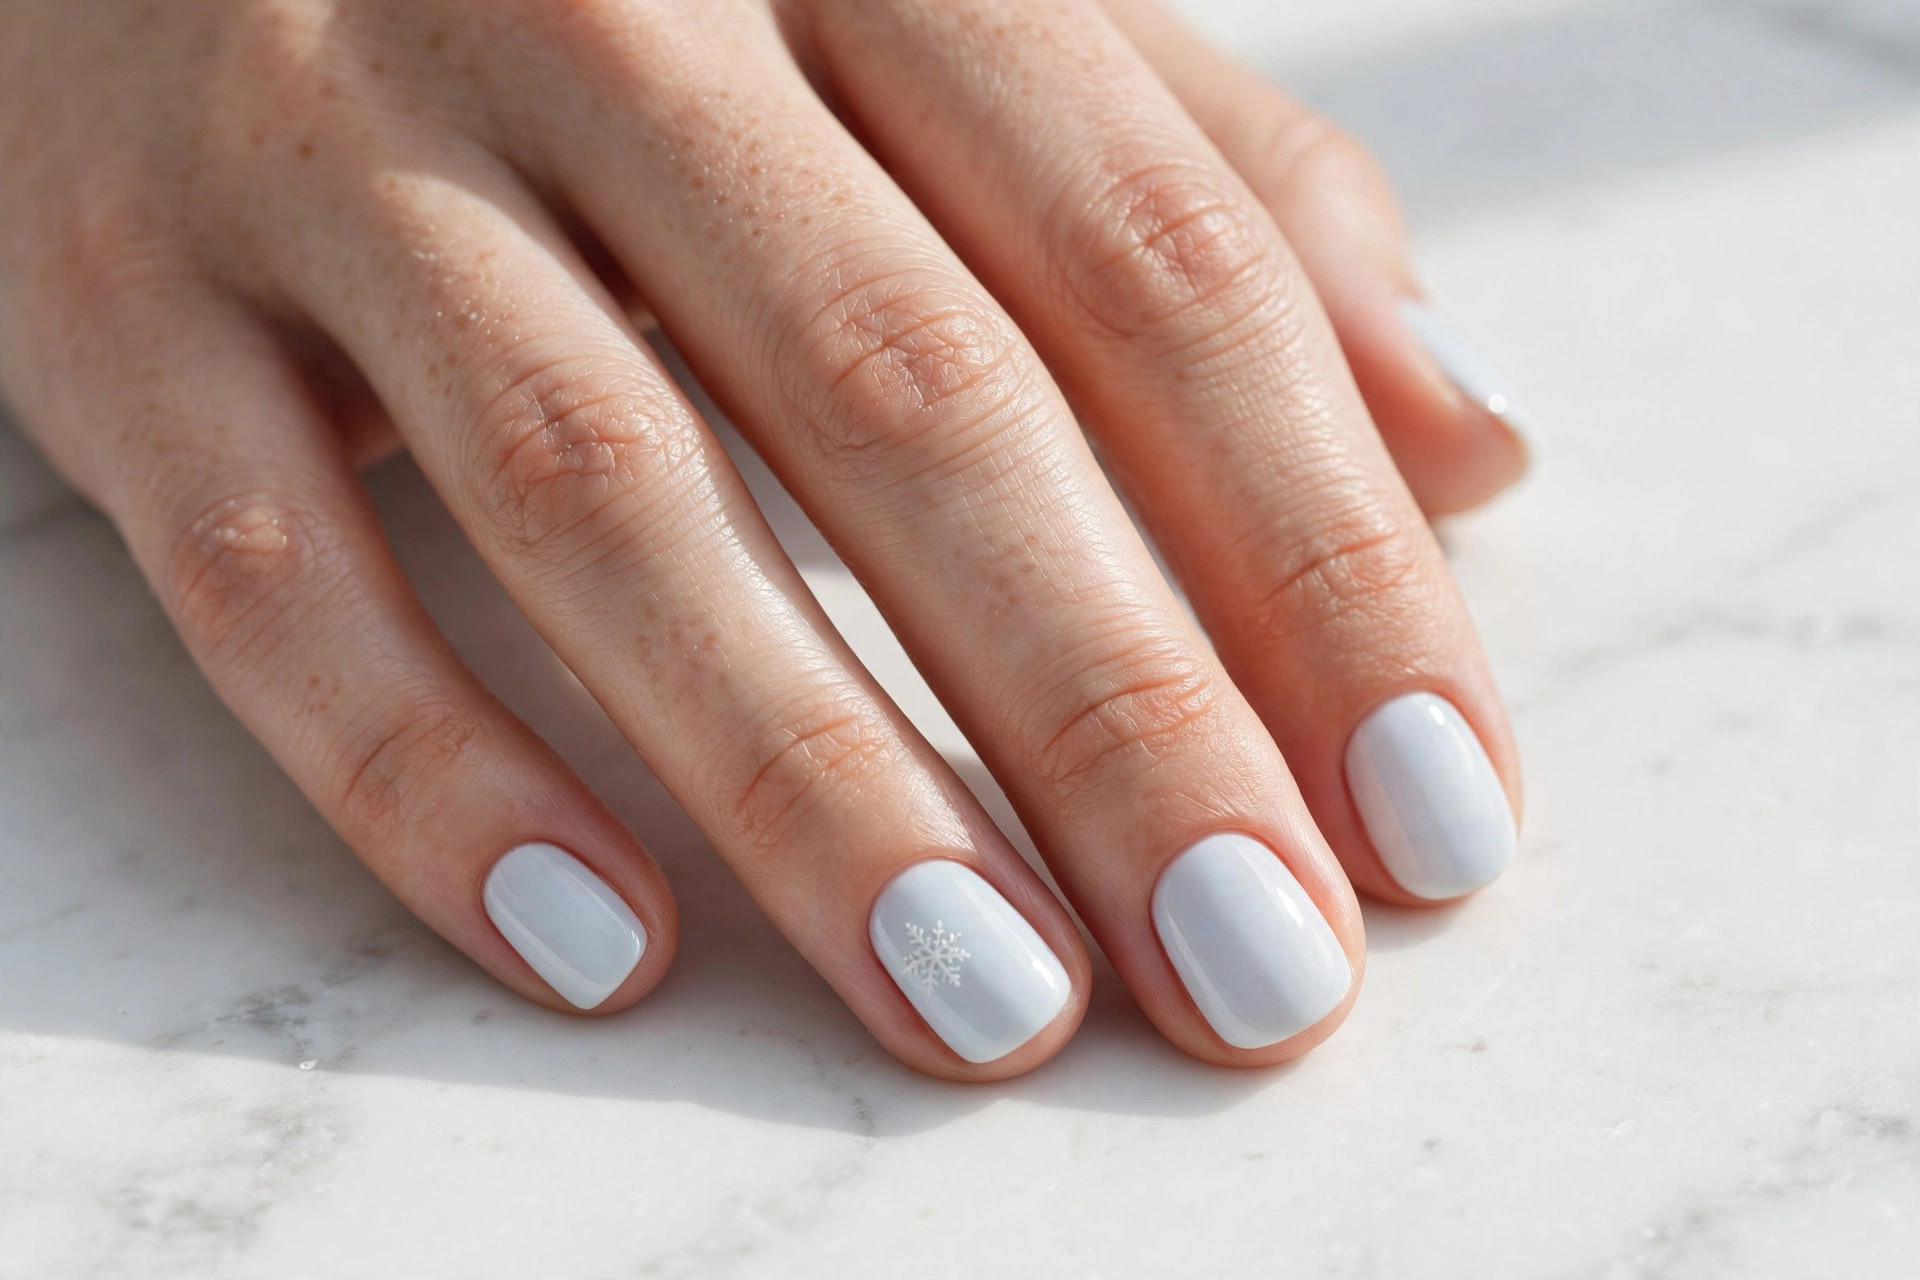
A single delicate snowflake on one nail, over a pale icy base, is winter in its purest form. It is not loud or obviously Christmas — it is just beautiful, and it carries you from December straight through January without looking out of season. The white-on-pale combination keeps it soft and frosty rather than stark.
This suits minimalists and anyone who prefers cool tones to the classic red-and-green palette. Short rounded nails look lovely with this design since the small canvas keeps the snowflake dainty. To paint the snowflake, draw one vertical line and one horizontal line crossing at the center, then add two short diagonal lines through the middle — six arms total — and dot the ends. A toothpick or dotting tool gives you the control you need. White polish can be streaky, so use two thin coats for the base and let each layer dry fully before adding the snowflake.
8. Gold Star on Red
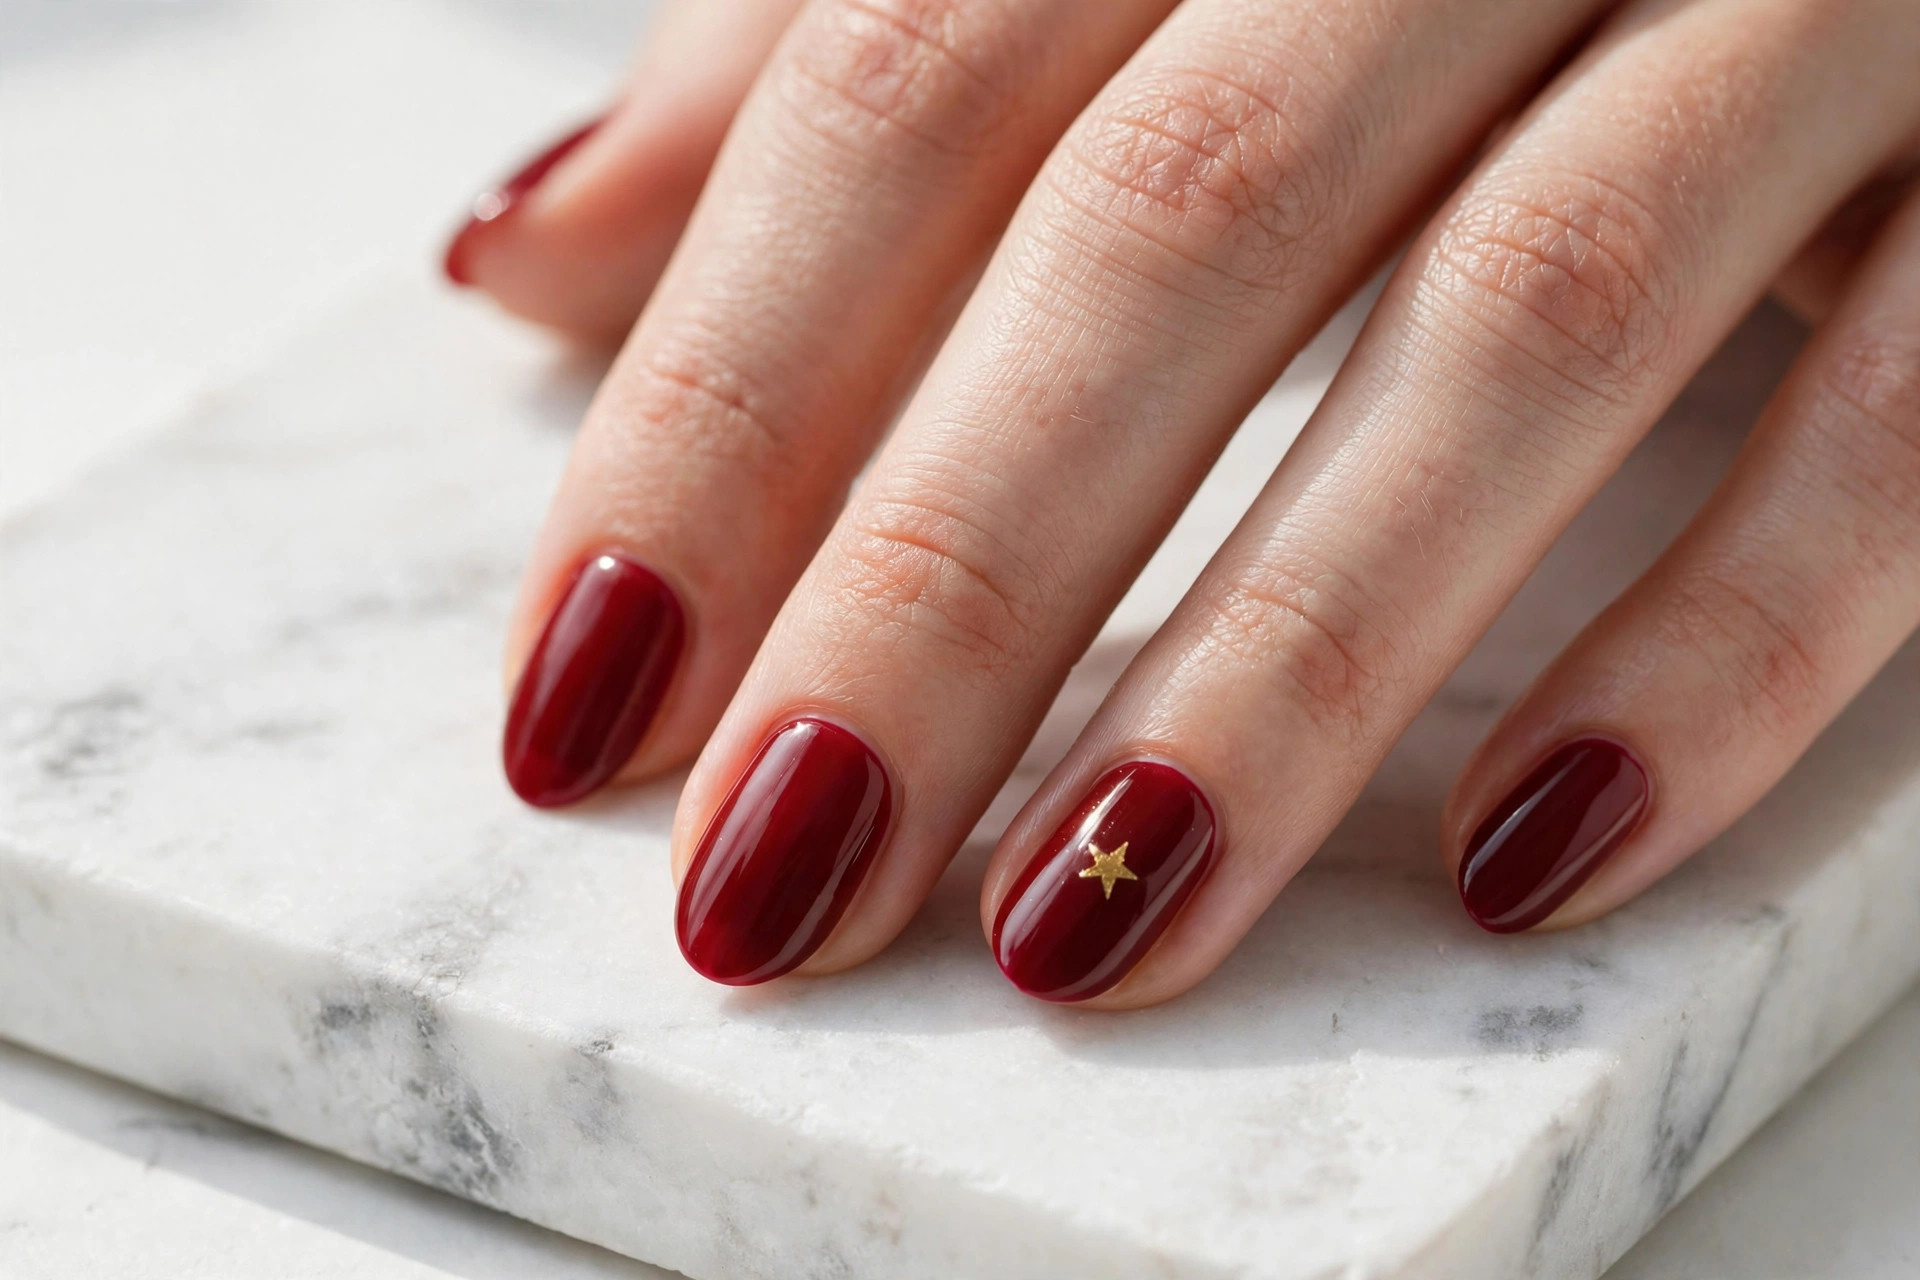
Deep red nails with one small gold star are about as festive as it gets with two elements. The star sits like a tree topper on a single nail, and the red-and-gold pairing is the most classic Christmas color combination there is. It looks rich, warm, and intentional — a holiday manicure with real presence.
This suits anyone who loves traditional Christmas colors and wants them done simply. Medium to short nails in an almond or oval shape show off the star best. The easiest method is a gold star nail sticker or a tiny star decal — place it on the accent nail while the red base is dry, press it flat, and seal with two coats of top coat so the edges disappear. If you prefer to hand-paint, a five-point star is just ten short strokes from a center point. Either way, keep the star small; a modest star looks chic, an oversized one looks like a sticker.
9. Soft Red Ombré
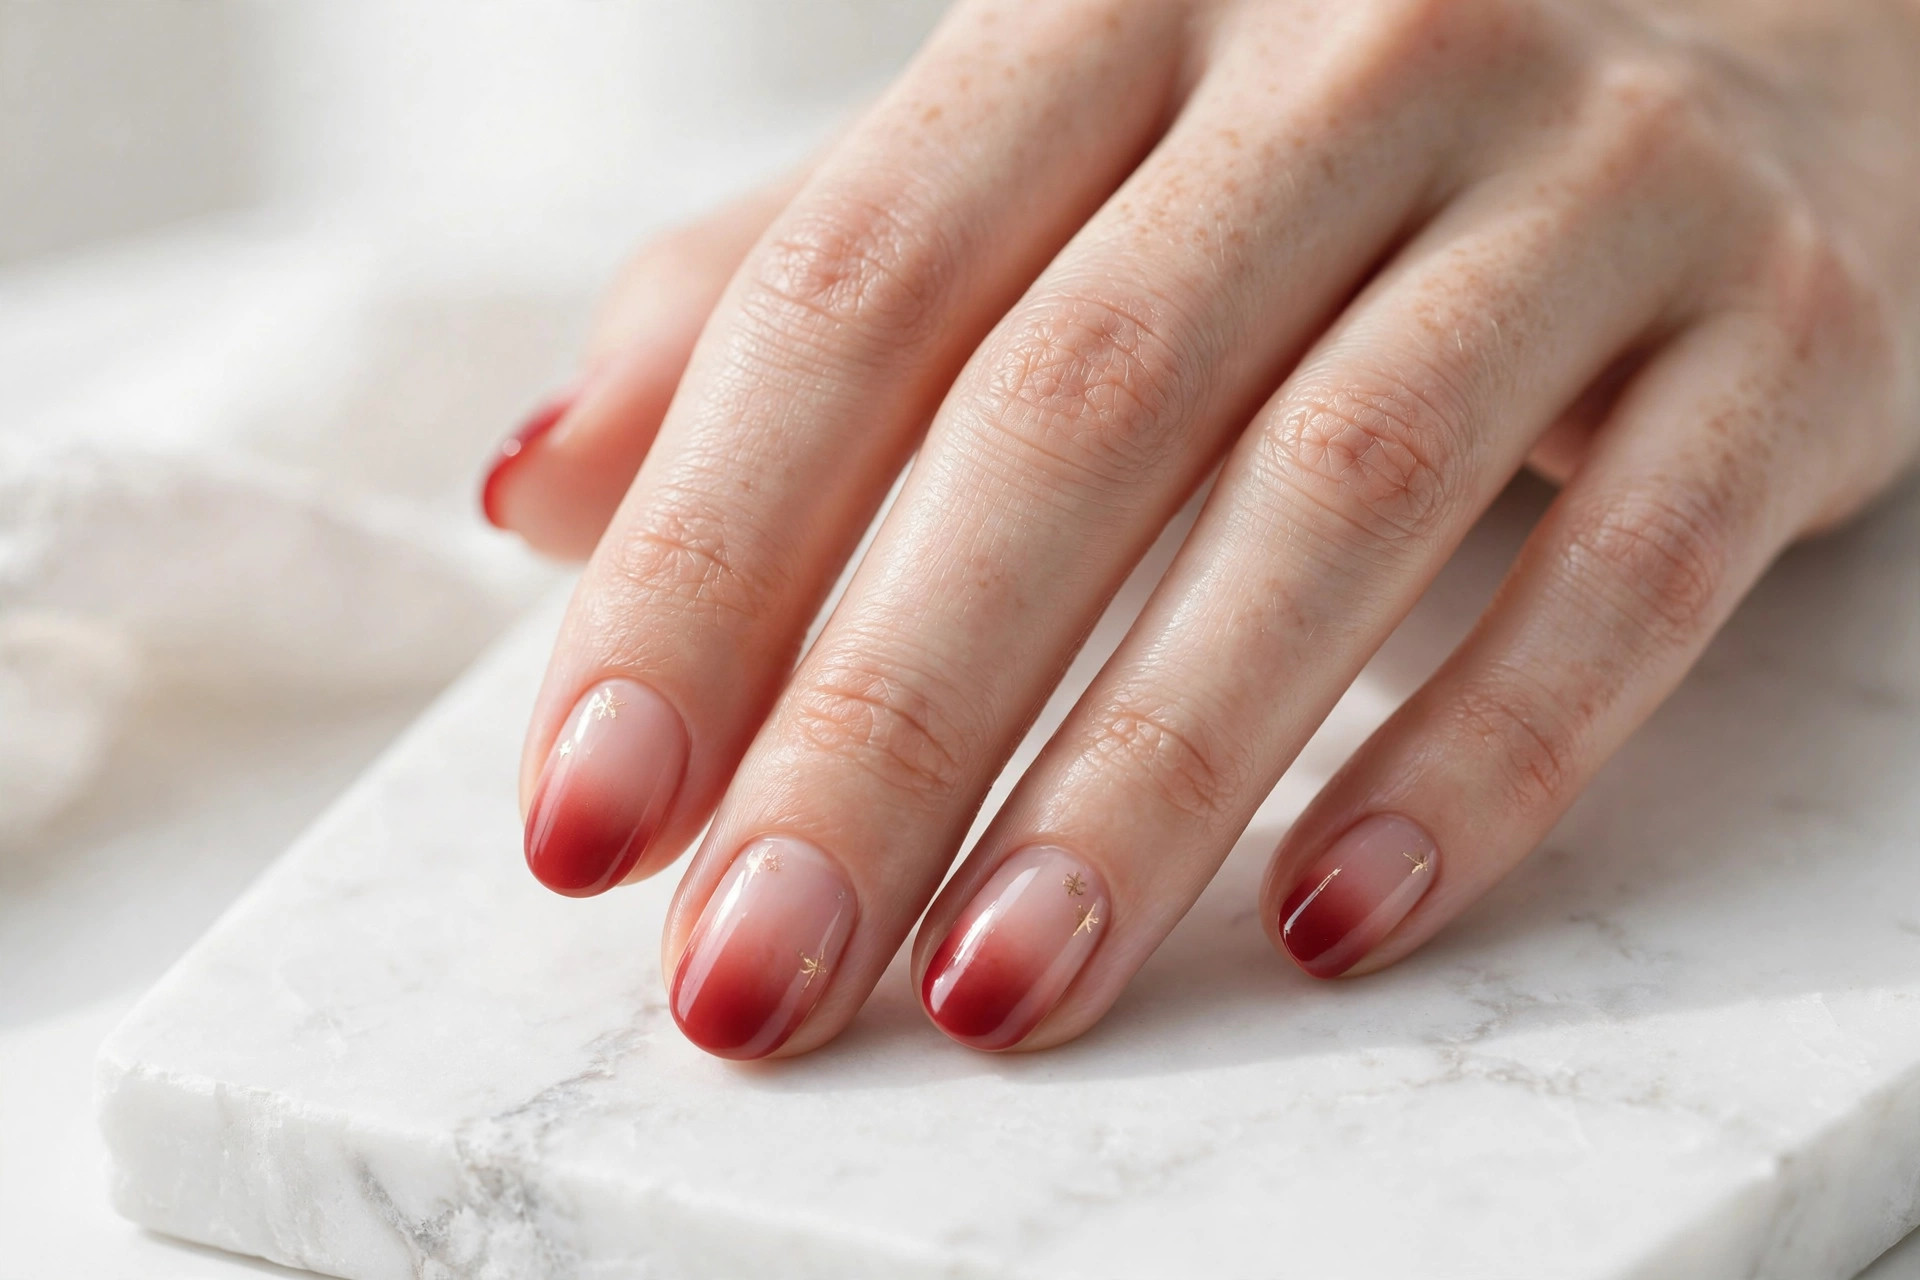
A red ombré that fades from nude at the cuticle to red at the tip gives you Christmas color with a soft, modern edge. There are no harsh lines and no art to paint — just a smooth gradient that looks like the color is blooming across the nail. It is romantic, flattering, and far easier than it looks.
This suits anyone who finds solid red a little intense but still wants the shade. The gradient softens it beautifully, and it flatters longer nails especially well since the fade has room to travel. To do it at home, paint a nude base coat, then dab red polish onto a makeup sponge in a gradient and press it onto the nail in two or three light layers, letting each dry for a minute. Clean up the skin around the nail with a small brush dipped in remover. Two glossy top coats melt the sponge texture away and leave a seamless blend.
10. Plaid Accent Nail
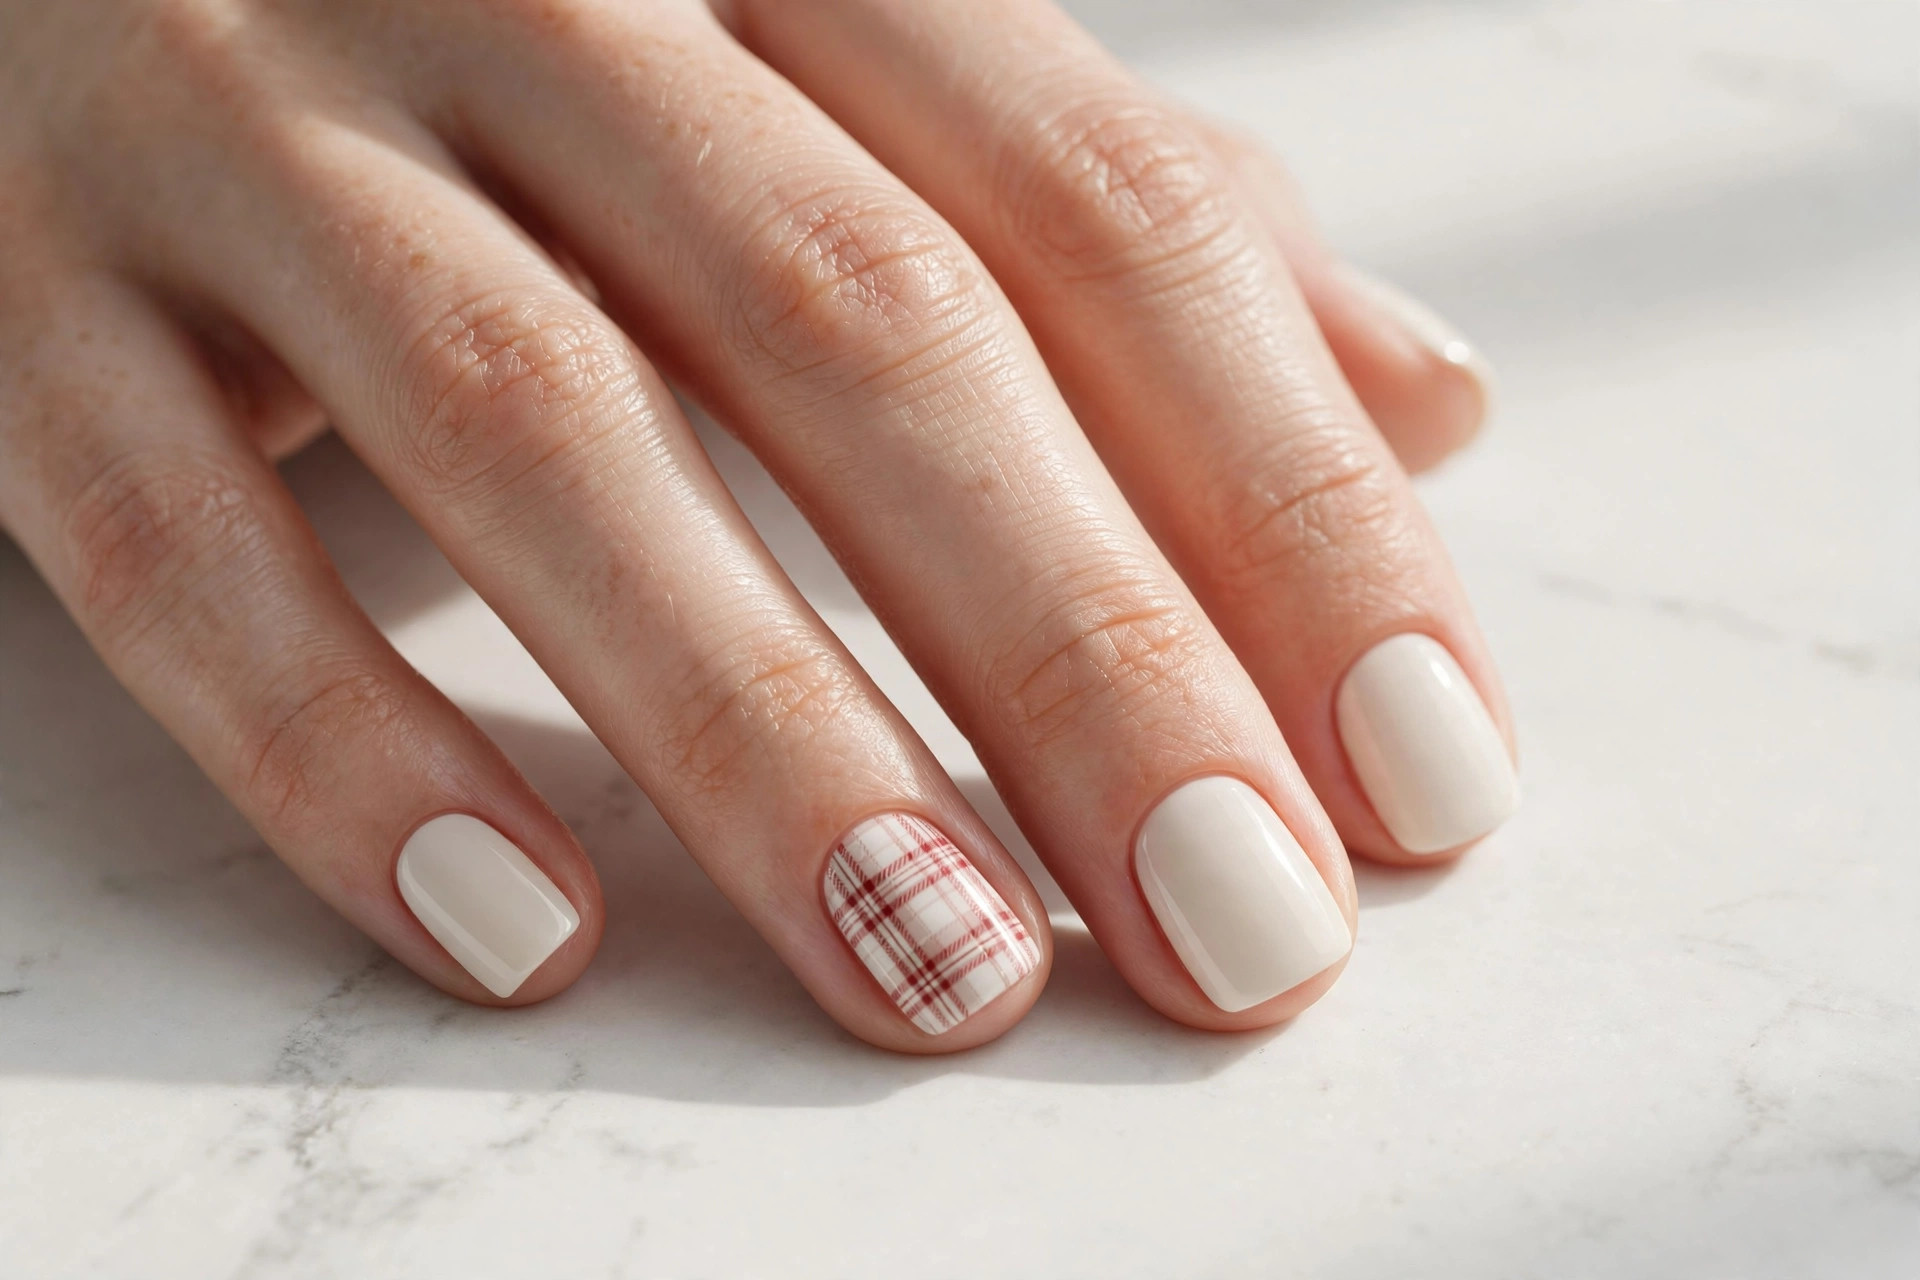
One plaid nail among nine cream ones is the cozy-sweater version of holiday nails. The little check pattern in red and white over a warm cream base feels like flannel and fireplaces — pure December comfort. Keeping it to a single accent nail stops the pattern from overwhelming the manicure.
This suits anyone whose December wardrobe runs to knits and boots. Short square nails give the plaid clean edges to work with. To paint it, start with a cream base on the accent nail, then add thin vertical red lines, thin horizontal red lines over them, and finish with one or two thin white lines crossing through. A striping brush makes this much easier than a regular polish brush. Do not aim for perfection — slightly uneven plaid looks handmade and charming. Seal with top coat and keep the other nails in plain cream for contrast.
11. Minimalist Holly Sprig
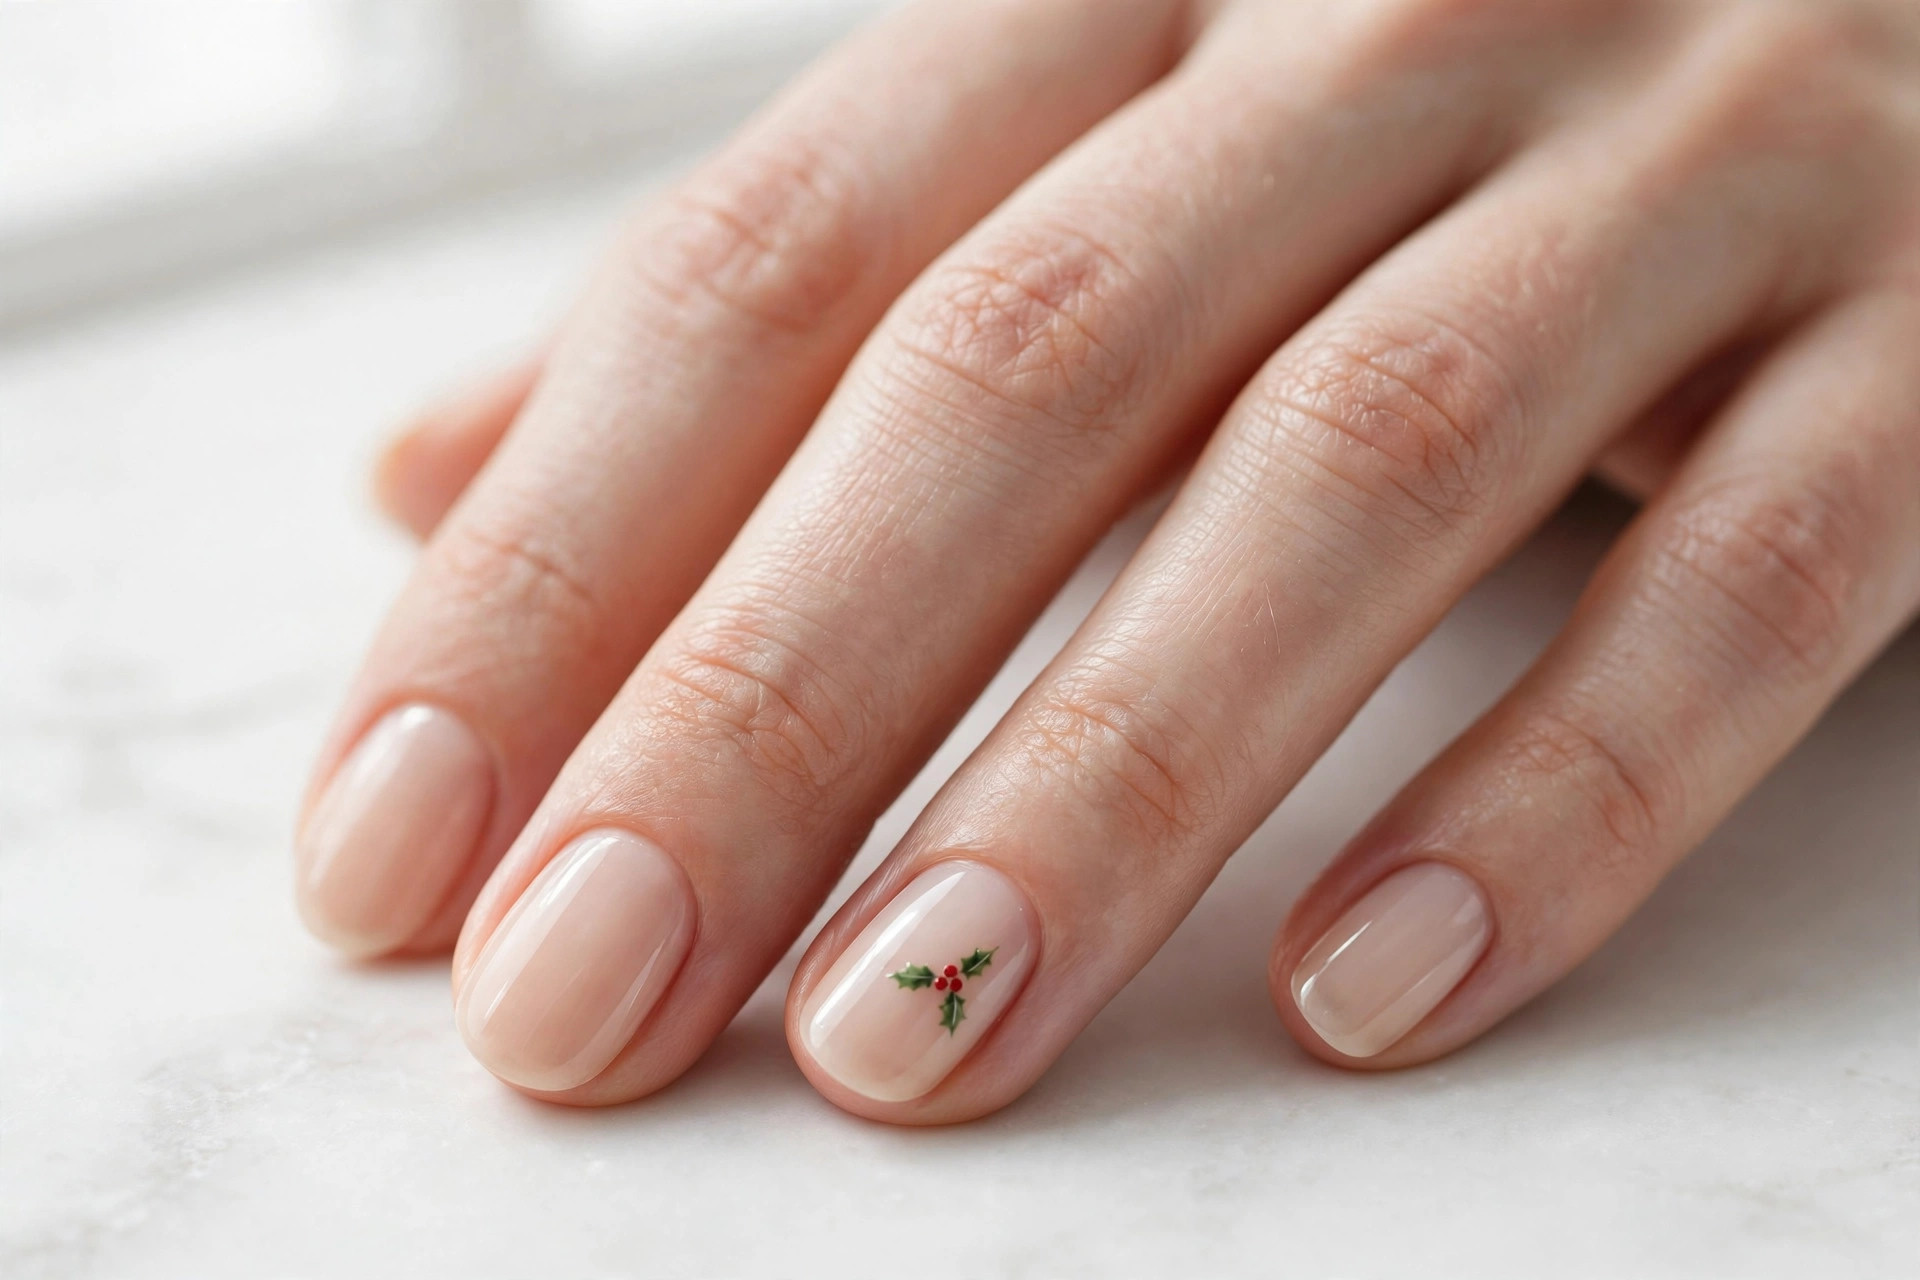
Two green leaves and three red berries — that is the entire design, and it is unmistakably holly. On a sheer nude base, the little sprig looks like a botanical illustration: refined, natural, and quietly festive. It is the kind of detail that feels grown-up and timeless rather than trendy.
This suits nature lovers and anyone who prefers their holiday nods subtle. It works on any nail length, though medium nails give the little sprig comfortable space. To paint it, use a small brush to make two pointed-oval leaves in green, then dot three red berries in a tiny triangle beside them with a dotting tool or bobby pin. Add one thin green stem line connecting them. The whole sprig should fit in the lower half of one nail — small is what makes it elegant. Let it dry fully, then top coat to protect the detail.
12. Champagne Shimmer
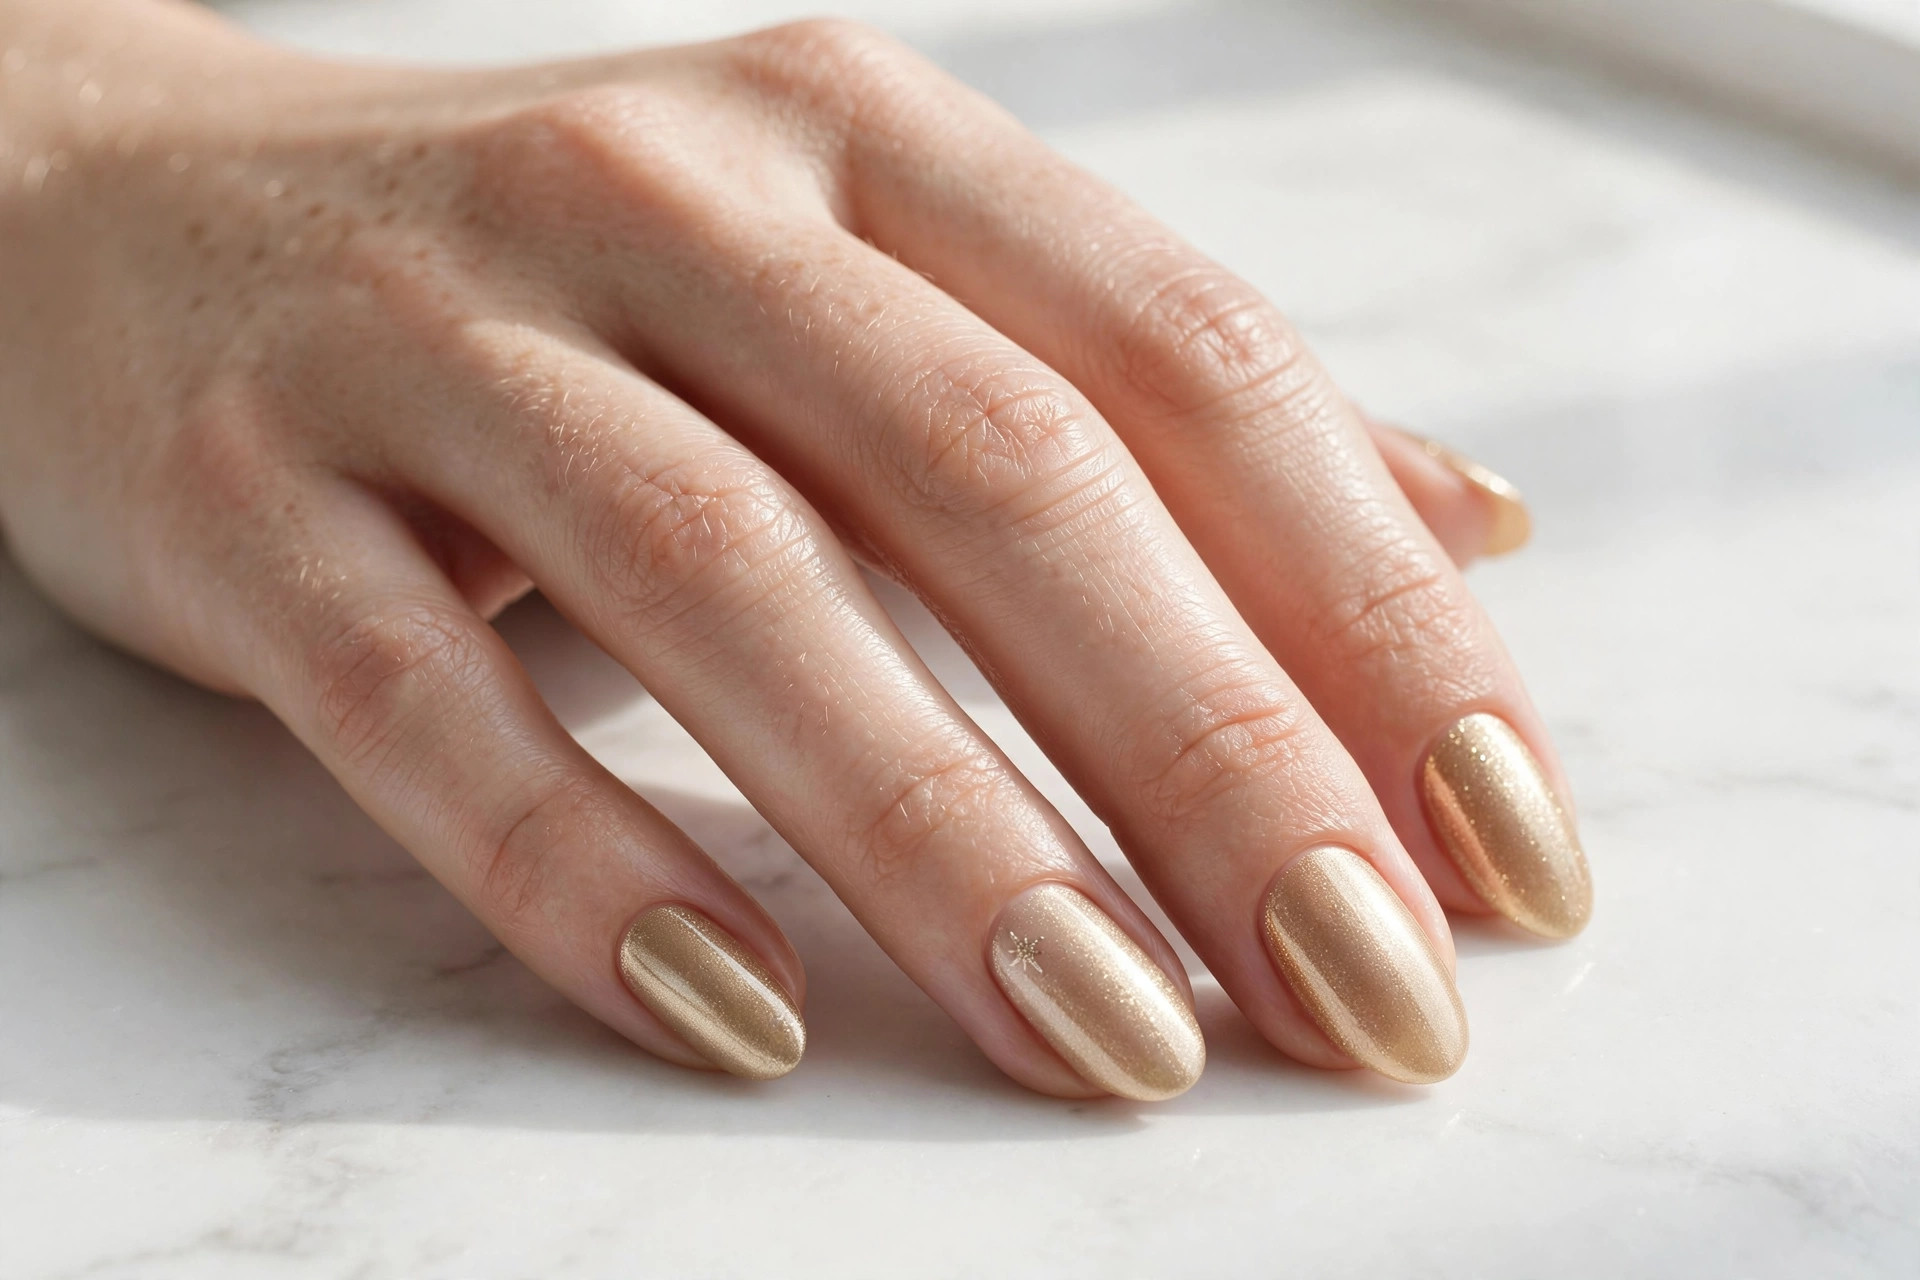
Sometimes the simplest holiday nail is just the right polish. A champagne gold shimmer — solid, no art, no accents — glows like candlelight and goes with literally everything you own in December. It is festive without trying, dressy without effort, and it makes your hands look expensive in every photo.
This suits everyone, full stop. It is the best choice when you have zero time for nail art but still want to look intentional — one polish, two coats, done. It flatters all skin tones and looks particularly beautiful on almond or oval nails where the shimmer catches light along the curve. Application is foolproof since shimmer formulas are usually opaque and self-leveling; the sparkle also hides any small imperfections in your painting. Two coats plus a glossy top coat give you a manicure that lasts well over a week and needs no touch-ups.
13. Simple Striped Tips
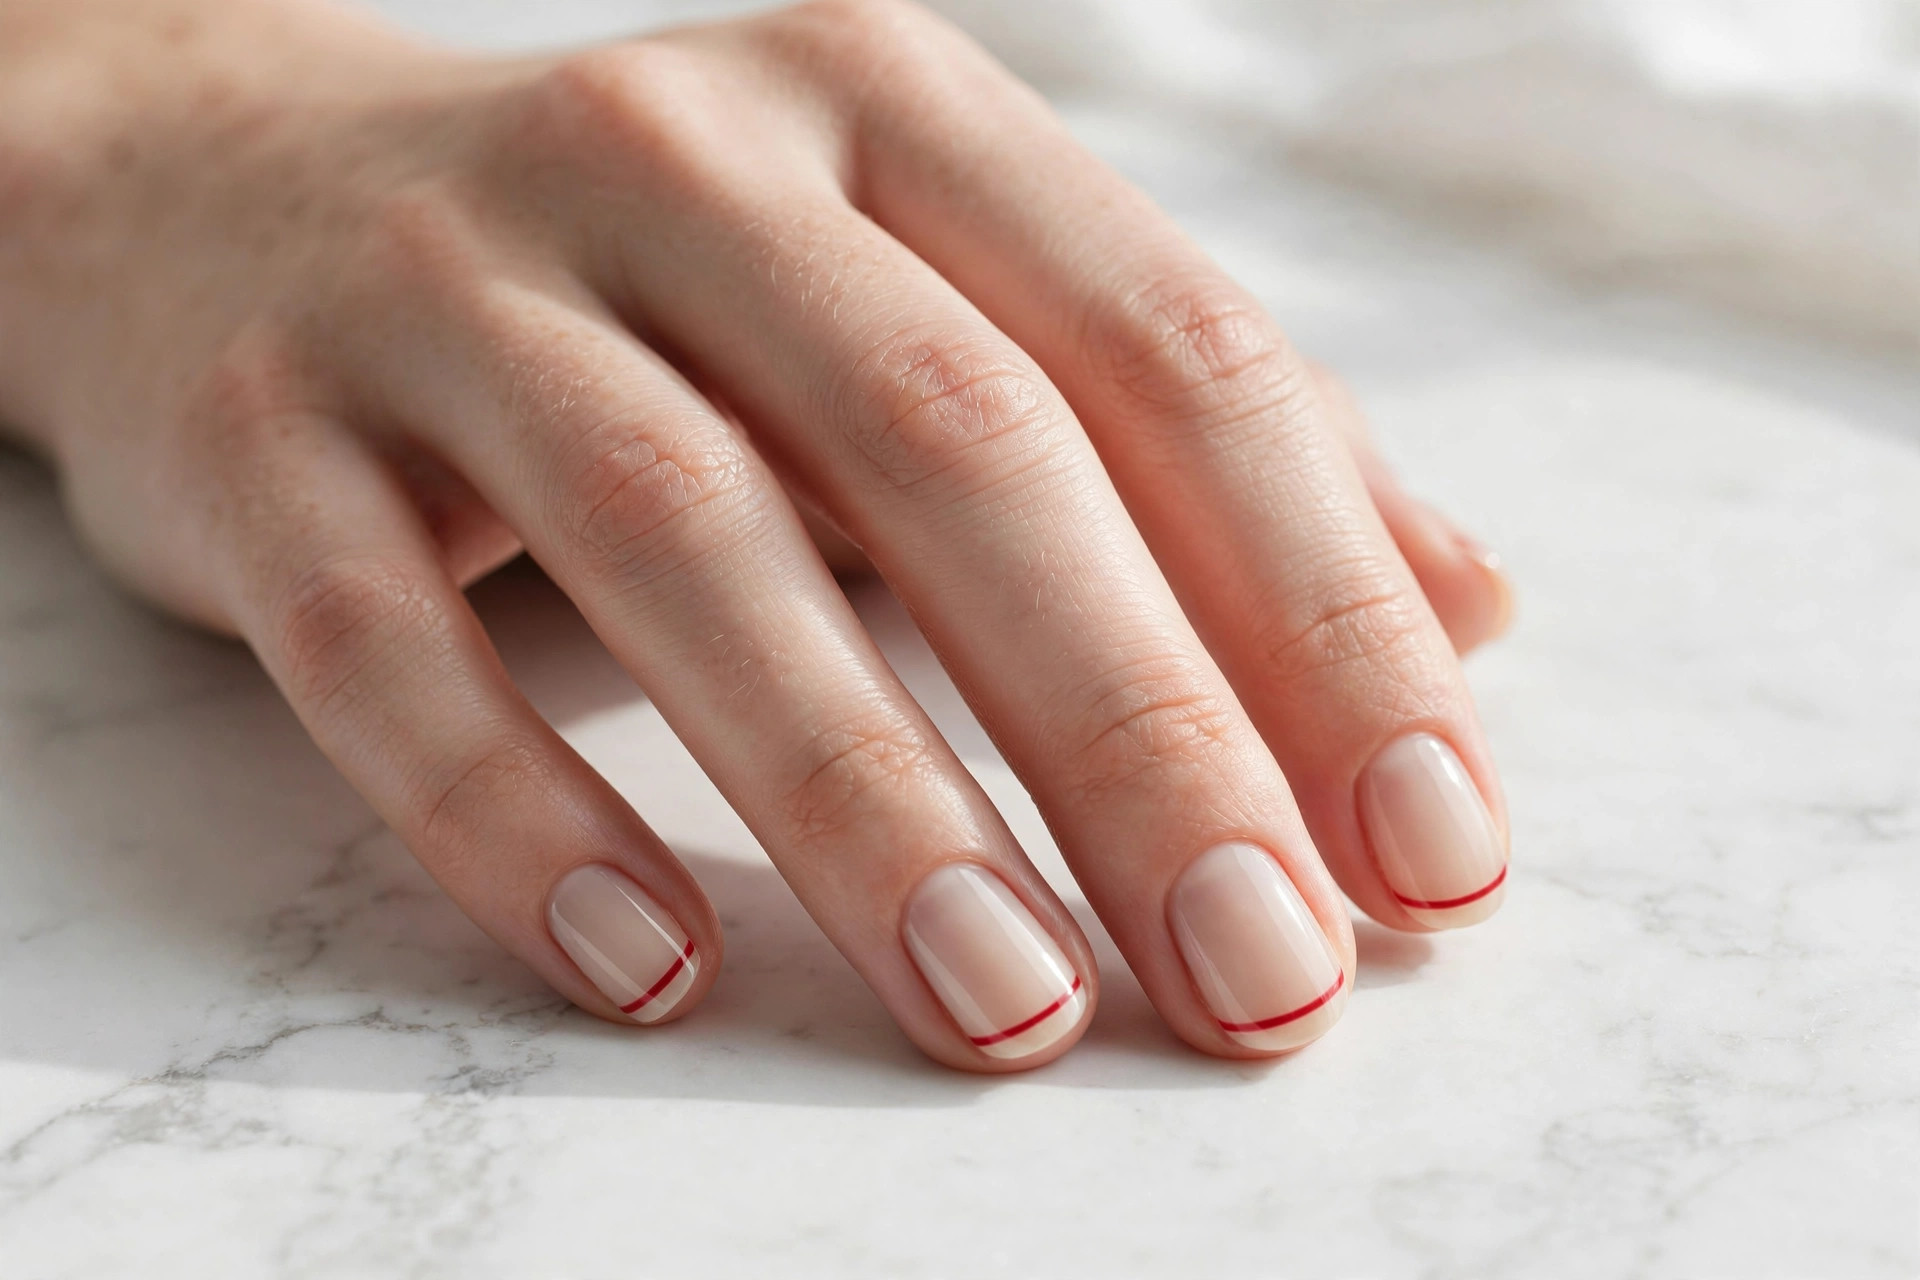
One thin red stripe across each nail tip is minimalism at its best. It is barely more than a French manicure, but that single line of color changes everything — suddenly the manicure has a point of view. It looks modern, graphic, and quietly festive, like the ribbon edge on wrapping paper.
This suits design lovers who appreciate restraint. Short oval nails are ideal since the stripe follows the natural curve of the tip. To do it, paint a sheer nude base and let it dry completely, then draw one thin horizontal red line just below the free edge of each nail using a striping brush. Keep the stripe the same thickness on every nail — consistency is what makes this look sharp rather than random. It takes steady hands but only one step, so even beginners get it right on the second try. Top coat to seal.
14. Tiny Ornament Dots
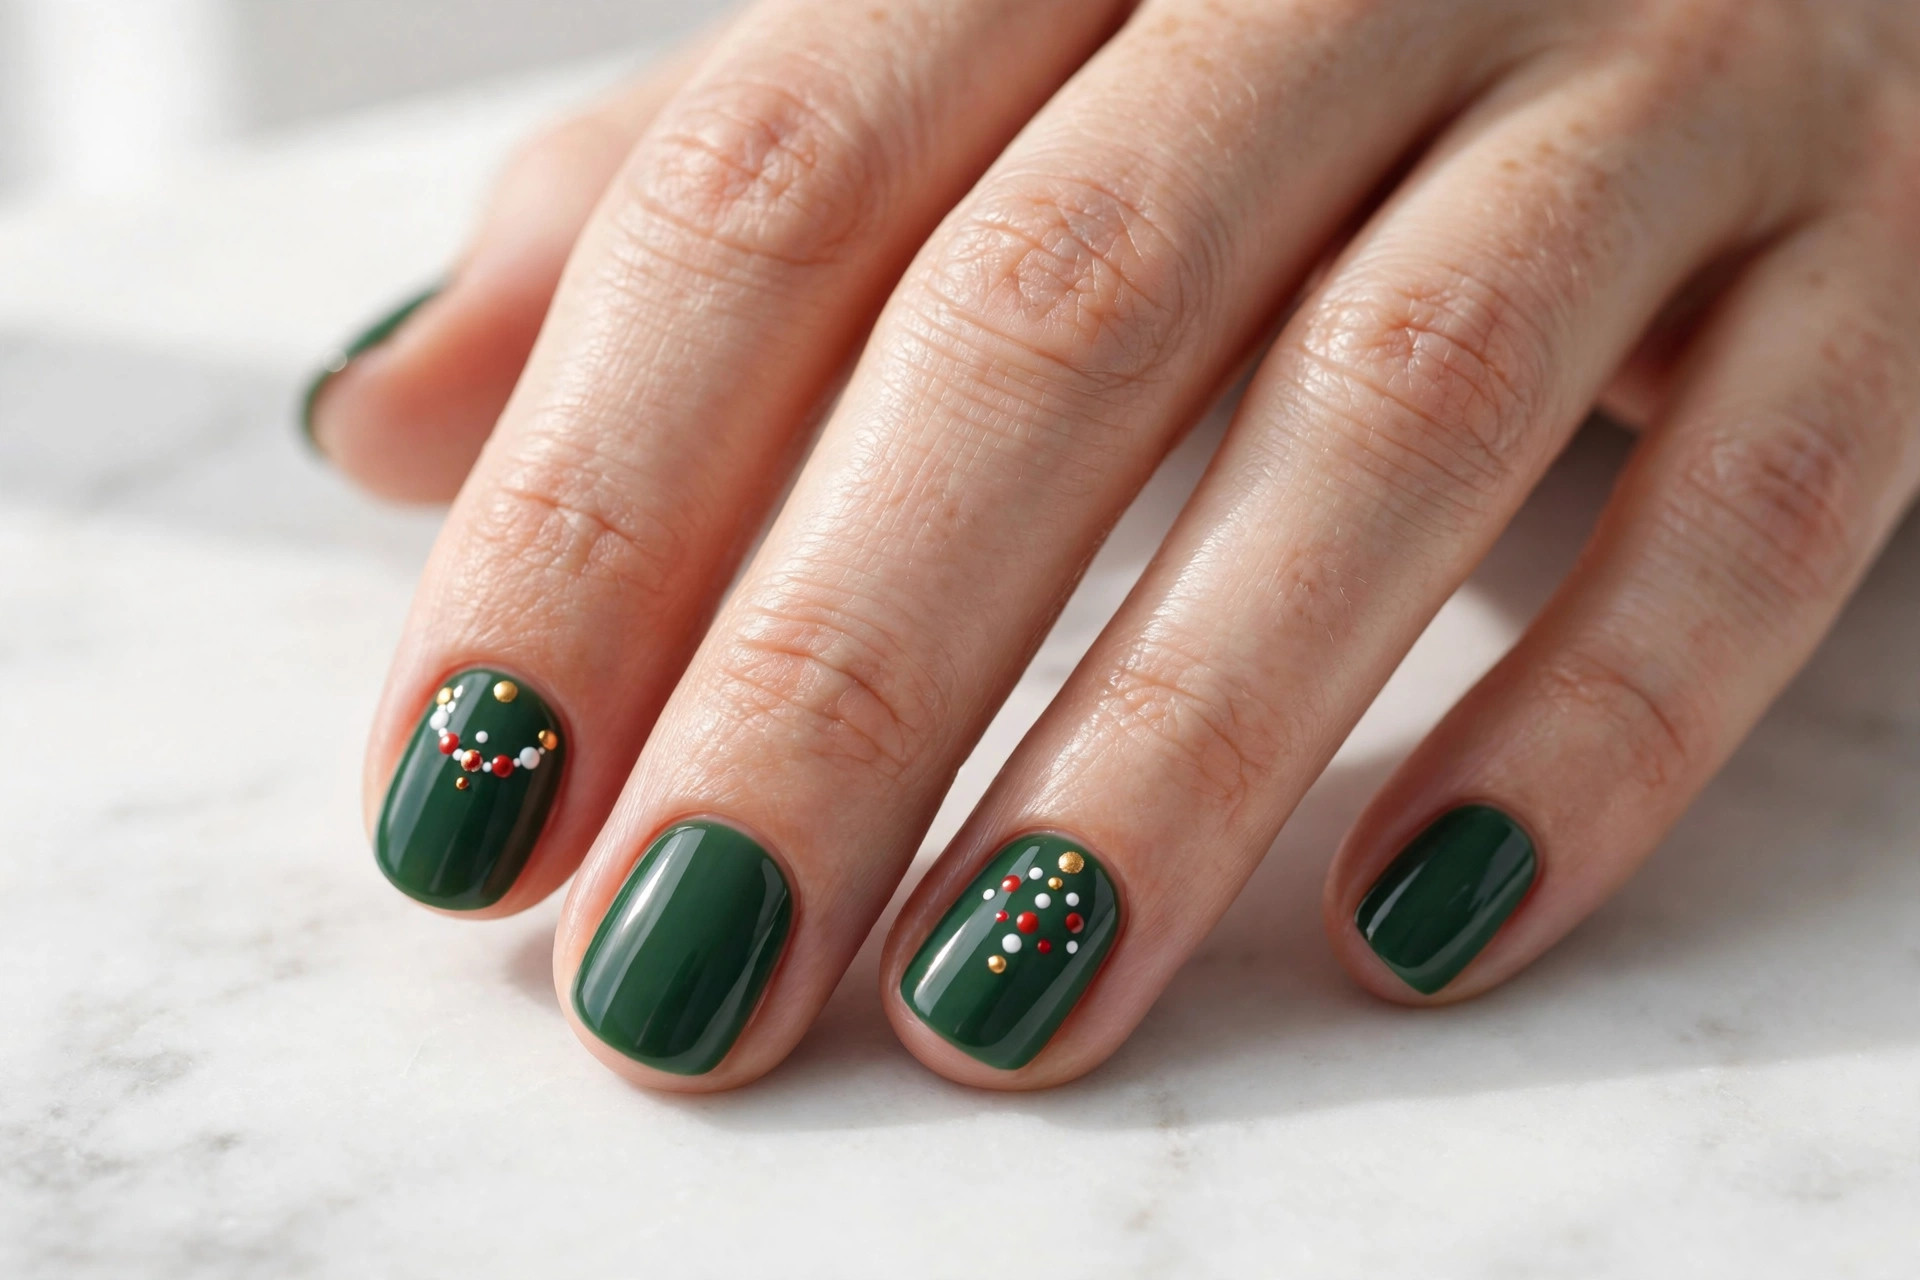
Deep green nails dotted with tiny red, gold, and white dots look like a Christmas tree in the most abstract, wearable way. The dots read as miniature ornaments scattered across the branches, and the dark green base makes every color pop. It is playful but still simple enough to wear to work.
This suits anyone who wants color and fun without actual pictures on their nails. Short rounded nails keep the dots proportional and cute. To do it, paint two coats of deep green, then use a dotting tool or bobby pin to place small dots in red, gold, and white across two accent nails — cluster five or six dots per nail, varying the colors. Let the dots dry for a couple of minutes before top coat so the colors do not drag. The whole design is just dots, which means there is genuinely nothing to mess up.
15. Classic Short Red
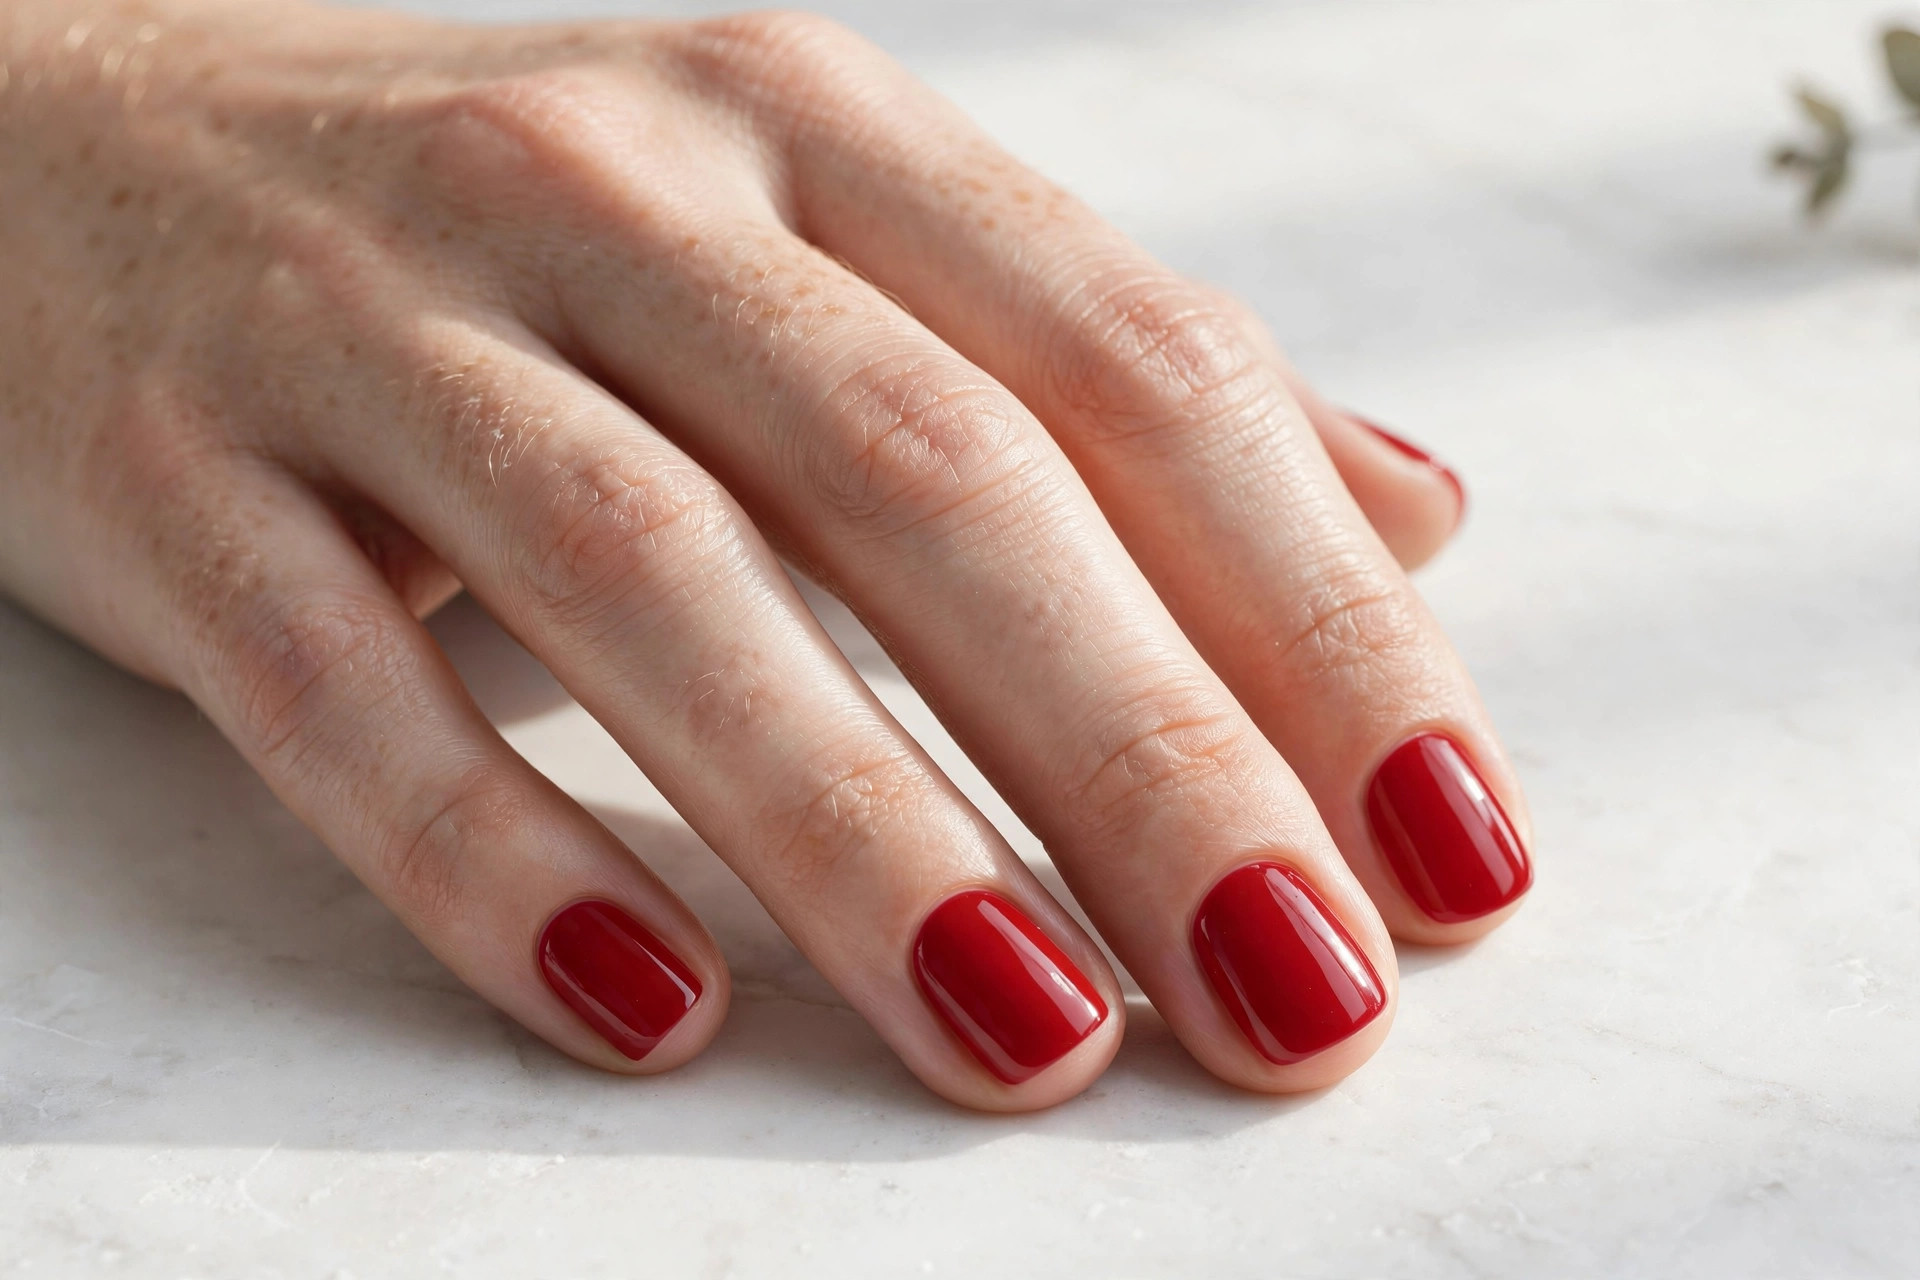
Never underestimate a perfect classic red on short nails. No art, no accent, no glitter — just a true red creme, neatly applied. It is the Christmas manicure that has worked for decades and will work for decades more. Short nails keep it modern and practical instead of retro, and the glossy finish does all the talking.
This suits literally everyone, which is why it closes the list. If you are overwhelmed by choices, this is the answer — you cannot go wrong. The key is in the application: push cuticles back, apply a base coat, then two thin coats of red, cleaning up the edges with a small brush dipped in remover before the top coat. Thin coats are everything with red; thick coats streak and take forever to dry. A fresh classic red manicure takes twenty minutes and looks like you spent an hour at the salon.
How to Make Simple Christmas Nails Last Through the Holidays
December is brutal on manicures — cold air, hot water, gift wrapping, cooking, and constant hand washing. The good news is that simple designs are the easiest to maintain. Start every manicure with a proper base coat, which grips the polish and prevents the staining that reds and greens are famous for. Apply thin coats instead of thick ones, cap the free edge of each nail with every layer including top coat, and let each coat dry for at least two minutes before the next.
Cuticle oil is your best friend in winter. Cold air dries out nails fast, and dry nails chip faster — massage a drop of oil into each nail every night to keep the polish flexible. Wear gloves for dishes and cleaning, and reapply a fresh layer of top coat every three or four days; it takes two minutes and can double the life of your manicure. If you are putting together a basic at-home setup, this beginner nail kit covers the essentials, including the base and top coats that make the biggest difference to wear time. And when the season ends, soak dark colors off with acetone and foil rather than peeling — your nails will thank you in January.
Final Thoughts
Simple Christmas design nails prove that festive does not have to mean fussy. One accent nail, a few dots, a single stripe — these small choices add up to a manicure that feels special all month without eating your December. Start with whichever design caught your eye, keep your tools basic, and remember that neat application matters more than complicated art.
And when the holidays wind down, the seasonal inspiration does not have to stop — the cozy feeling of these looks carries straight through winter. Pick your favorite, pour something warm, and enjoy doing your nails the easy way this Christmas.