20 Christmas Tree Nail Designs for a Festive Holiday Look
There is something about December that makes you want your nails to join the celebration. The tree goes up, the lights get strung, and suddenly every outfit feels incomplete without a festive manicure to match. Christmas tree nail designs have become the season’s most loved holiday manicure — they take the prettiest thing in your living room and turn it into wearable art. If you already love browsing nail designs for Christmas, this is the collection that goes all in on the tree itself.
The beauty of tree-themed nails is how flexible they are. A tiny gold outline on a nude base reads elegant at a work party, while glitter-heavy green trees with rhinestone ornaments read full holiday maximalist at a family dinner. Below you will find twenty distinct Christmas tree nail designs, from minimalist line art to bold metallic statements, each one explained so you know exactly what to ask your nail tech for — or how to recreate it at home.
Why Christmas Tree Nail Designs Are a Holiday Must
Of all the holiday nail trends, the Christmas tree is the one that never looks dated. Stars and snowflakes come and go in popularity, but a well-painted evergreen always reads “December” instantly. Trees also give you more creative room than almost any other motif: you can make them realistic, geometric, abstract, or cute, and pair them with literally any color palette. They work on every nail length, from short natural nails to long coffins, and on every finish — matte, gloss, glitter, chrome.
Another reason these designs stay popular is that they photograph beautifully. A hand holding a mug or wrapped gift with tiny painted trees in the frame is basically the holiday Instagram post waiting to happen. And if you love a coordinated look, tree nails pair perfectly with the richer shades in our Christmas red nail designs collection — the two palettes were practically made for each other.
1. Classic Green Tree on Nude
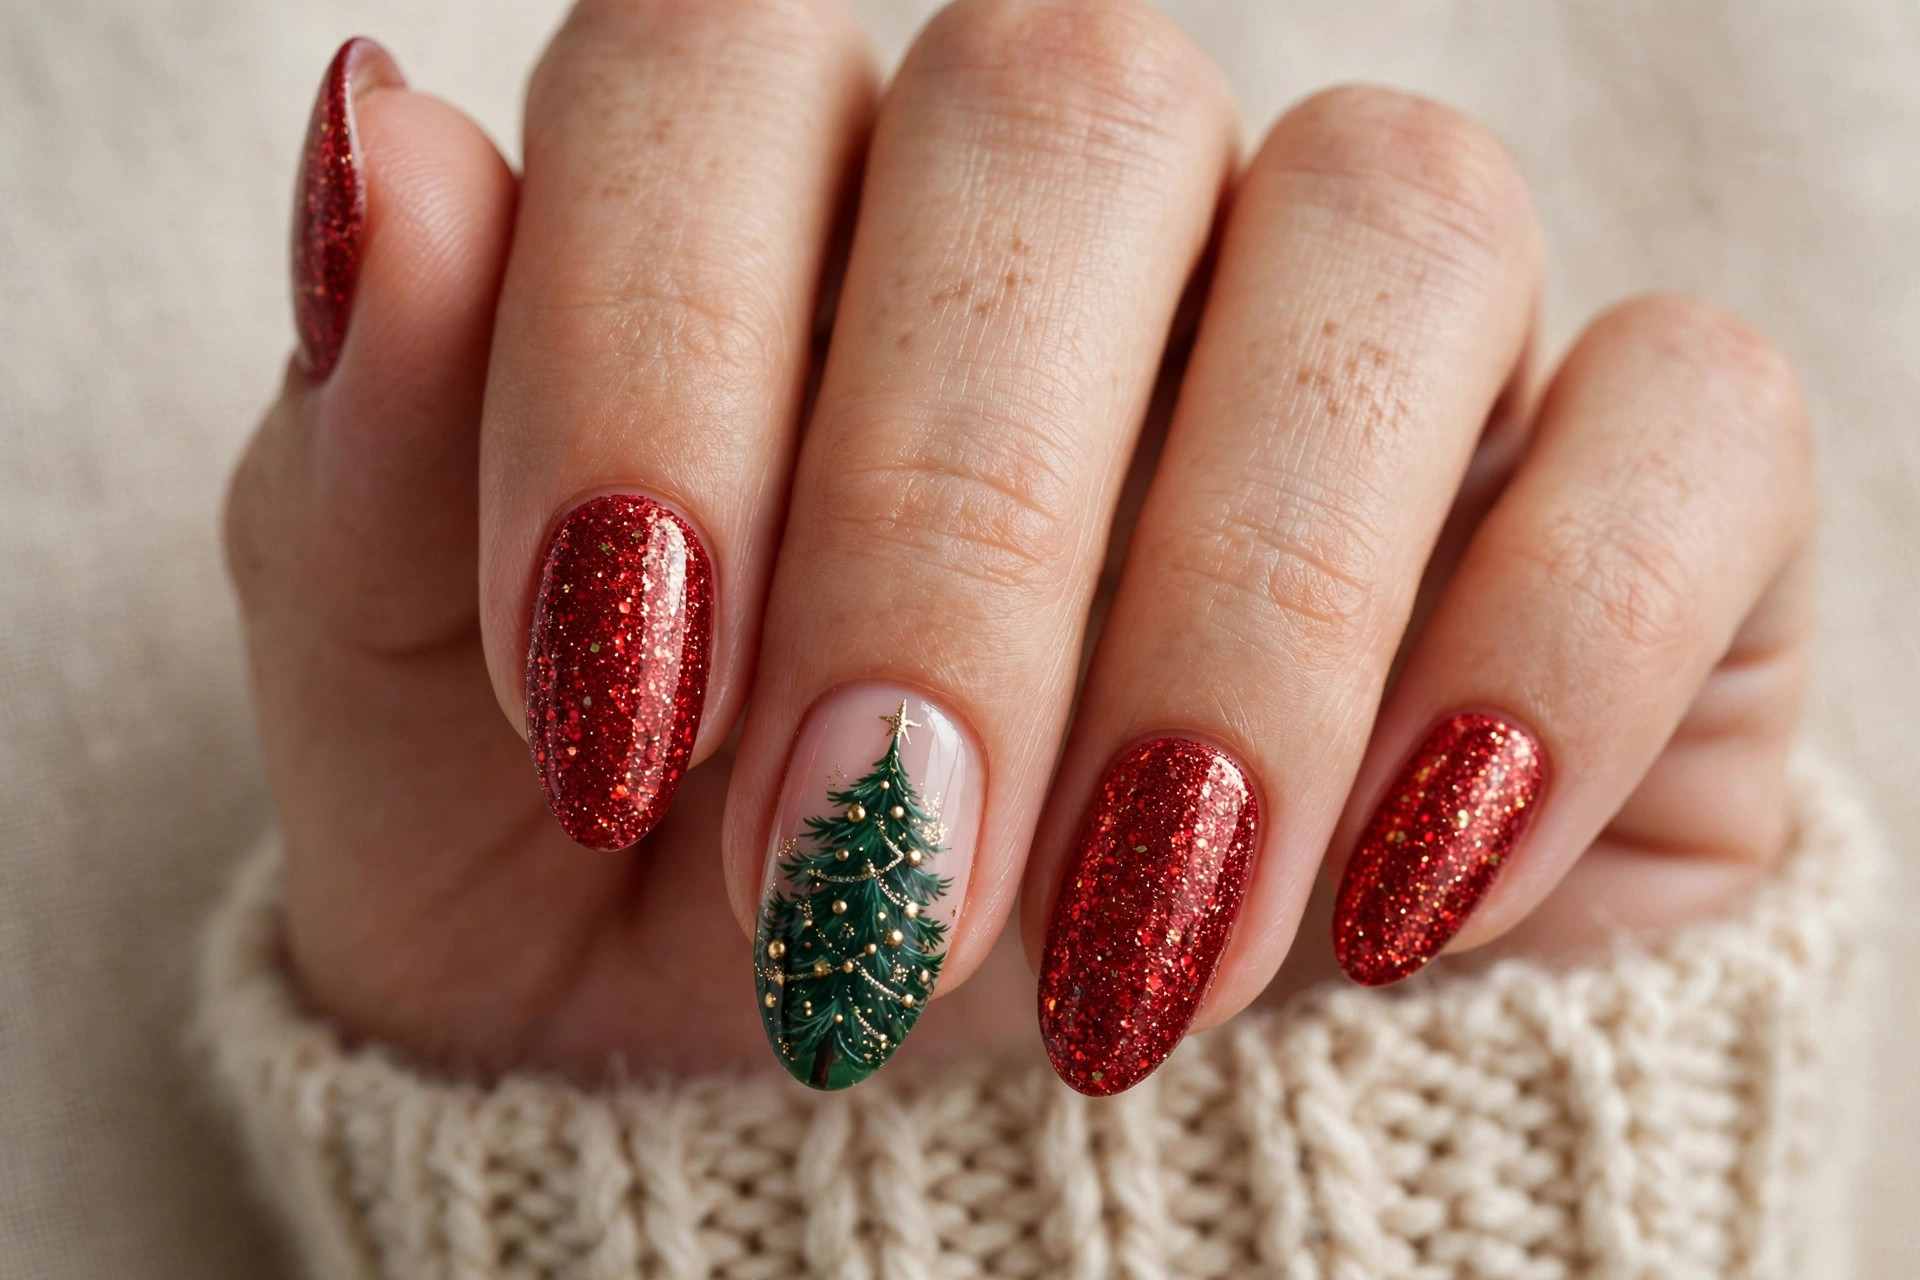
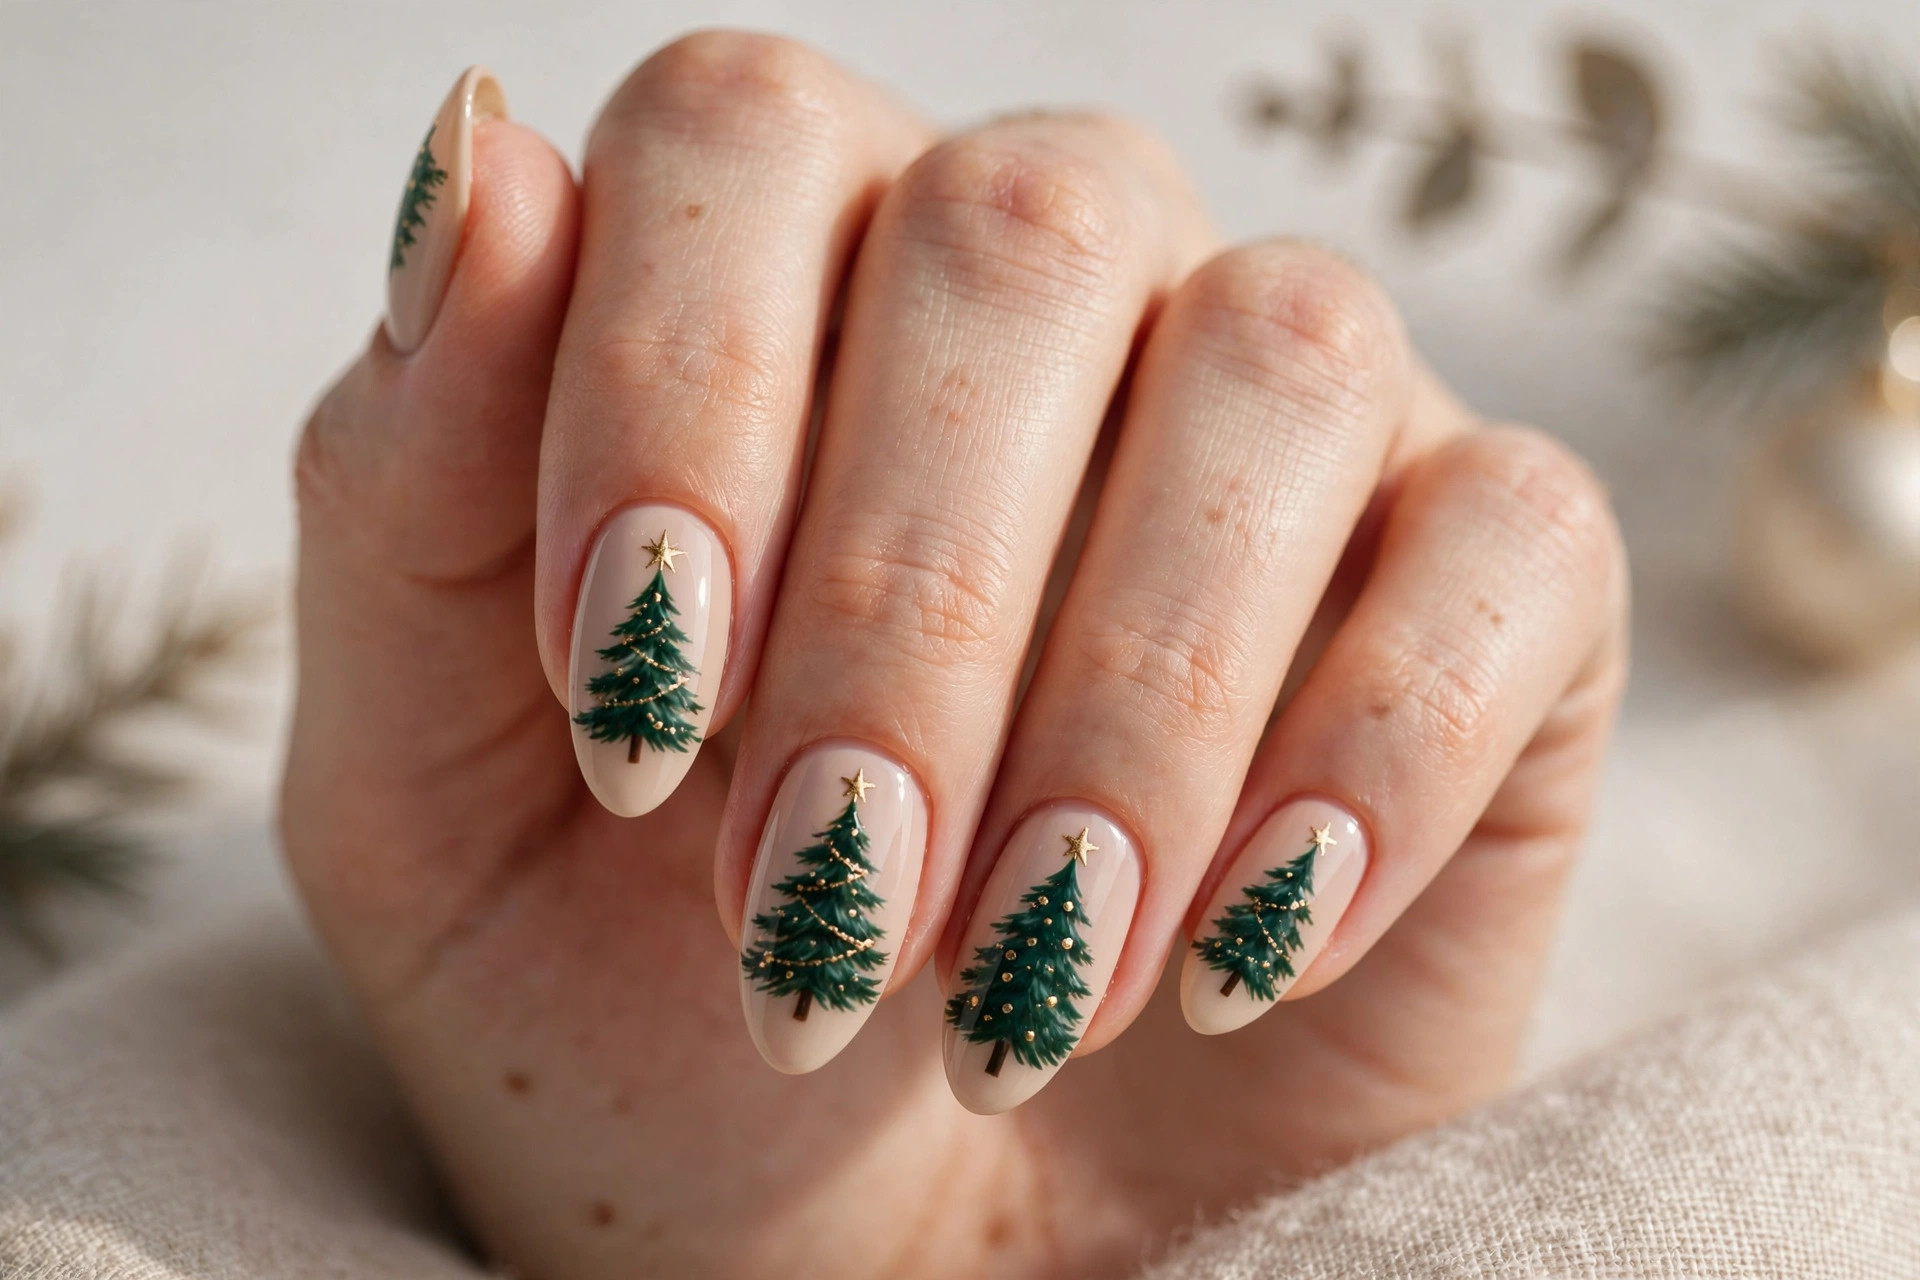
This is the design that started it all: a deep green Christmas tree painted on one or two accent nails over a soft nude base, with the remaining nails kept clean and glossy. The contrast between the warm nude and the rich evergreen green is what makes it work — the tree pops without the whole hand looking busy. Ask for a small gold star or dot at the top of the tree to finish it, and keep the tree slightly off-center for a modern feel. This style suits oval and almond nails beautifully, and it is one of the easiest designs to recreate at home because the tree is just stacked triangles. Use a thin liner brush and build the tree from the base up so the proportions stay balanced.
2. Red and Gold Tree Accents
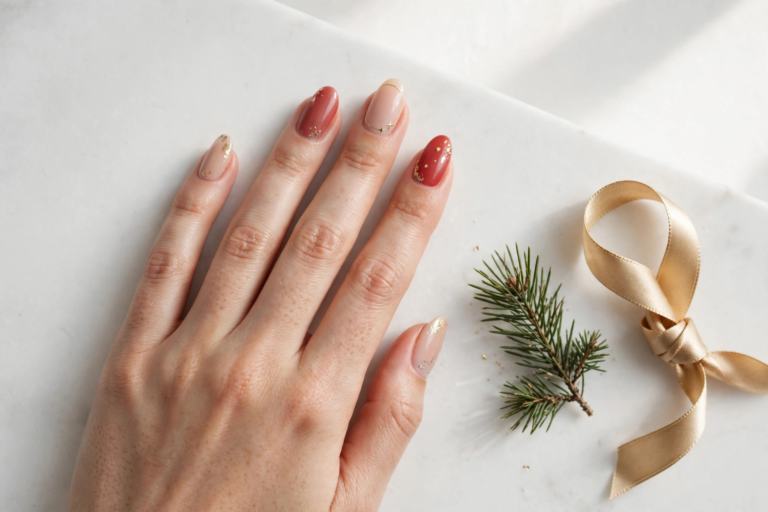
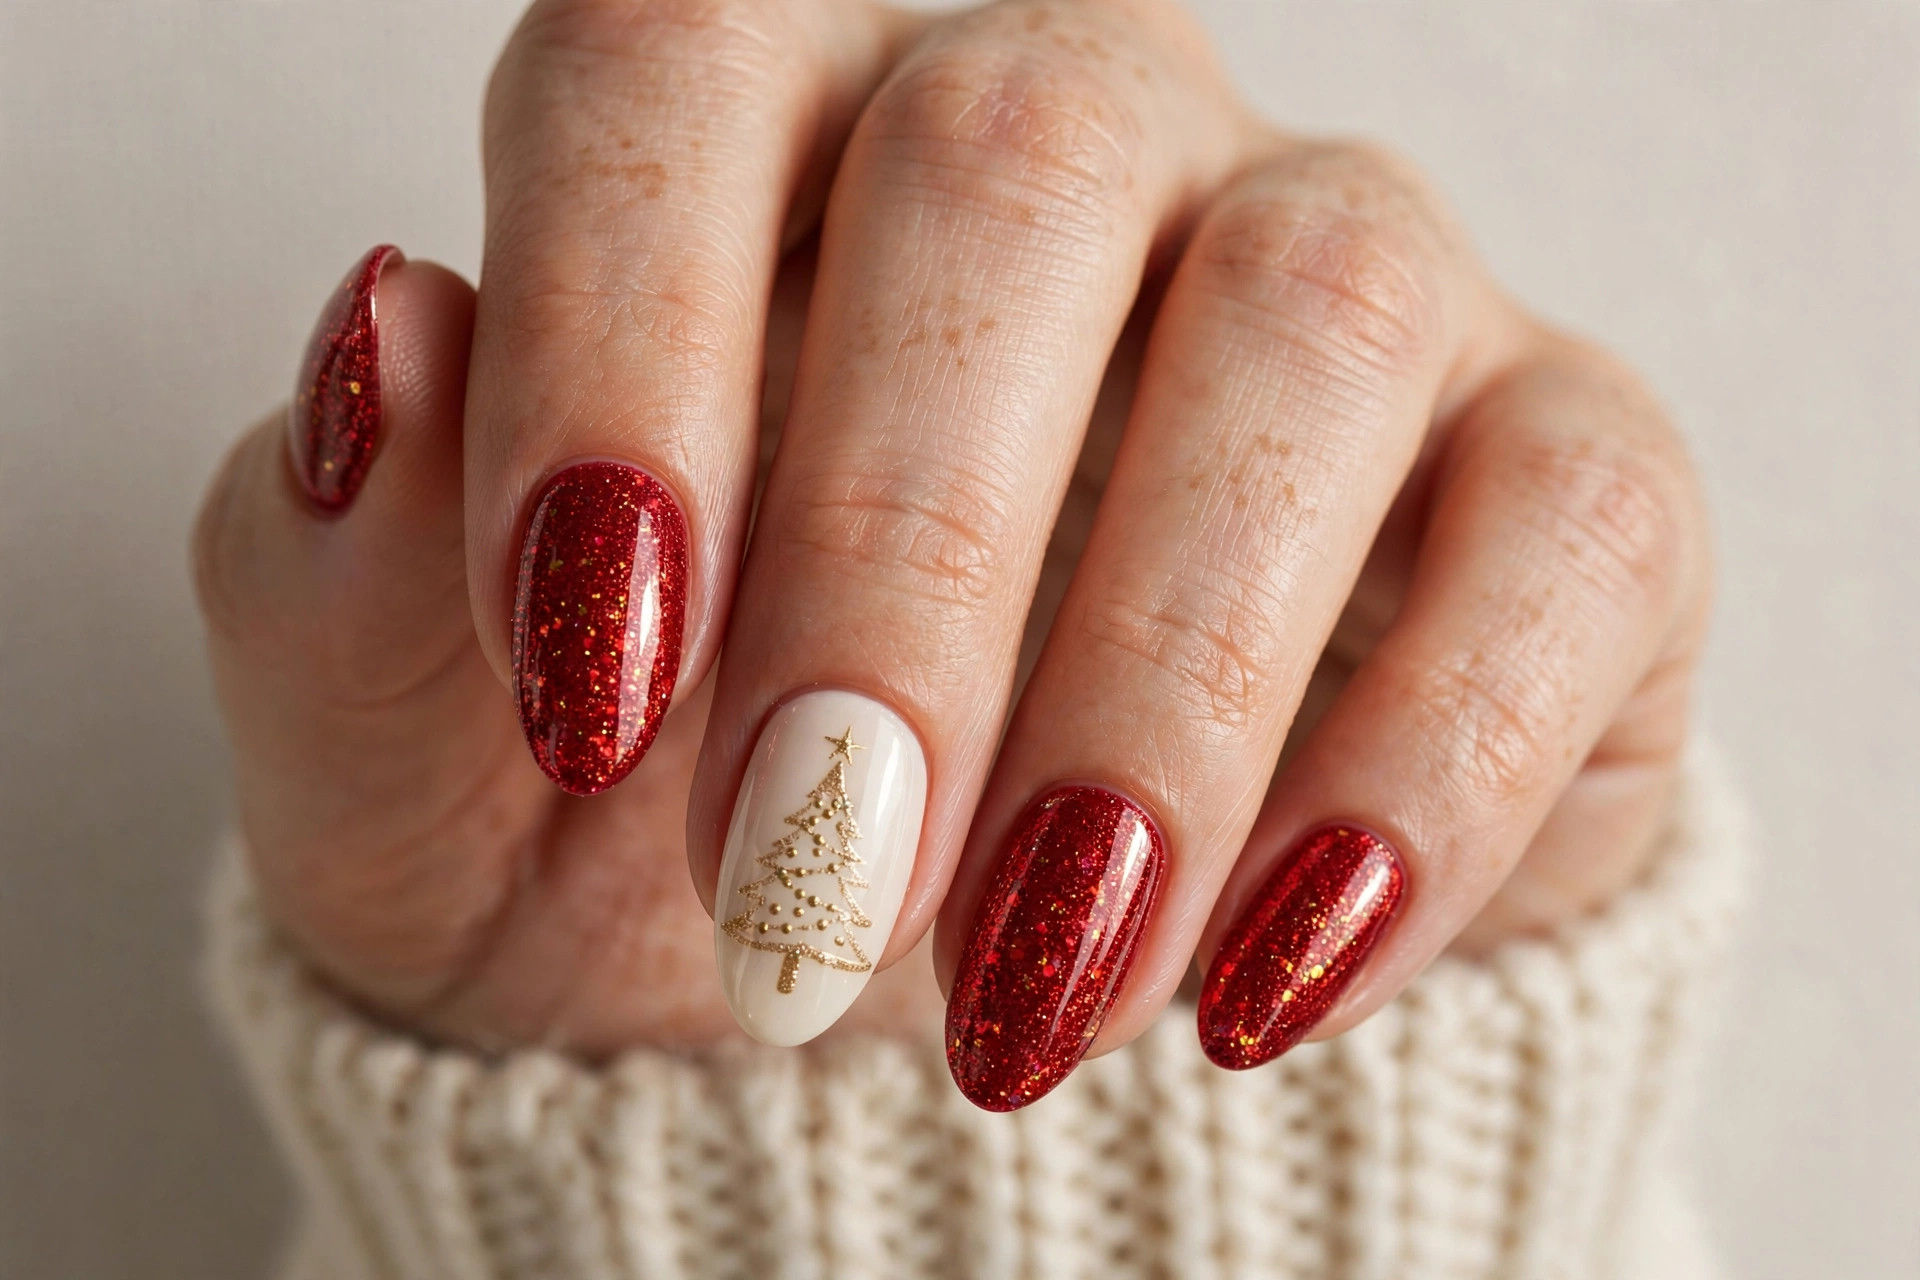
Red and gold is the classic Christmas color story, and it translates to nails flawlessly. Paint most nails in a shimmery red and add gold Christmas trees on cream or champagne accent nails. The gold can be simple line work or filled shapes, depending on how bold you want to go. A thin gold outline of a tree on a cream base looks expensive and works for everything from office parties to Christmas morning photos. This design suits medium-length nails where the tree has enough room to show detail. For the gold, metallic gel polish or chrome powder over the tree shape gives the cleanest shine — regular gold polish can look flat by comparison.
3. White Tree With Snowflakes
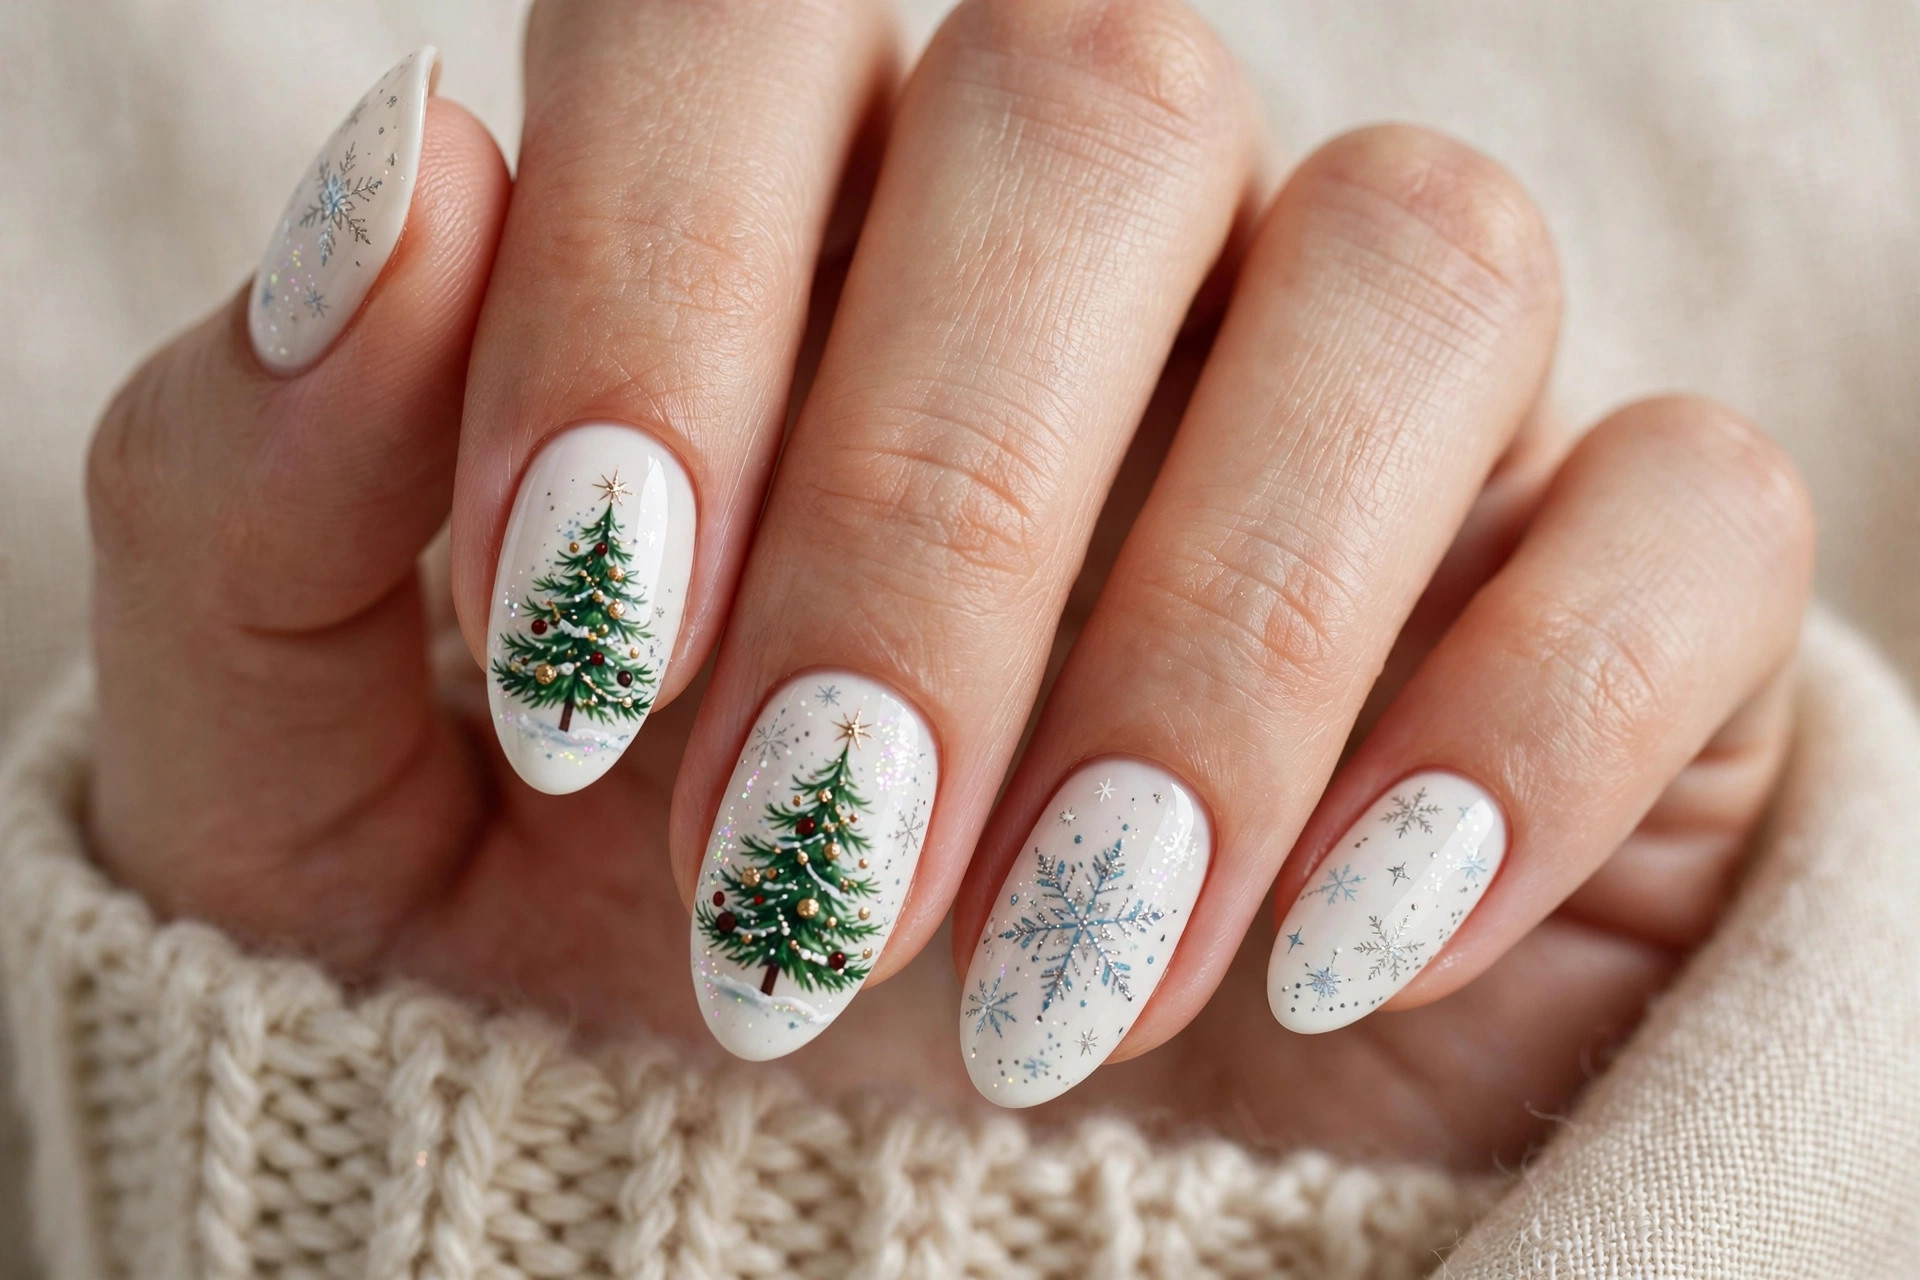
A white base makes a Christmas tree look like it is dusted with fresh snow. Paint your trees in a soft forest green over a crisp white base, then add tiny snowflakes or white dots around them to complete the winter scene. The all-over brightness makes hands look fresh and clean, and it is a great choice if you wear a lot of dark winter clothing — the light nails stand out. Short nails carry this design well since the high contrast keeps the detail readable at small sizes. To keep the white base from staining, ask your tech for a good stain-blocking base coat, and seal everything with two layers of top coat so the white stays bright through the holidays.
4. Emerald Glitter Trees
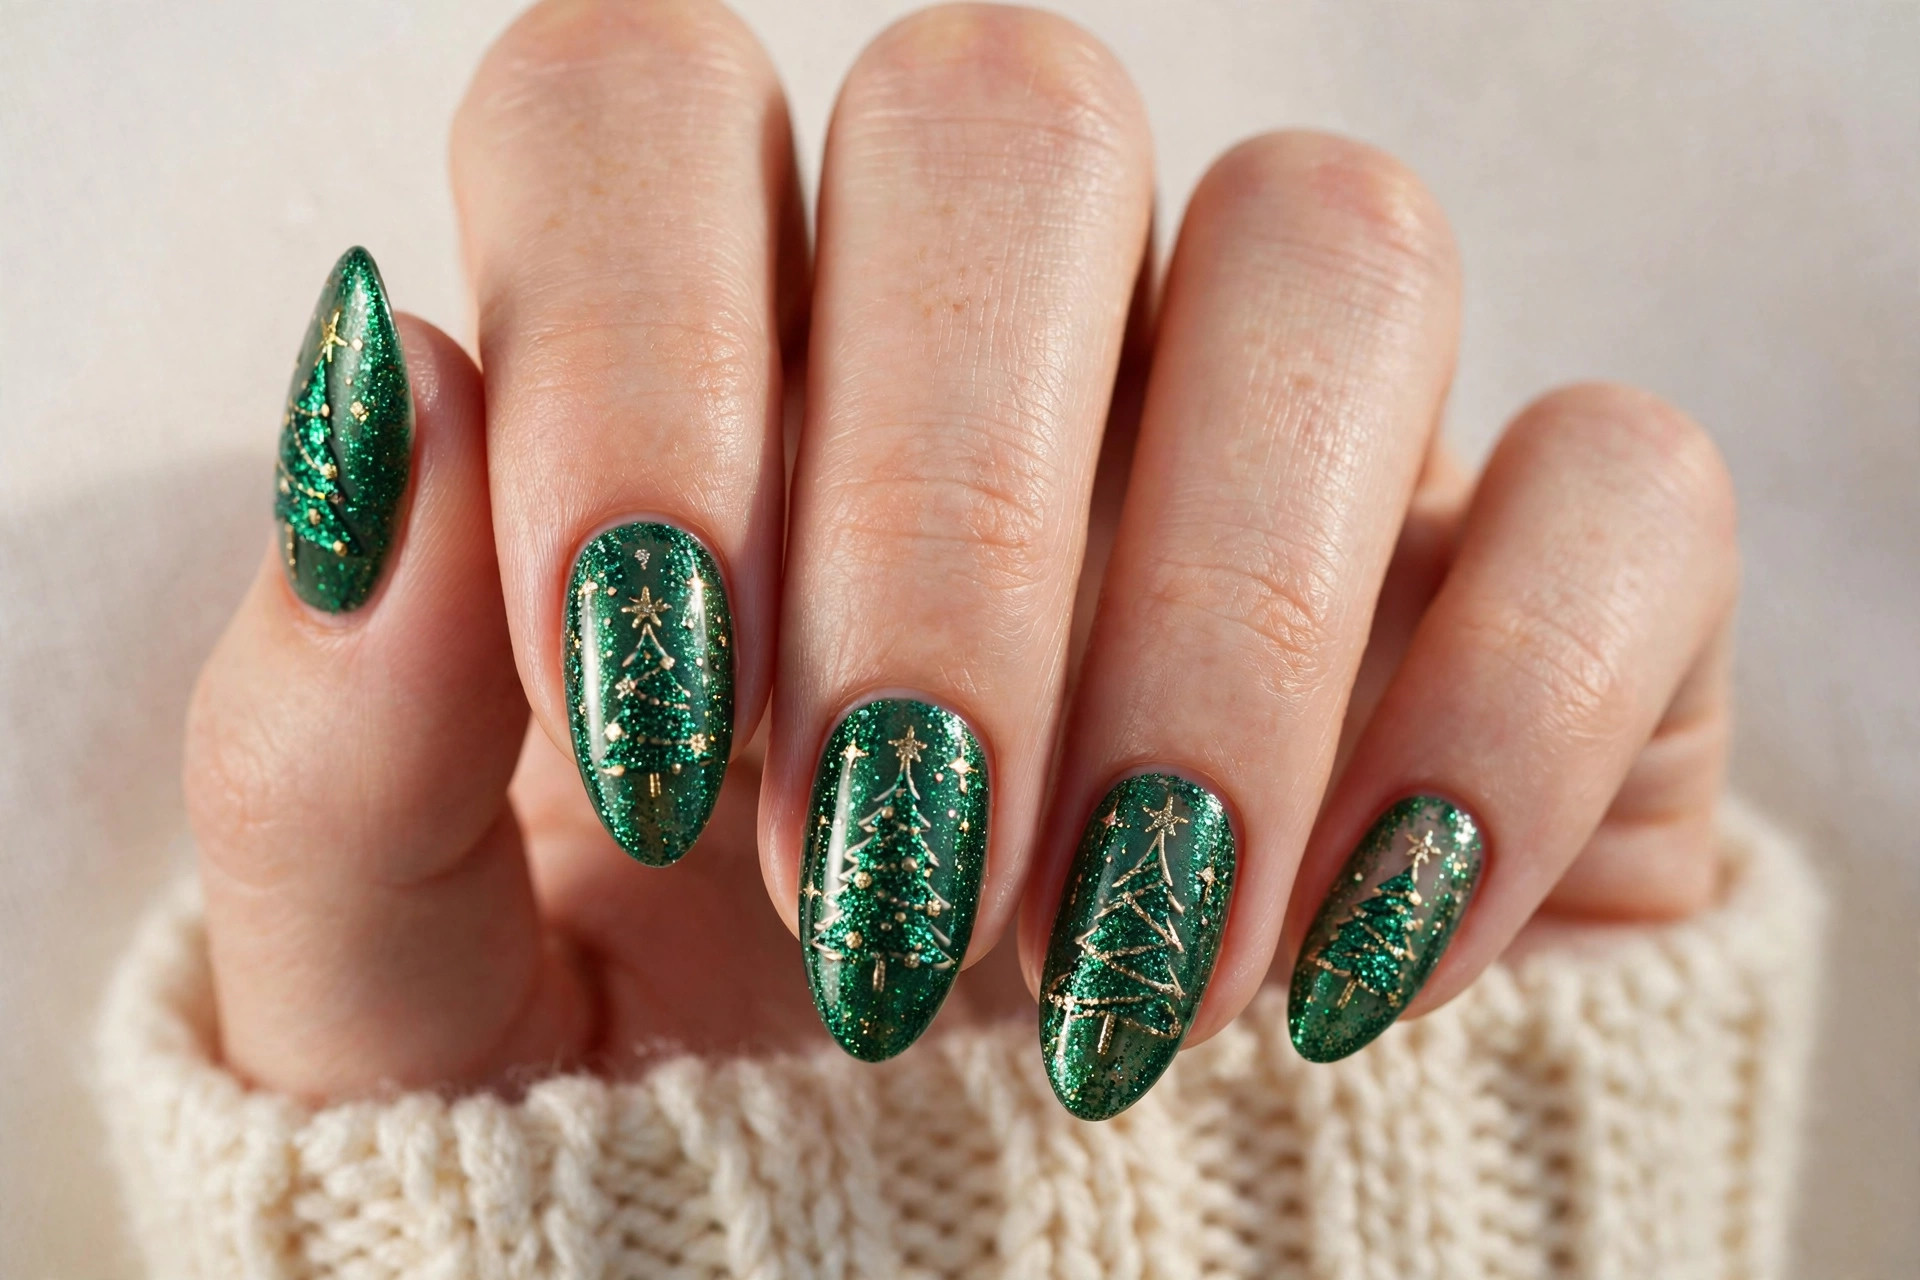
If you want your trees to catch every bit of holiday light, emerald glitter is the way to go. A full glitter tree on each accent nail, with the other nails in a matching deep green or gold glitter, creates a manicure that sparkles from across the room. Emerald reads richer and more modern than classic bright green glitter, and it pairs beautifully with gold jewelry. This is a party-nails design through and through — best for New Year’s week, holiday parties, and nights out. Glitter polish is also forgiving for DIY attempts since texture hides small mistakes. Build it in two thin coats over a dark green base rather than one thick coat so the glitter lays flat and even.
5. Minimal Line-Art Tree
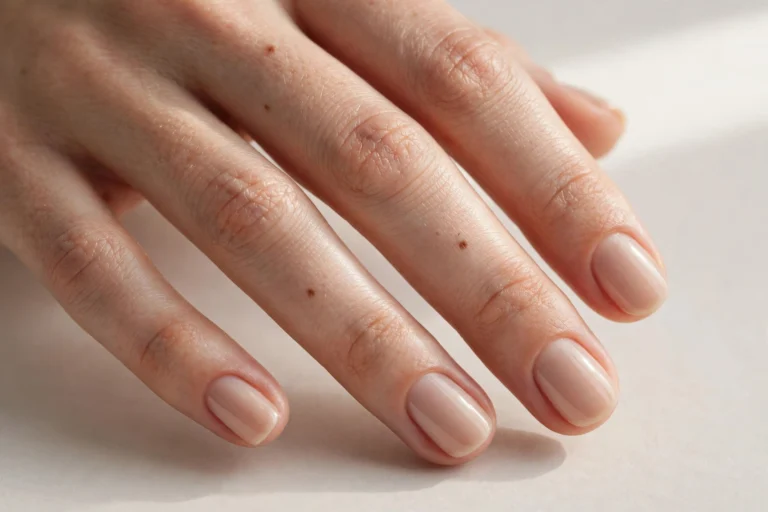
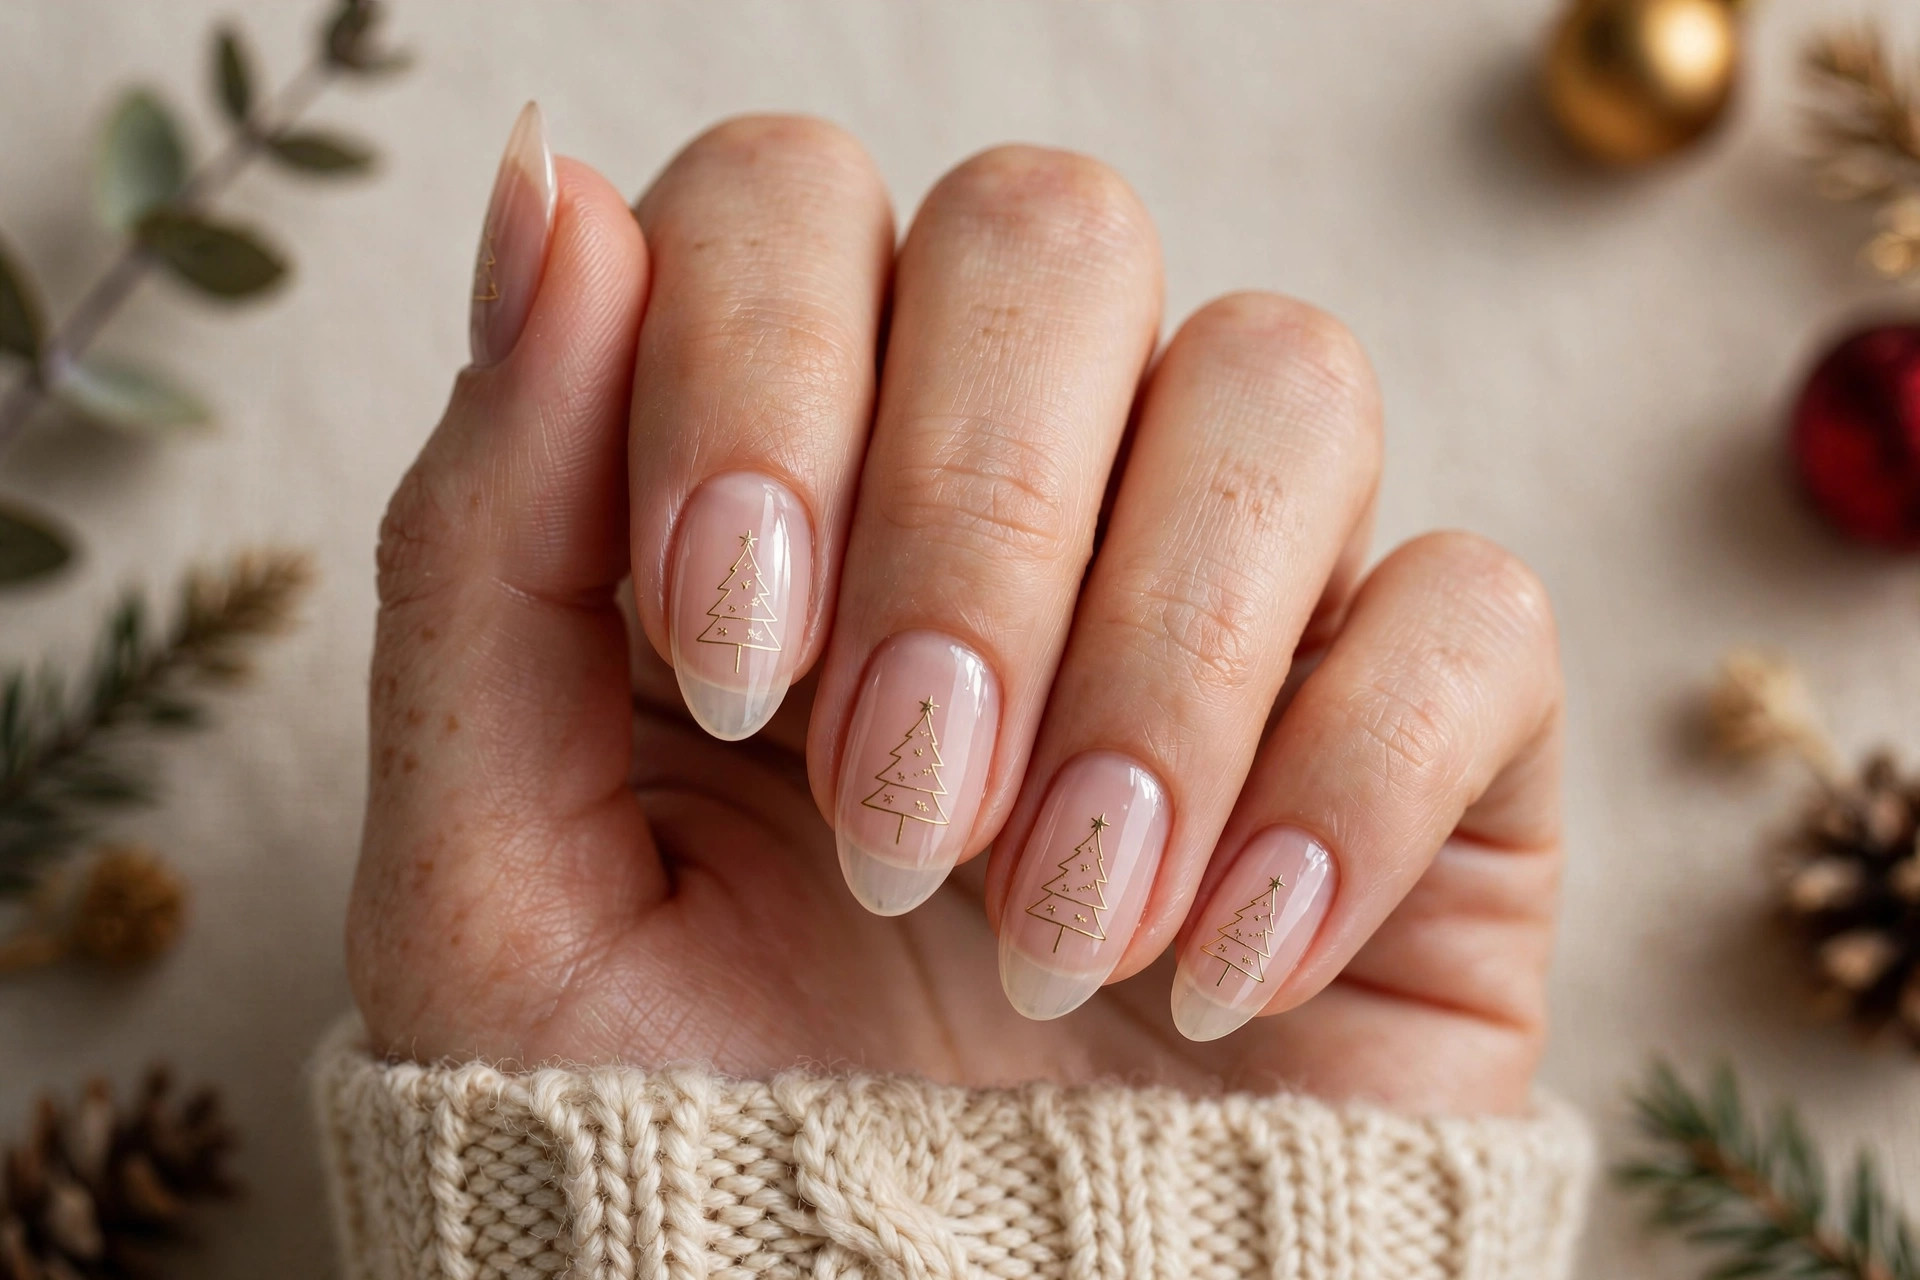
Sometimes the most striking tree is the simplest one. A single continuous gold or green line forming a Christmas tree outline on a sheer pink or nude nail looks modern, clean, and effortlessly chic. There is no filling, no glitter, no fuss — just confident line work. This design is perfect for people who love the holiday spirit but prefer a refined, quiet-luxury look. It also grows out gracefully since the sheer base hides regrowth. When you want something festive but understated, simpler styles like these often pair well with the ideas in our simple Christmas nail designs collection. Ask your tech to keep the lines thin and let them slightly overlap at the tree’s edges for that hand-drawn feel.
6. Gold Ornaments on Black
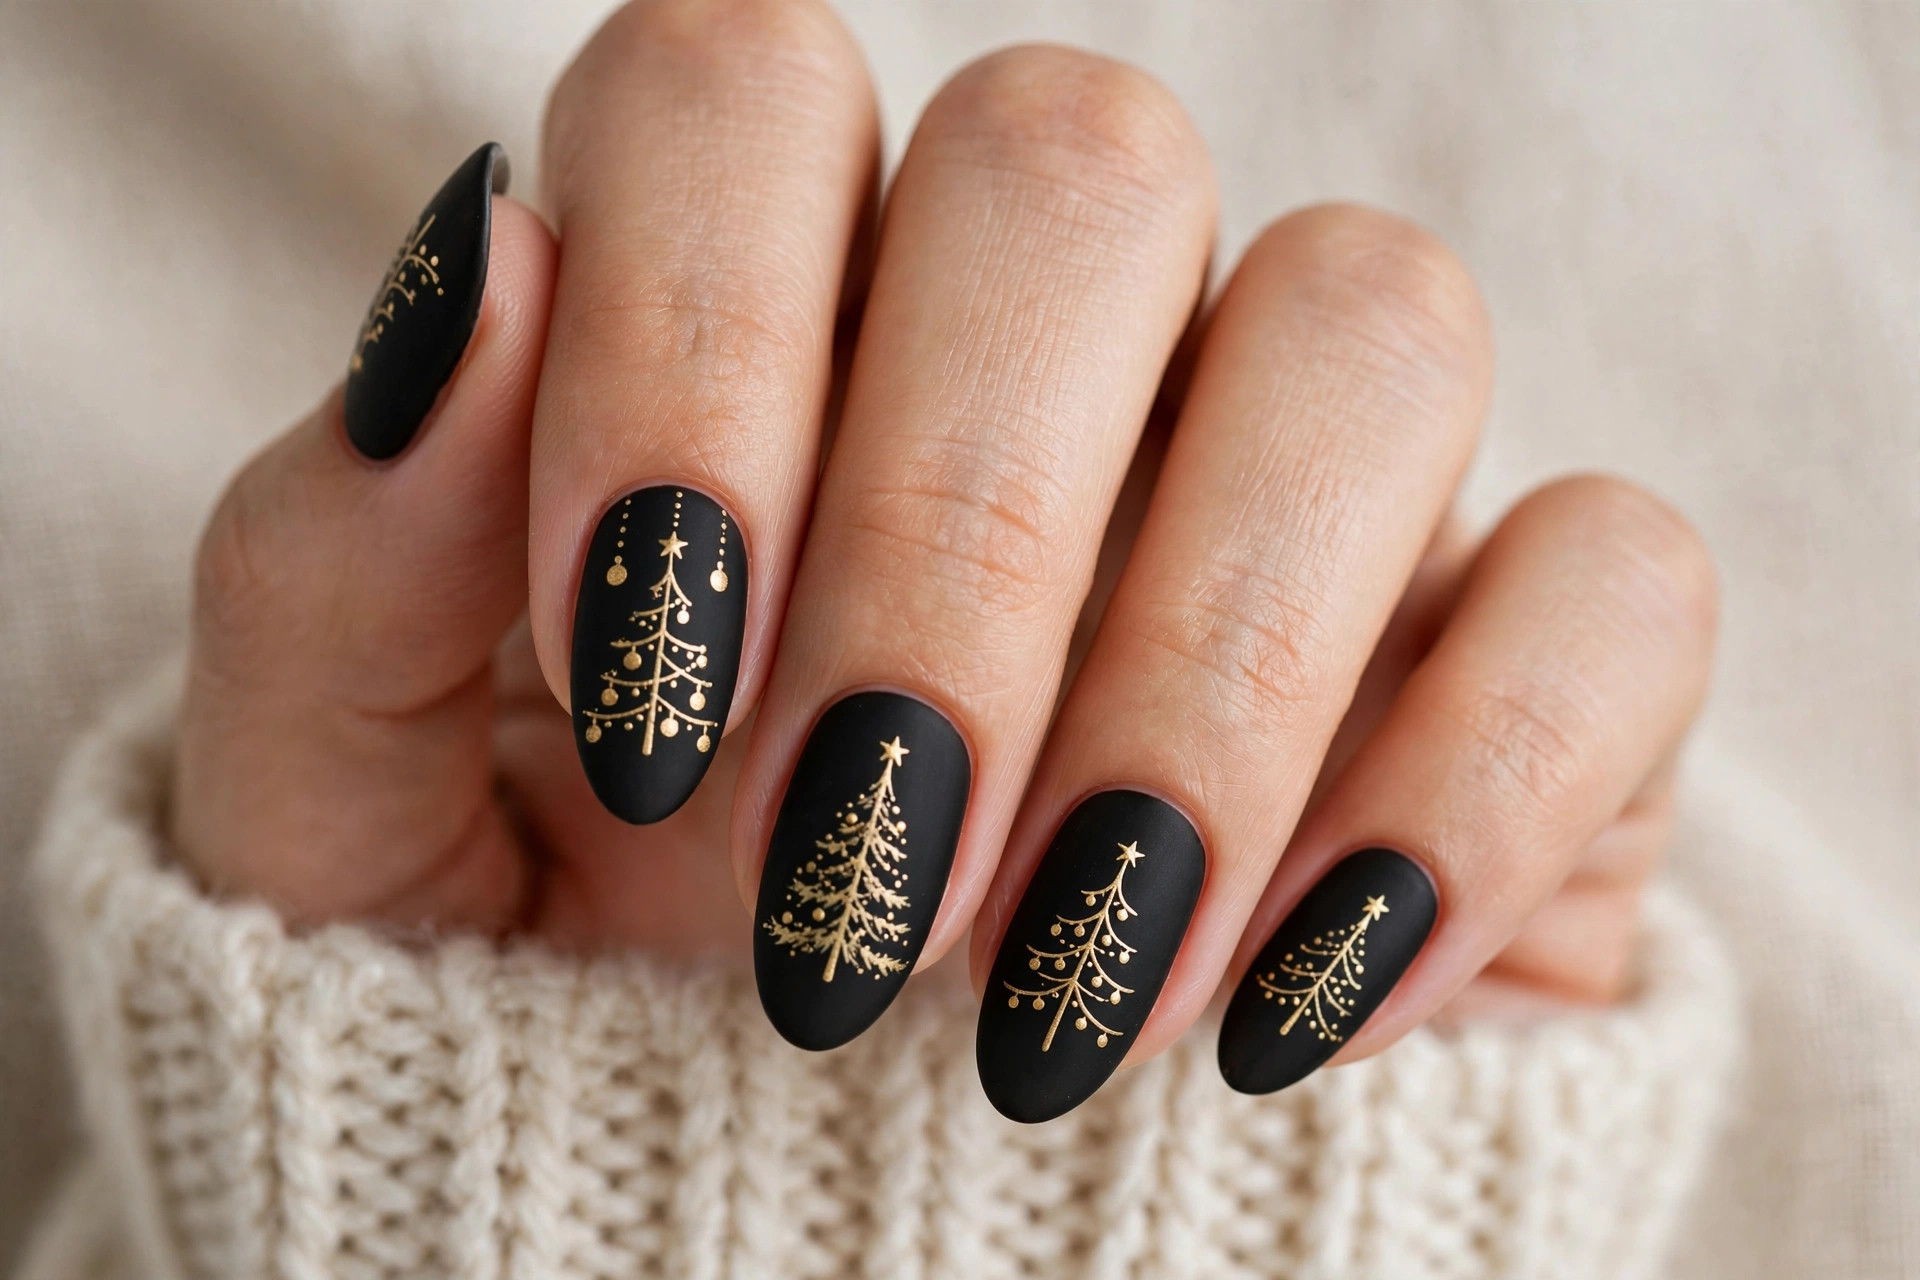
A matte black base turns a Christmas tree into a piece of jewelry. Paint the tree in green over the black, then dot it with gold ornament circles and a gold star on top — the dark background makes every metallic detail glow. This is one of the most dramatic Christmas tree designs you can wear, and it looks incredible with evening outfits and gold rings. It suits medium to long nails where the tree and ornaments have room to breathe. For the crispest result, paint the tree first, let it dry fully, then add the ornaments with a dotting tool so they sit cleanly on top. Finish with a matte top coat over the black and a glossy top coat just on the ornaments for contrast.
7. 3D Rhinestone Tree
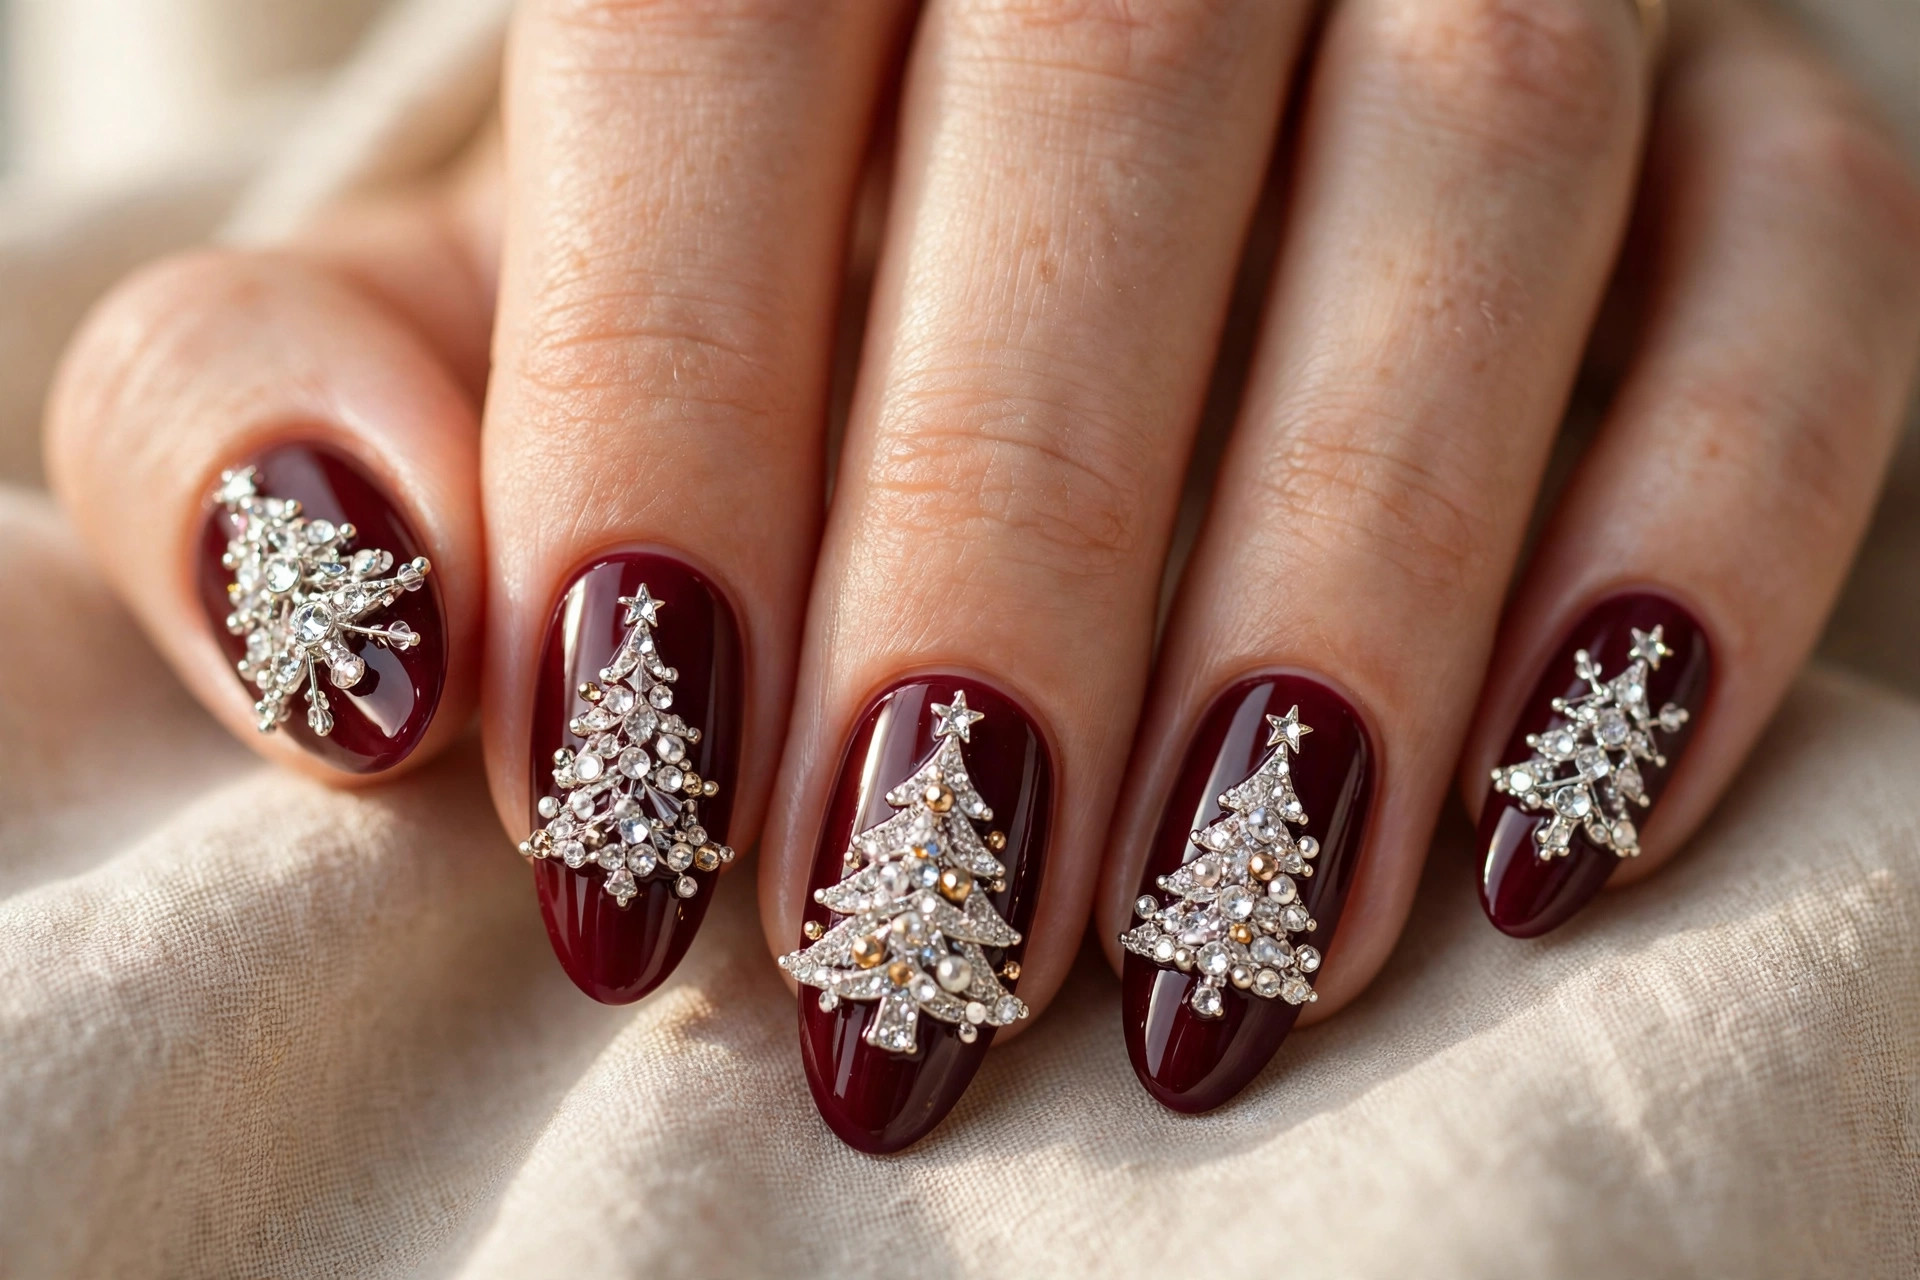
For maximum wow factor, build the entire tree out of rhinestones. Green crystals form the tree shape on a deep burgundy or black base, with a gold star crystal at the top and a few scattered stones as “snow.” This is a special-occasion design — Christmas Eve dinner, a holiday gala, a wedding — because 3D stones catch light like nothing else. It is also a salon-only job for most people: placing stones in a clean tree shape takes practice, and they need proper gel or nail glue to survive the evening. This style works best on longer nails where the tree has height to show off. Expect to pay a little extra for the stone work, and bring a photo reference so your tech gets the proportions right.
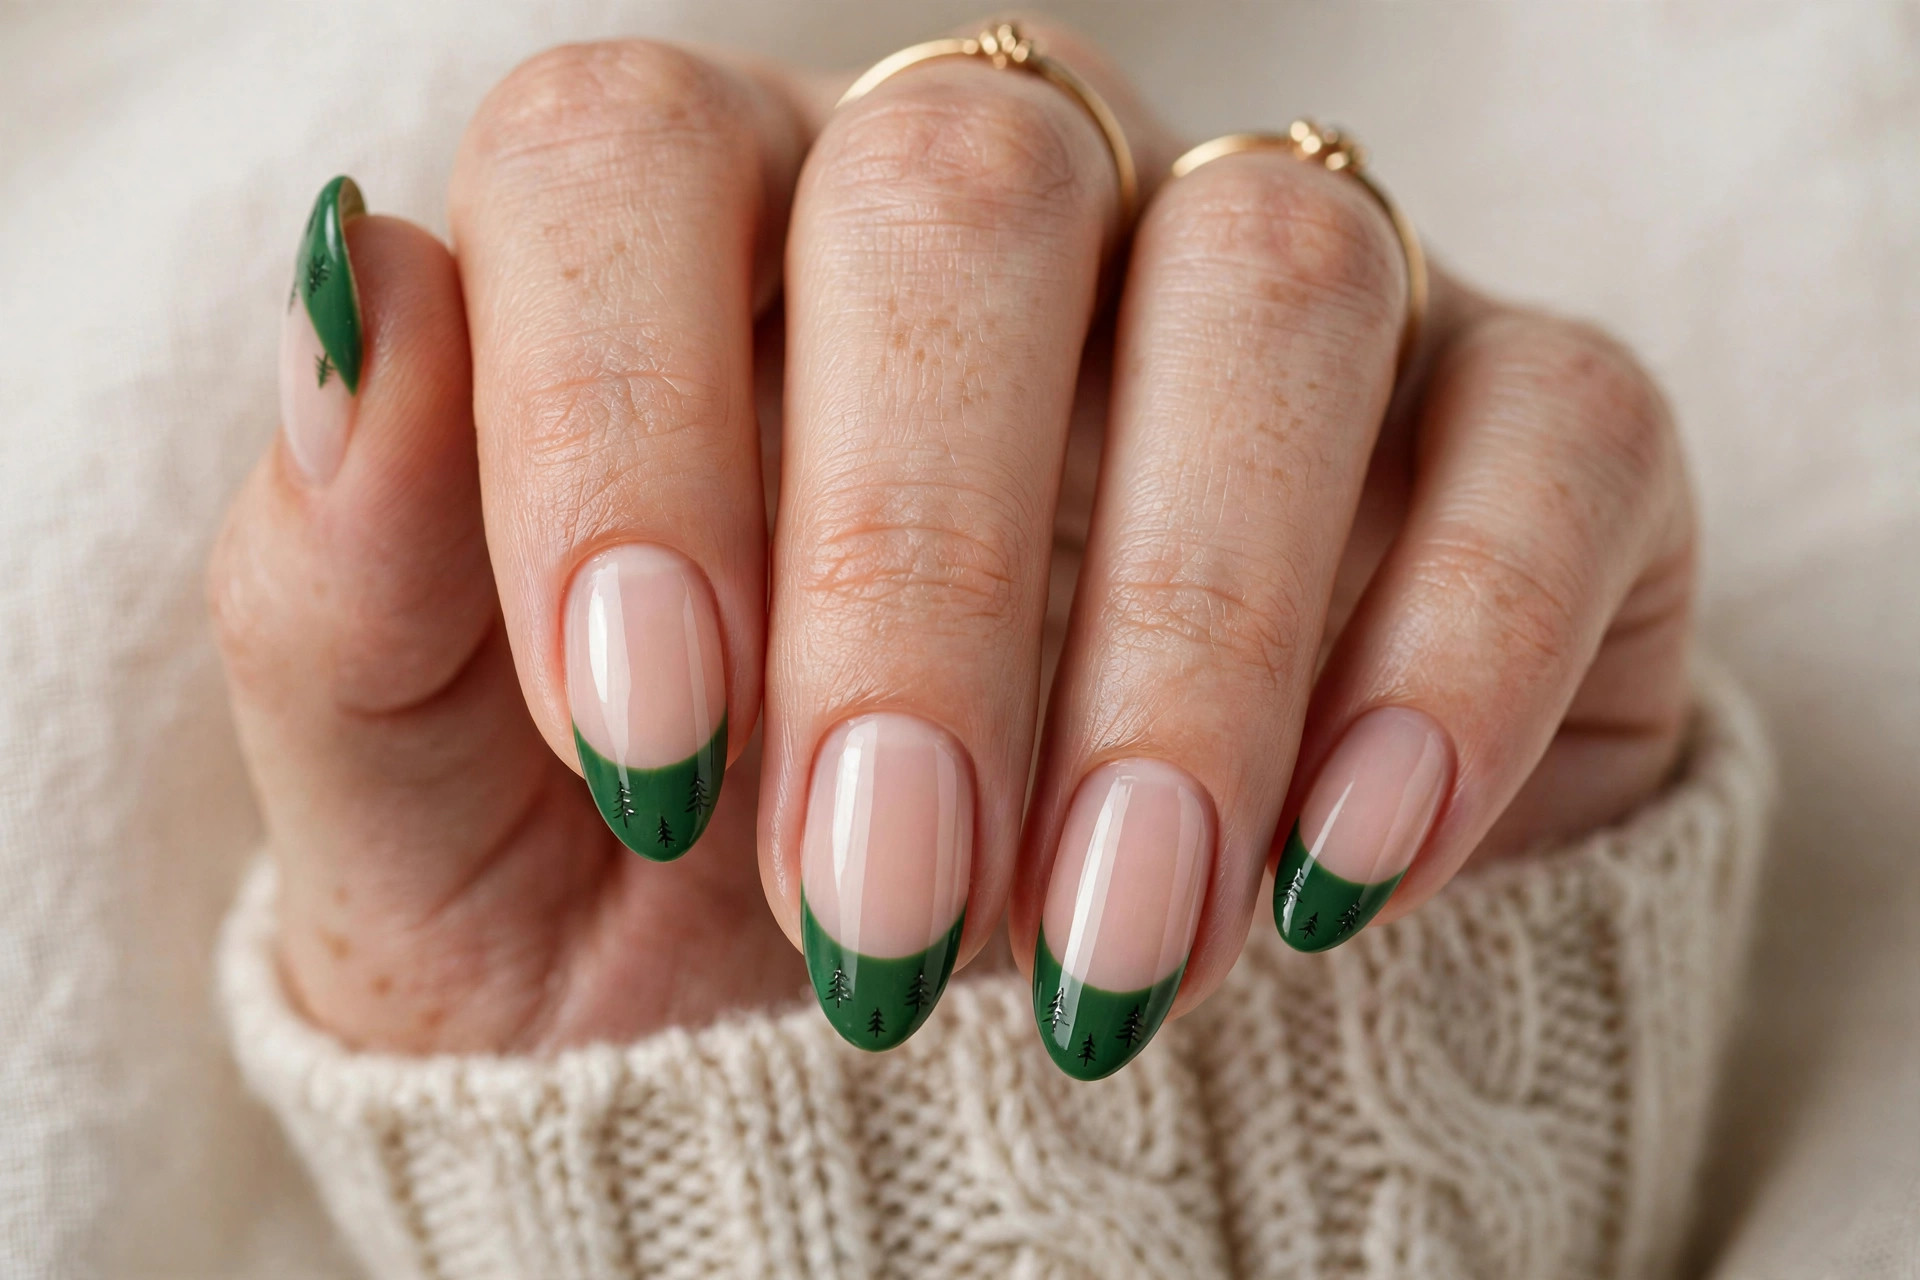
8. Christmas Tree French Tips
The French manicure gets a holiday makeover when the white tips become green tree silhouettes. Keep the classic sheer base, but paint the tip area as a row of tiny trees or a single tree tip on each nail. It is playful without losing the elegance of a French manicure, and it grows out better than most holiday art. This design is ideal for short to medium nails and for anyone whose workplace frowns on bold nail art — from a distance, it just looks like a green French tip. Ask for the trees to follow the natural curve of your smile line so they look intentional. A thin gold line between the tree tip and the base adds a polished, finished edge.
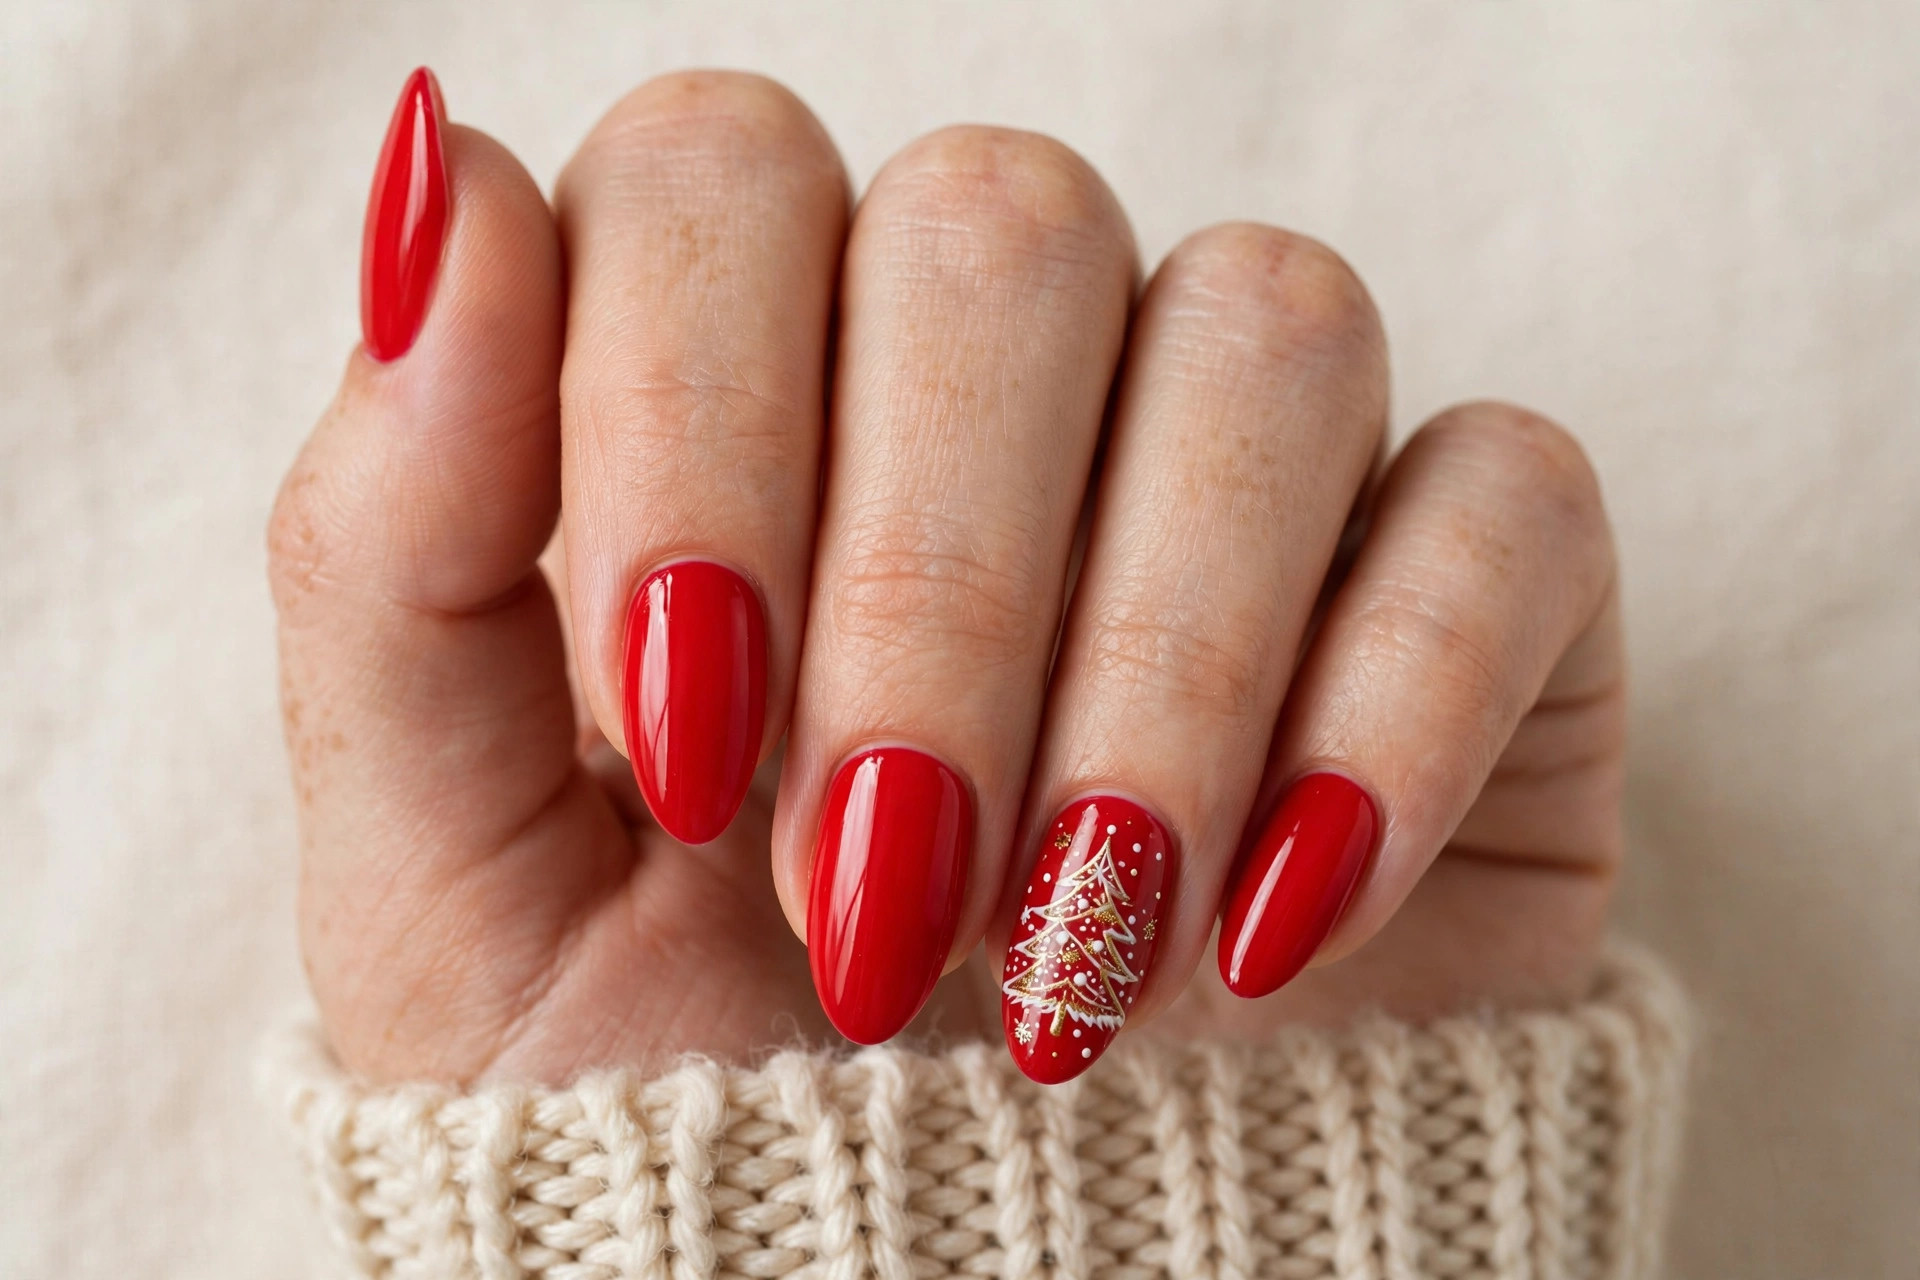
9. Festive Red With Gold Trees
Bright, cheerful red nails with gold tree accents on one or two fingers is the holiday party classic. The red can be glossy or lightly glittered, and the gold trees pop against it like lights on a real tree. This design suits everyone — it flatters all skin tones and works on any nail shape. It is also the easiest festive look to maintain through a busy December, since red polish hides tip wear better than light colors. Keep the tree accents on your ring fingers for a balanced look, or scatter one tree per hand for something more casual. A gold chrome powder rubbed over the tree shape gives the richest metallic finish.
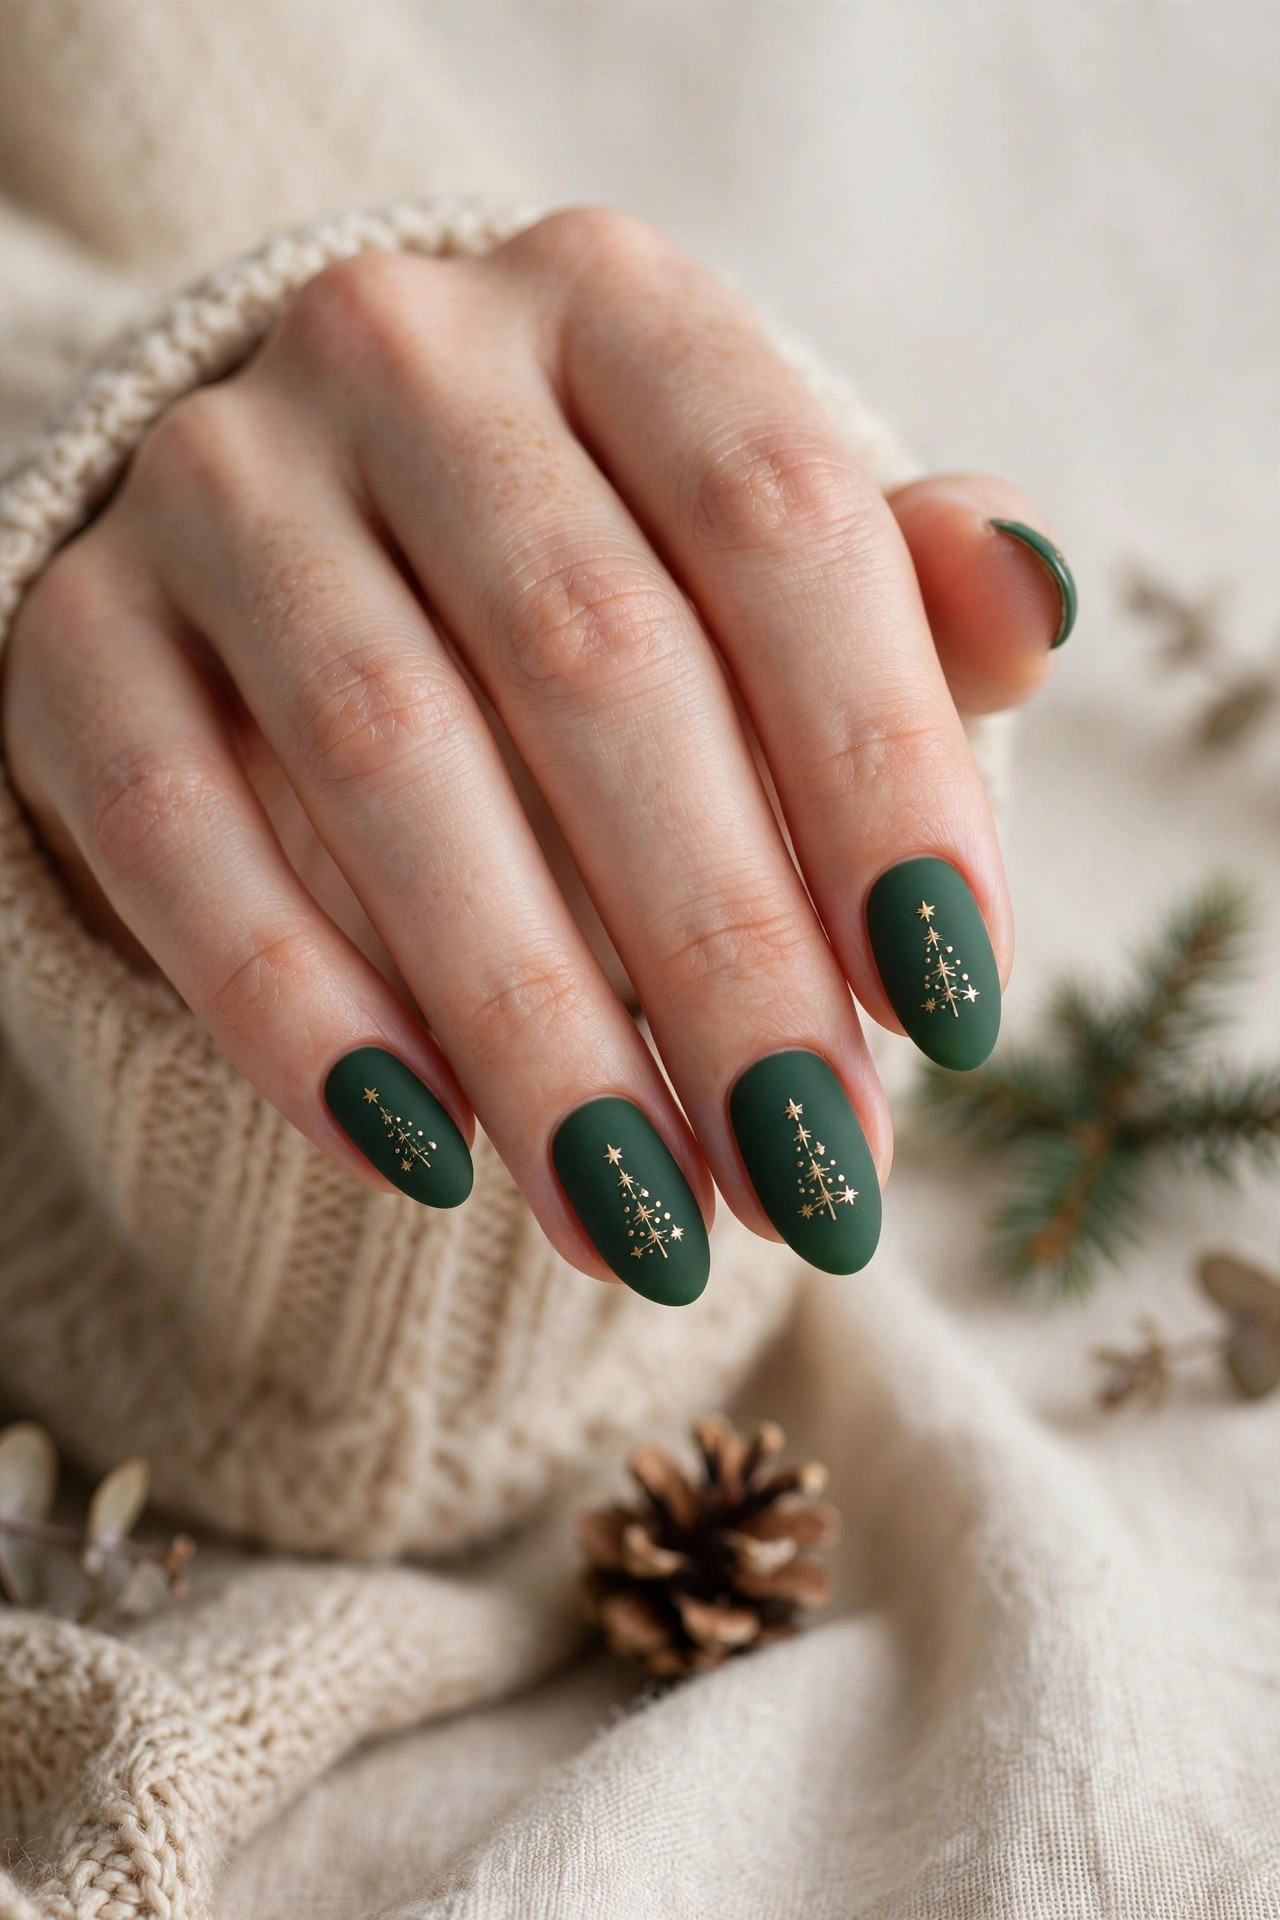
10. Forest Matte With Gold Stars
A matte forest green manicure with tiny gold stars — and one star-topped tree per hand — is understated luxury for the holidays. The matte finish absorbs light instead of reflecting it, which makes the green look deeper and the gold details stand out more. This is a sophisticated choice for people who want festive nails that still look refined at work. Matte polish shows every fingerprint, so keep a matte top coat handy for touch-ups and ask your tech for a matte top coat that resists staining. The tree itself can be as simple as three stacked triangles with a star on top — on a matte green base, even minimal art looks deliberate and chic.
11. Glitter Fade Tree
A gold glitter fade at the base flowing into a clean tree design on the nail plate is one of the prettiest ways to wear holiday sparkle. The fade gives you glitter without committing to full glitter nails, and the tree on top keeps the design clearly Christmas. This style is flattering on almond and coffin shapes where the length lets the fade breathe. To get the fade right, sponge the glitter on in thin layers starting from the cuticle and fading upward — patience beats thickness here. The tree can sit in the center of the nail over the transition zone. Seal with a thick glossy top coat to smooth out the glitter texture so it does not snag on sweaters.
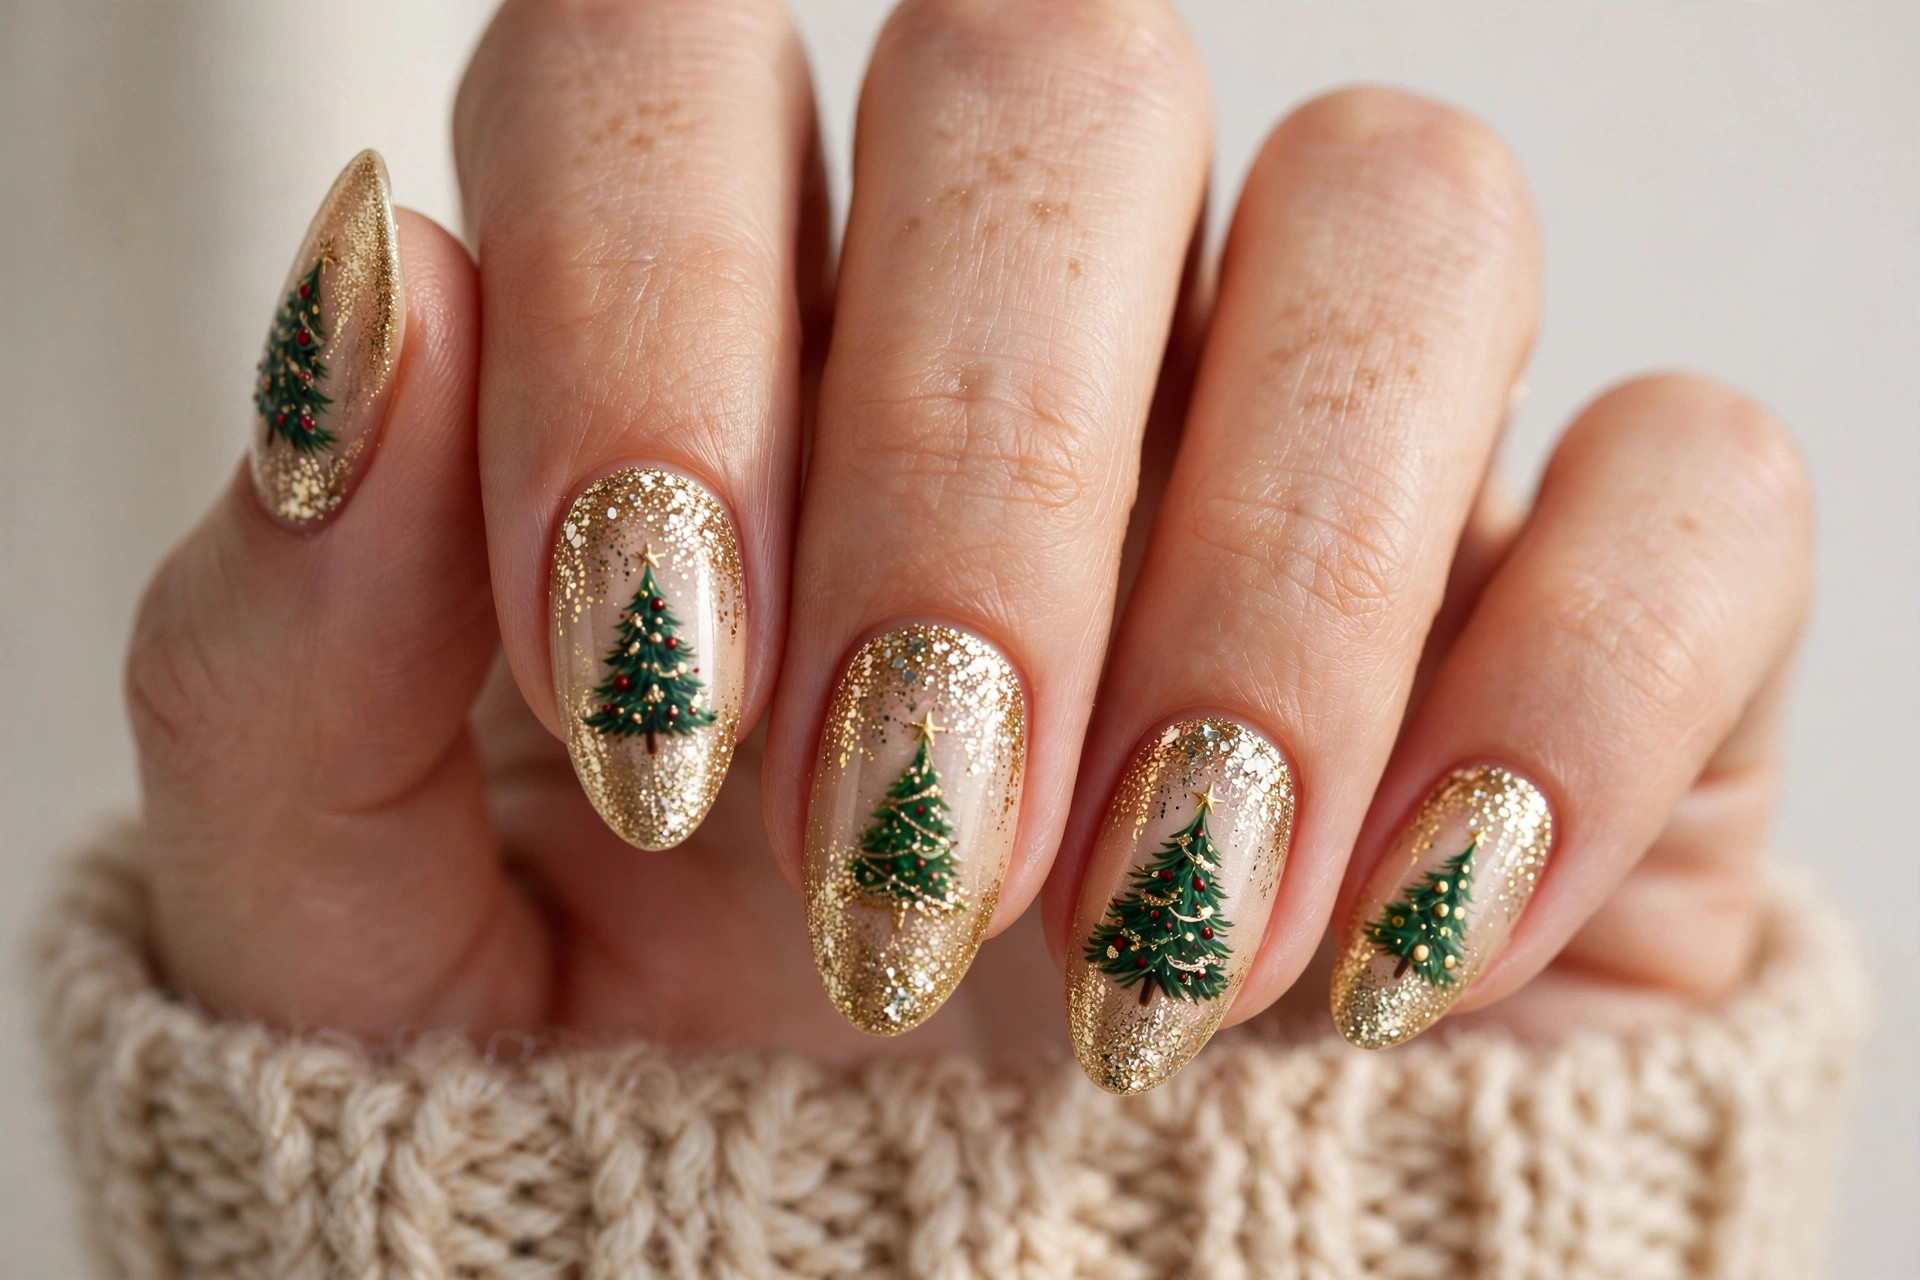
12. Cream Trees on Red Base
Flip the usual script: instead of a green tree on a light base, paint cream or off-white trees on a deep red base. The look is vintage-inspired, like old Christmas cards, and it is incredibly striking. Cream trees read softer than white ones, and against a rich red they have a cozy, candlelit feel. This design suits medium-length nails and pairs beautifully with gold jewelry and warm-toned outfits. It also works well as an accent design — cream trees on two red nails, with the rest plain red — if you want something subtler. Use a creamy, opaque polish for the trees so they cover the red in one or two strokes.
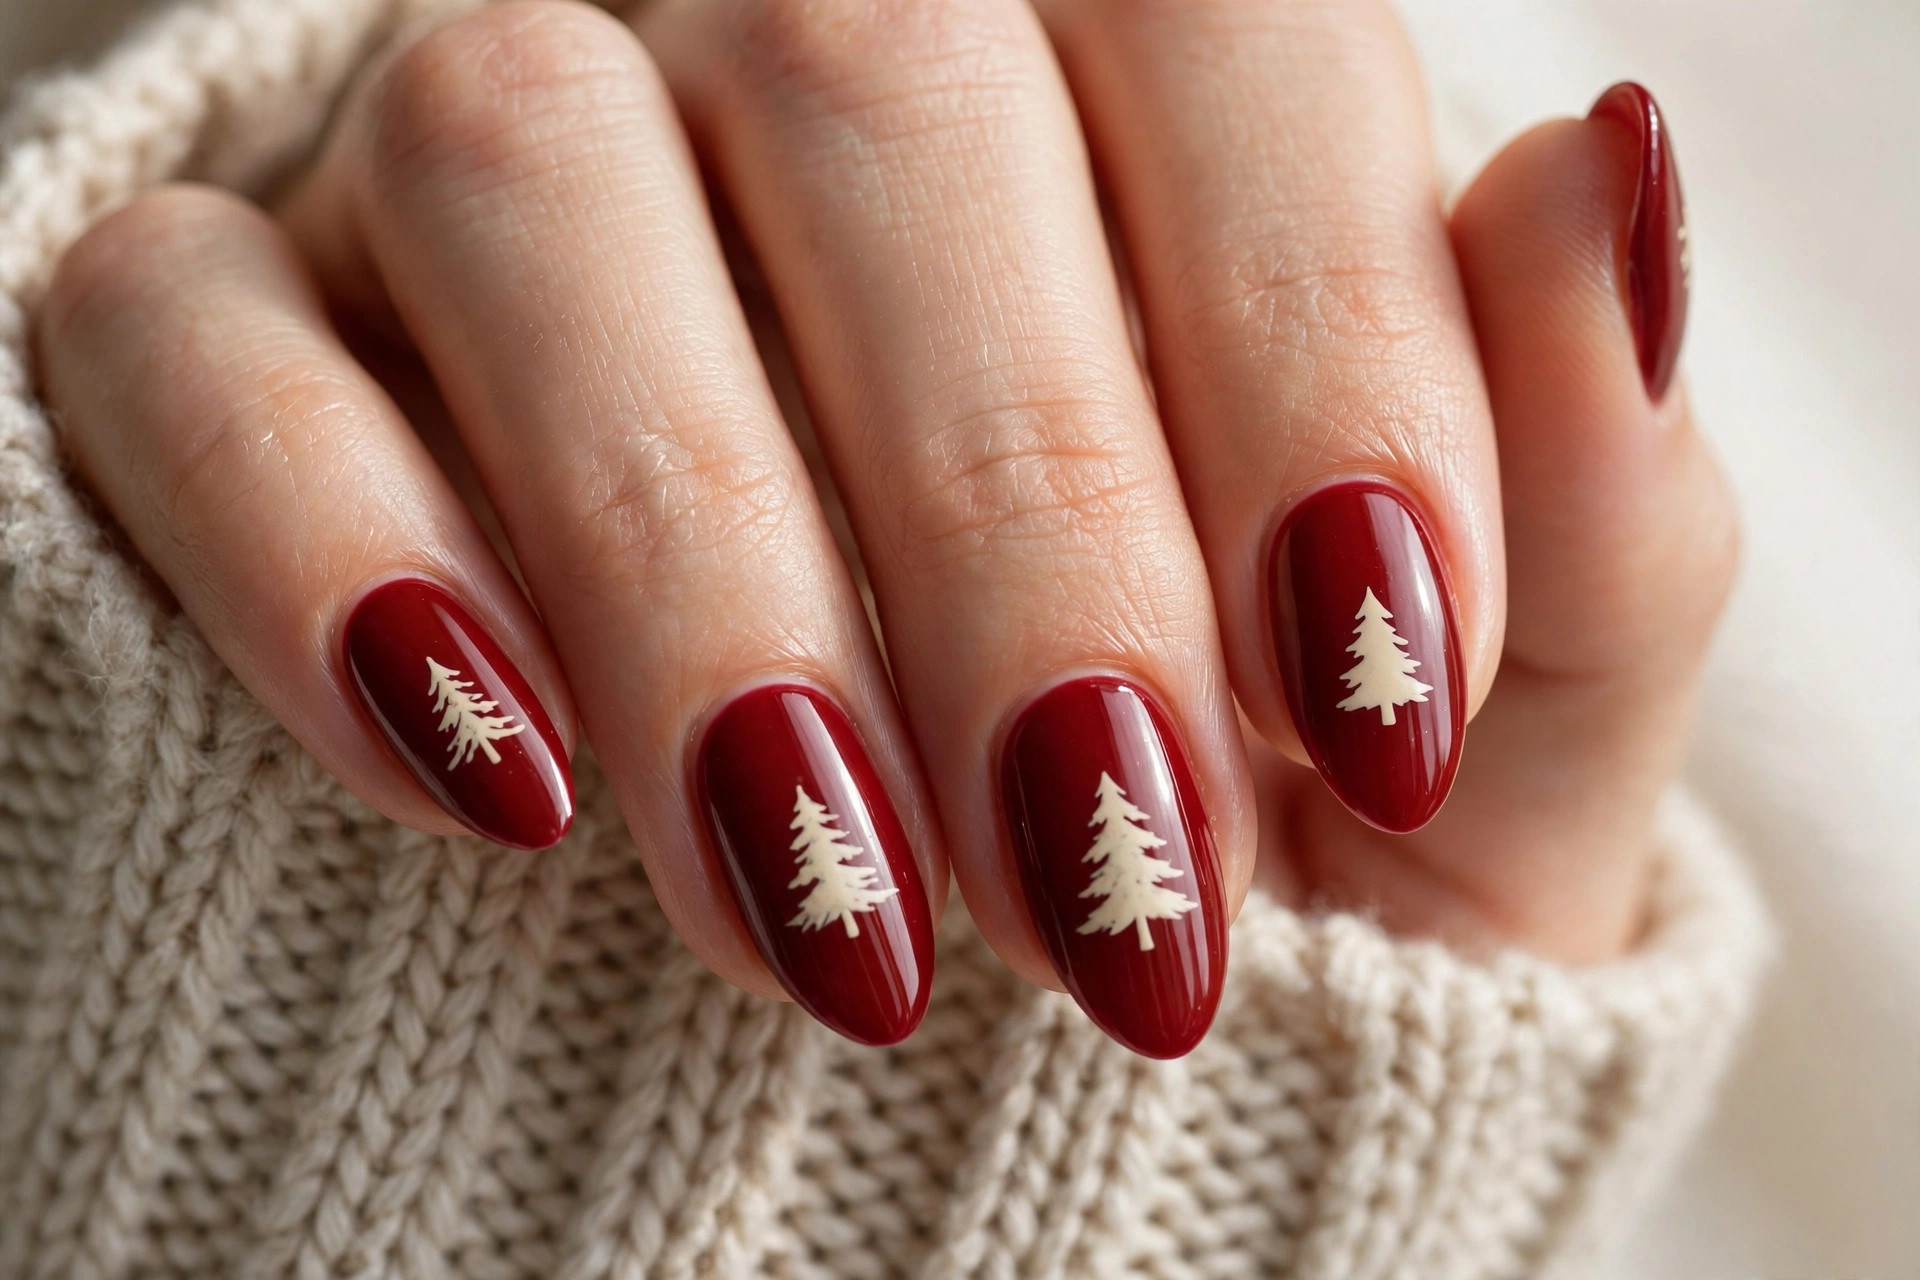
13. Tiny Lights Tree
Recreate the magic of a lit Christmas tree by painting the tree in dark green and dotting it with tiny multicolored lights — red, gold, blue, and white dots along the branches. It is joyful and nostalgic, the nail equivalent of string lights. This design is a hit with kids and anyone who loves maximalist holiday decor. It works on any nail length, though longer nails give the lights more room to twinkle. A dotting tool is essential here — the lights need to be small and evenly spaced. Keep the tree itself dark so the colored dots glow against it, and finish with a glossy top coat for that just-lit shine.
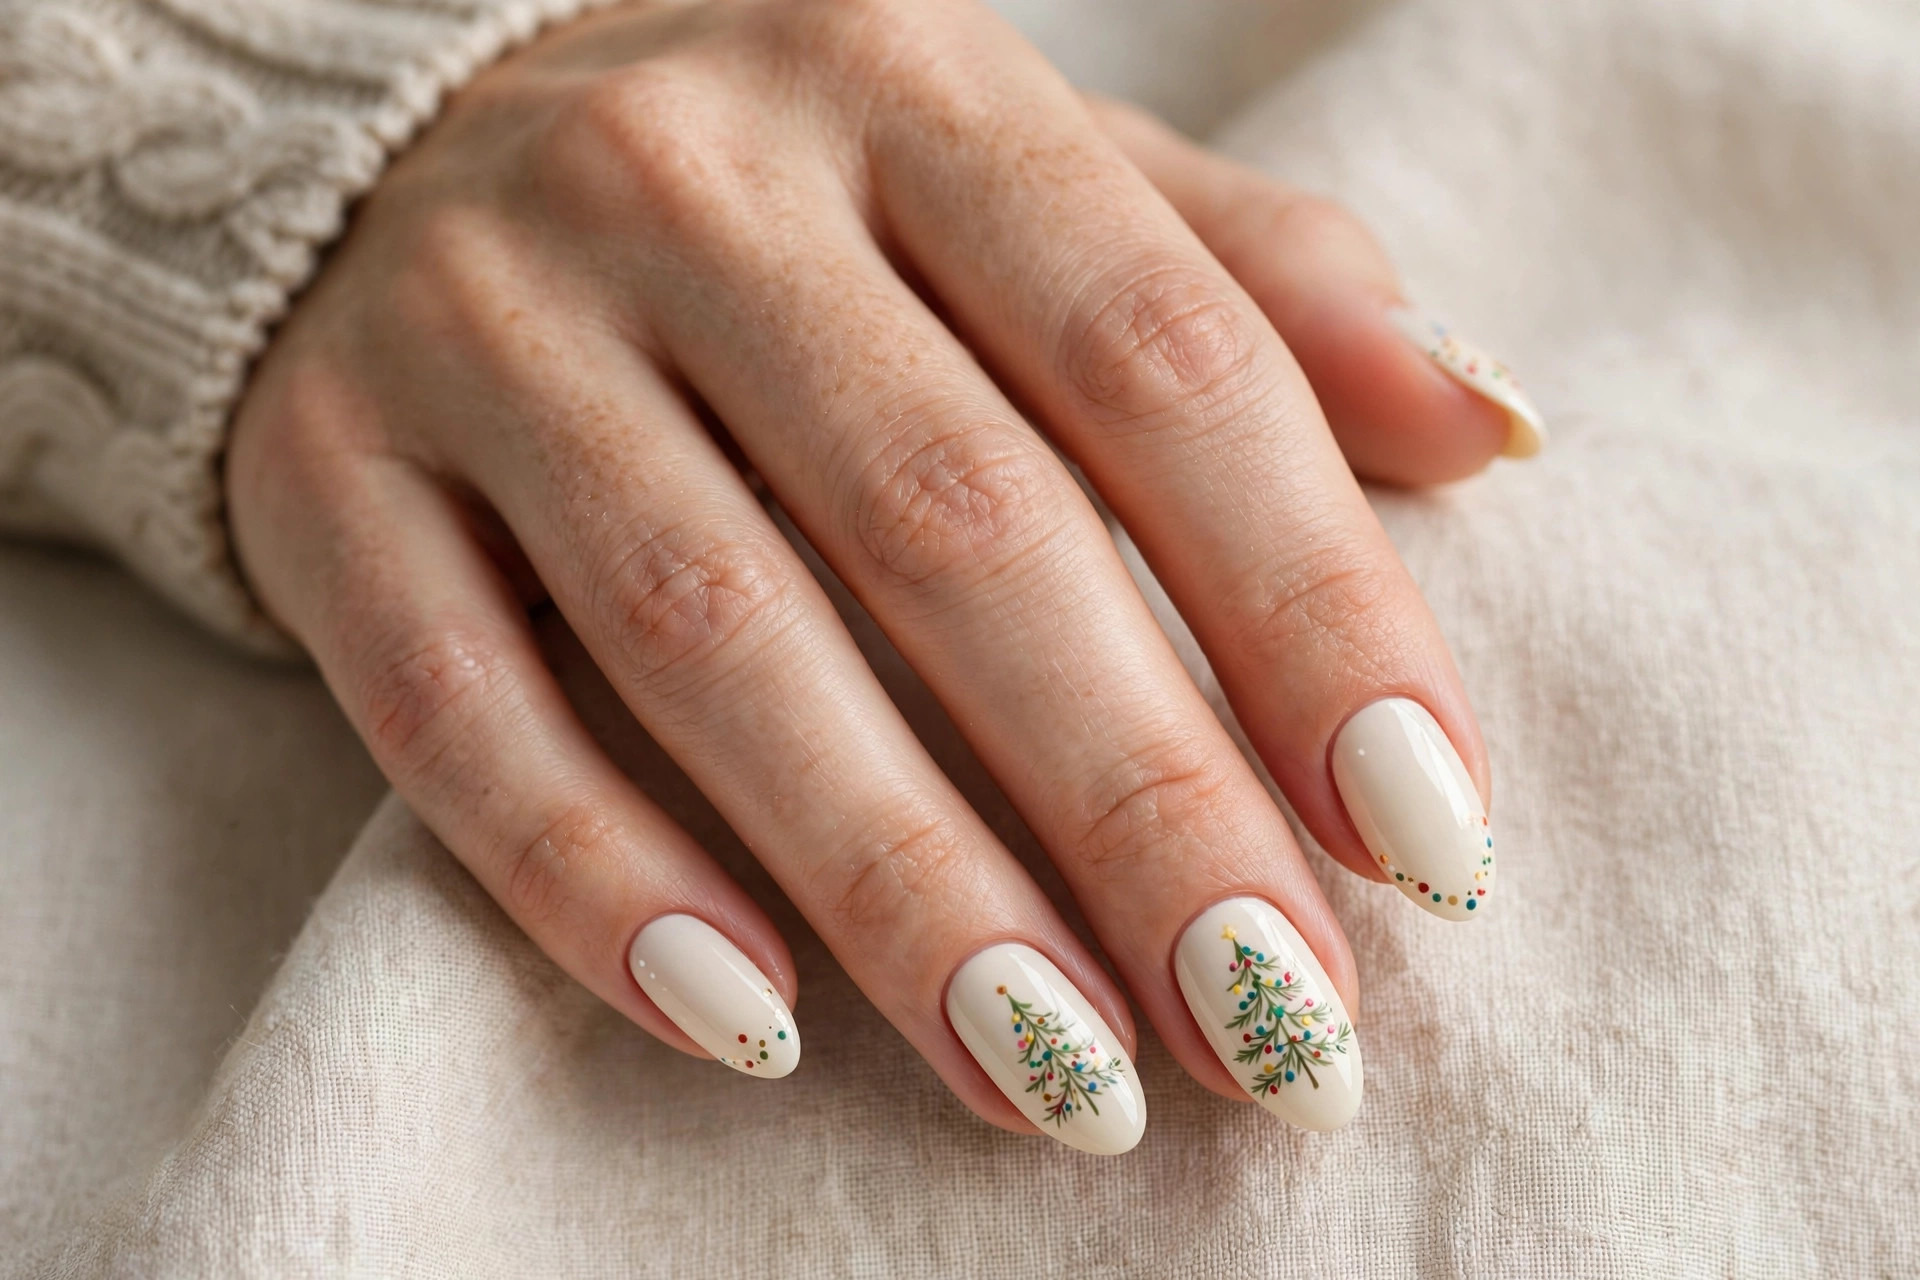
14. Burgundy and Gold Trees
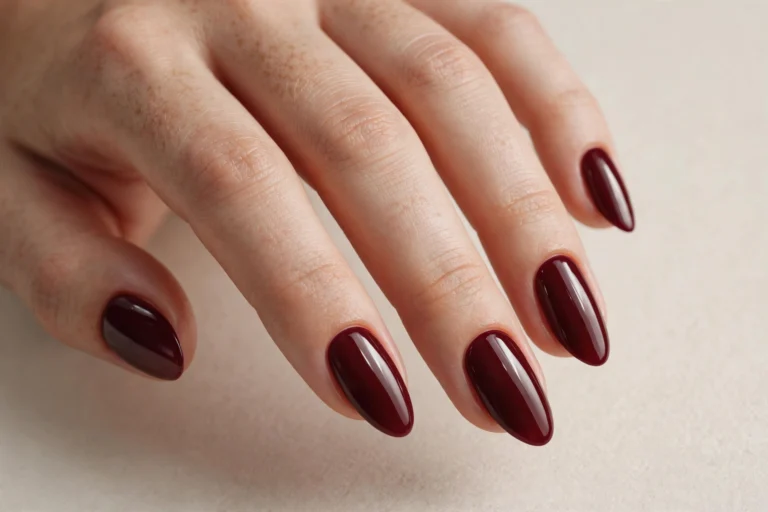
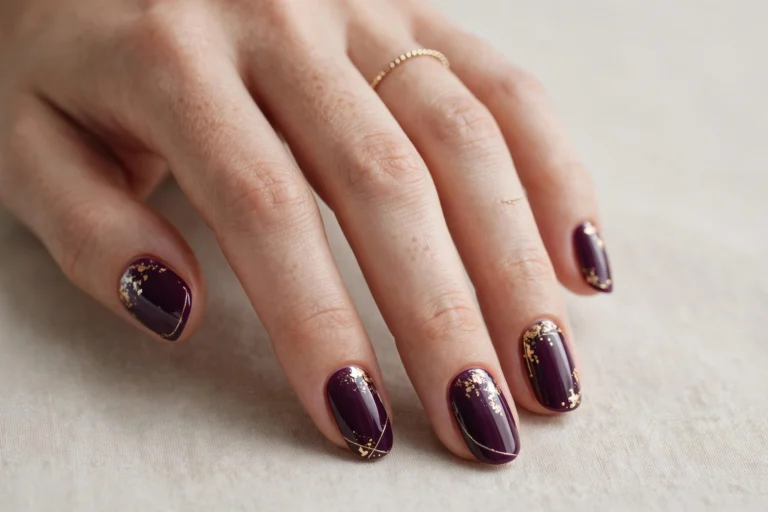
Burgundy is the grown-up version of Christmas red, and paired with gold tree line art it creates a manicure that is both festive and elegant. Paint all nails in a rich burgundy and add delicate gold tree outlines on one or two accent nails. The wine tone flatters nearly every skin tone and looks expensive with minimal effort. This is an excellent choice for holiday events where you want to look polished rather than playful. Gold foil or metallic striping tape gives the cleanest lines for the tree outlines. If your burgundy polish is sheer, layer it over a dark base or use three thin coats for full, even coverage.
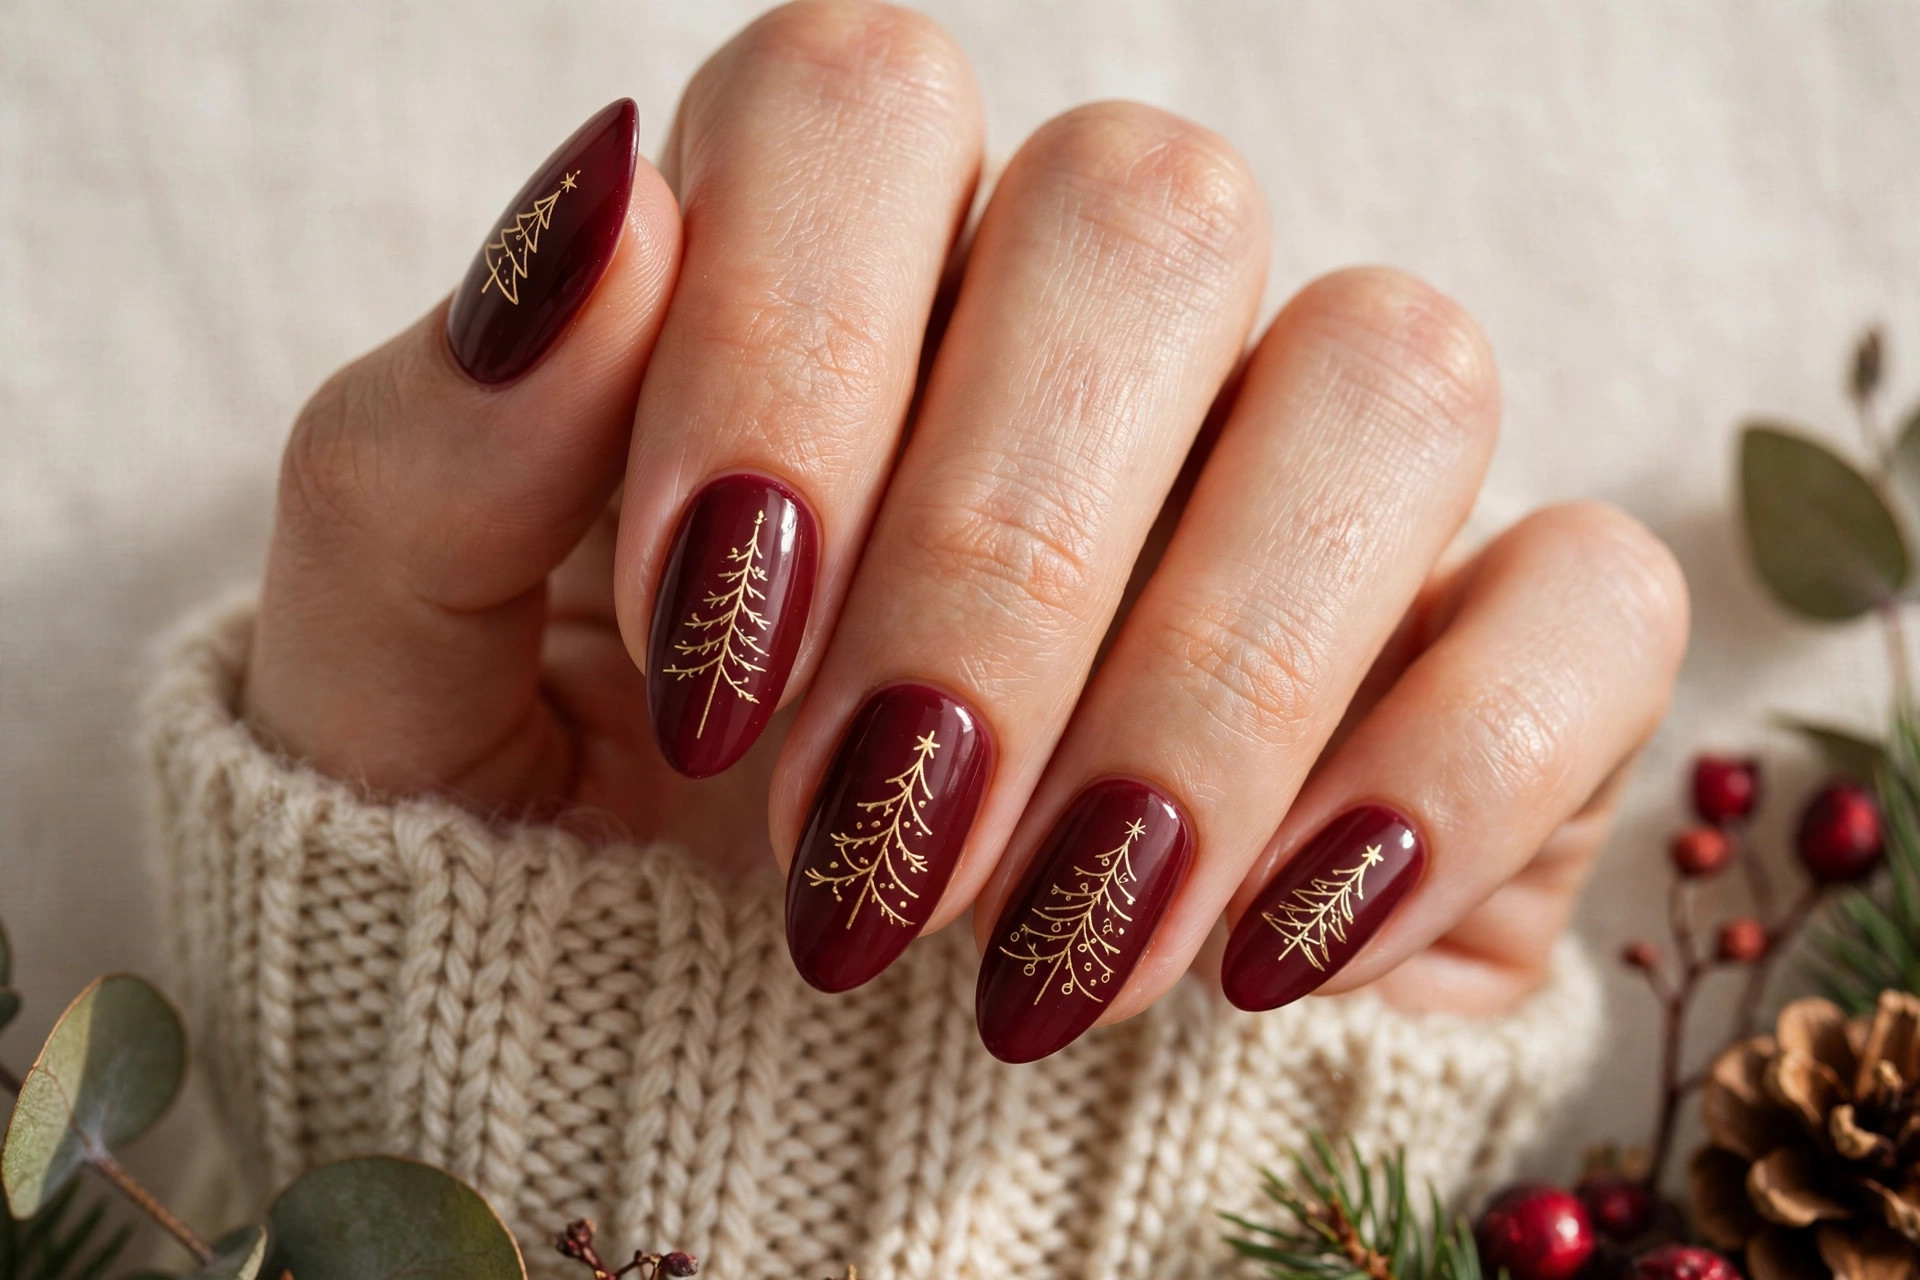
15. Snow Gradient Tree
An ombre fade from snowy white at the tip to icy blue or pale silver at the cuticle creates a winter-sky backdrop for a dark tree silhouette. The tree stands out dramatically against the gradient, like an evergreen against a snowy dusk. This is one of the most artistic designs on this list and a great choice for longer nails where the gradient has room to develop. Sponge the gradient on in thin layers, letting each layer dry before adding the next, and clean up the edges with a small brush dipped in acetone. Paint the tree silhouette last, in a dark green or charcoal, and add a few white dots as falling snow.
16. Cute Cartoon Trees
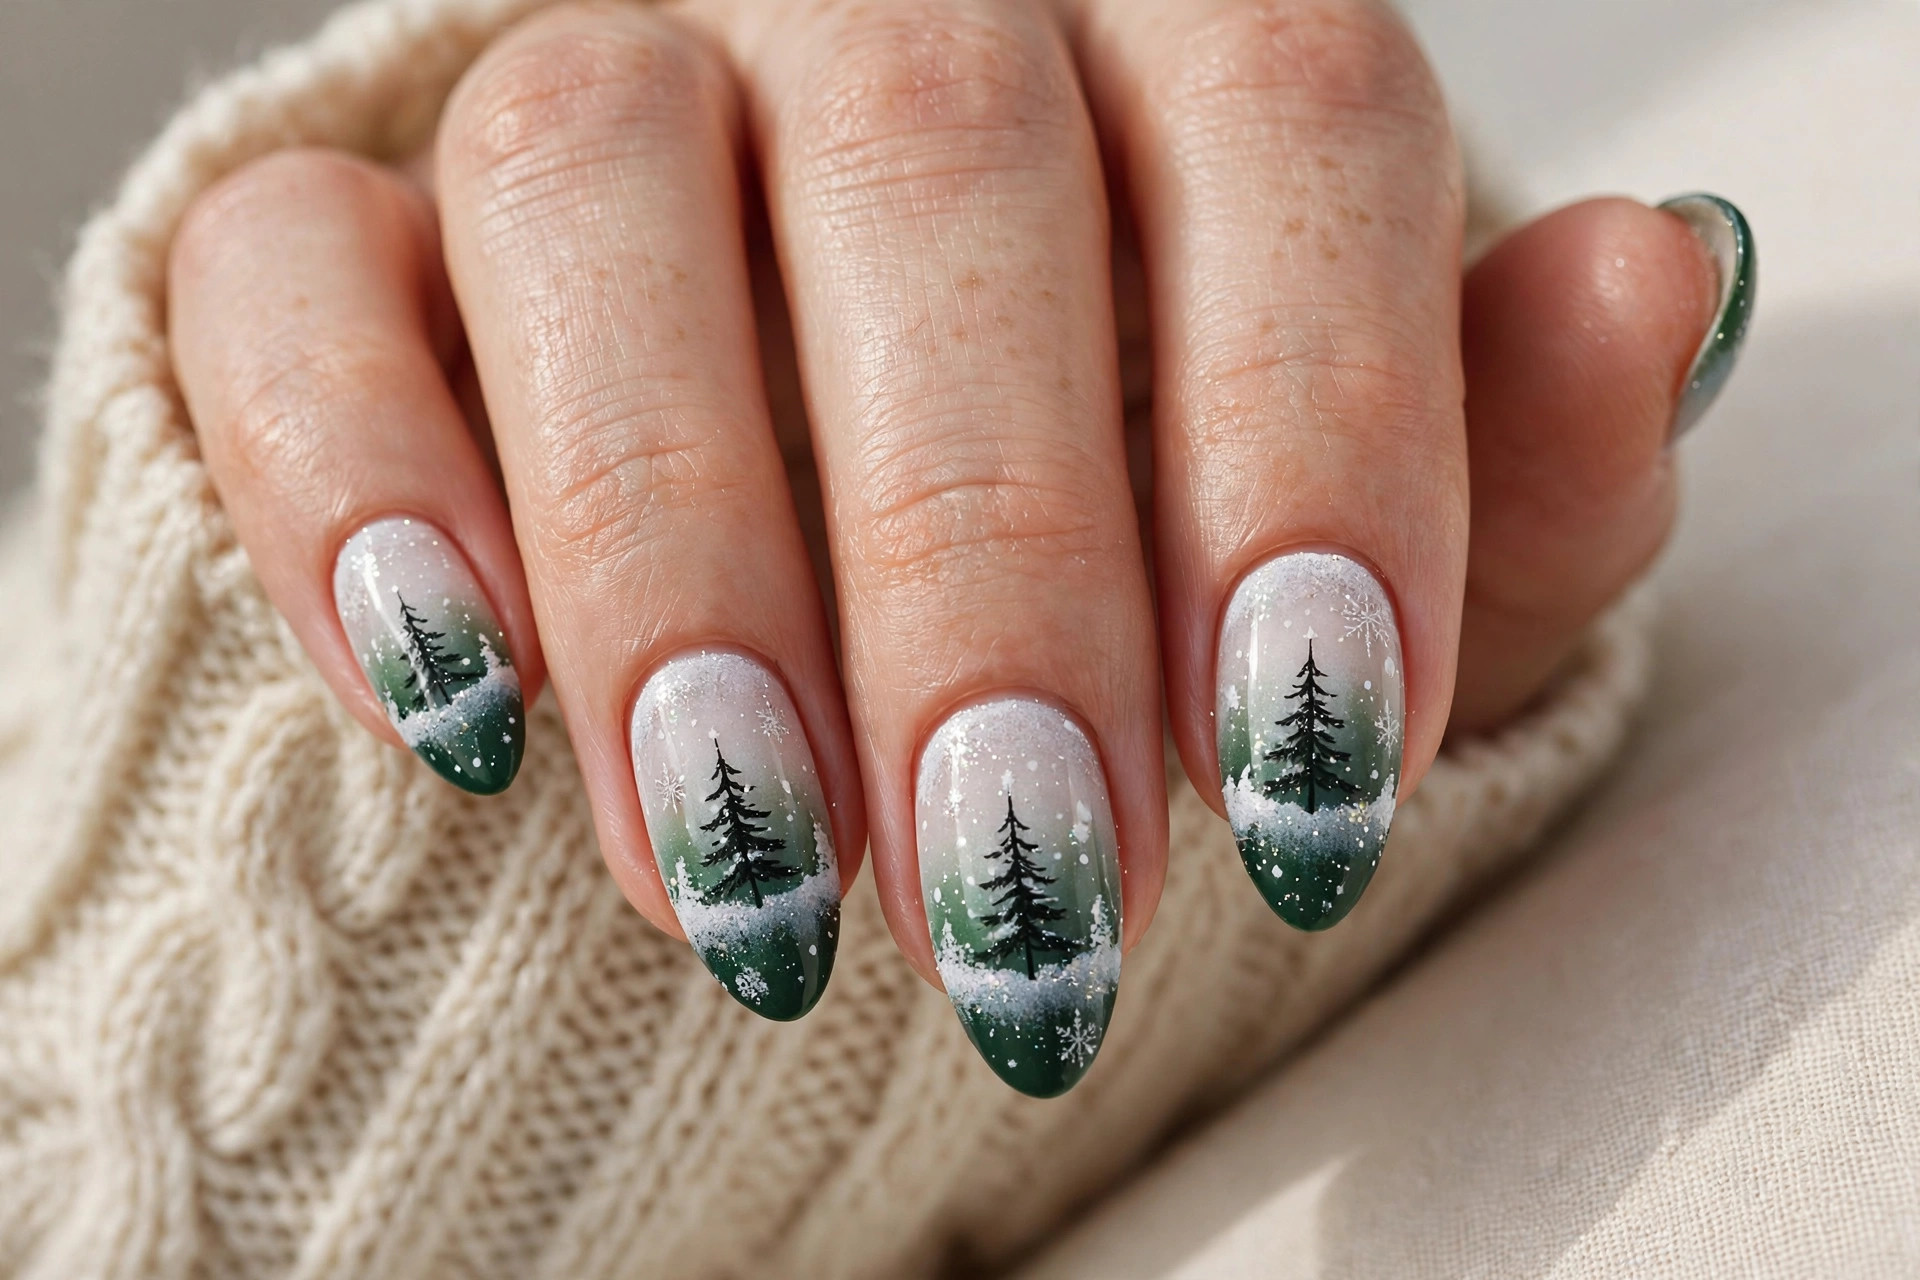
Not every Christmas tree needs to be realistic — cute cartoon trees with smiling faces, tiny ornaments, and rosy cheeks are pure holiday joy. This kawaii-inspired style is hugely popular for a reason: it is fun, it photographs adorably, and it makes everyone smile. Paint the trees on a pastel or nude base in bright greens, and keep the faces simple — two dot eyes and a small smile is all you need. This design suits shorter nails where the small scale keeps the faces cute rather than cluttered. It is also a great DIY project since imperfect, hand-drawn trees are part of the charm. Pair with one plain glitter nail per hand so the cartoon art has room to shine.
17. Metallic Green Coffin Trees
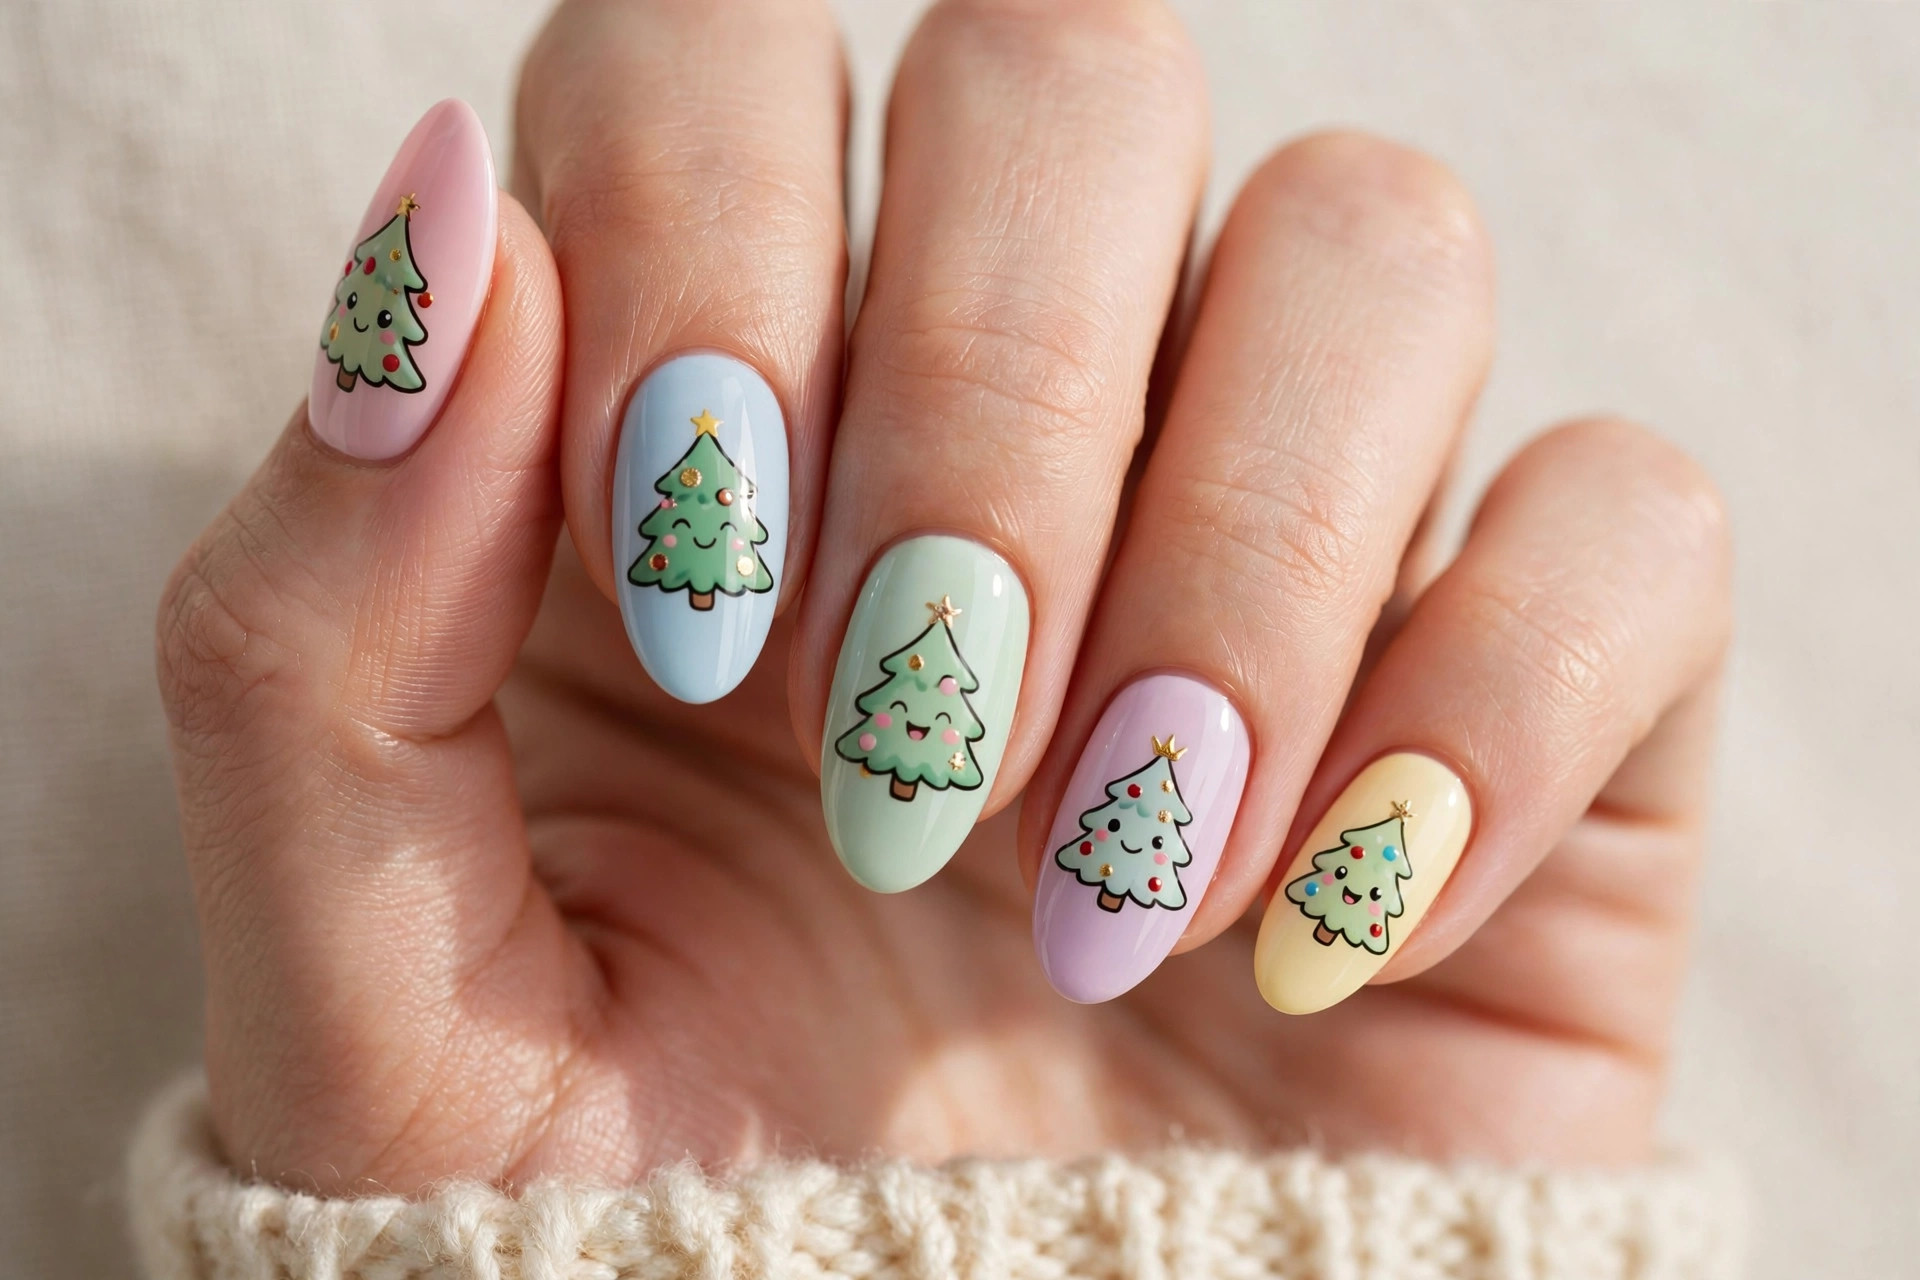
On long coffin nails, a metallic green tree with gold cuff accents at the cuticle looks like high fashion meets the holidays. The metallic finish reflects light as you move your hands, and the extra length lets the tree be tall and detailed. This is a statement design — best for holiday parties, photoshoots, and anyone whose style runs bold. Metallic polishes can streak, so apply them in thin, even strokes and let each coat dry fully. A gold band at the cuticle frames the design and hides any unevenness near the base. This look pairs best with minimal jewelry since the nails are the accessory.
18. White Trees on Navy
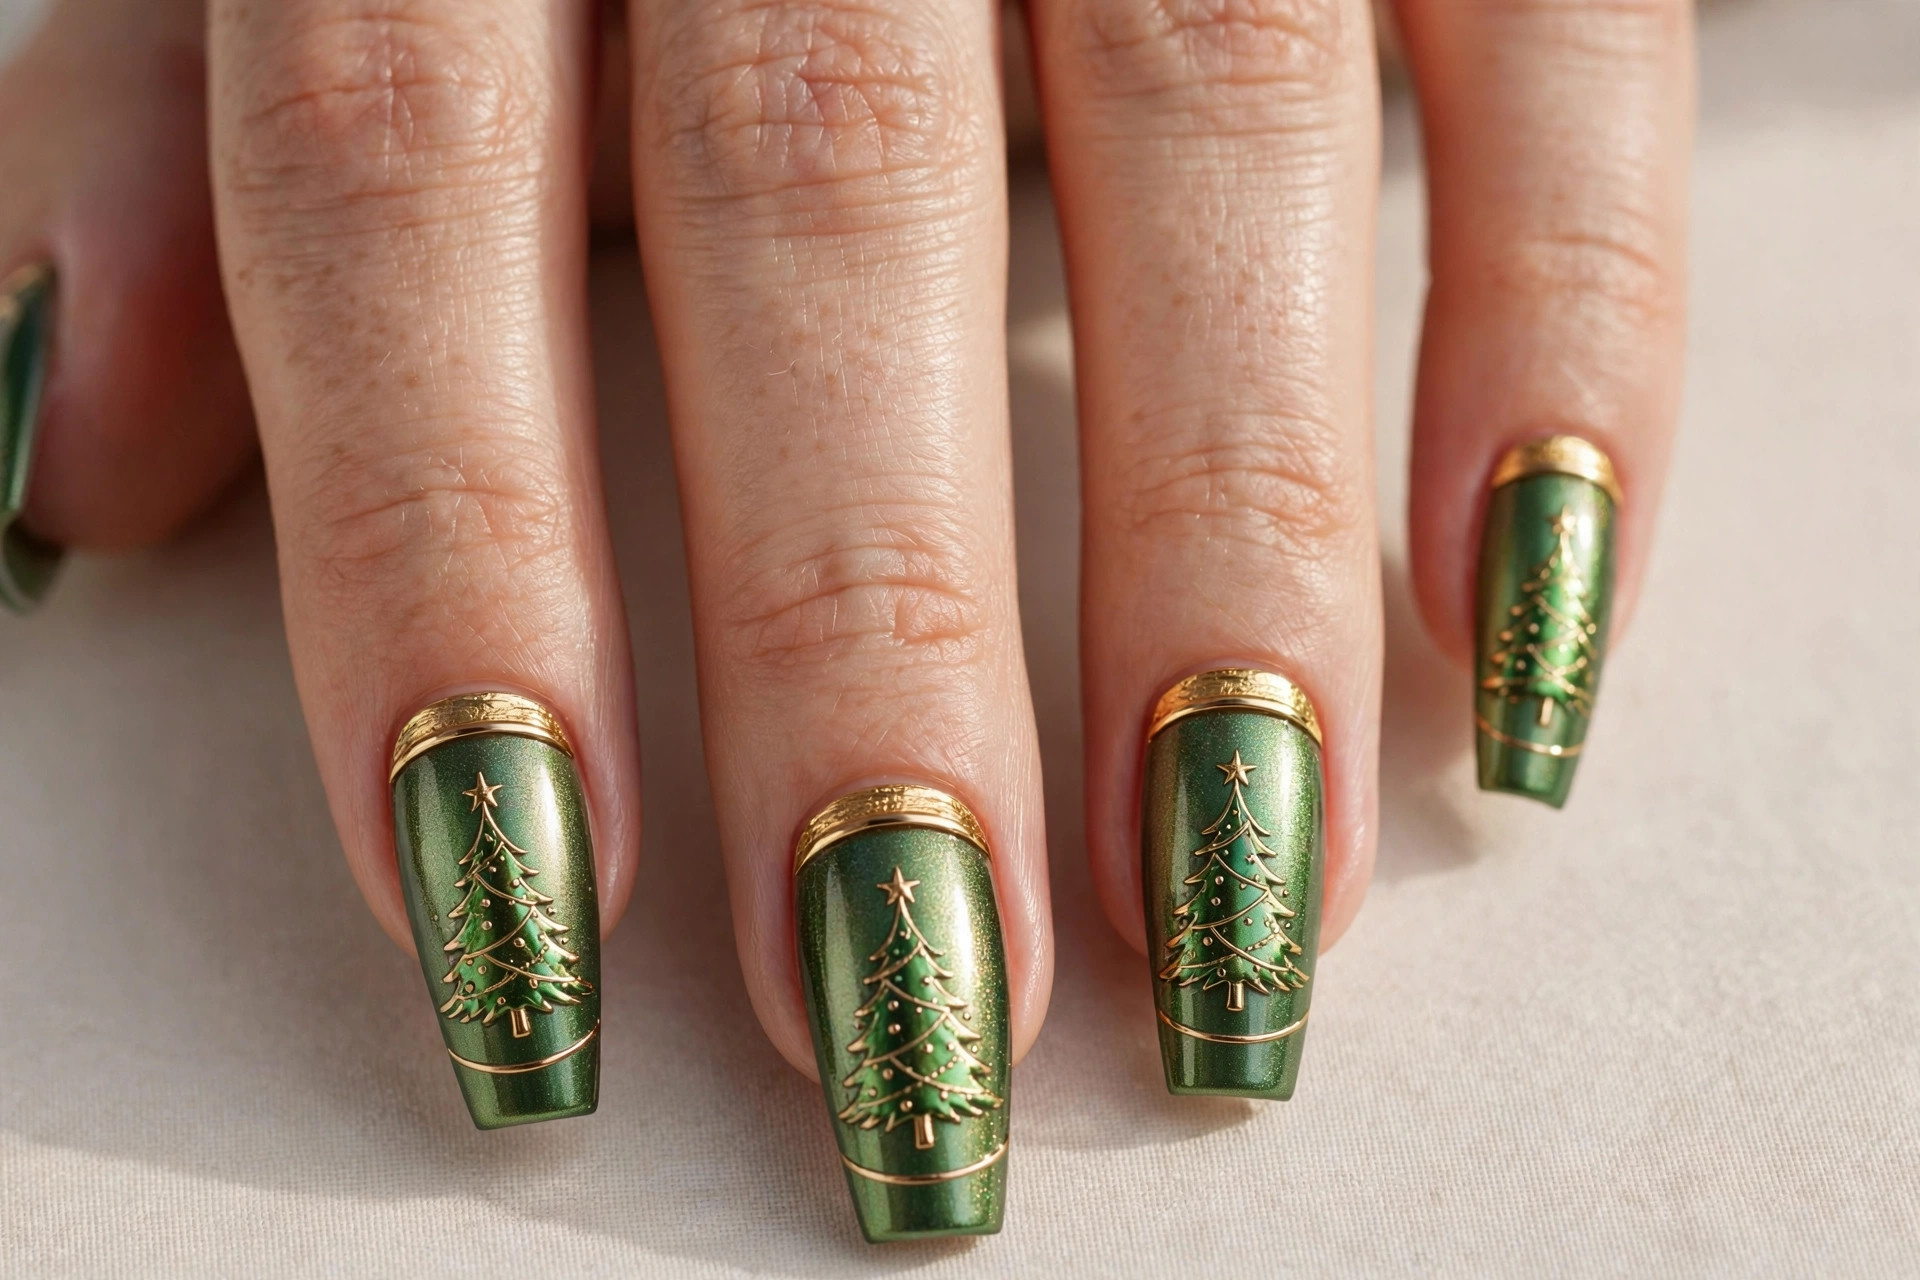
Deep navy blue is the perfect night-sky backdrop for white Christmas trees. The contrast is crisp and wintry, like trees silhouetted against a December evening. Add tiny white dots as snow and a few silver stars, and you have a manicure that feels both festive and cool-toned modern. This design flatters shorter nails because the high contrast keeps the trees readable at any size. It is also a smart choice if your holiday wardrobe runs dark — the nails tie the whole look together. For the cleanest trees, stamp or stencil the white shapes rather than freehanding them, and seal with a glossy top coat for depth.
19. Holographic Chrome Trees
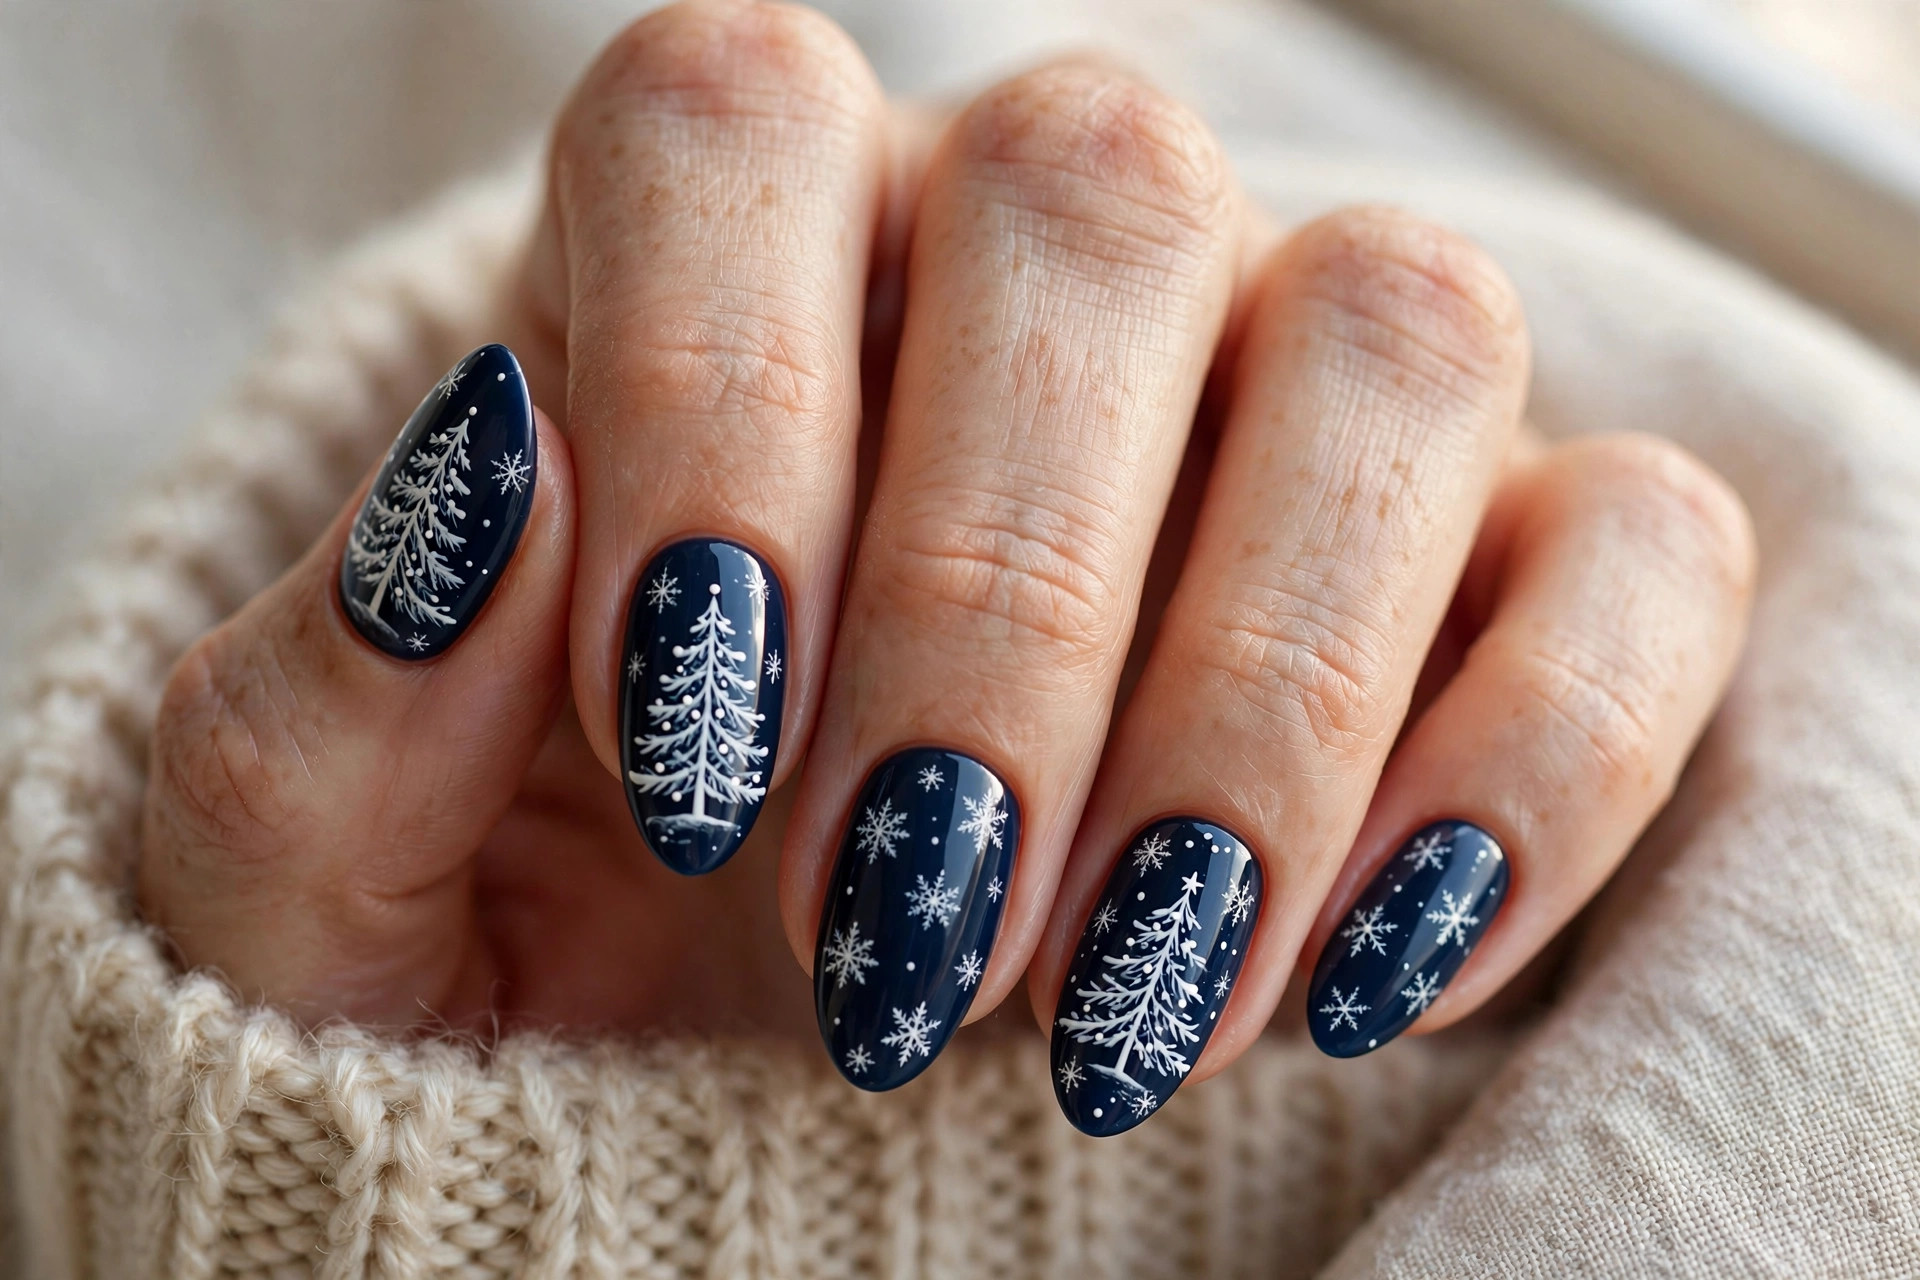
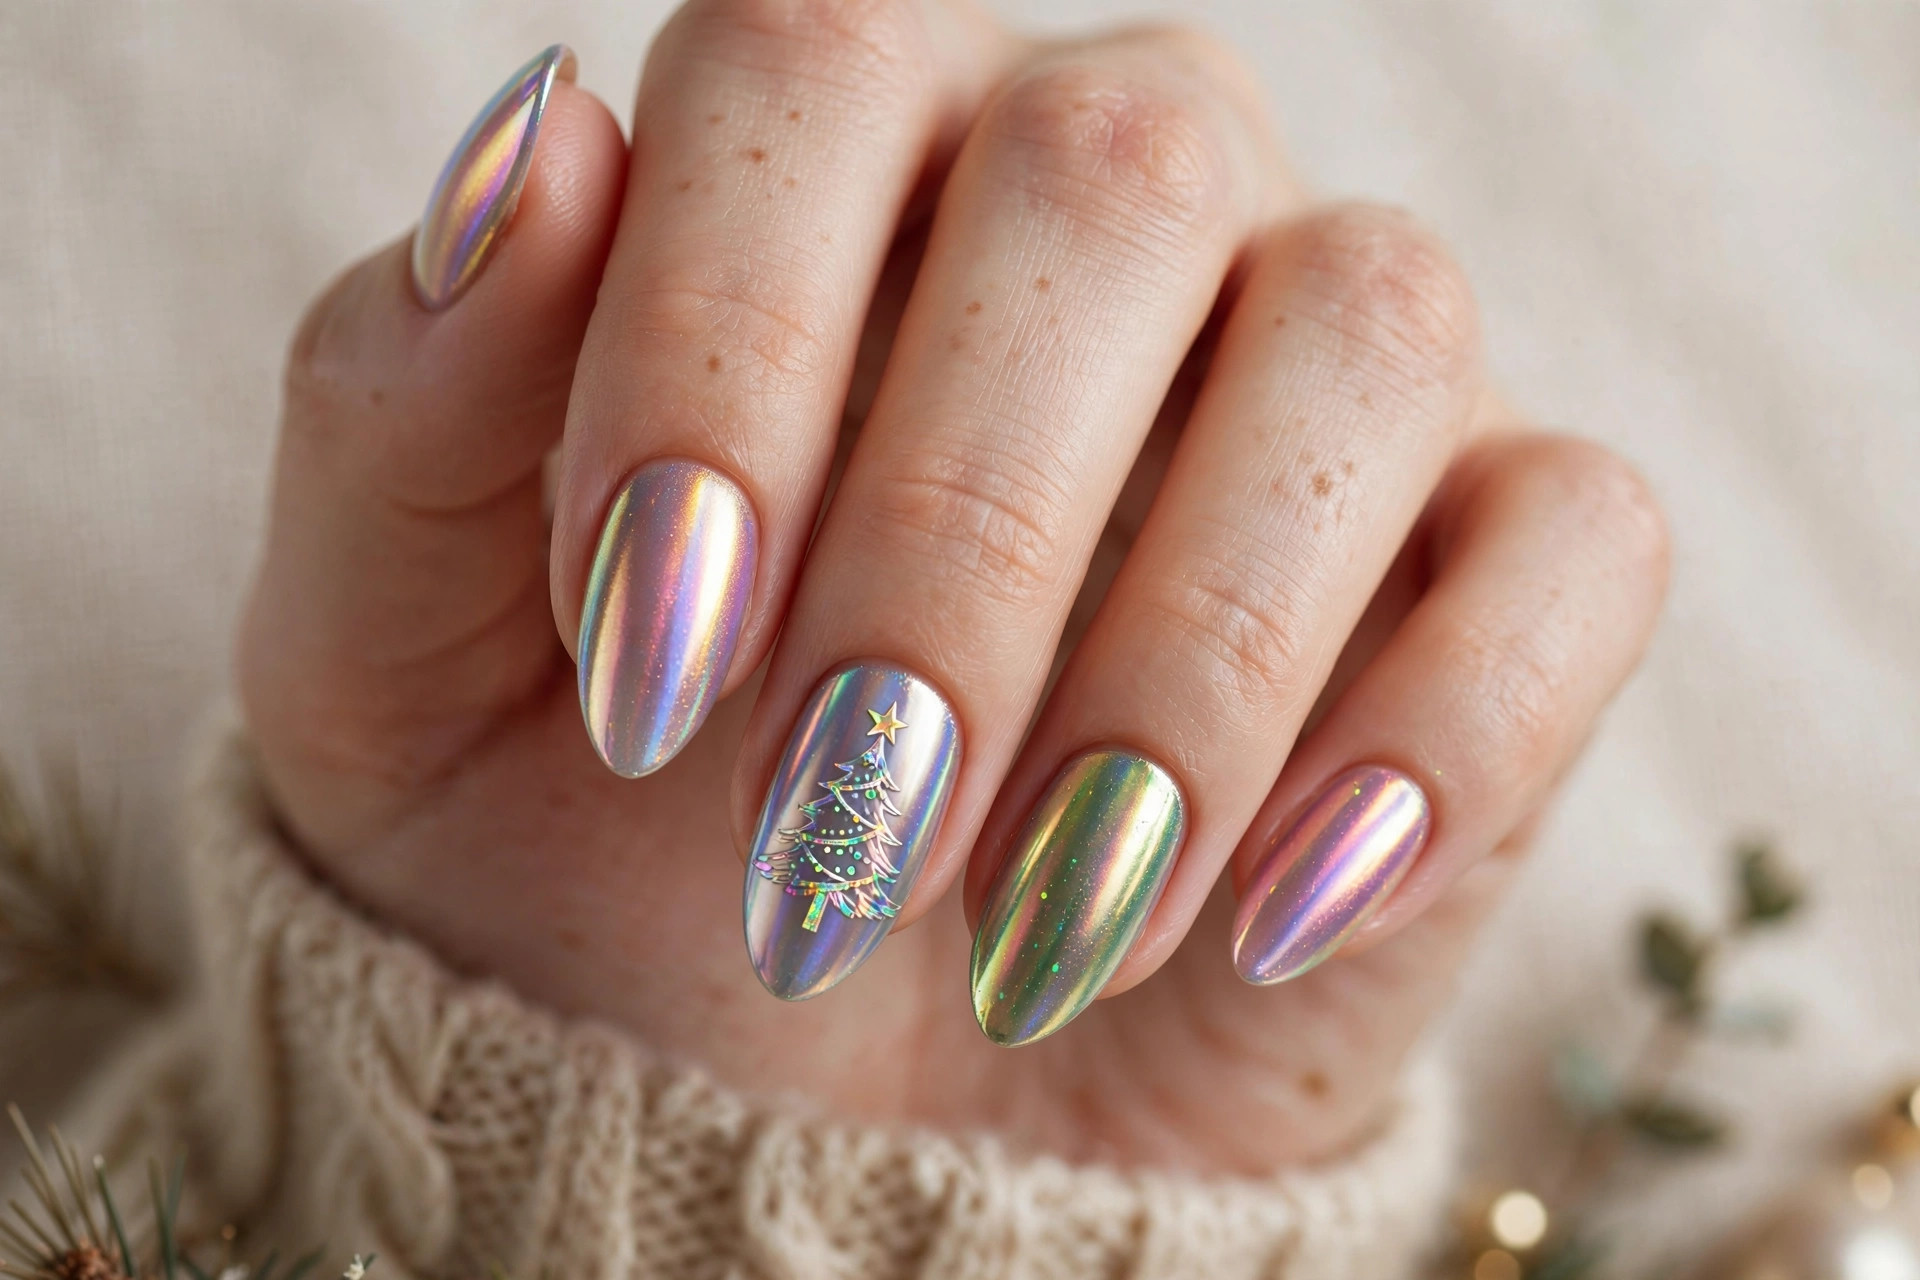
Holographic chrome takes a Christmas tree from classic to futuristic. The tree shifts between green, gold, pink, and blue as it catches the light, giving you a different look from every angle. Apply chrome powder over a tree-shaped base on an iridescent or nude nail for the full rainbow effect. This is the most eye-catching design on this list and perfect for New Year’s Eve week when maximum sparkle is the goal. Chrome needs a smooth, streak-free base to look its best, so this one is best left to a salon. Keep the rest of the nails simple — a matching chrome or sheer nude — so the holographic tree stays the star.
20. Ivory Wreath-Style Trees
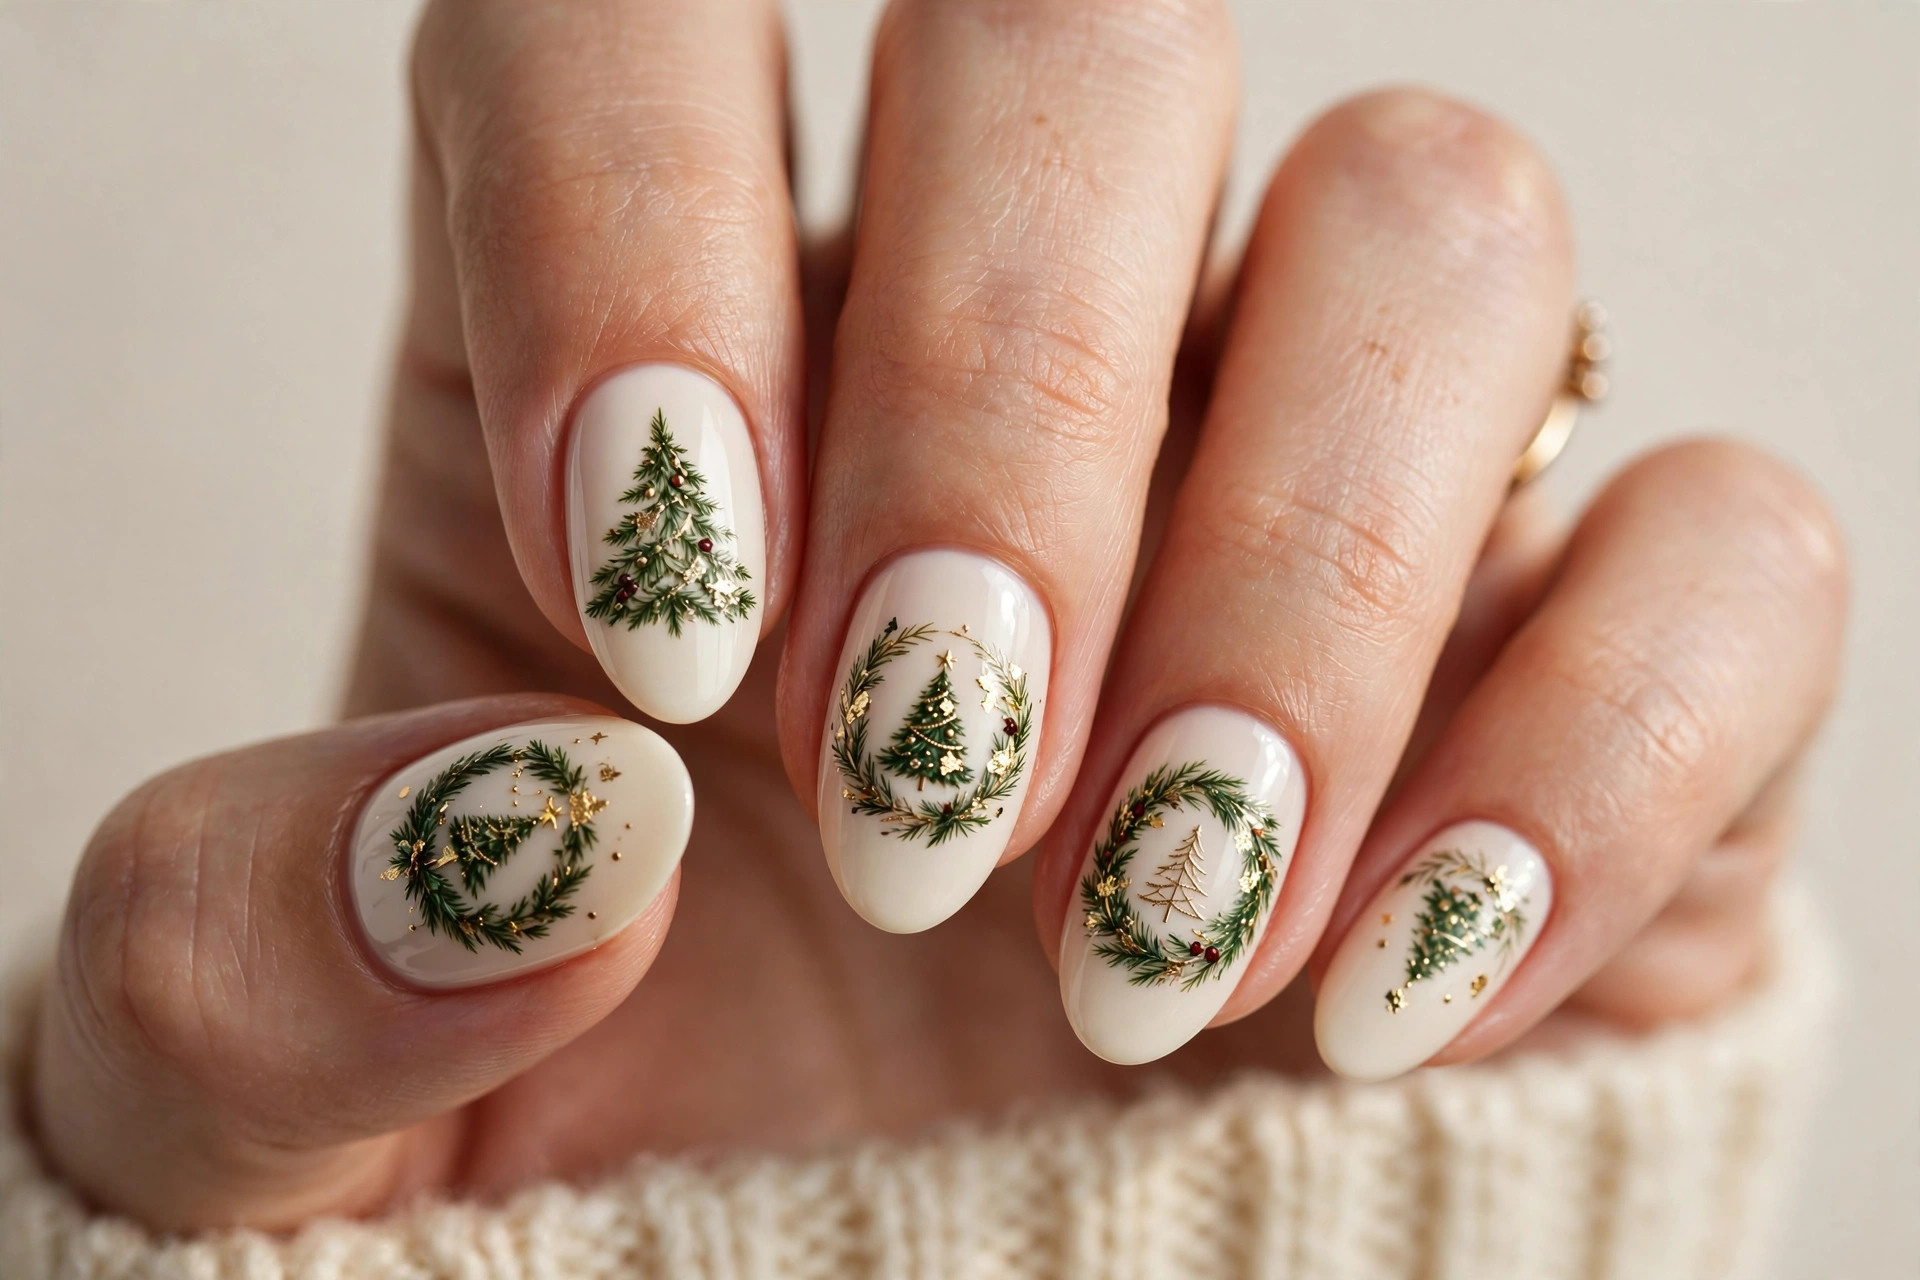
End the list with something soft: evergreen wreath-inspired trees painted on an ivory base with delicate gold accents. The wreath shape — a tree formed from leafy, curved strokes rather than triangles — feels organic and elegant, like something from a botanical Christmas card. Ivory keeps the whole look warm and understated, and the gold details add just enough holiday shine. This design suits oval and almond nails and works beautifully for Christmas brunches, family photos, and anyone who prefers a natural aesthetic. Use a fine liner brush for the leafy strokes, building the tree in curved layers, and add the gold accents last with a dotting tool. If you love designs you can wear with zero stress through the whole season, our easy Christmas nail designs roundup has more low-effort holiday ideas.
Tips to Make Your Christmas Tree Nails Last
Holiday manicures take more effort than a plain polish, so it is worth protecting your work. Always start with a quality base coat — it prevents green and red pigments from staining your natural nails, which is the most common complaint with Christmas designs. Cap the free edge of every nail with both polish and top coat; this is the step most people skip, and it is the reason art chips early. Reapply a thin layer of top coat every two to three days to keep the design sealed and glossy through parties and dishwashing.
Keep your hands and cuticles moisturized, since dry winter air makes polish lift faster around the edges. A cuticle oil applied nightly takes thirty seconds and noticeably extends wear. For removal, soak glitter and chrome designs rather than scraping — patience protects your nail surface. And if you are building a holiday nail kit at home, this nail polish kit covers the greens, golds, and reds you will reach for most in December, plus the liner brushes these tree designs need.
Finally, remember that intricate designs like rhinestone trees and chrome work last longest as gel or acrylic enhancements rather than regular polish. If you want your trees to survive from the office party through New Year’s, book the salon version.
Final Thoughts
Twenty designs, one theme, endless ways to wear it. Whether you go for a single gold line-art tree or a full holographic statement, Christmas tree nails are the fastest way to make your hands feel part of the season. Pick the design that matches your style and your schedule — a minimalist tree takes minutes, a rhinestone masterpiece takes an afternoon, and both look wonderful in holiday photos. Save your favorite from this list, book your appointment early in December, and enjoy the most festive nails of the year.