20 Hocus Pocus Nail Designs
Every October, the Sanderson sisters rise again, and so does the love for all things Hocus Pocus. The 1993 Halloween classic has become a full-blown seasonal tradition, and its magic has officially reached our fingertips. Hocus Pocus nail designs bring the movie’s most iconic moments to your manicure: the black flame candle, the spell book, the Sanderson sisters themselves, and all the spooky Salem charm in between.
Below you will find 20 Hocus Pocus nail designs, from detailed character portraits to simple spell-inspired accents. Each one includes notes on who it suits and how to get it, at home or in the salon. If you love witchy manicures in general, these 25 witchy nail designs for a magical look offer even more mystical inspiration.
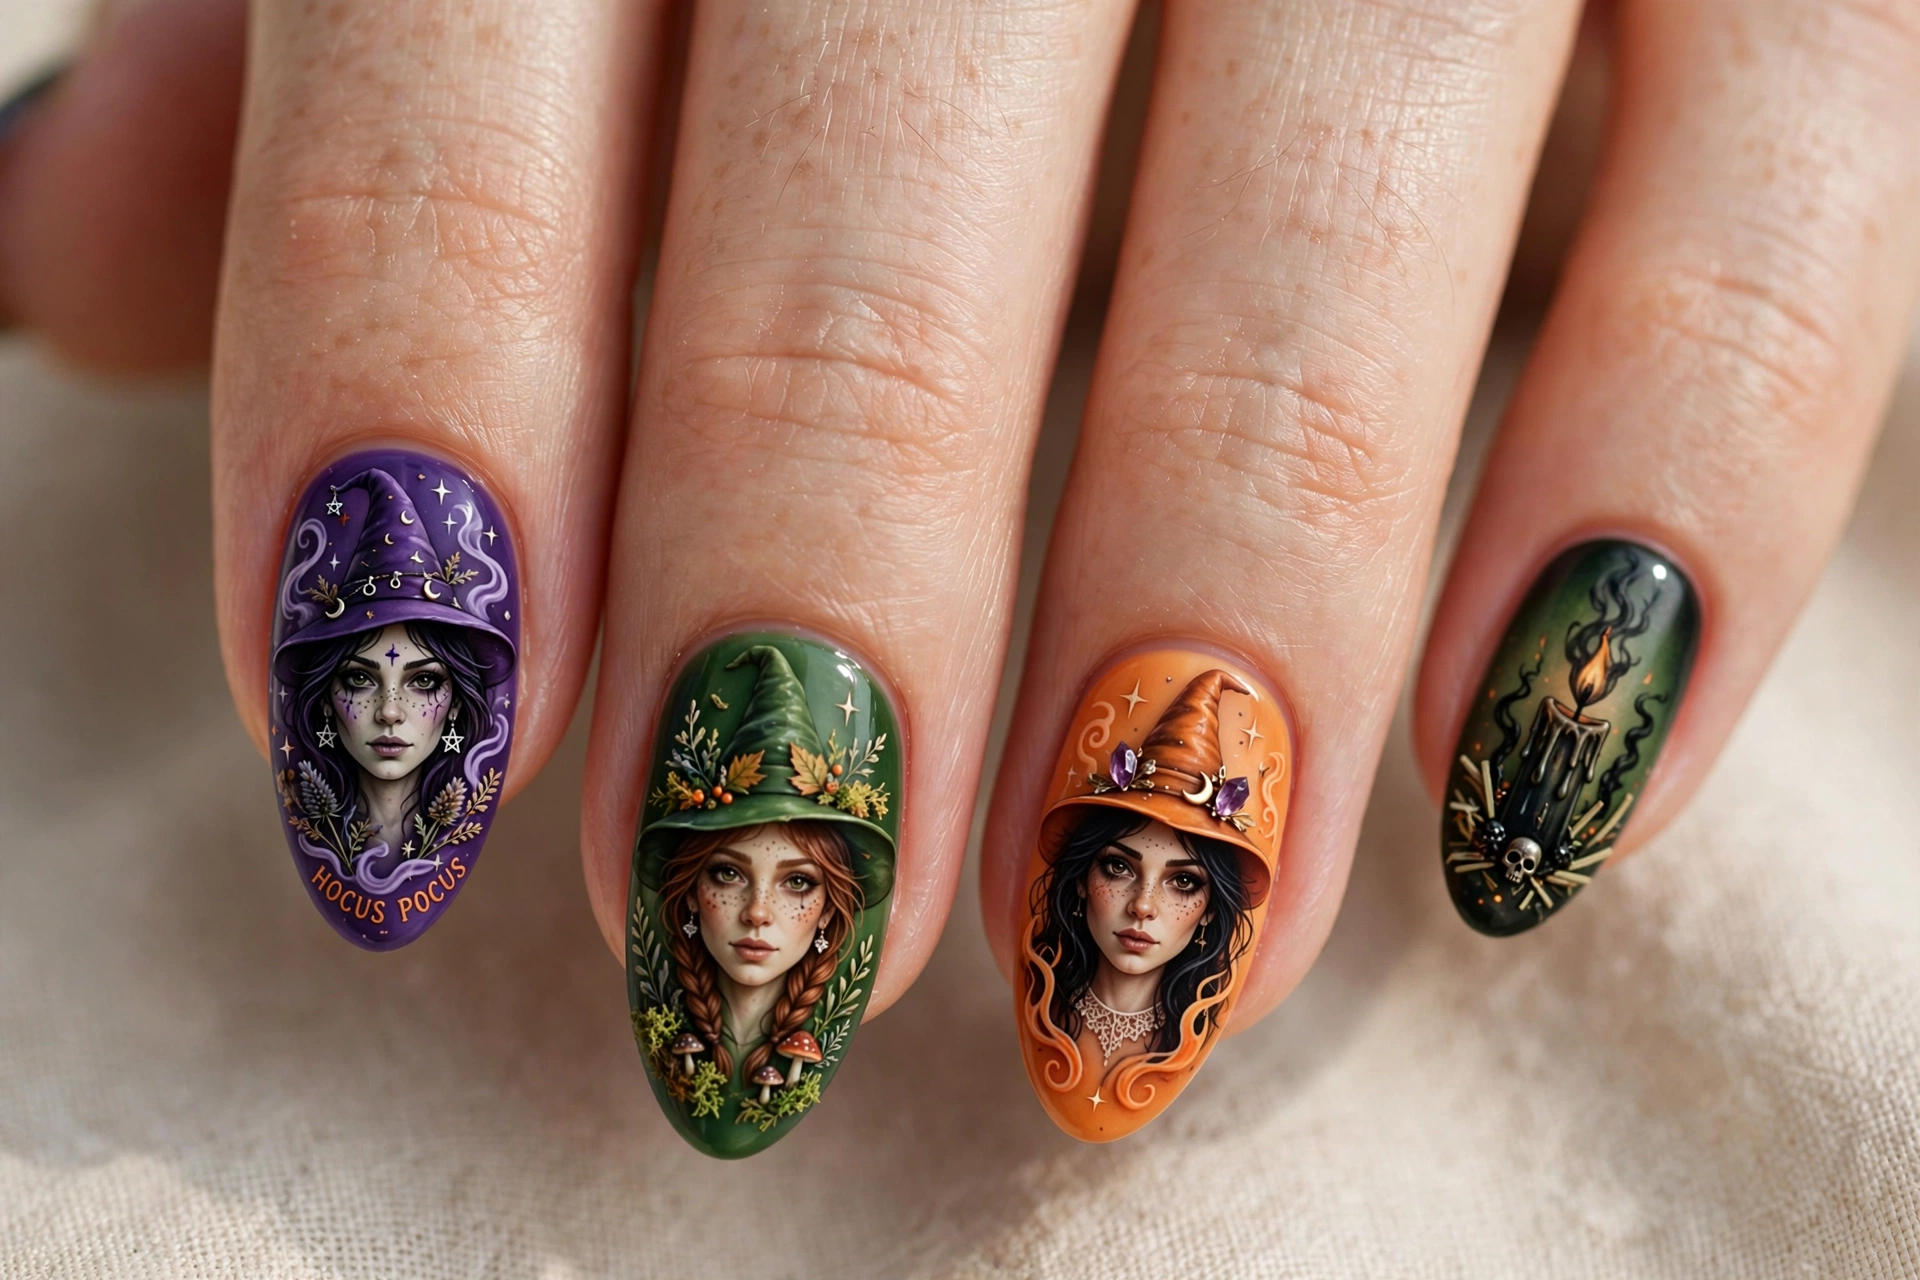
Why Hocus Pocus Nail Designs Are Perfect for Halloween
Hocus Pocus nails work because the movie gives nail artists so much to play with. The color palette is instantly recognizable: Winifred’s green and purple, Sarah’s blonde and teal, Mary’s red and brown, plus classic Halloween black and orange. The symbols are just as rich, from black cats and broomsticks to potion bottles and spell books. Together they create manicures that are festive without being generic.
These designs also suit every skill level. A simple black cat accent nail takes minutes, while a full Sanderson sister portrait set is a showpiece for a talented nail artist. They photograph beautifully too, which is why Hocus Pocus nails trend every October. For more dark seasonal ideas, browse these 15 black Halloween nail designs for a dark, chic spooky season.
1. Sanderson Sisters Portraits
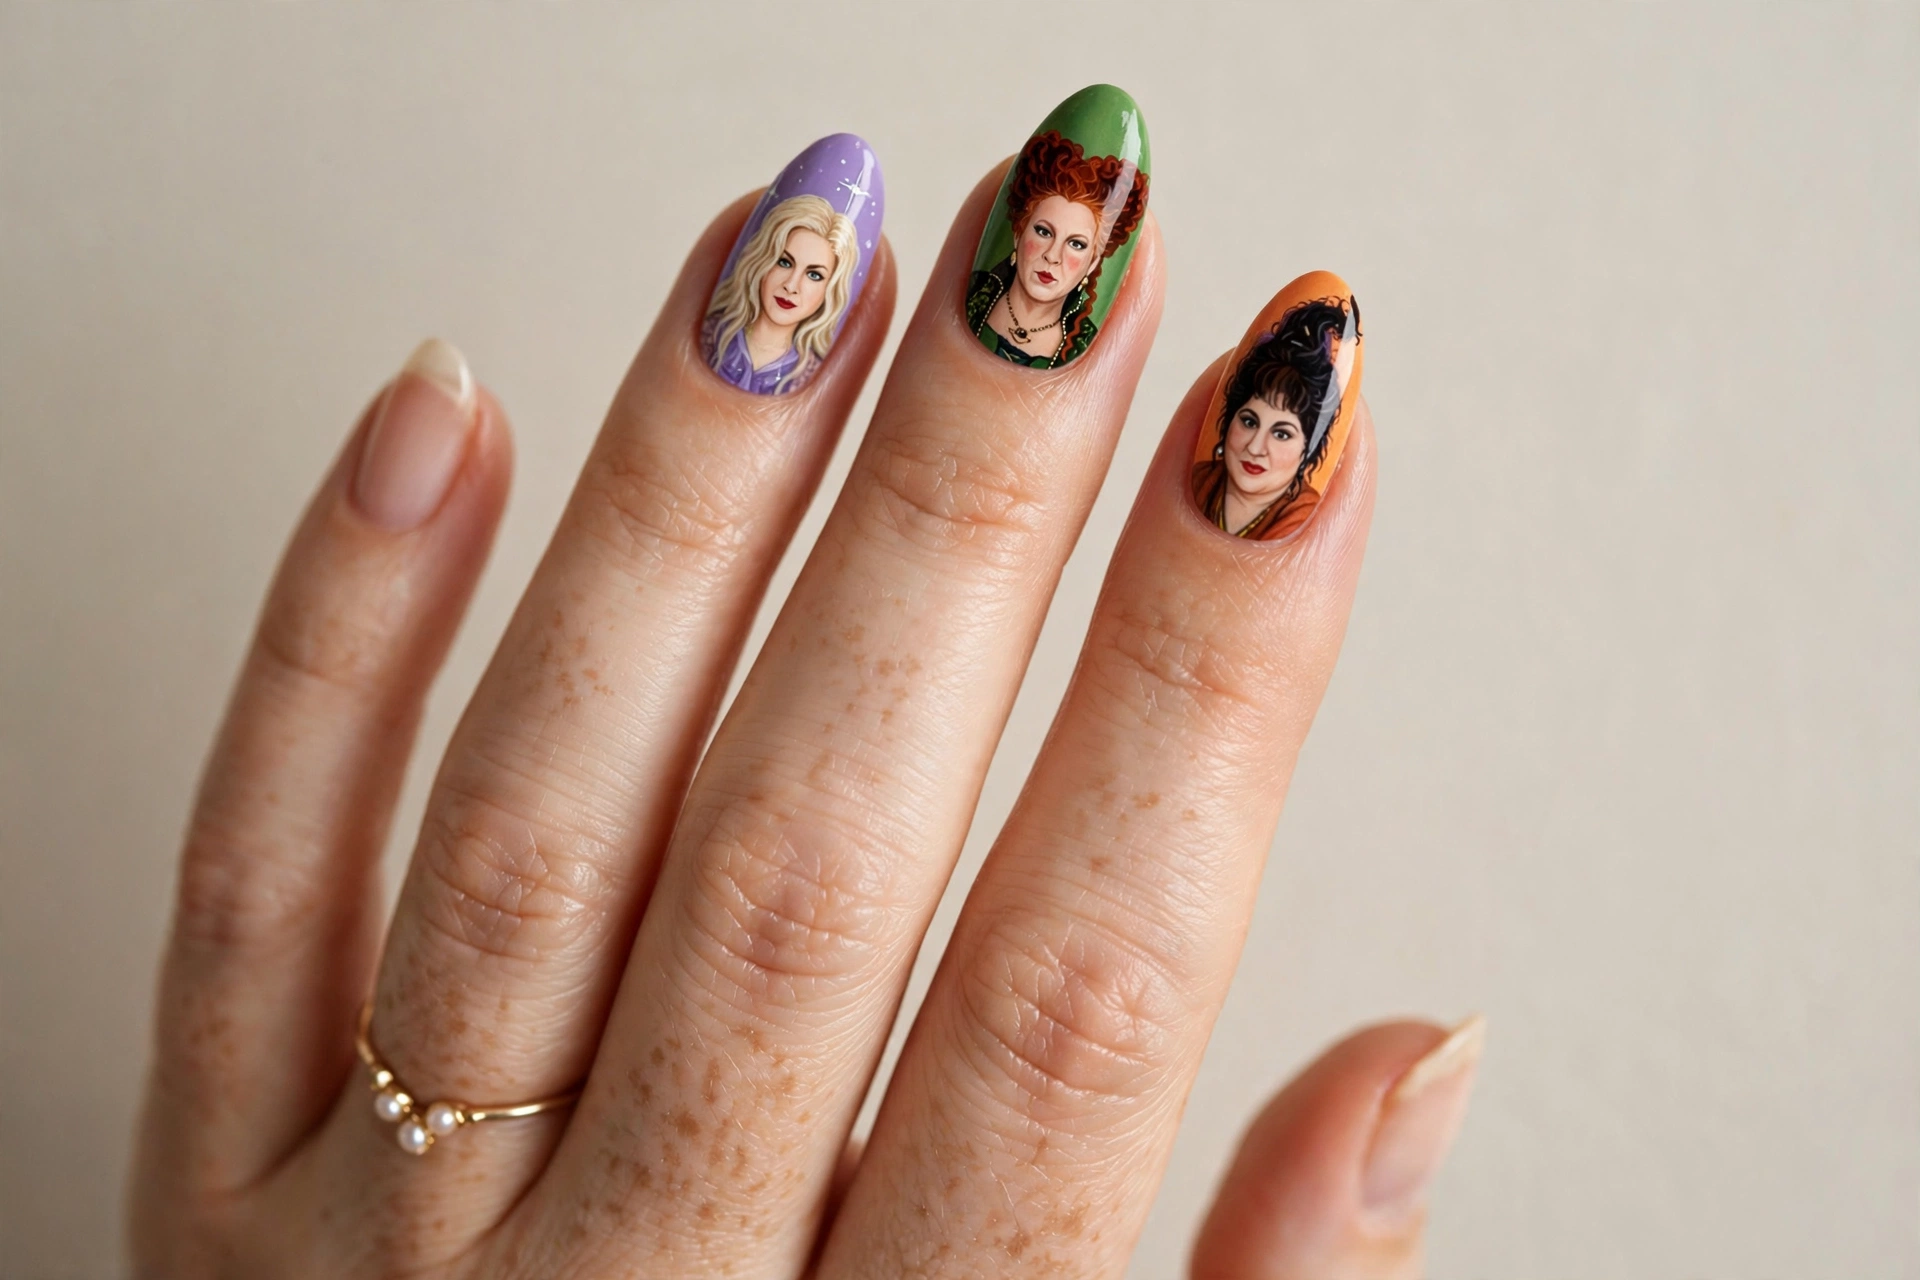
The ultimate tribute: Winifred, Sarah, and Mary painted across three accent nails, each on a background matching her signature colors. This is the most detailed design here and suits true fans of the movie. Use fine detail brushes or nail art stickers for the faces, since tiny portraits are hard to freehand. Keep the remaining nails in solid purple, green, or orange so the portraits stand out. This is a salon-level design, so bring reference photos to your nail artist.
2. Black Flame Candle
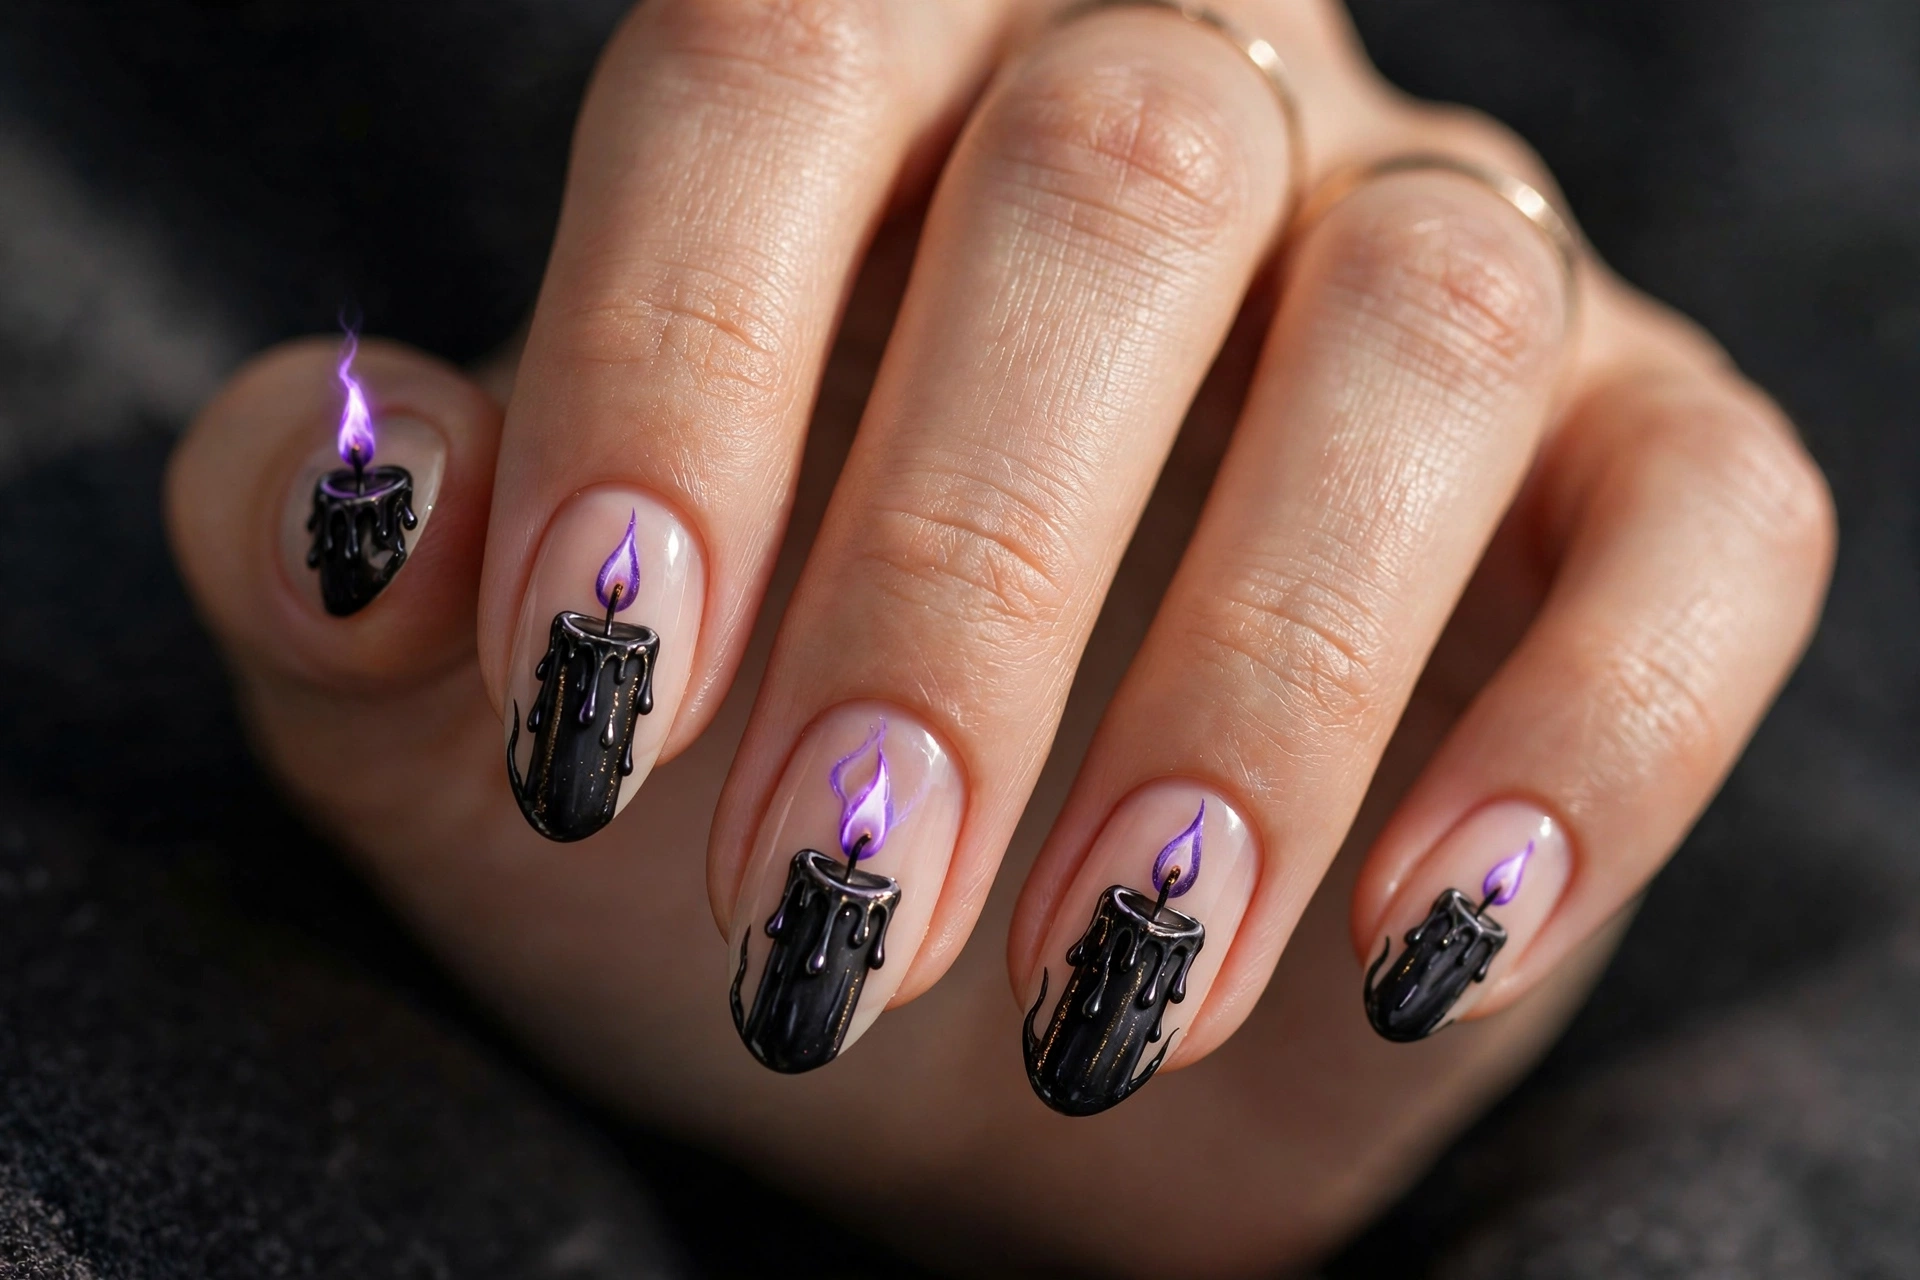 The black flame candle is the heart of the movie, and it makes a striking nail design. Paint a tall black candle with a glowing purple or green flame on an accent nail, with the rest in deep black or midnight purple. This suits anyone who wants an instantly recognizable Hocus Pocus symbol without full character art. The flame looks best with a little shimmer or glow effect, so layer a metallic top coat over it. It is spooky, simple, and perfect for Halloween night.
3. Spell Book Pages
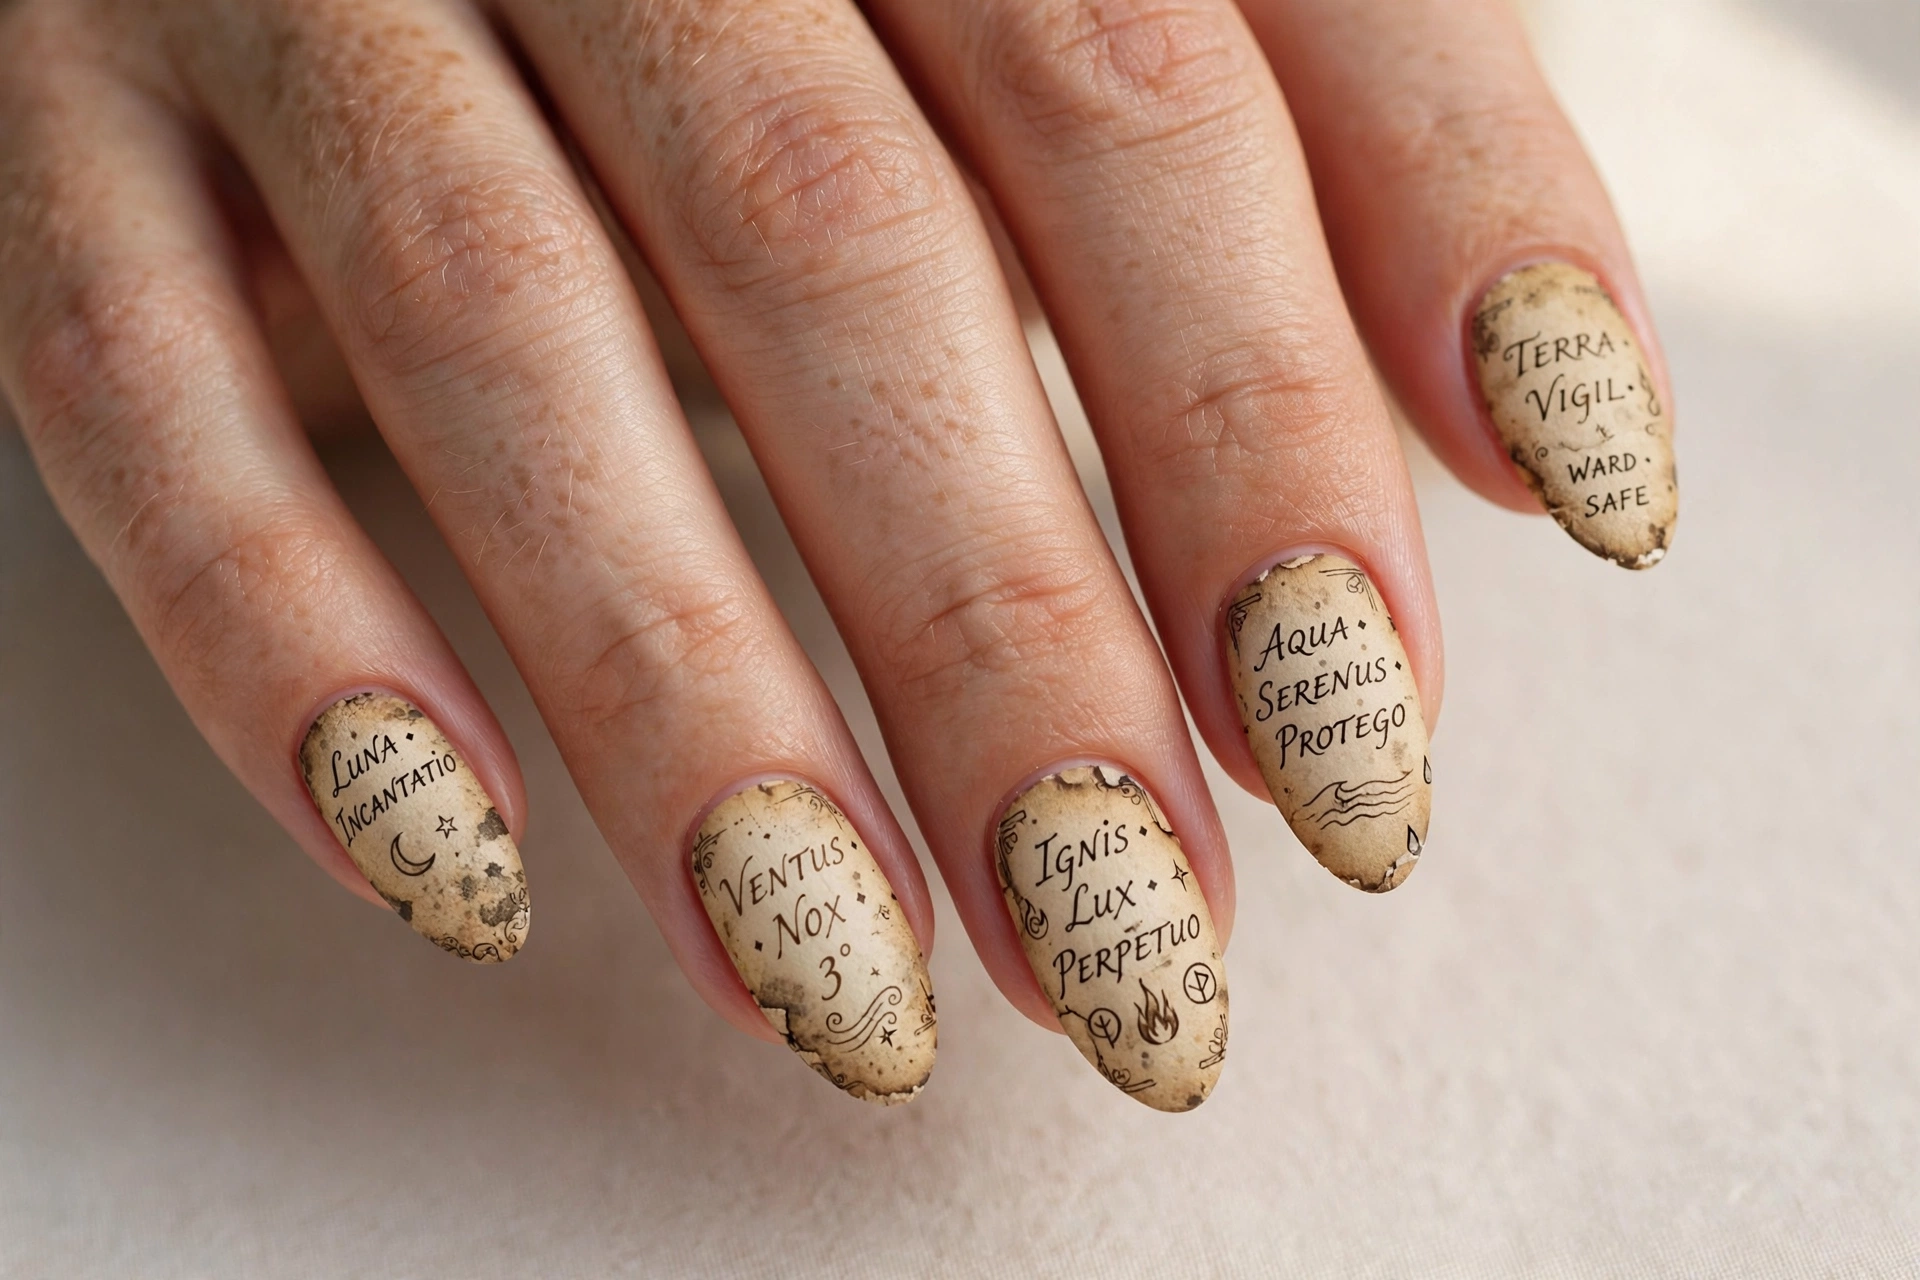
Aged parchment nails covered in handwritten spell script mimic the Sanderson sisters’ spell book. Use a nude or cream base, then add tiny script lines with a brown liner brush or a stamping plate. This suits vintage lovers and anyone who prefers subtle Halloween nails. The design looks best on almond or oval nails where the script has room to flow. Add a small eye or moon symbol on one nail for an authentic spell book feel.
4. Potion Bottles
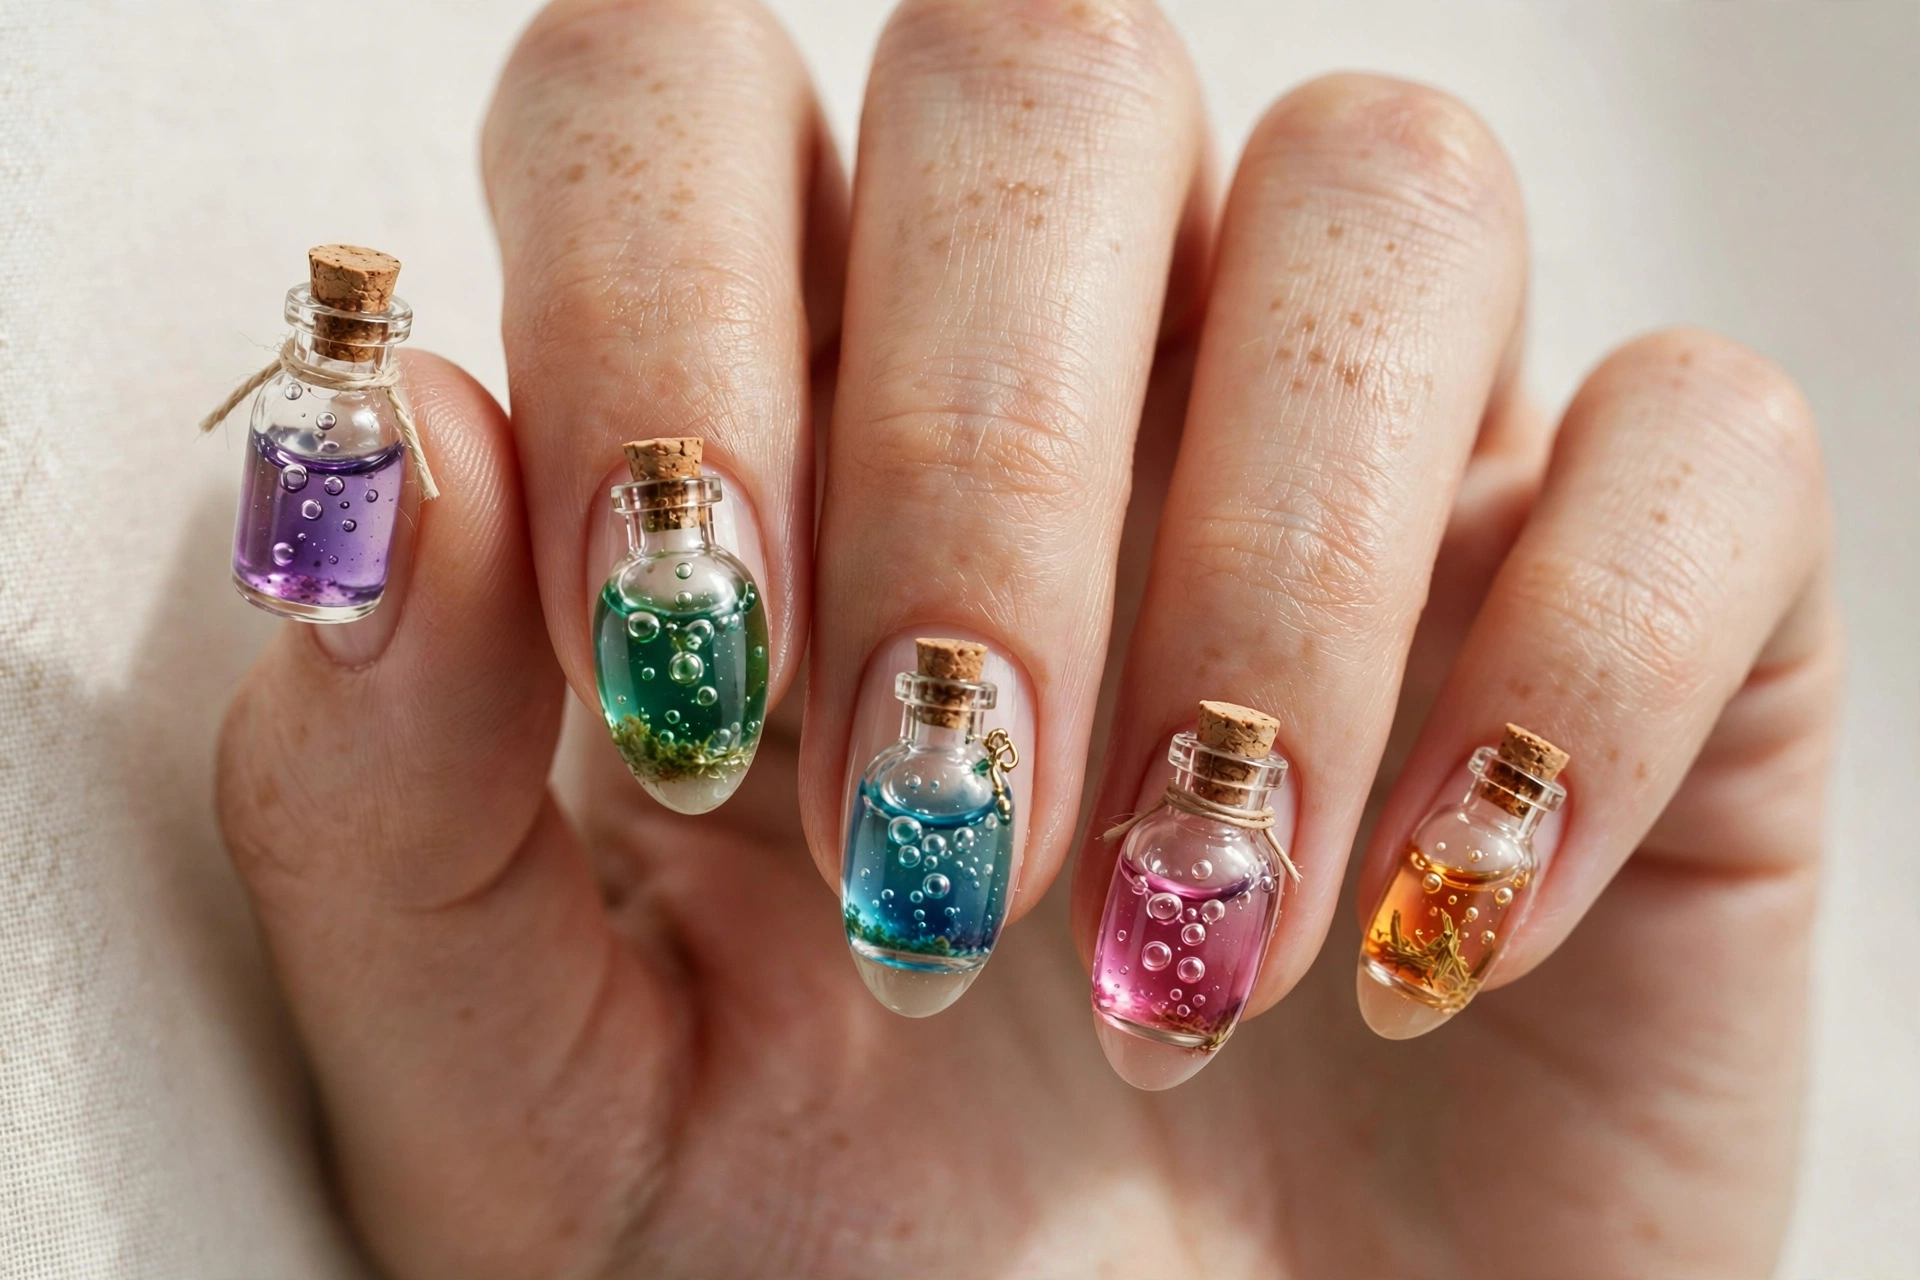
Tiny potion bottles in jewel tones look like an apothecary shelf on your fingertips. Paint little bottle shapes filled with green, purple, and orange liquids, adding tiny bubbles for a brewing effect. This suits playful personalities and looks adorable on shorter nails. The bottles are easiest with a dotting tool for the round shapes and a liner for the necks. Keep the base dark so the colorful potions pop.
5. Broomsticks on the Moon
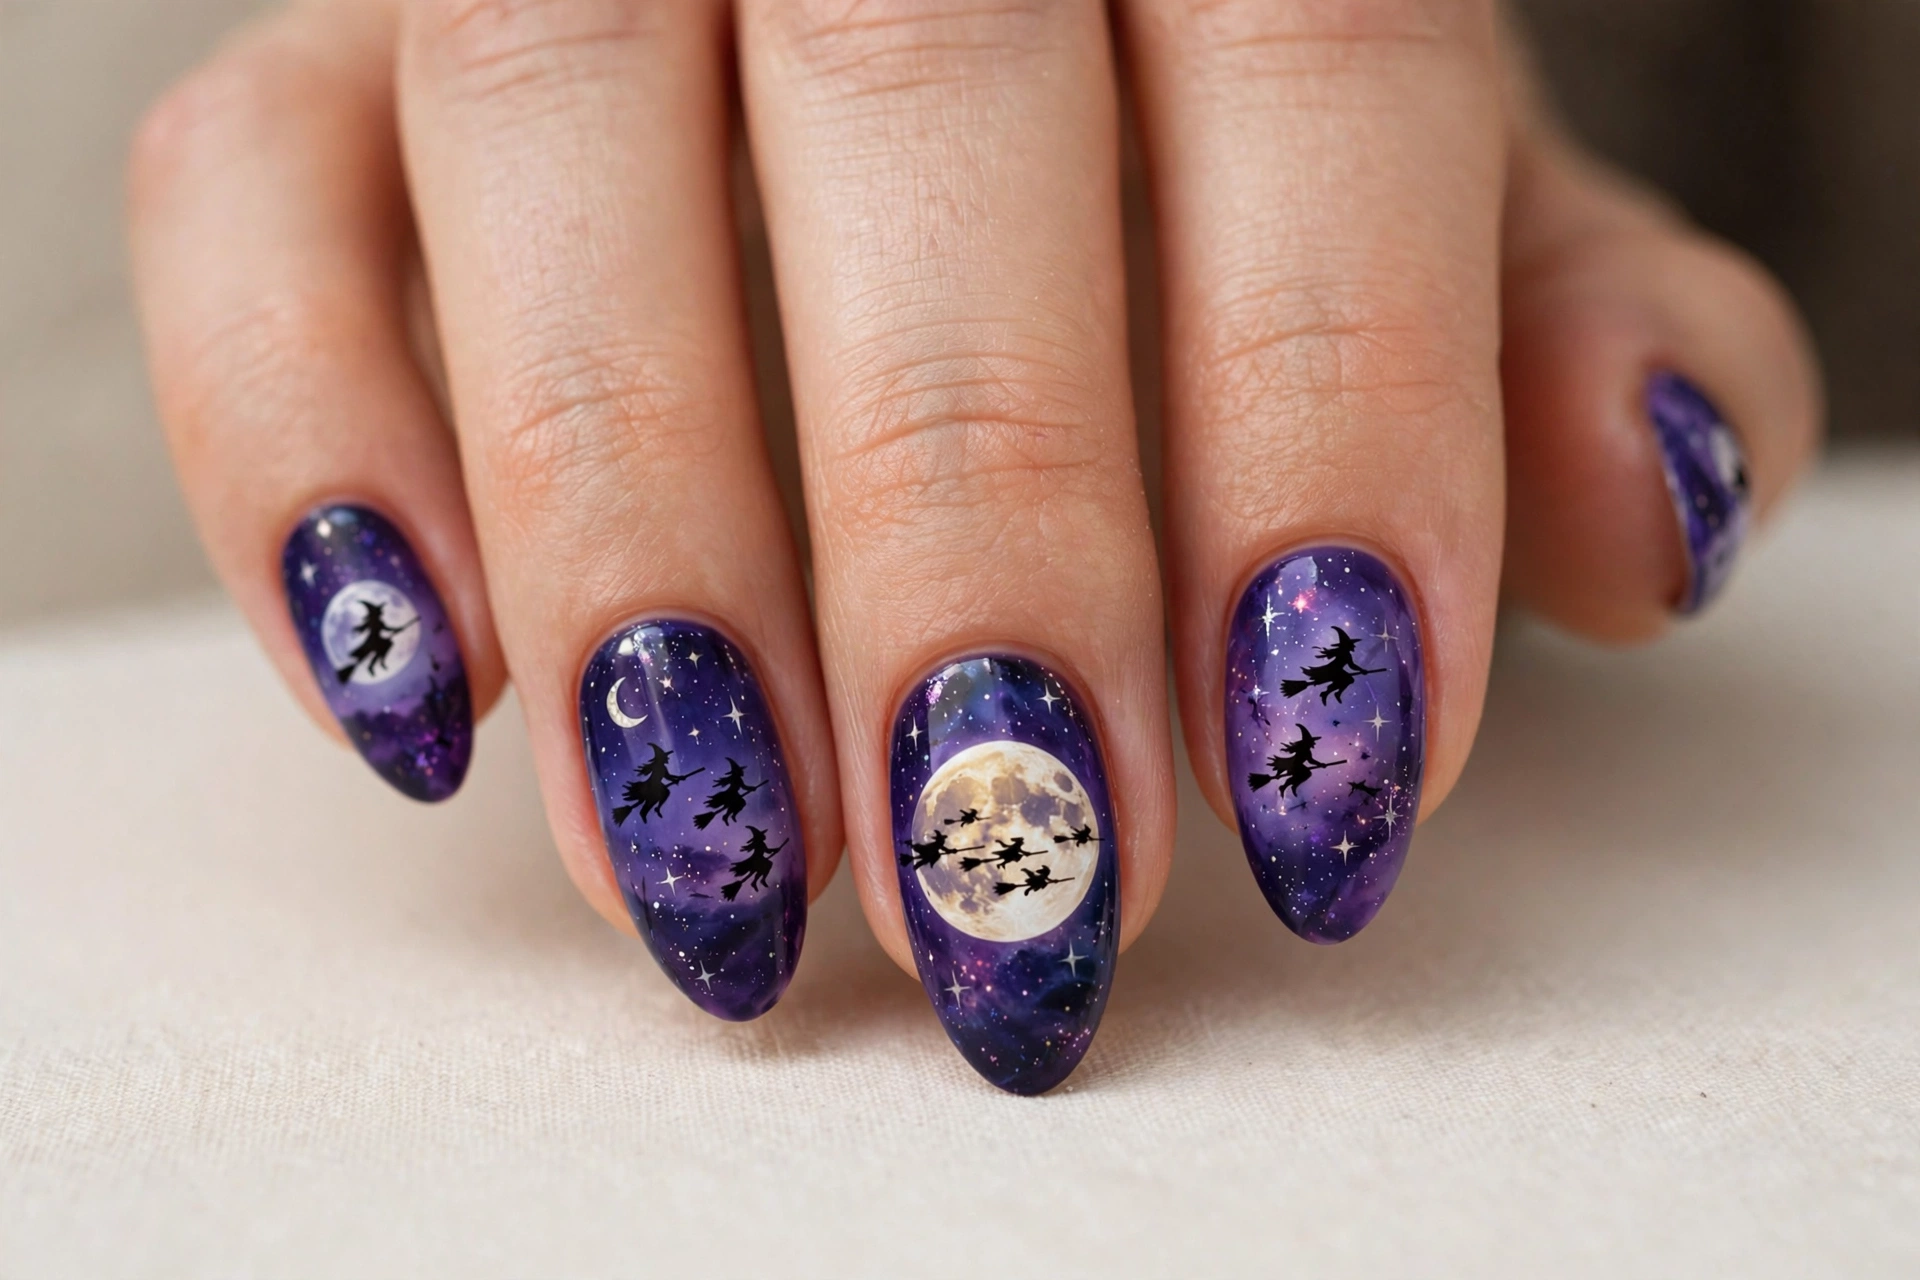
Witch silhouettes on broomsticks flying across a glowing full moon capture the movie’s most magical scene. Paint a large moon on each nail over a purple night sky, then add tiny broomstick silhouettes in black. This suits romantics and anyone who loves classic Halloween imagery. The silhouettes are simple shapes, so this is very DIY friendly. Add tiny stars around the moon for extra sparkle.
6. Black Cat
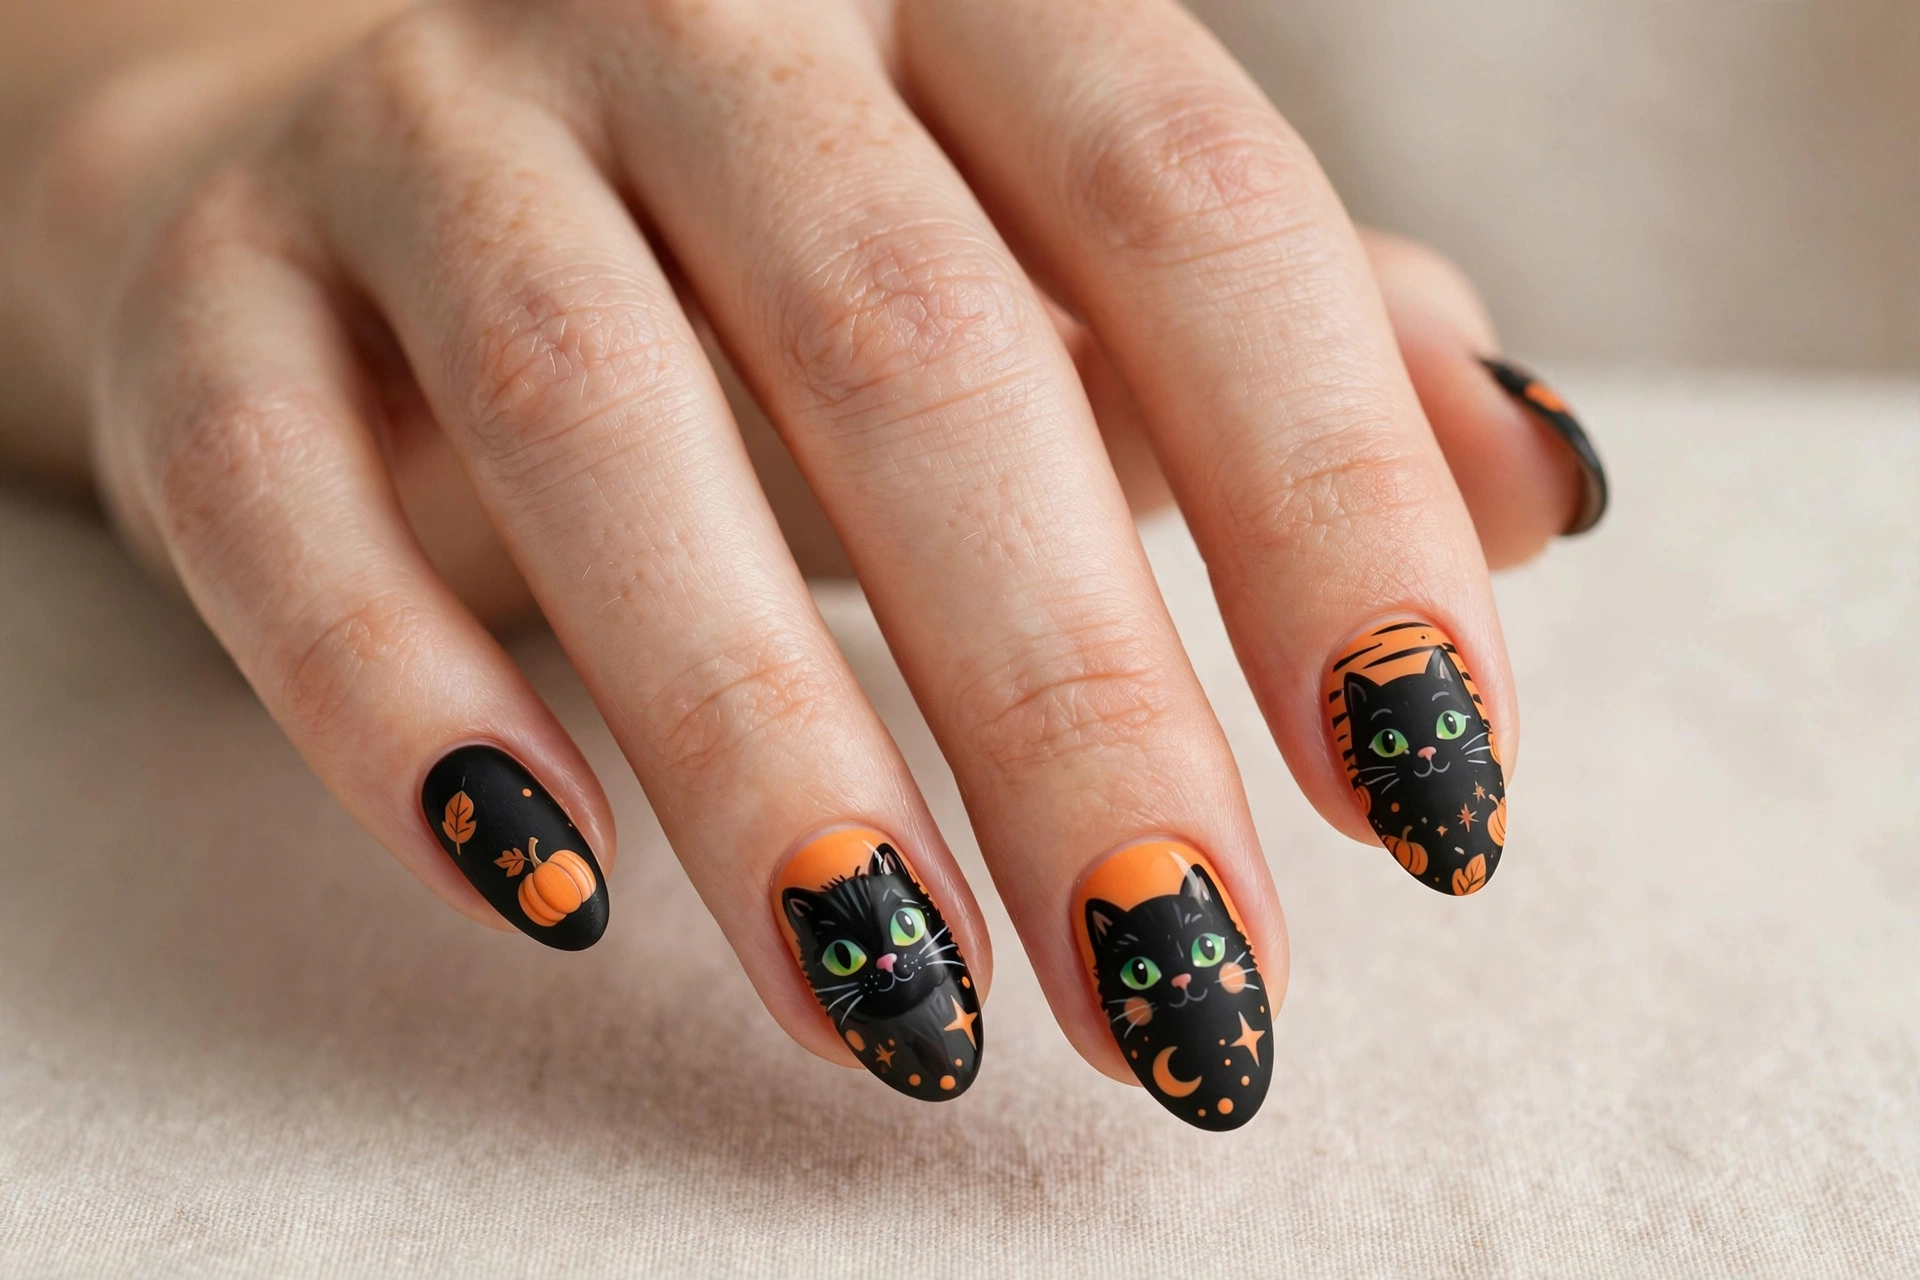
Thackery Binx, the immortal black cat, deserves his own manicure. Paint cute black cat faces with glowing green eyes on orange or black nails. This suits animal lovers and anyone who wants a sweet rather than scary Halloween look. Cat faces are simple: two triangle ears, round eyes, and whiskers. Try it on every nail or as one accent with solid black on the rest. It is quick, cute, and unmistakably Hocus Pocus.
7. Salem Night Skyline
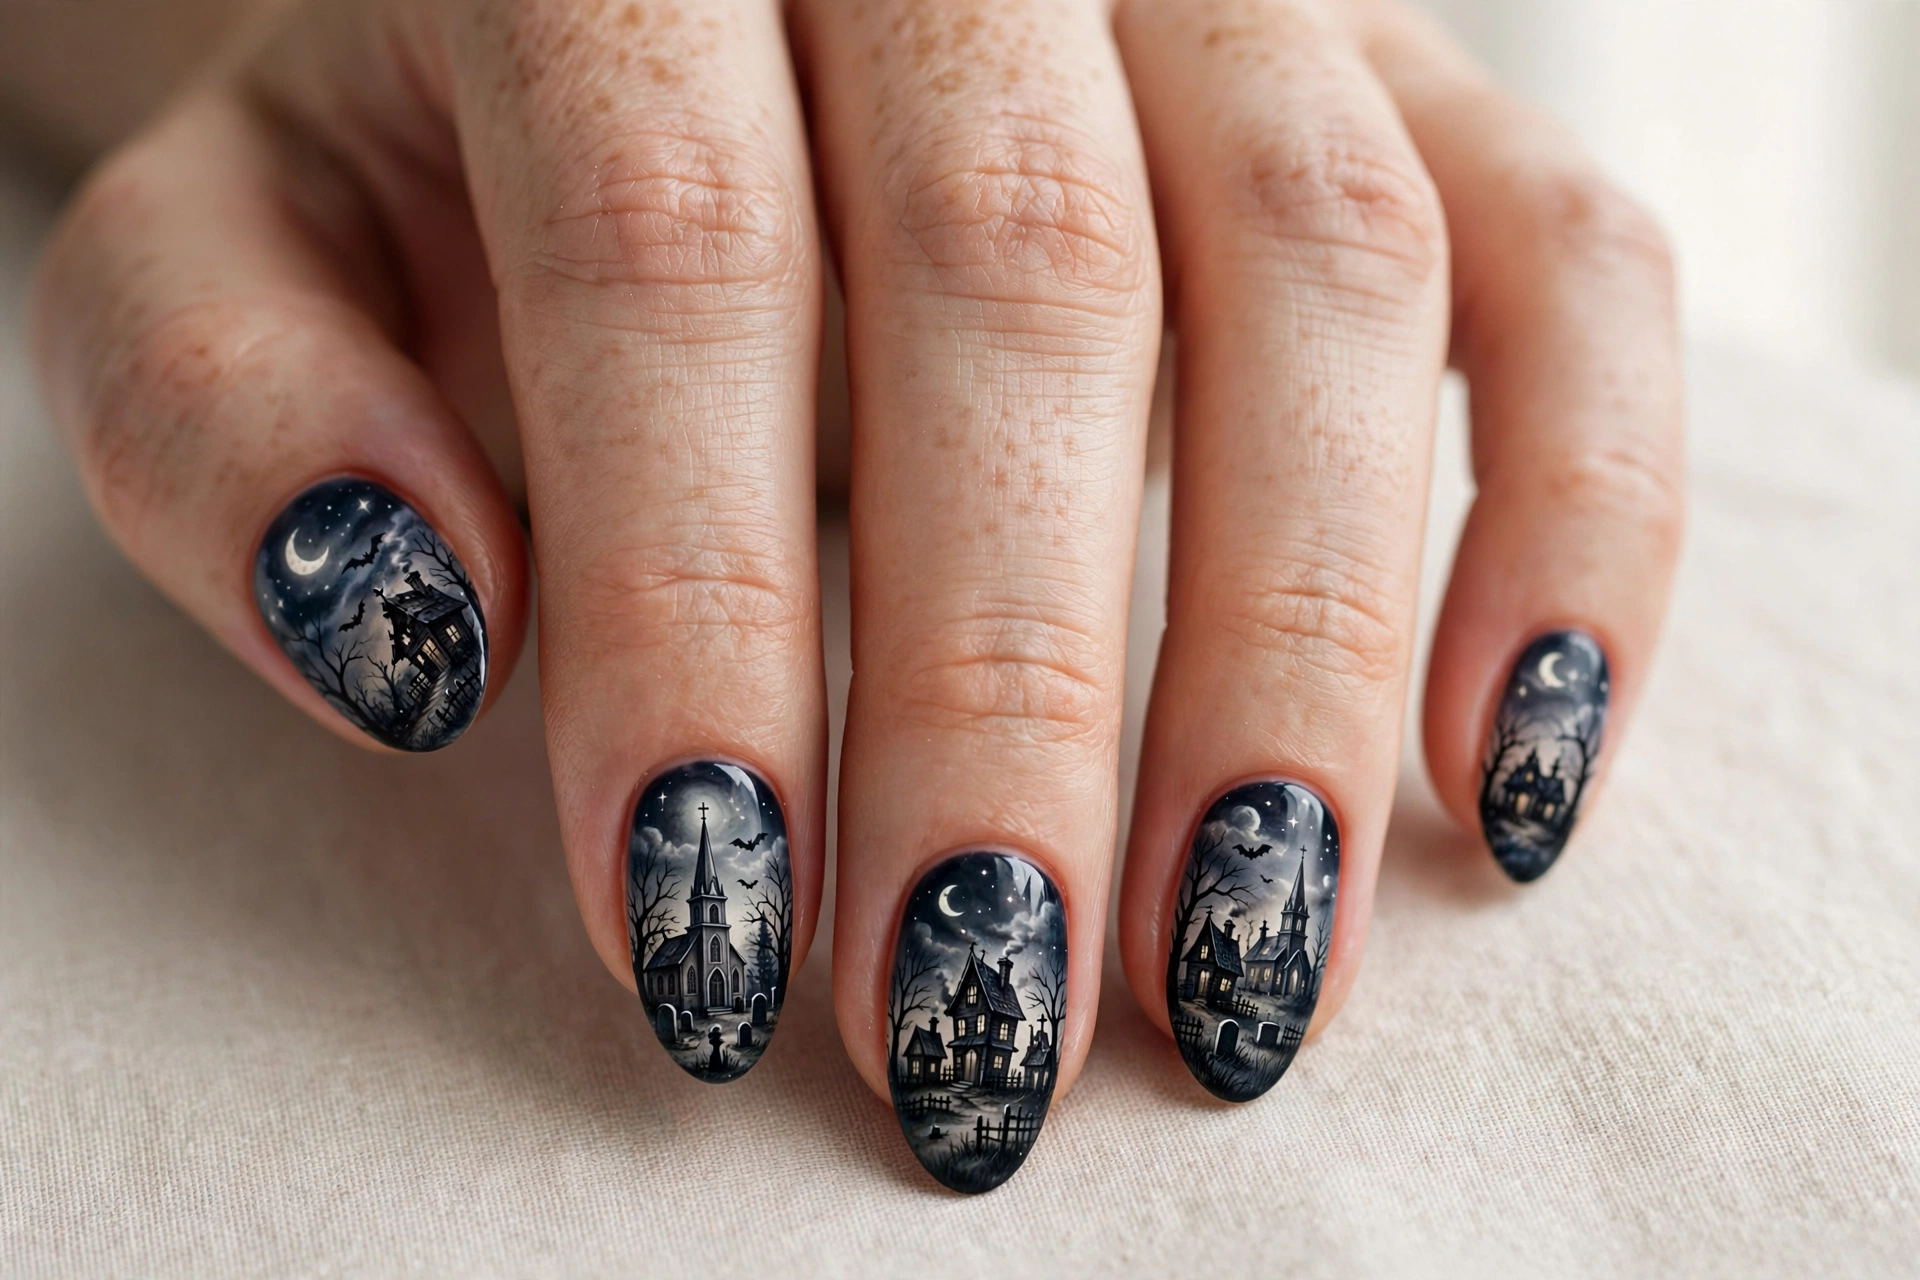
A tiny Salem village skyline with haunted houses, church steeples, and bare trees under a crescent moon. This suits anyone who loves the movie’s setting as much as its characters. Paint the skyline in black silhouette over a gradient night sky from deep blue to purple. The details are small but simple shapes, so take your time with a fine brush. It looks especially pretty on longer nails with room for the scene.
8. Trio of Witch Hats
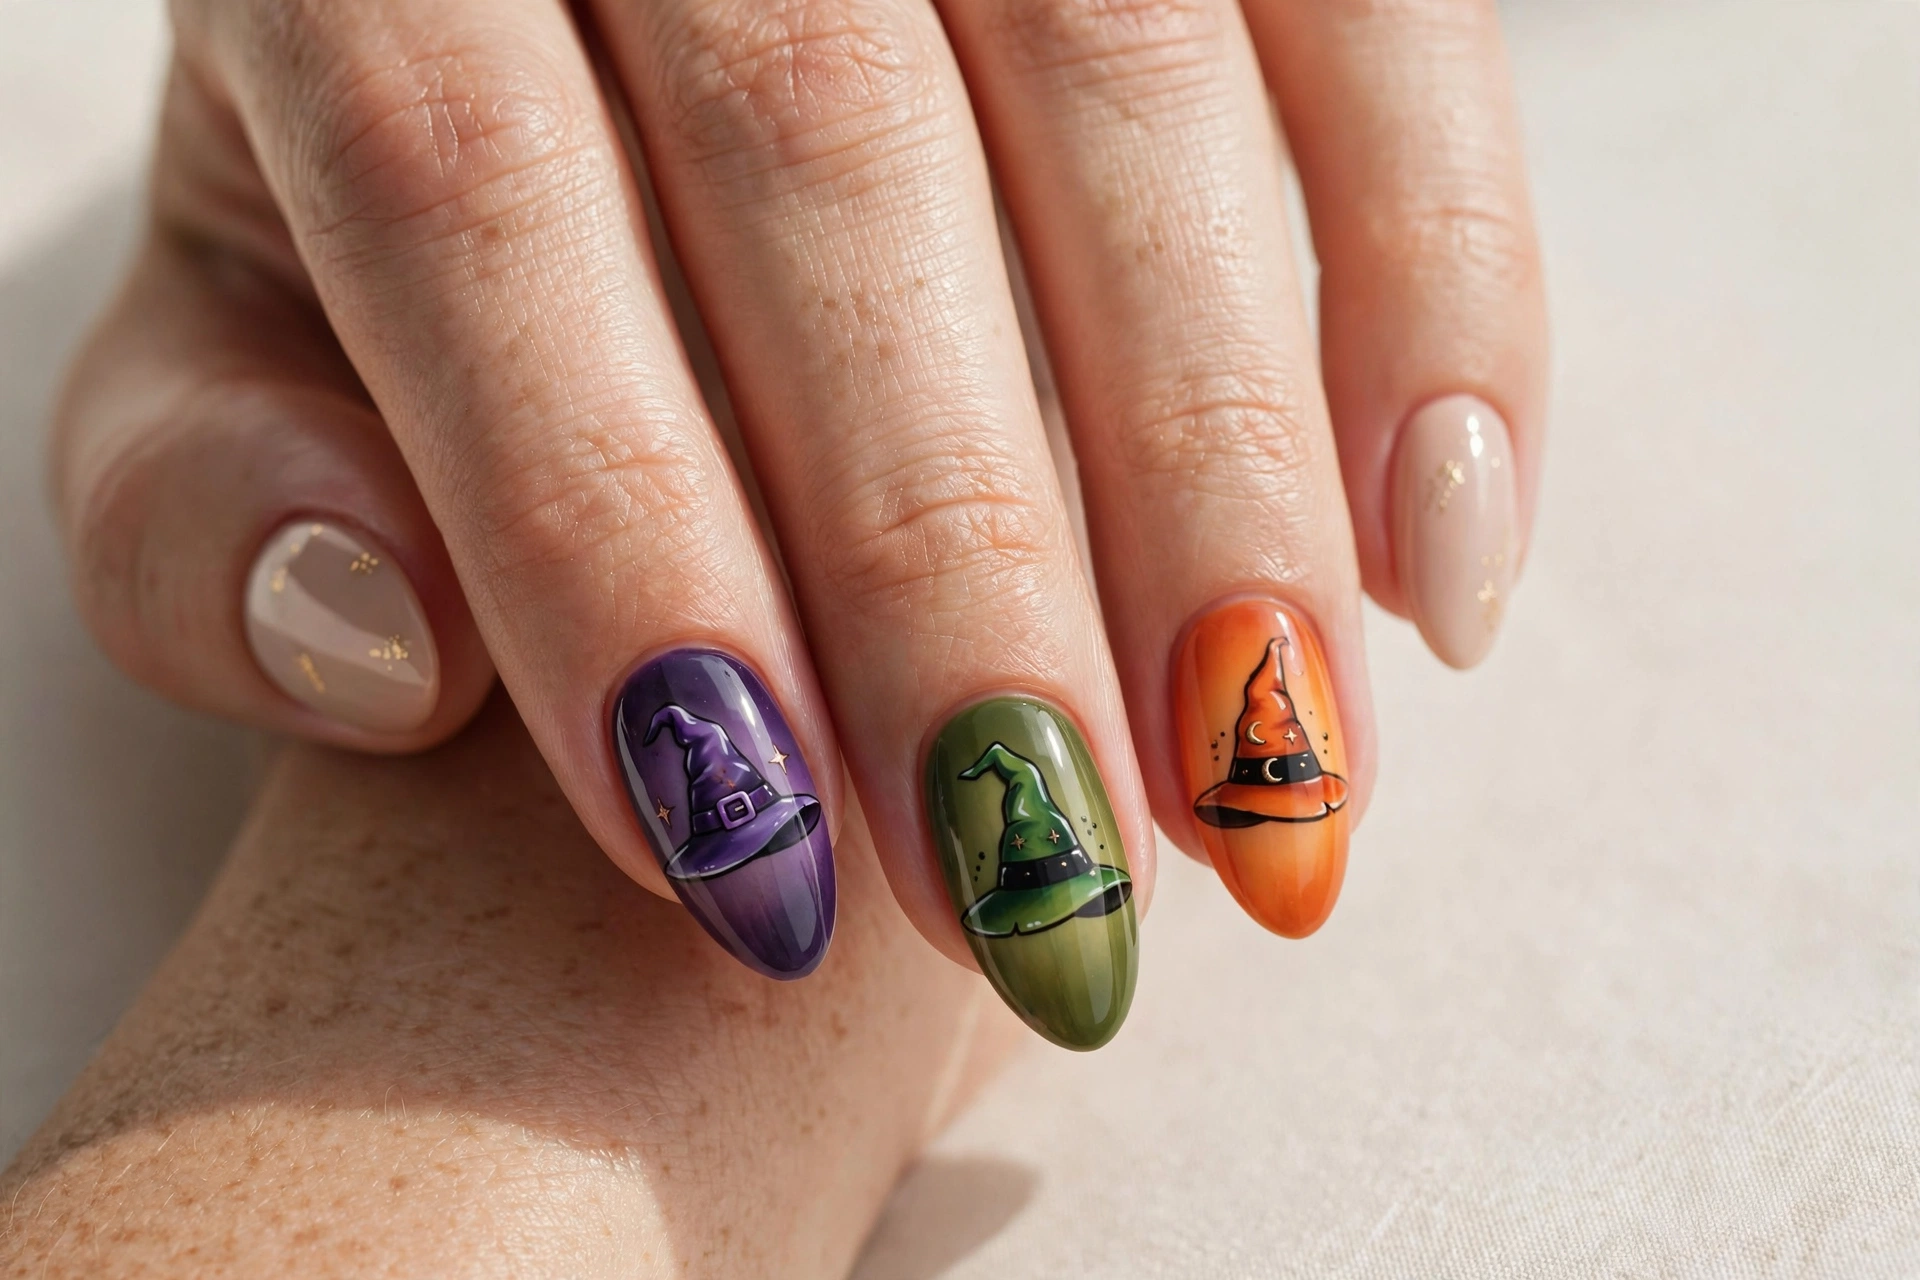
Three pointed witch hats, one in each sister’s signature color, make a fun and simple tribute. Purple for Winifred, blonde-teal for Sarah, red-brown for Mary, or classic black for all three. This suits beginners since hats are just triangles with a brim. Add a small buckle or star on each hat for detail. It works on any nail length and reads as Hocus Pocus instantly to fellow fans.
9. Bubbling Cauldron
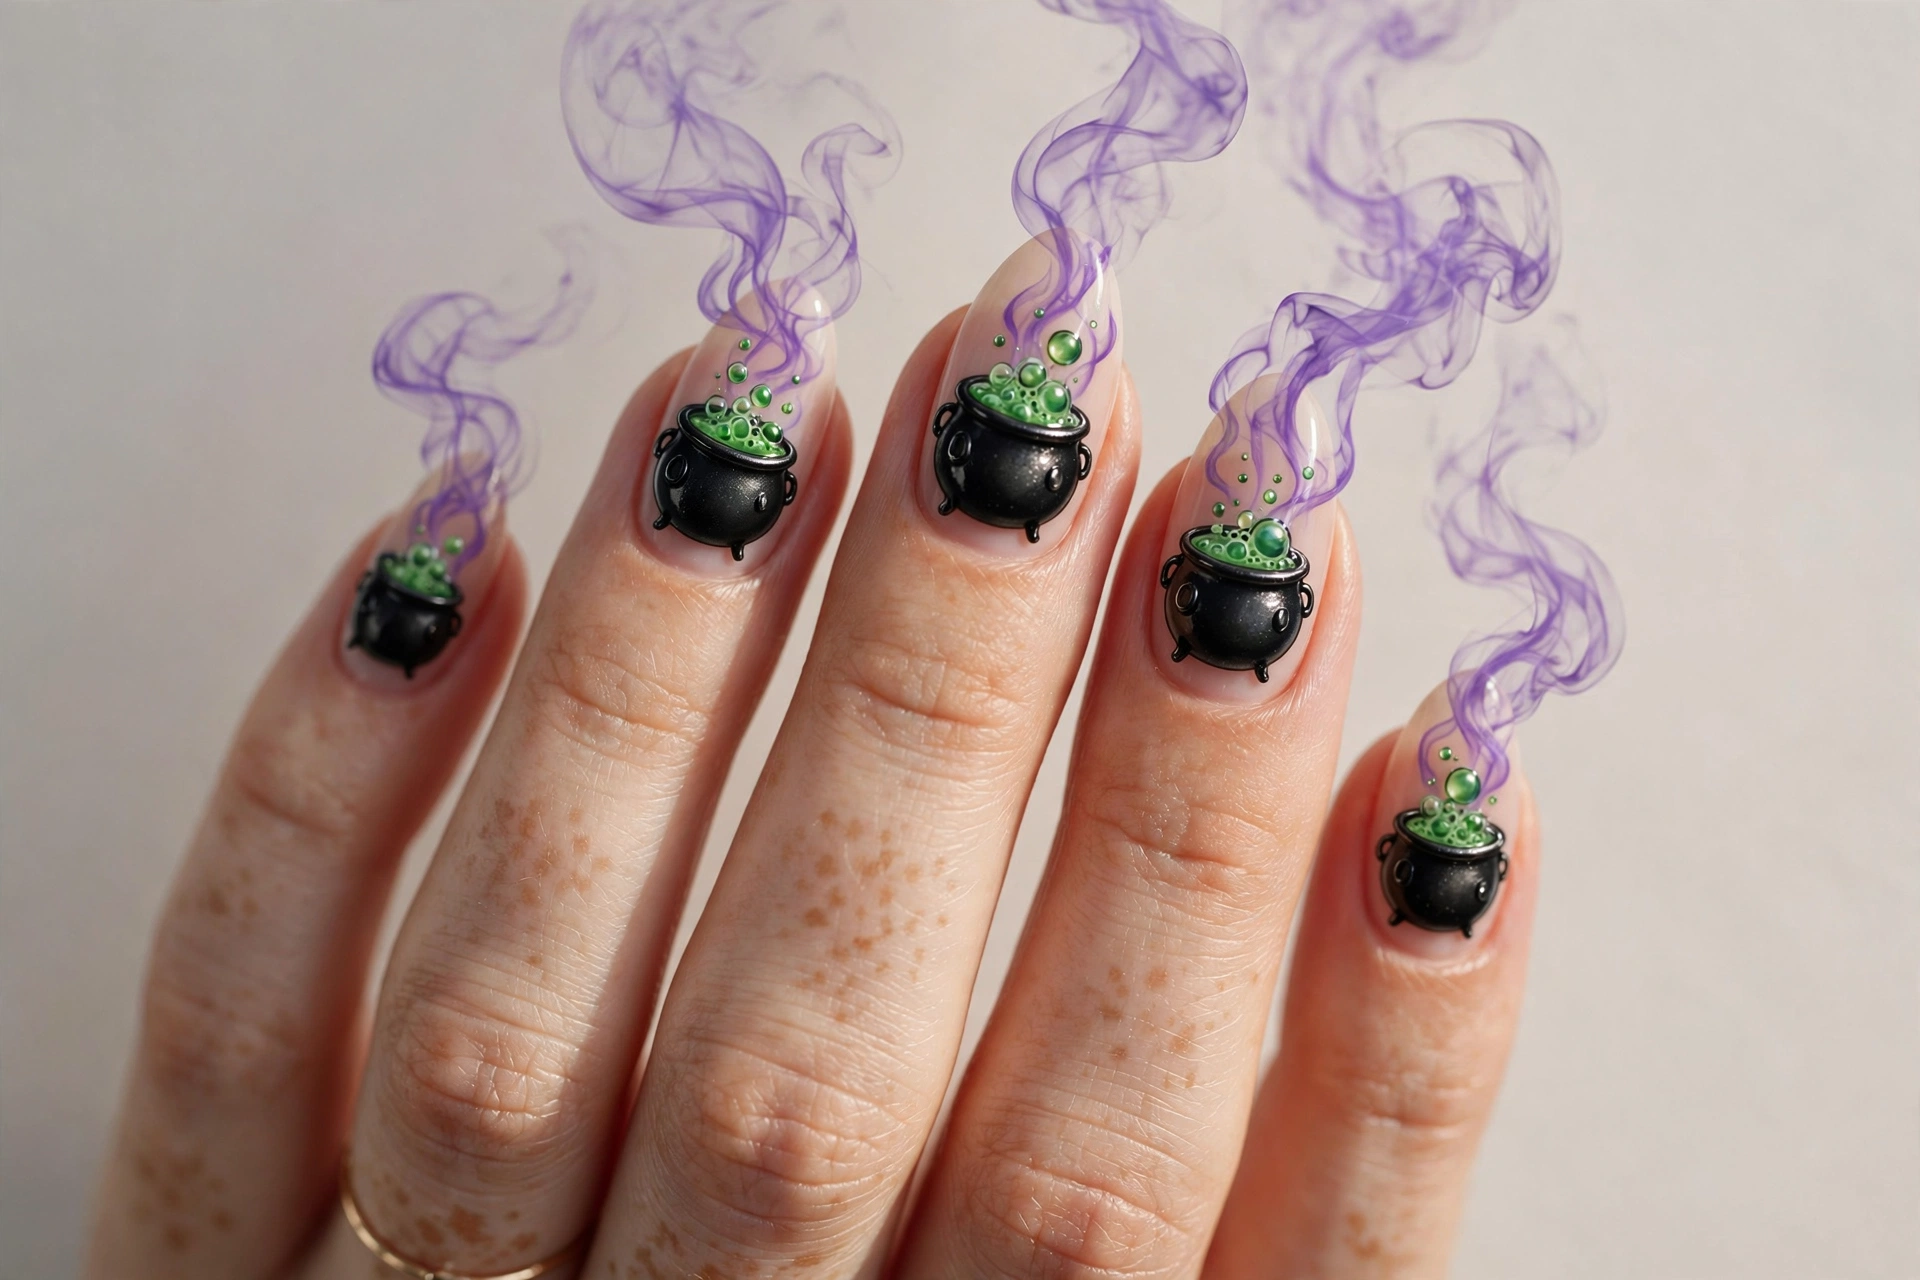
A black cauldron overflowing with bubbling green potion and purple smoke wisps. This suits anyone who loves the movie’s potion-making scenes. Paint the cauldron as a rounded black shape on one or two accent nails, with green bubbles rising above it. A dotting tool makes perfect bubbles. Keep the other nails in solid green or purple to match the potion. It is playful, colorful, and very Halloween.
10. I Put a Spell on You Script
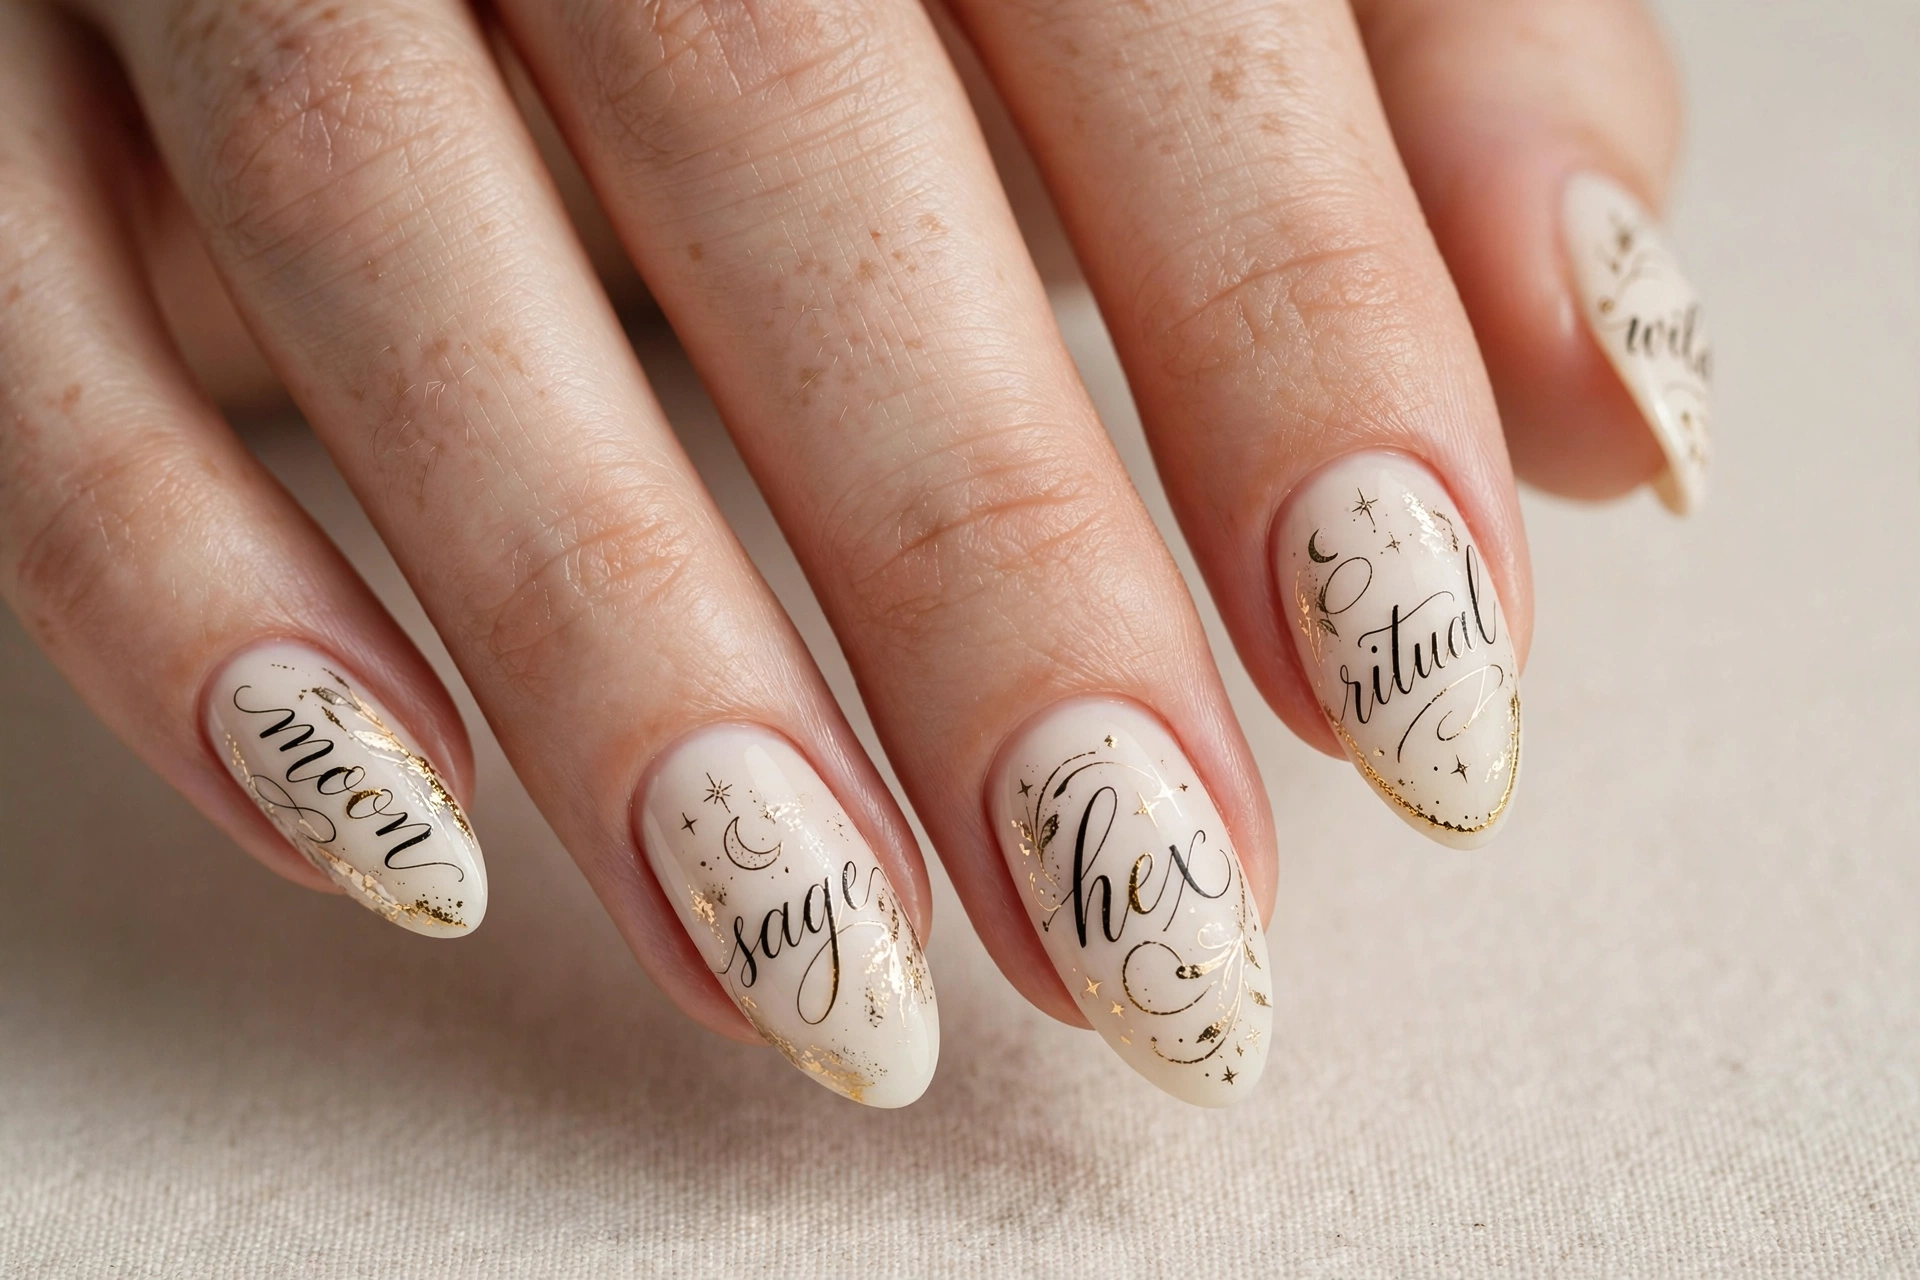
The movie’s most famous line in elegant script across your nails. Paint “I put a spell on you” in flowing calligraphy on a cream or nude base, or split the words across several nails. This suits romantics and anyone who prefers chic Halloween nails over spooky ones. Use a fine liner brush or nail art pens for the lettering. Gold script on black looks especially luxe for Halloween parties.
11. Zombie Billy
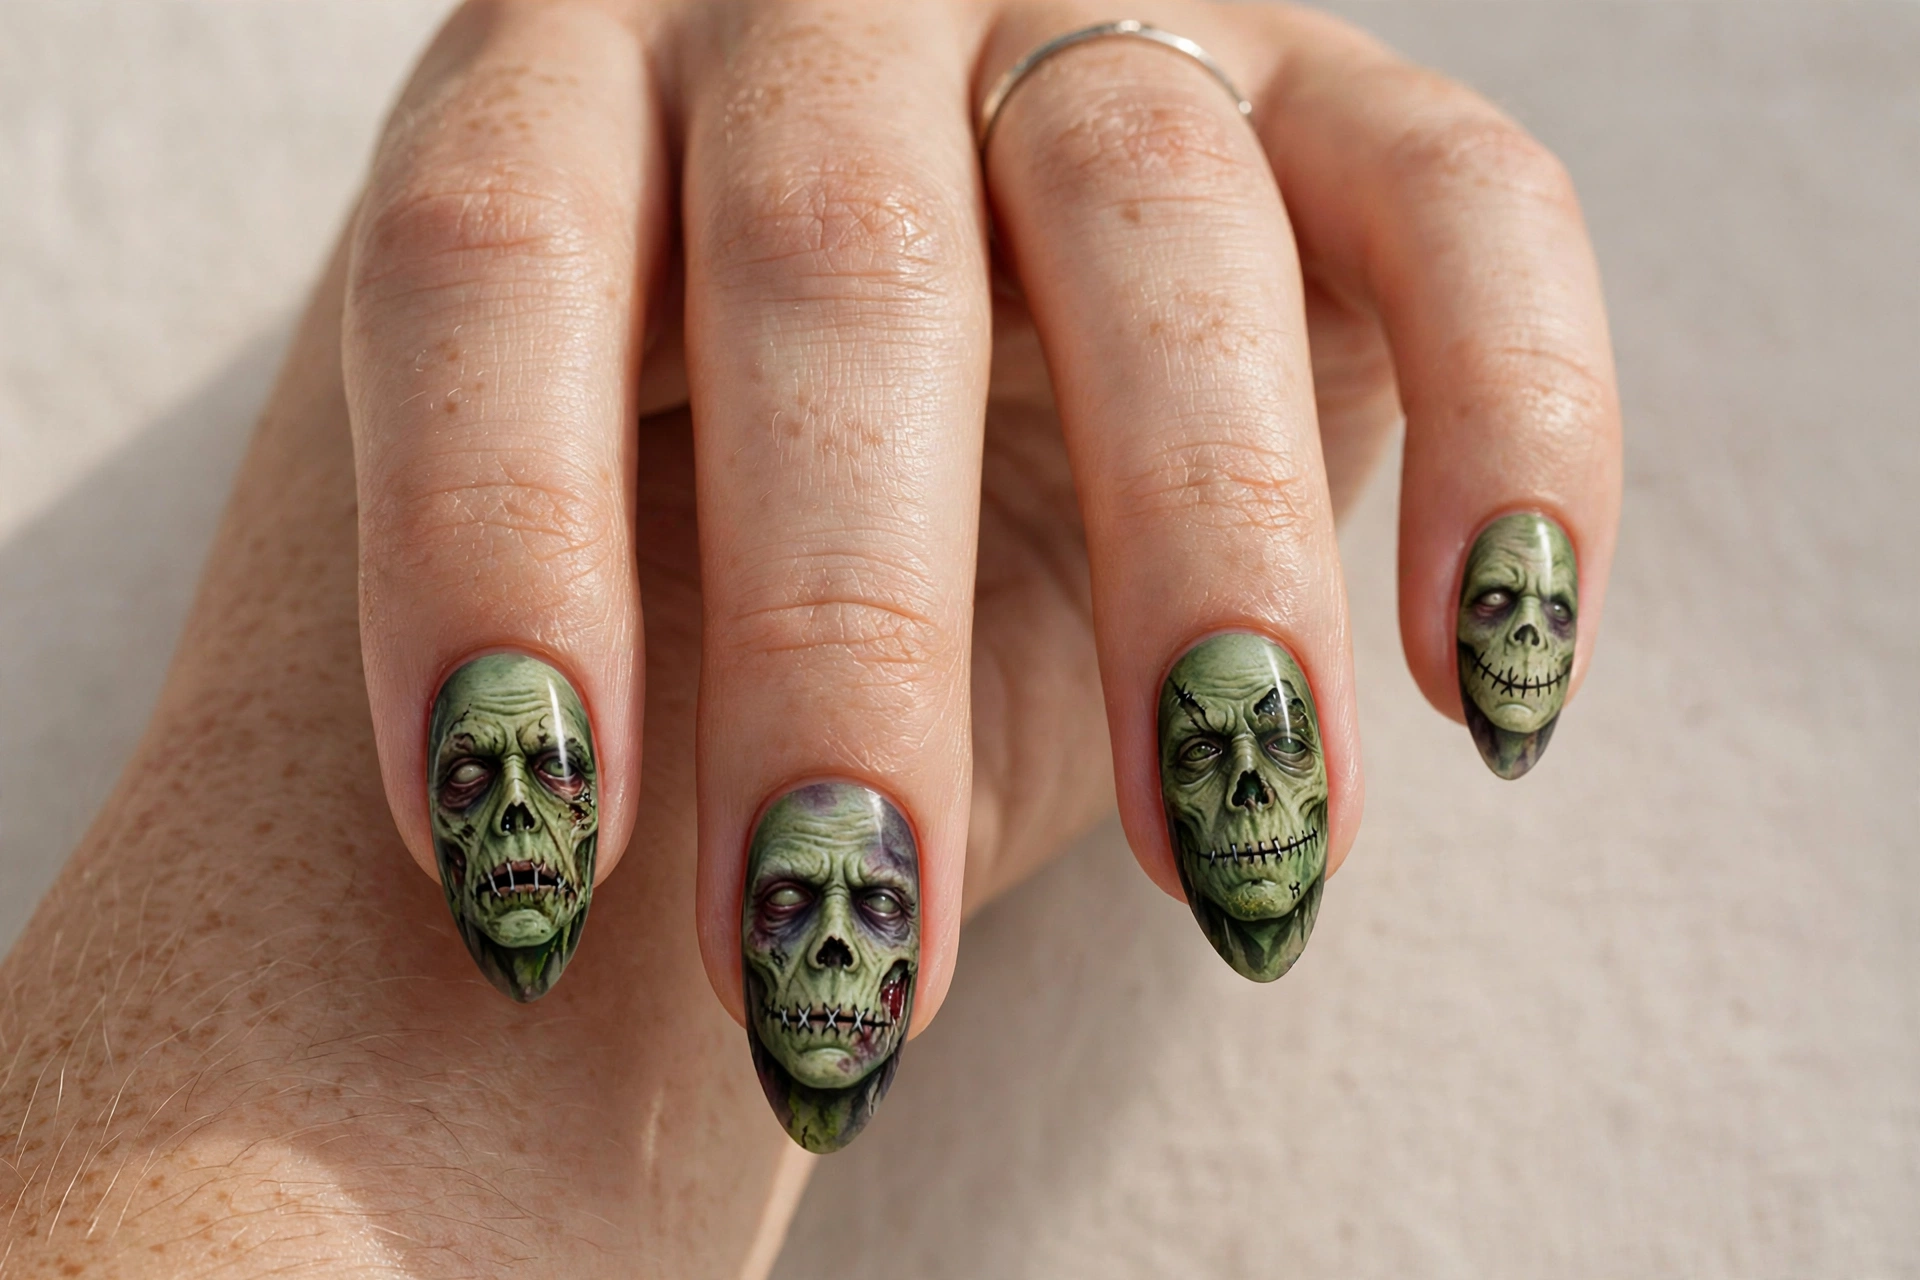
Billy Butcherson, the charming zombie, makes for a fun spooky design. Paint his stitched, undead face in grey-green tones on an accent nail, with the rest in dark grey or black. This suits horror fans who want something a little creepier. The stitches are the key detail: small black X shapes across the mouth. Keep it cartoonish rather than gory for a playful Halloween vibe. If you love spooky movie nails, these 23 Jack Skellington nail designs for spooky season share the same creepy-cute spirit.
12. Winifred’s Green and Purple
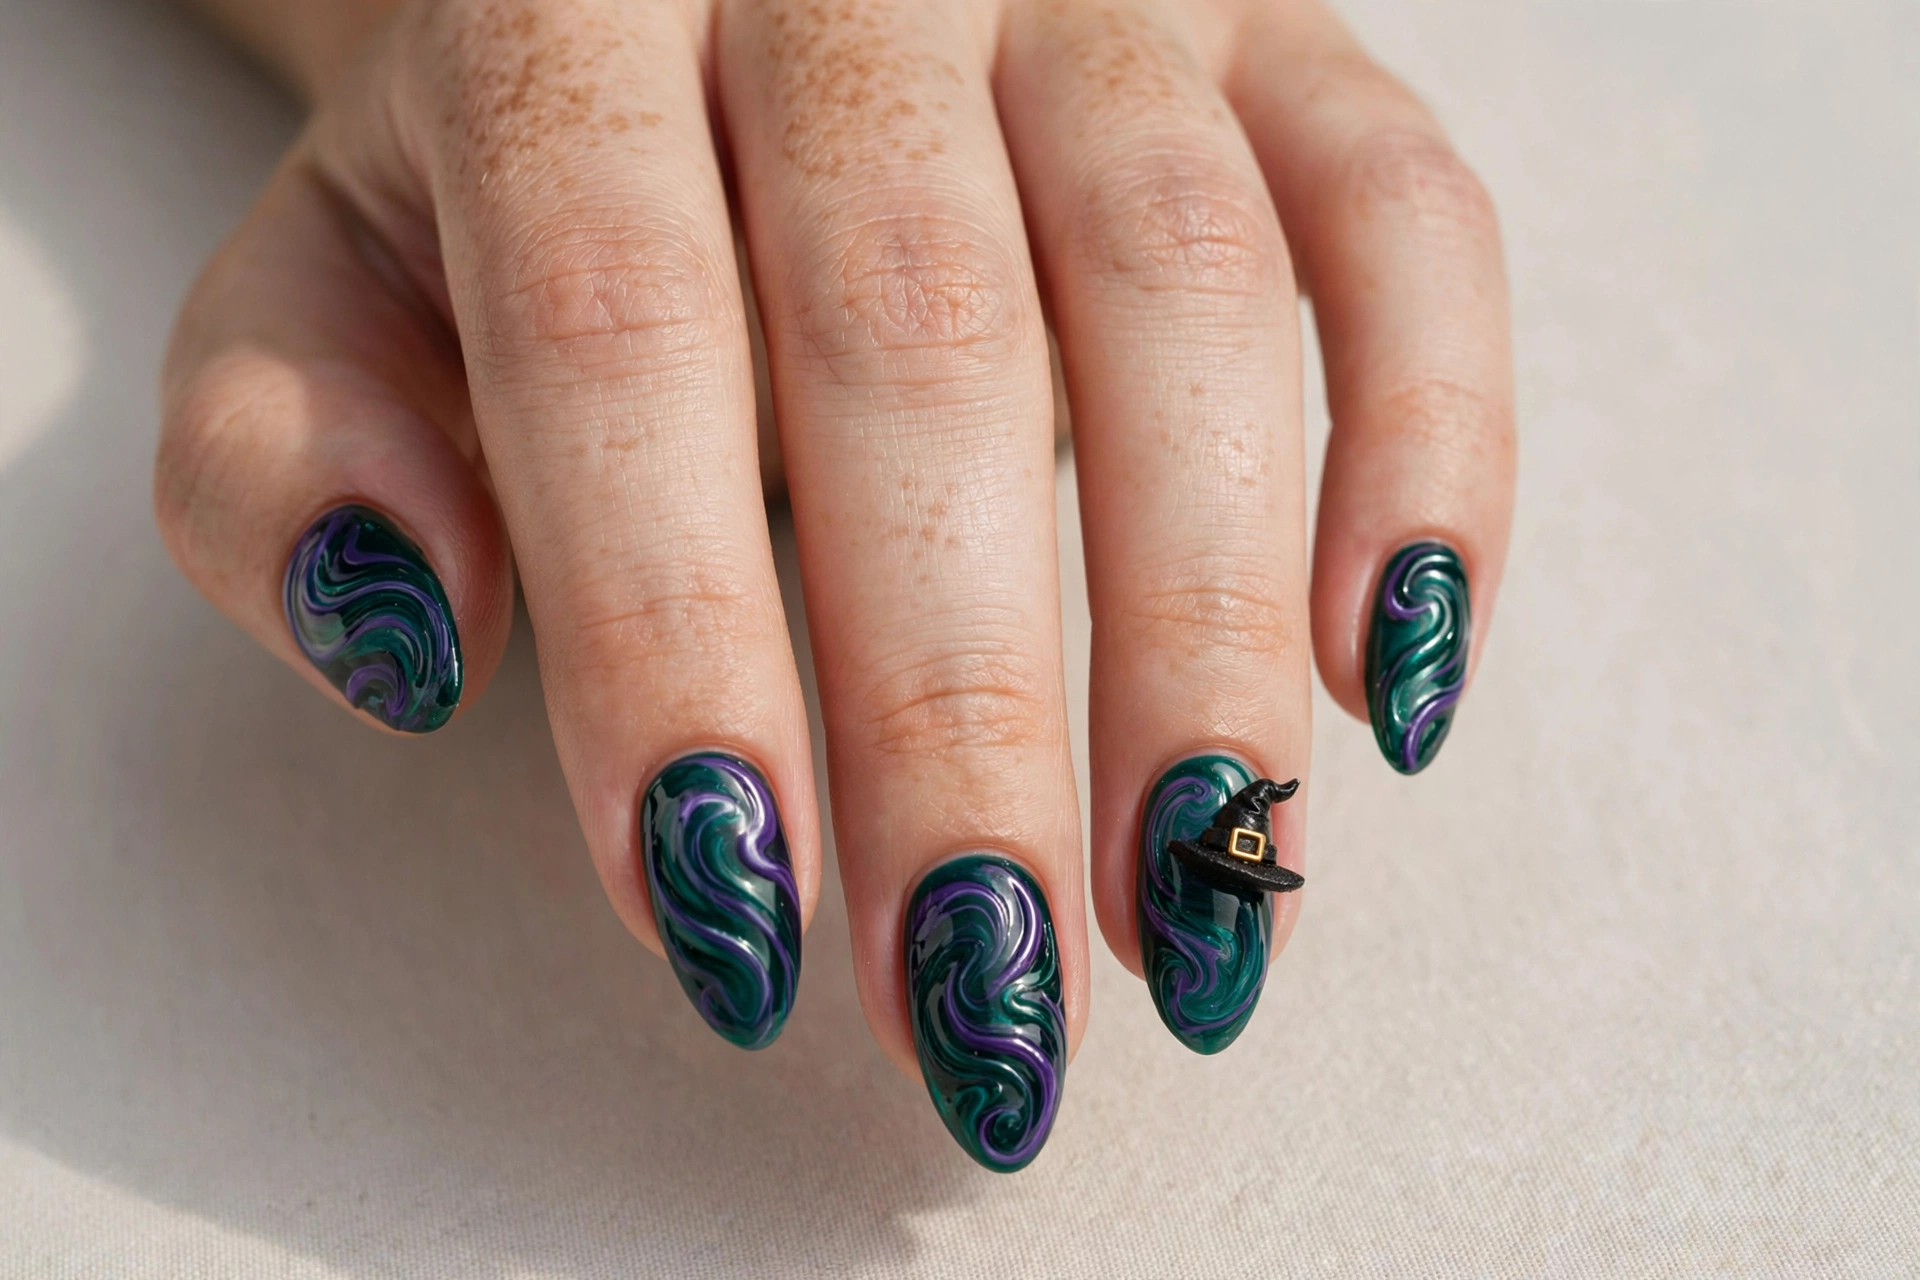
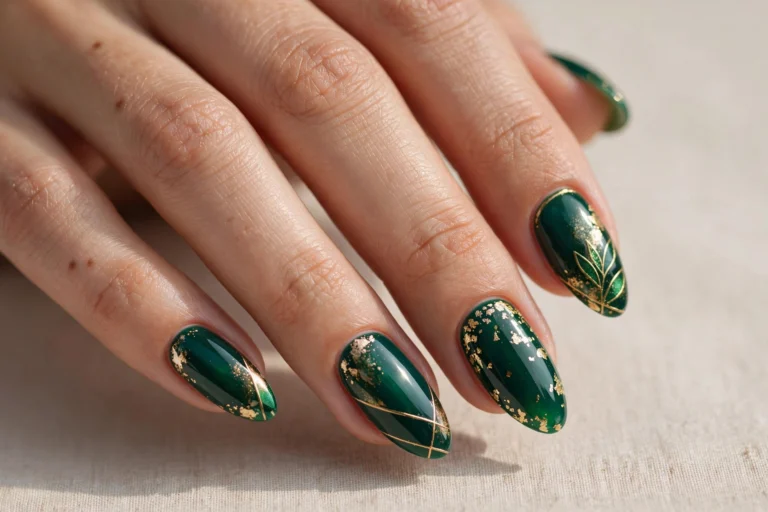
Channel the eldest Sanderson sister with her signature green and purple palette. Swirl deep emerald and violet together, or wear them as alternating solids with one witch hat accent nail. This suits anyone who wants a Hocus Pocus nod without character art. The rich jewel tones look expensive and work beautifully for all of fall, not just Halloween. Add a touch of gold for Winifred’s regal edge.
13. Sarah’s Blonde Siren
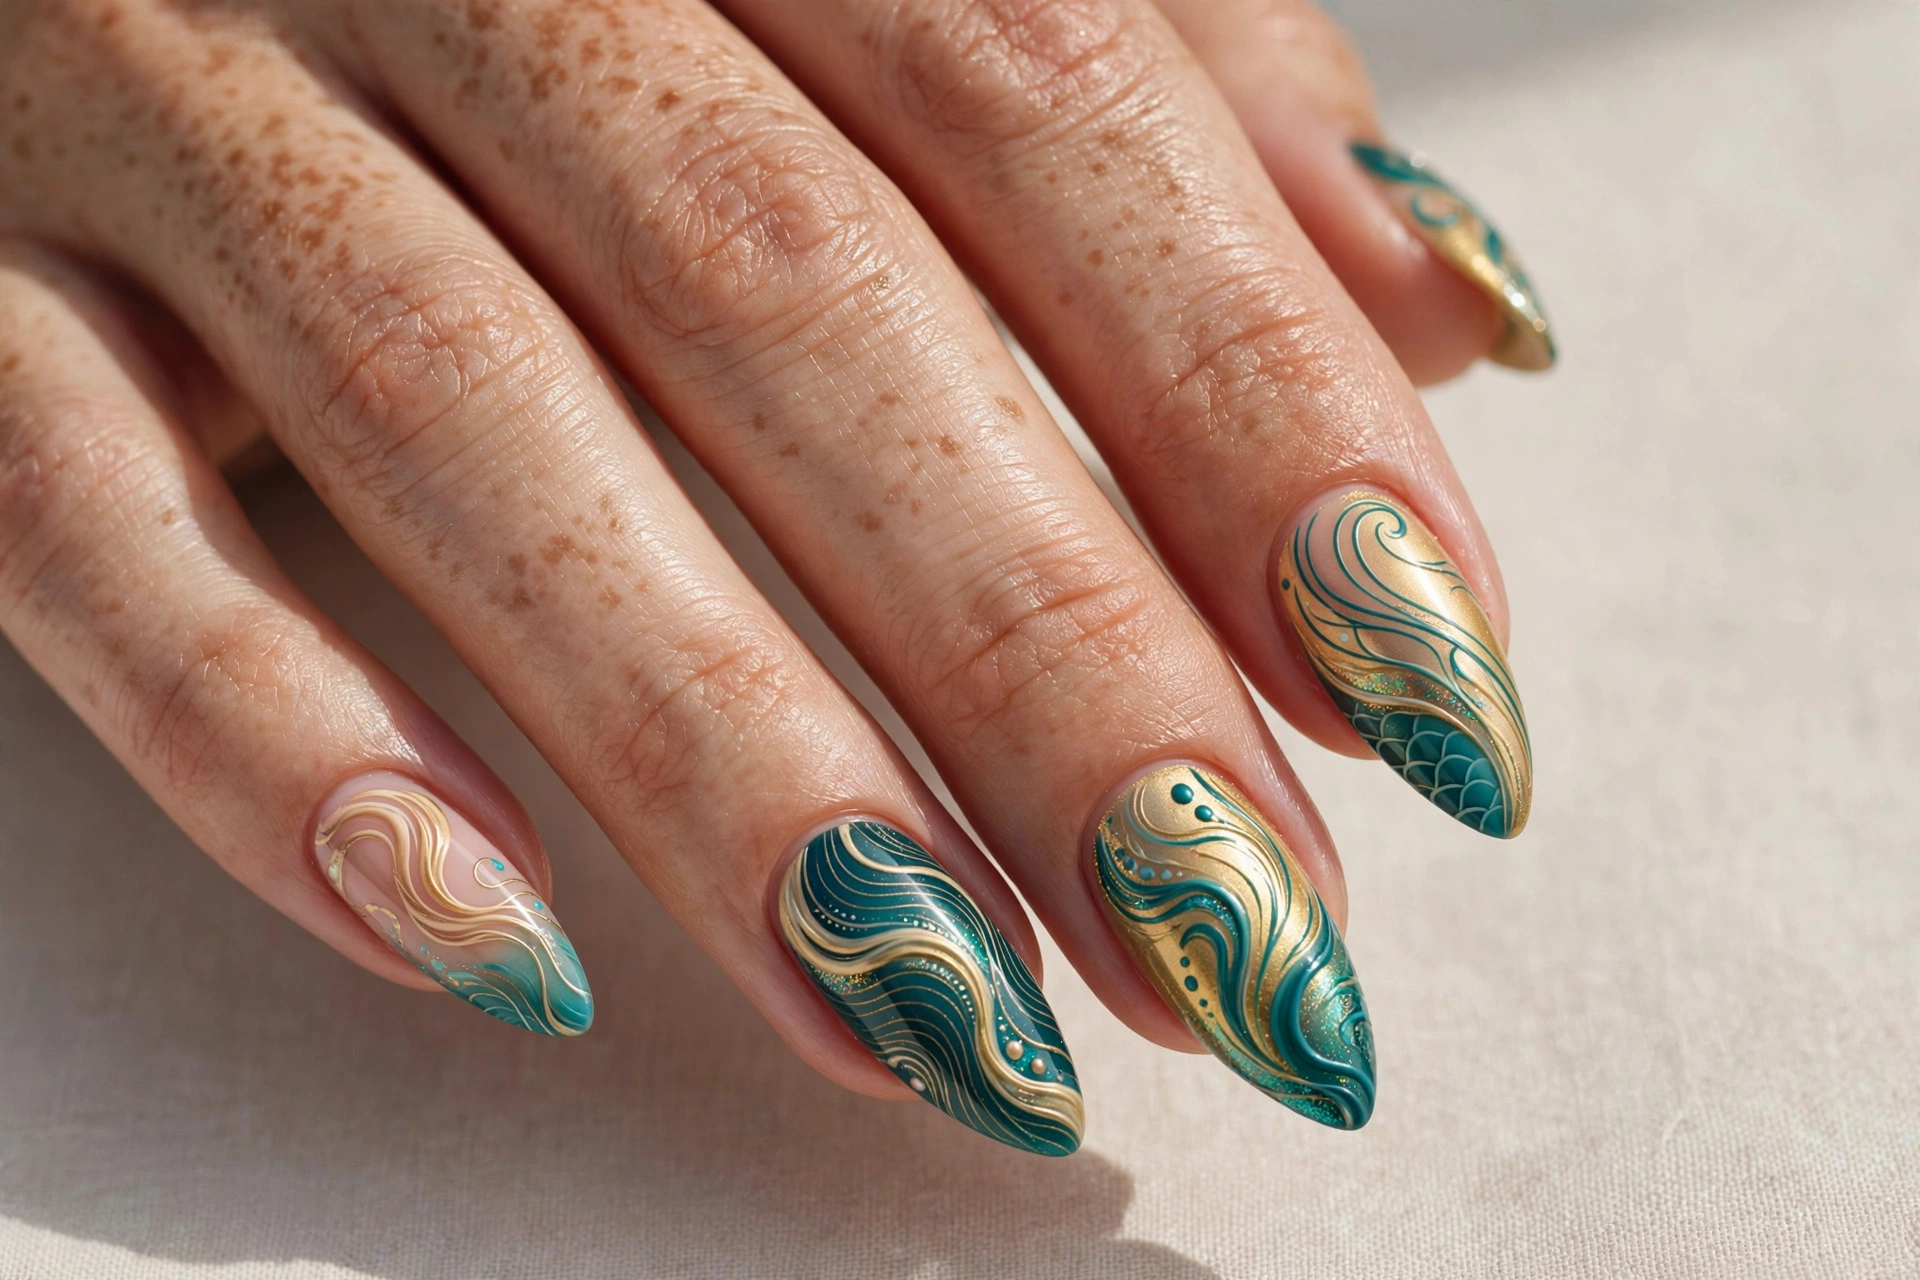
Sarah Sanderson’s siren song inspires flowing blonde waves with ocean teal accents. This suits romantics and anyone drawn to the prettiest sister’s aesthetic. The soft blonde and teal palette is lighter than most Halloween nails, making it wearable beyond October. Try an ombre fade from nude to teal with gold shimmer on top. It is dreamy, feminine, and subtly witchy.
14. Mary’s Red and Brown
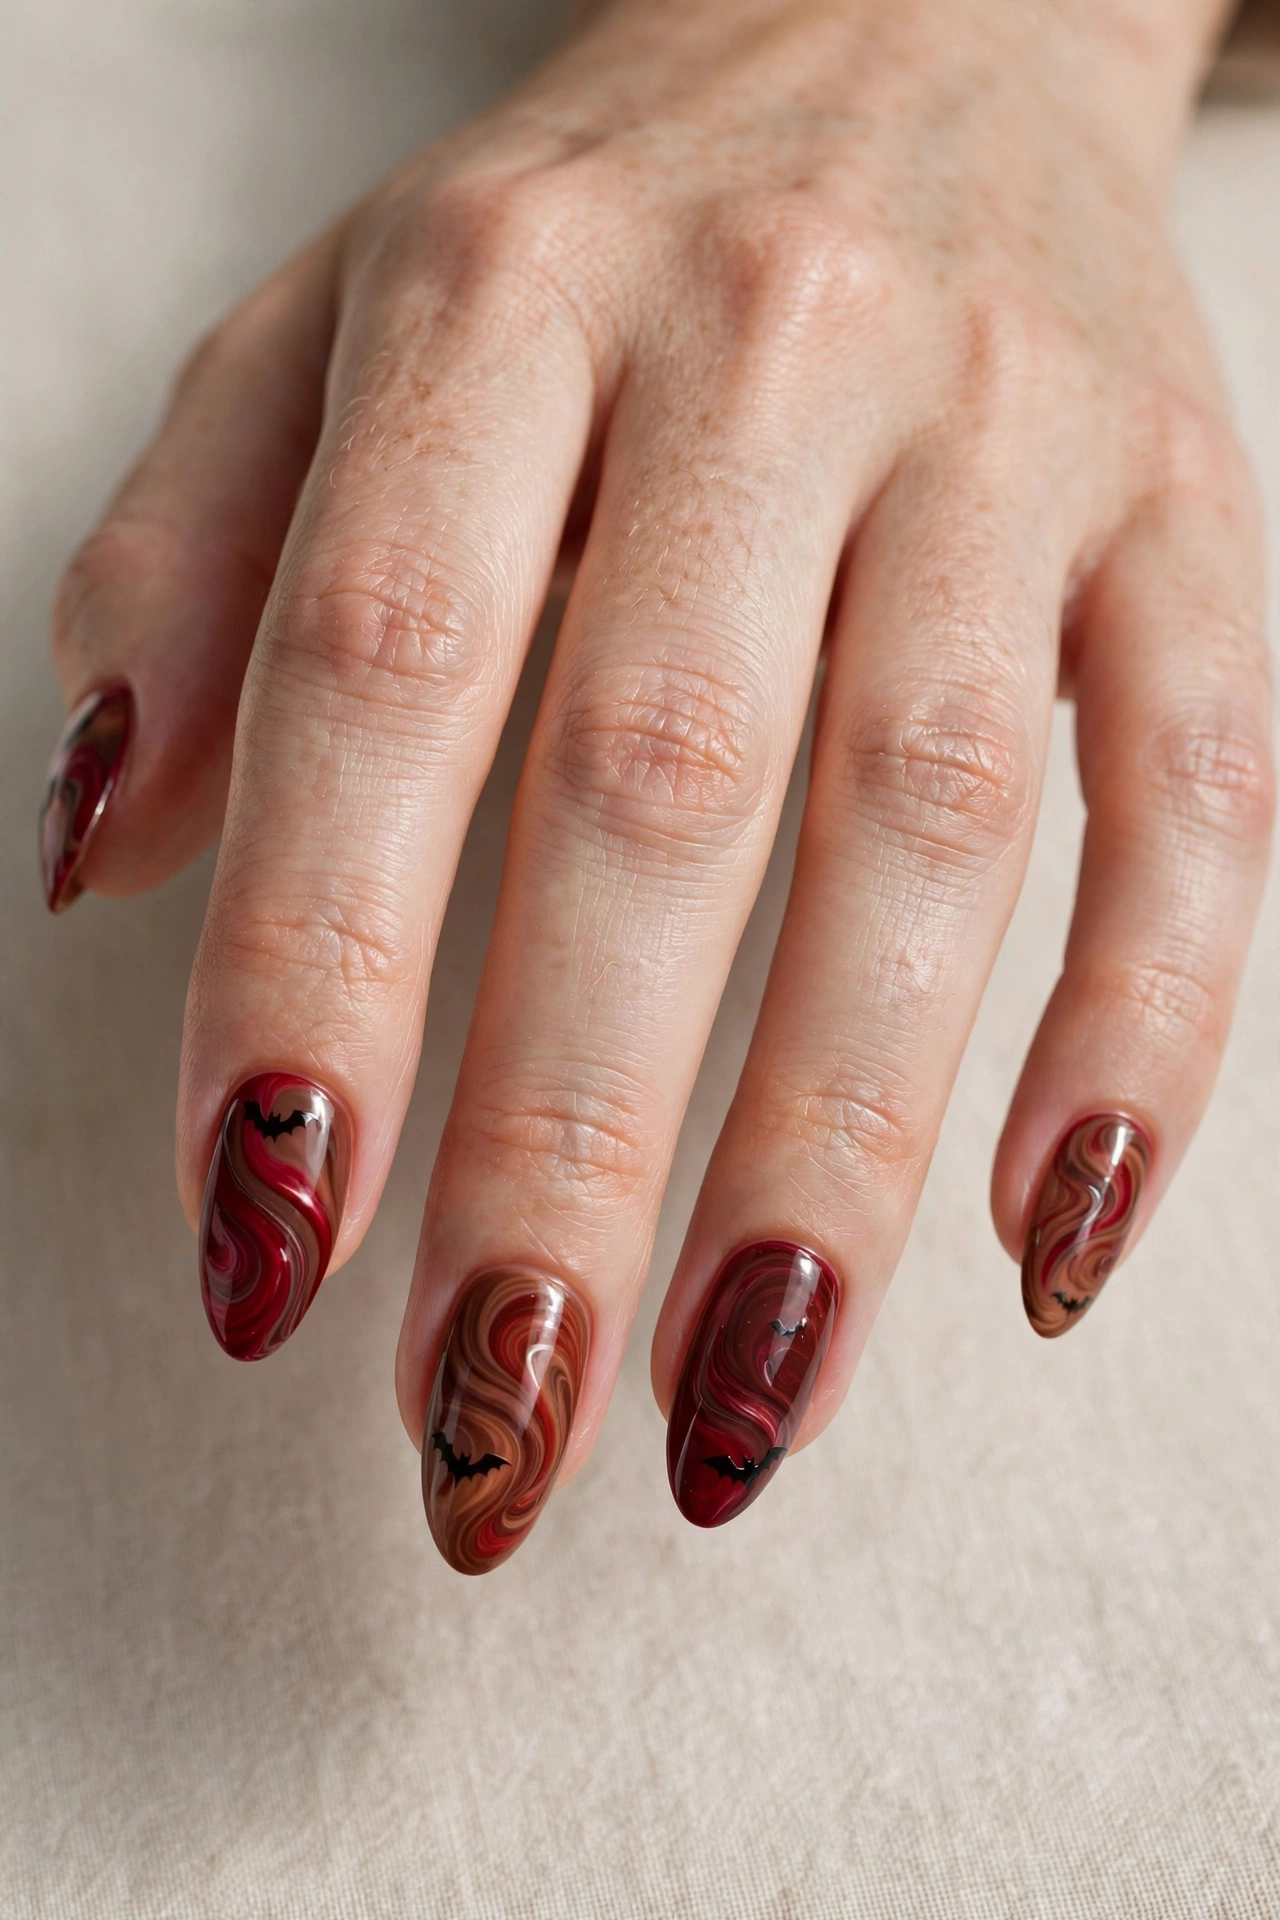
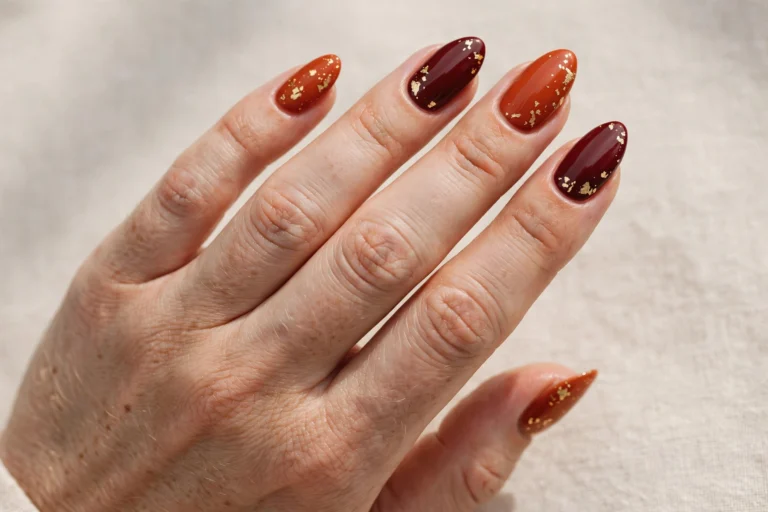
Mary Sanderson’s warm red and brown tones make a cozy autumn manicure. Swirl crimson and chocolate together, or wear deep red solids with tiny bat silhouettes. This suits anyone who wants Halloween nails that still feel like fall. The warm palette flatters every skin tone and pairs beautifully with autumn outfits. It is the most wearable of the three sisters’ color stories.
15. Stars and Moons Magic
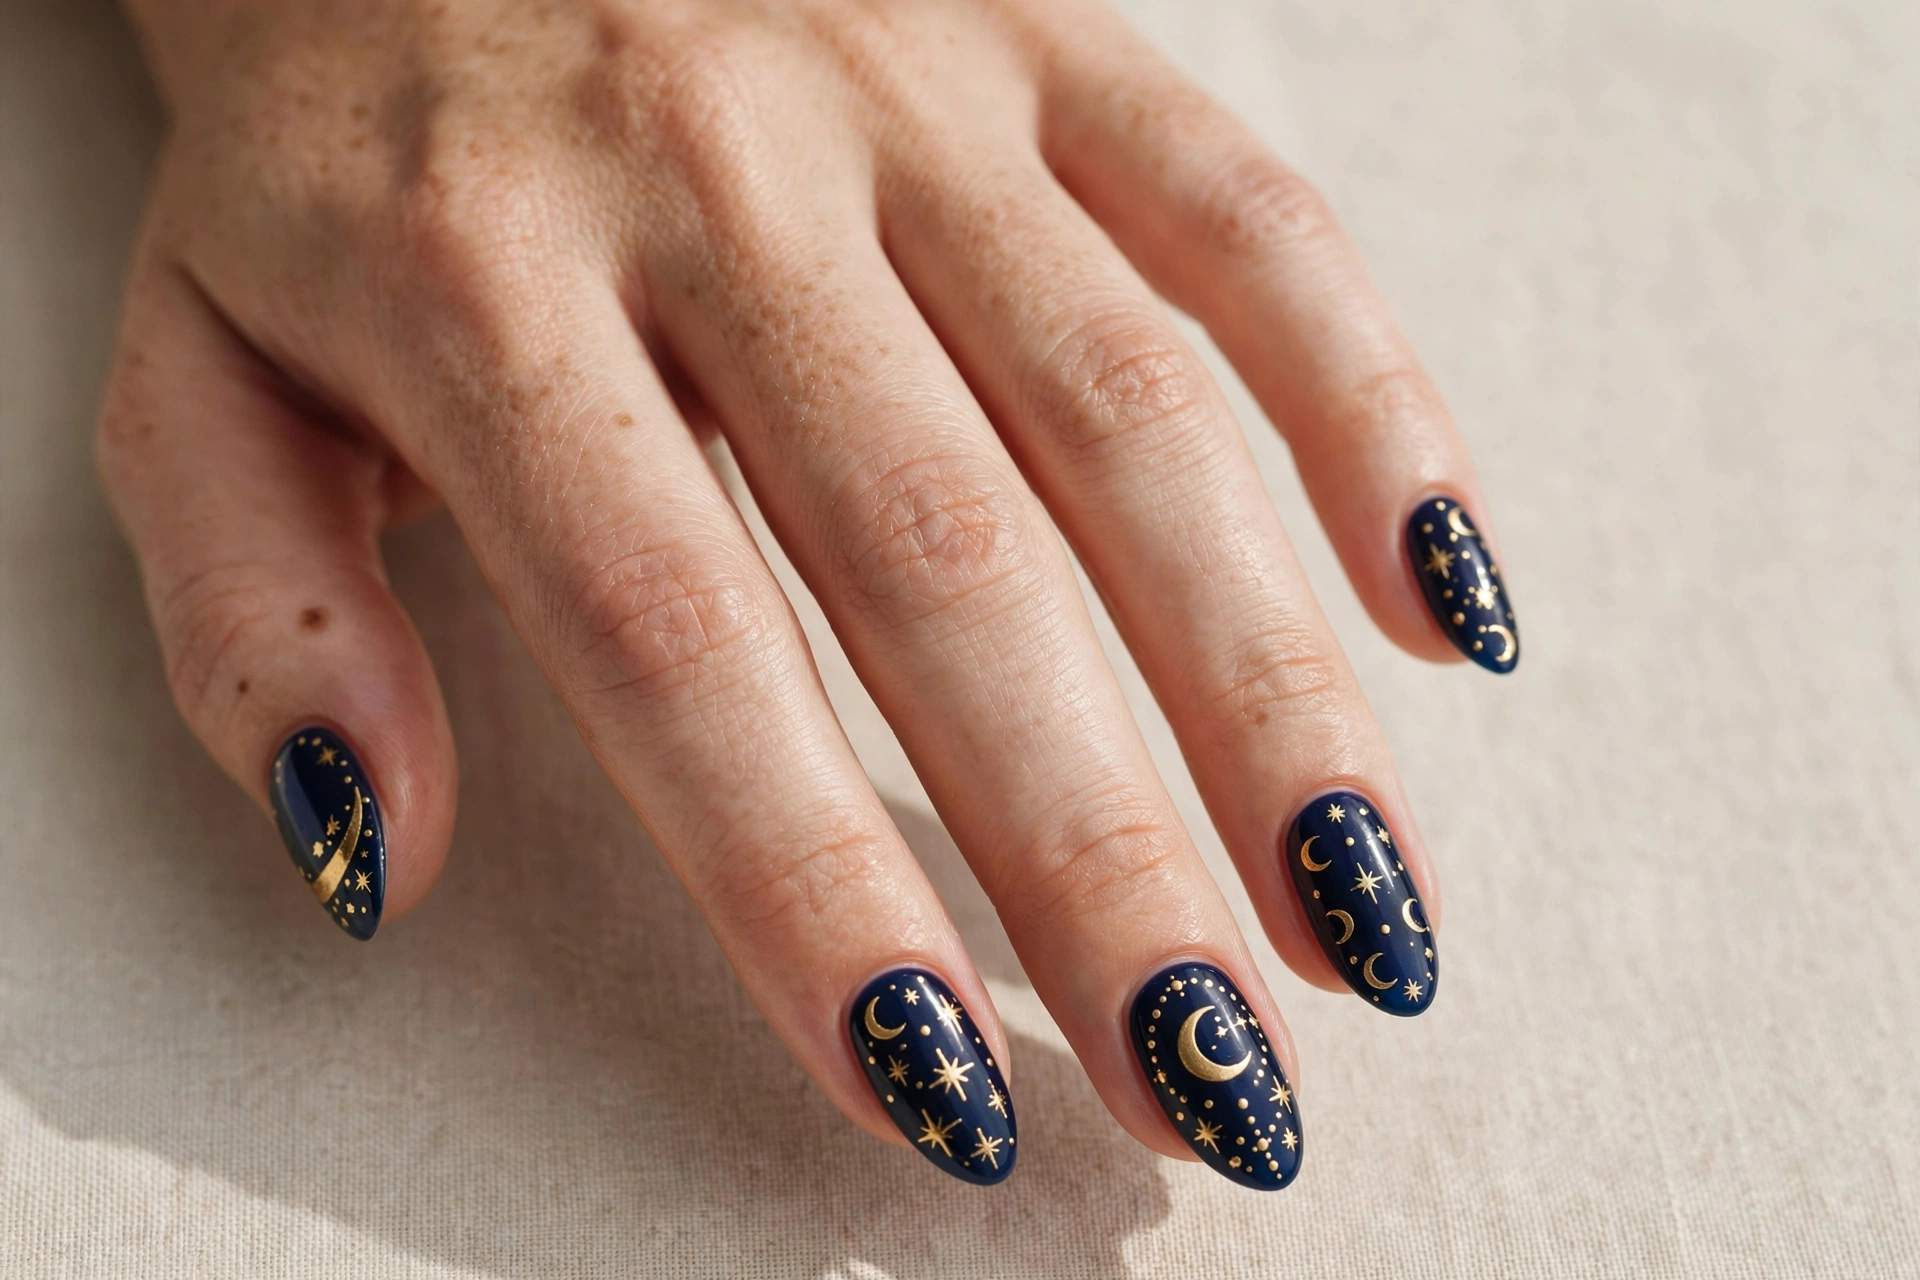
Gold stars and crescent moons scattered over midnight blue capture the movie’s night magic. This suits minimalists who want a hint of witchiness without characters or quotes. The design is simple: tiny star and moon decals or hand-painted shapes over a dark base. It works for the whole spooky season and even beyond. Add a glossy top coat to make the gold shine like real starlight.
16. Vintage Halloween Poster
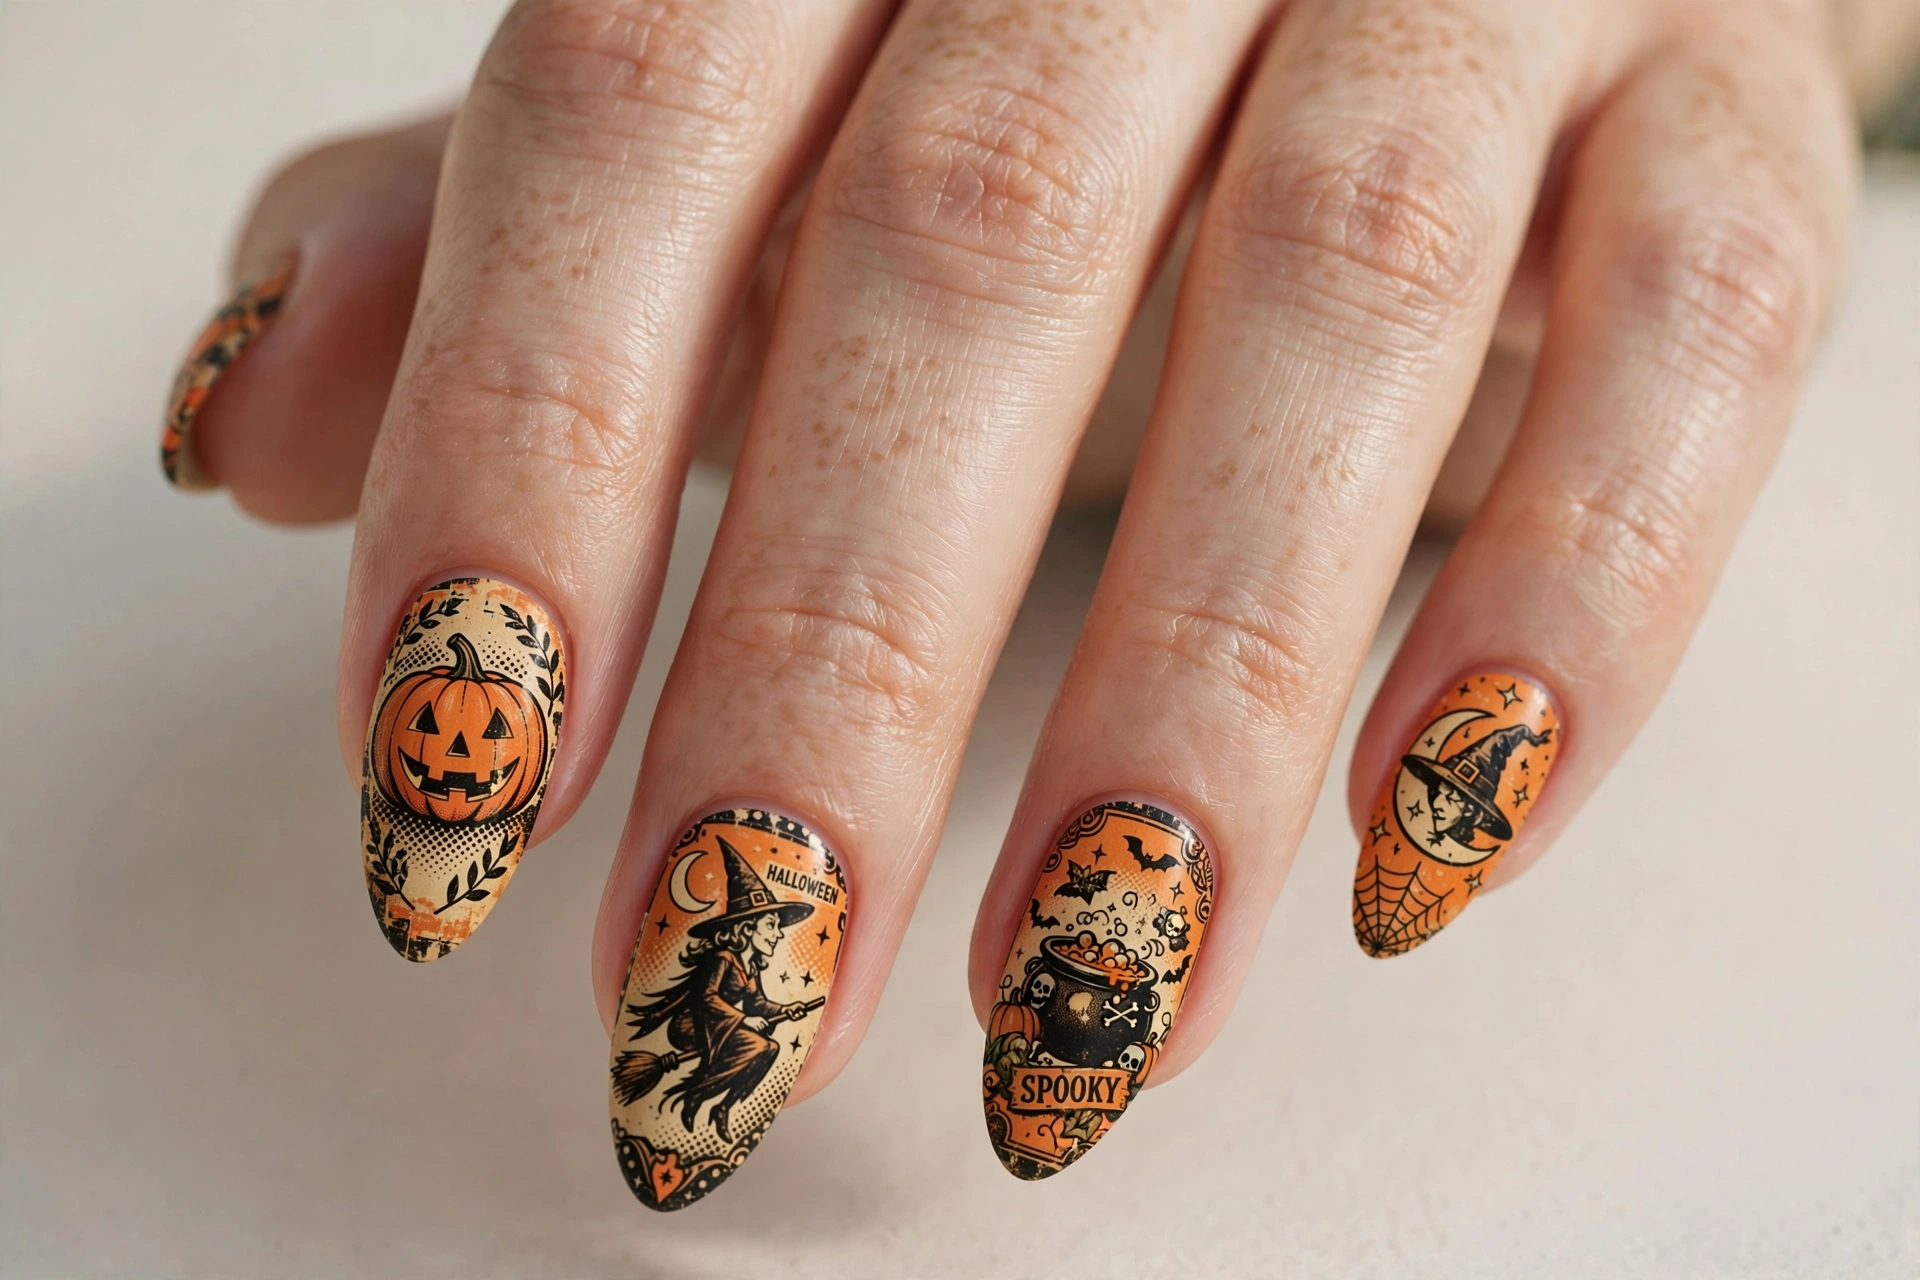
Retro 90s Halloween poster art in orange and black, complete with grinning pumpkins and old-fashioned witch illustrations. This suits nostalgia lovers who grew up watching the movie every October. The illustrated style looks best with a slightly matte finish for that vintage paper feel. Use nail stickers for the detailed illustrations, or ask your artist to freehand them. It is a love letter to 90s Halloween.
17. Amuck, Amuck, Amuck Text
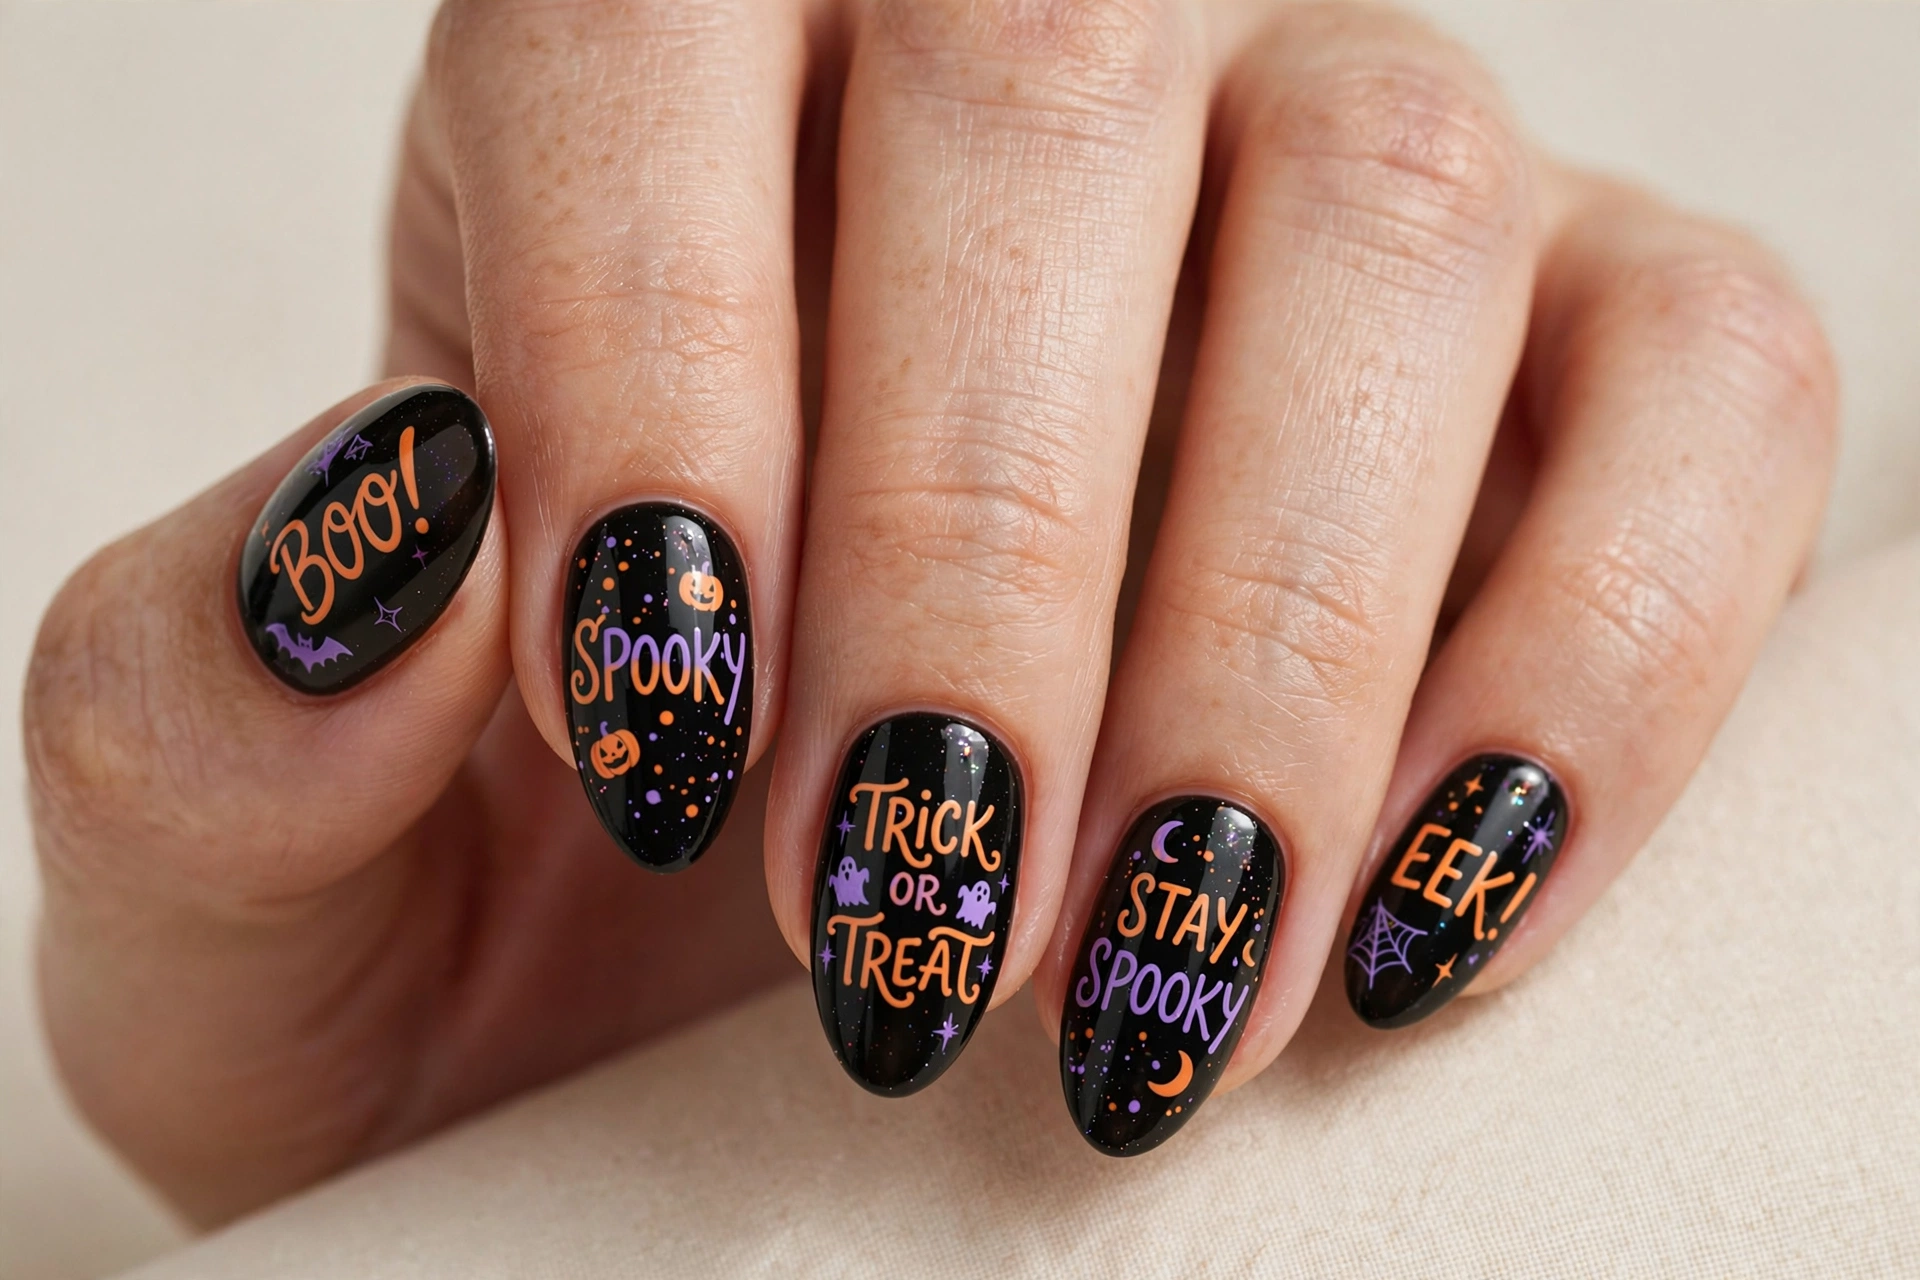
The sisters’ gleeful chant in bold, playful lettering across black nails. Split “amuck, amuck, amuck” across three nails in orange and purple, with the rest in solid black. This suits fans who love the movie’s funniest moments. The lettering is casual and bubbly rather than elegant, which makes it easy to DIY with nail art pens. It is guaranteed to make fellow fans smile.
18. Thackery Binx Cat Eyes
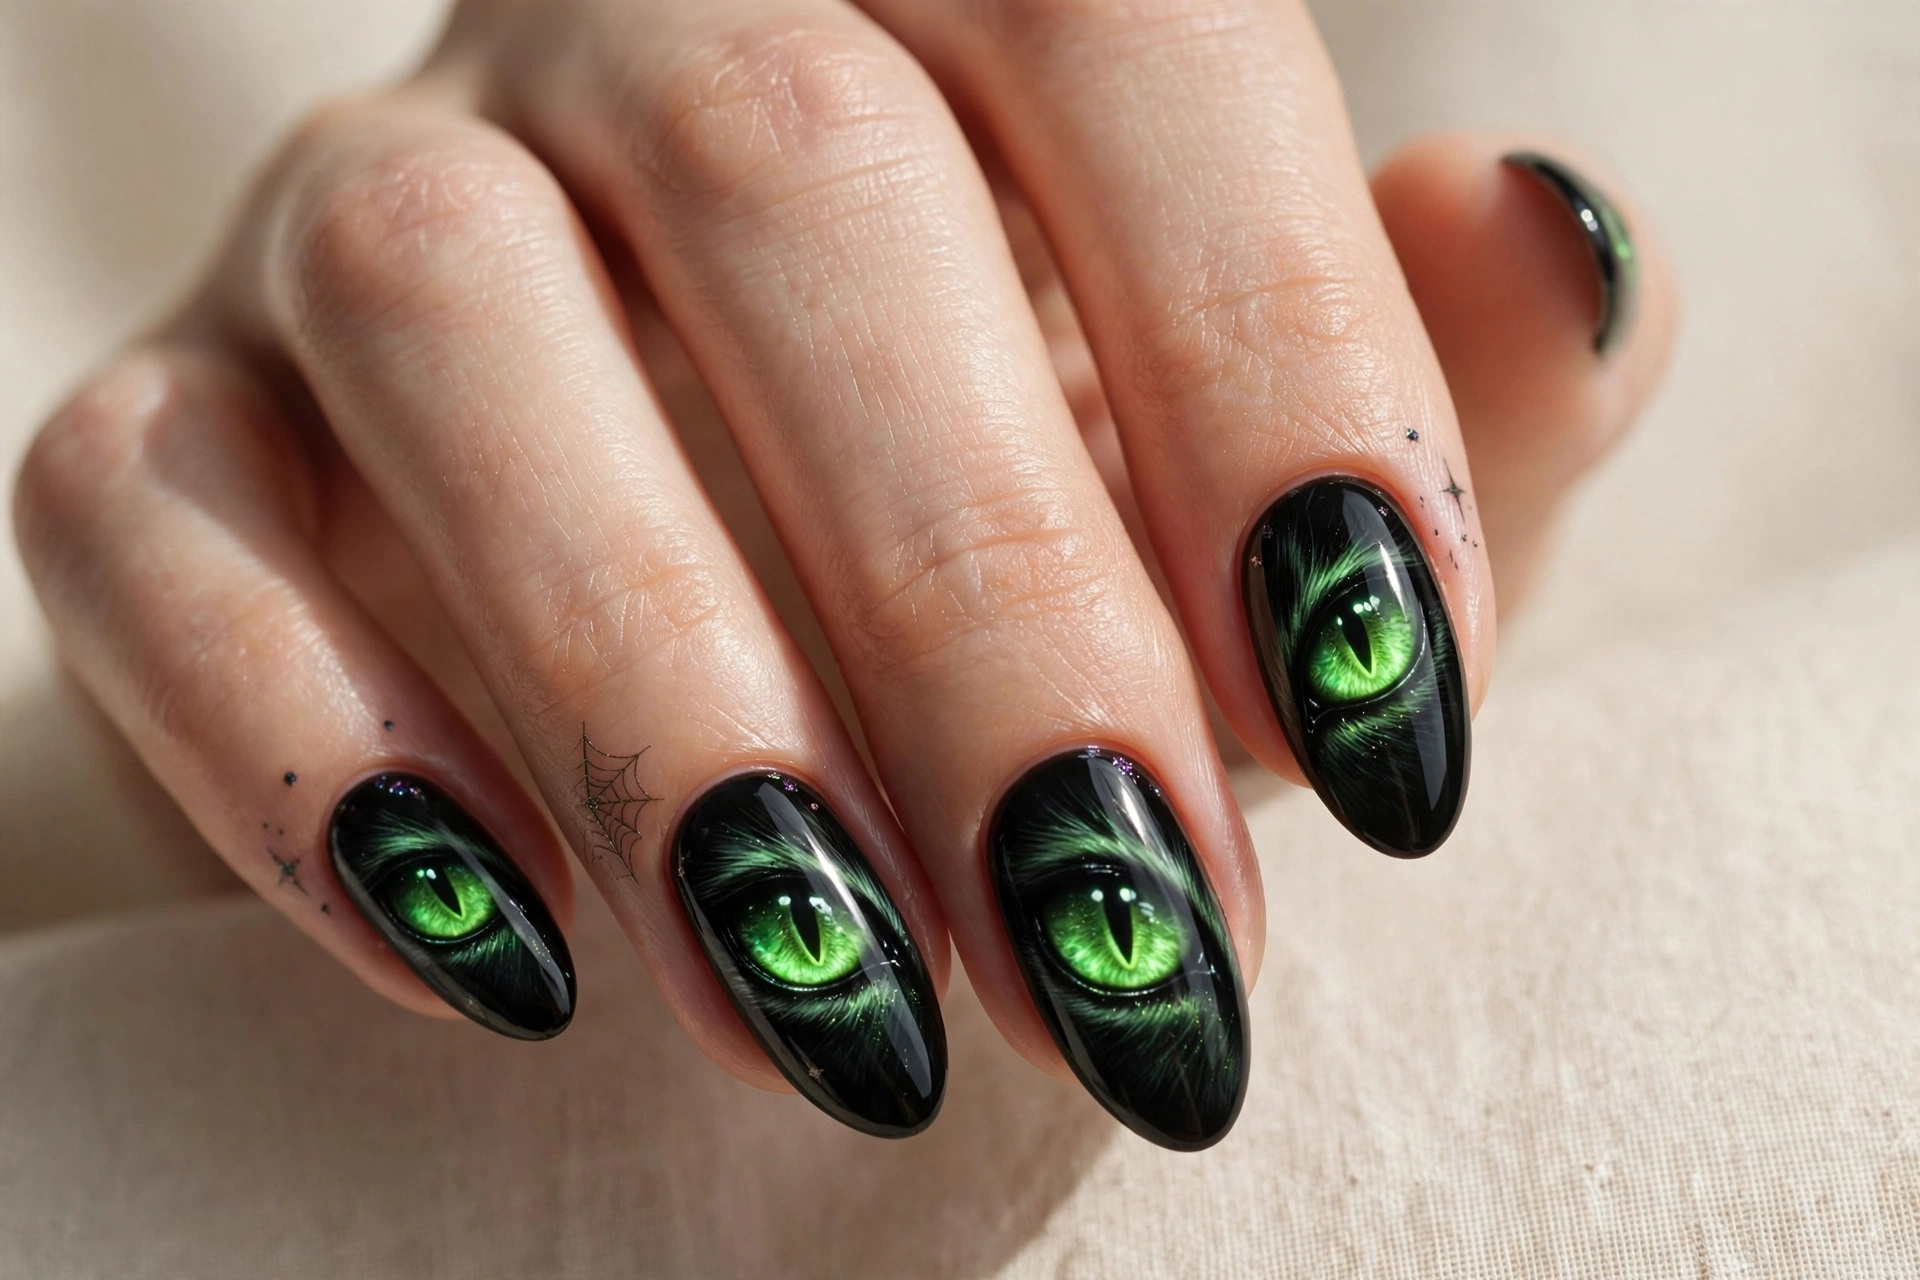
Glowing green cat eyes staring out from pitch-black nails. This is the spookiest design here and suits anyone who wants maximum Halloween drama. Paint almond-shaped eyes with luminous green irises on a black base, adding a thin highlight for the glow effect. Keep it to one or two accent nails so the eyes have real impact. If you love bold Halloween looks, these 14 bloody nail designs for a bold Halloween look bring the same intensity.
19. Salem Moonlit Night
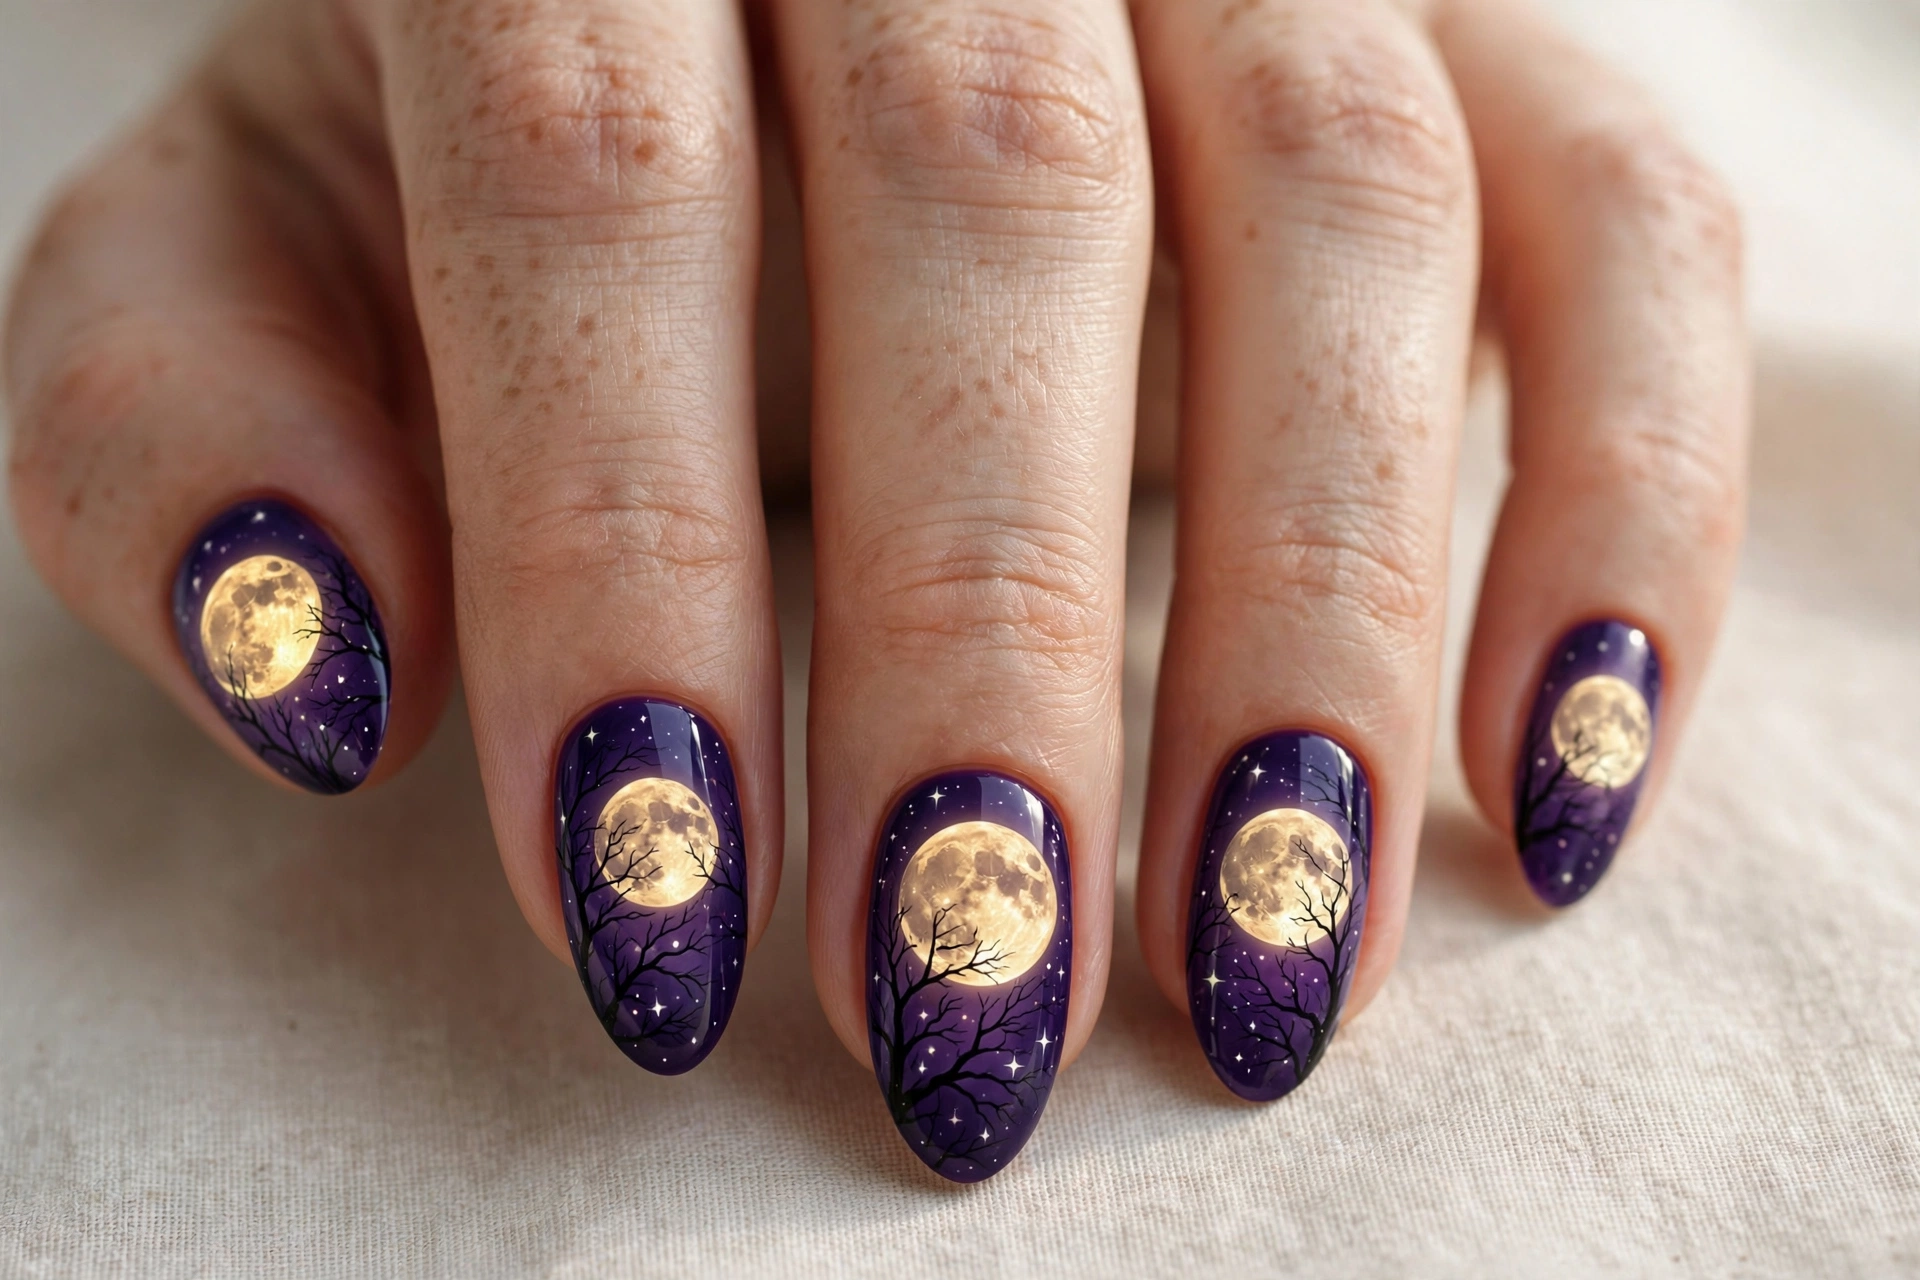
A huge glowing moon rising over bare, twisted tree branches on deep purple nails. This suits anyone who loves moody, atmospheric Halloween art. The scene is simple shapes: a large circle moon, thin branch lines, and a gradient sky. It looks stunning on longer nails where the scene has room to breathe. Add tiny bats for the full Salem effect.
20. Magic Spell Circle
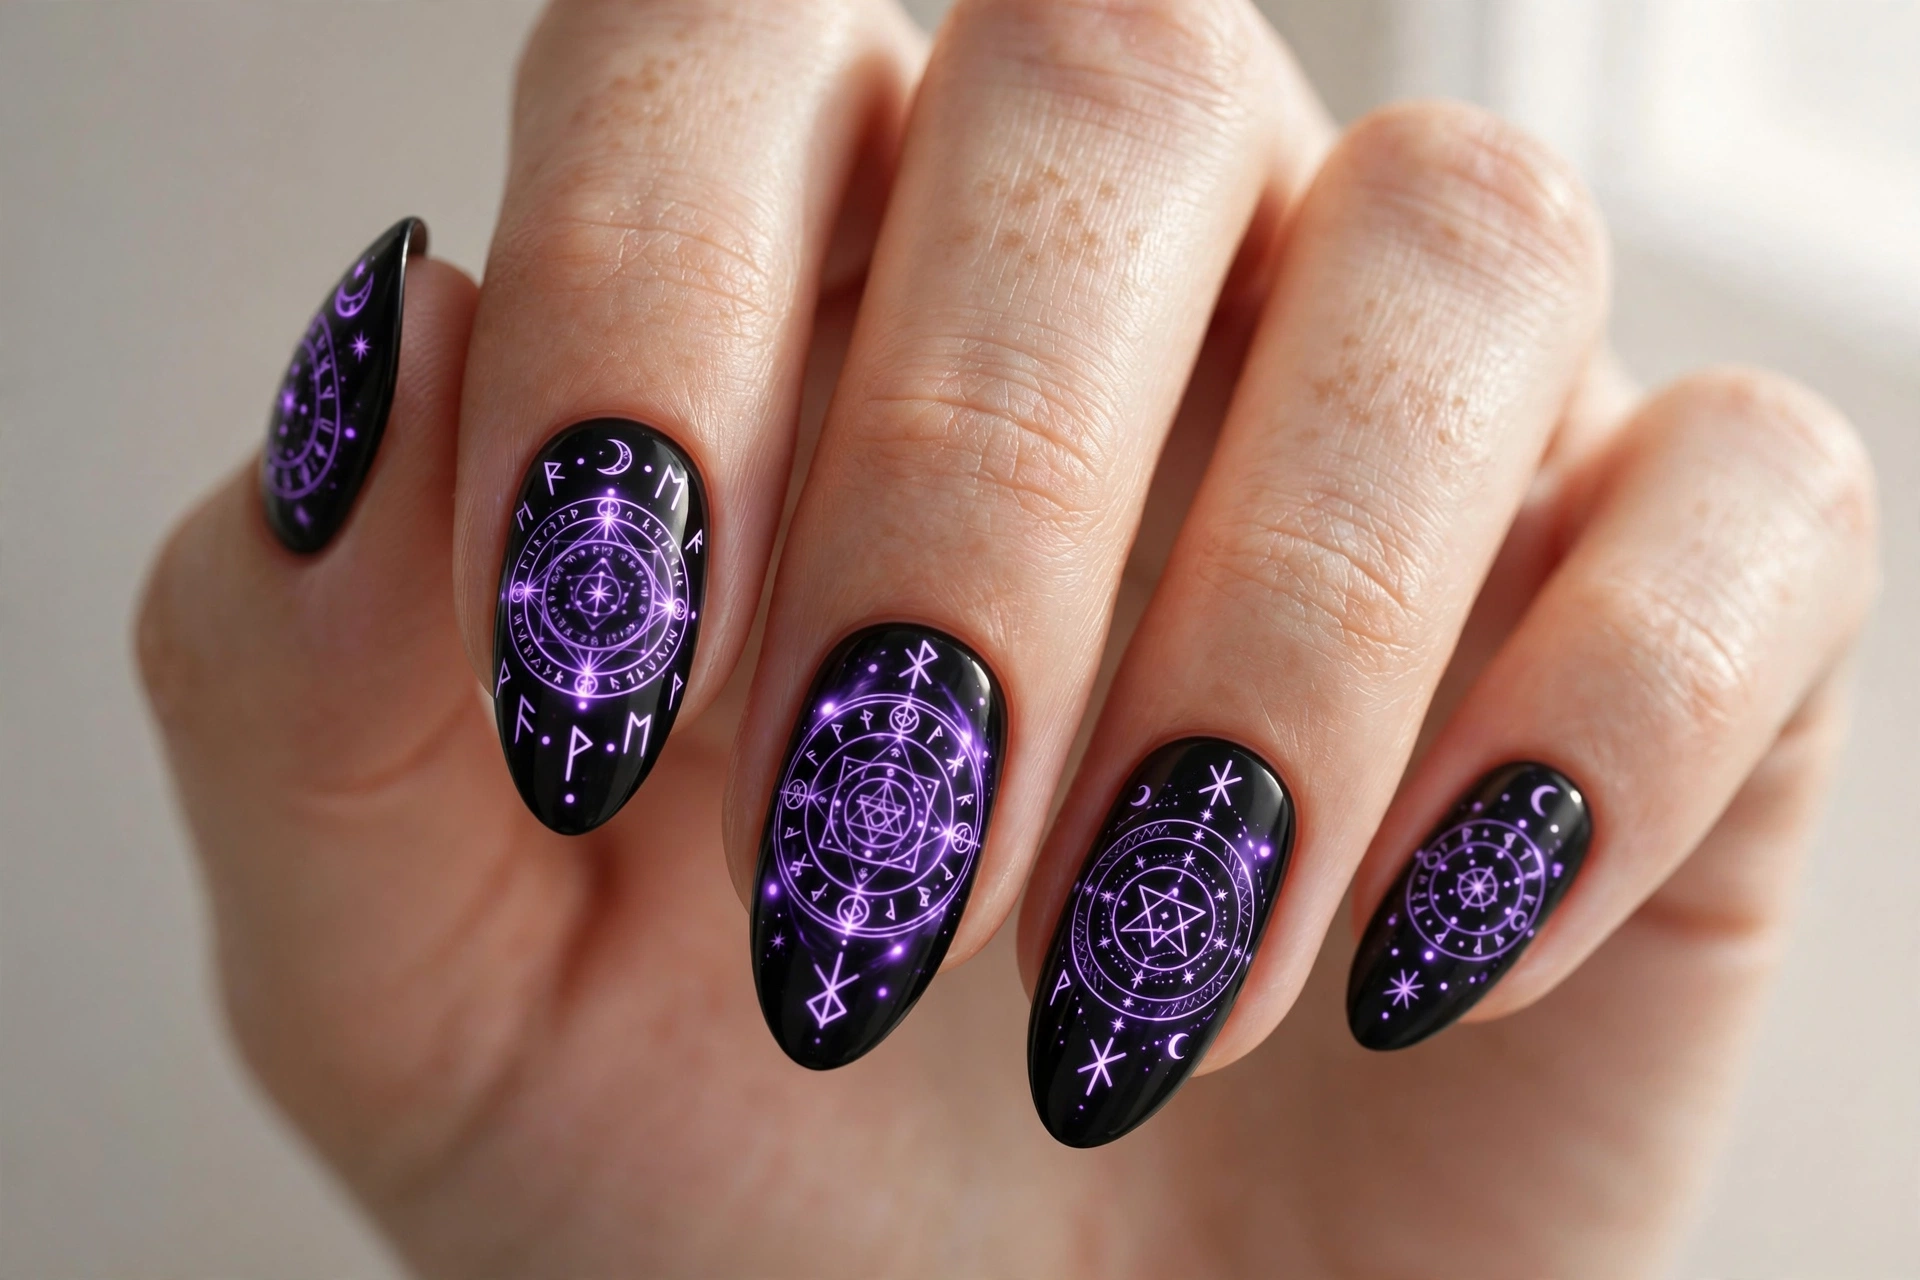
An intricate glowing spell circle with mystical runes, like the ones the sisters draw to cast their magic. Paint concentric circles with rune symbols in glowing purple or green on black nails. This suits detail lovers and looks genuinely magical under evening light. Use a fine liner brush and metallic polish for the glow. It is the perfect finale for a Hocus Pocus manicure, pure witchcraft on your fingertips.
Tips to Make Your Hocus Pocus Manicure Last
Detailed Halloween nail art deserves extra care to survive the whole spooky season. Always start with a base coat, since dark oranges, purples, and blacks can stain natural nails. Apply your art in thin layers and let each one dry before adding the next, so fine details stay crisp. Seal everything with two coats of top coat, capping the free edge to prevent chips.
Hand-painted details need the right tools. A fine liner brush and a dotting tool turn tricky portraits and tiny symbols into manageable work. If you are building your nail art kit, this nail art brush set has the liners and dotting tools you need for witch hats, cat eyes, and spell script. As an Amazon Associate I earn from qualifying purchases. Reapply top coat every two to three days, and your spellbinding manicure will last through Halloween and beyond.
Final Thoughts
Hocus Pocus nails are the perfect way to wear your Halloween spirit, whether you go for detailed Sanderson sister portraits or a simple black cat accent. The movie gives you endless inspiration, from the black flame candle to the sisters’ signature colors. Pick your favorite design, gather your darkest polishes, and get ready to put a spell on everyone who sees your nails.