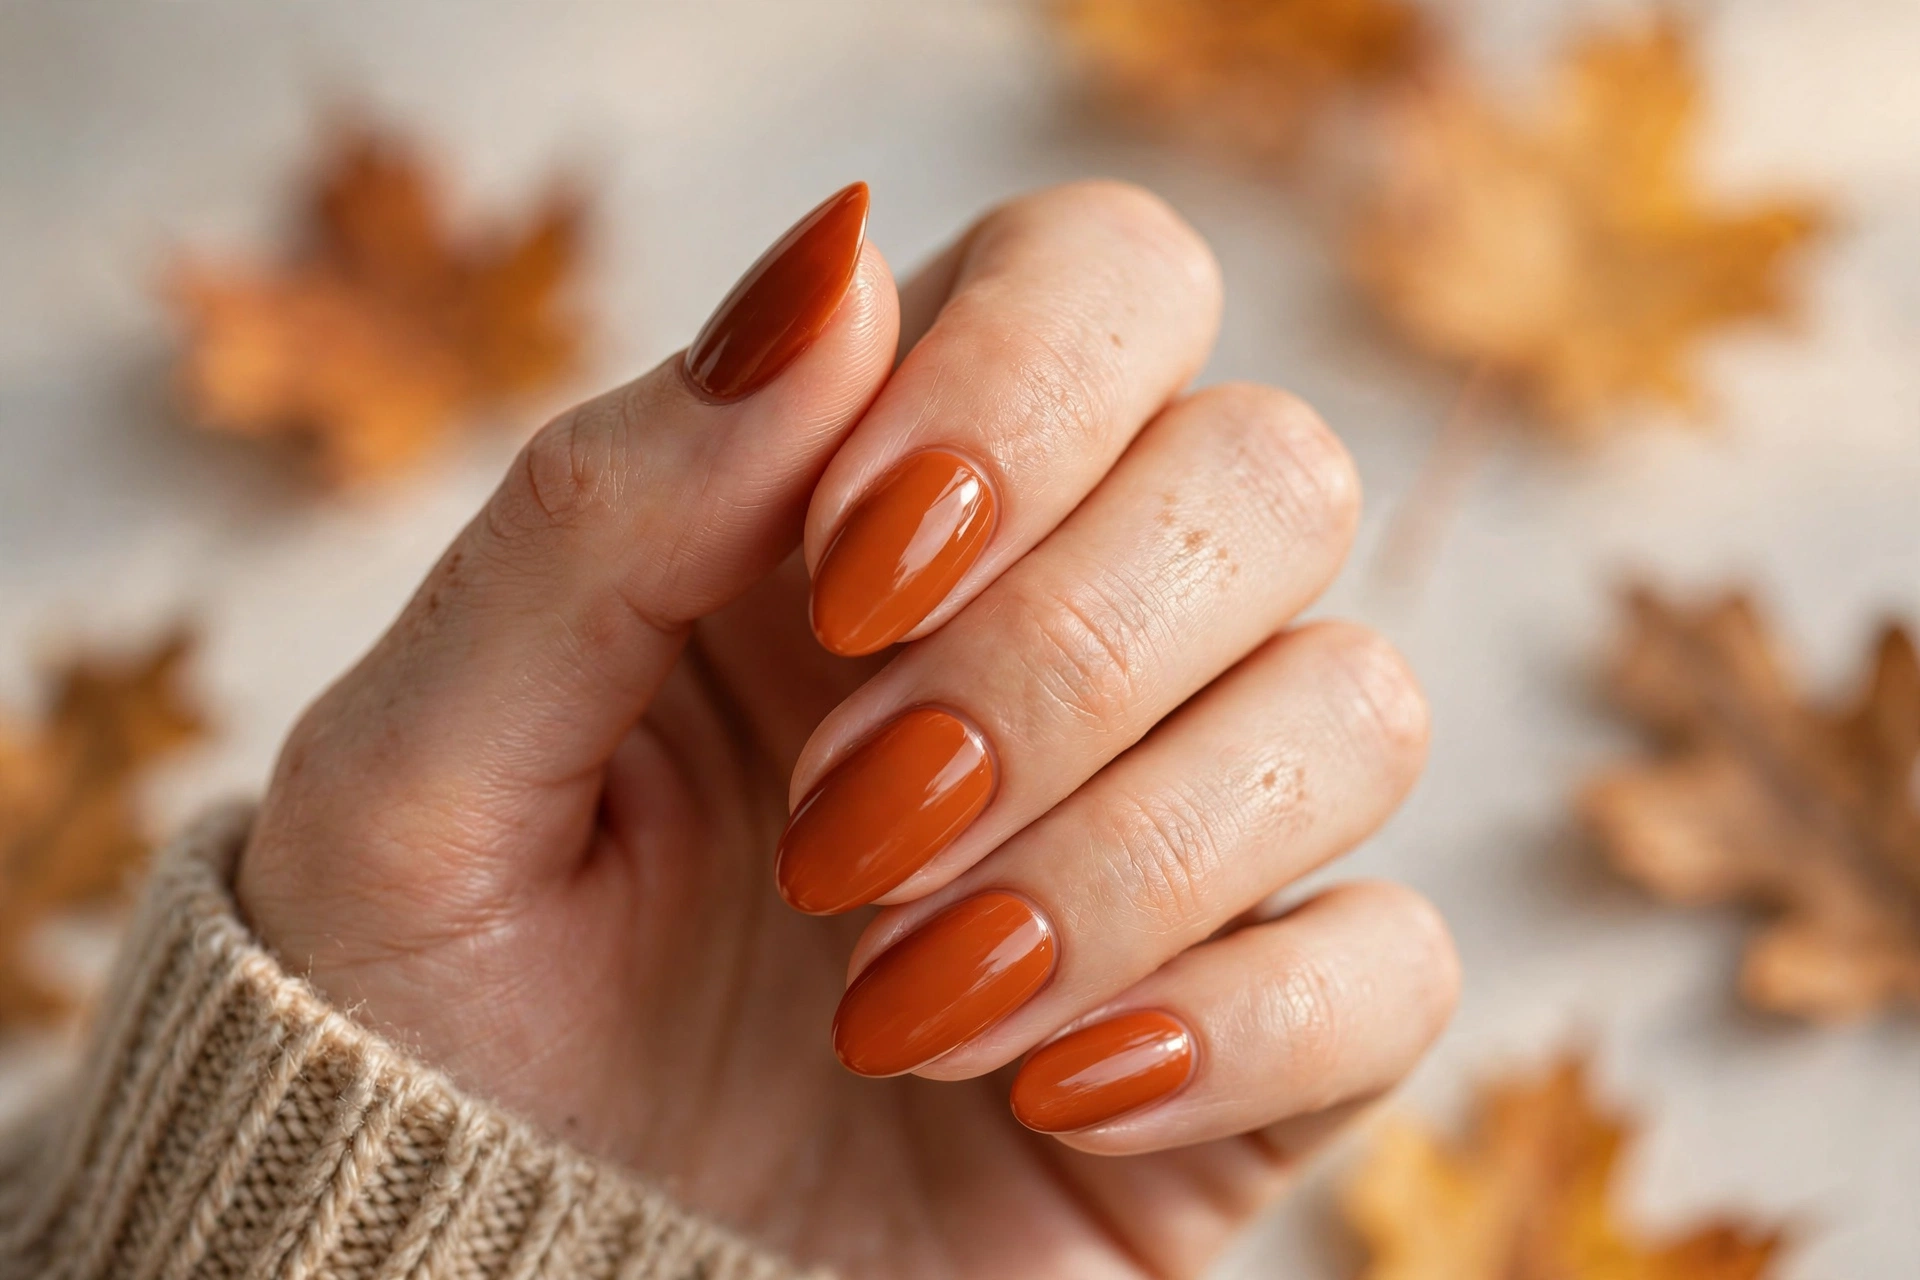
18 Fall Burnt Orange Nail Designs for a Warm Autumn Look
Burnt orange is the shade that makes fall nails look expensive. It sits somewhere between pumpkin spice and terracotta, and it flatters just about every skin tone — warm enough to feel seasonal, deep enough to work from early September through Thanksgiving. If you are planning an autumn manicure, fall burnt orange nail designs are the easiest way to get a polished, on-theme look without a lot of fuss.
There is also real variety here. You can wear burnt orange as a simple glossy cream, dress it up with gold foil or chrome, or turn it into detailed art like plaid, tortoiseshell, or hand-painted leaves. Many of the ideas below work on short nails too, so you do not need long extensions to pull them off. And if you want a broader look at autumn color stories first, browse these fall nail designs pictures for extra inspiration before you pick your favorite.
Why Burnt Orange Works So Well for Fall Nails
Burnt orange nails read as autumn the same way a good cinnamon latte does — warm, a little smoky, and impossible to misplace. The color has enough depth to look intentional on its own, which is why even a single solid coat looks finished. On medium and deep skin tones it looks rich and tonal; on fair skin it adds warmth that lighter nudes cannot.
It also plays well with the other shades of the season. Burnt orange sits naturally next to espresso brown, cream, gold, and deep olive, so mixing an accent nail or a gradient into your manicure feels easy instead of forced. Gradients are a great pairing in particular — if you like the blended look, these fall ombre nail designs show how orange tones melt into neighboring colors. Below are 18 ways to wear it, from quiet and simple to full autumn art.
1. Classic Glossy Burnt Orange
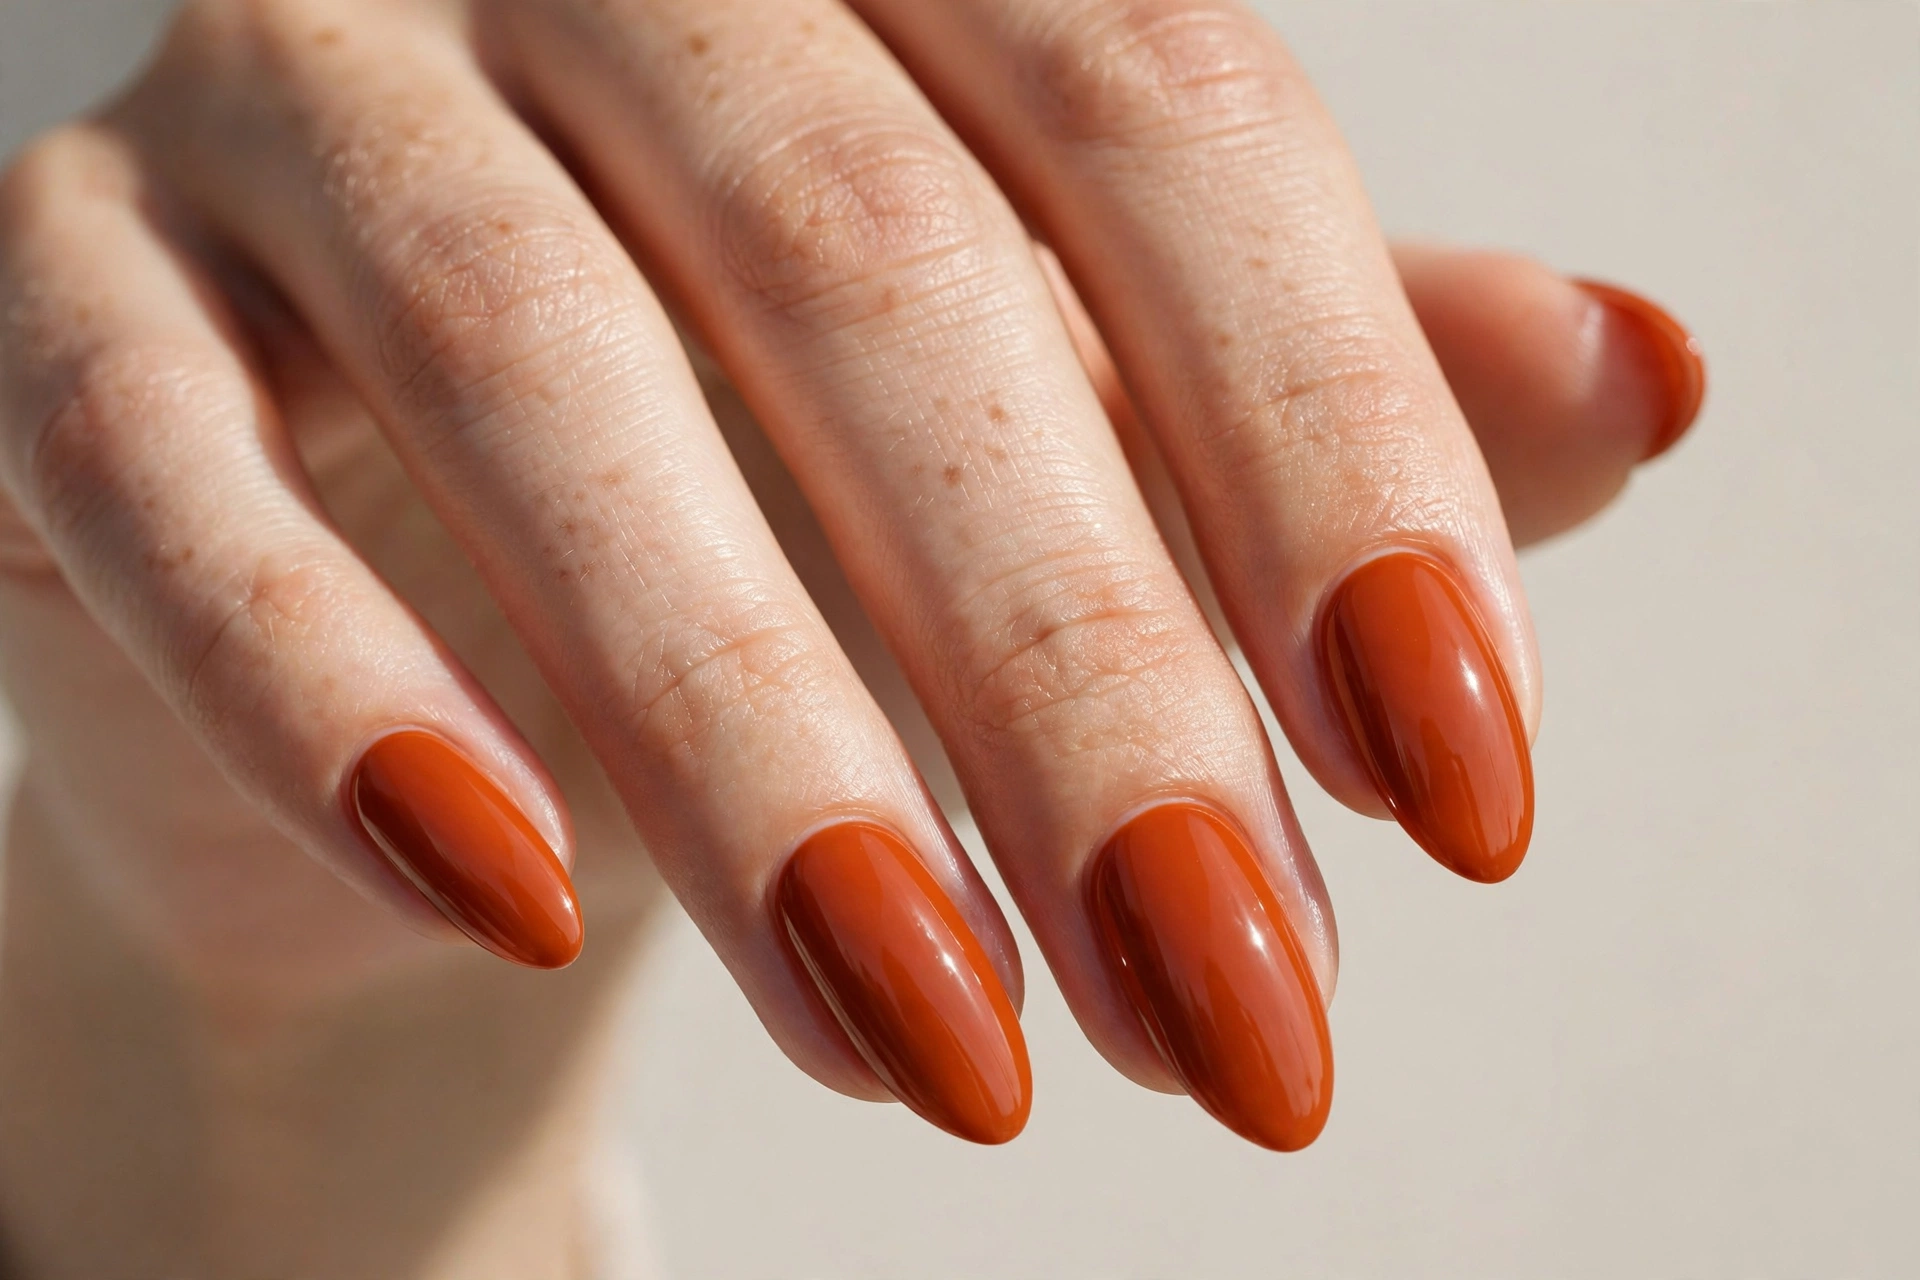
Sometimes the best design is no design at all. A single, even coat of glossy burnt orange polish looks clean and deliberate, and the warm tone does all the talking. This suits anyone who likes low-maintenance nails — it works on short, natural nails and does not show wear as quickly as paler shades. To get it, shape your nails into a soft almond or squoval, push back your cuticles, and apply two thin coats rather than one thick one; thin coats dry harder and chip less. Finish with a glossy top coat to deepen the color. This is also the perfect base if you later decide to add an accent nail, since gold foil or a single stripe of glitter sits beautifully on plain burnt orange.
2. Burnt Orange with Gold Foil Accents
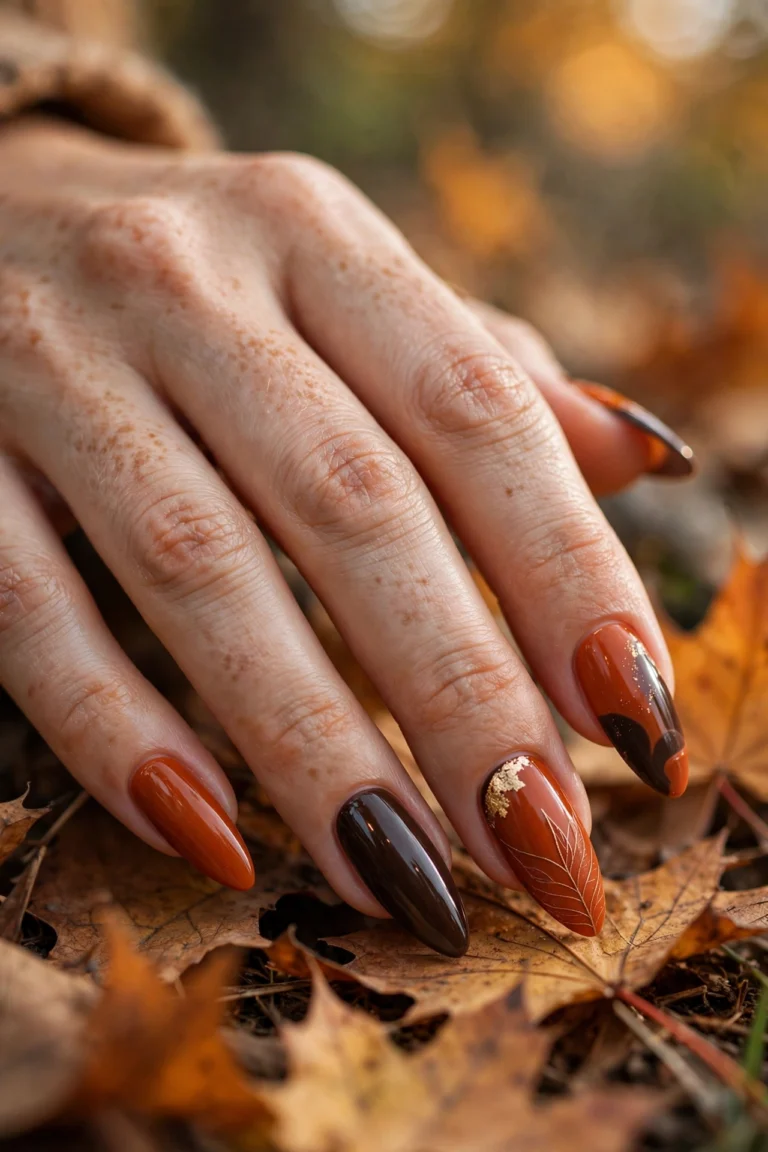
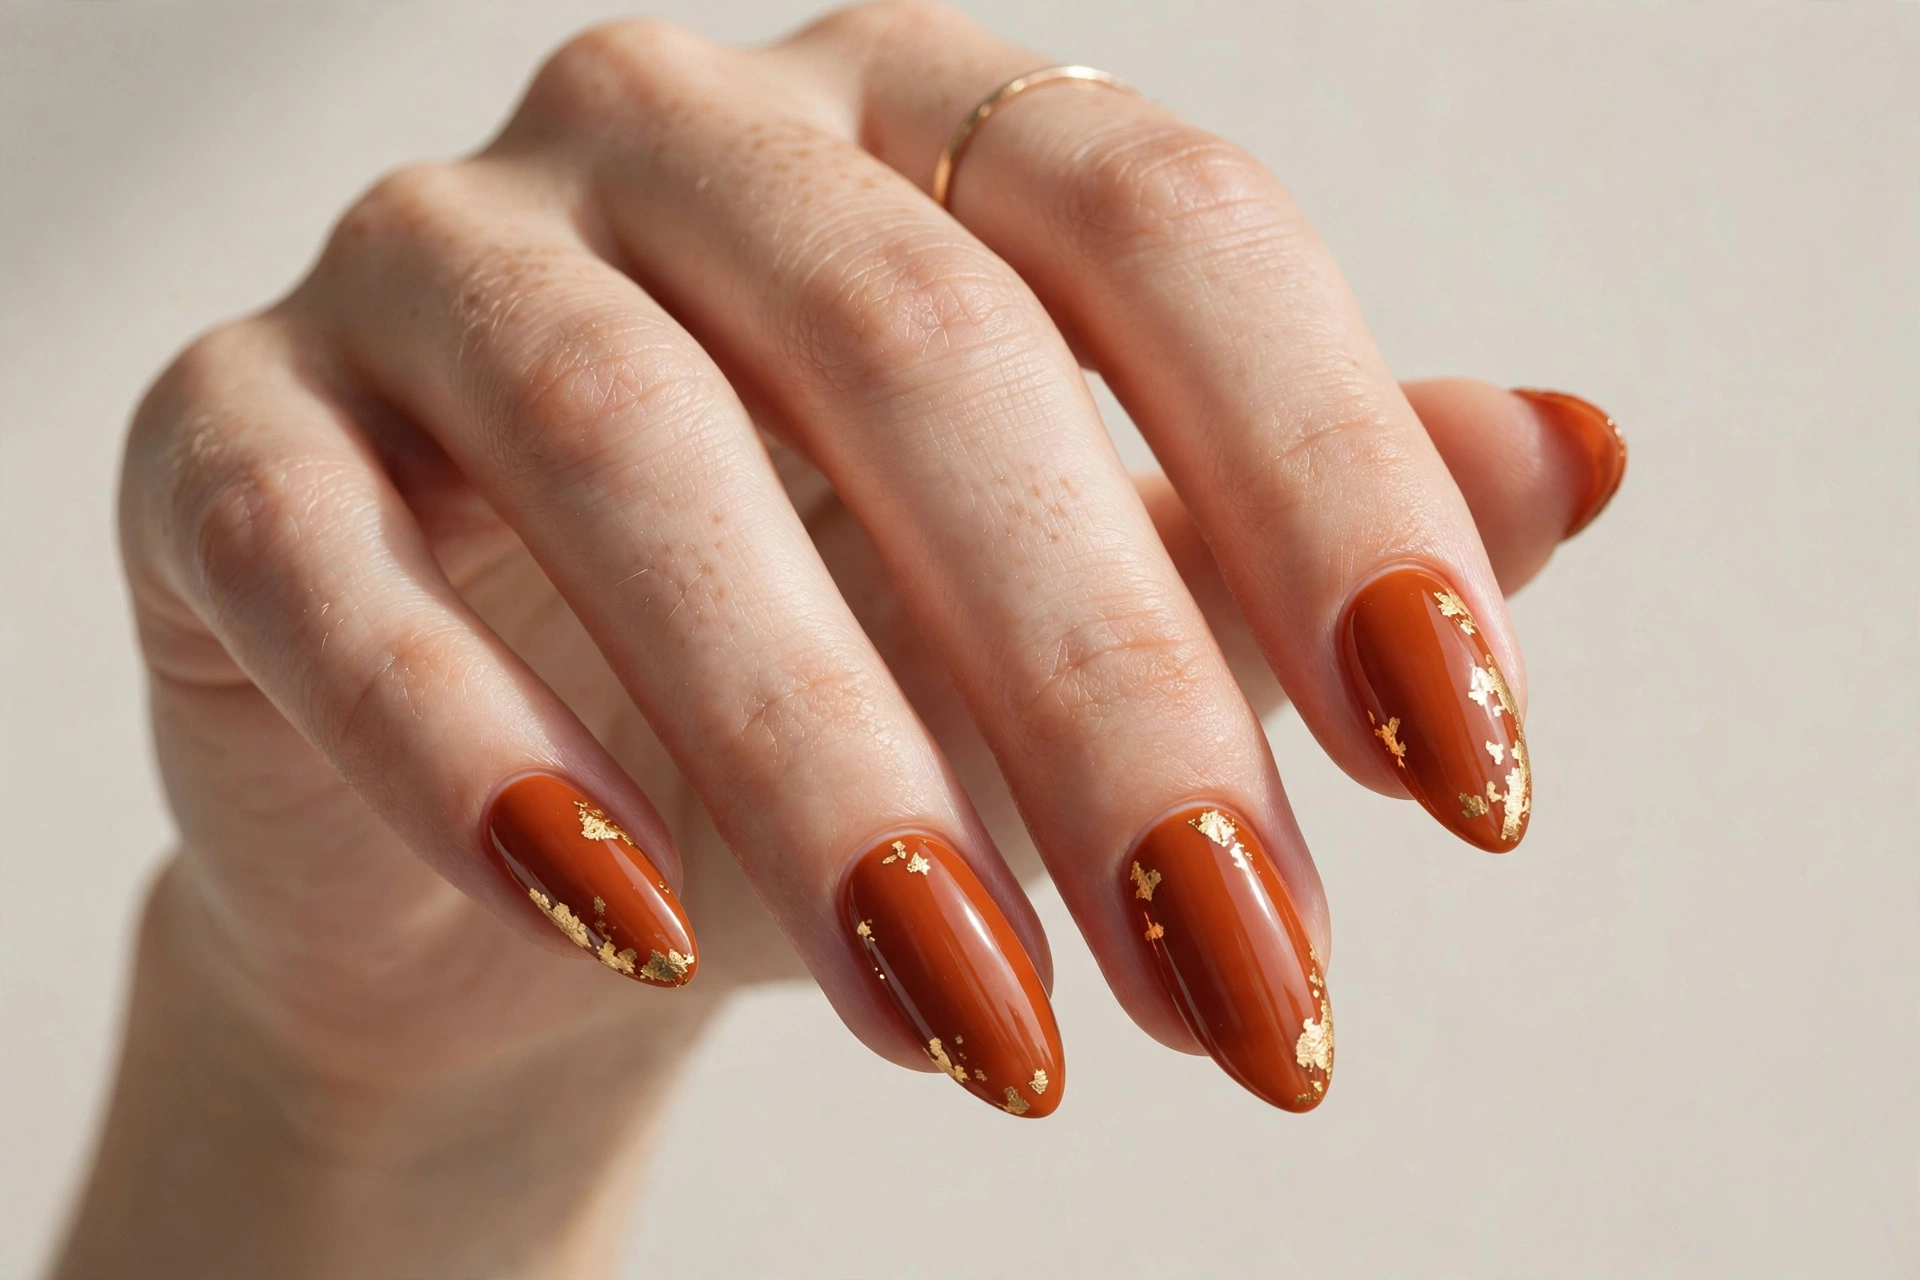
Gold foil on burnt orange looks like autumn leaves caught in late-afternoon light. Keep the base a solid burnt orange cream, then press small pieces of gold foil onto one or two accent nails — usually the ring finger — while the second coat is still tacky. This design suits people who want something special without full nail art; it reads as elegant at the office and festive at a fall dinner. You can buy loose gold foil flakes cheaply, and they press on with nothing more than an orangewood stick. Seal the foil with two coats of top coat, capping the free edge, because foil lifts if it is not sealed properly. The contrast of warm orange and warm metallic is what makes this combination work so reliably.
3. Burnt Orange-to-Nude Ombré
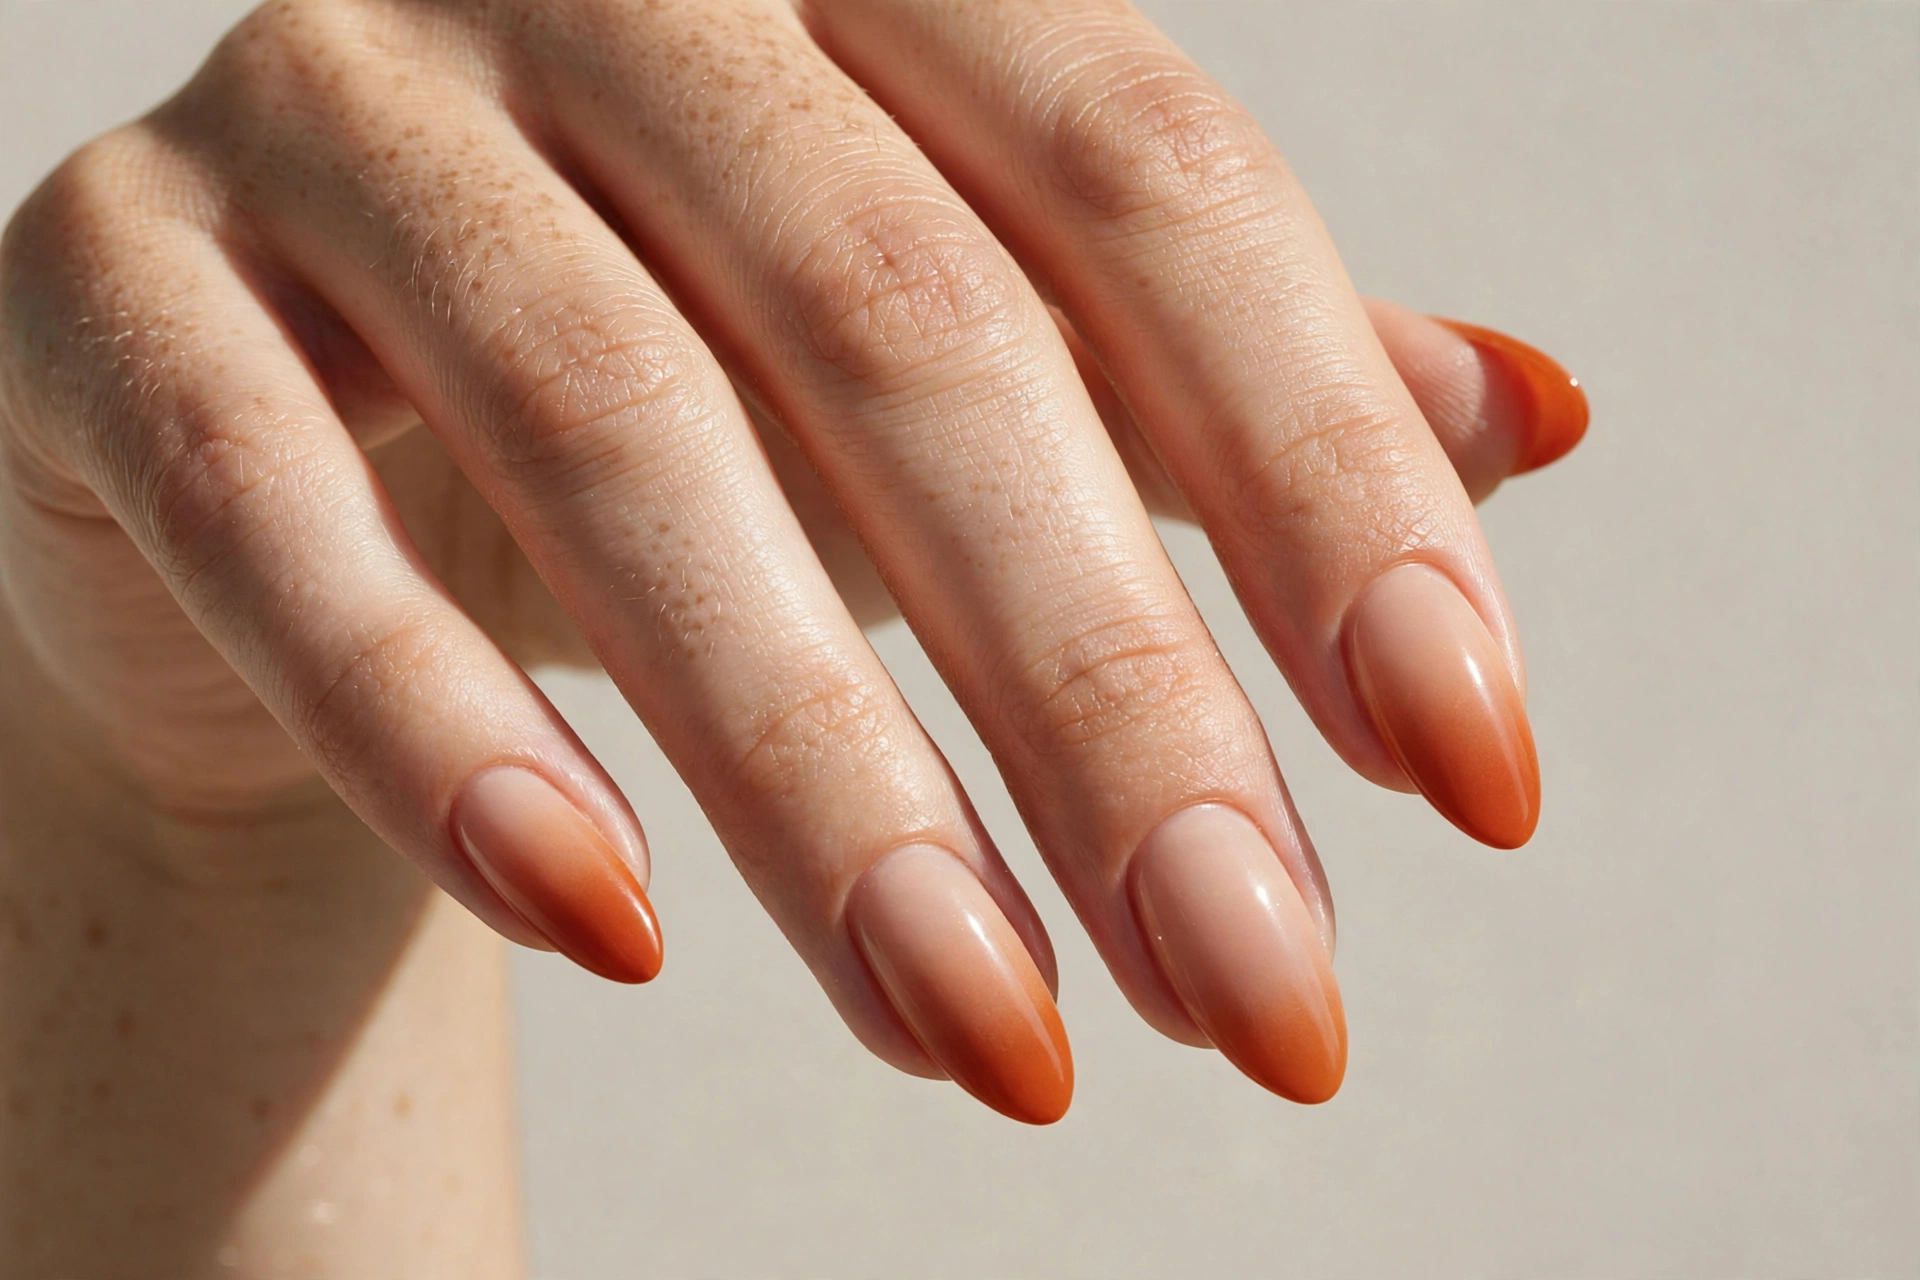
An ombré that melts burnt orange down into a soft nude at the cuticle gives you the fall color with a softer, more wearable finish. This suits anyone who finds solid dark polish a bit strong, or anyone growing out a manicure — the nude base disguises regrowth. The easiest way to get it is the sponge method: paint a small makeup sponge with stripes of burnt orange and nude polish, press it onto the nail, and repeat with light layers until the blend looks smooth. Clean up the cuticle area with a small brush dipped in remover. Because the color fades rather than stopping at a hard line, this design looks airbrushed and professional even when you do it at home. A gel top coat will smooth any sponge texture.
4. Autumn Leaf Accents
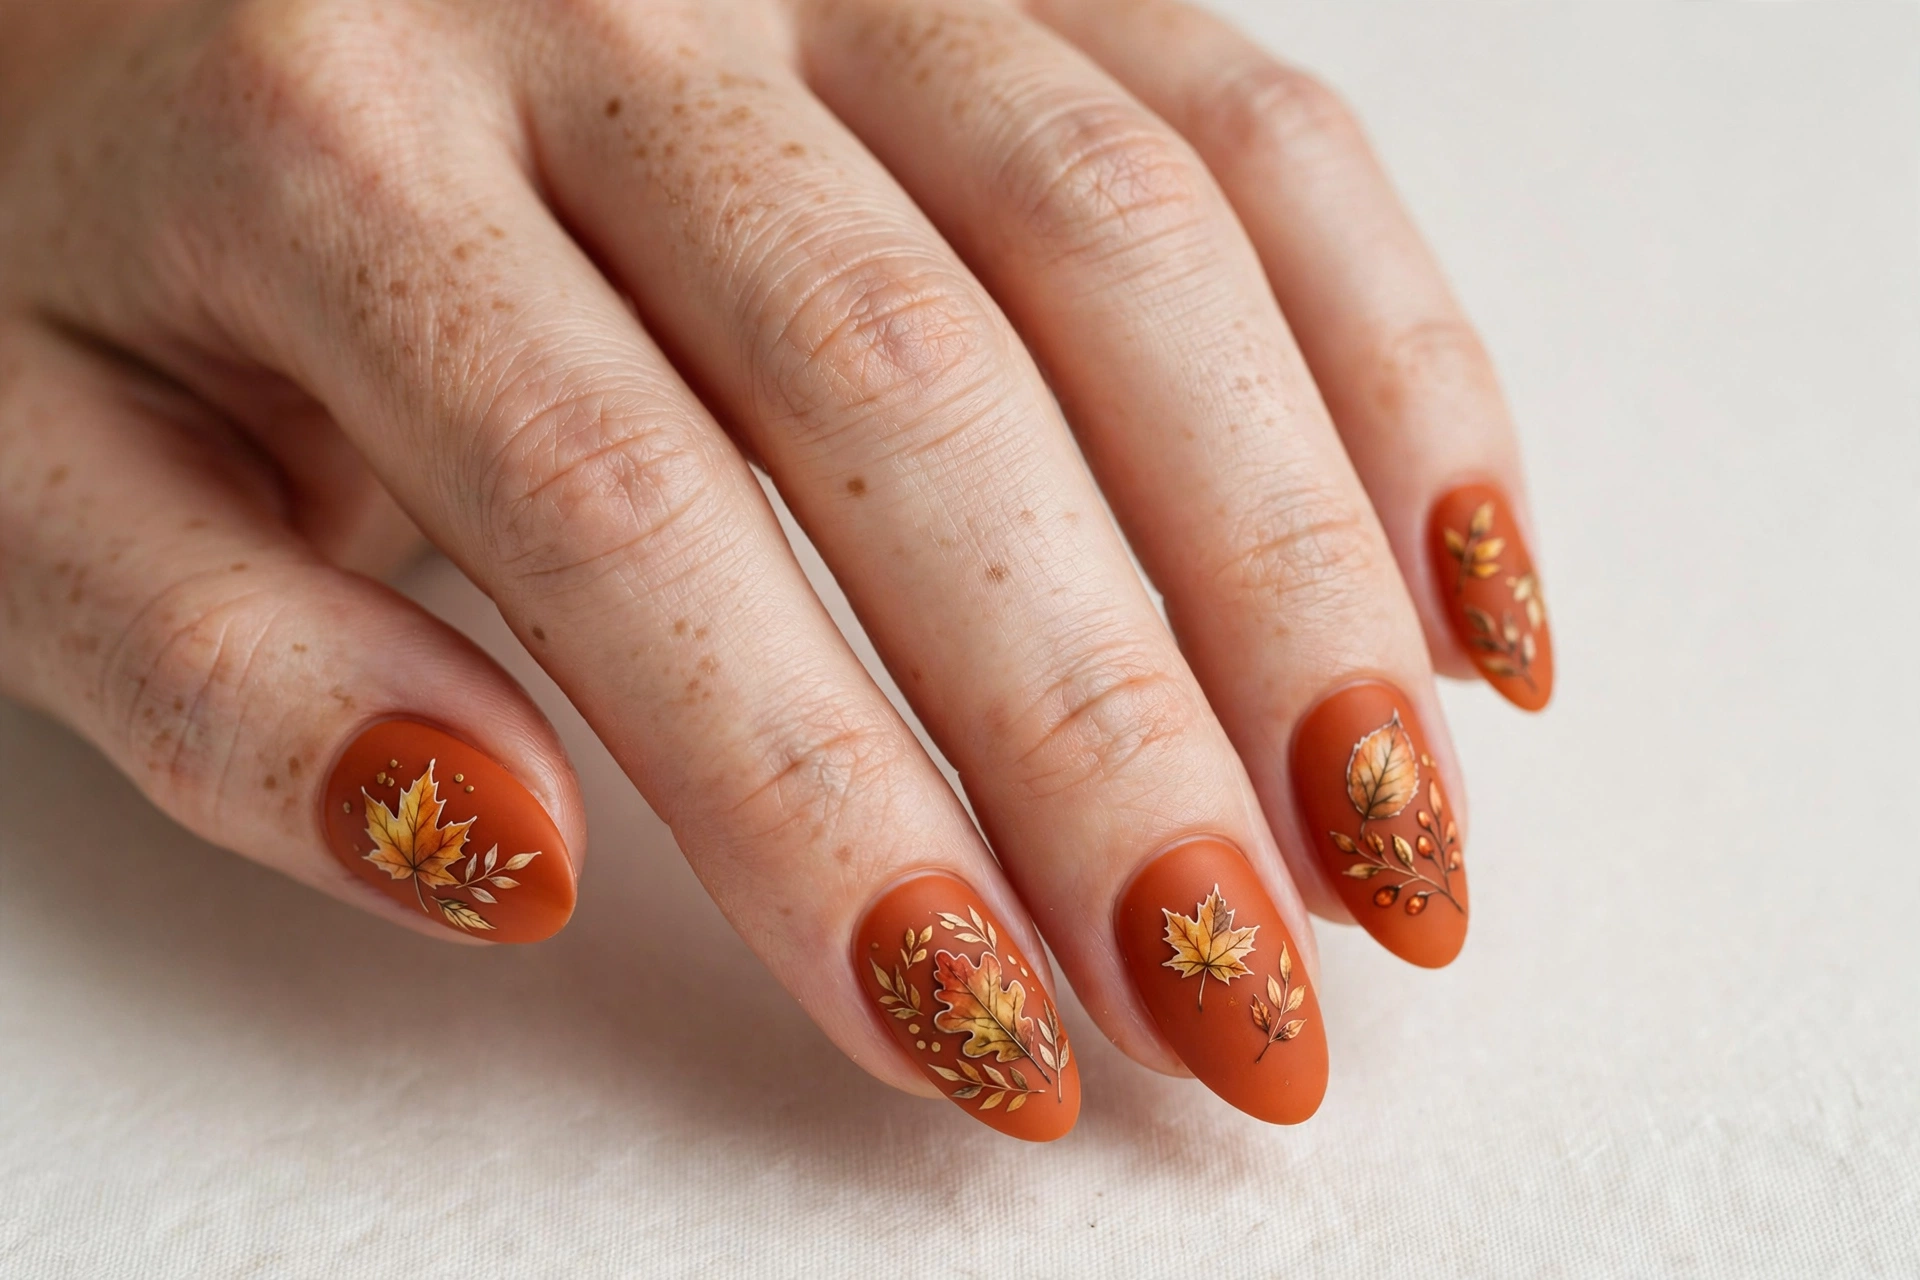
Hand-painted leaves are the most literal way to put fall on your nails, and they look best against a burnt orange background. Paint four nails solid burnt orange and leave one or two nails in a pale cream or nude; on the pale nails, paint simple leaf shapes in burnt orange, gold, and brown with a fine detail brush. The leaves do not need to be botanical illustrations — small teardrop shapes with a thin center vein read as leaves instantly. This suits anyone who loves seasonal detail and has a steady hand, or a patient salon artist. If freehand painting feels intimidating, start with simple leaf silhouettes in a single color; they still read as autumn. Seal with top coat so the thin paint does not wear off.
5. Burnt Orange Tortoiseshell
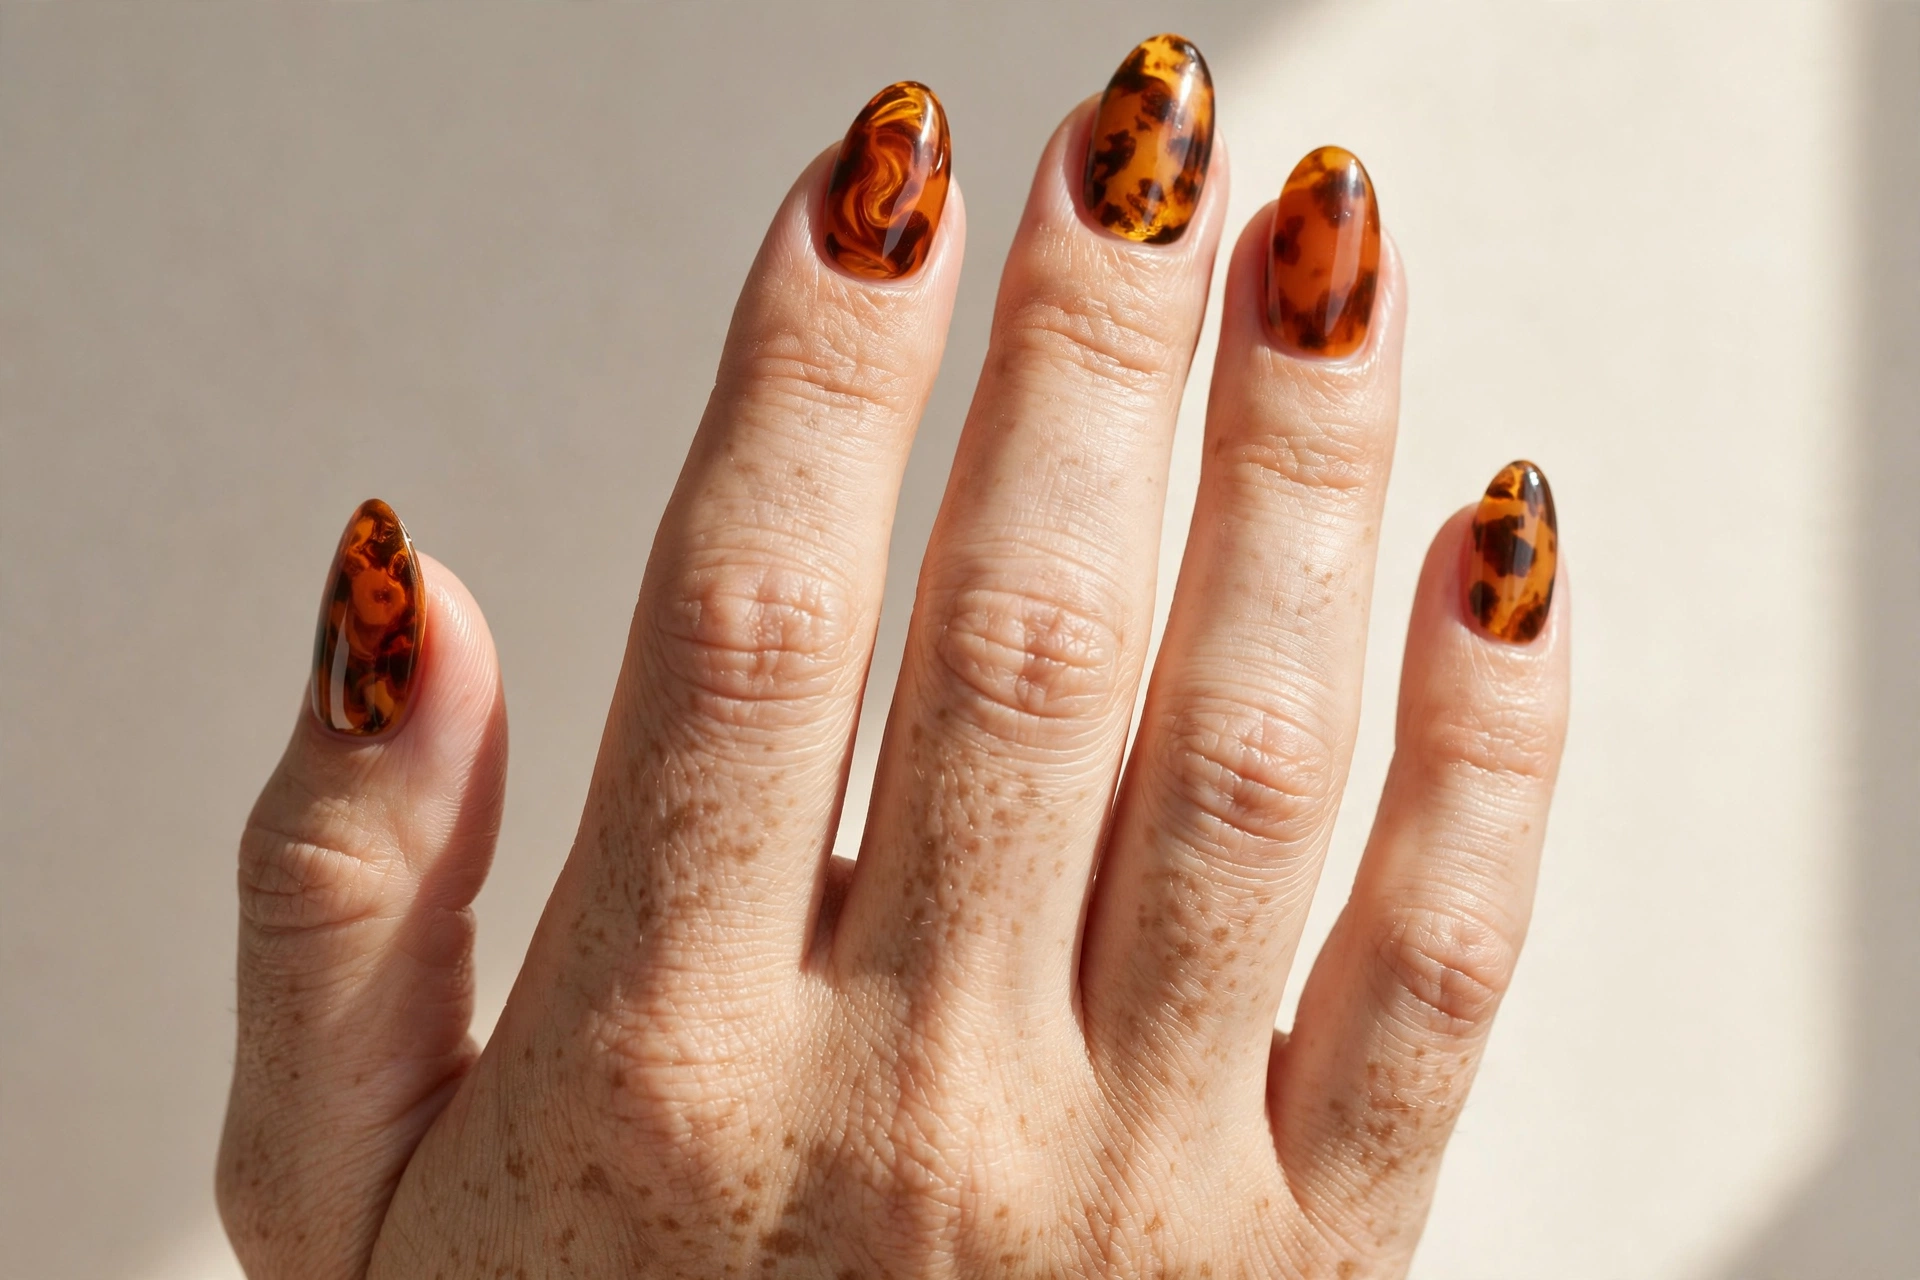
Tortoiseshell nails in burnt orange and amber look like polished stone — rich, glossy, and quietly luxurious. This suits anyone who wants fall color that still feels sophisticated, and it works on all nail lengths. To get it, start with a translucent amber or burnt orange jelly base, then dab on irregular patches of darker brown and deep orange with a small brush or dotting tool, keeping the edges soft by working while the polish is wet. The patches should be uneven and organic; that randomness is what makes it look like real tortoiseshell. Two coats of glossy top coat give it the glassy, stone-like finish. This is one of those designs that gets compliments because it does not look like nail art at first glance.
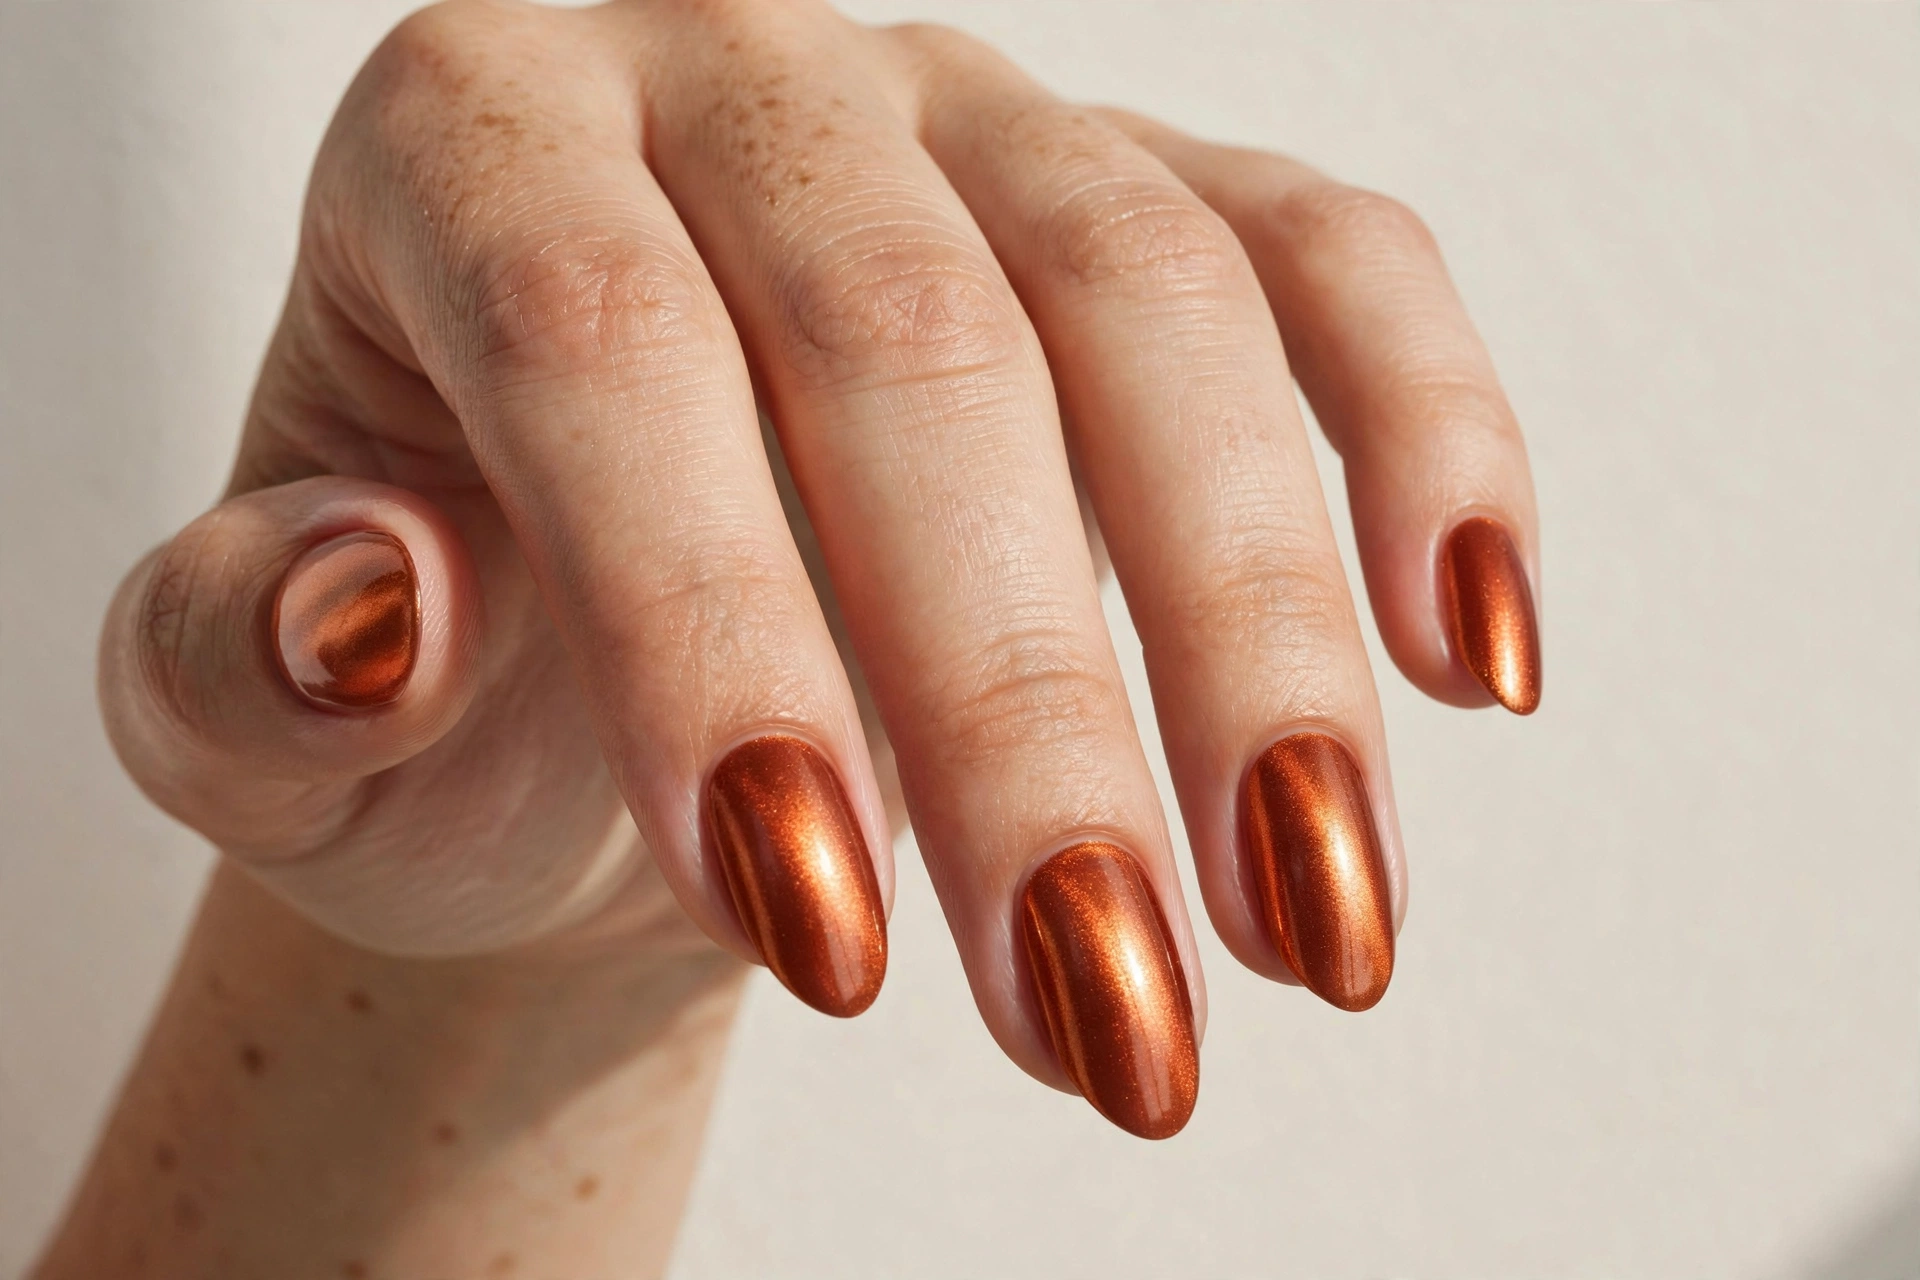
6. Copper Chrome
Copper chrome takes burnt orange and adds a metallic, mirror-like shine that catches light beautifully. This suits anyone who wants their fall nails to feel a little glamorous, and it is especially striking on medium to long nails where the chrome has room to reflect. The technique needs chrome powder: apply a burnt orange gel base color, cure it, rub copper chrome powder over the tacky layer with an applicator or fingertip, then brush off the excess and seal with a no-wipe top coat. The result is a liquid-metal finish that looks far more expensive than it is. Keep in mind chrome shows every bump, so a smooth base and careful cuticle cleanup matter more than usual.
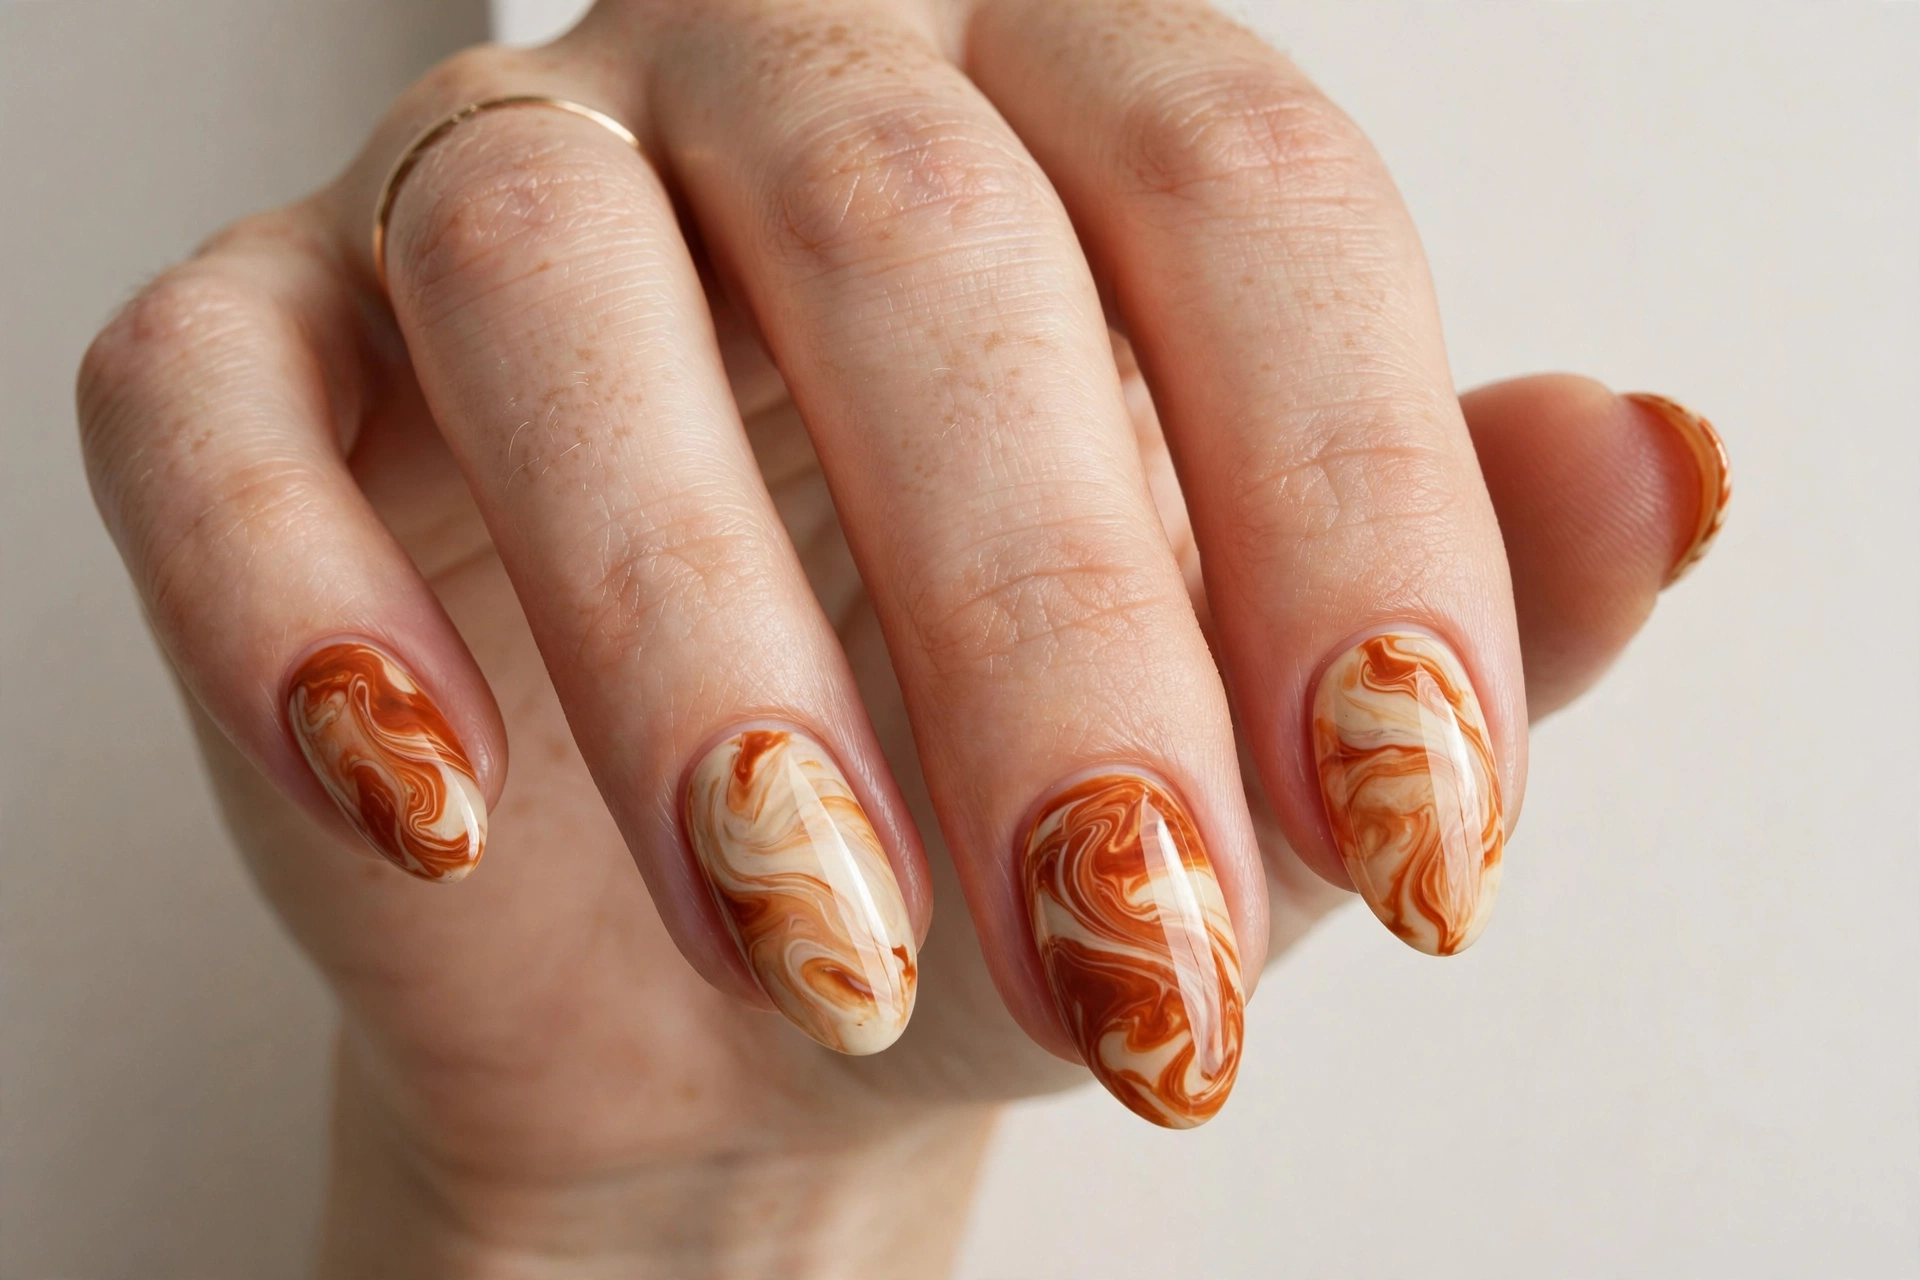
7. Burnt Orange and Cream Marble
Marble swirls of burnt orange and cream look like a cozy autumn latte poured onto your nails. This suits anyone who likes artistic, one-of-a-kind designs — no two marble nails ever look the same. The easiest method is water marbling or the dry-marble technique: apply a cream base, then use a thin brush to drag burnt orange polish into loose swirls while it is still wet, pulling the color into soft, cloudy shapes. Work one nail at a time so the polish stays workable. A light hand is better than a heavy one; wispy marbling looks more natural than thick stripes. Finish with top coat to smooth the swirls. For extra depth, a thin gold line tracing one swirl adds a jewelry-like detail.
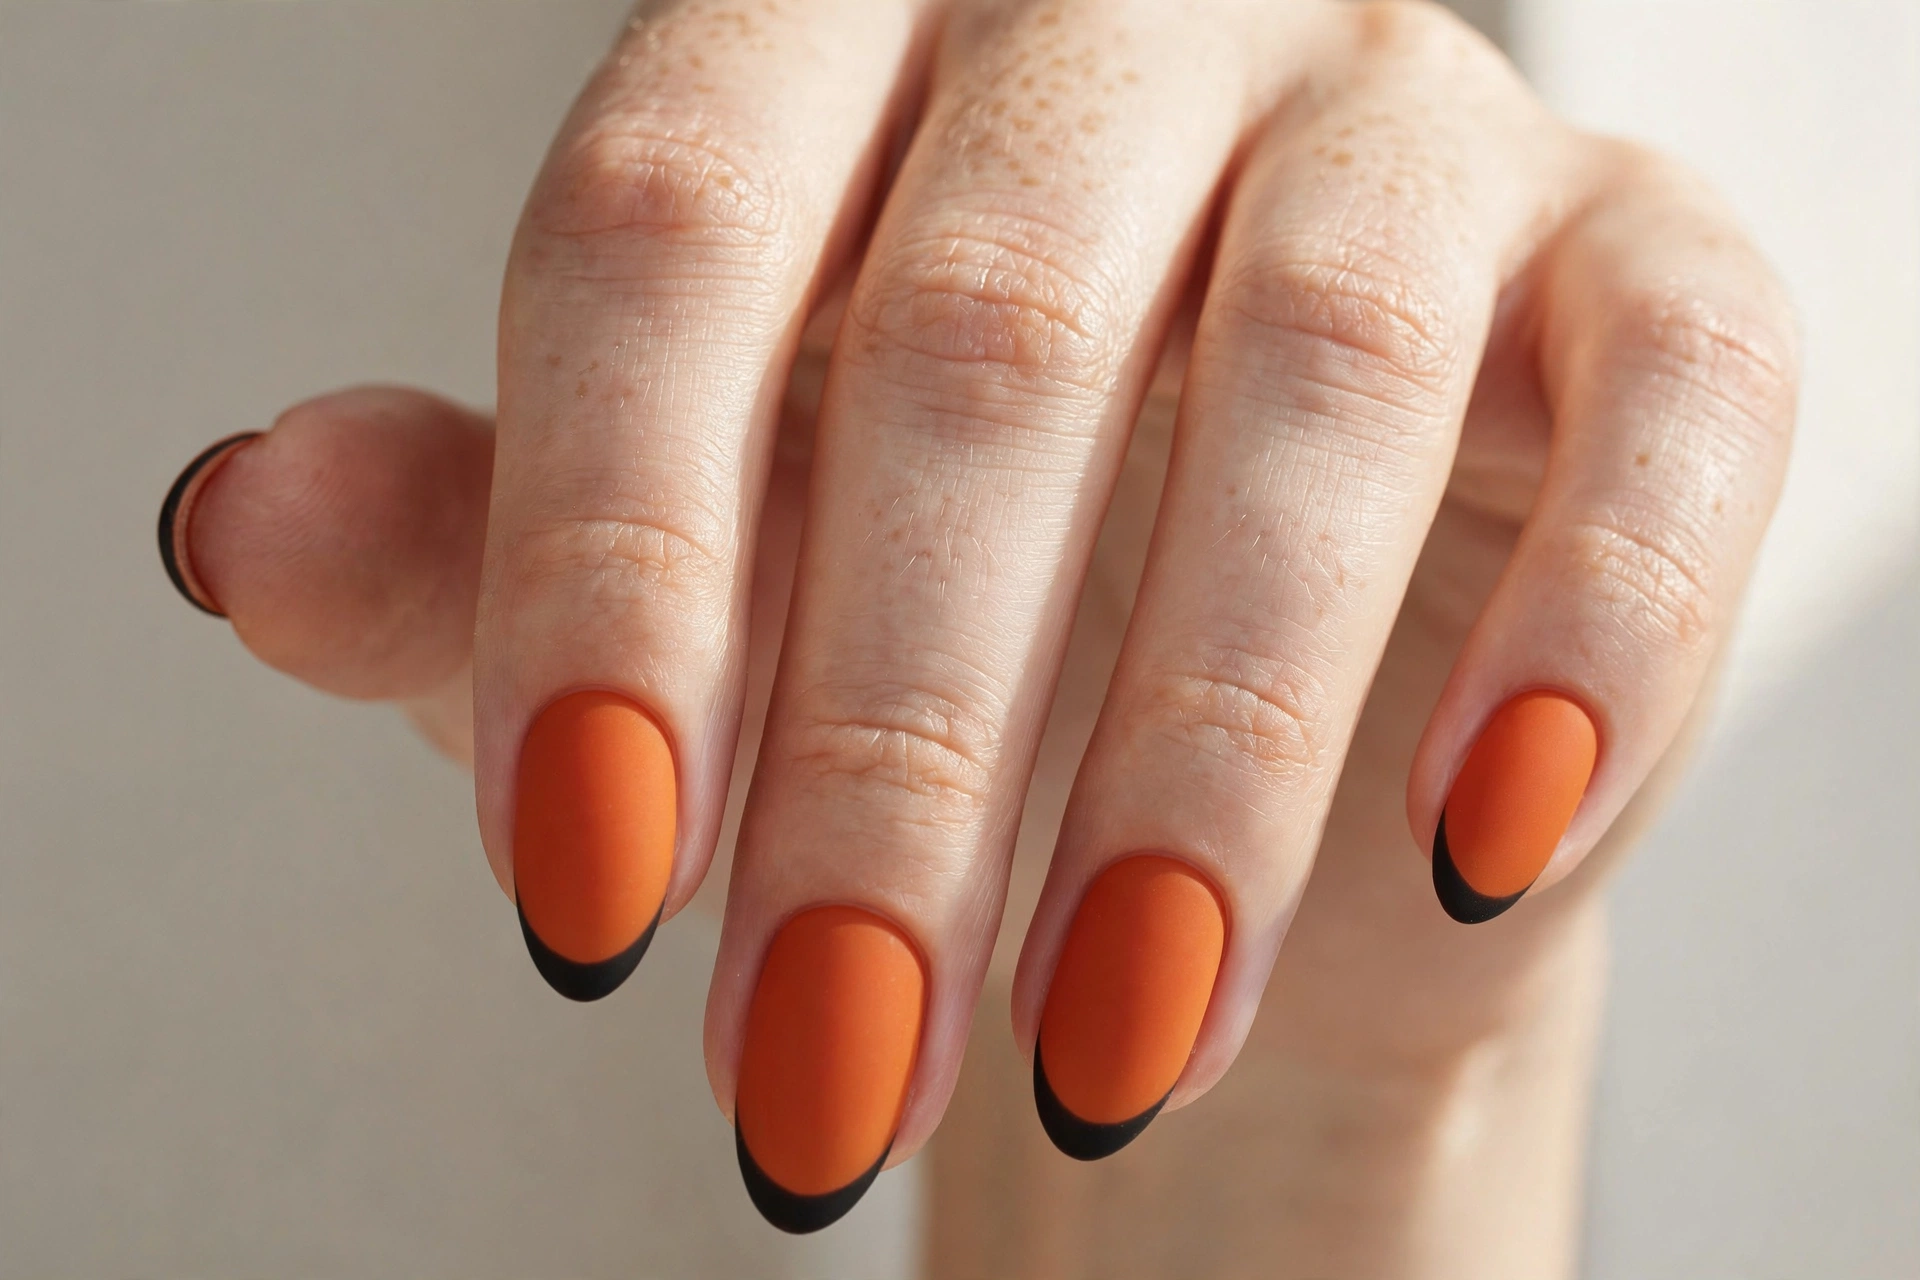
8. Matte Burnt Orange with Black French Tips
Pairing a matte burnt orange base with glossy black French tips gives you a modern twist on two classics at once. The contrast between the soft matte orange and the sharp black tip looks deliberate and a little edgy, which suits anyone whose style leans more fashion-forward than sweet. To get it, apply burnt orange and add a matte top coat; once it is dry, use a thin brush or French tip guides to paint crisp black tips, then seal just the tips with a glossy top coat so the two finishes play off each other. The trick is clean smile lines — take your time or use nail vinyls. This design also photographs beautifully, which is worth knowing if you like posting your manicures.
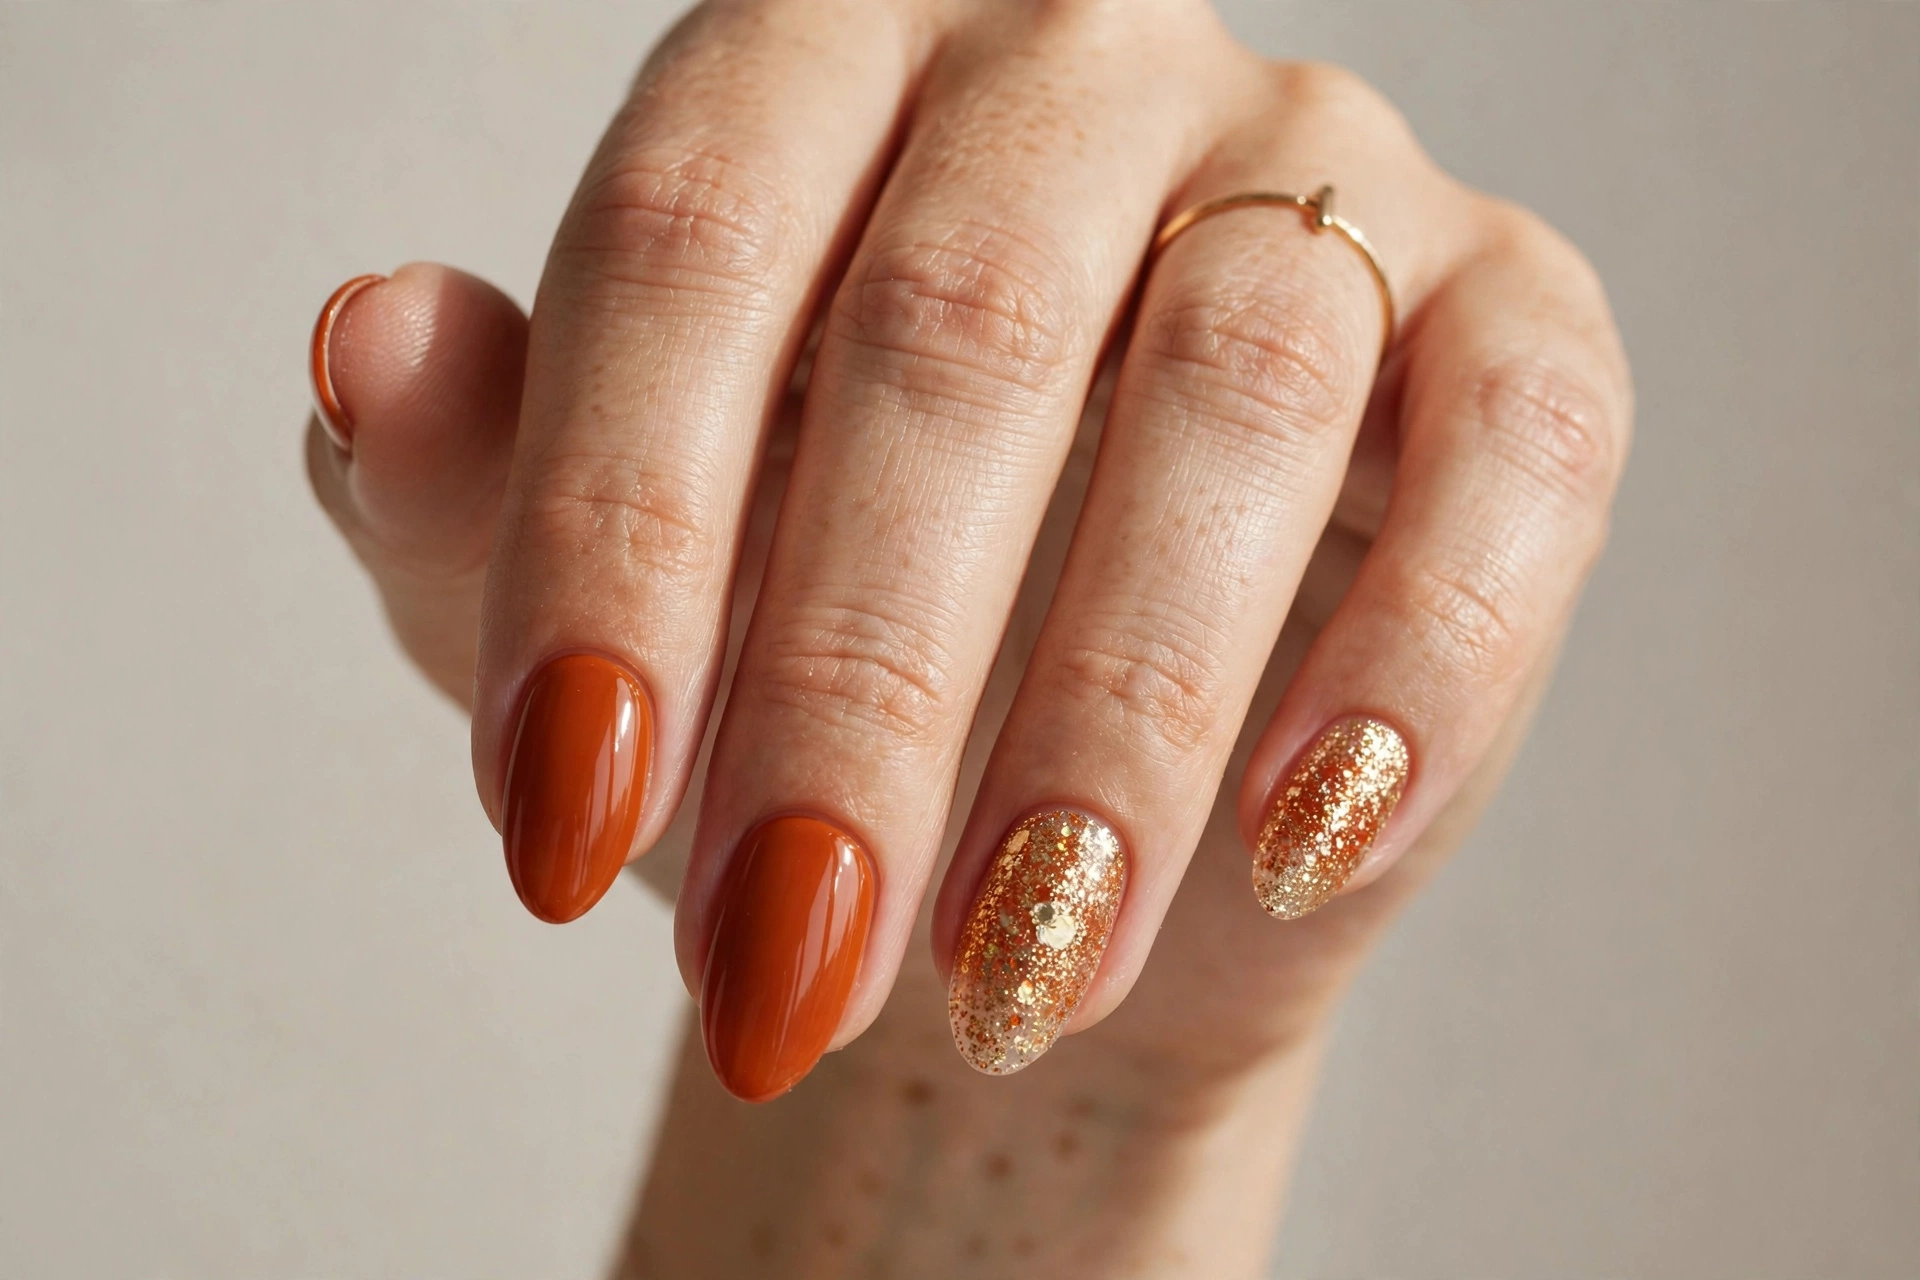
9. Burnt Orange Glitter Accents
If you want sparkle without a full glitter bomb, paint most nails solid burnt orange and give one or two accent nails a full coat of copper or gold glitter. This suits holiday-season overlap — Thanksgiving dinners, fall weddings, anything where you want your nails to catch candlelight. Glitter applies best over a coat of the same base color, which fills any gaps between particles. Press the glitter polish on rather than brushing it, and build it in two layers for full coverage. Peel-off base coats are worth considering if you change polish often, because glitter is famously stubborn to remove. One glitter accent per hand keeps it tasteful; two per hand makes it a statement.
10. Burnt Orange Leopard Print
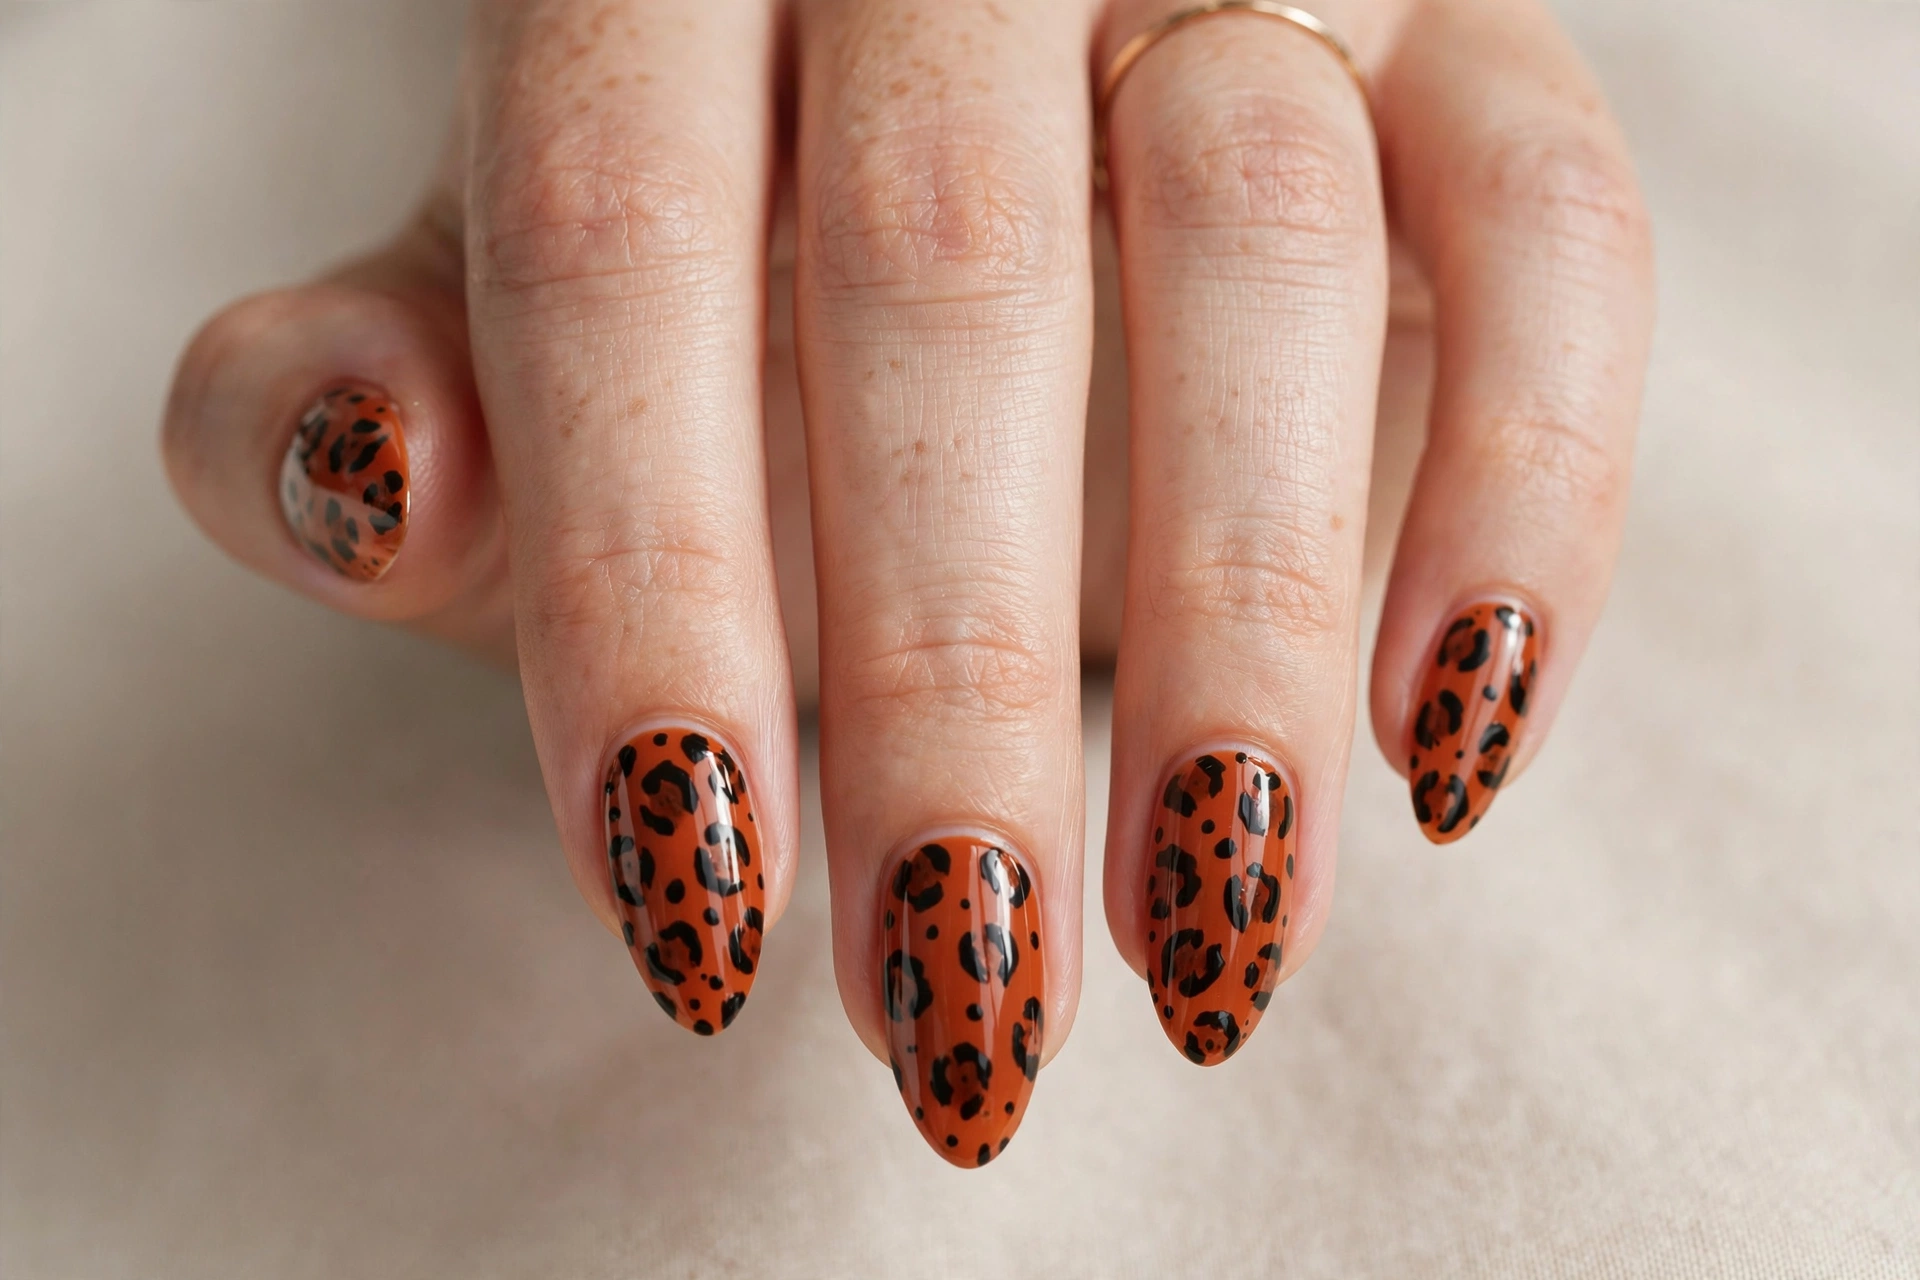
Leopard print in burnt orange, rust, and black feels perfectly at home in fall — it is the print equivalent of a warm coat. This suits anyone who likes a little wildness in their manicure but still wants it to feel seasonal. The pattern is simpler than it looks: paint a burnt orange base, dab on irregular rust-colored spots with a dotting tool, then outline parts of each spot with thin black C-shaped strokes, leaving gaps so it looks like real leopard rosettes. Keep the spots small and scattered rather than covering the whole nail. Leopard works especially well as an accent on two nails with the rest solid burnt orange, but a full set is a confident choice that reads very fashion-editorial.
11. Espresso-to-Burnt-Orange Ombré
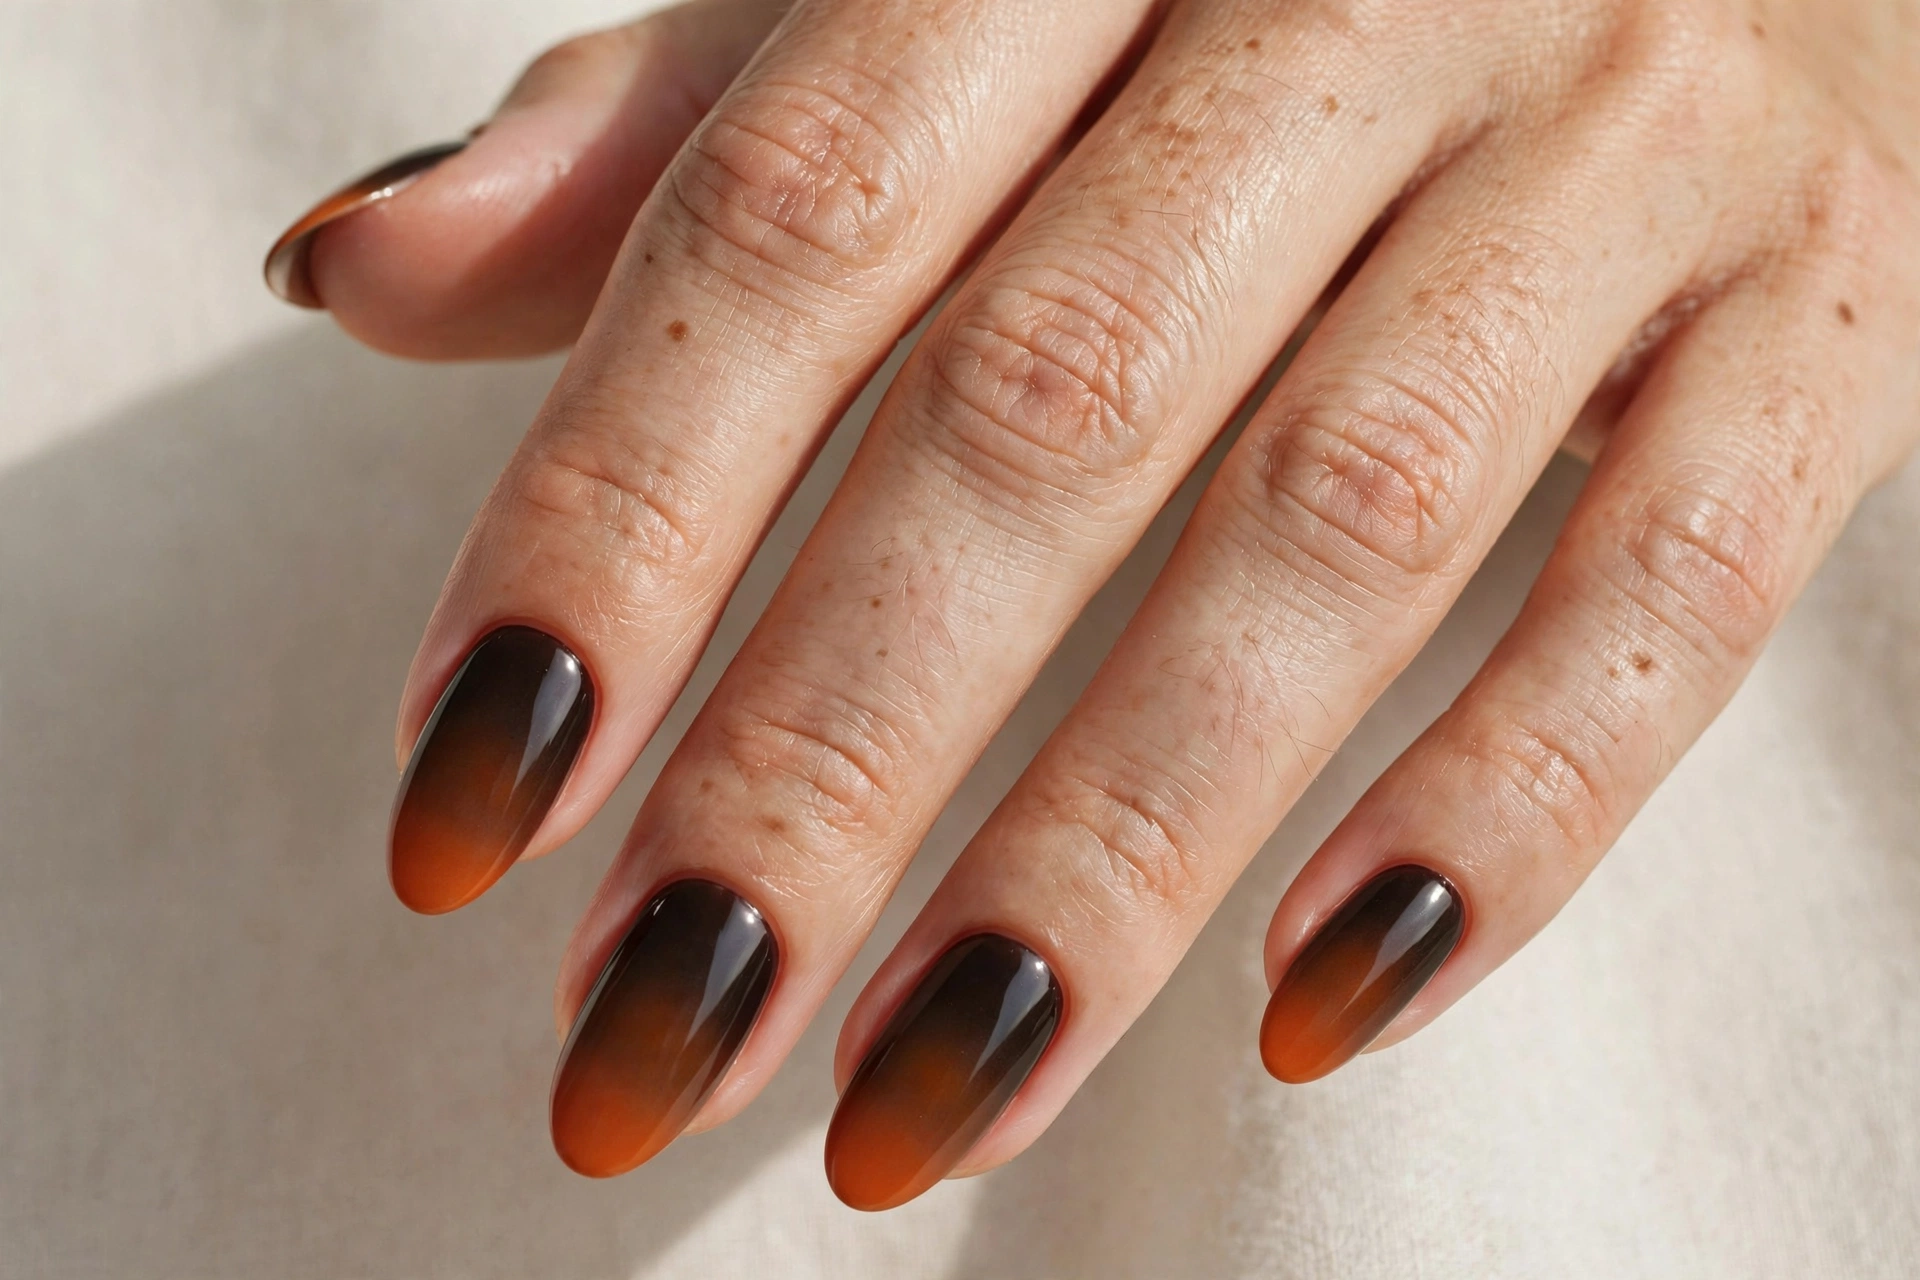
Starting deep espresso at the cuticle and melting into burnt orange at the tip gives you the full fall palette on every nail. This suits anyone who loves rich, moody colors — it looks stunning on medium and deep skin tones and adds drama on shorter nails. Use the sponge technique from the nude ombré above, but with espresso and burnt orange; because both colors are dark, you will need three or four light sponge passes to get a smooth blend. A glossy top coat deepens both shades and makes the gradient look seamless. This design is also a good base for gold foil at the tips if you want to add shimmer later in the season.
12. Burnt Orange Flannel Plaid
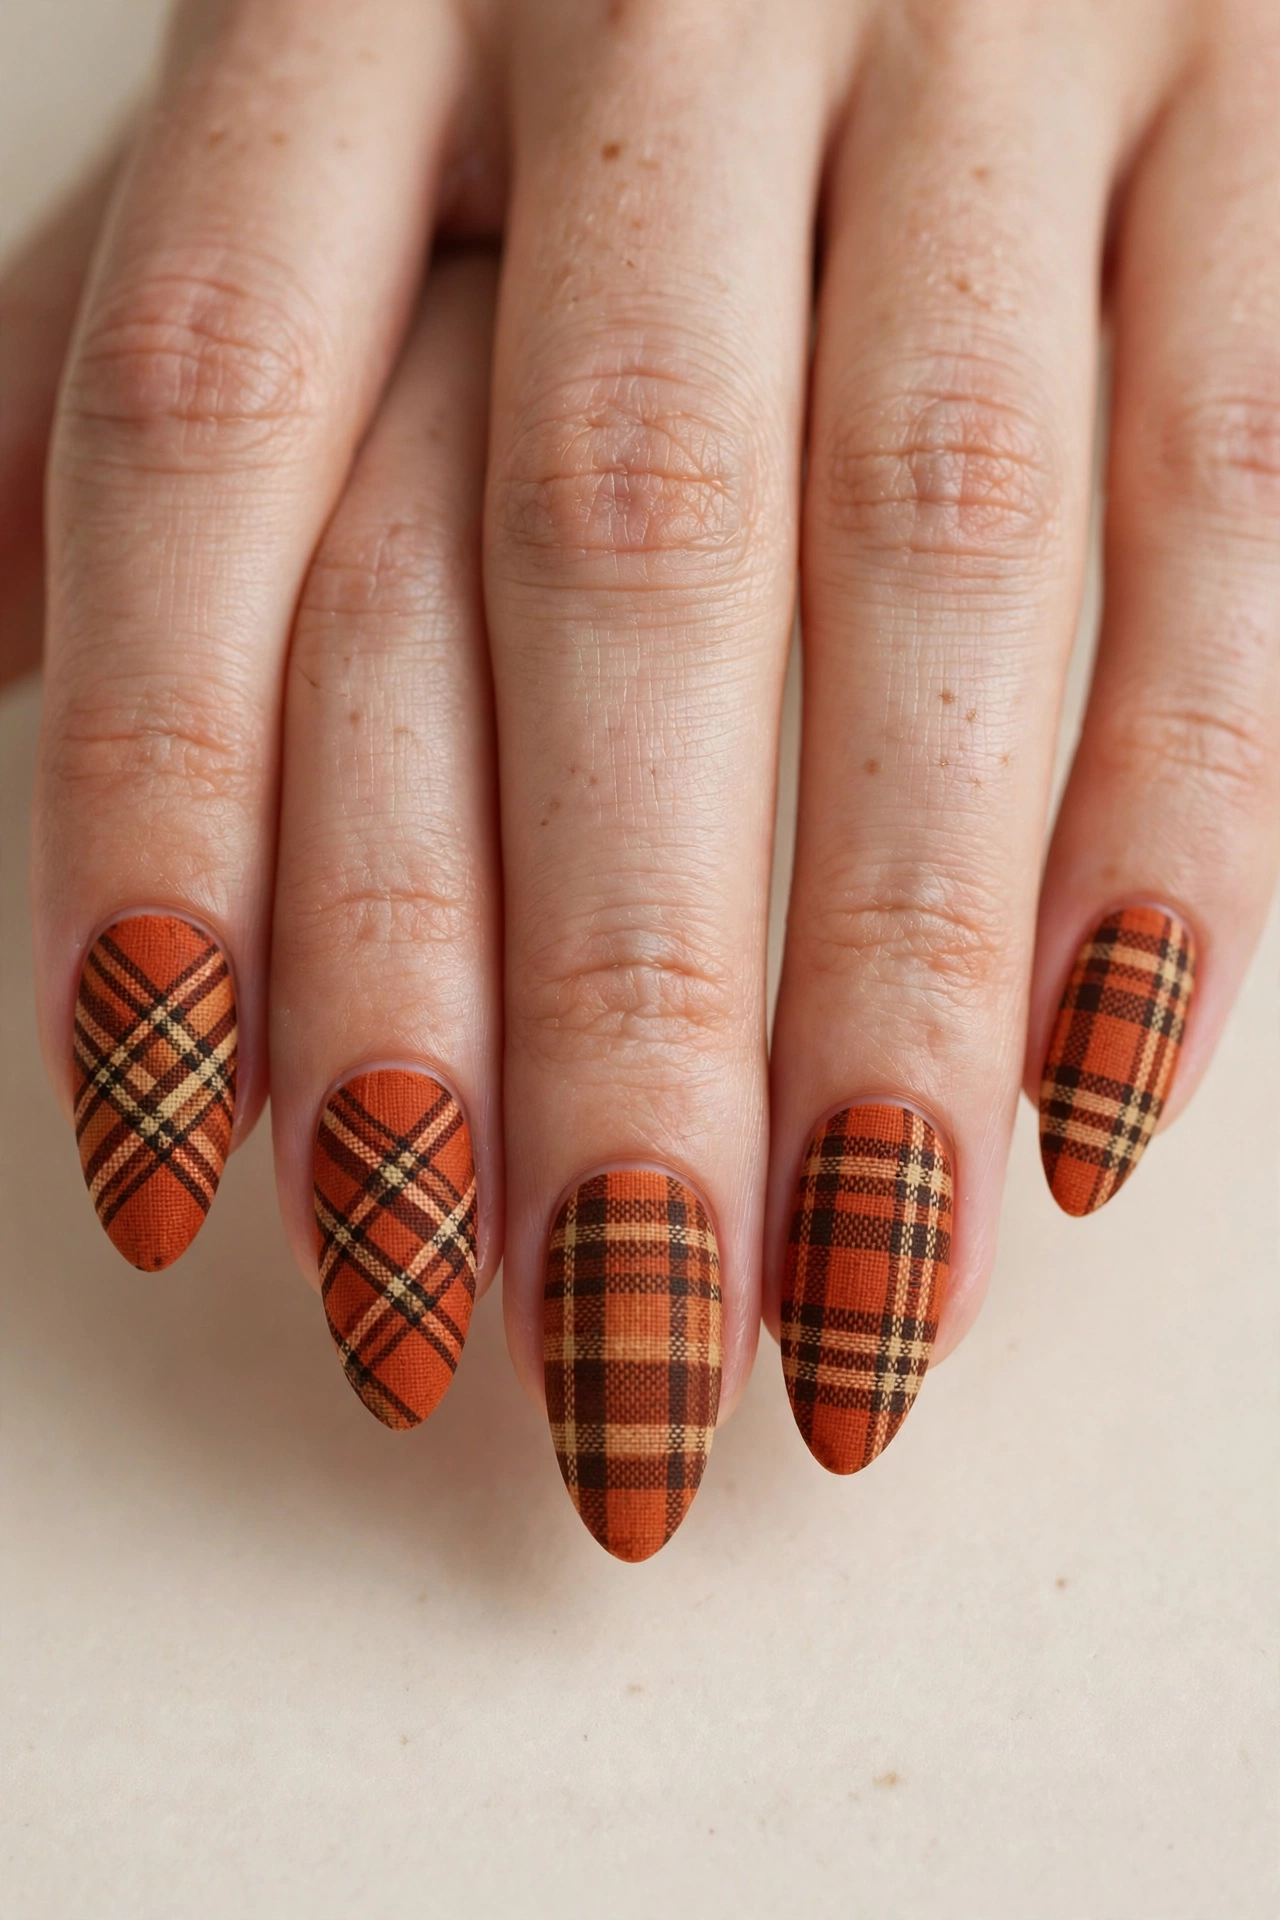
Flannel plaid in burnt orange, cream, and brown is the nail version of your favorite fall shirt. This suits anyone who loves cozy, preppy autumn style — it looks especially good at apple orchards and pumpkin patches. The technique is straightforward: paint a burnt orange base, then use a striping brush to draw thin vertical and horizontal lines in cream, brown, and a darker orange, letting them overlap so the crossing lines darken naturally like real plaid. A steady hand helps, but slight wobbles read as fabric texture. If full plaid on every nail feels like a lot, do two plaid accent nails with the rest solid burnt orange. Matte top coat makes the flannel look even more like real fabric.
13. Burnt Orange Aura Nails
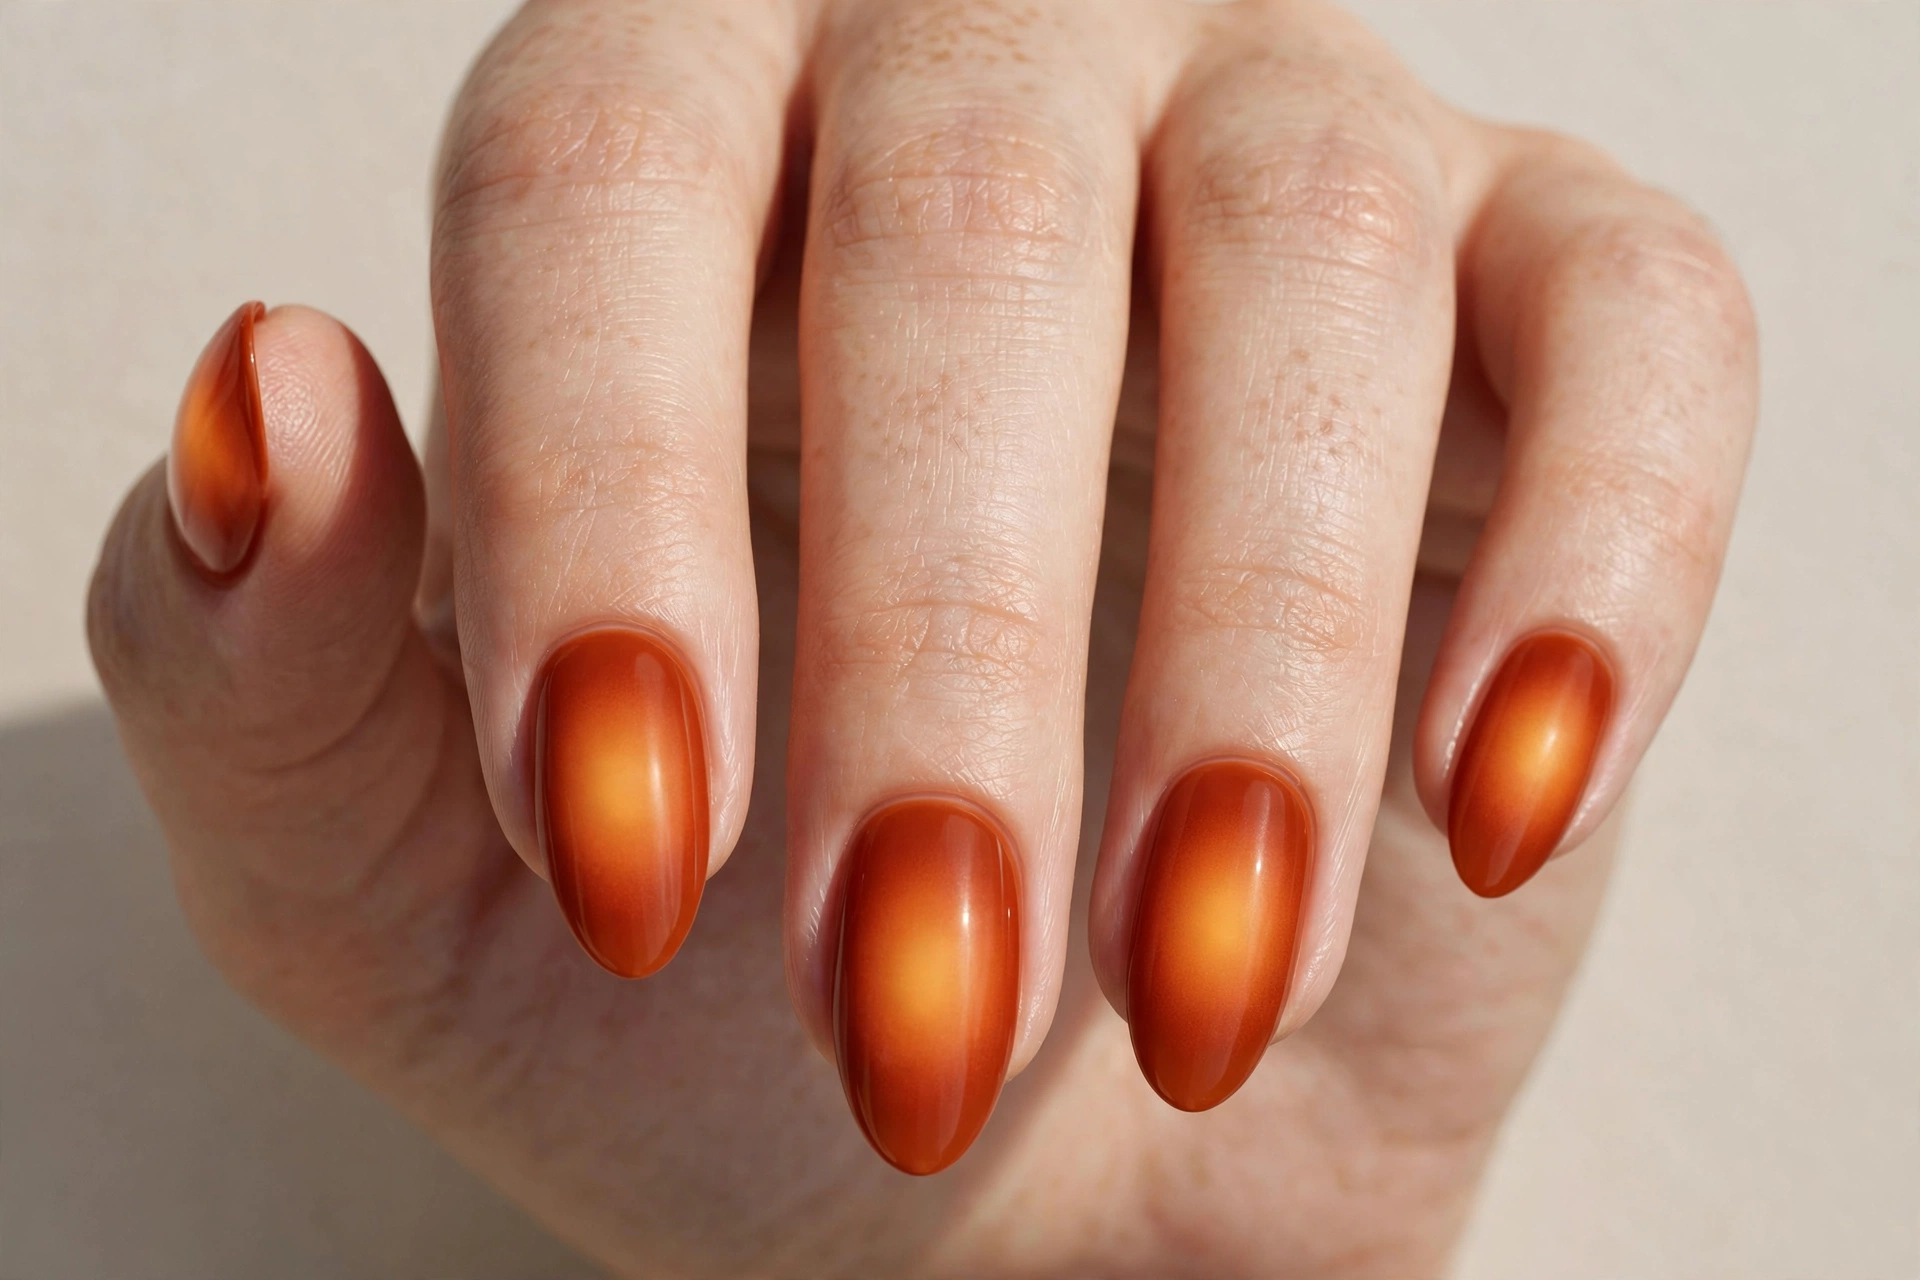
Aura nails — a soft, glowing burst of lighter color at the center of each nail — look dreamy in burnt orange. This suits anyone drawn to softer, trend-led designs; the airbrushed effect feels modern and works on short nails where detailed art can look crowded. The center can be a warm cream or gold that glows out of the burnt orange edge. Salons usually airbrush this, but at home you can sponge a light color into the center over a burnt orange base and blur the edges with a clean sponge. A glossy top coat blends everything. Aura nails photograph with a halo effect that makes them look almost luminous, so expect questions about how they were done.
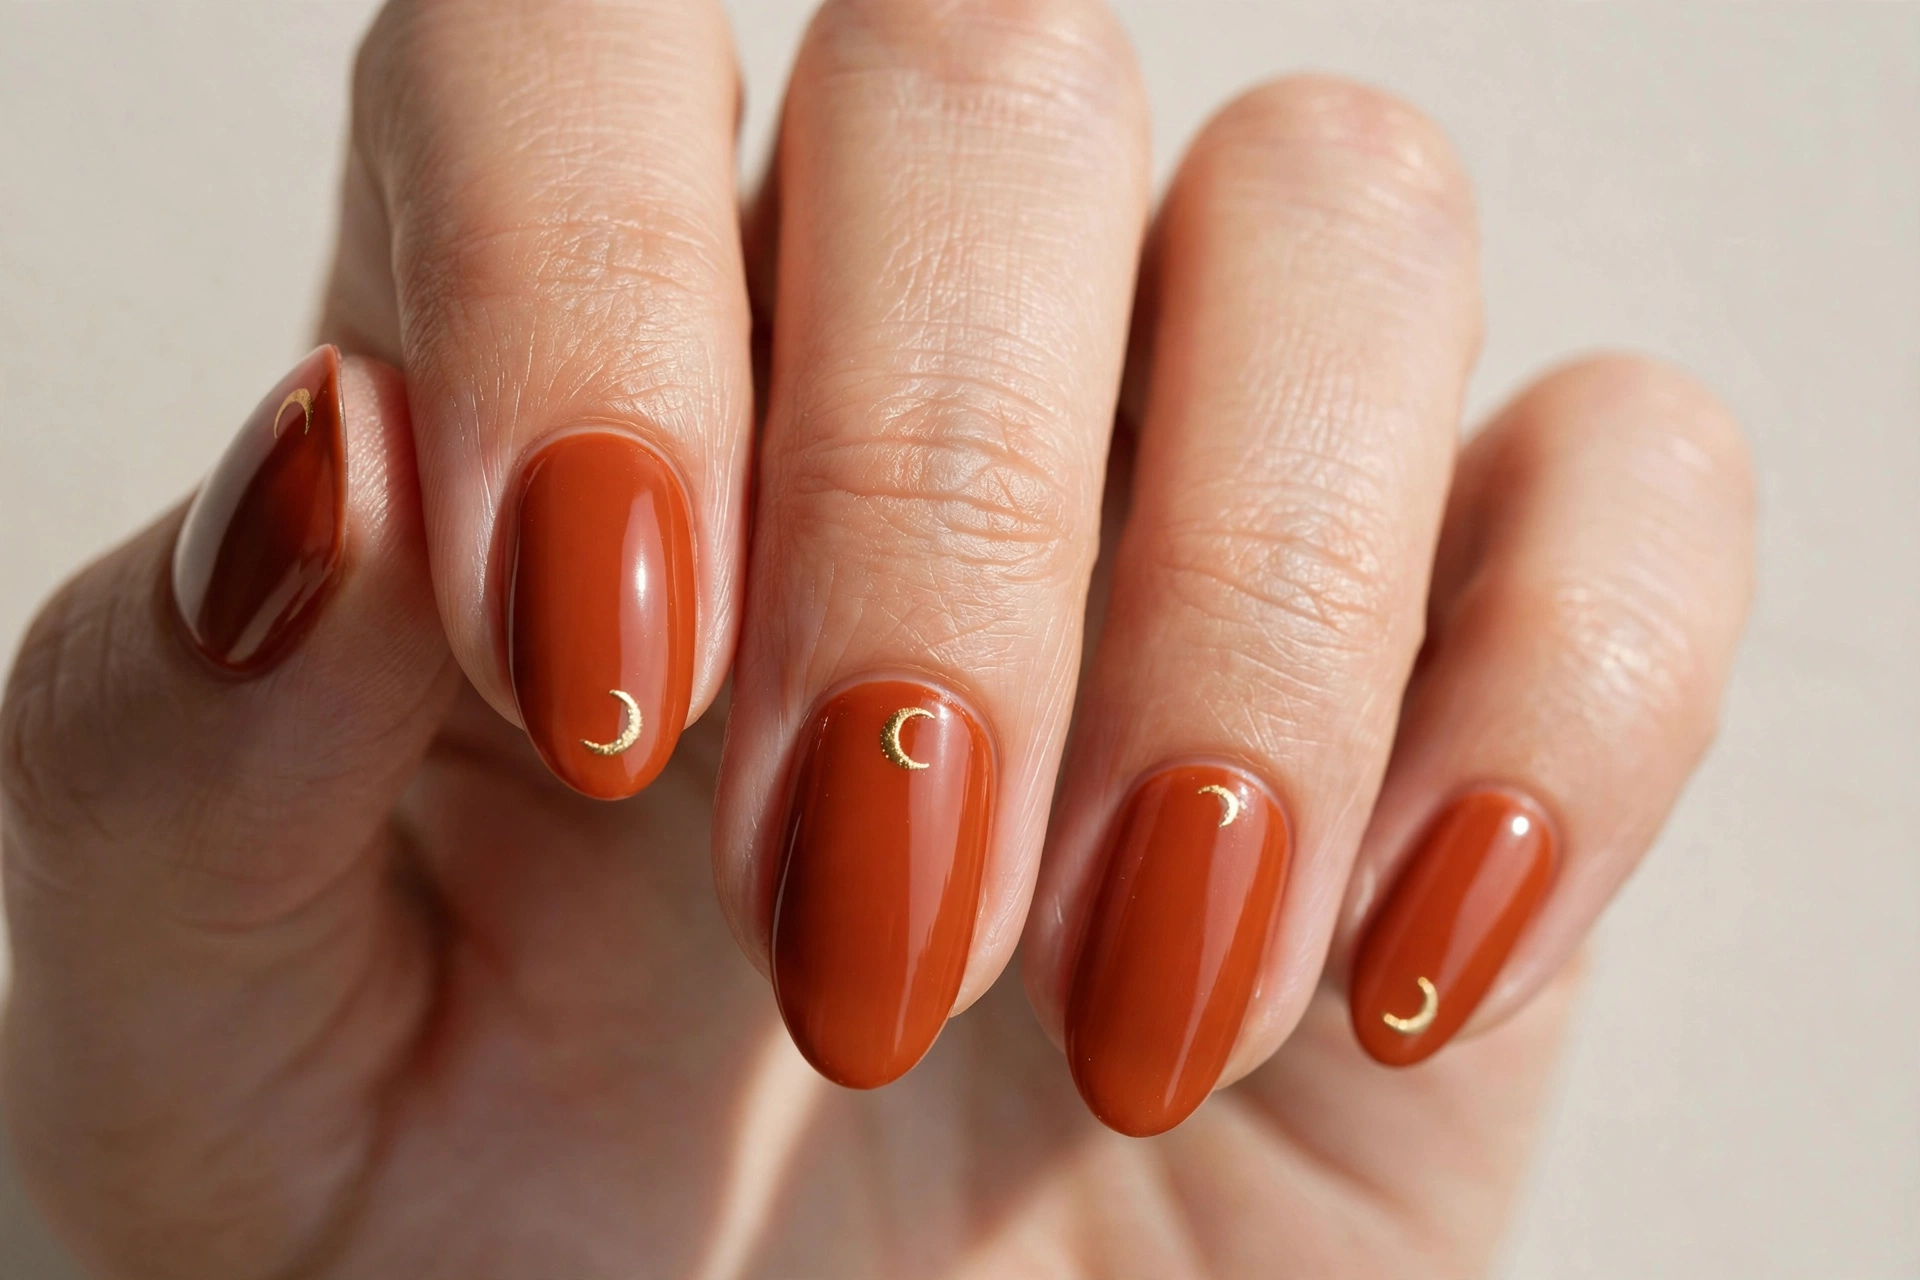
14. Gold Crescent Moons on Burnt Orange
Small gold crescent moons scattered over burnt orange look like a crisp autumn night sky. This suits anyone who likes celestial details — it is whimsical without being childish, and the gold pops beautifully against the warm base. Paint your nails solid burnt orange first, then use a fine detail brush or a moon-shaped nail sticker to add crescents in metallic gold polish, placing one per nail near the cuticle or tip. If freehand moons feel hard, a dotting tool can help: paint a gold dot, then carve the crescent shape out with a clean brush. Keep the moons small; delicate scale is what makes this design elegant. Two coats of top coat protect the thin gold lines.
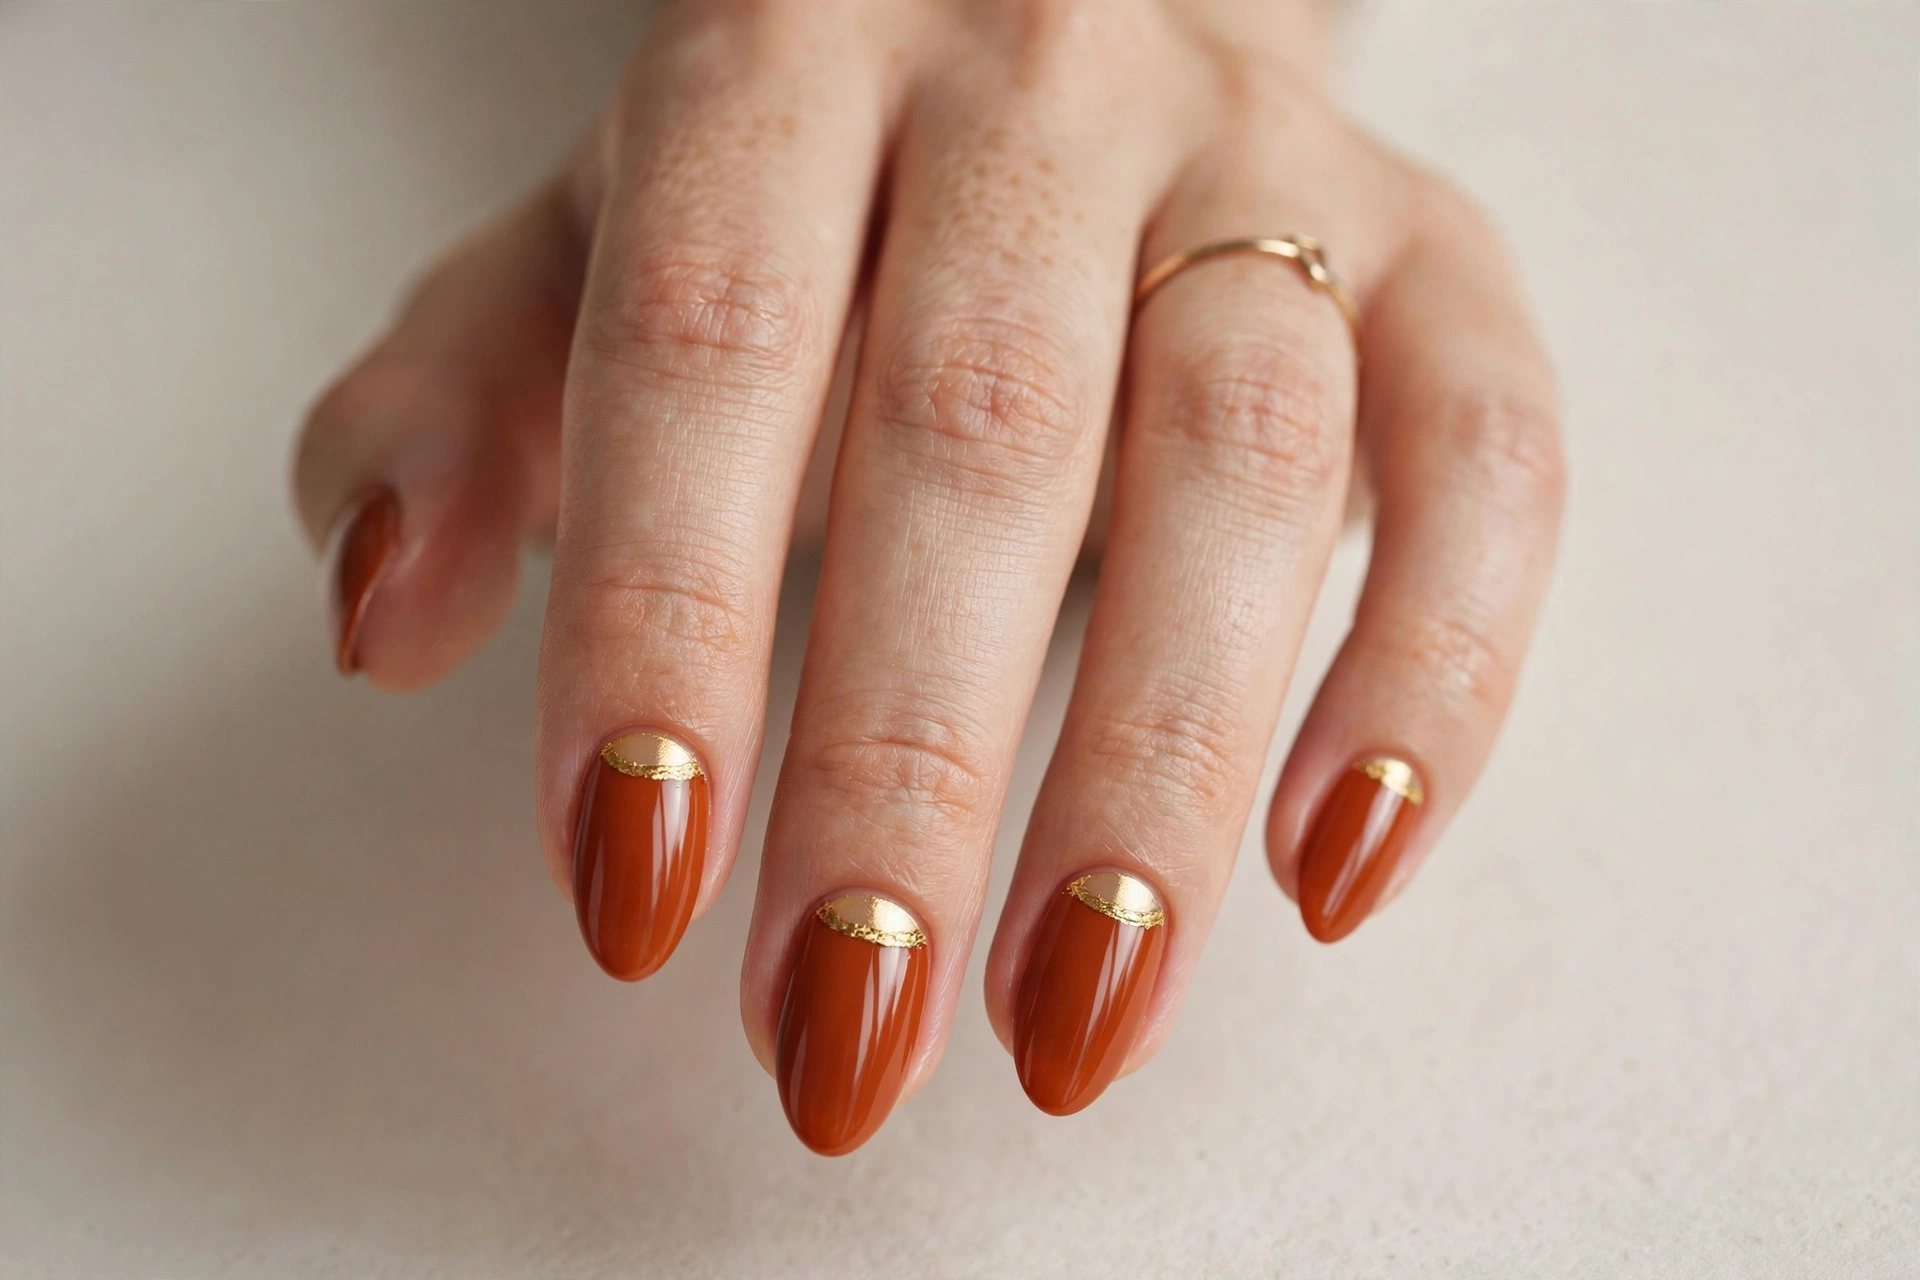
15. Burnt Orange Half-Moon
The half-moon manicure — a bare or gold crescent at the cuticle with burnt orange over the rest — is a vintage design that feels fresh again in fall colors. This suits anyone who likes retro-inspired nails, and the bare cuticle area has a practical bonus: regrowth is less noticeable. To get it, place small half-circle guides or reinforcement stickers at the base of each nail, paint burnt orange over them, and peel the guides off while the polish is slightly tacky. You can leave the moon bare, paint it gold, or outline it in thin gold for extra polish. Precision matters here, so take your time placing the guides evenly. This is a salon-friendly design if you want it perfect.
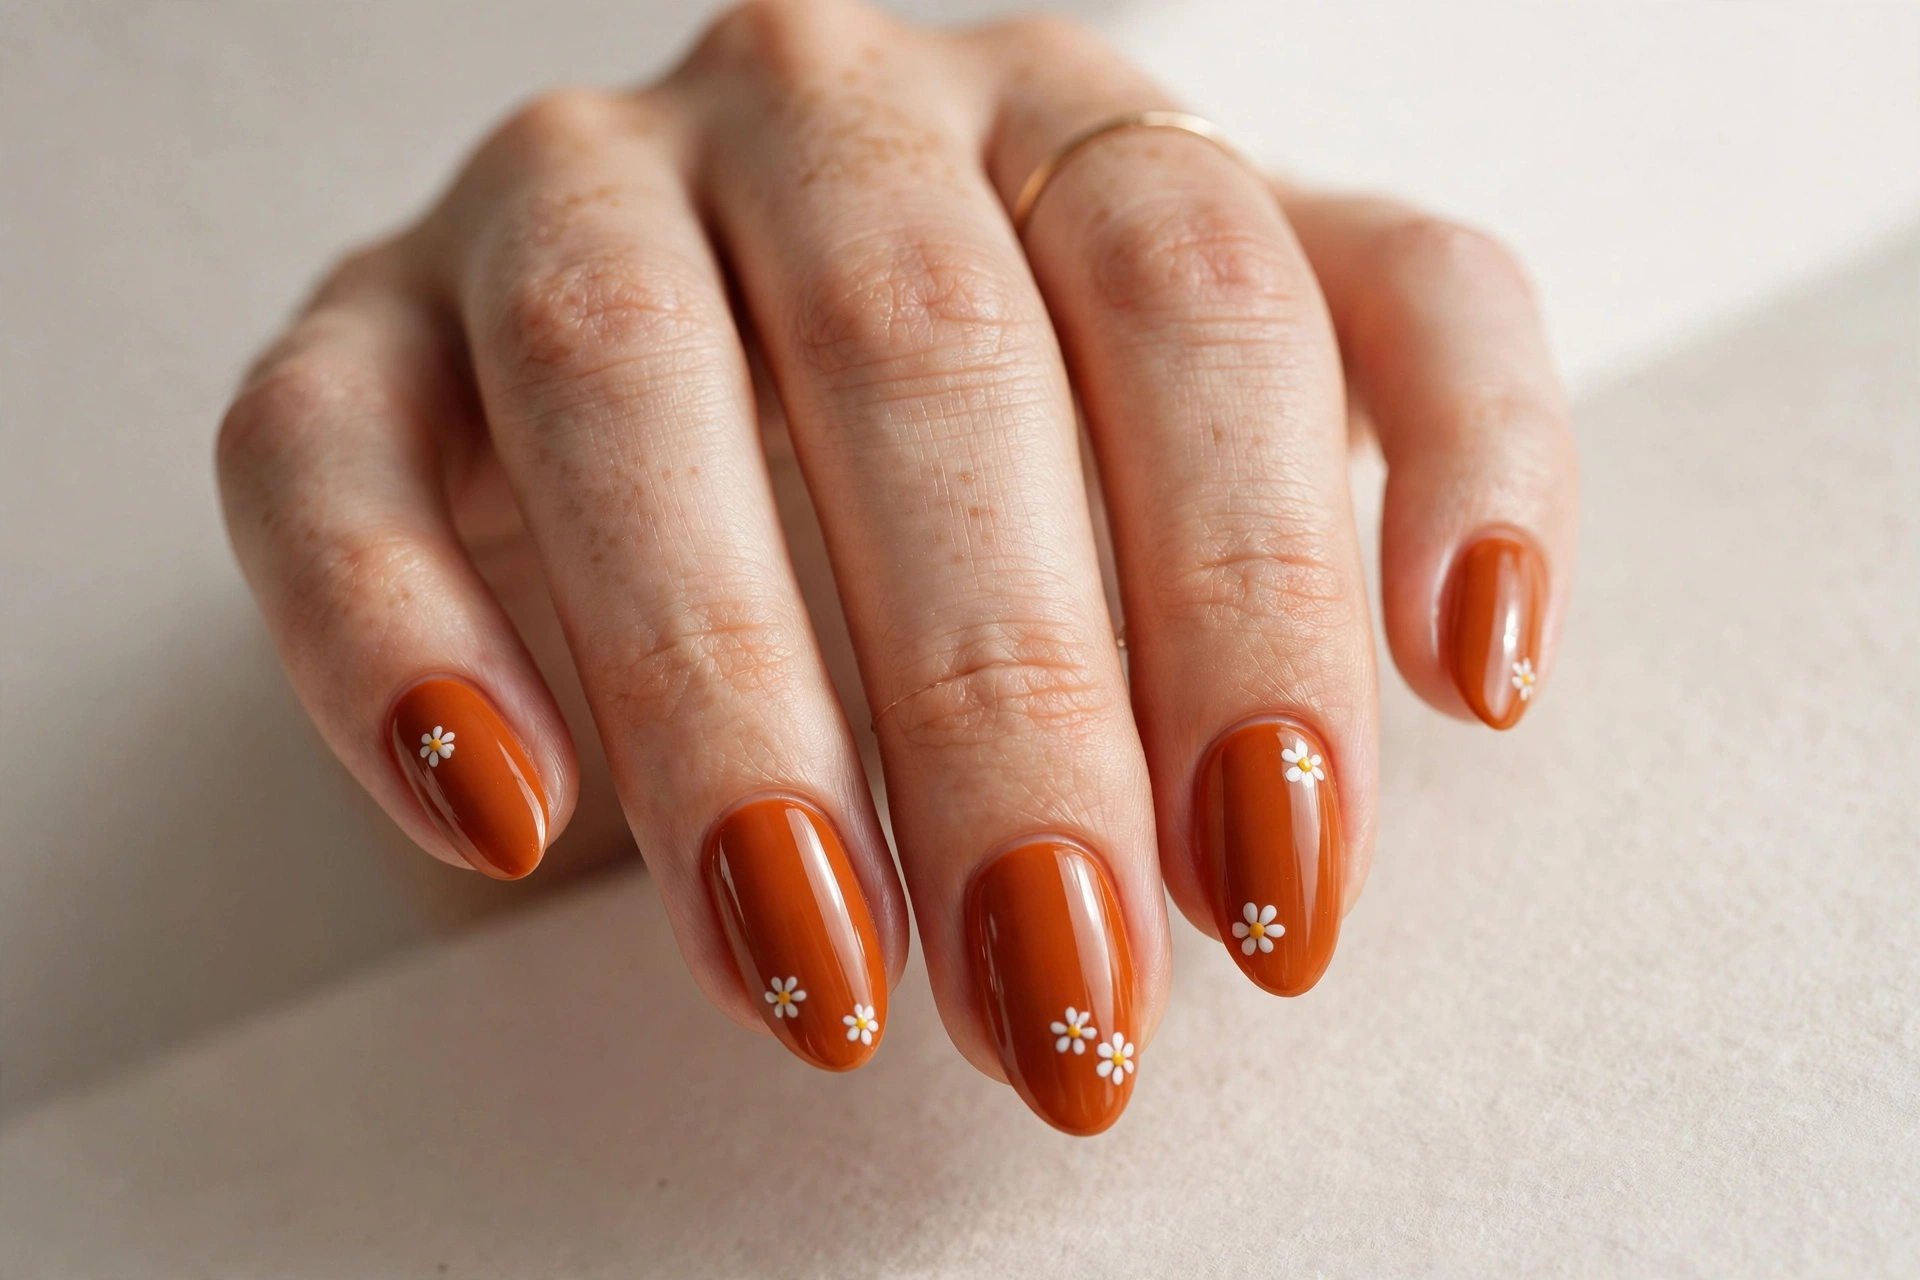
16. Burnt Orange with White Daisies
Tiny white daisies on burnt orange are a sweet, cottage-style design that bridges late summer into fall. This suits anyone who prefers cute, cheerful nails — and the contrast of crisp white flowers against warm orange is genuinely pretty. Paint a burnt orange base, then use a dotting tool to place five small white dots in a circle for petals, with a yellow or gold dot in the center. A toothpick works if you do not own a dotting tool. Scatter one or two daisies per nail rather than covering them; negative space keeps it charming instead of busy. If daisies feel too sweet for you, the same technique in cream rather than bright white reads more autumnal.
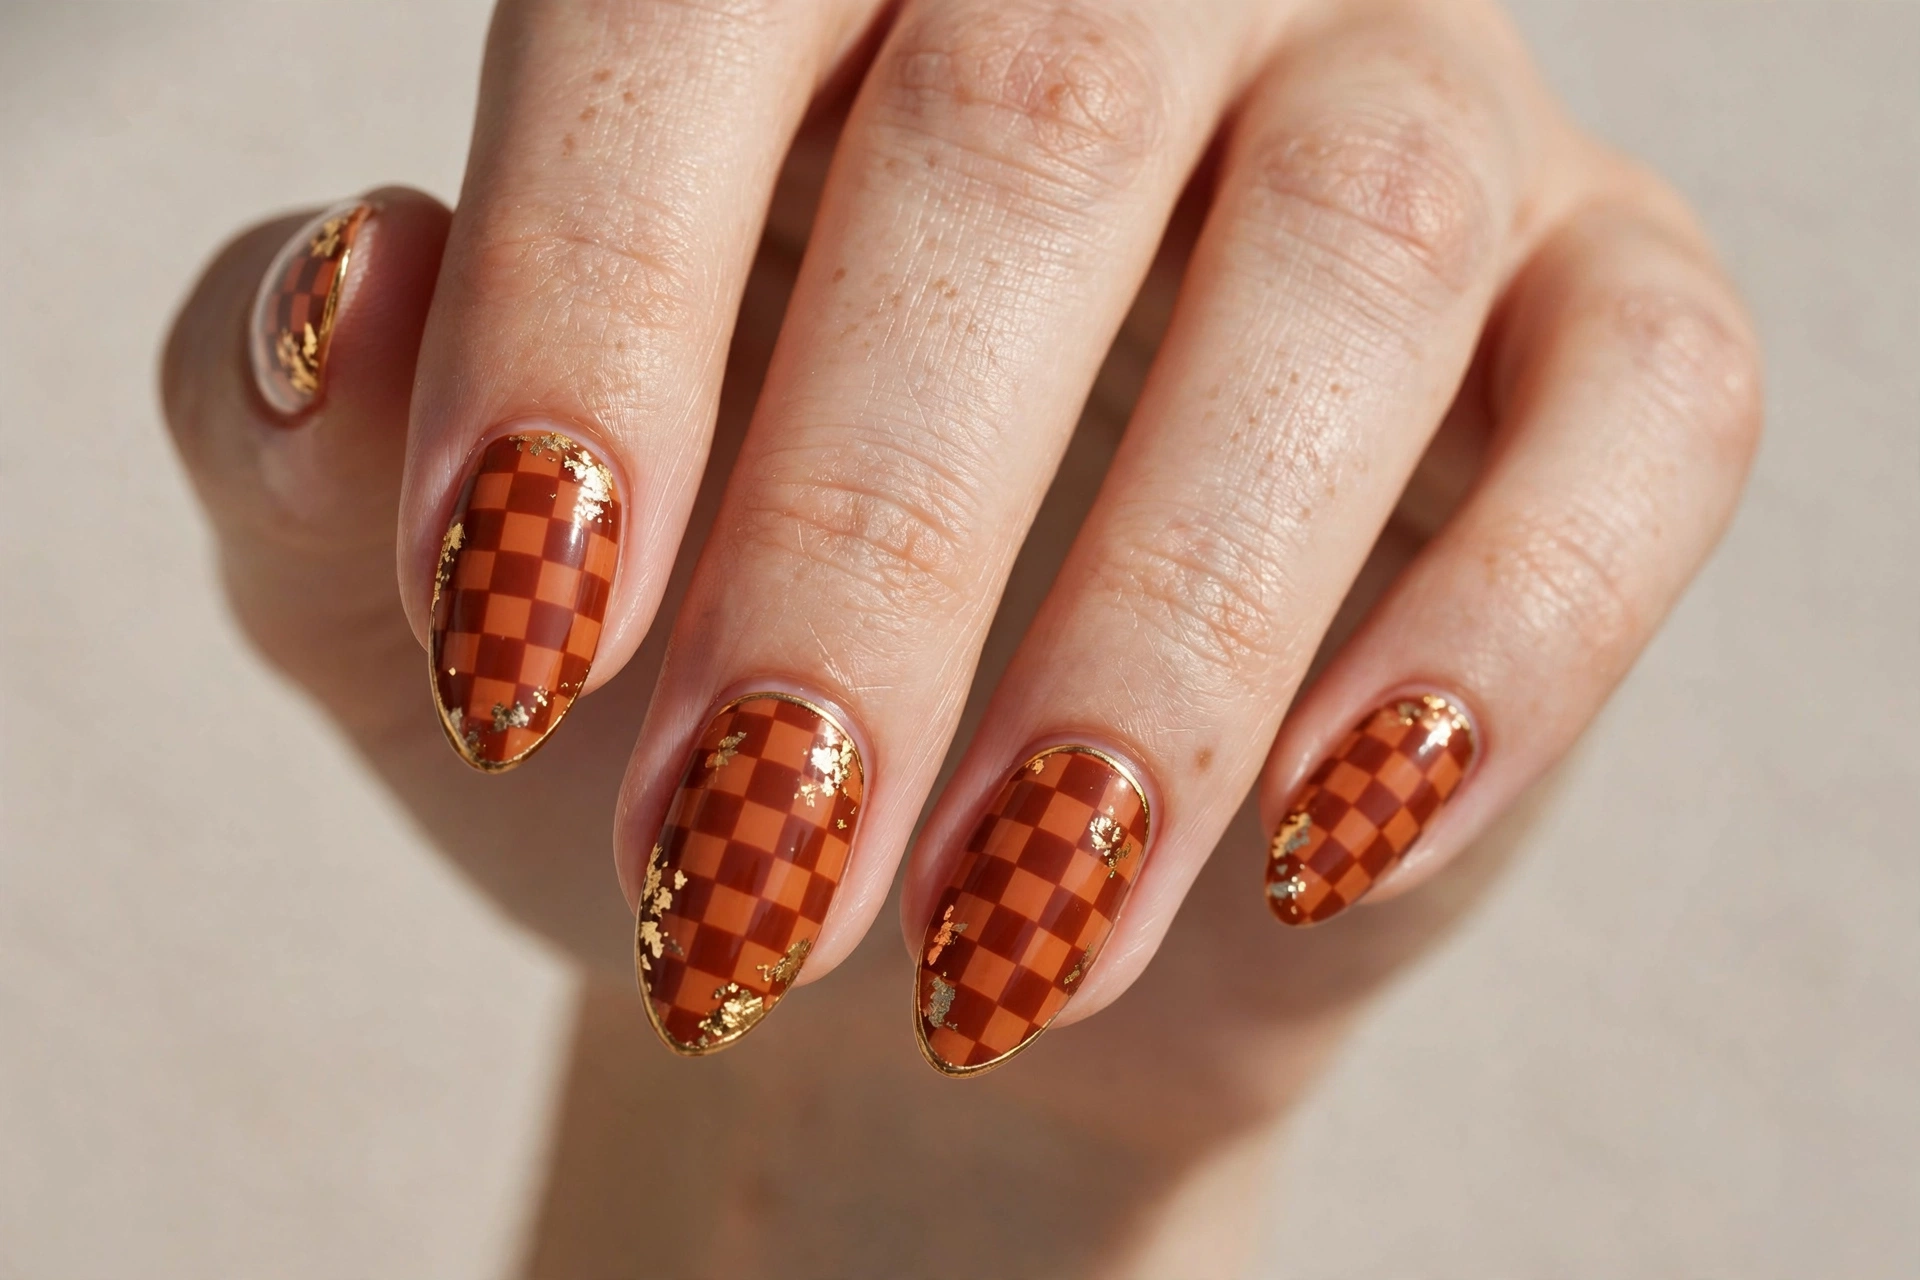
17. Burnt Orange Checkerboard
A checkerboard in burnt orange and cream with thin gold dividers is a bold, graphic design that still feels like fall. This suits anyone with a modern, playful style — it is a statement manicure that works surprisingly well for the season because the palette is right. The cleanest method is nail vinyls or a fine striping brush over a cream base, filling alternate squares with burnt orange. Take your time and let each color dry before adding the next, or the squares will bleed. This design looks best on medium to long nails where the grid has room to breathe. A glossy top coat sharpens the graphic look; matte makes it feel more like a textile.
18. Burnt Orange Velvet Cat-Eye
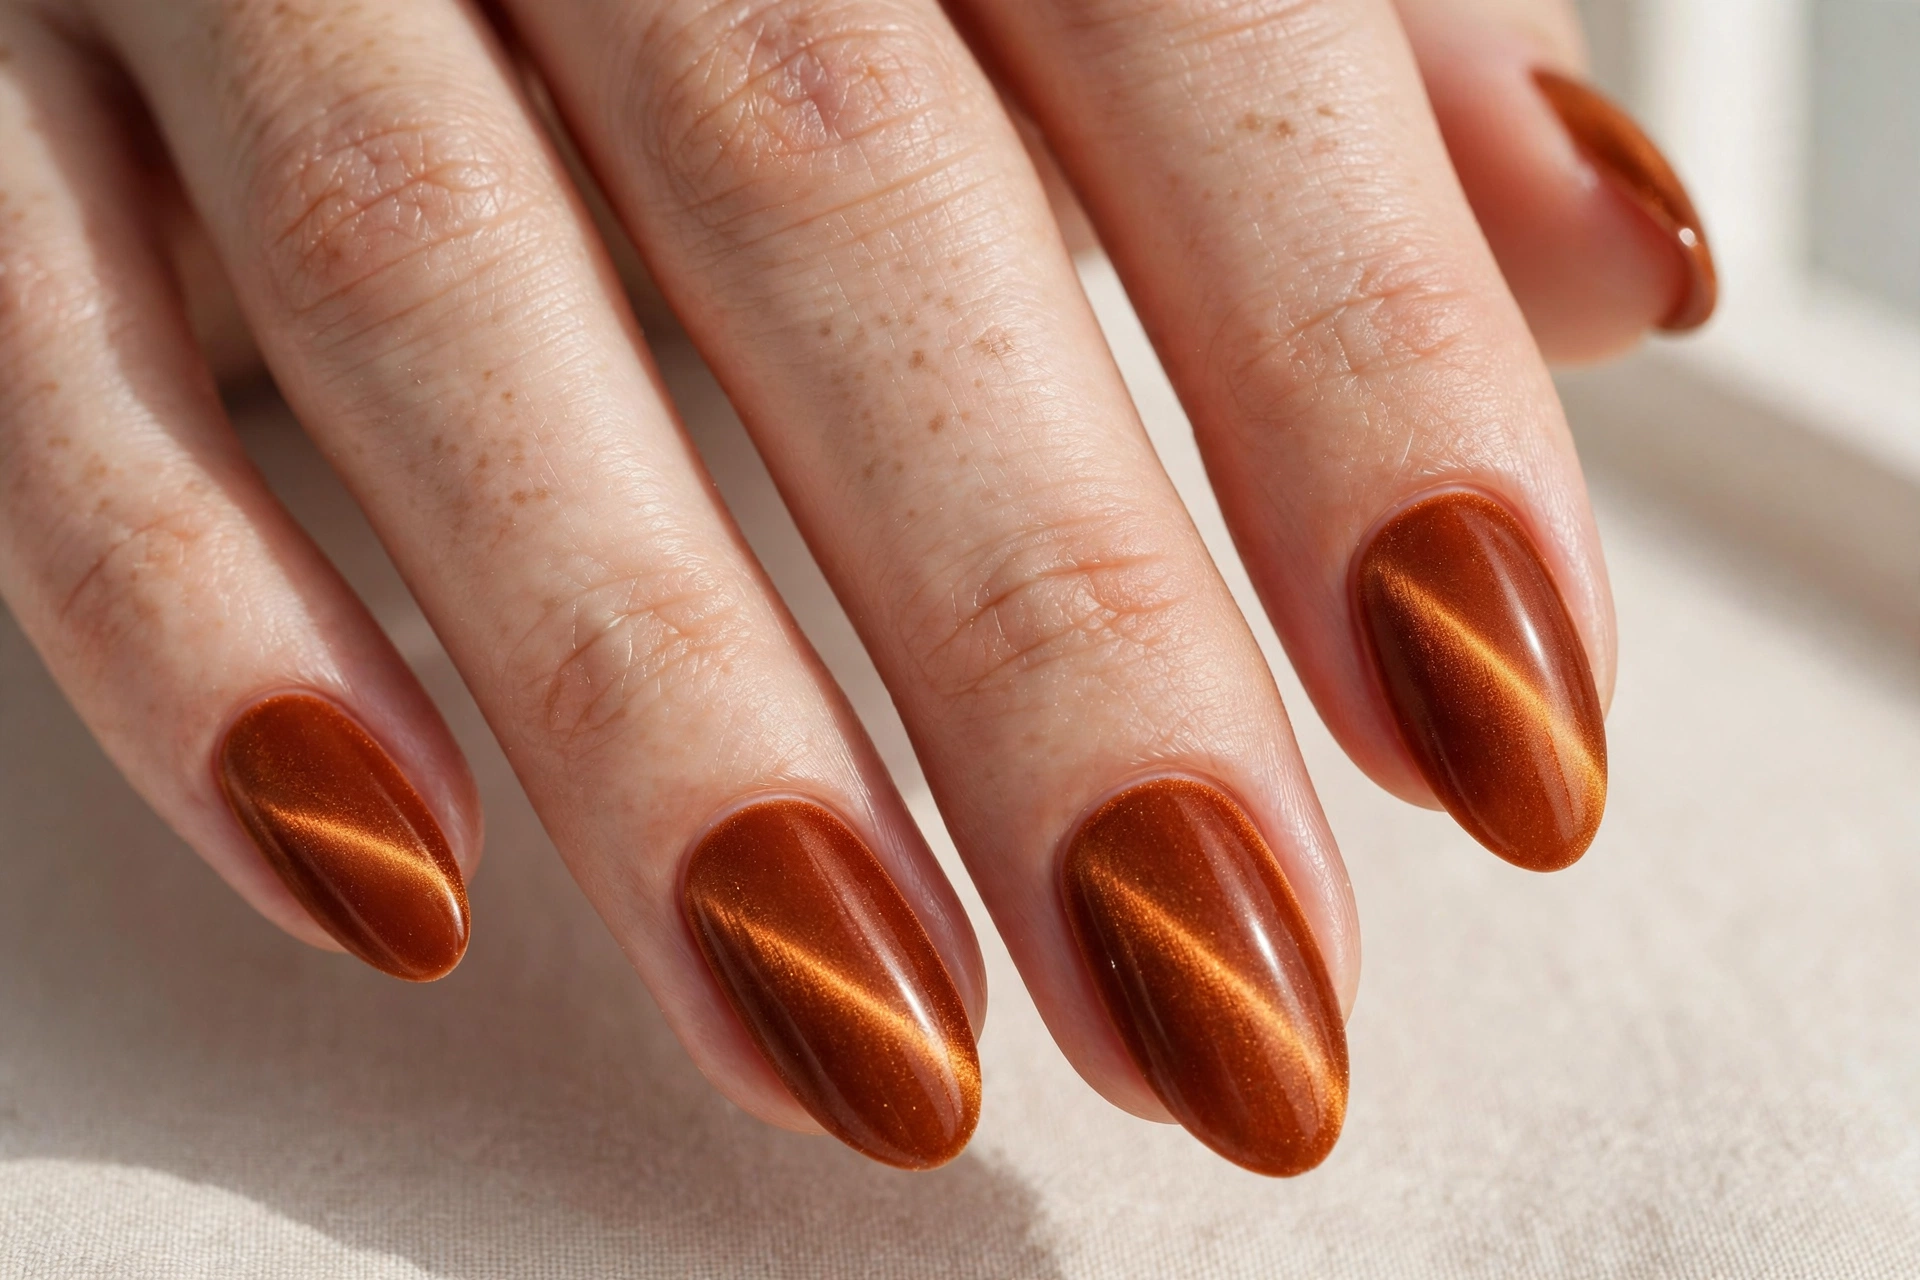
Velvet or cat-eye magnetic polish in burnt orange gives your nails a soft, shimmery depth that shifts as you move your hand. This suits anyone who wants dimension without detail — the magnetic shimmer does the work of nail art on its own. You will need magnetic gel polish: apply the burnt orange magnetic coat, hold the magnet close to the nail for about ten seconds to pull the shimmer into a cat-eye line or velvet gradient, then cure. The effect looks different under every light, which keeps it interesting for weeks. If you are booking this at a salon, ask to see their magnetic polish shades first — burnt orange versions vary a lot between brands. For a matching long-wear look, consider a gel version like these fall gel nail designs.
How to Make Your Fall Manicure Last
Burnt orange is a forgiving color, but a few habits will keep any of these designs looking fresh for two weeks or more. Always start with a base coat — it prevents the warm pigment from staining your natural nails. Cap the free edge with every coat, including top coat, since tips are where chipping starts. Reapply a thin layer of top coat every two to three days to refresh the shine and seal the edges.
Wear gloves for dishes and cleaning, because hot water and detergents are the fastest way to kill a manicure. Keep cuticle oil by your sink and use it daily; hydrated cuticles make the whole manicure look newer for longer. And if you do your nails at home, a proper kit makes a real difference — this fall nail polish kit has the warm shades and tools you need for these looks. A little maintenance goes a long way: even simple solid-color manicures look salon-fresh when the cuticles are tidy and the shine is intact.
For more warm autumn inspiration beyond orange, these pumpkin spice nail designs lean into the same cozy palette with a spicier twist.
Final Thoughts
Fall burnt orange nail designs work because the color does half the job for you — warm, rich, and unmistakably autumn. Whether you go with a simple glossy coat, a marbled accent, or a full plaid set, the shade flatters and the season carries the theme. Pick the design that matches your week, keep your cuticles happy, and enjoy nails that look as good as the season feels.