The Cutest Pumpkin Halloween Nails for a Perfectly Spooky Mani
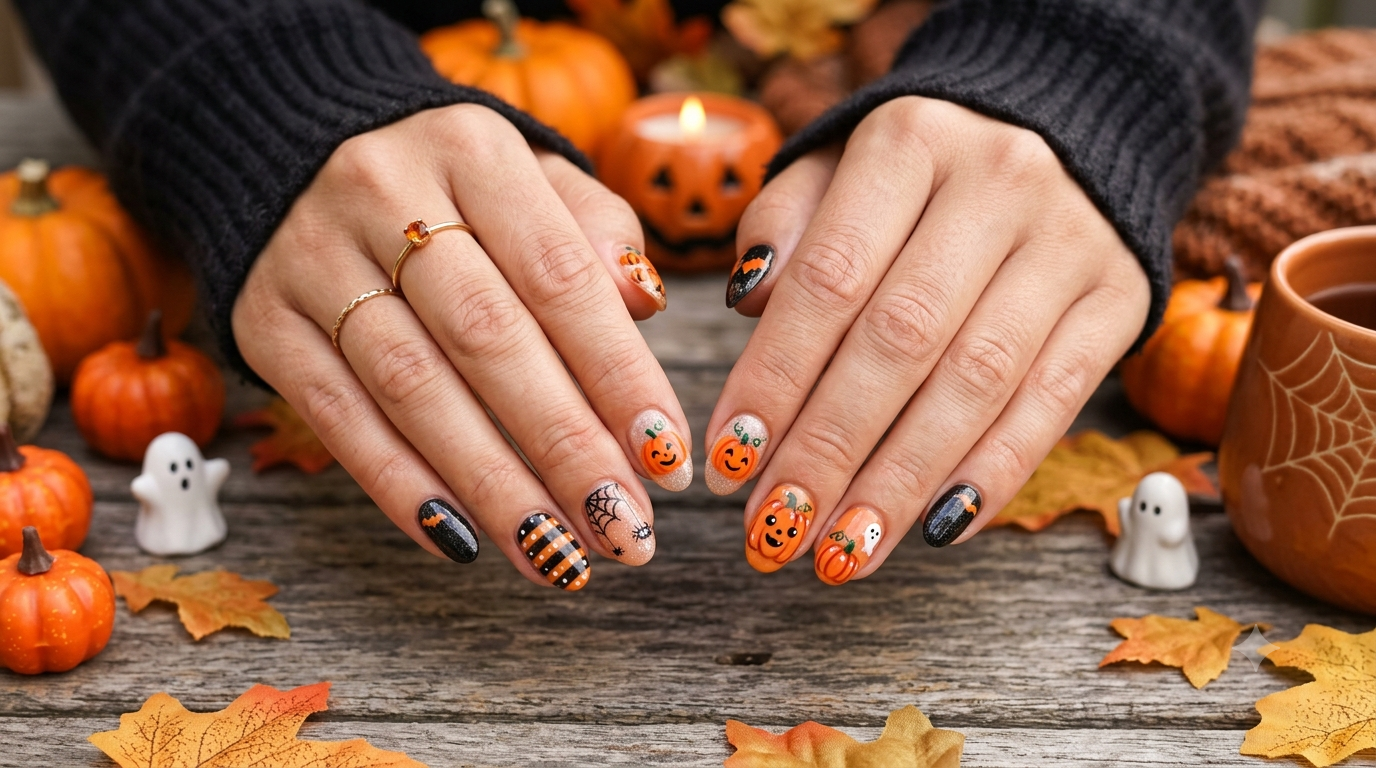
Halloween is the one time of year when your nails get to be just as fun and festive as your costume. And if there’s one design that never goes out of style, it’s pumpkin nails. They’re cute, they’re spooky-adjacent (not too scary), and they work for literally everyone from the office-appropriate crowd to the full-glam Halloween party goer.
If you’re searching for pumpkin nail inspiration, you’re in the right place. Below, we’re breaking down the cutest pumpkin Halloween nail ideas, how to recreate them at home, and a few pro tips to make your mani last through every trick-or-treat run and candy-fueled party.
Why Pumpkin Nails Are the Ultimate Halloween Manicure
Pumpkin nails have become a Halloween beauty staple for a good reason. They’re playful without being over-the-top, they pair with almost any Halloween or fall outfit, and they’re easy to customize no matter your skill level or nail length.
Unlike some Halloween nail art that leans heavily into gore or horror themes, pumpkins keep things light and cheerful. They’re perfect if you want your nails to say “festive” rather than “frightening.” Plus, orange is one of the most flattering colors for fall it works beautifully with warm skin tones and cooler tones alike.
1. Classic Cartoon Pumpkin Nails
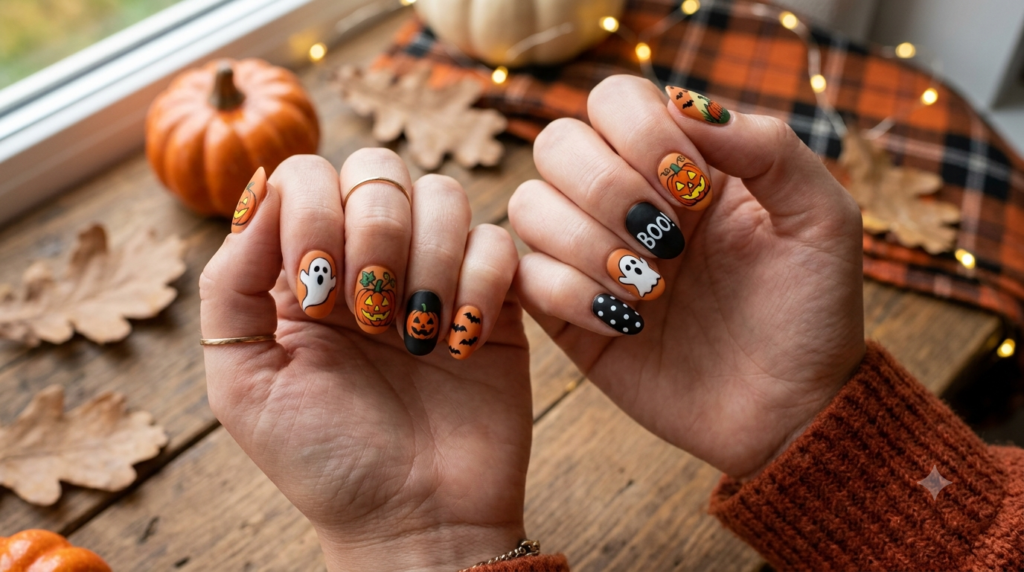
This is the design most people picture when they think of pumpkin nails, and it’s a great starting point if you’re new to nail art. Think a simple round or oval orange pumpkin shape with black vertical lines to create the classic pumpkin ridges, topped off with a little green stem.
How to get the look:
- Paint your nails a solid orange base and let them dry completely
- Using a thin nail art brush, add three to four curved black lines down the nail to mimic pumpkin ridges
- Add a small brown or green stem at the top of the nail
- Finish with a glossy top coat for that fresh-picked-pumpkin shine
This style works great as an accent nail meaning you only put the pumpkin design on one or two fingers and keep the rest a simple neutral or black polish.
2. Jack-O’-Lantern Nails
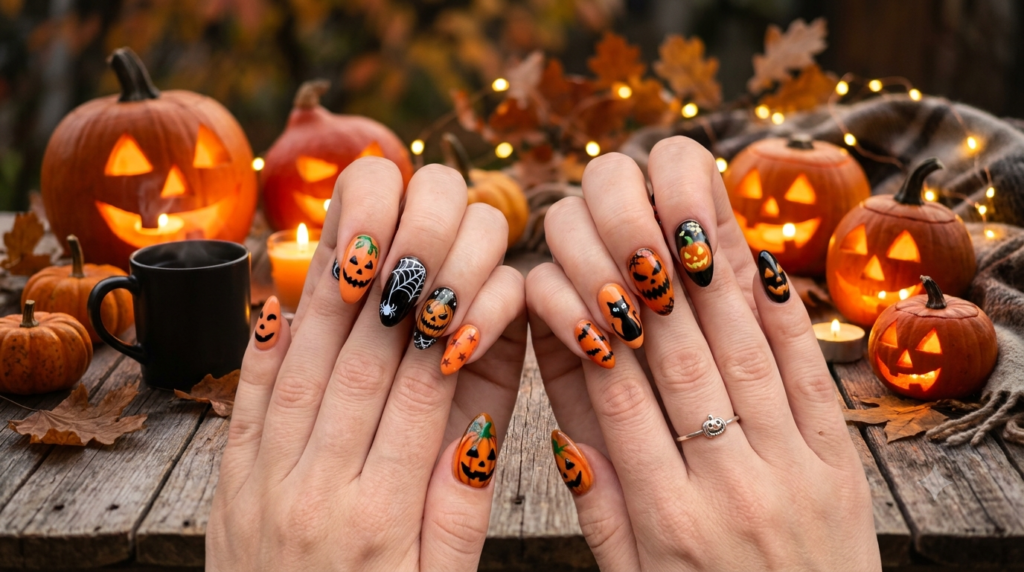
If you want a design with a bit more personality, jack-o’-lantern nails add a smiling (or spooky) face to your pumpkin. This look is a favorite for Halloween nail art searches because it captures that classic carved-pumpkin charm.
How to get the look:
- Start with the same orange base as the classic pumpkin design
- Instead of ridge lines, paint on a simple triangle-eyed, jagged-mouth jack-o’-lantern face in black
- Keep the design centered on the nail so it reads clearly, even at a small scale
- Add a tiny dot of yellow or white polish inside the “mouth” to mimic a candle glow
Pro tip: if freehand faces feel intimidating, use a fine-tip nail art pen instead of a brush. It gives you much more control for small details like eyes and mouths.
3. Matte Pumpkin Nails
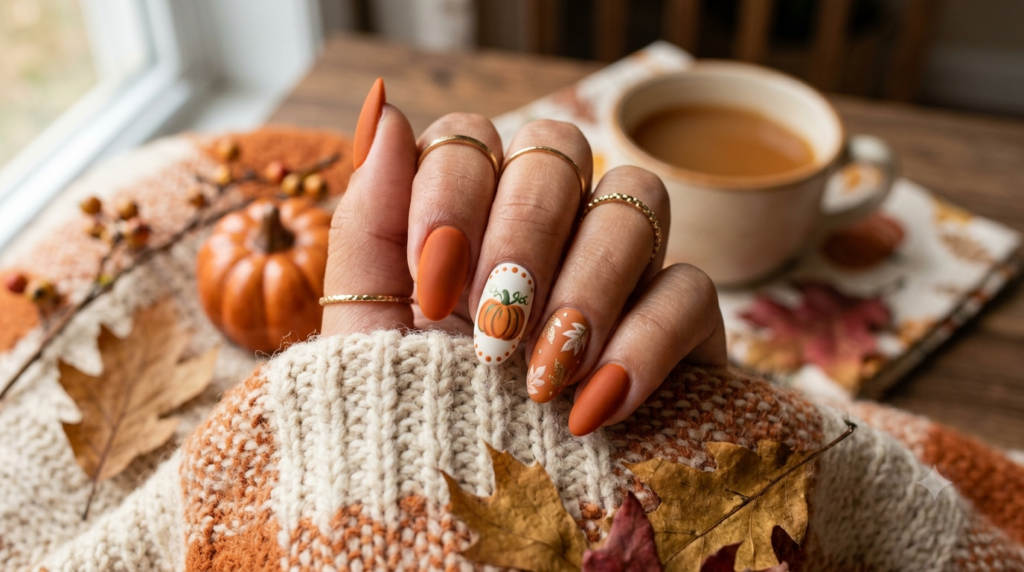
Want something a little more sophisticated? Swap glossy for matte. A matte orange base with matte black pumpkin details gives off a moody, elevated look that still says “Halloween” without feeling costume-y.
How to get the look:
- Apply your orange base coat as usual
- Add your pumpkin design (ridges, faces, or even a simple silhouette) in black
- Finish with a matte top coat instead of a glossy one
This style photographs beautifully and pairs well with fall outfits in browns, deep greens, and burgundy.
4. White Pumpkin Nails
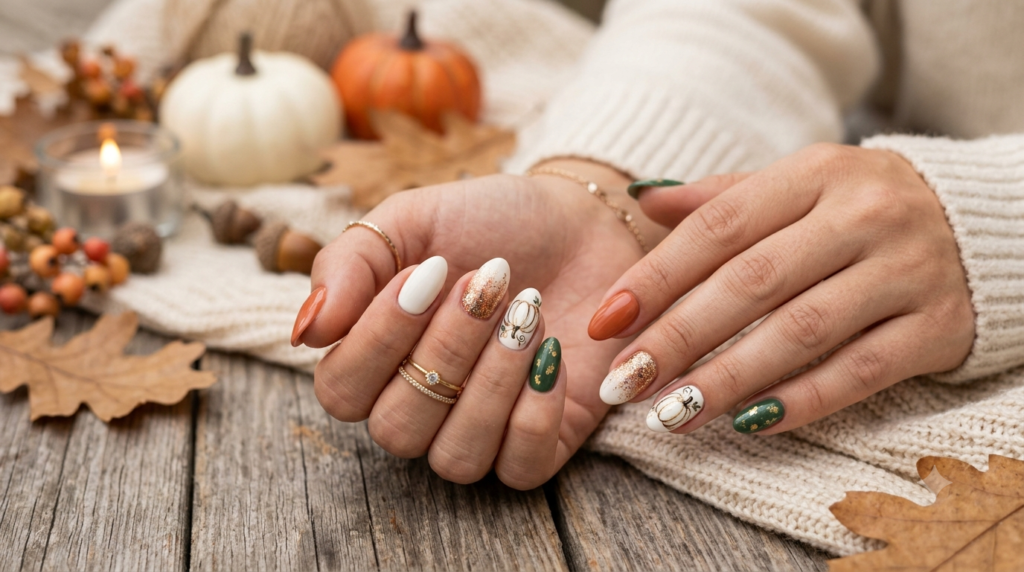
White pumpkins have become a huge trend in fall home décor, and that same aesthetic translates beautifully to nails. Instead of the traditional orange, this design uses a cream or white base with subtle shading to create dimension.
How to get the look:
- Paint nails a soft white or cream shade
- Use a light gray or beige polish to add subtle shadow lines, mimicking the ridges of a pumpkin
- Add a small brown stem at the top
- Seal with a glossy or slightly shimmery top coat for extra dimension
This is a great option if you want something that feels seasonal and elegant rather than overtly “Halloween.”
5. Pumpkin Patch French Tips
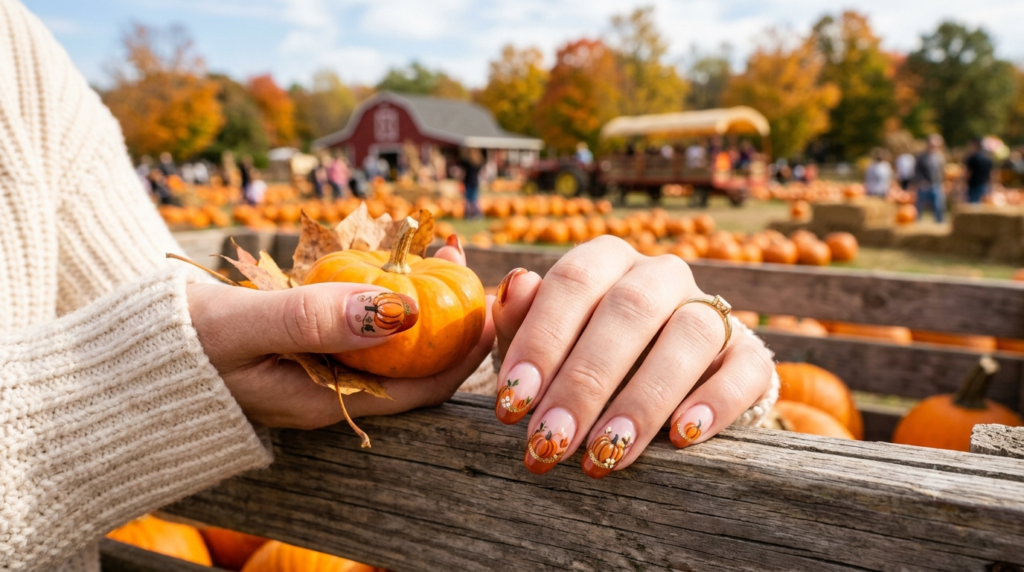
French tips are always in style, and this Halloween version swaps the classic white tip for an orange one, often with a tiny pumpkin accent nail. It’s subtle, chic, and still very much on theme.
How to get the look:
- Paint a sheer nude or pale pink base on all nails
- Use orange polish to create a french tip along the top edge of each nail
- On one accent nail, add a mini pumpkin design instead of a plain tip
- Top with a glossy finish
This is one of the most requested styles for people who want Halloween nails that still look professional and workplace-appropriate.
6. Glitter Pumpkin Nails
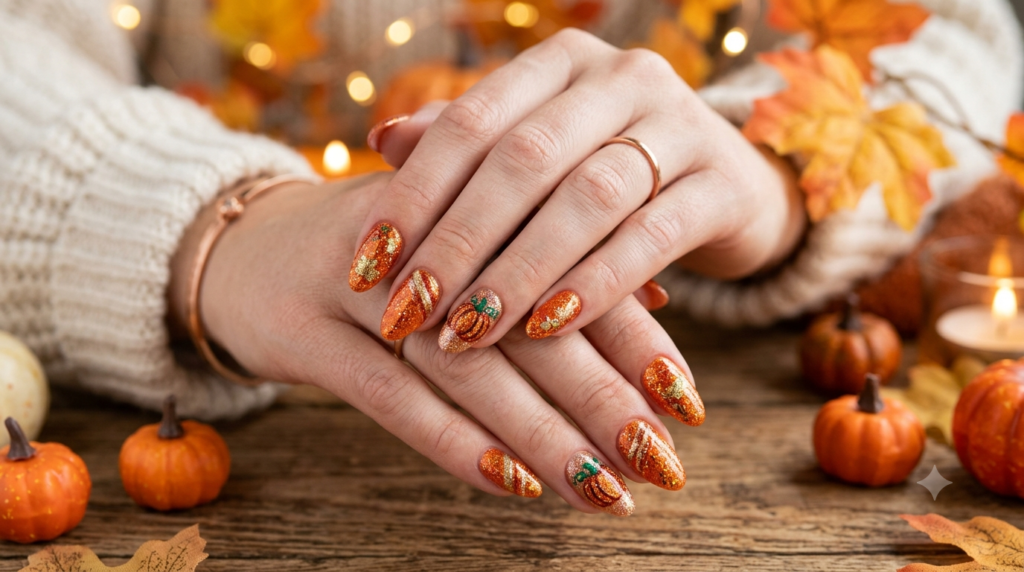
For anyone who wants their pumpkin nails to really shine at a Halloween party, glitter is the way to go. You can either use glitter as the entire background or add glitter accents to a classic pumpkin design.
How to get the look:
- Apply an orange or black base coat
- Add a coat of fine orange, gold, or black glitter polish over the base, or just on the tips
- Layer your pumpkin design on top using a nail art brush
- Seal everything with a thick, glossy top coat to lock in the sparkle
Glitter designs tend to be more forgiving for beginners since the sparkle naturally hides small imperfections in your linework.
7. Pumpkin Spice Ombré Nails
This design skips literal pumpkin shapes altogether and instead recreates the warm, cozy color palette of pumpkin spice season using an ombré gradient. Think blended shades of orange, brown, and cream fading into one another.
How to get the look:
- Choose three complementary polish shades: a light cream, a warm orange, and a deep brown
- Use a makeup sponge to dab and blend the colors together on each nail, working from the tip to the base
- Clean up the edges with a small brush dipped in nail polish remover
- Finish with a glossy top coat
This is a great low-effort, high-impact option if freehand art isn’t your strong suit but you still want a fall-themed mani.
Tips for Making Your Pumpkin Nails Last
No matter which design you choose, a few simple steps will help your Halloween mani go the distance:
- Always start with a base coat. It protects your natural nails and helps the polish adhere better, which means less chipping.
- Let each layer dry fully before adding the next. Rushing between coats is one of the most common reasons nail art smudges.
- Use a fine detail brush for small designs. A regular polish brush is too wide for pumpkin faces or ridge lines, so a thin art brush (or even a toothpick in a pinch) makes a big difference.
- Seal with a strong top coat. This locks in your design and adds shine, while also protecting against everyday wear and tear.
- Practice on paper first. If you’re trying a new design like a jack-o’-lantern face, sketch it on paper a few times before committing to your nails.
Final Thoughts
Pumpkin nails are proof that Halloween beauty doesn’t have to be scary to be fun. Whether you go for a classic cartoon pumpkin, an elegant white pumpkin, or a sparkly glitter version, there’s a design here for every style and skill level. Best of all, most of these looks can be done at home with polish you probably already have on hand.
So grab your favorite shade of orange, a steady hand (or a good nail art pen), and get ready for the cutest, coziest Halloween mani of the season.