17 Minimalist Mummy Nail Art Ideas for a Chic Halloween (2026)
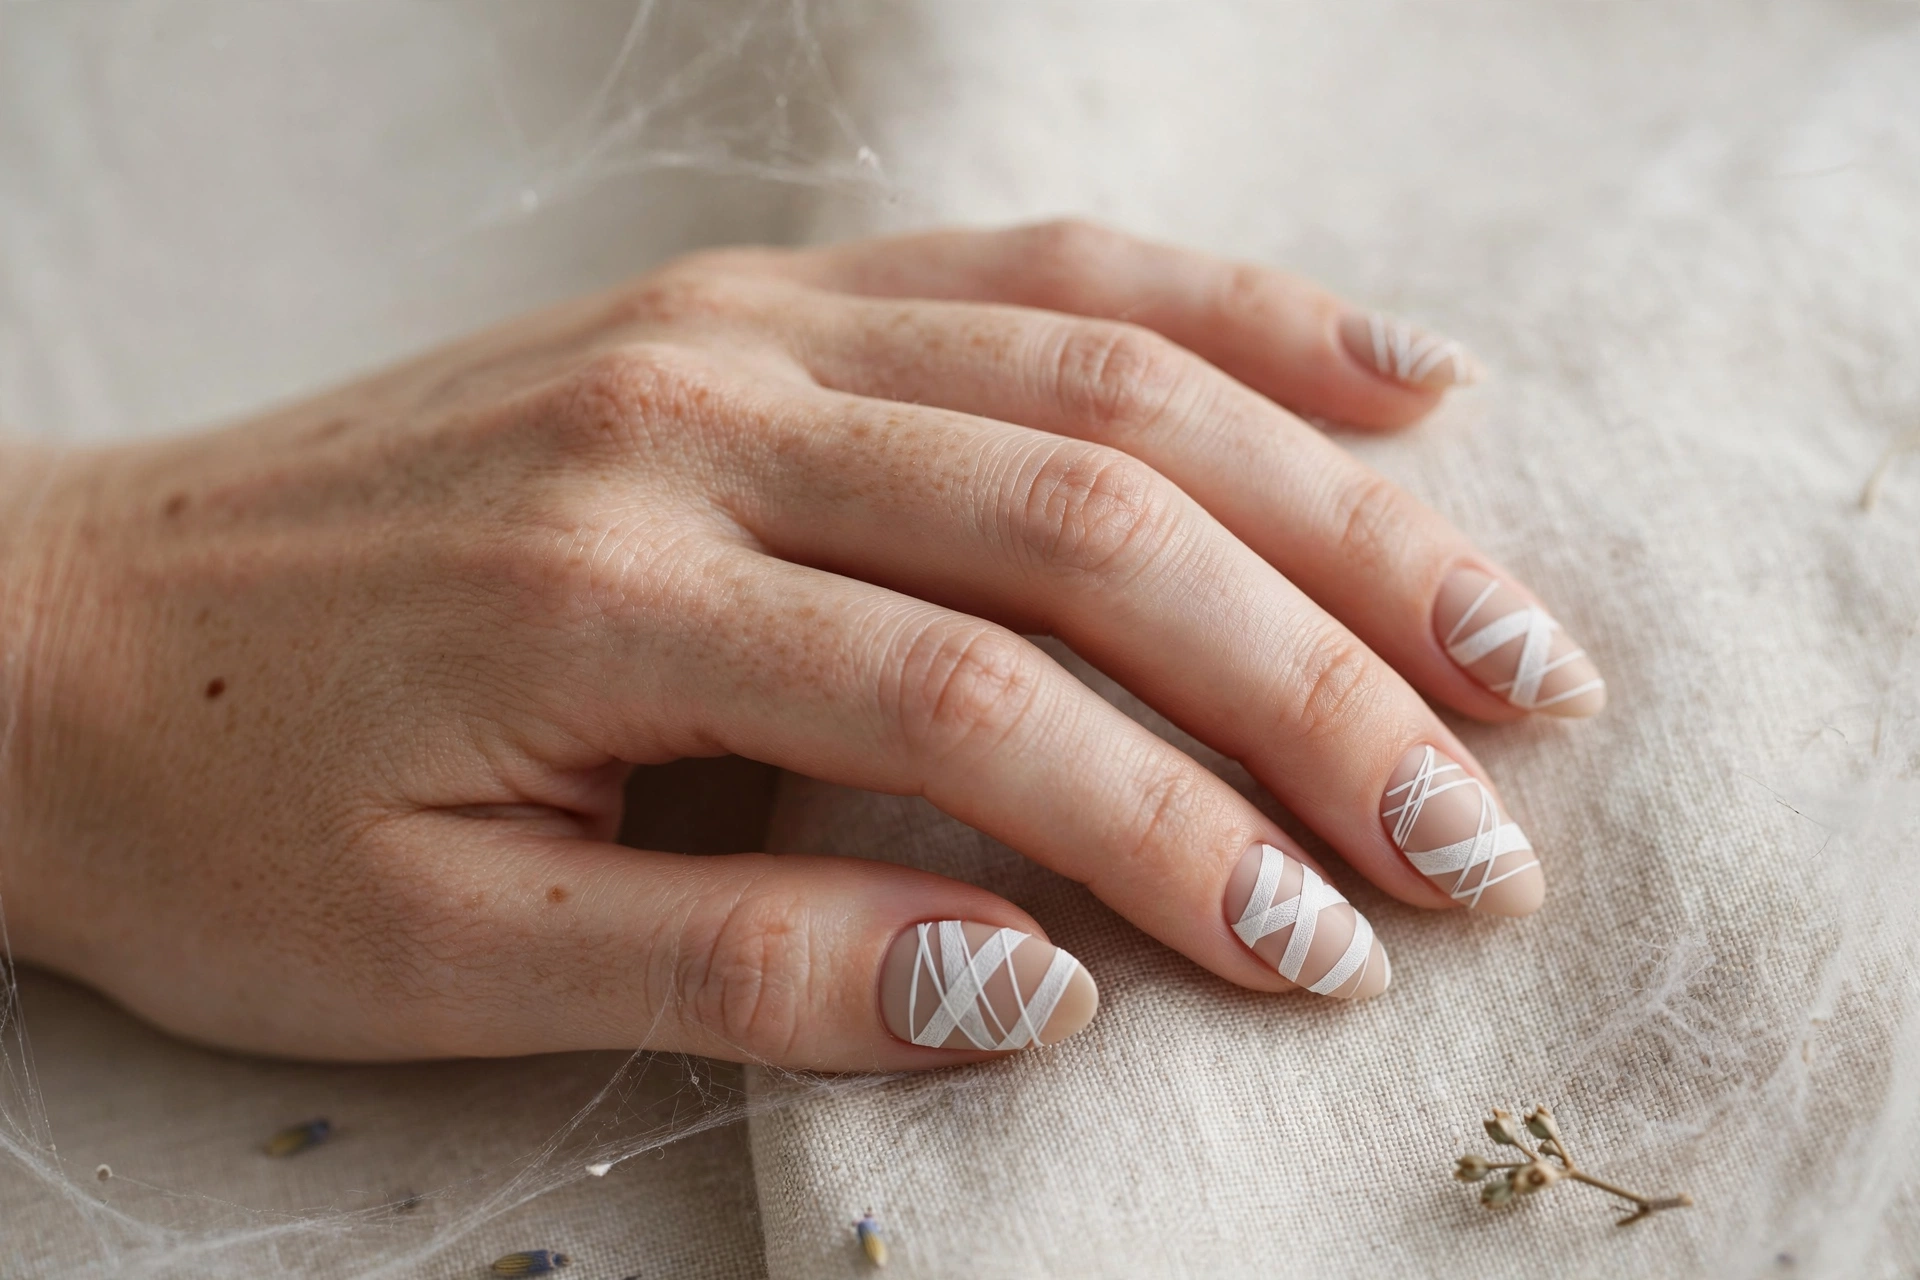
Halloween nails don’t have to be loud to be spooky. Minimalist mummy nail art takes the classic wrapped-mummy look and strips it down to clean lines, soft neutrals, and just enough eerie detail — perfect if you want festive nails that still look chic at work, at dinner, or anywhere after October. These 17 ideas range from barely-there white wraps to tiny mummy faces and gold-foil bandages, so there’s something here whether you do your own nails or bring a photo to your salon. If you’re just getting started with spooky season manicures, our 10 easy Halloween designs for nails are a great warm-up before you try these.
Why Minimalist Mummy Nails Work So Well
The mummy look is naturally minimalist — it’s literally just lines. A few thin white stripes over a nude or beige base reads instantly as “mummy” without needing intricate painting, which makes it one of the most beginner-friendly Halloween designs out there. It also photographs beautifully because the high-contrast lines look sharp and intentional rather than messy. Unlike full horror designs with blood and gore, mummy wraps stay elegant enough for the office Halloween party and the weekend costume party alike. For more cute-but-spooky inspiration, browse our 15 cute Halloween nail designs to mix and match with these ideas.
1. Classic White Mummy Wraps on Nude
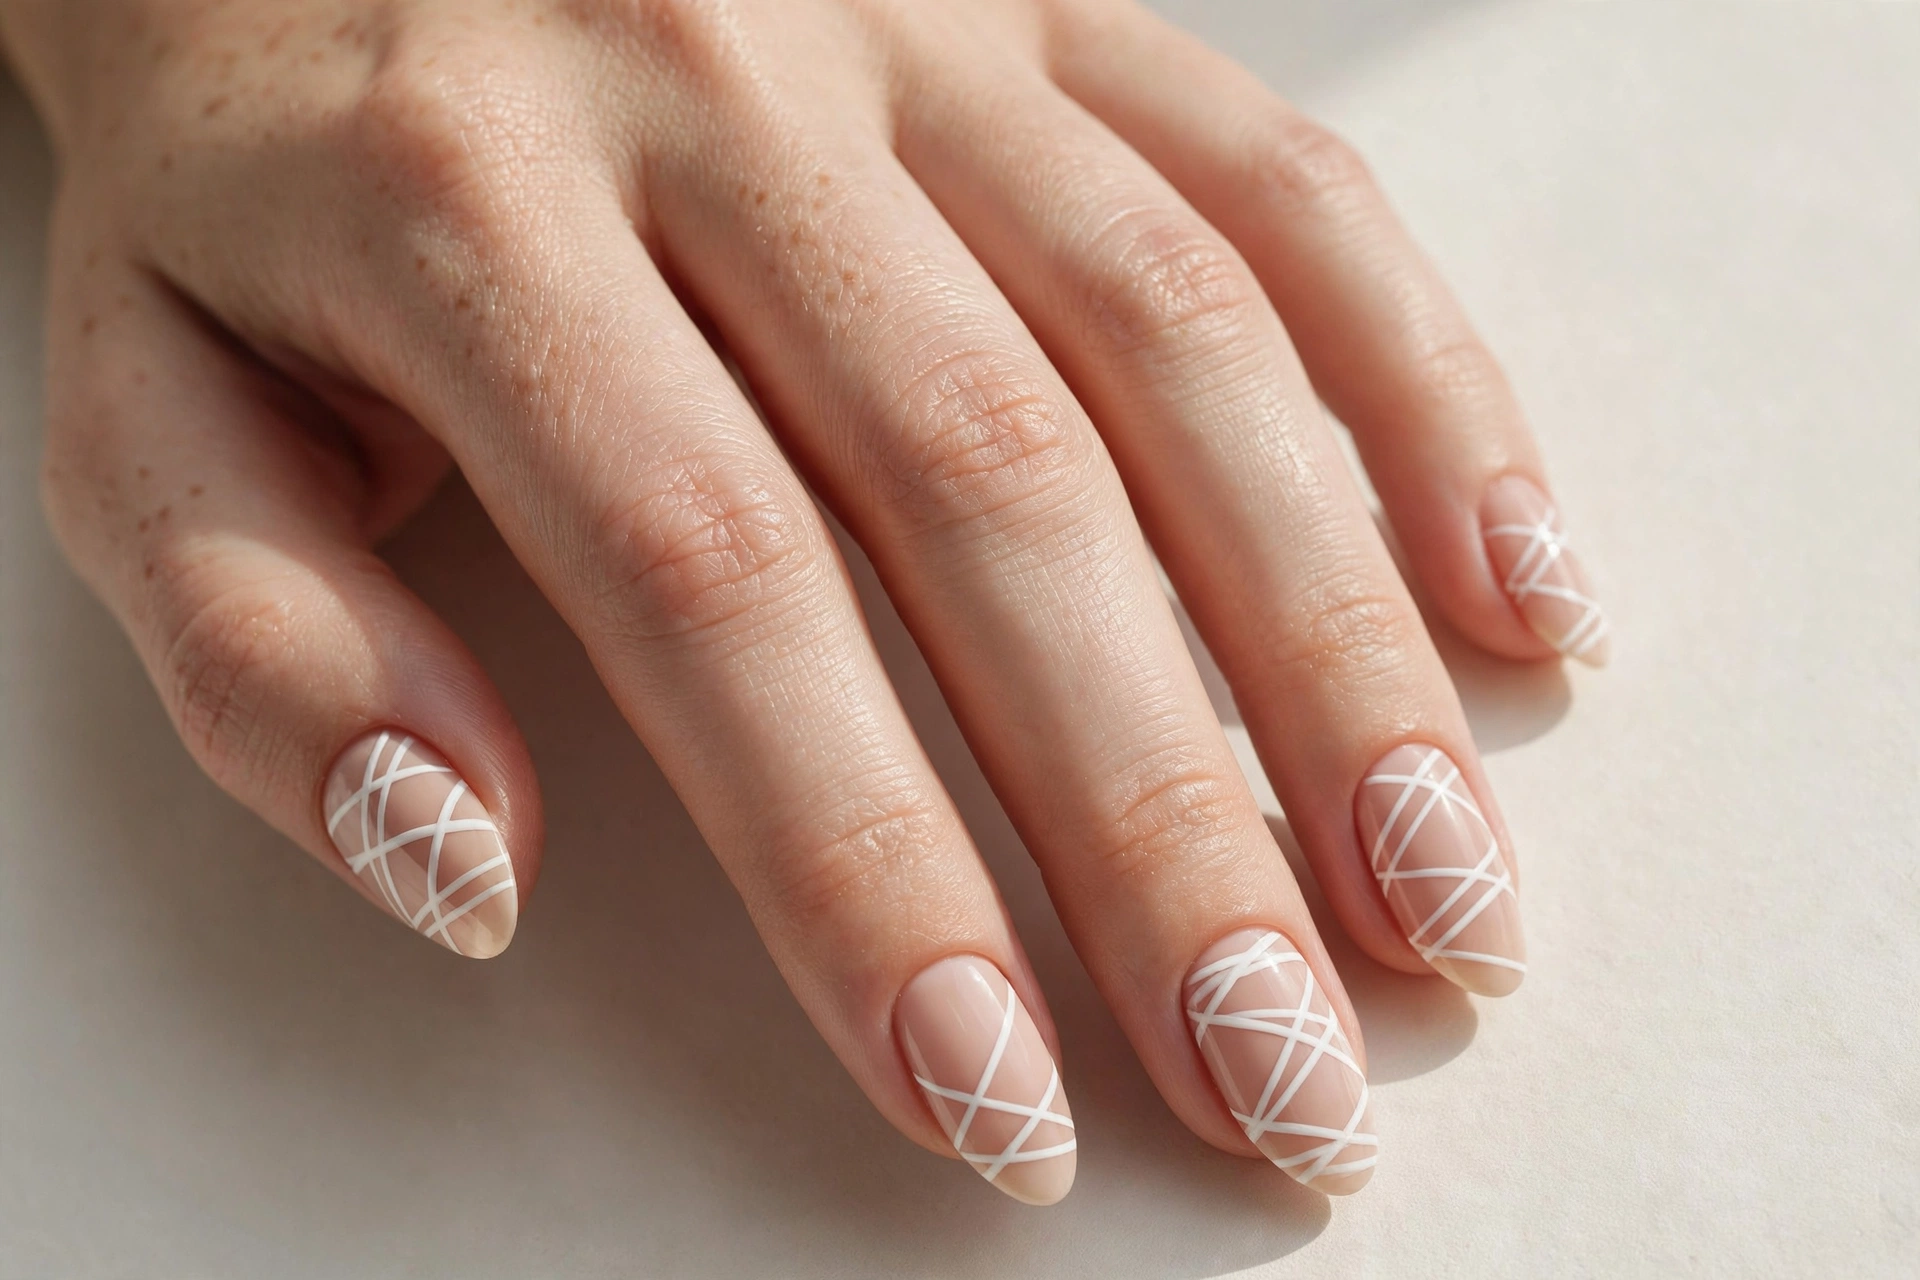
The original and still the best. Thin, slightly uneven white stripes cross over a sheer nude base like real mummy bandages, with small gaps that let the natural nail peek through. This design suits absolutely everyone and every nail length — it’s the white T-shirt of Halloween nails. To get it at home, paint your nude base, let it dry completely, then drag a thin striping brush loaded with white polish across each nail in loose diagonal lines. Don’t aim for perfection; slightly wobbly lines look more authentically wrapped. Finish with a matte top coat for a fabric-like effect or glossy if you prefer shine.
2. Cute Mummy Faces on Accent Nails
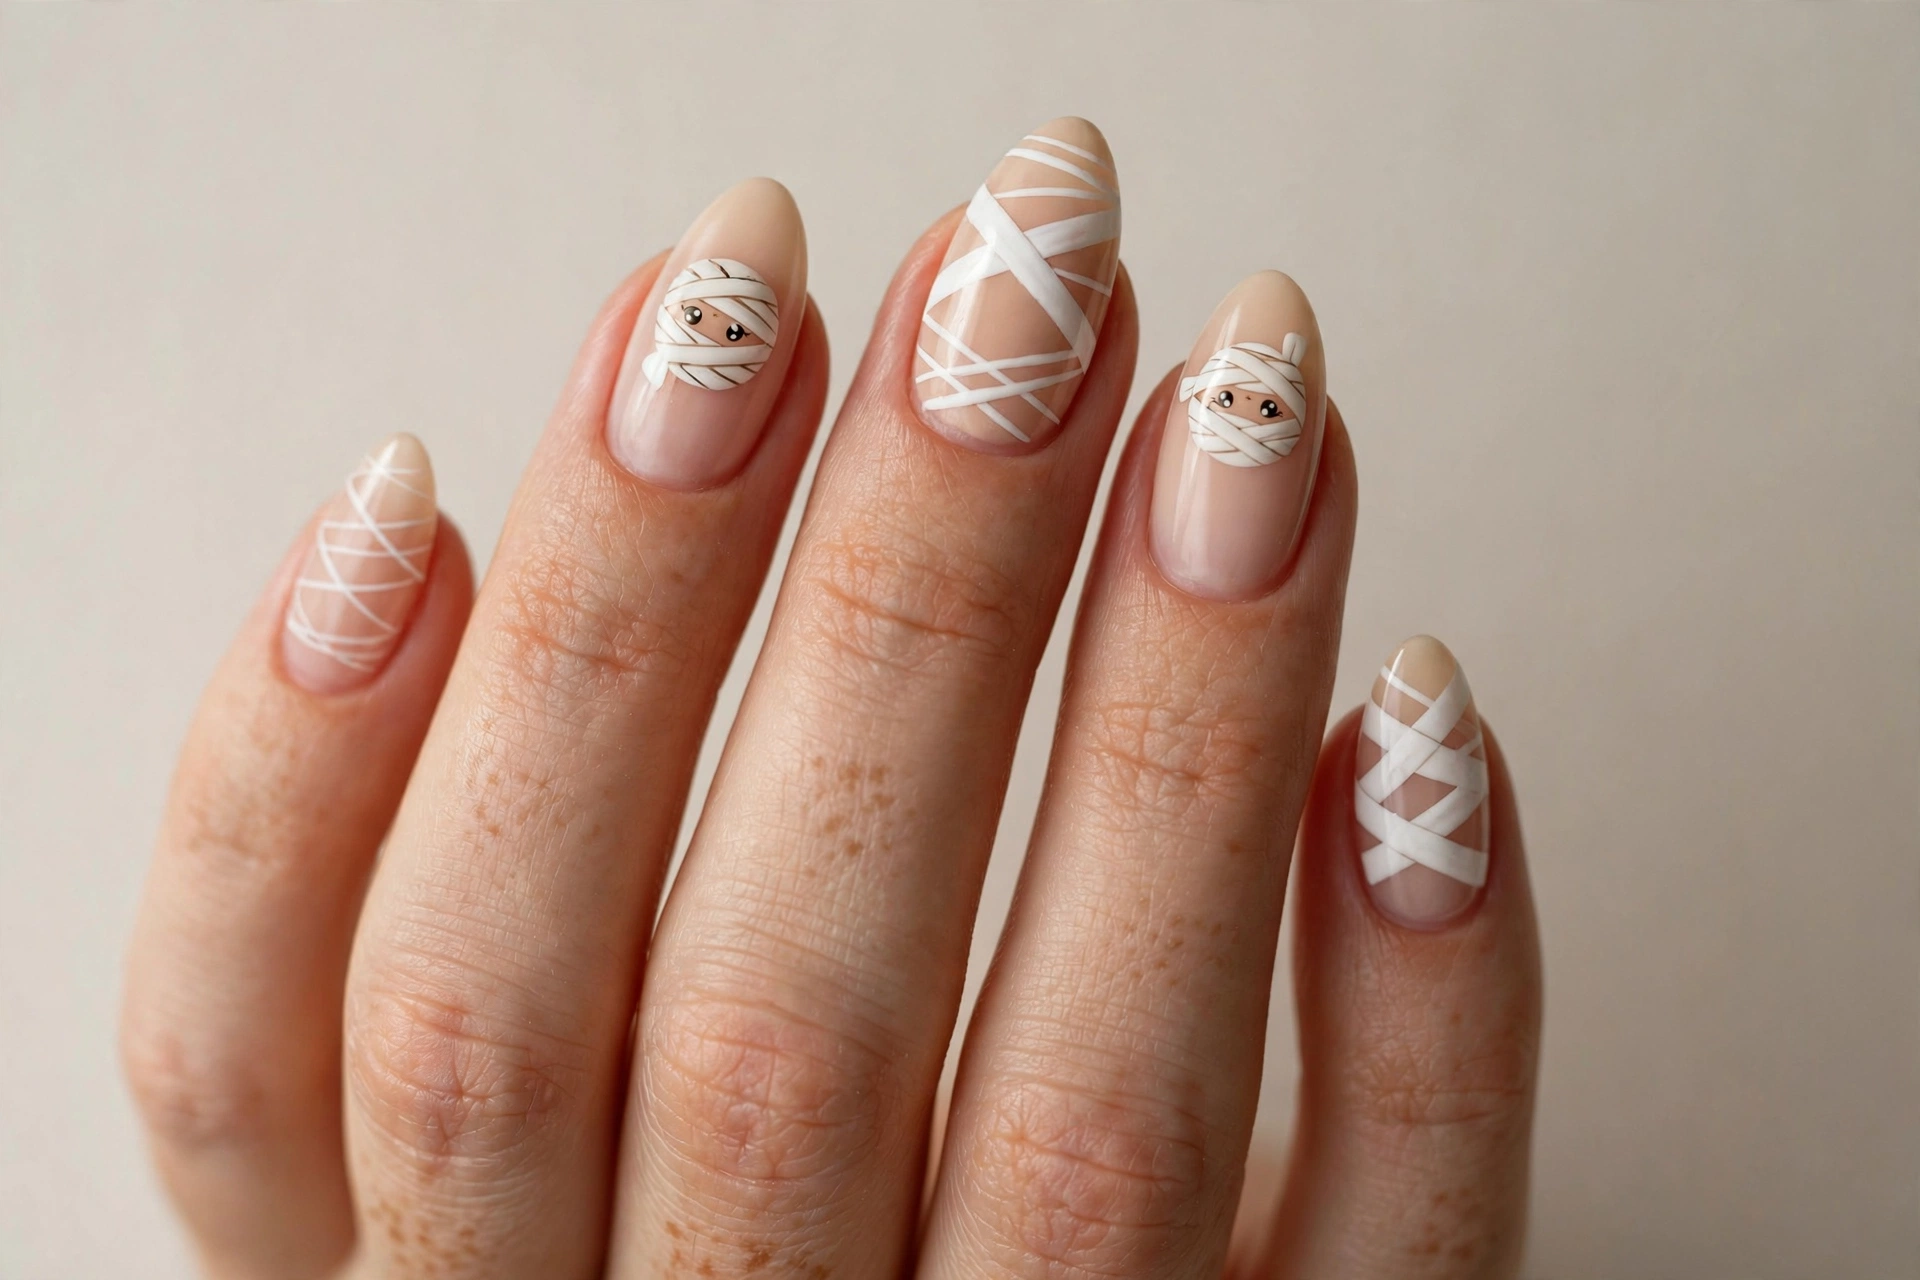
Give your mummy a personality with tiny faces peeking through the wraps. Paint two accent nails (usually the ring fingers) with white bandage stripes, then dot on two small black eyes with a dotting tool — suddenly you have the cutest little mummy staring back at you. The remaining nails stay simple with plain wraps so the faces stay the star. This is a fantastic choice for anyone who finds scary Halloween designs a bit much; it’s spooky-cute rather than spooky-scary. Kids and teens love this one, and it pairs perfectly with a casual costume. Keep the eyes small and slightly uneven for maximum charm.
3. Black Mummy Wraps on Matte White
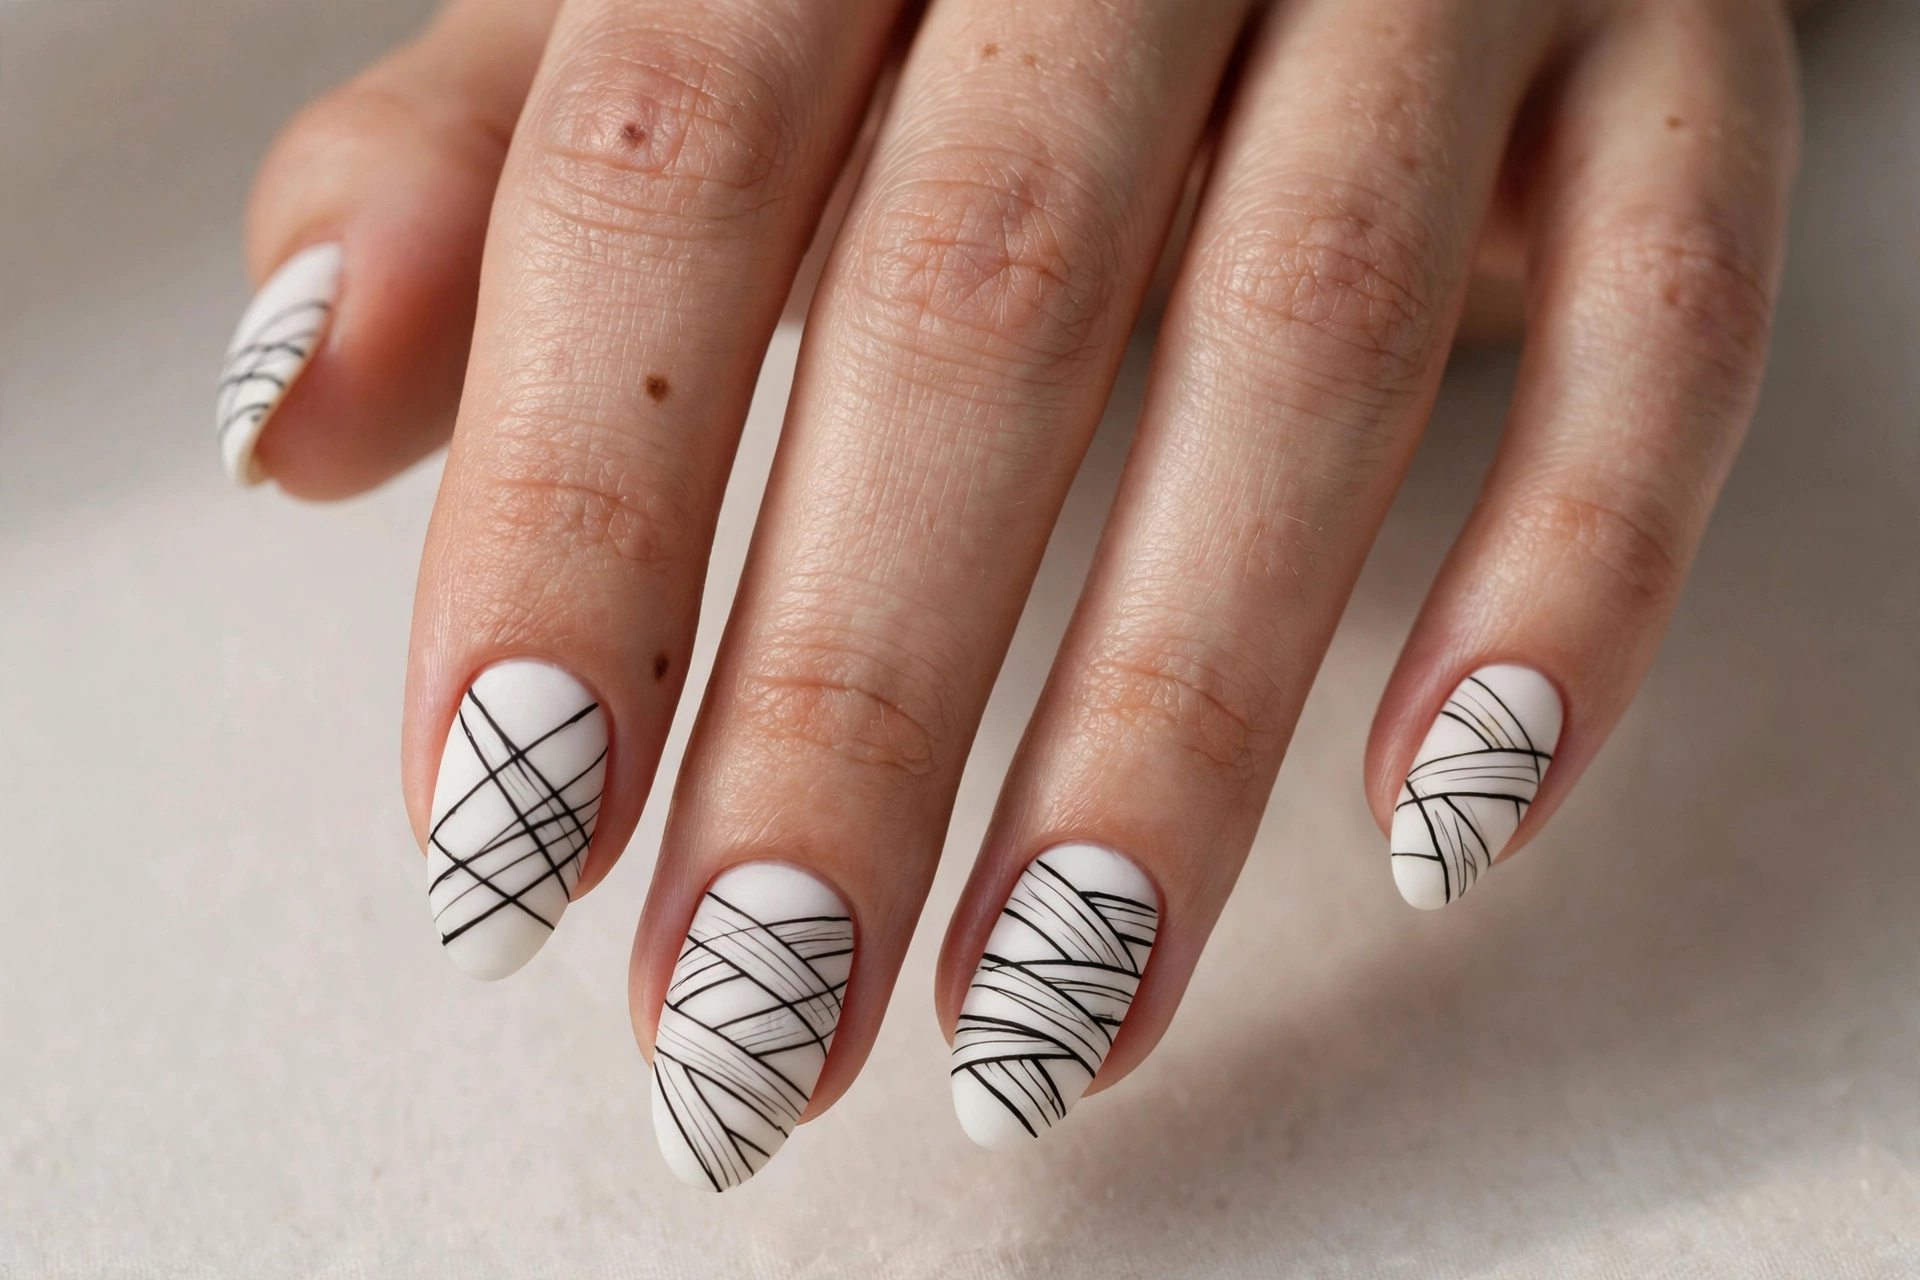
Flip the classic script: instead of white wraps on nude, try black wraps on a matte white base. The inverted contrast looks striking and modern — almost like a fashion-editorial take on Halloween. The matte finish is key here; it keeps the black lines from looking harsh and gives the whole manicure a soft, velvety feel. This design works especially well on almond or coffin shapes where the long nail bed shows off the wrap pattern. Use a matte top coat over the whole nail after your stripes dry. Fair warning: black striping polish can stain, so don’t skip your base coat.
4. Gold Mummy Bandages on Beige
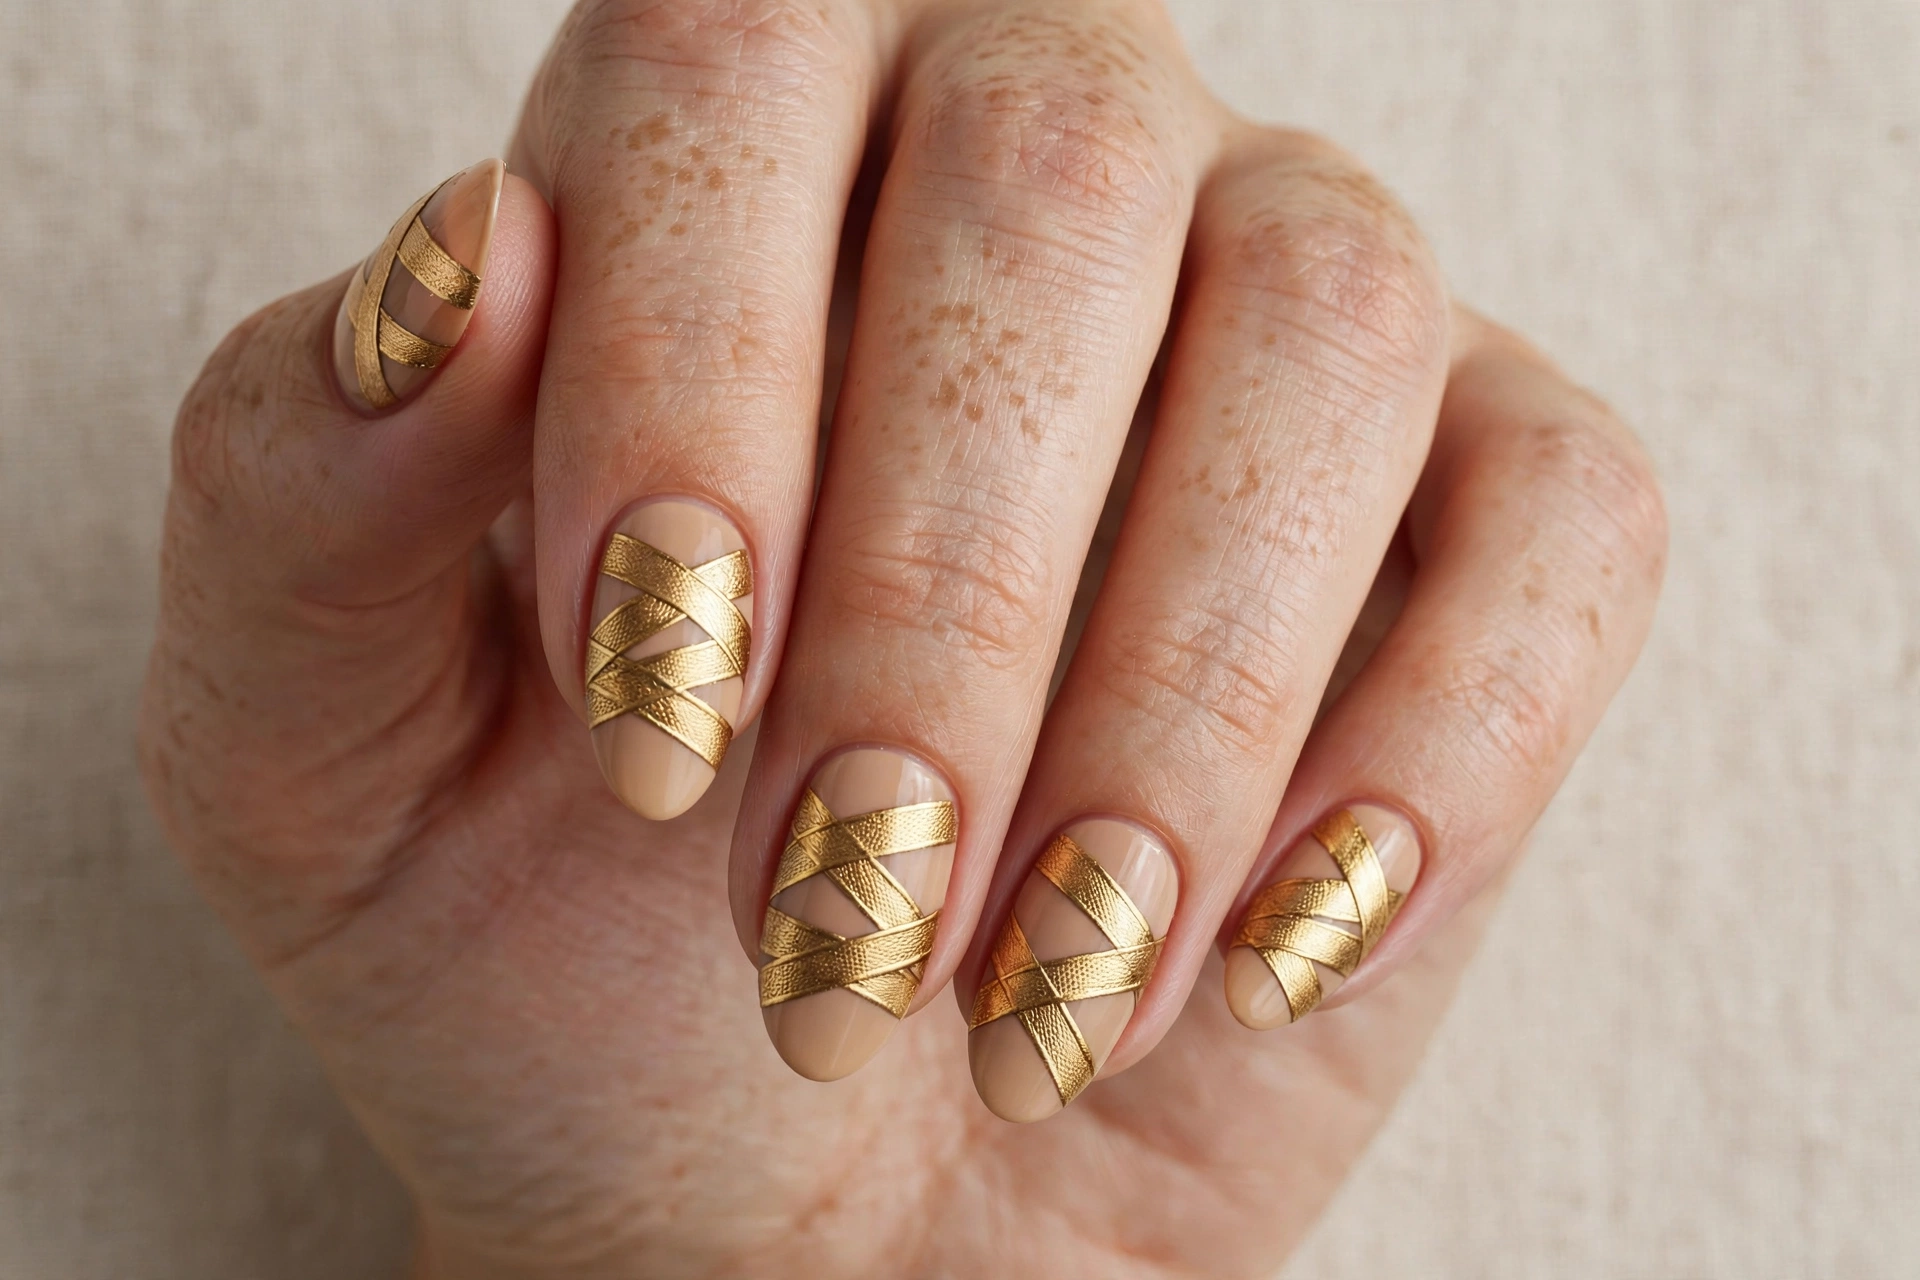
Who says mummies can’t be glamorous? Metallic gold stripes over a warm beige base turn the humble bandage into something luxurious — think ancient Egyptian tomb rather than haunted house. This is the mummy design to wear to an upscale Halloween party or a fall wedding with a costume dress code. Gold striping polish or thin gold nail tape both work; tape gives crisper lines if your freehand is shaky. Keep the beige base warm-toned (not pink) so the gold glows against it. One coat of glossy top coat seals the metallic and makes it gleam under party lights.
5. Peekaboo Mummy Eye Accent
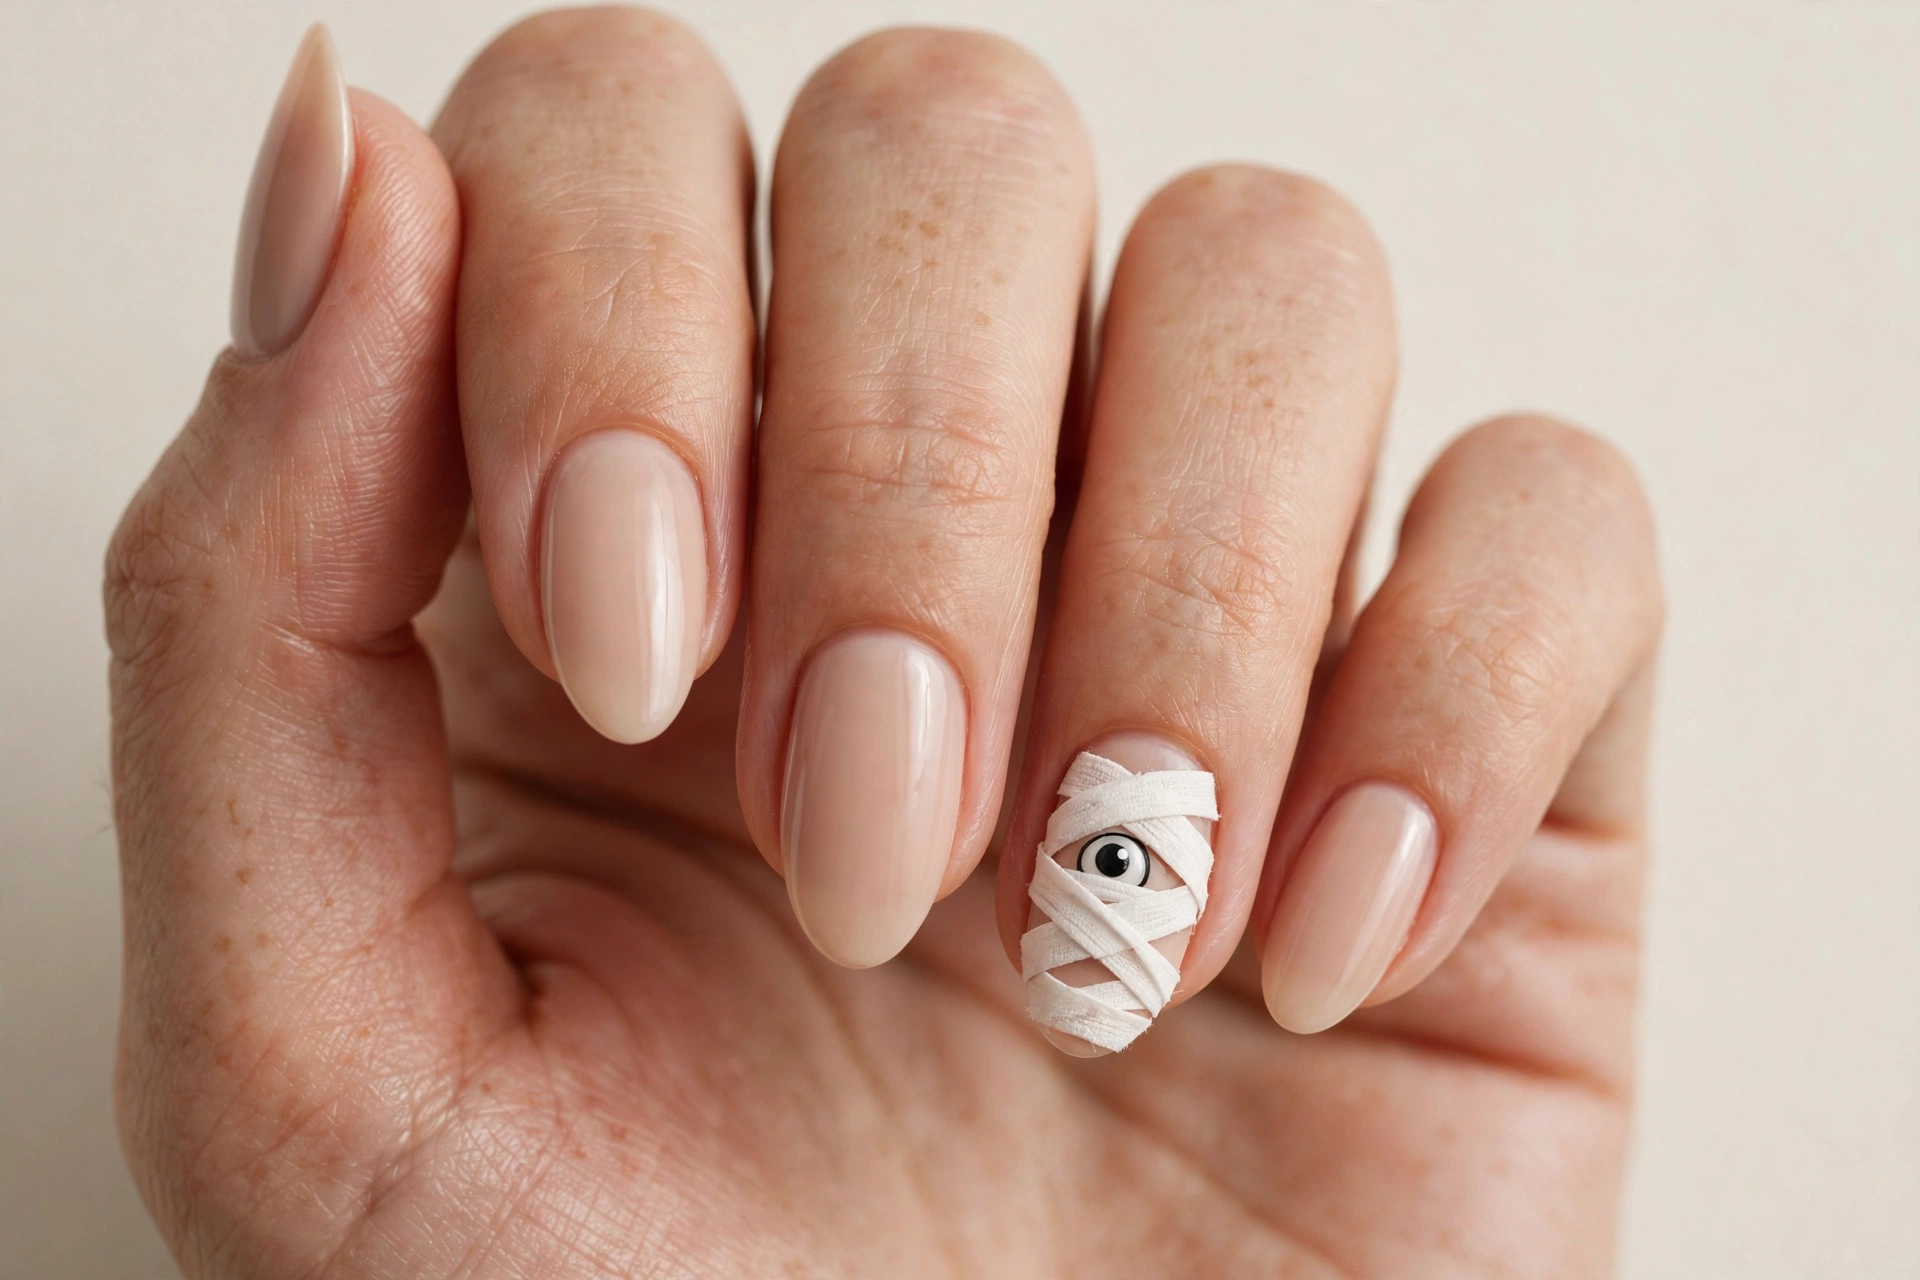
Sometimes one detail is all you need. This design keeps every nail a simple nude with whisper-thin white wraps — except one accent nail, where a single painted eye stares out from between the bandages. It’s subtle, spooky, and endlessly compliment-worthy because people notice it a beat after looking at your hands. Paint the eye with a small dotting tool: white circle, smaller colored iris, tiny black pupil, and a single white highlight dot for life. Place it slightly off-center between two wrap lines so it genuinely looks like it’s peeking through. Minimal effort, maximum effect.
6. White-on-White Mummy Texture
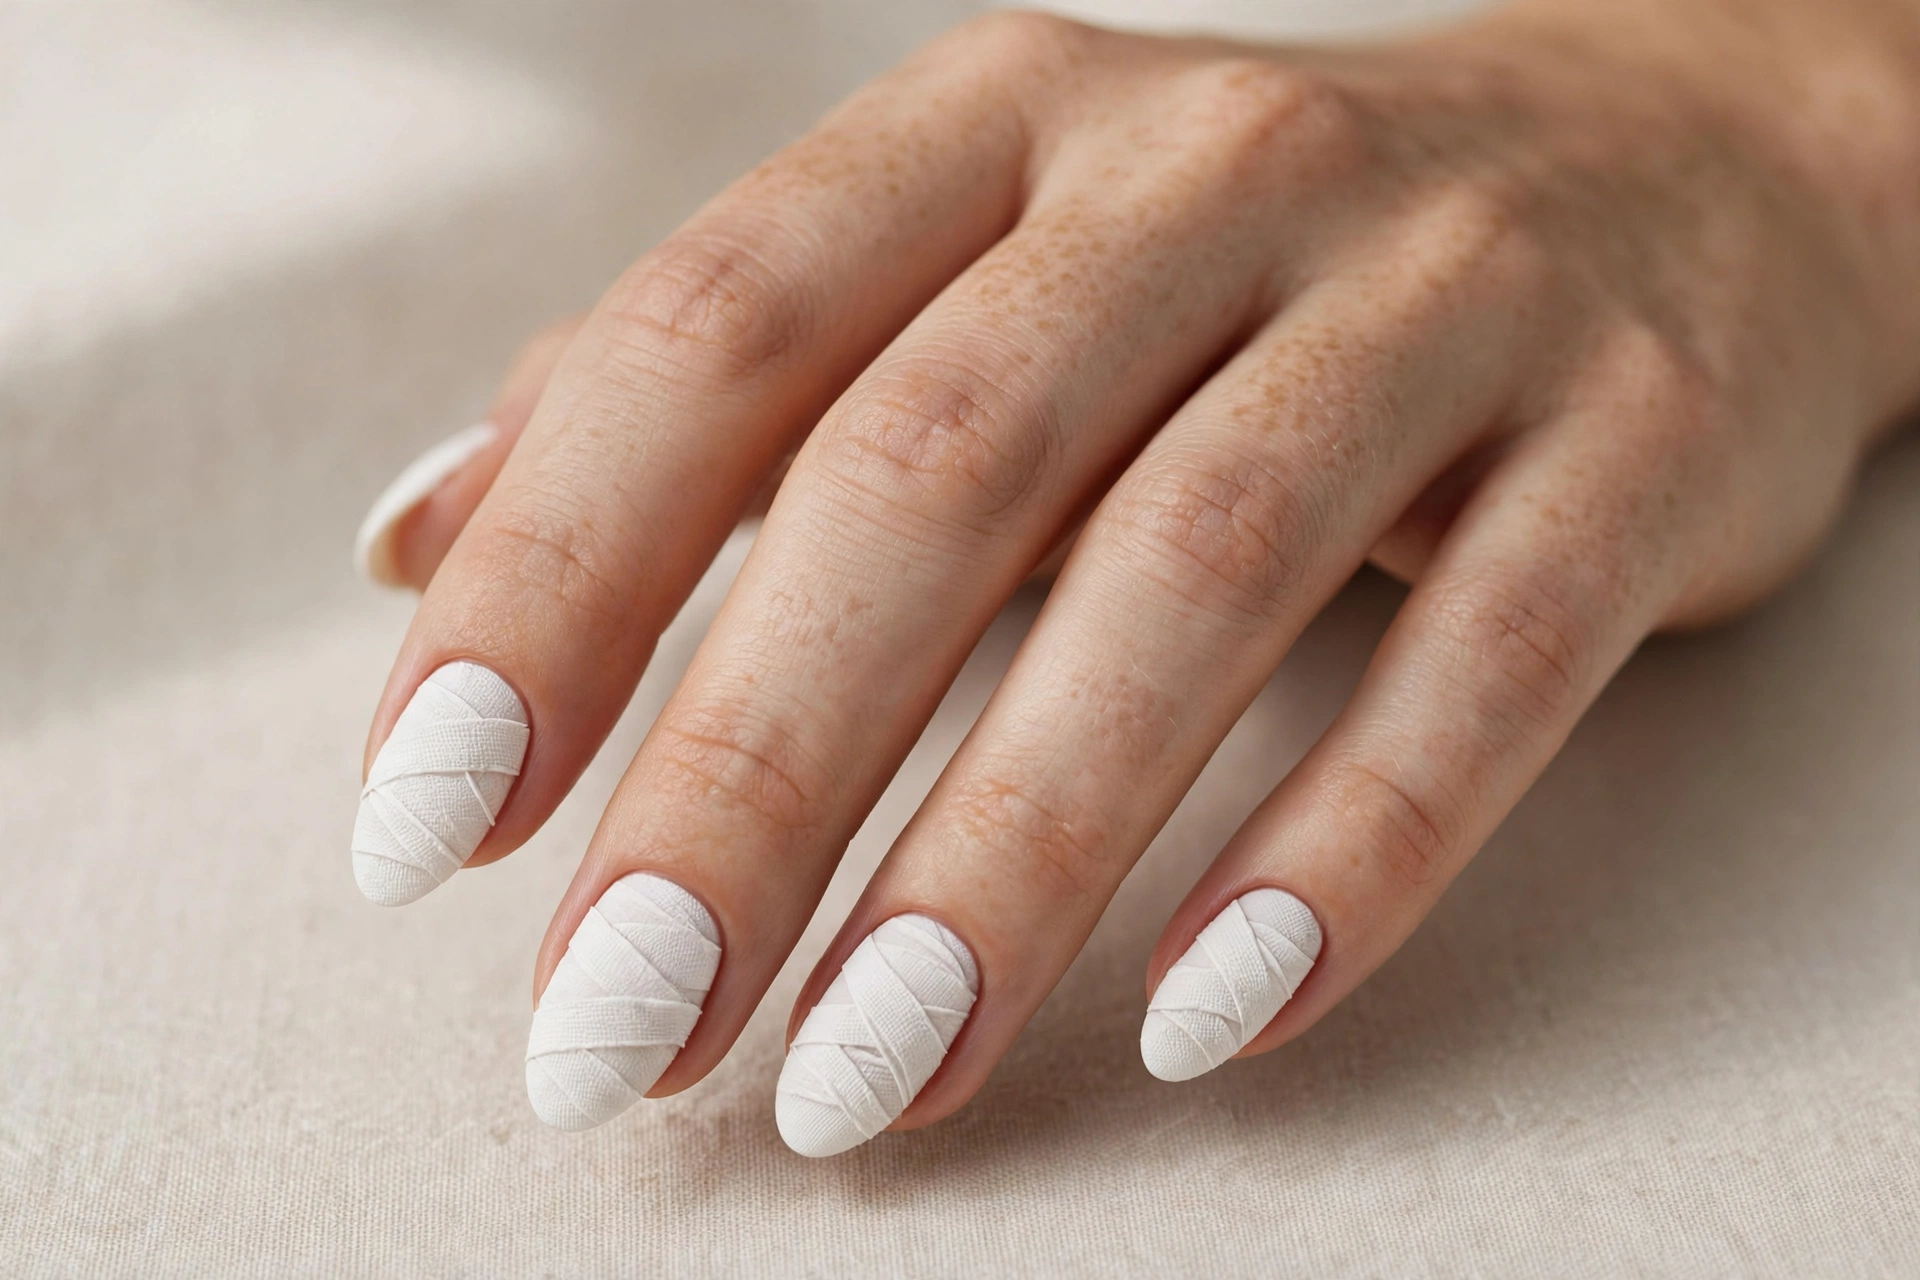
For the true minimalist, this is mummy nail art at its most restrained: white wrap lines on a white base, visible only through texture and light. The stripes are painted in a slightly different finish — say, glossy stripes on a matte white base — so they reveal themselves as your hands move. It’s the kind of manicure that looks like a clean white manicure across the room and a Halloween design up close. Perfect for workplaces with strict dress codes where you still want a nod to the season. You’ll need both a matte and a glossy top coat to pull off the finish contrast.
7. Grey Mummy Wraps with Tiny Bats
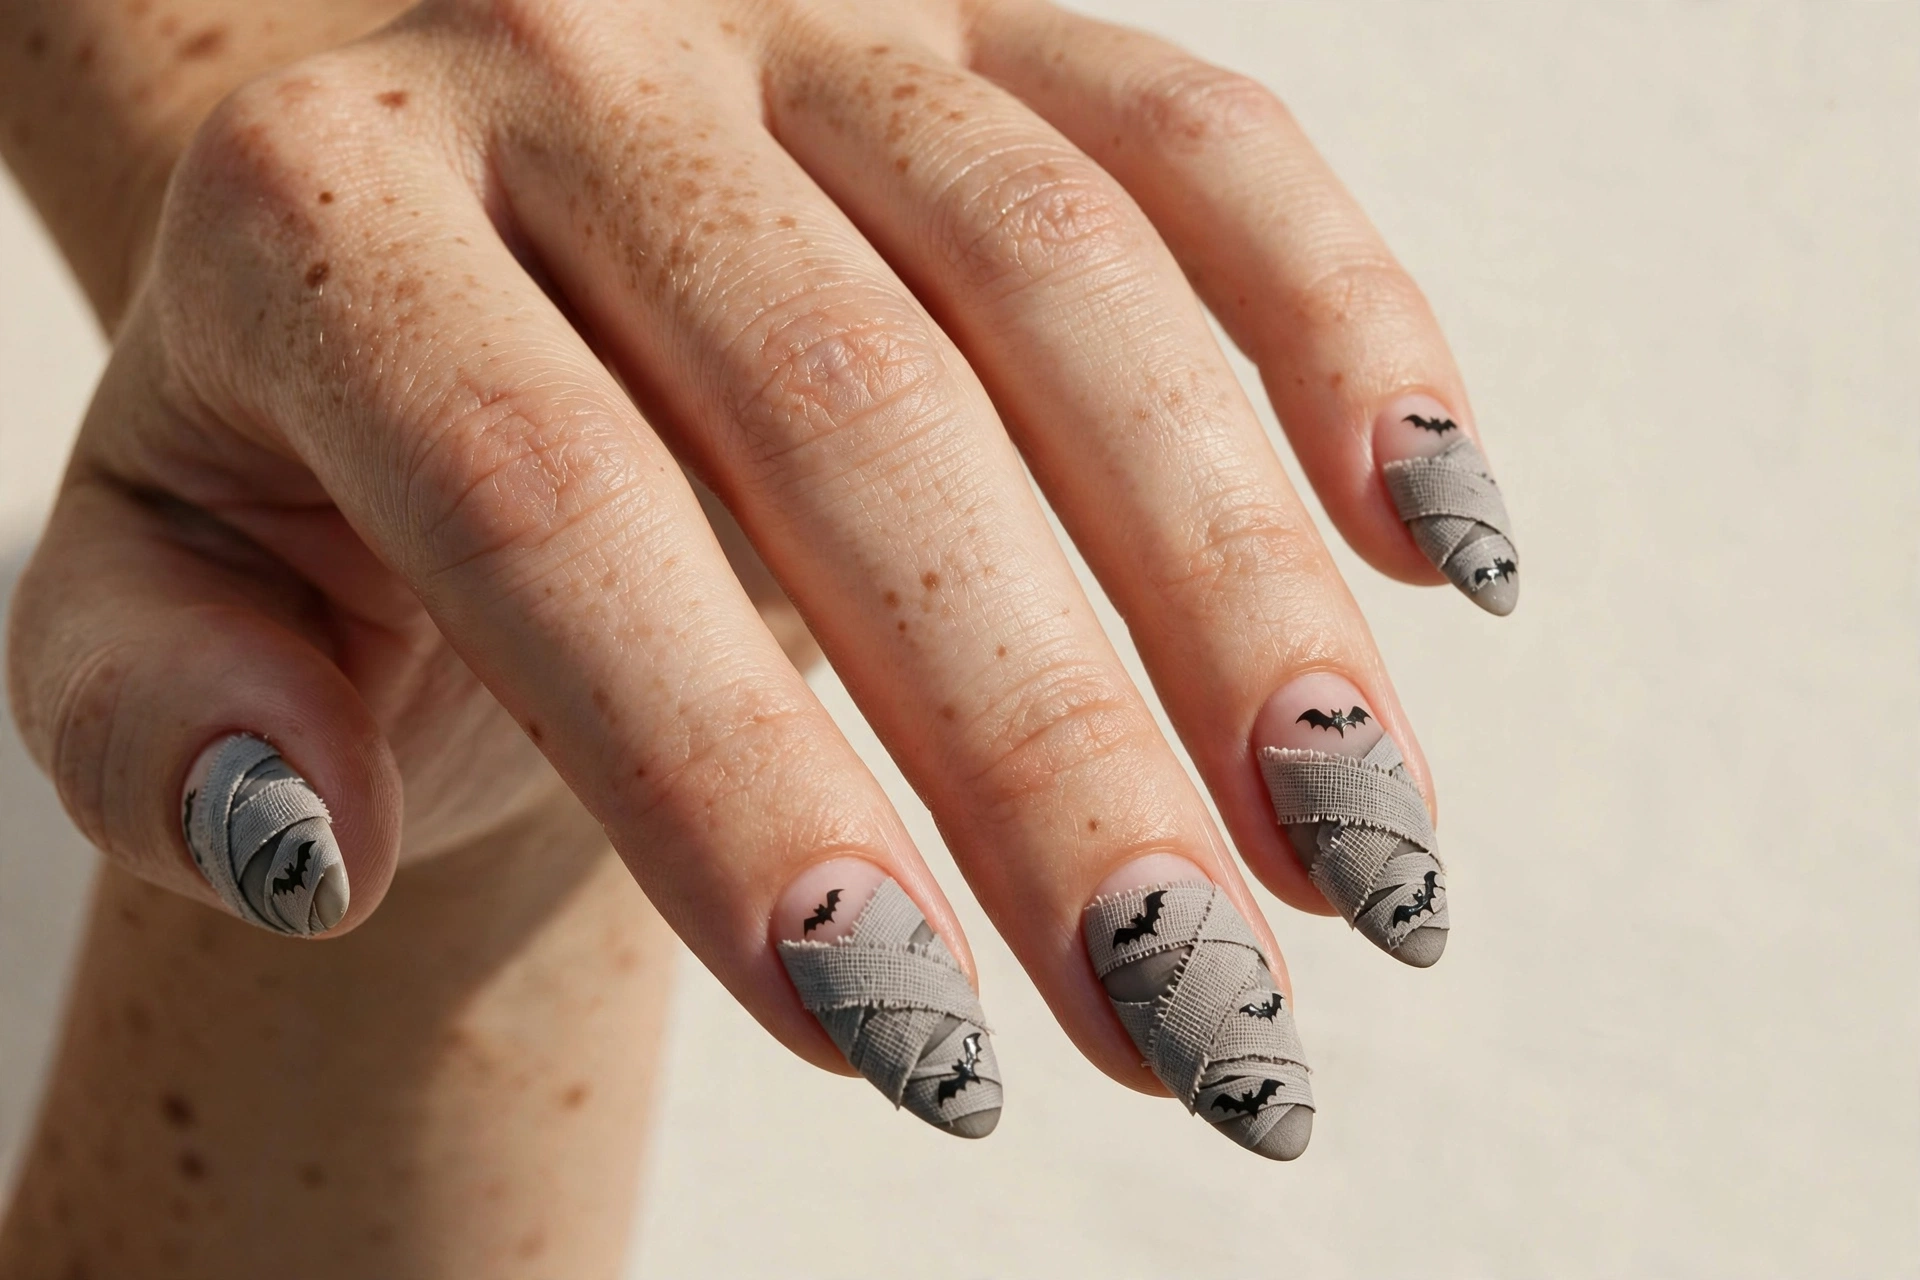
Grey is the unsung hero of Halloween palettes — spooky without the cliché. Soft grey wrap lines over a pale base create a misty, haunted feel, and a couple of tiny black bat silhouettes on one or two nails complete the scene. The bats are easier than they look: two small connected arcs with a dotting tool or the edge of a striping brush. Keep them small — thumbnail-sized bats on a ring finger read chic, while big bats read cartoonish. This design bridges Halloween and late fall beautifully, so you can wear it from mid-October straight through Thanksgiving without it feeling out of season.
8. Mummy Wrap French Tips
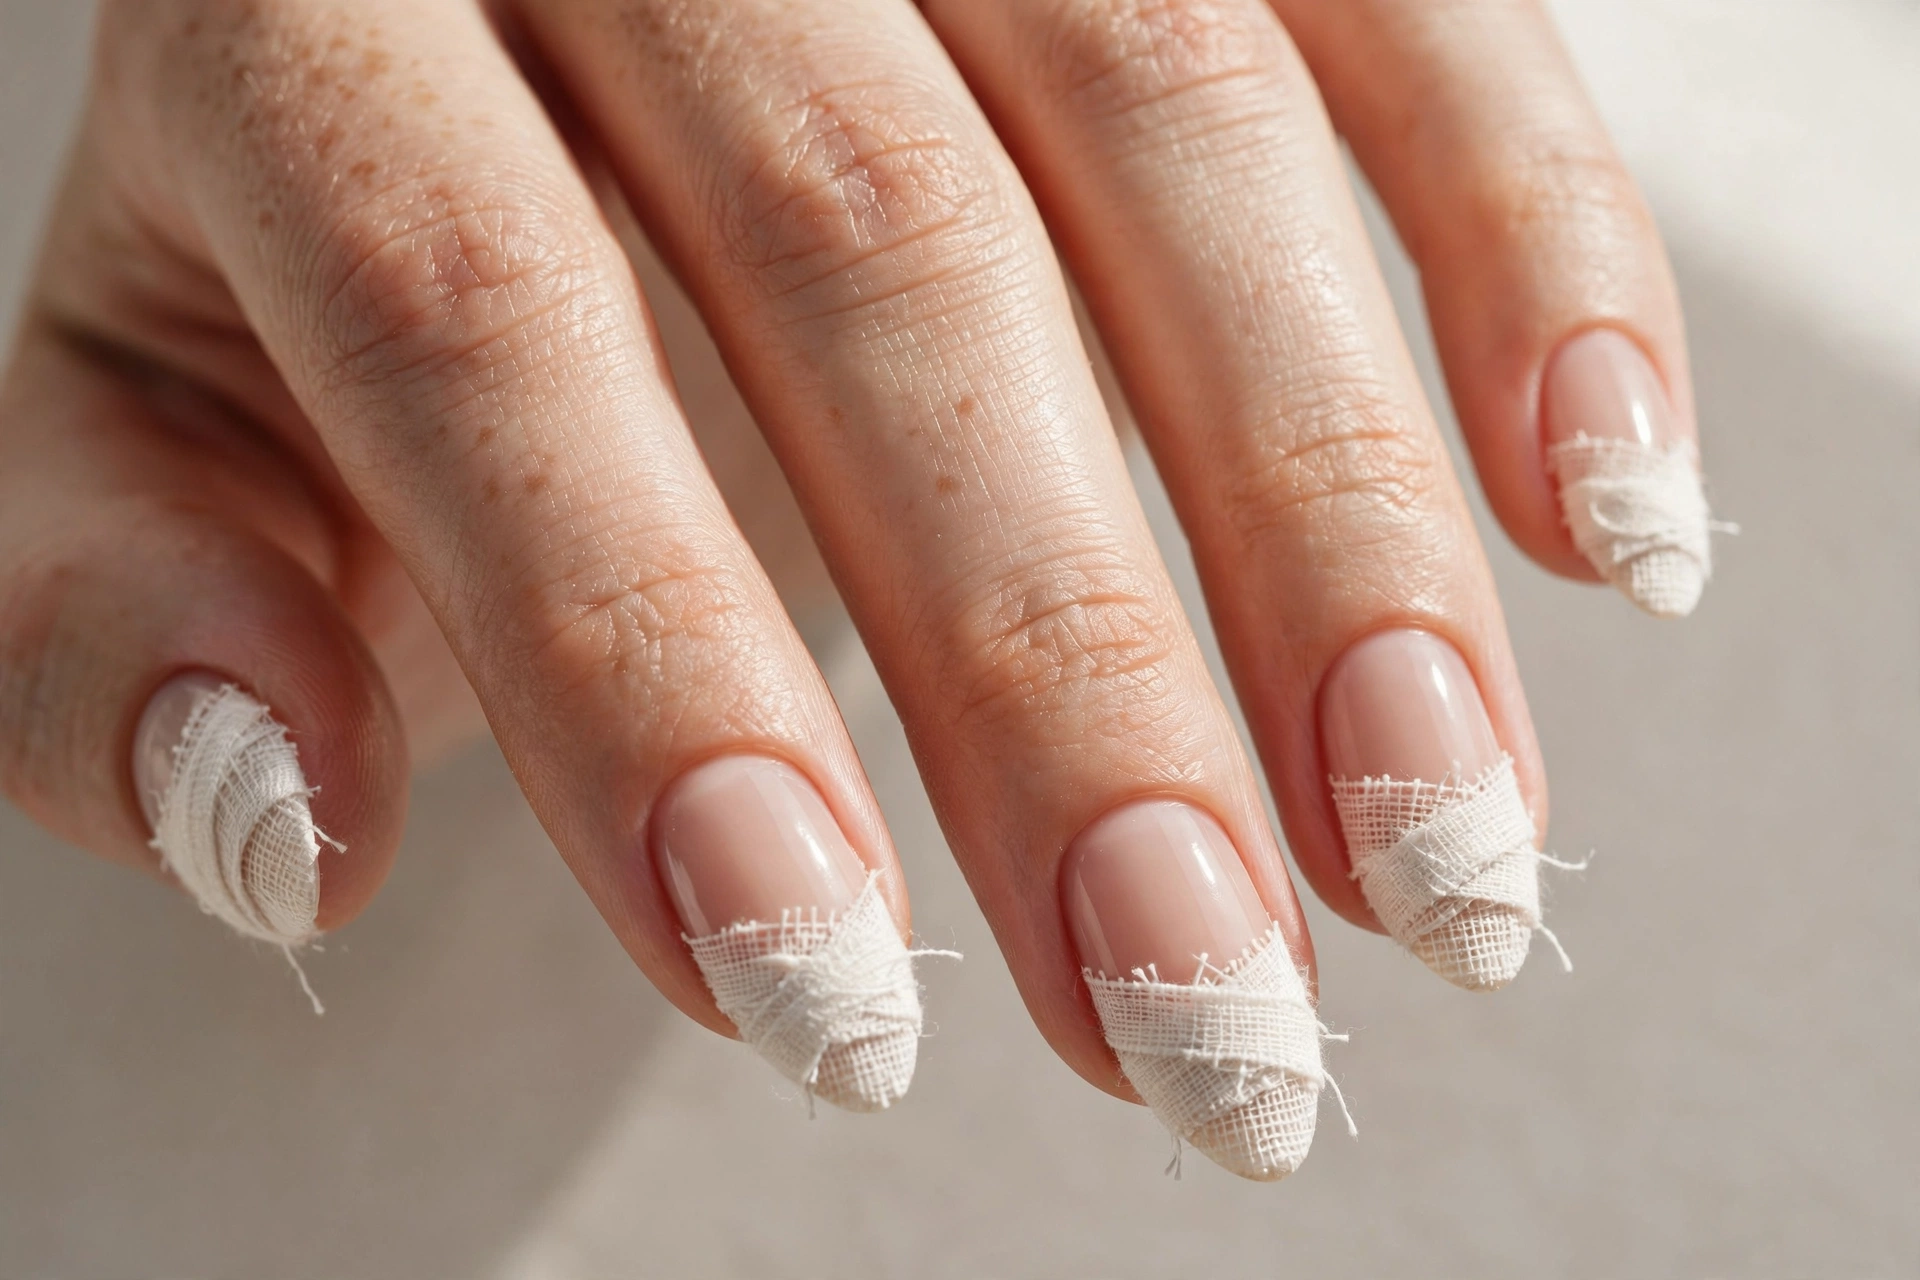
Merge two classics: the French manicure gets a Halloween twist when the white tip becomes mummy bandages. Instead of one clean smile line, paint the tip with two or three overlapping white stripes that wrap slightly down the sides of the nail. The nude base keeps it office-appropriate while the wrapped tips deliver the theme. This is arguably the most wearable design on this list — from a distance it just looks like a textured French manicure. It also grows out gracefully since the base is sheer nude. If you love French tips year-round, this is your October version; see more seasonal twists in our 15 Halloween nails designs.
9. White Bandages on Black Base
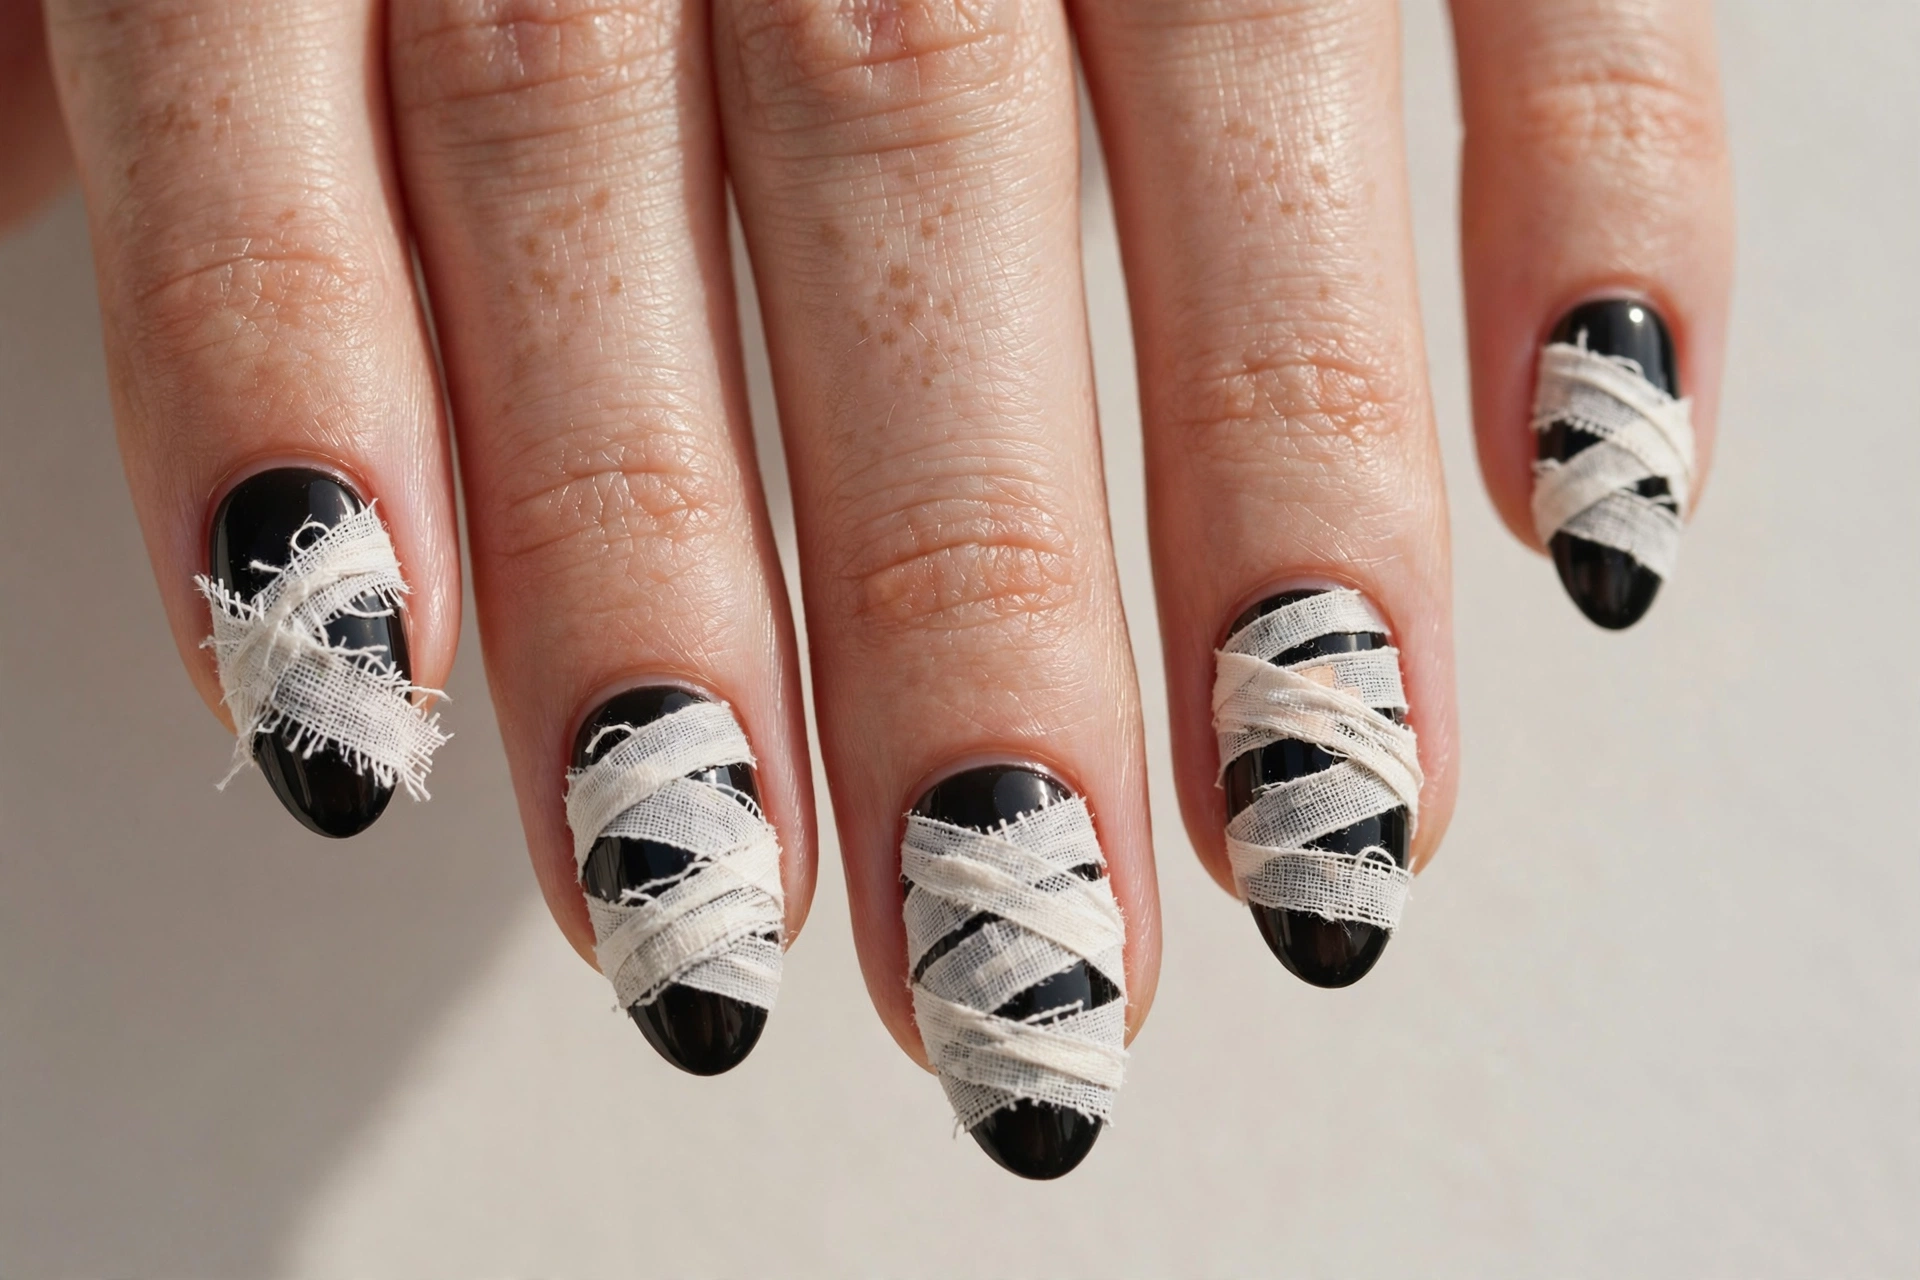
Maximum drama, minimum effort. A solid black base with white bandage stripes is the boldest minimalist mummy look — the contrast makes every stripe pop like a spotlight. This is the design for Halloween night itself, costumes, and anyone whose personal style leans dark and moody. The black base also hides any imperfections in your stripe work, which makes it secretly one of the easiest designs here. Use two coats of a good one-coat black to avoid streaks, let it dry fully, then stripe. A glossy top coat gives it a patent-leather edge; matte makes it gothic.
10. Thin Wraps with a Spooky Eye
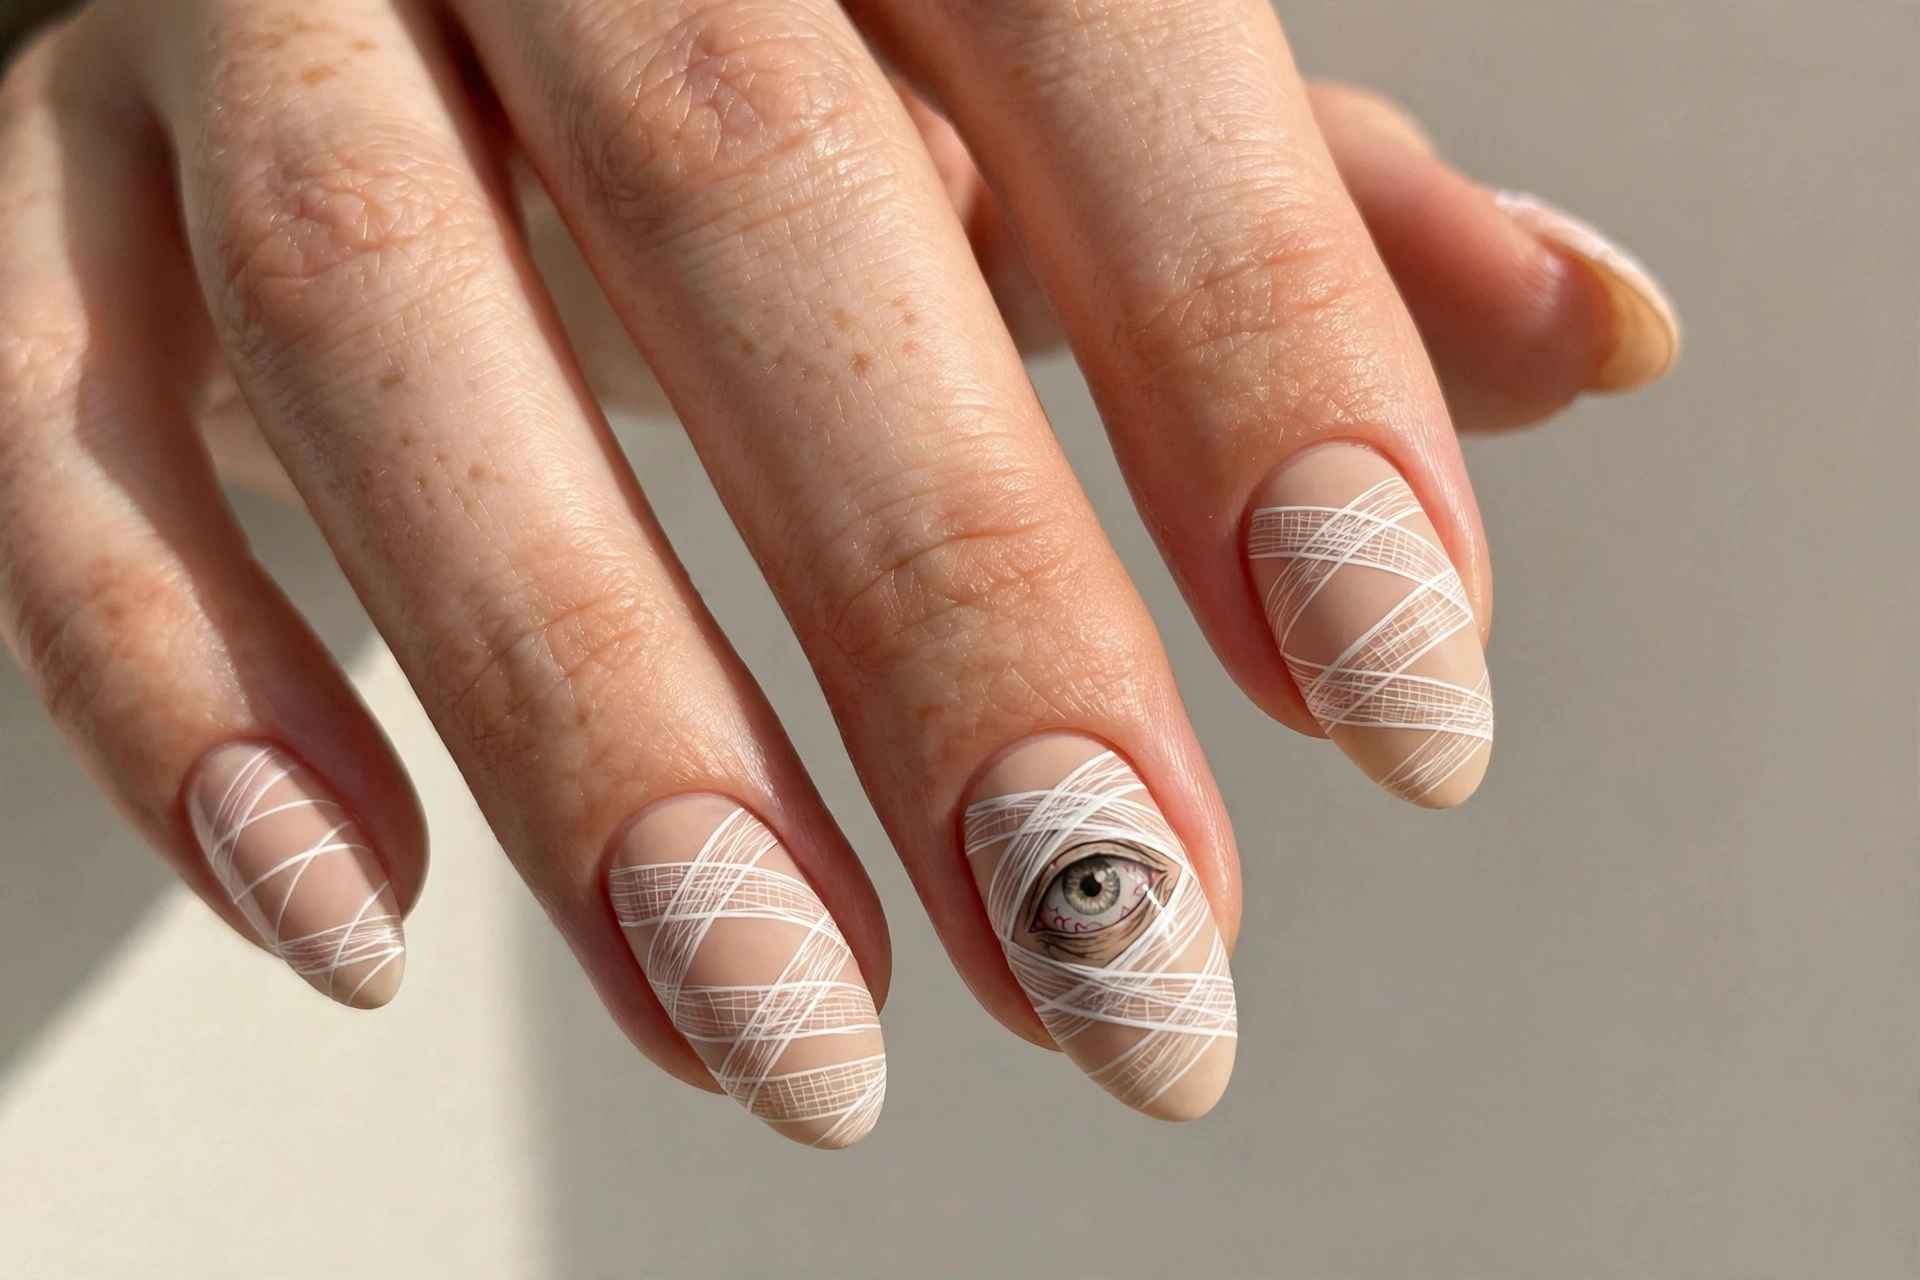
A step up in eeriness from the peekaboo accent: this time the eye is bigger, bloodshot, and unapologetically creepy. Keep the wraps themselves whisper-thin and sparse on nude nails so the single detailed eye dominates. Paint tiny red veins radiating from the iris with the very tip of a detail brush — that’s what takes it from cute to genuinely spooky. This is the design to choose if your costume is horror-themed and your nails need to match the energy. It’s still minimalist in composition (one eye, a few lines), just not in mood. Not for the faint of heart — or for client-facing meetings.
11. Mummy Wraps with Gold Foil
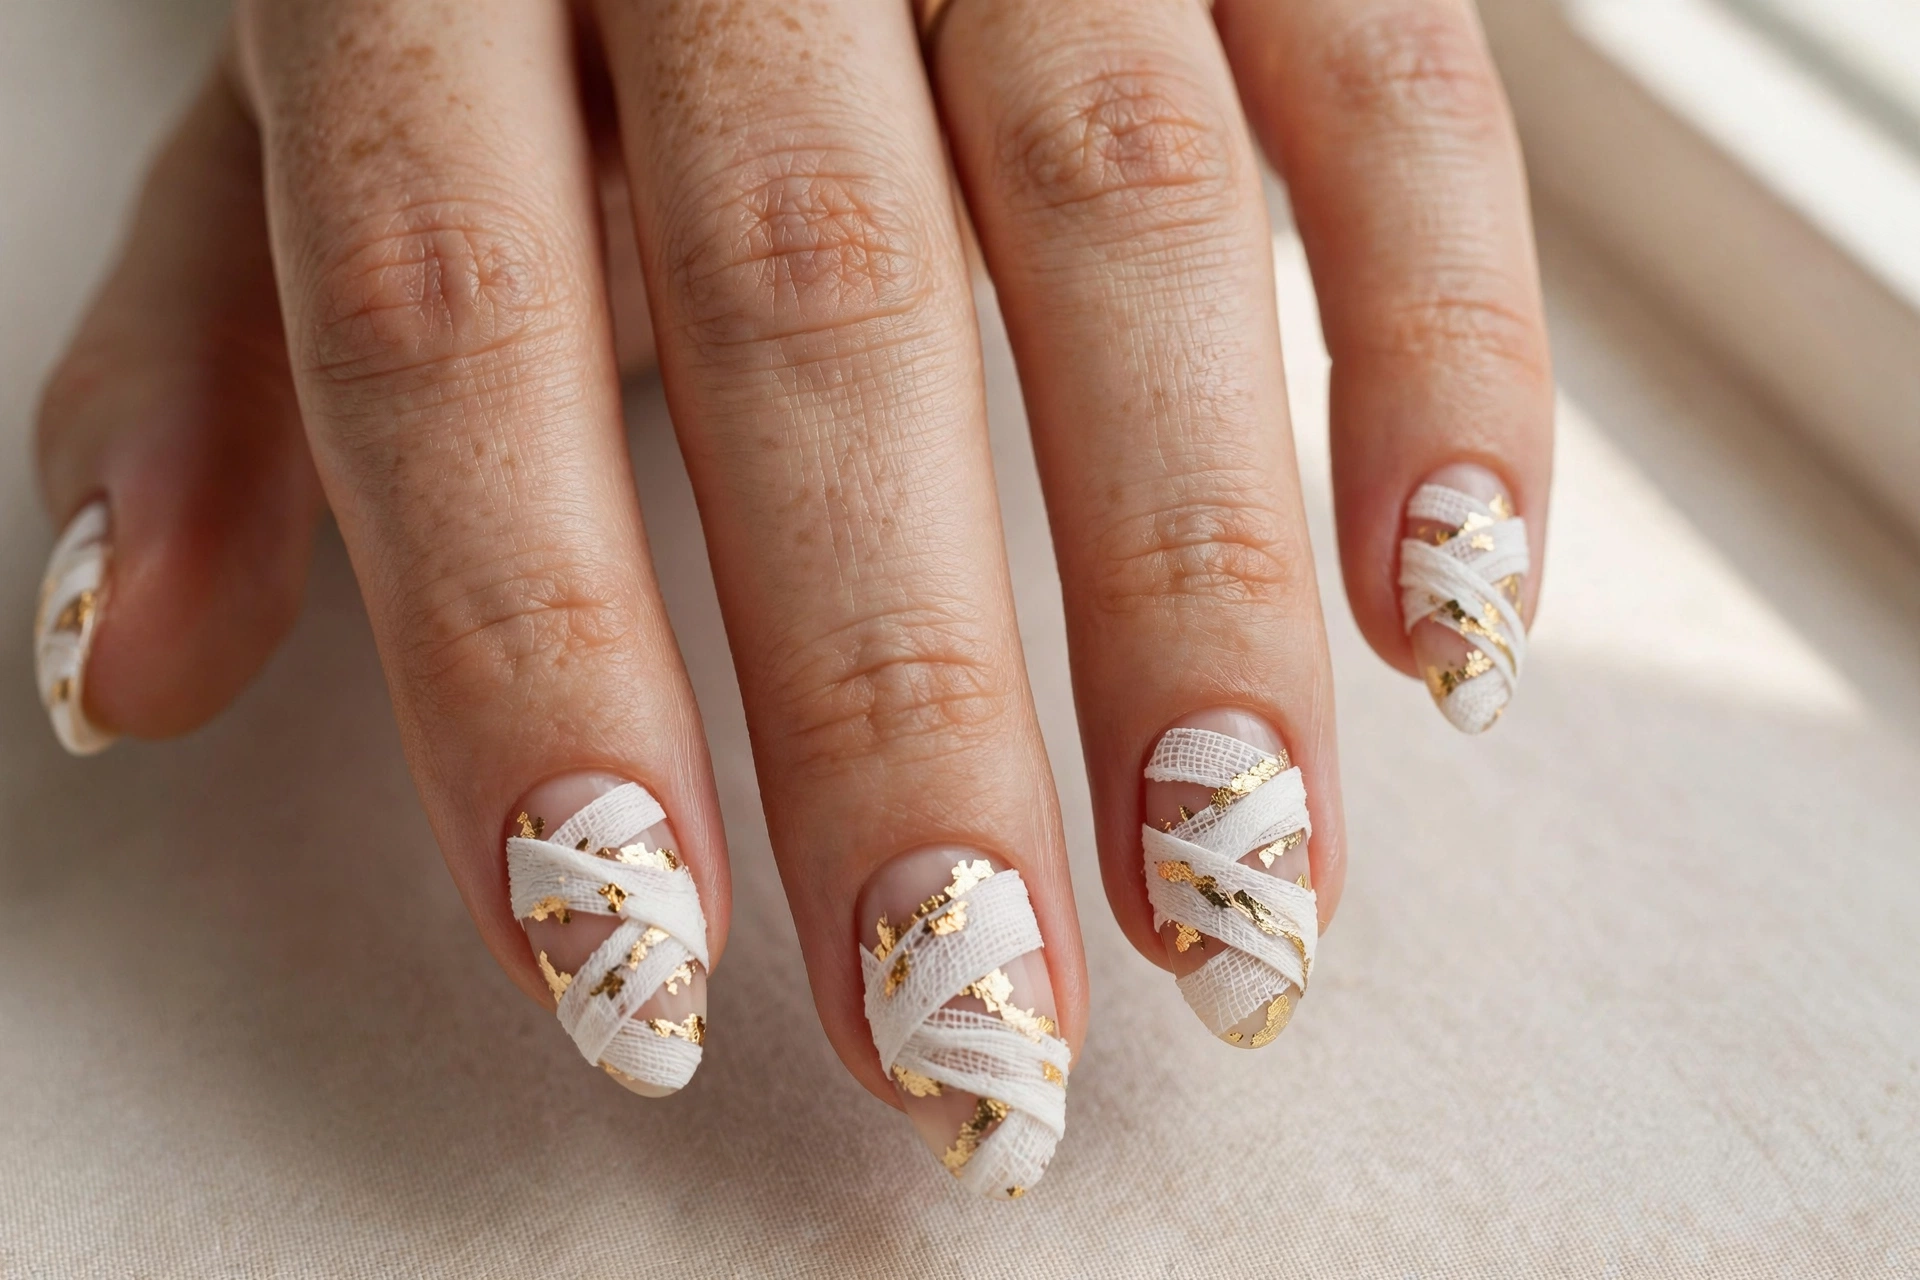
Tiny torn pieces of gold foil tucked between white wrap lines catch the light like treasure in a tomb. This design feels expensive because the foil adds real dimension — each nail glints differently as you move your hands. Application is simple: paint your wraps, then while the top coat is still tacky, press on small foil flakes with tweezers and seal with another coat. Place the foil sparingly (one or two flakes per nail) so it reads as accent, not armor. It pairs beautifully with gold jewelry, making it a strong pick for evening Halloween events where you’ll be photographed.
12. Champagne Gold Wraps on Ivory
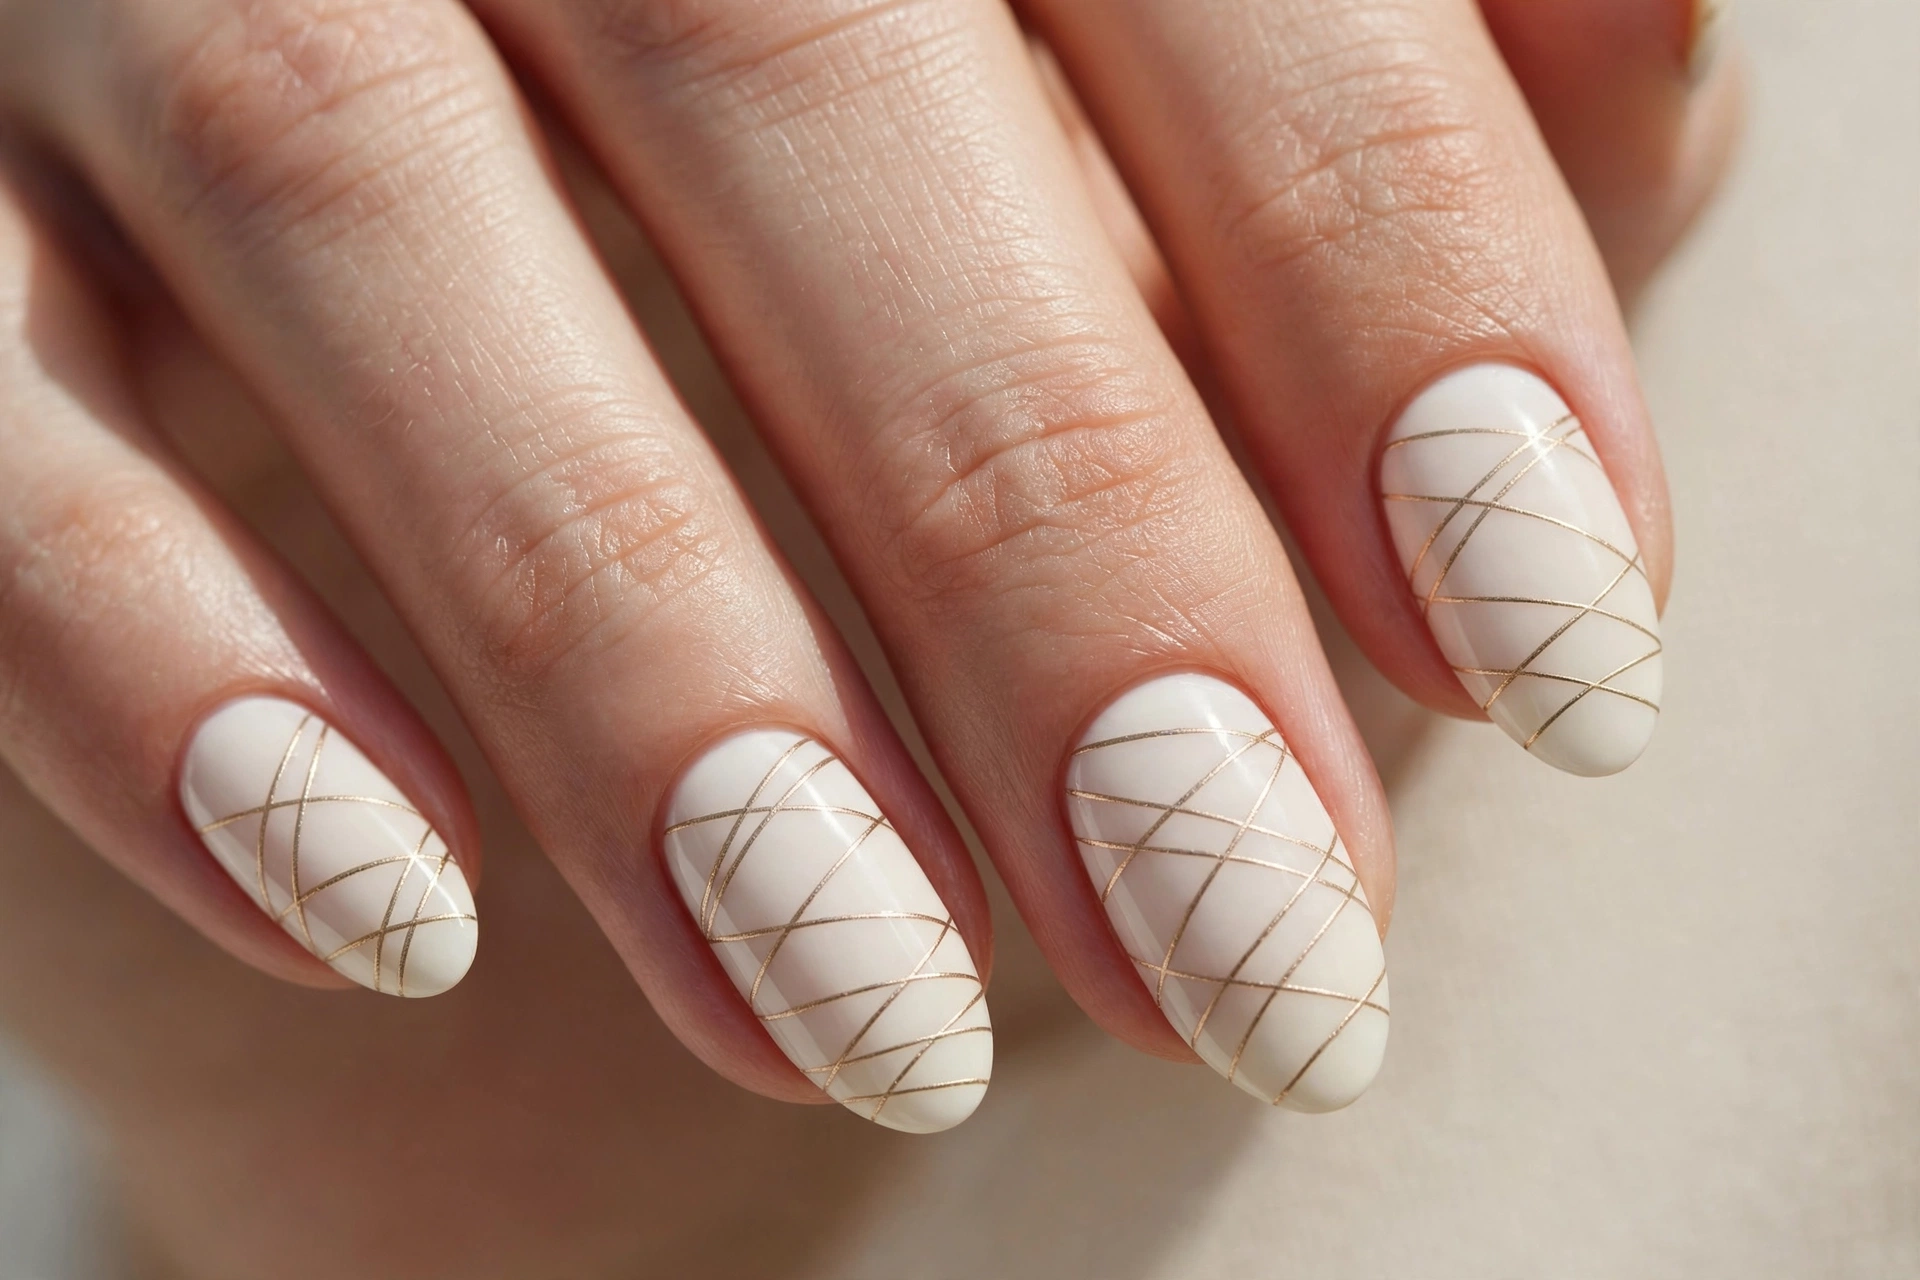
Softer than yellow gold and dreamier than silver, champagne gold on ivory is mummy nail art for romantics. The low-contrast palette keeps everything whisper-quiet and elegant — the wraps are visible but never shout. This is a beautiful bridal-adjacent Halloween look (yes, October weddings exist) and it flatters every skin tone because both champagne and ivory are warm neutrals. Use a champagne chrome powder over ivory for the stripes if you want a mirror-like finish, or champagne striping polish for simplicity. Either way, seal generously — metallics chip faster than cremes.
13. Minimal Mummy Face on Ring Finger
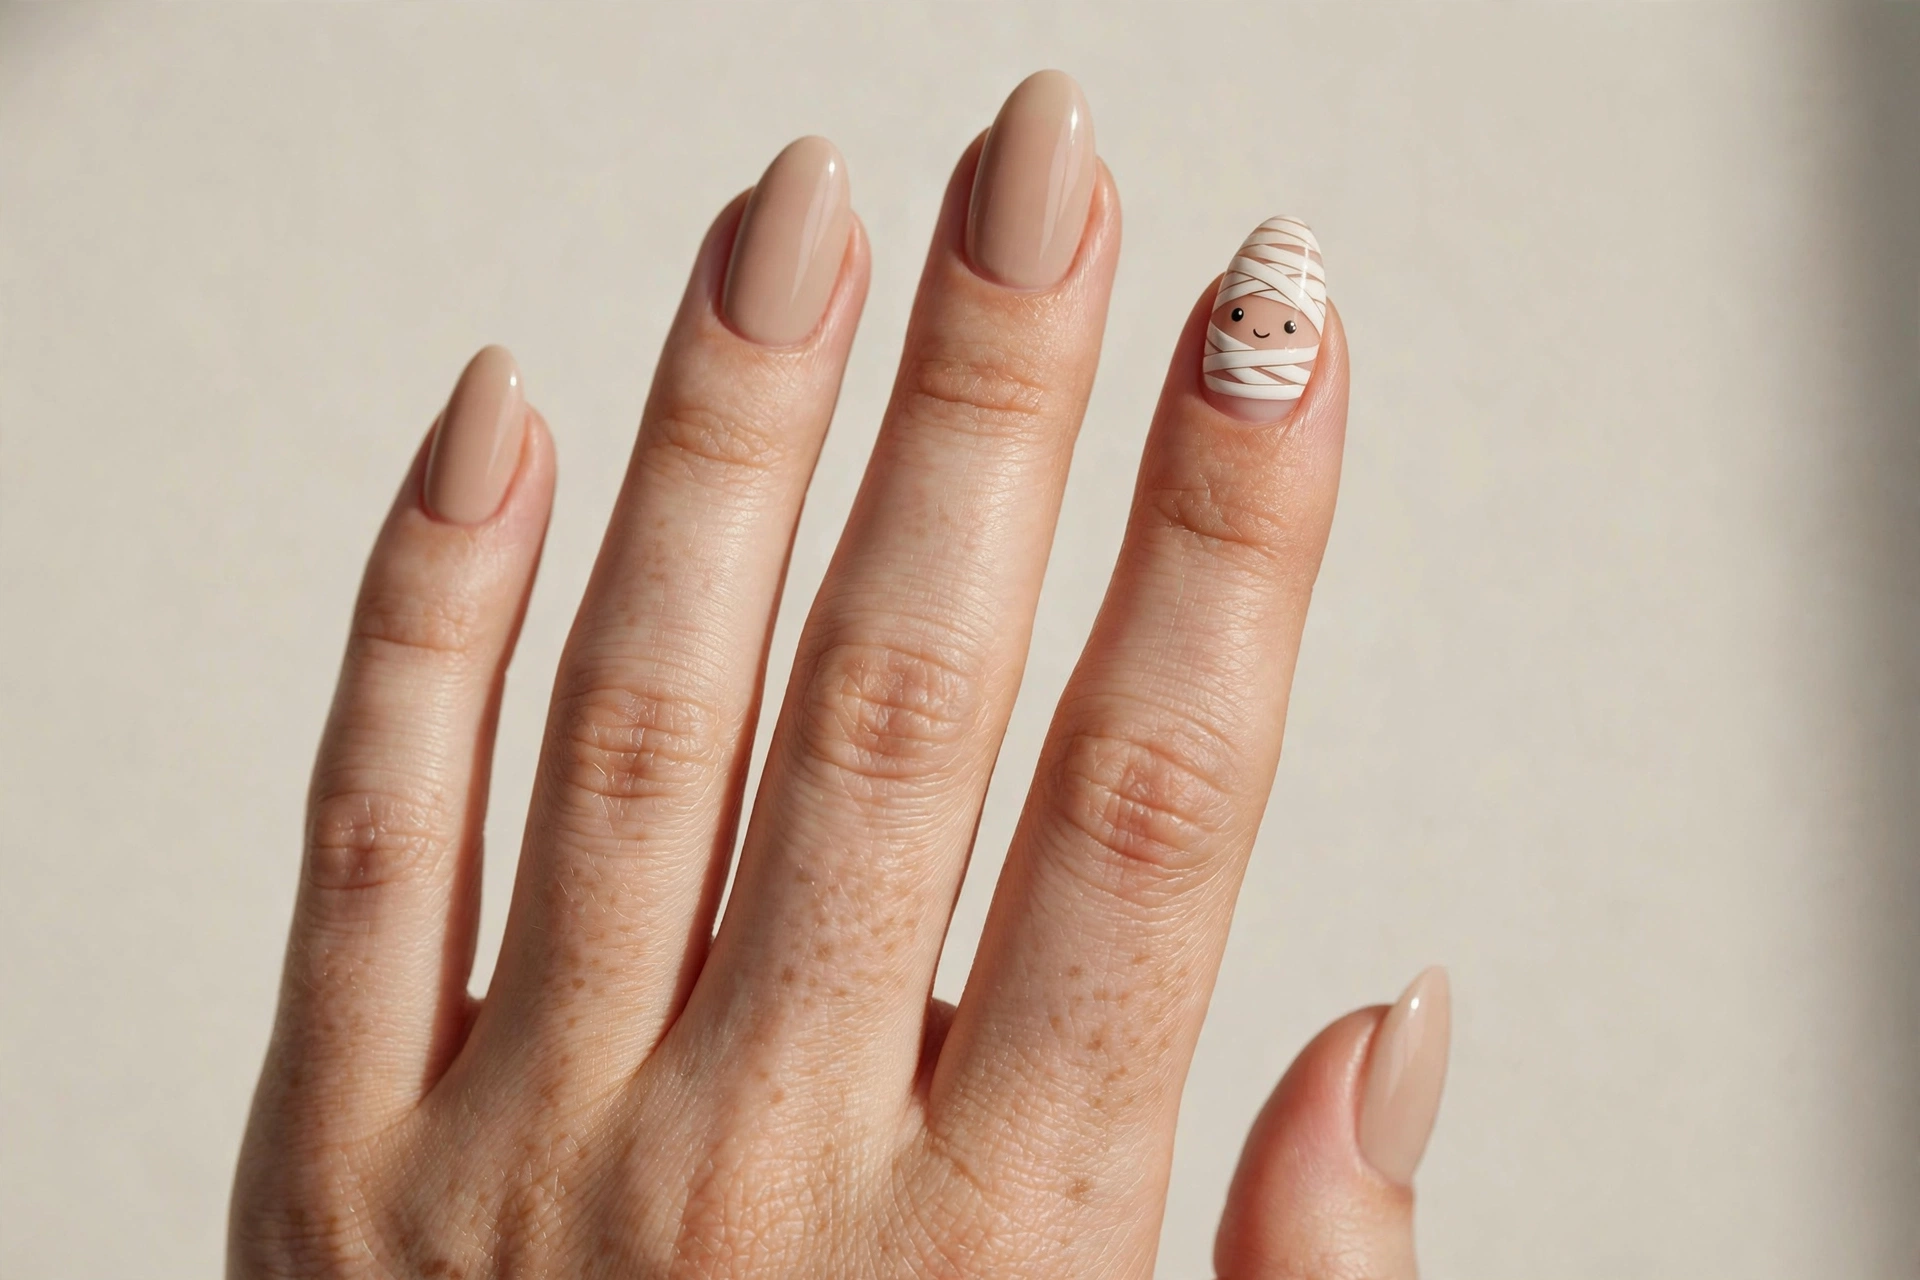
Commit to exactly one mummy face — a single ring finger with wraps and two dot eyes — and leave the other nine nails a clean solid nude. The restraint is the point: that lone face becomes a conversation piece precisely because everything else is quiet. This is the lowest-effort Halloween manicure that still clearly reads as Halloween, ideal if you’re short on time or new to nail art. It also photographs well for social media because the single detailed nail draws the eye. Choose a nude that matches your skin tone closely so the nine plain nails look intentional and polished, not unfinished.
14. Beige Wraps with Spiderweb Accent
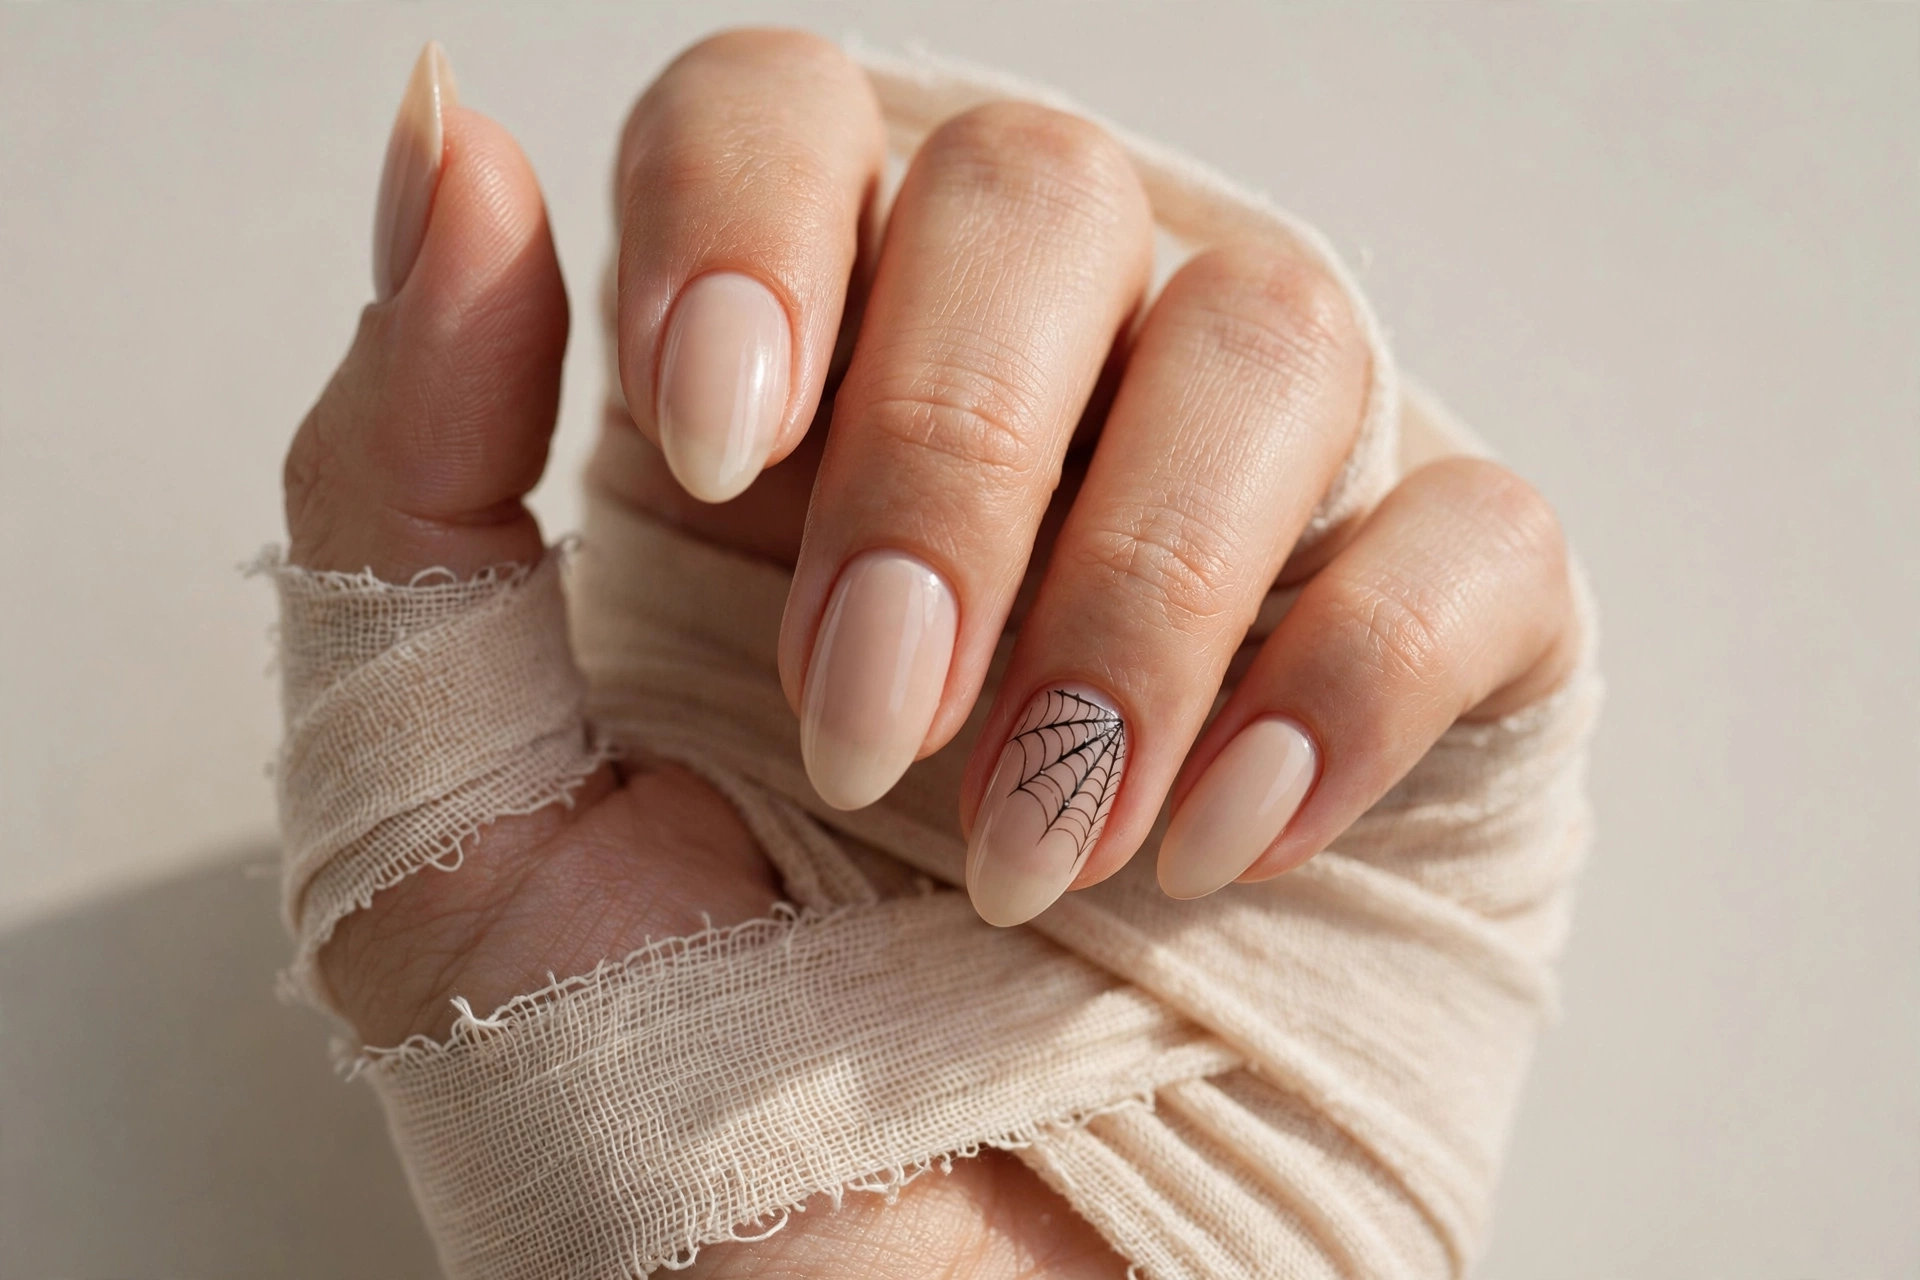
Two Halloween icons, one manicure. Keep most nails in soft beige mummy wraps, then dedicate one accent nail to a delicate spiderweb — thin white lines radiating from a corner with small connecting arcs. The web echoes the linear language of the wraps, so the two designs feel like they belong together rather than competing. A tiny spider (a black dot with thread-thin legs) on the web is optional but delightful. This pairing works because both motifs are line-based and monochrome; the result is cohesive, spooky, and still minimalist. For more creepy-crawly inspiration, our 20 Halloween toe nail designs prove spiders work on every nail, fingers or toes.
15. Mummy Wraps with Pumpkin Pop
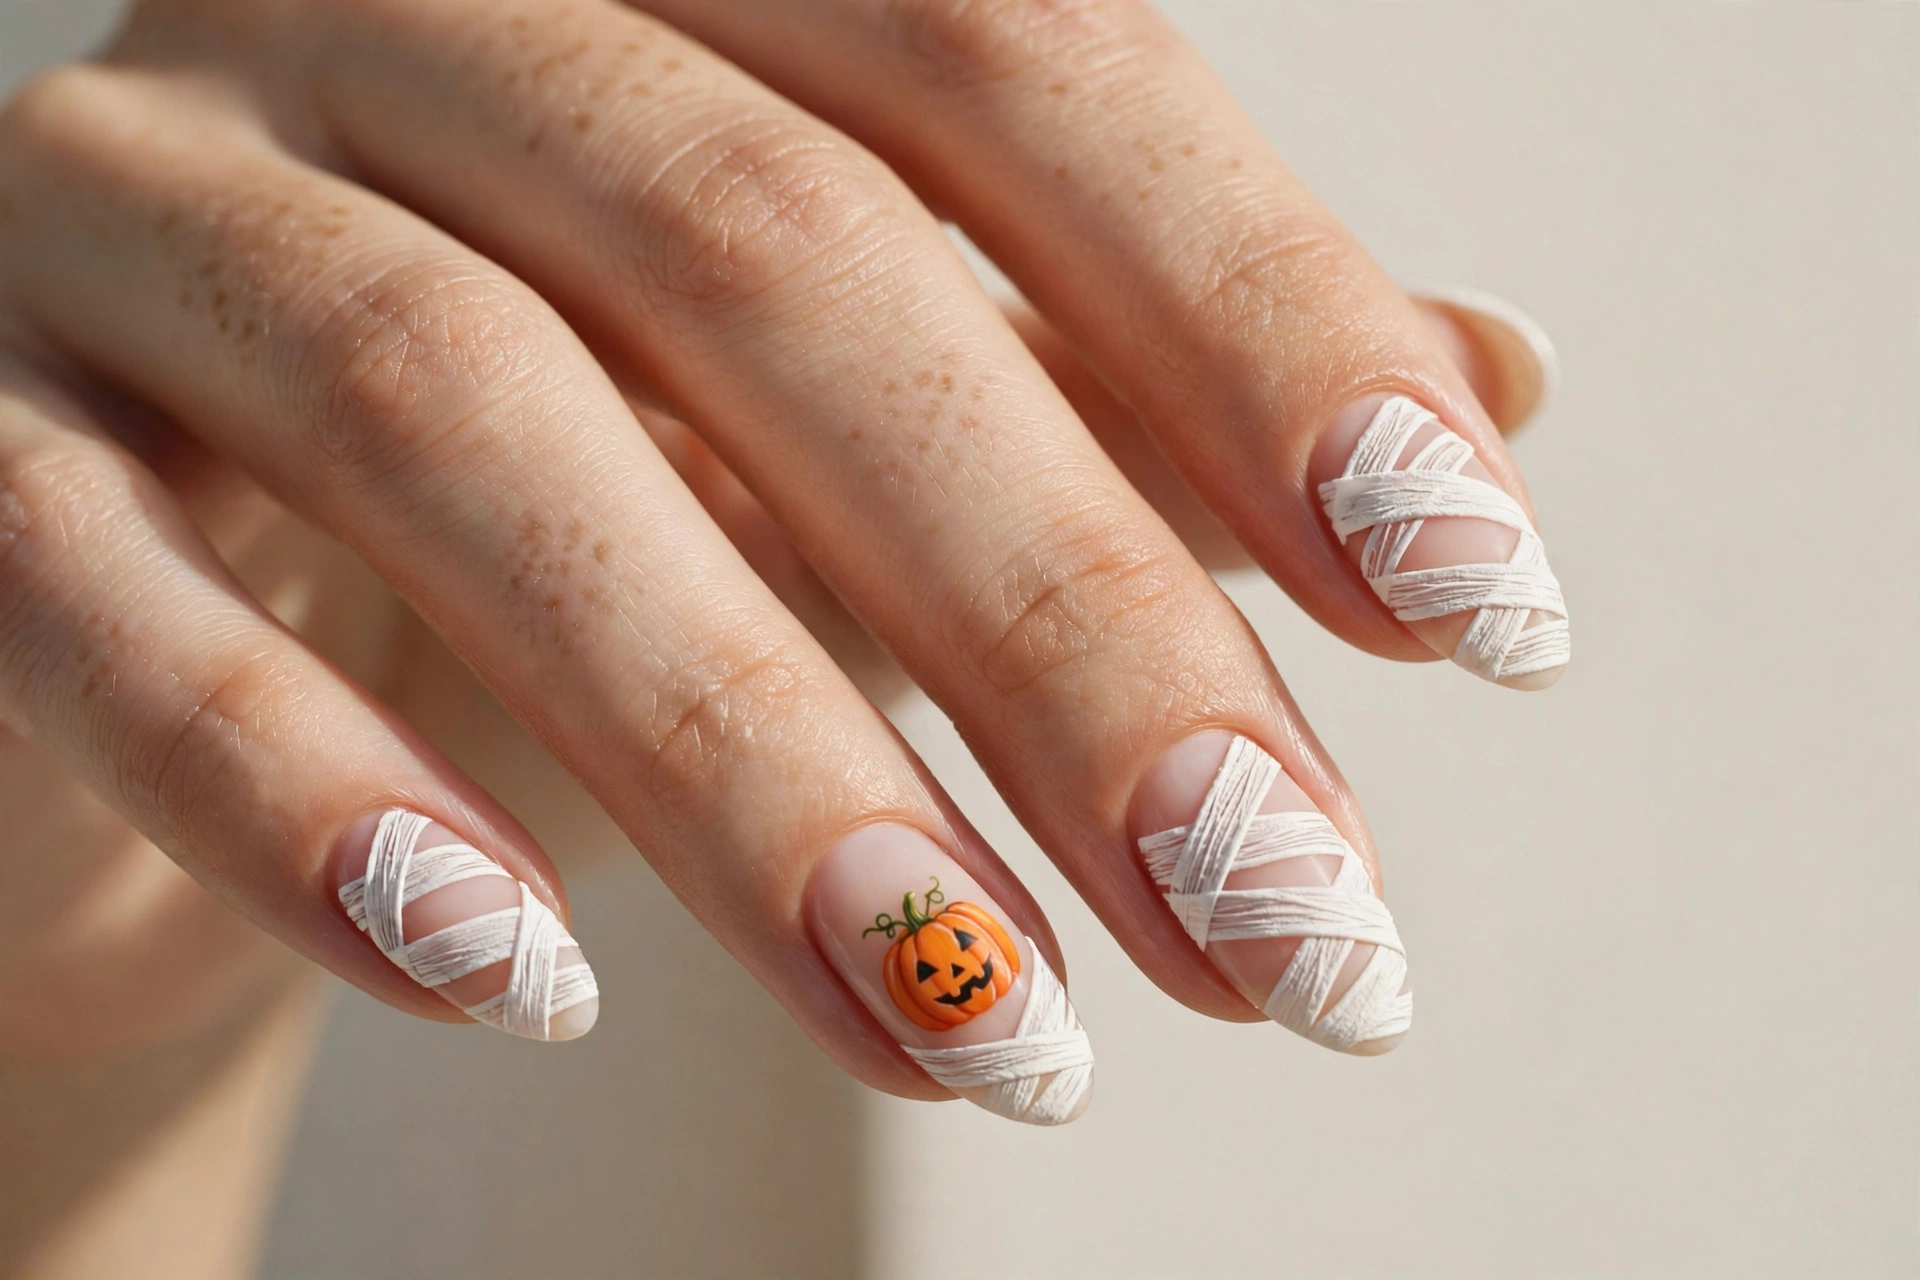
One burnt-orange pumpkin accent nail among white mummy wraps is all the color this palette needs. The single warm pop makes the whole manicure feel festive and autumnal rather than just spooky — it’s Halloween meets harvest. Paint the pumpkin as a simple rounded shape with a tiny brown stem; a few darker orange curved lines suggest the ridges. Keep it on one nail only (ring or middle finger) so the minimalism survives. This is a great transitional design for early October when you’re not ready to go full haunted house yet but want something seasonal.
16. Glossy Thin Wrap Lines
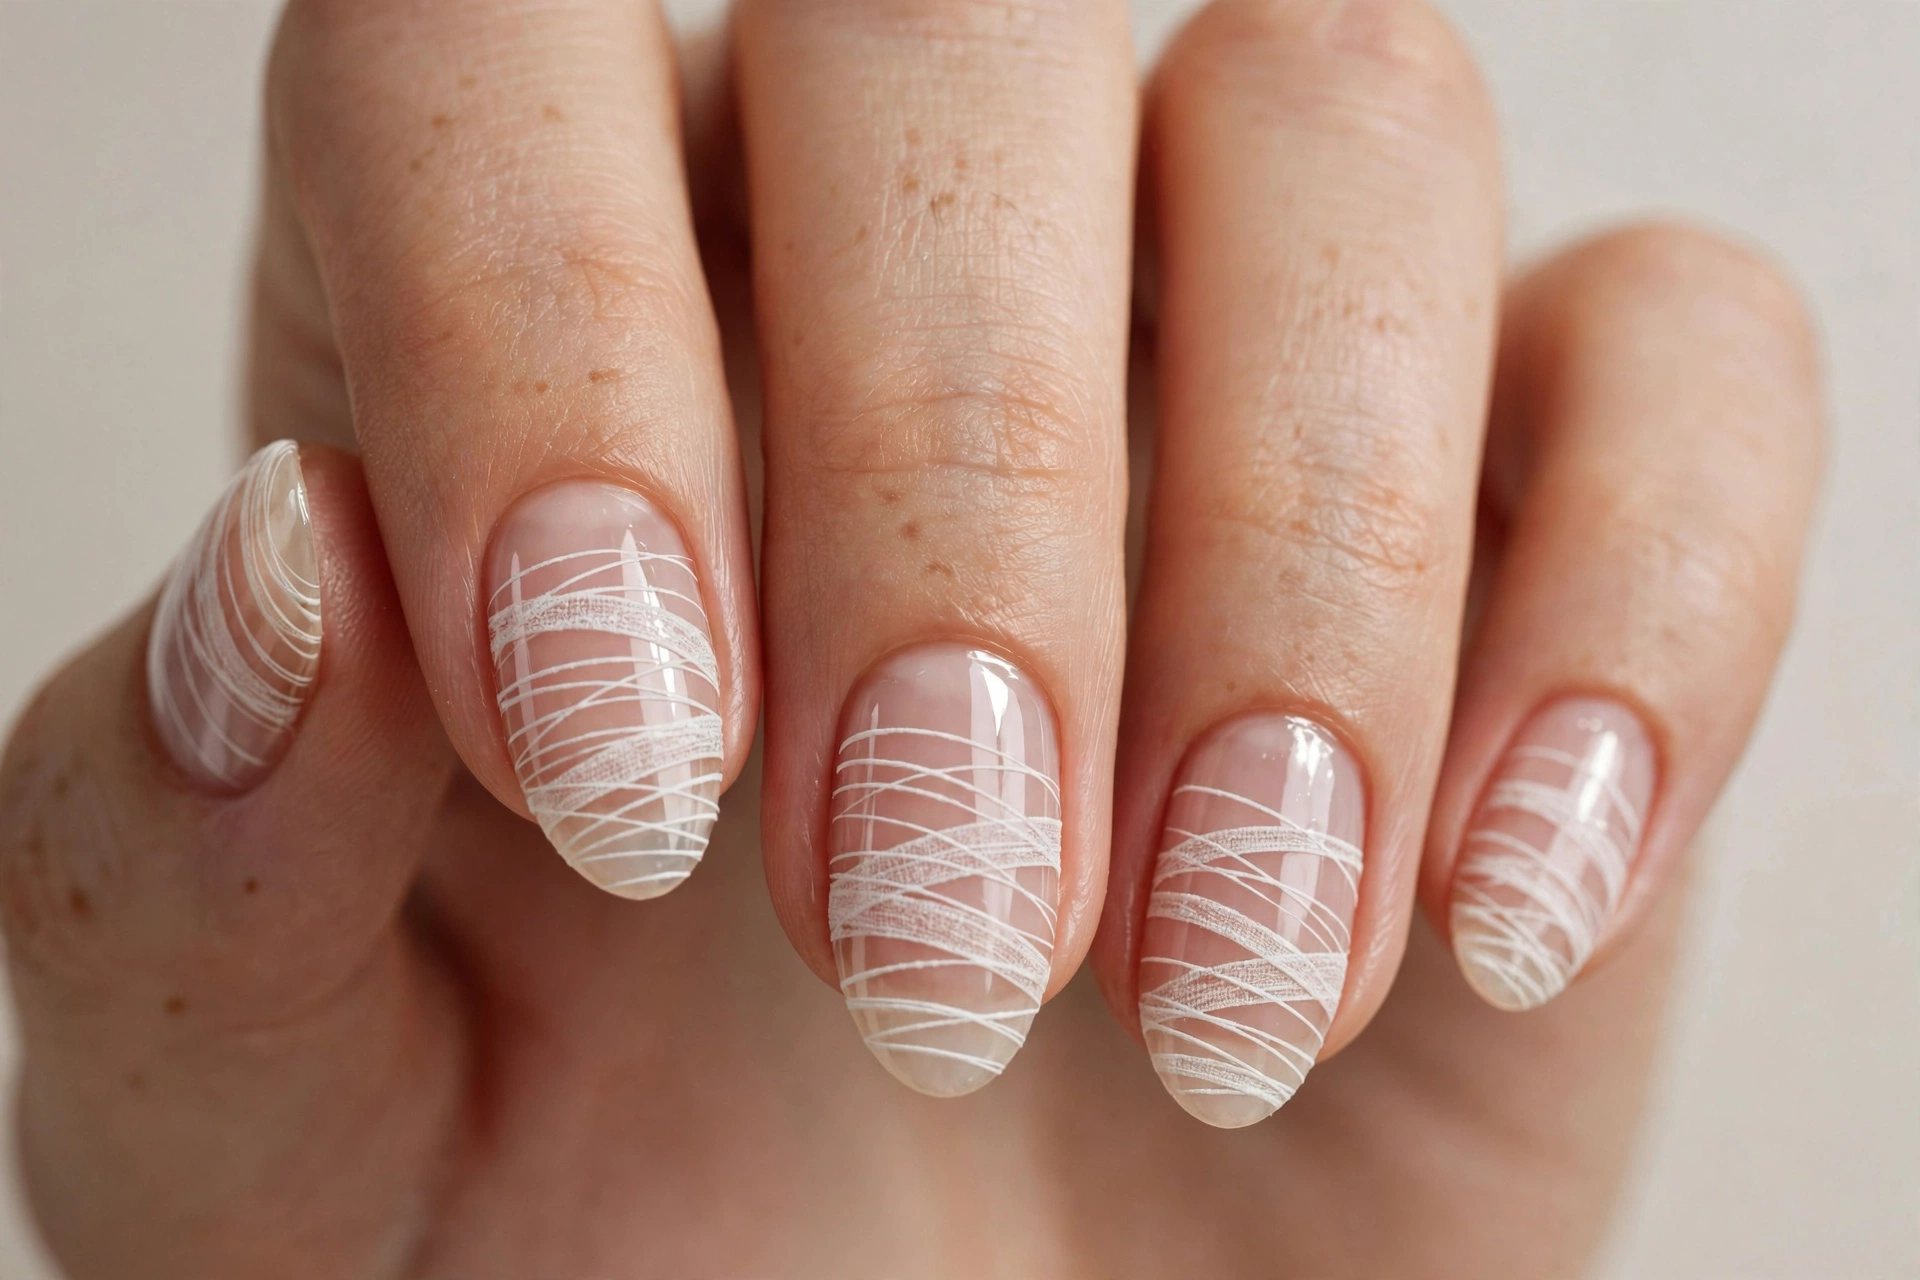
Proof that finish changes everything: the same thin white wraps look completely different under a high-gloss top coat versus matte. Glossy wraps on a nude base look wet, fresh, and almost jewel-like — the stripes catch light like white enamel. This version of mummy nails feels modern and clean, closer to abstract line art than costume makeup. It’s also the most durable option here, since a thick glossy top coat protects the stripes from chipping. If you only try one mummy design this year and want it to last two weeks, make it this one. Two coats of a quality glossy top coat, no shortcuts.
17. Asymmetrical Bandages on Matte Nude
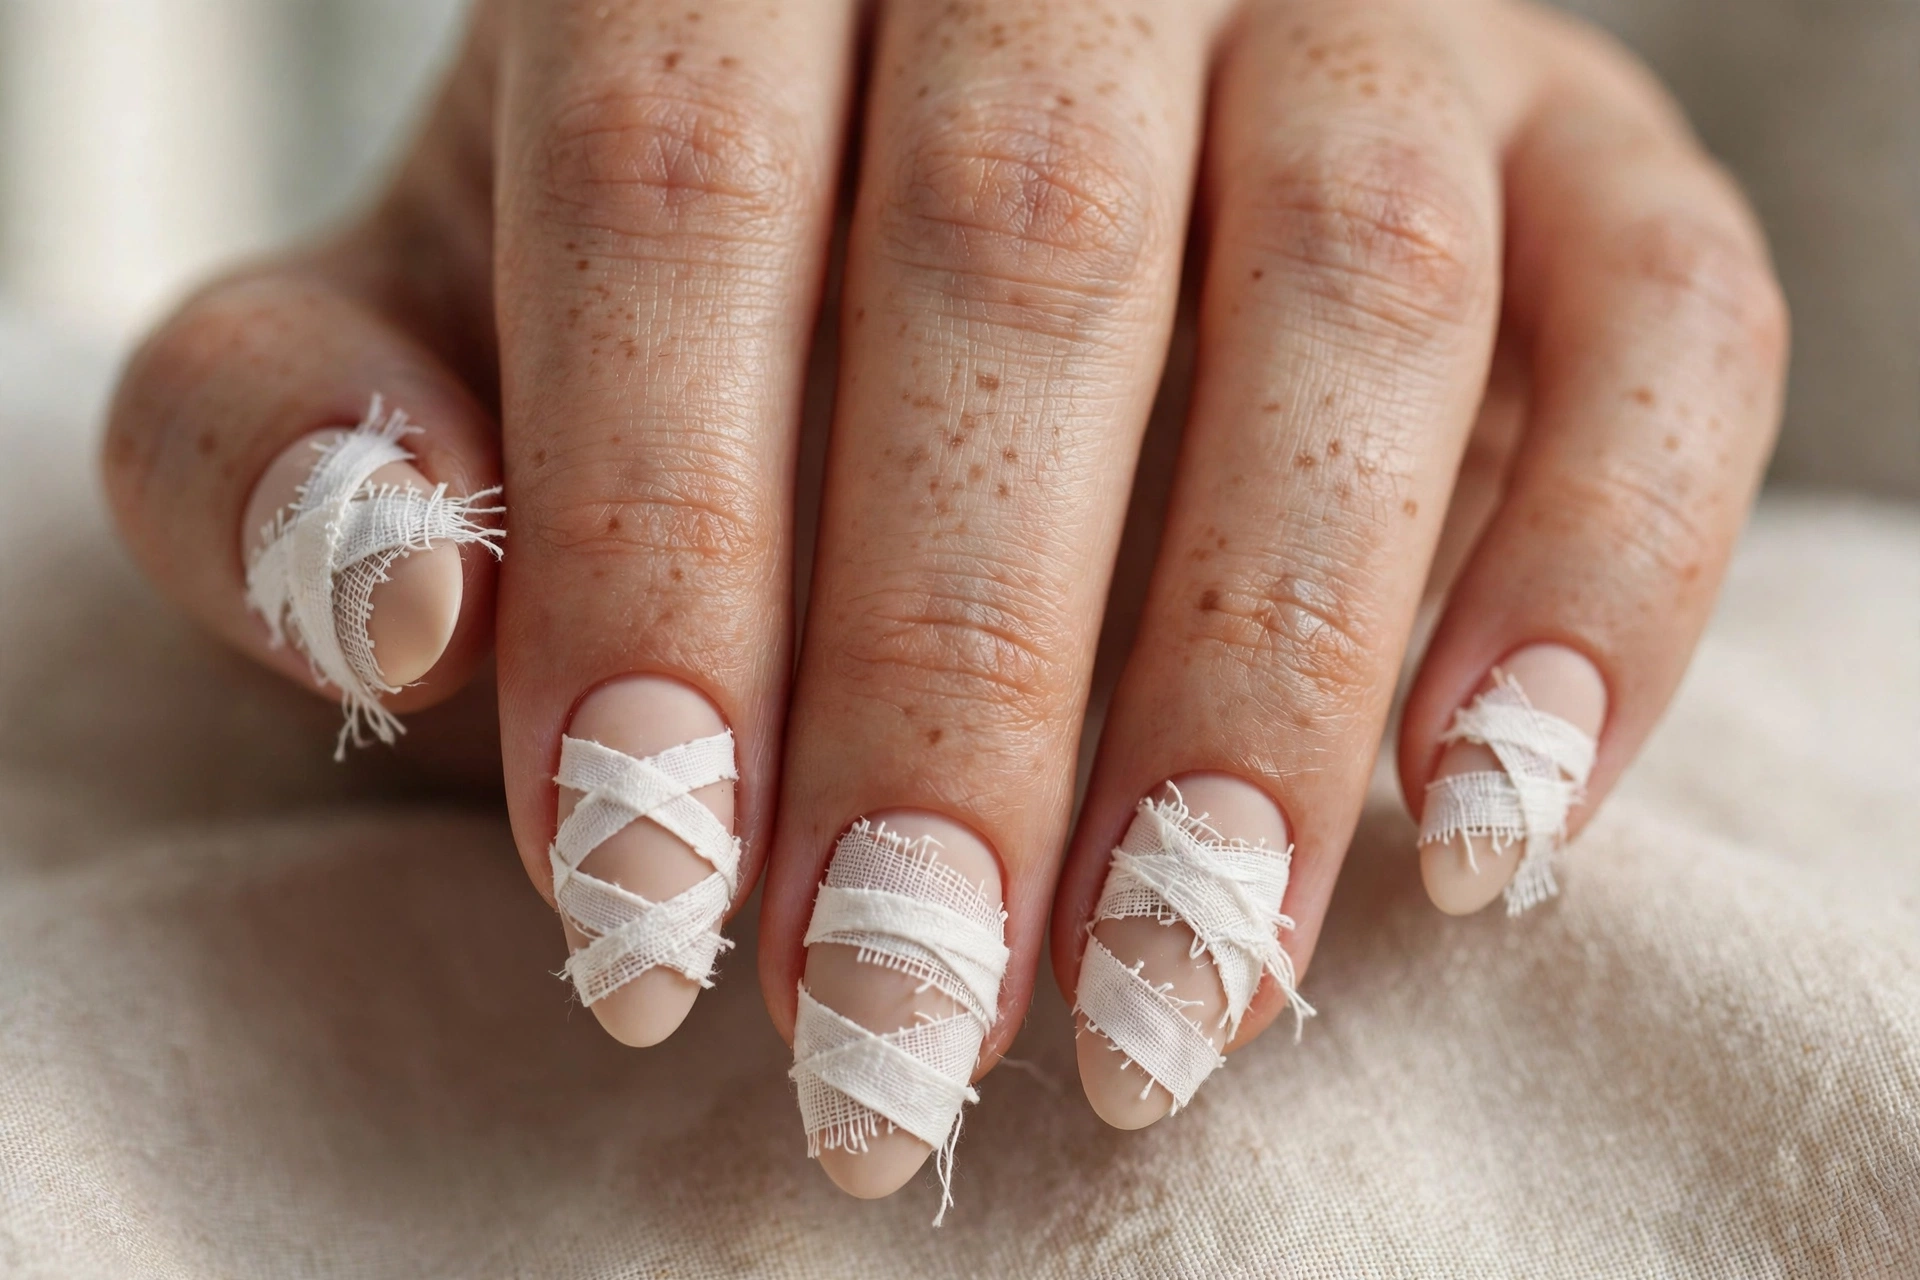
End with the most fashion-forward take: deliberately asymmetrical bandages — different angles, different spacing on every nail — over a matte nude base. The controlled chaos looks editorial, like something from a runway Halloween shoot. The asymmetry is also forgiving for DIYers: since no two nails match, there’s no “wrong” placement. Vary your stripe widths too, mixing hairline stripes with one chunky bandage per hand for visual rhythm. Matte top coat is non-negotiable here; it unifies the mismatched stripes into one cohesive, fabric-like look. Pair with all-black outfits and let your nails do the talking.
How to Make Mummy Nail Art Last
Striped designs show chips faster than solid colors because every nick breaks a line — so prep matters. Always start with a ridge-filling base coat on clean, dry nails, and let each layer dry fully before striping (rushing is the number one cause of smudged wraps). Cap the free edge with every coat, including your top coat, to seal the stripes. For DIY striping, this nail polish kit has the thin brushes and dotting tools these designs need. As an Amazon Associate I earn from qualifying purchases. Reapply top coat every two to three days and wear gloves for dishes — with that routine, your mummy wraps should survive a full two weeks of October.
Final Thoughts
Minimalist mummy nail art proves you don’t need gore to do Halloween well. Seventeen ideas, one shared trick: a few confident lines in the right places. Whether you go classic white-on-nude, glam gold, or full blackout drama, the mummy look is forgiving for beginners and endlessly riffable for pros. Pick your favorite, pour something pumpkin-spiced, and wrap it up — pun fully intended.