15 Easy to Do Nail Art Designs You Can Try at Home
You do not need steady hands or a salon appointment to wear beautiful nail art. With a few basic tools and a little patience, anyone can create a manicure that looks polished and intentional. The designs below are genuinely simple to do at home — most of them need nothing more than polish, a toothpick or bobby pin, and a steady surface to rest your hand on. If you are just getting started, you might also enjoy our roundup of 22 easy nail designs you can actually do at home for even more beginner-friendly ideas. Pick a design that speaks to you, set aside twenty minutes, and enjoy the process.
Why Easy Nail Art Is Worth Trying
There is a special satisfaction that comes from doing your own nails. You save money, you can change your look whenever the mood strikes, and you get better with every attempt. Simple designs are forgiving too — a slightly wobbly dot still reads as charming, and imperfections are nearly invisible from a normal viewing distance. For more low-effort inspiration, browse our 22 simple nail ideas for an effortlessly chic manicure. Now, let us get into the designs themselves.
1. Classic Polka Dot Nails
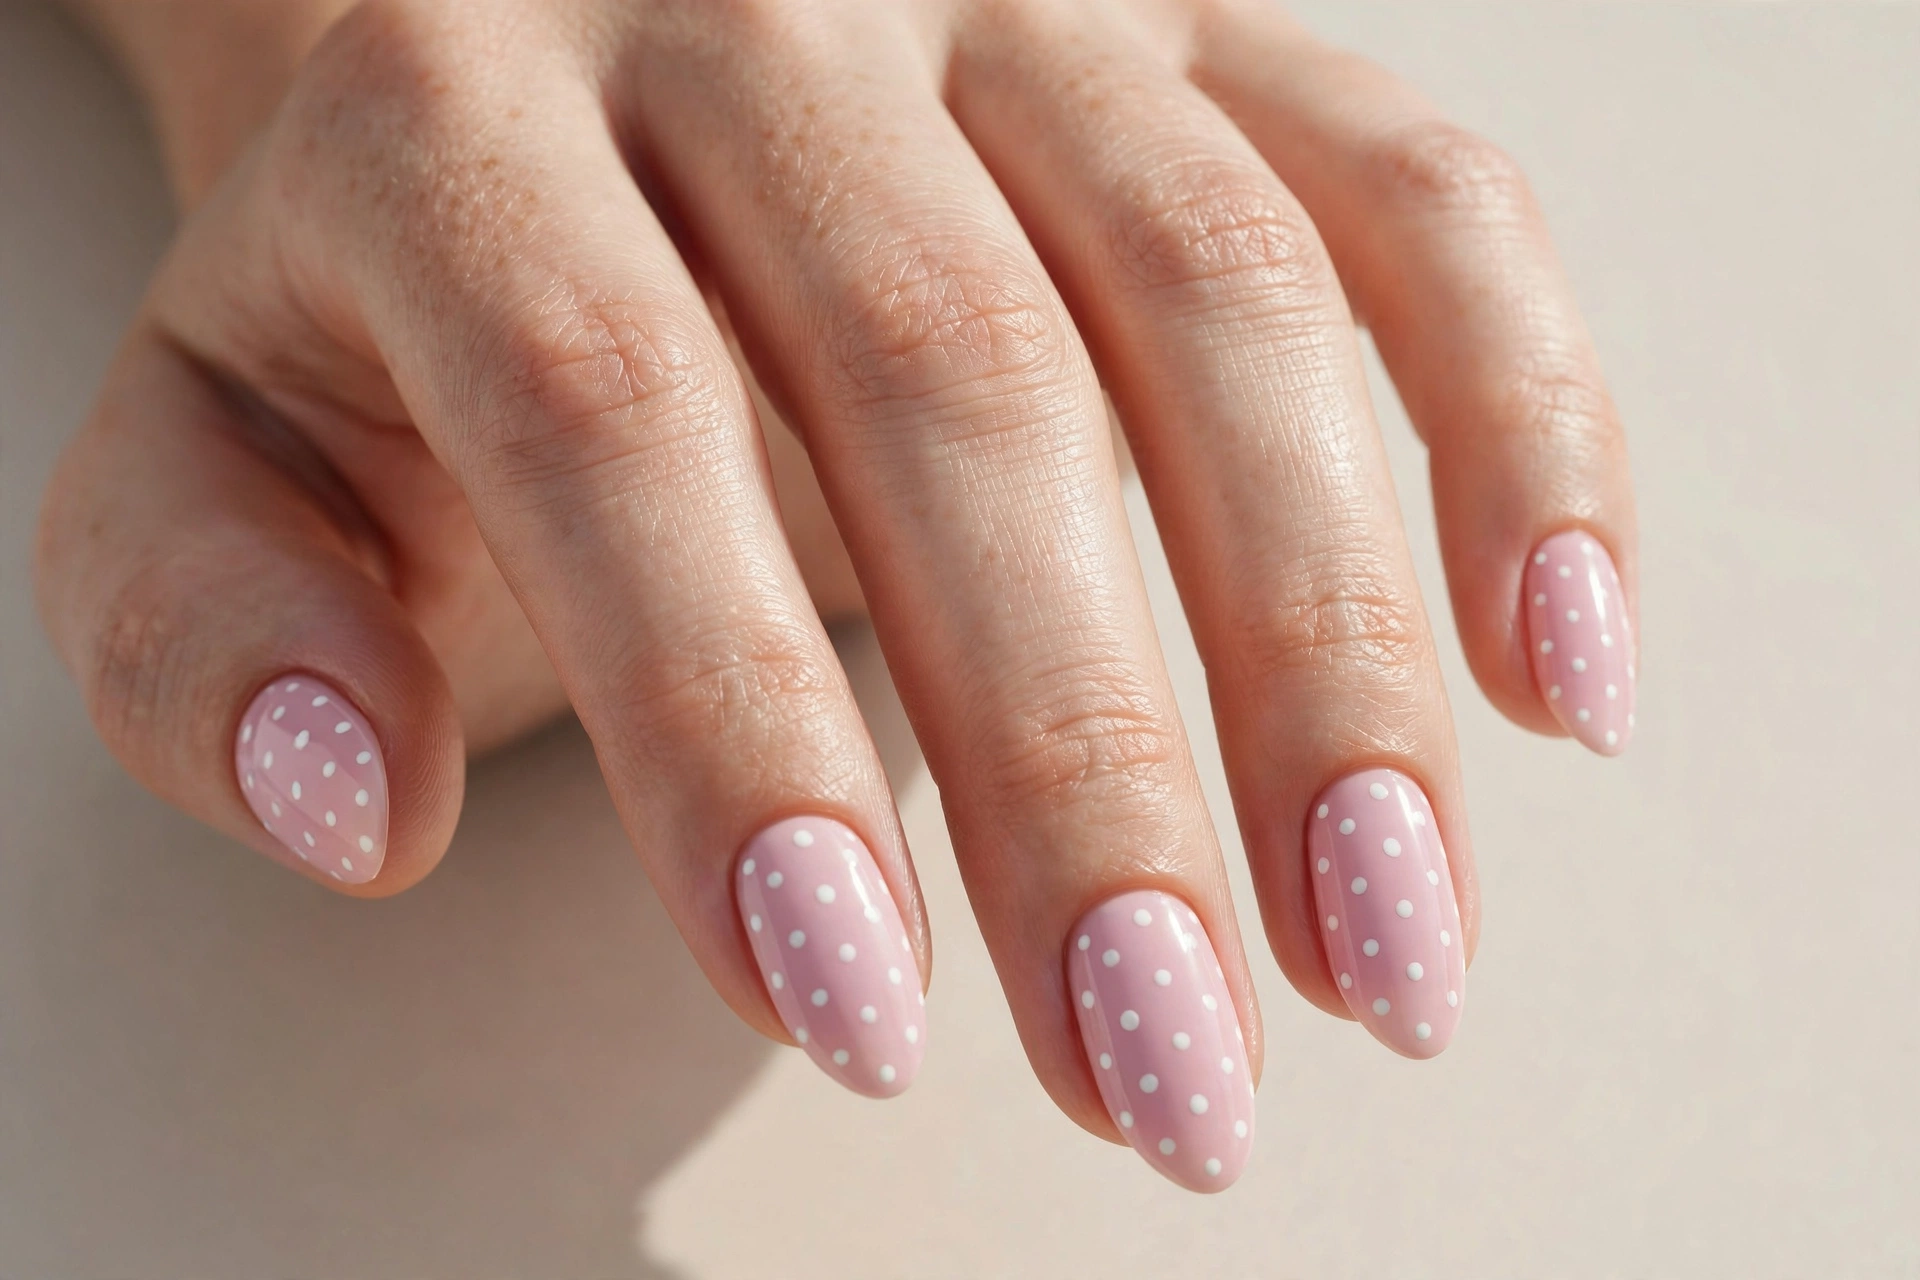
Polka dots are the friendliest design in all of nail art, and they are nearly impossible to mess up. Start with two coats of a pastel pink base and let it dry completely. Then dip the round end of a bobby pin, toothpick, or the tip of an unsharpened pencil into white polish and press it gently onto the nail. This design suits everyone — it works for the office, a brunch date, or a weekend wedding. Vary the dot sizes for a playful look, or keep them uniform and tiny for something more refined. Once the dots dry, seal everything with a glossy top coat and they will look like you spent an hour on them instead of ten minutes.
2. Modern Colored French Tips
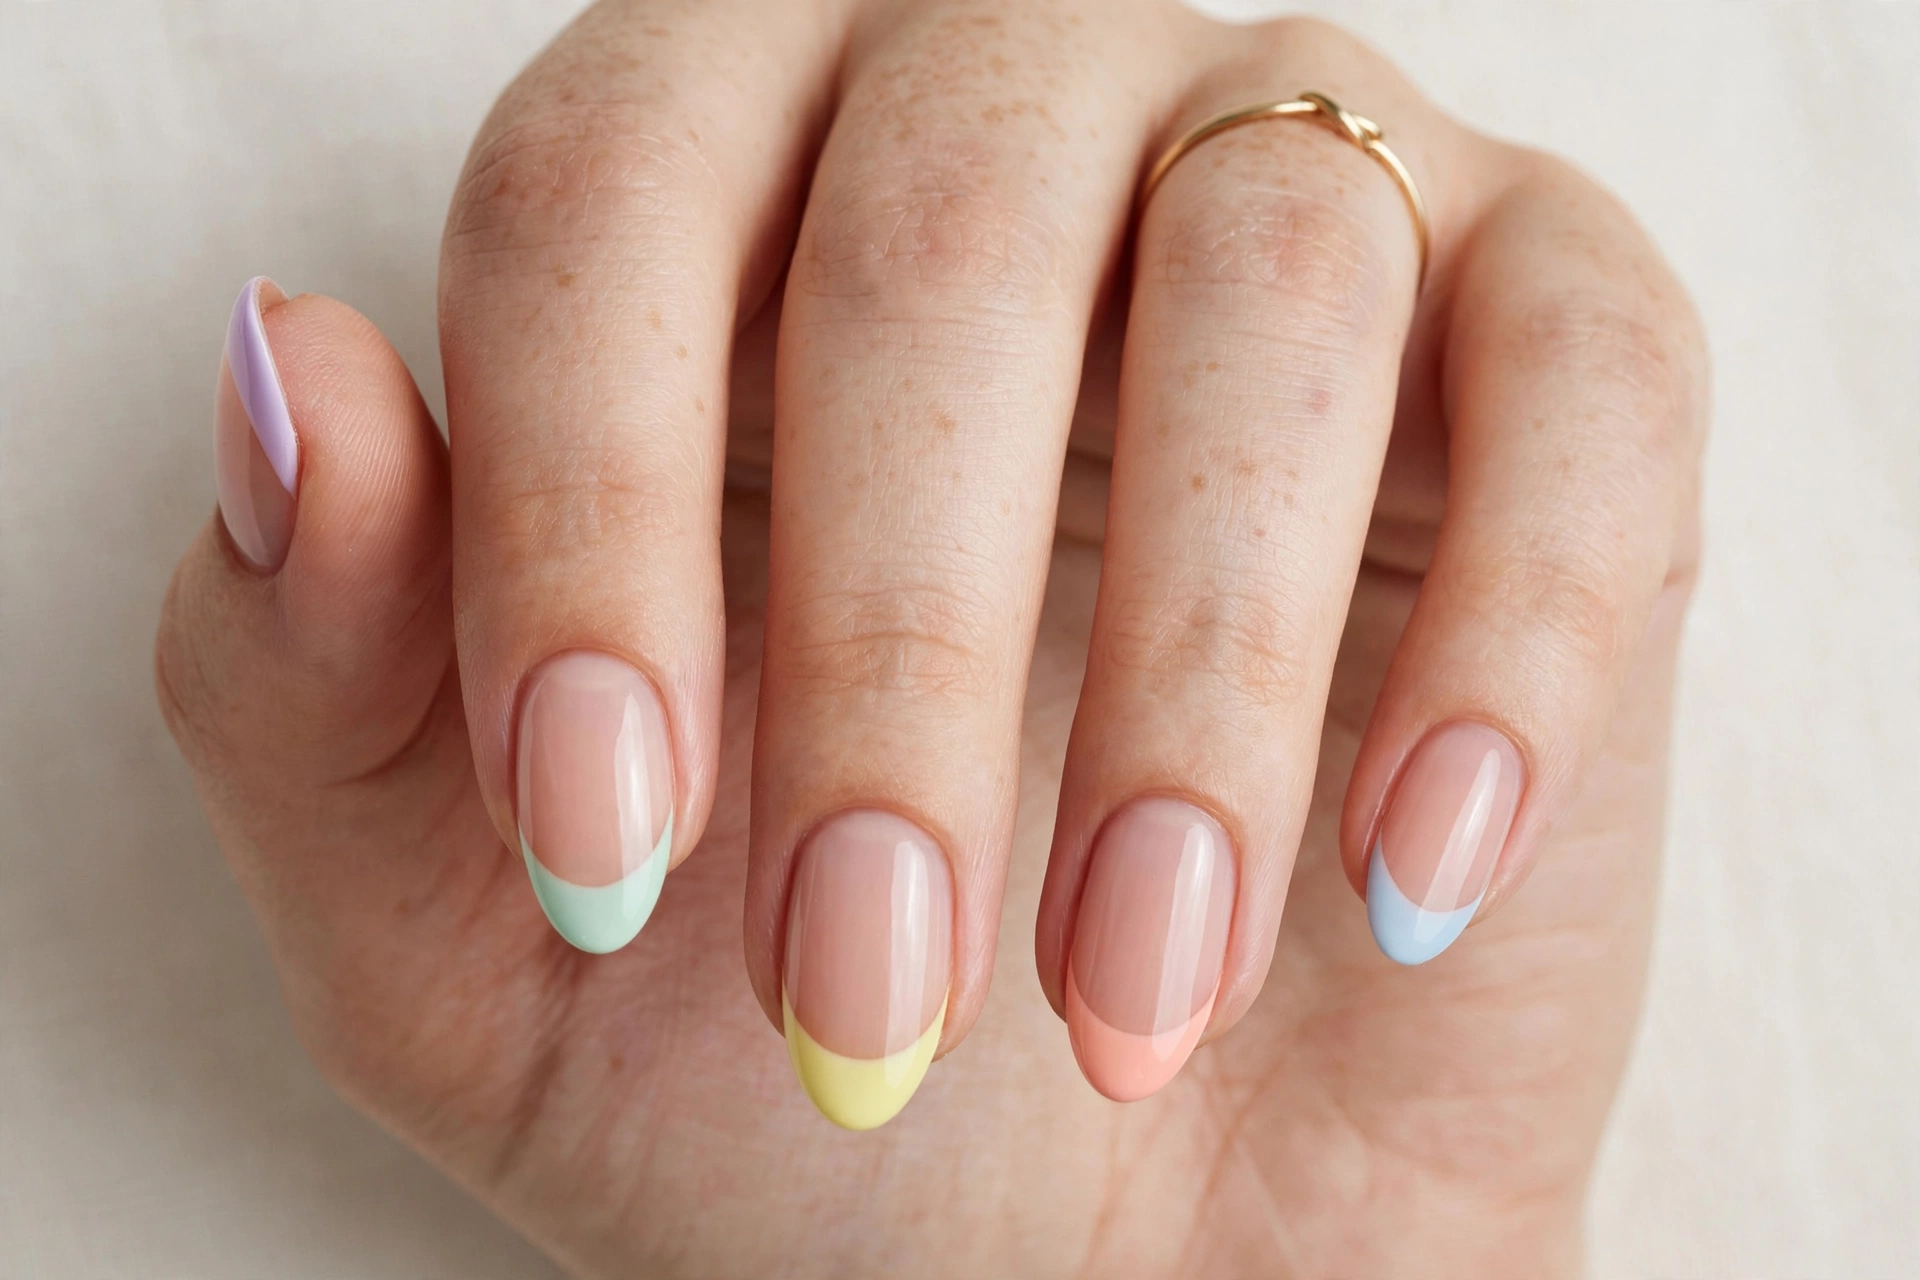
The French manicure gets a fresh update when you swap the traditional white tips for pastel shades. Paint each nail nude or sheer, then brush a colored tip across the free edge using the corner of the brush — the rounded edge of the brush naturally follows the curve of your nail. This look is perfect for anyone who likes classic style with a modern twist. Try lavender, mint, or baby blue tips for spring, or go bolder with coral or teal. Because the tips are the only decorated area, small wobbles are easy to tidy up with a clean-up brush dipped in remover. It is office-appropriate, wedding-friendly, and quietly stylish.
3. Sweet Heart Accent Nail
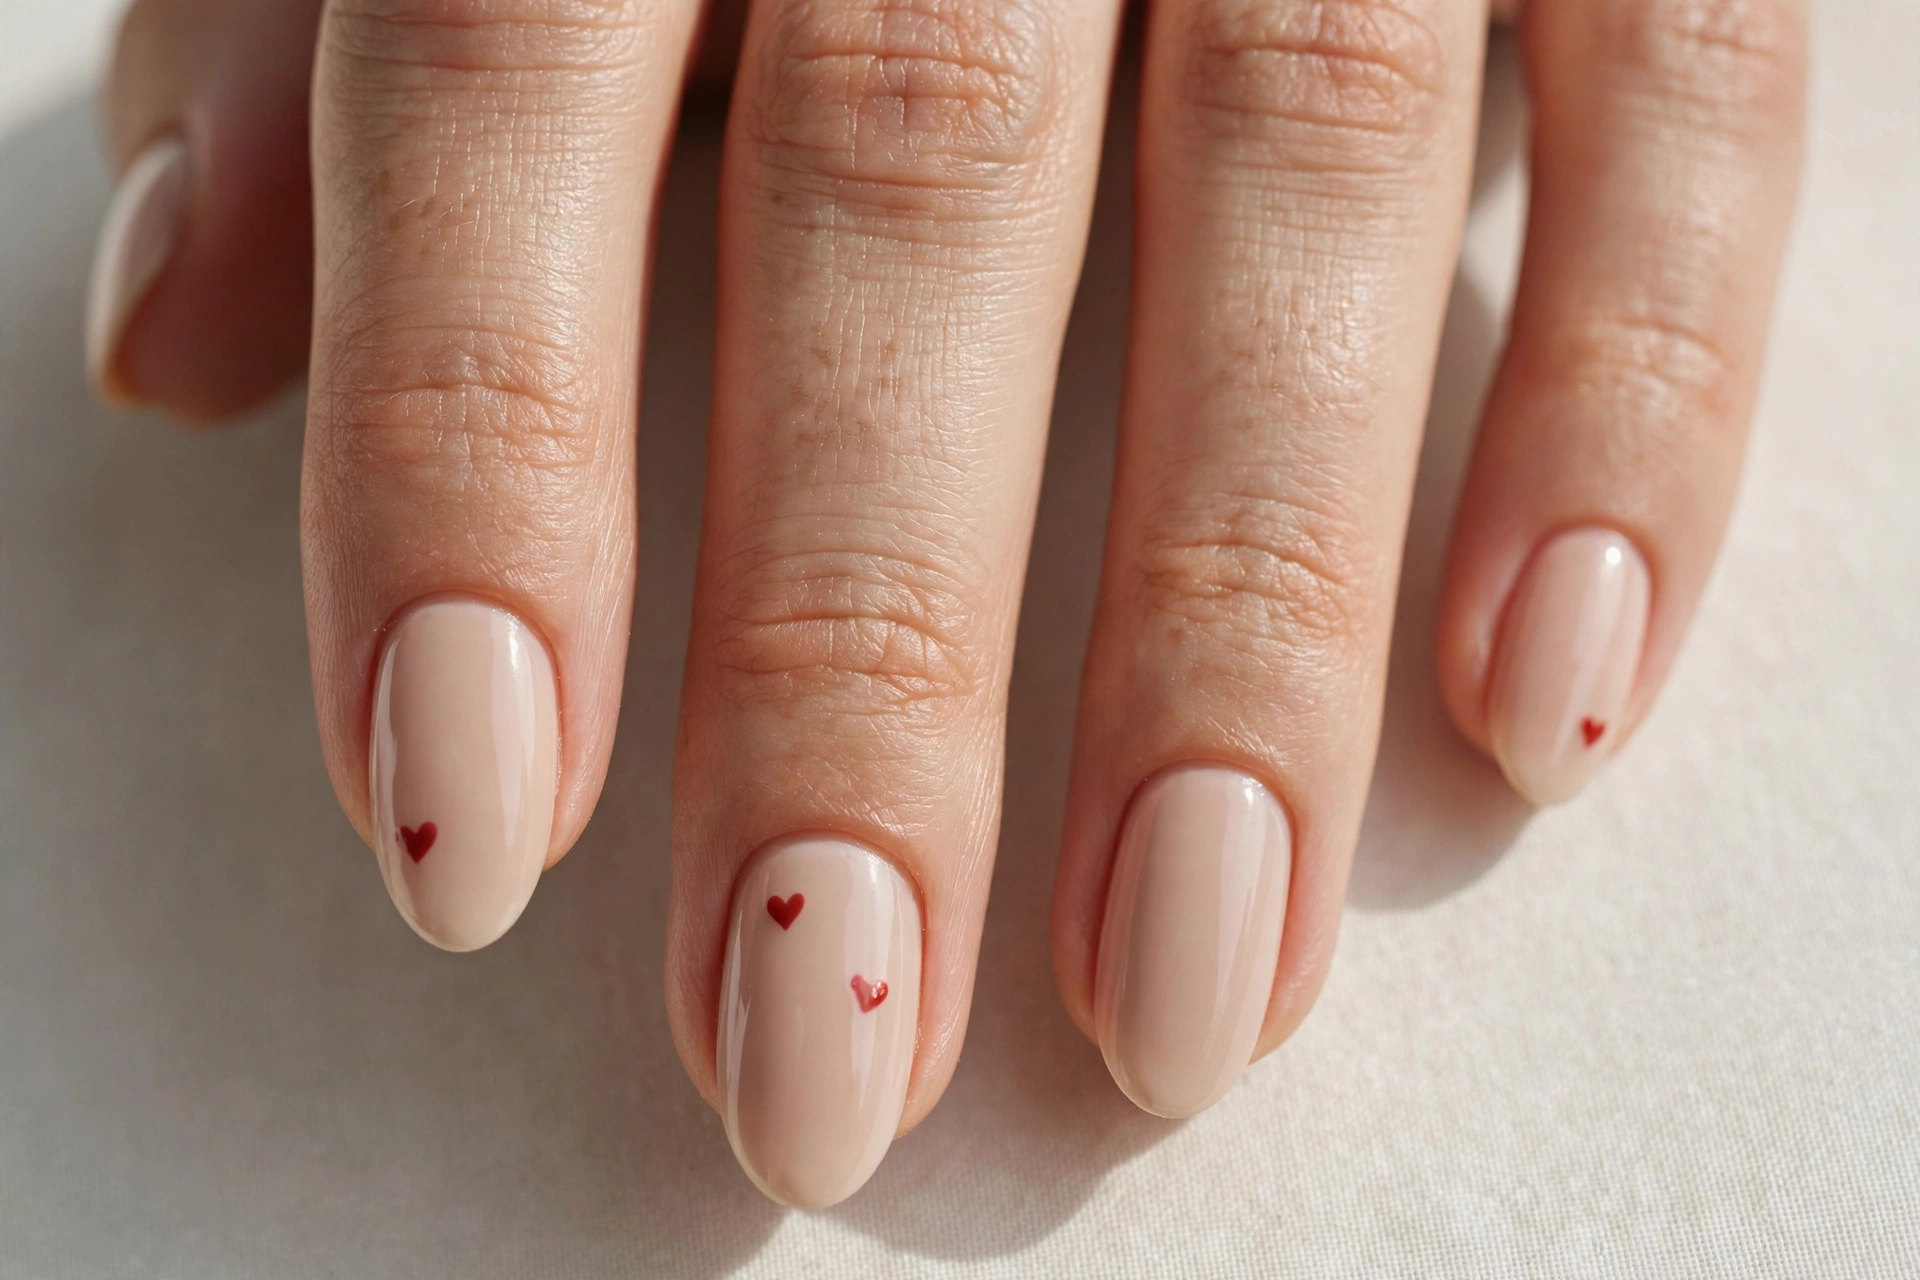
A tiny heart on one or two accent nails adds charm to an otherwise simple manicure without much effort. Paint all your nails a nude or soft pink, then make a heart using two small dots side by side — drag the polish downward with a toothpick to join them into a heart point. This design is ideal for Valentine’s Day, anniversaries, or just because. It suits short nails beautifully since the design is small by nature. If freehand hearts feel intimidating, use a heart-shaped nail sticker on the accent nail and paint around it, then peel it away. The result looks sweet and deliberate every time.
4. Elegant Half-Moon Manicure
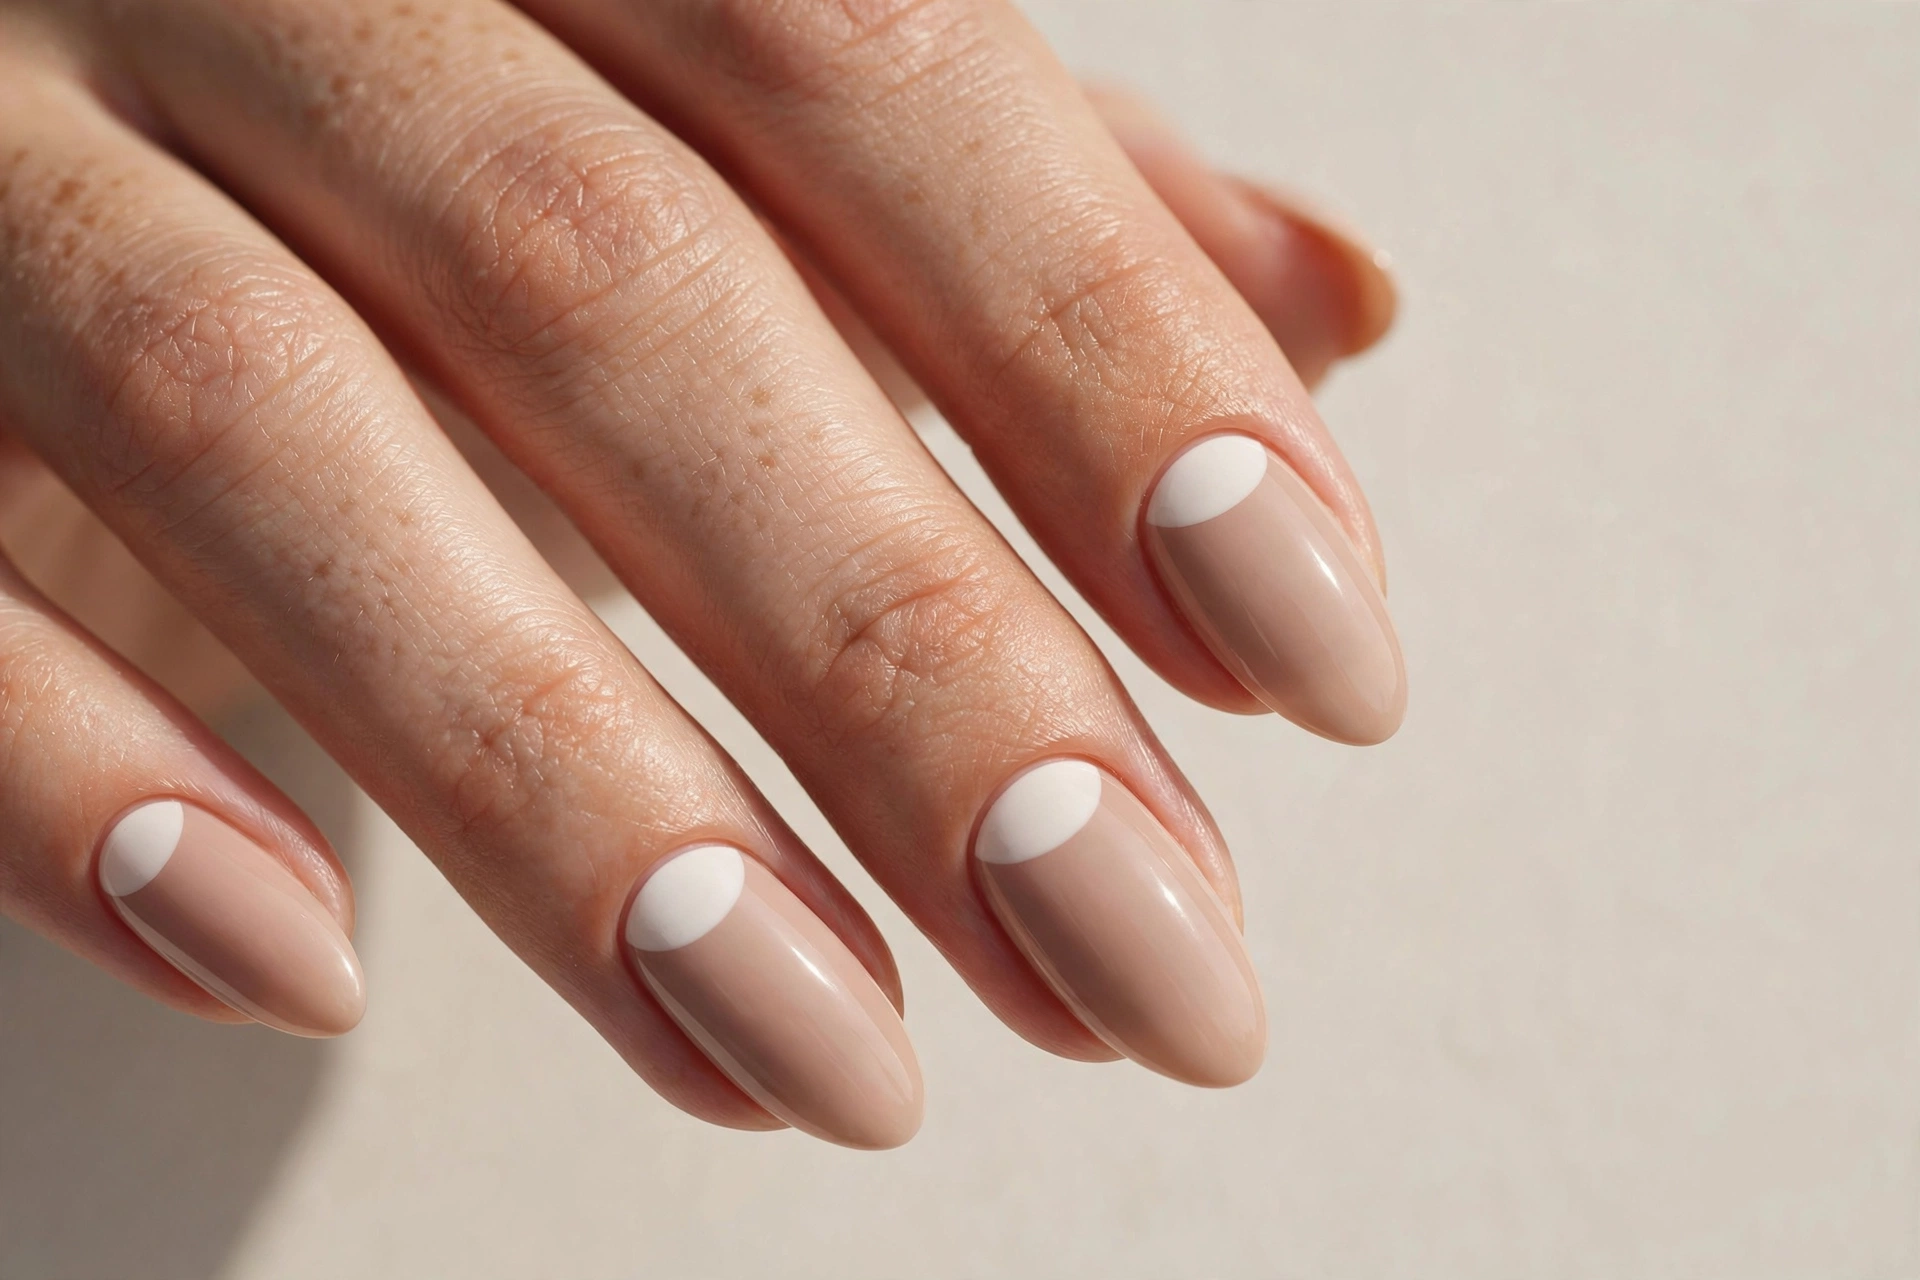
The half-moon manicure flips the French tip upside down, placing the color at the base of the nail. The easiest method uses hole-reinforcement stickers from an office supply store: place one over each cuticle area, paint your color over the whole nail, and peel the sticker off to reveal a clean half moon. If you love this minimal, vintage-inspired style, check out more creative options in our 25 cute and easy nail designs you can do at home. This design flatters longer nail beds and looks especially elegant in white, gold, or deep red against a nude base. It also grows out gracefully, which makes it a practical choice if you hate frequent touch-ups.
5. Minimalist Gold Line Art
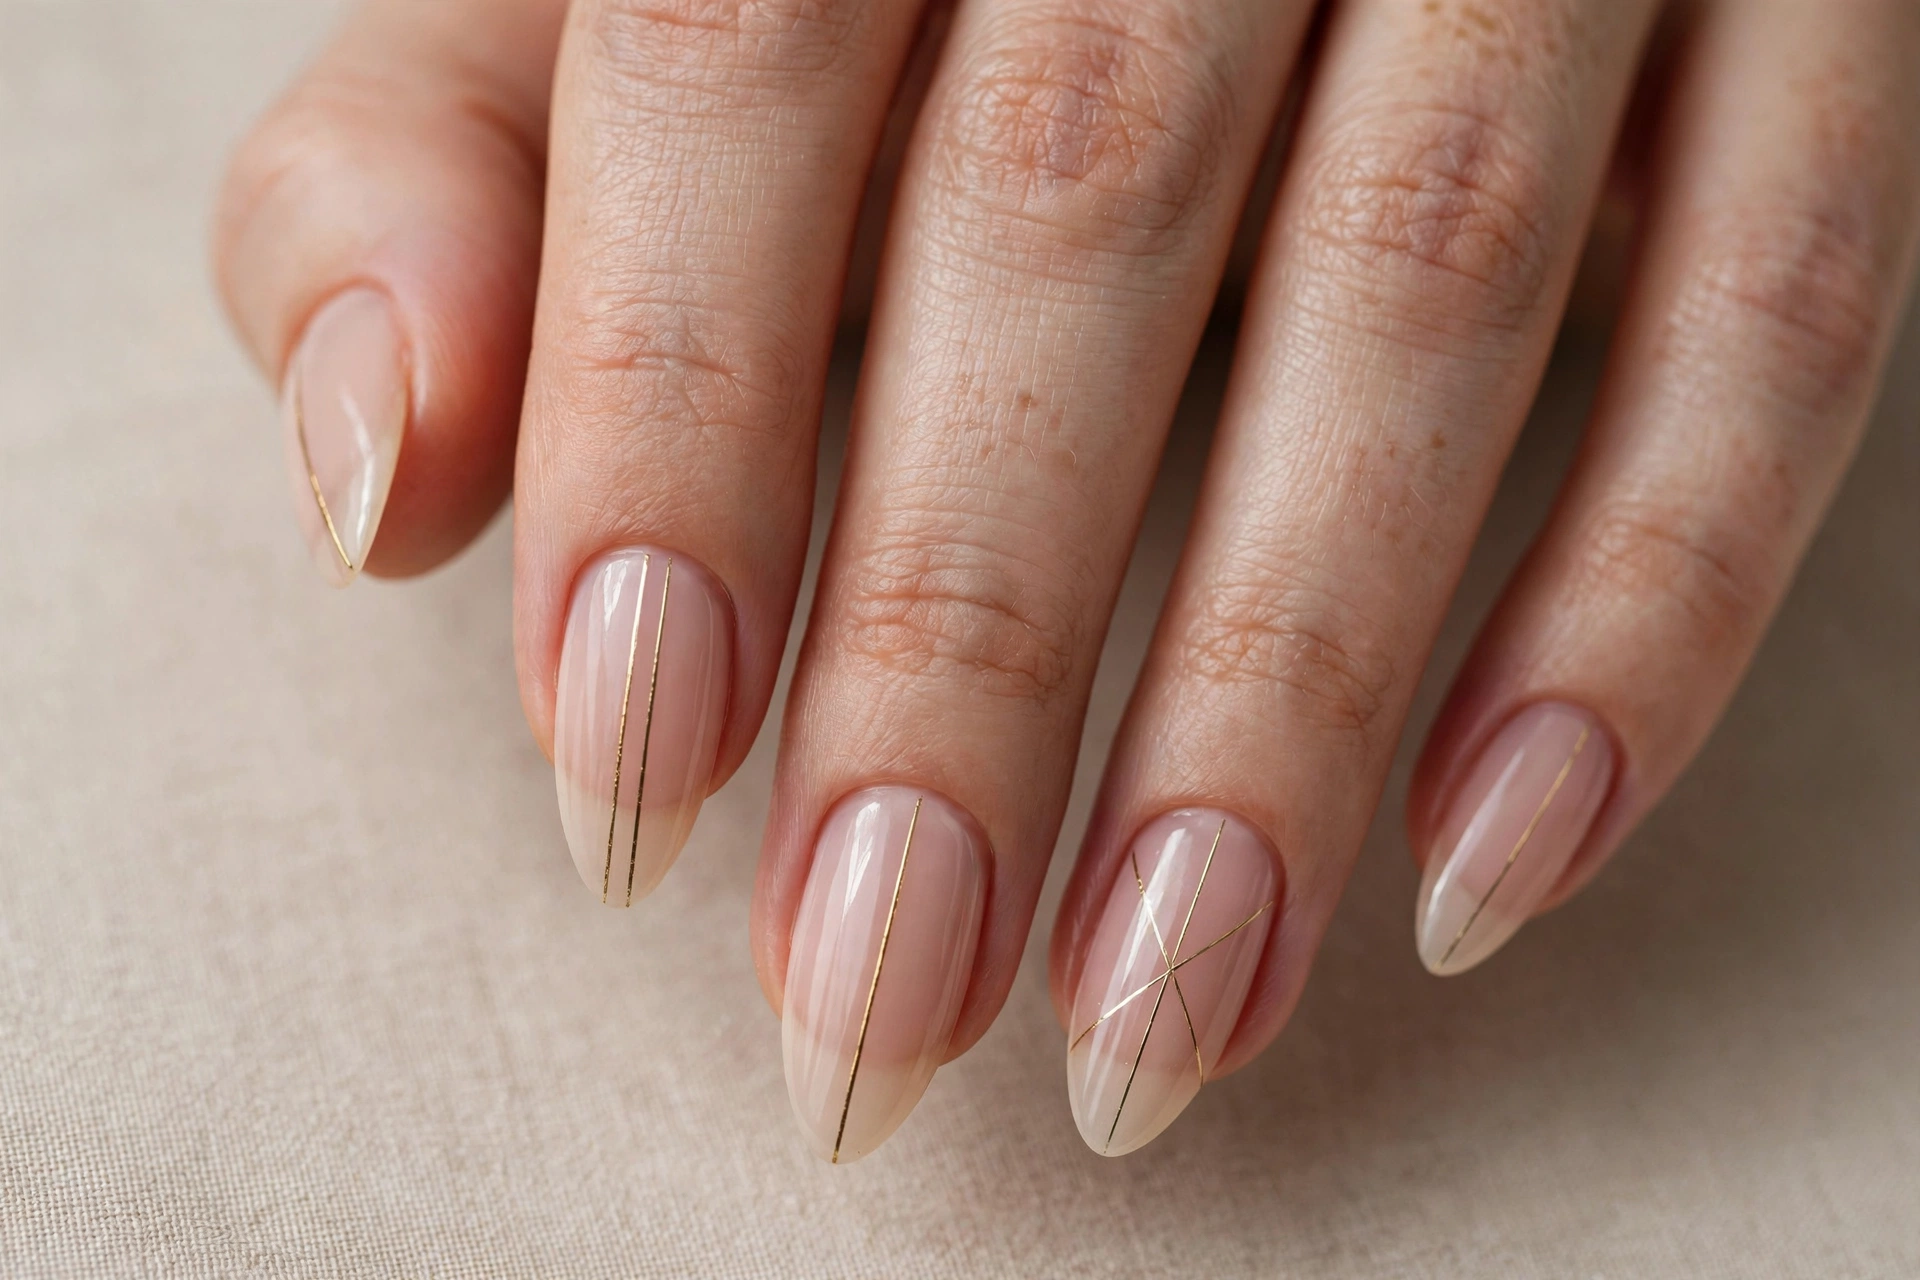
A single thin line running down the center of the nail looks like something from a high-end salon, yet it takes seconds per nail. After your base color dries, drag a thin striper brush or the edge of a piece of tape in a straight line from cuticle to tip. Gold over nude is a timeless combination, but black over white or silver over blush work just as well. This design suits anyone who loves understated style — it pairs with everything and never looks overdone. If your hand shakes, rest your pinky on the table to stabilize it, and remember that you can wipe a fresh line away and retry as many times as you need before it dries.
6. Sponge Ombre Gradient
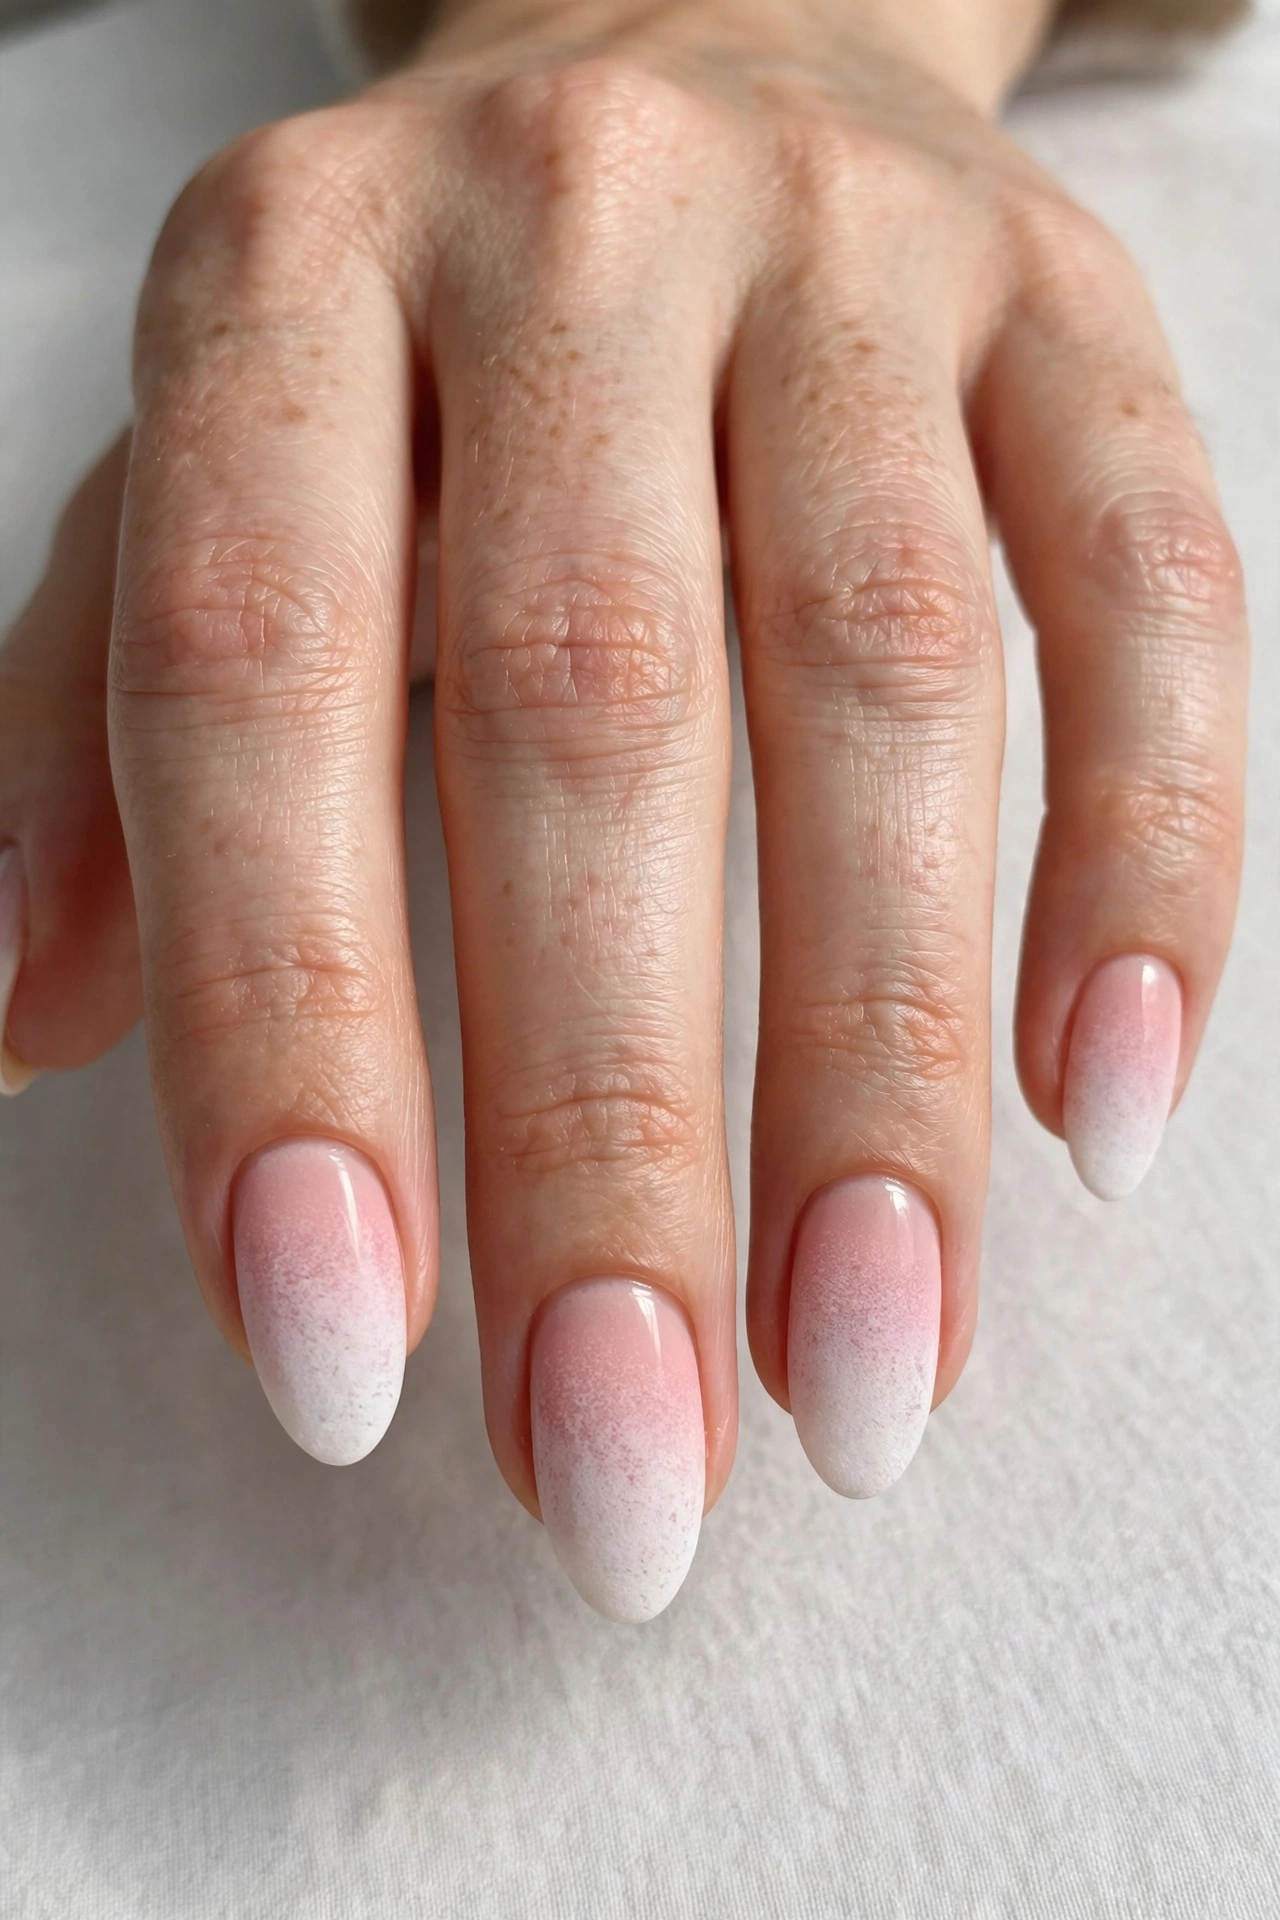
The ombre effect looks advanced but the technique is wonderfully simple: a makeup sponge does all the blending for you. Paint your lightest color as a base, then paint stripes of your two colors onto a damp sponge and dab it onto the nail, repeating until the gradient builds up. Pink fading into white is soft and romantic, but any two related shades work. This design is great for beginners because the sponging hides uneven application. It suits every nail length and every occasion. Clean up the skin around your nails with a small brush dipped in remover, add top coat, and nobody will guess a sponge was involved.
7. Glitter Accent Nail
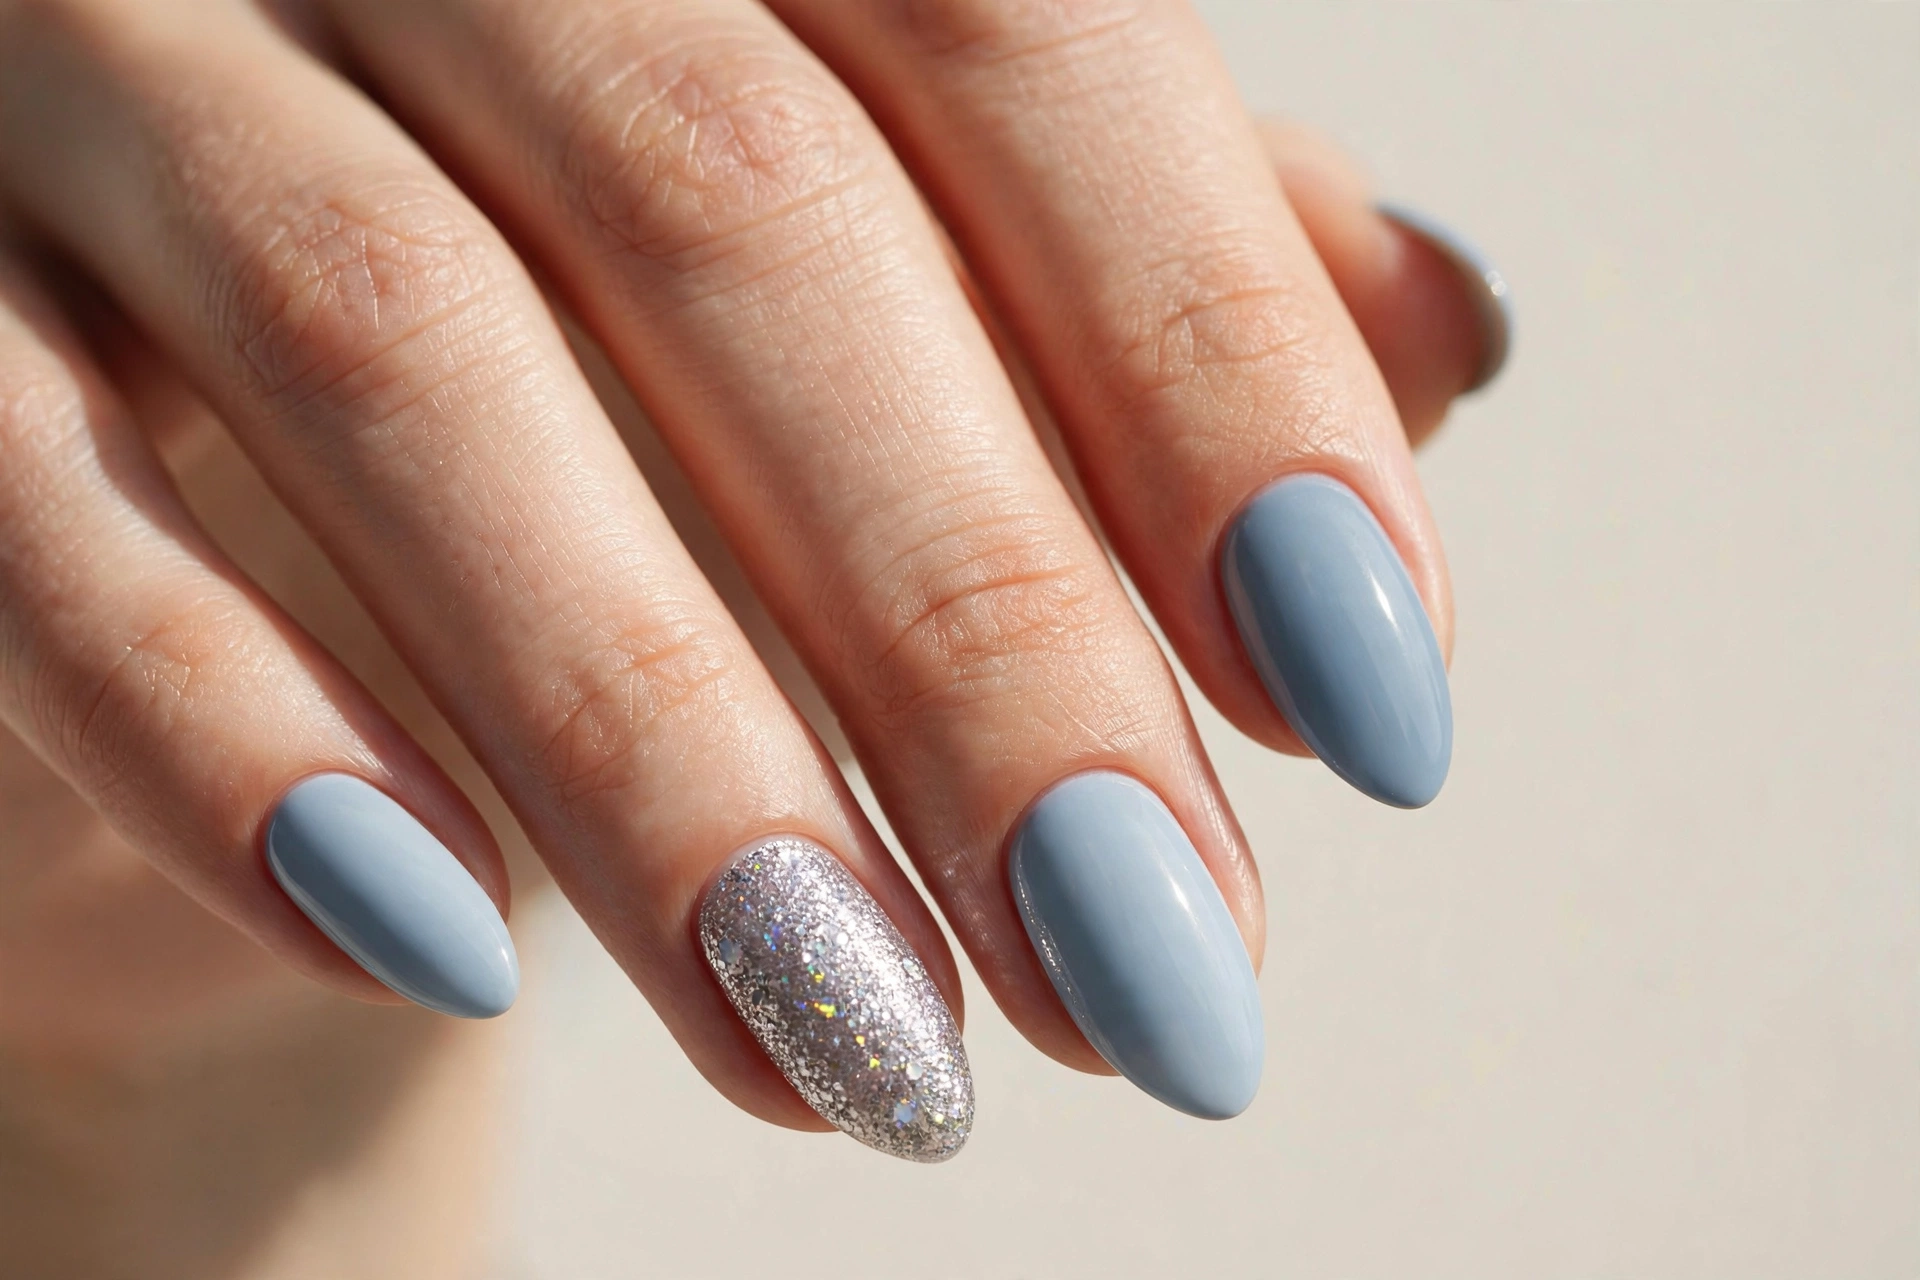
If you can paint a nail one solid color, you can do this design. Paint all nails a solid shade — soft blue, blush, or nude — then paint your ring finger with a glitter polish, adding a second coat for full sparkle. This is the ultimate low-effort, high-reward design and it is perfect for parties, holidays, or whenever you want a little shine without committing to a full glitter manicure. It suits short nails especially well since the sparkle draws the eye. Choose a fine glitter for an elegant finish or chunky glitter for more drama. One accent nail keeps it tasteful; two feels festive.
8. Simple Daisy Nails
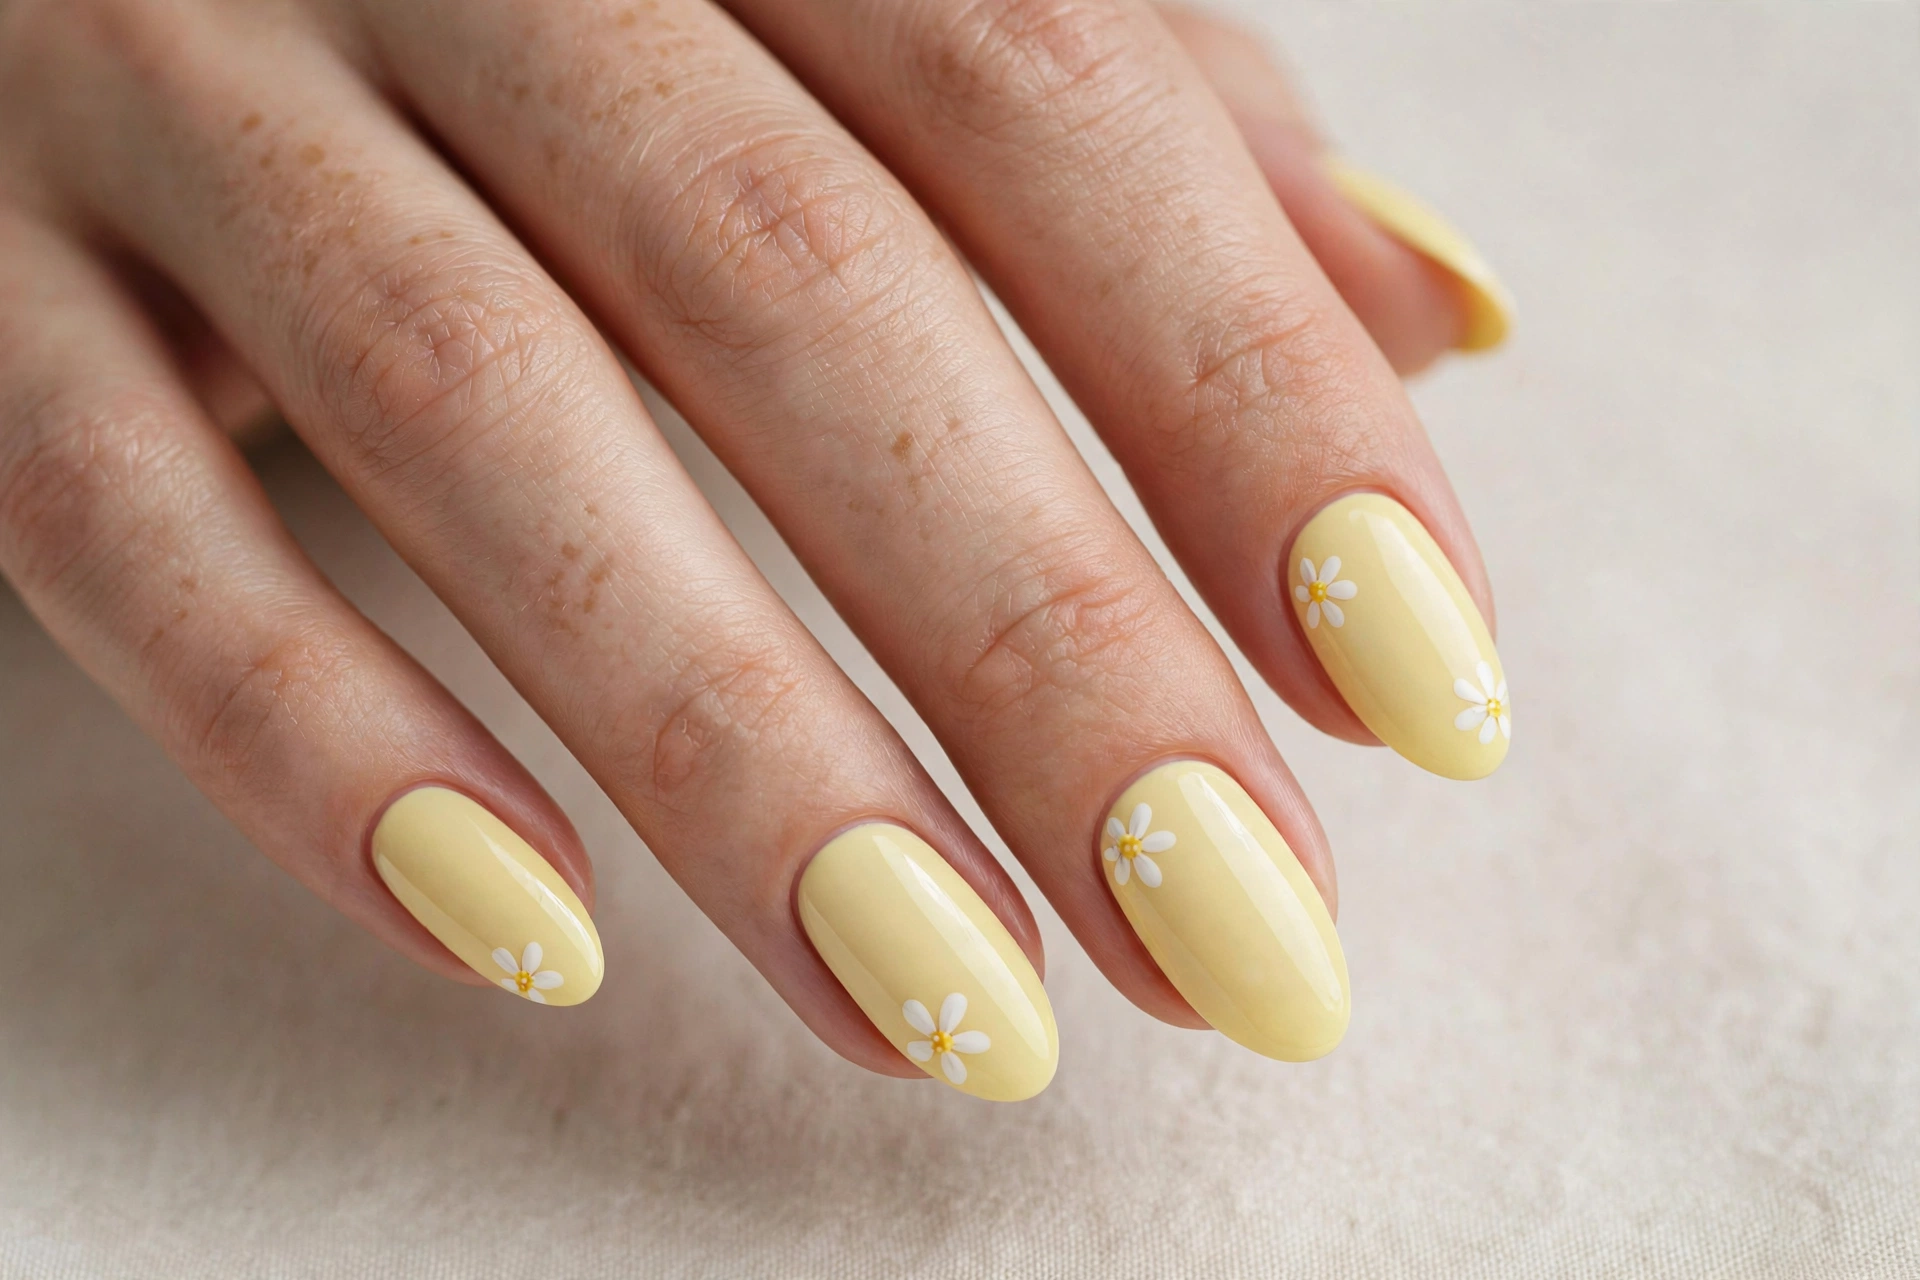
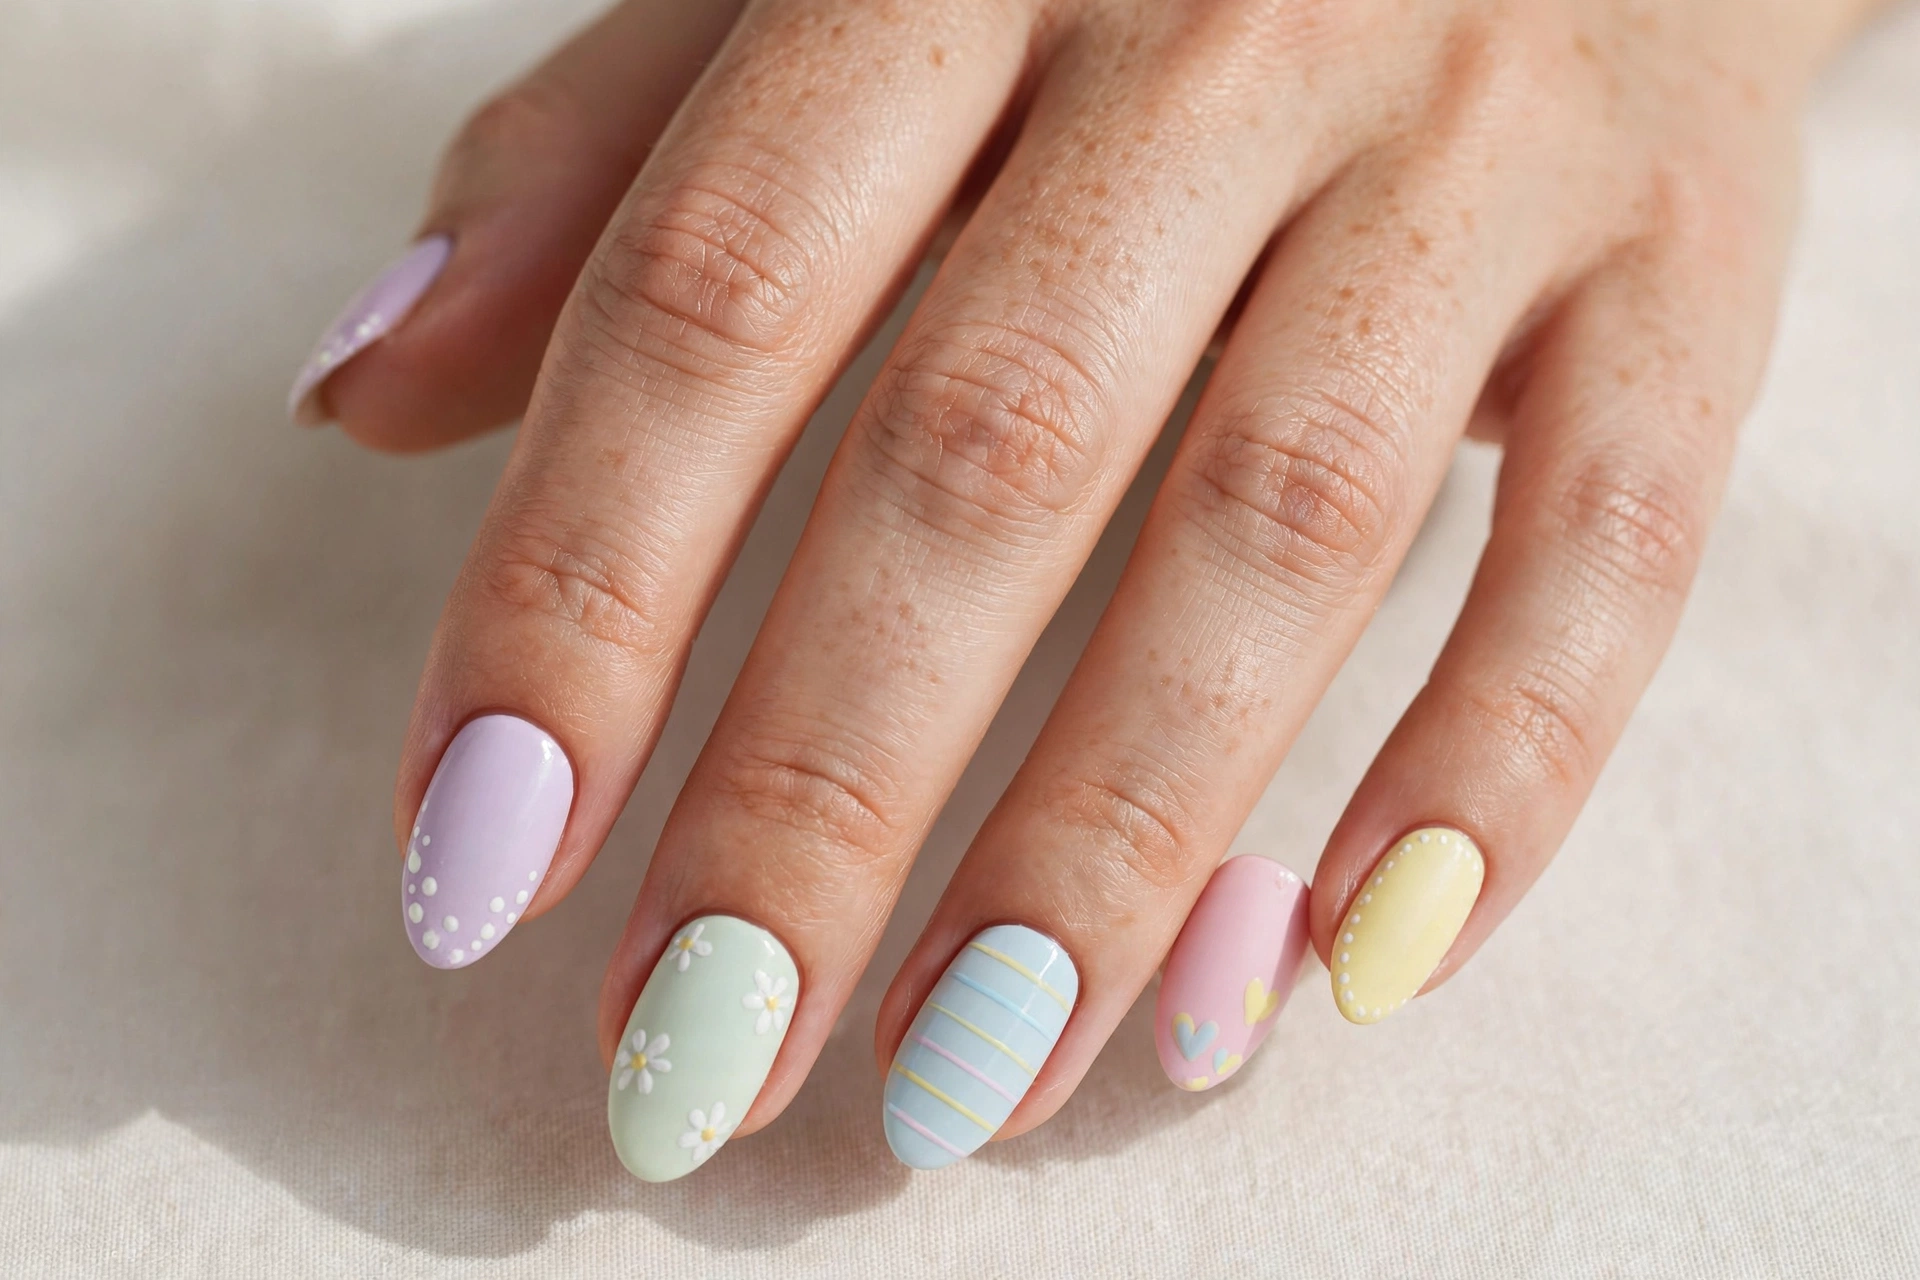
Daisies are one of the easiest flowers to paint because they are just dots arranged in a circle. Start with a pastel yellow or white base. Use a dotting tool or bobby pin to place five white dots in a ring, then add a yellow dot in the center. That is a daisy. Place one or two on each nail, or scatter them across a clear base for a fresh, springtime feel. This design suits cheerful personalities and looks adorable on shorter nails. You do not need artistic training — the charm of daisies is in their simplicity. A top coat smooths everything together and makes the colors pop.
9. Negative Space Geometry
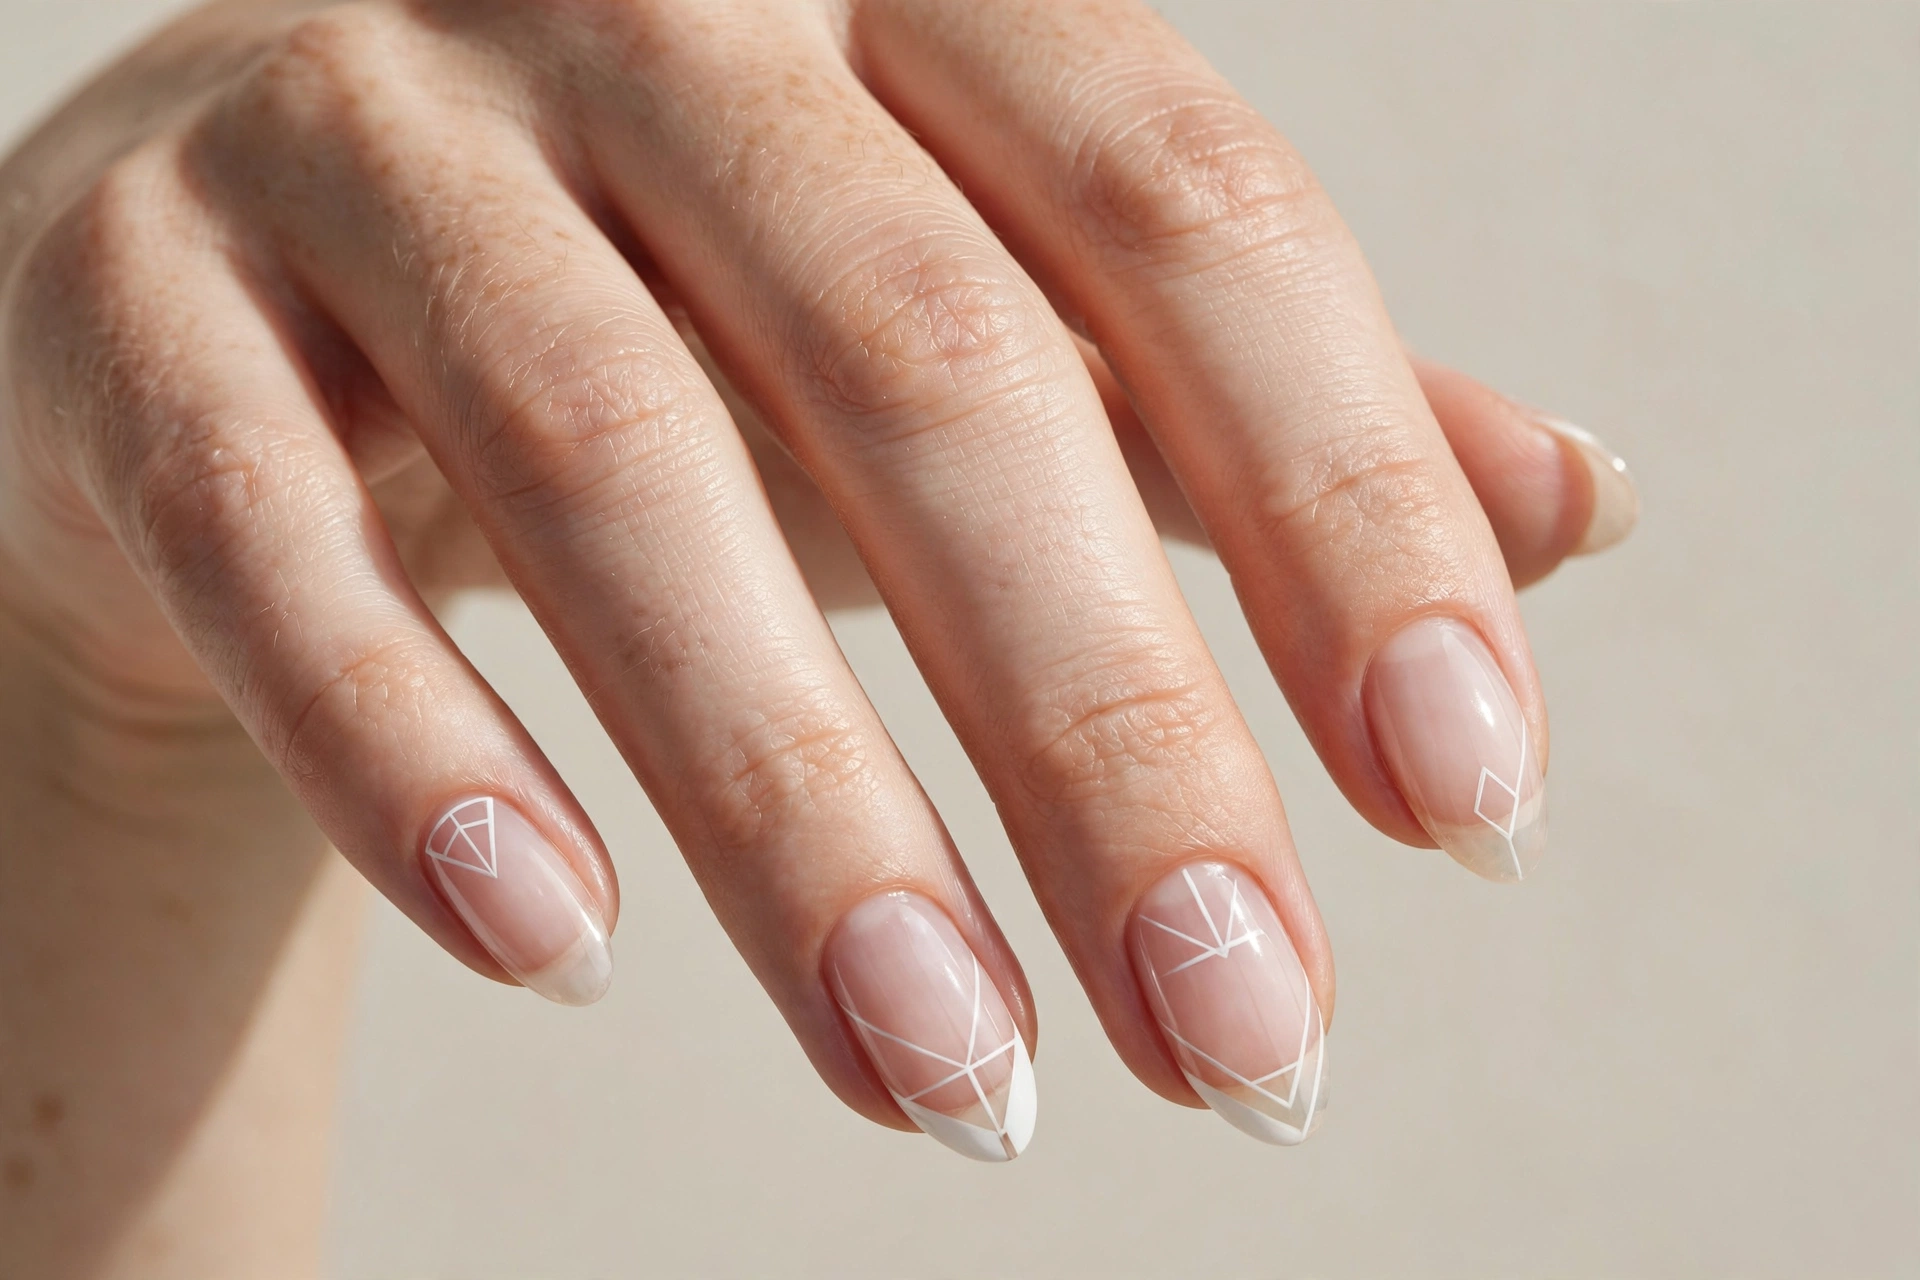
Negative space designs leave parts of your natural nail showing, which means less painting and a modern, airy result. Apply a clear base coat, then use thin strips of nail tape to block off the areas you want to keep bare. Paint over everything with white or your chosen color, let it dry slightly, then peel the tape away to reveal crisp geometric shapes. This design looks striking on medium to long nails and suits anyone who likes clean, contemporary style. The bare sections also mean chips are less visible, so it wears well. Try triangles, diagonal halves, or a simple bare stripe down the middle.
10. Easy Color Block Nails
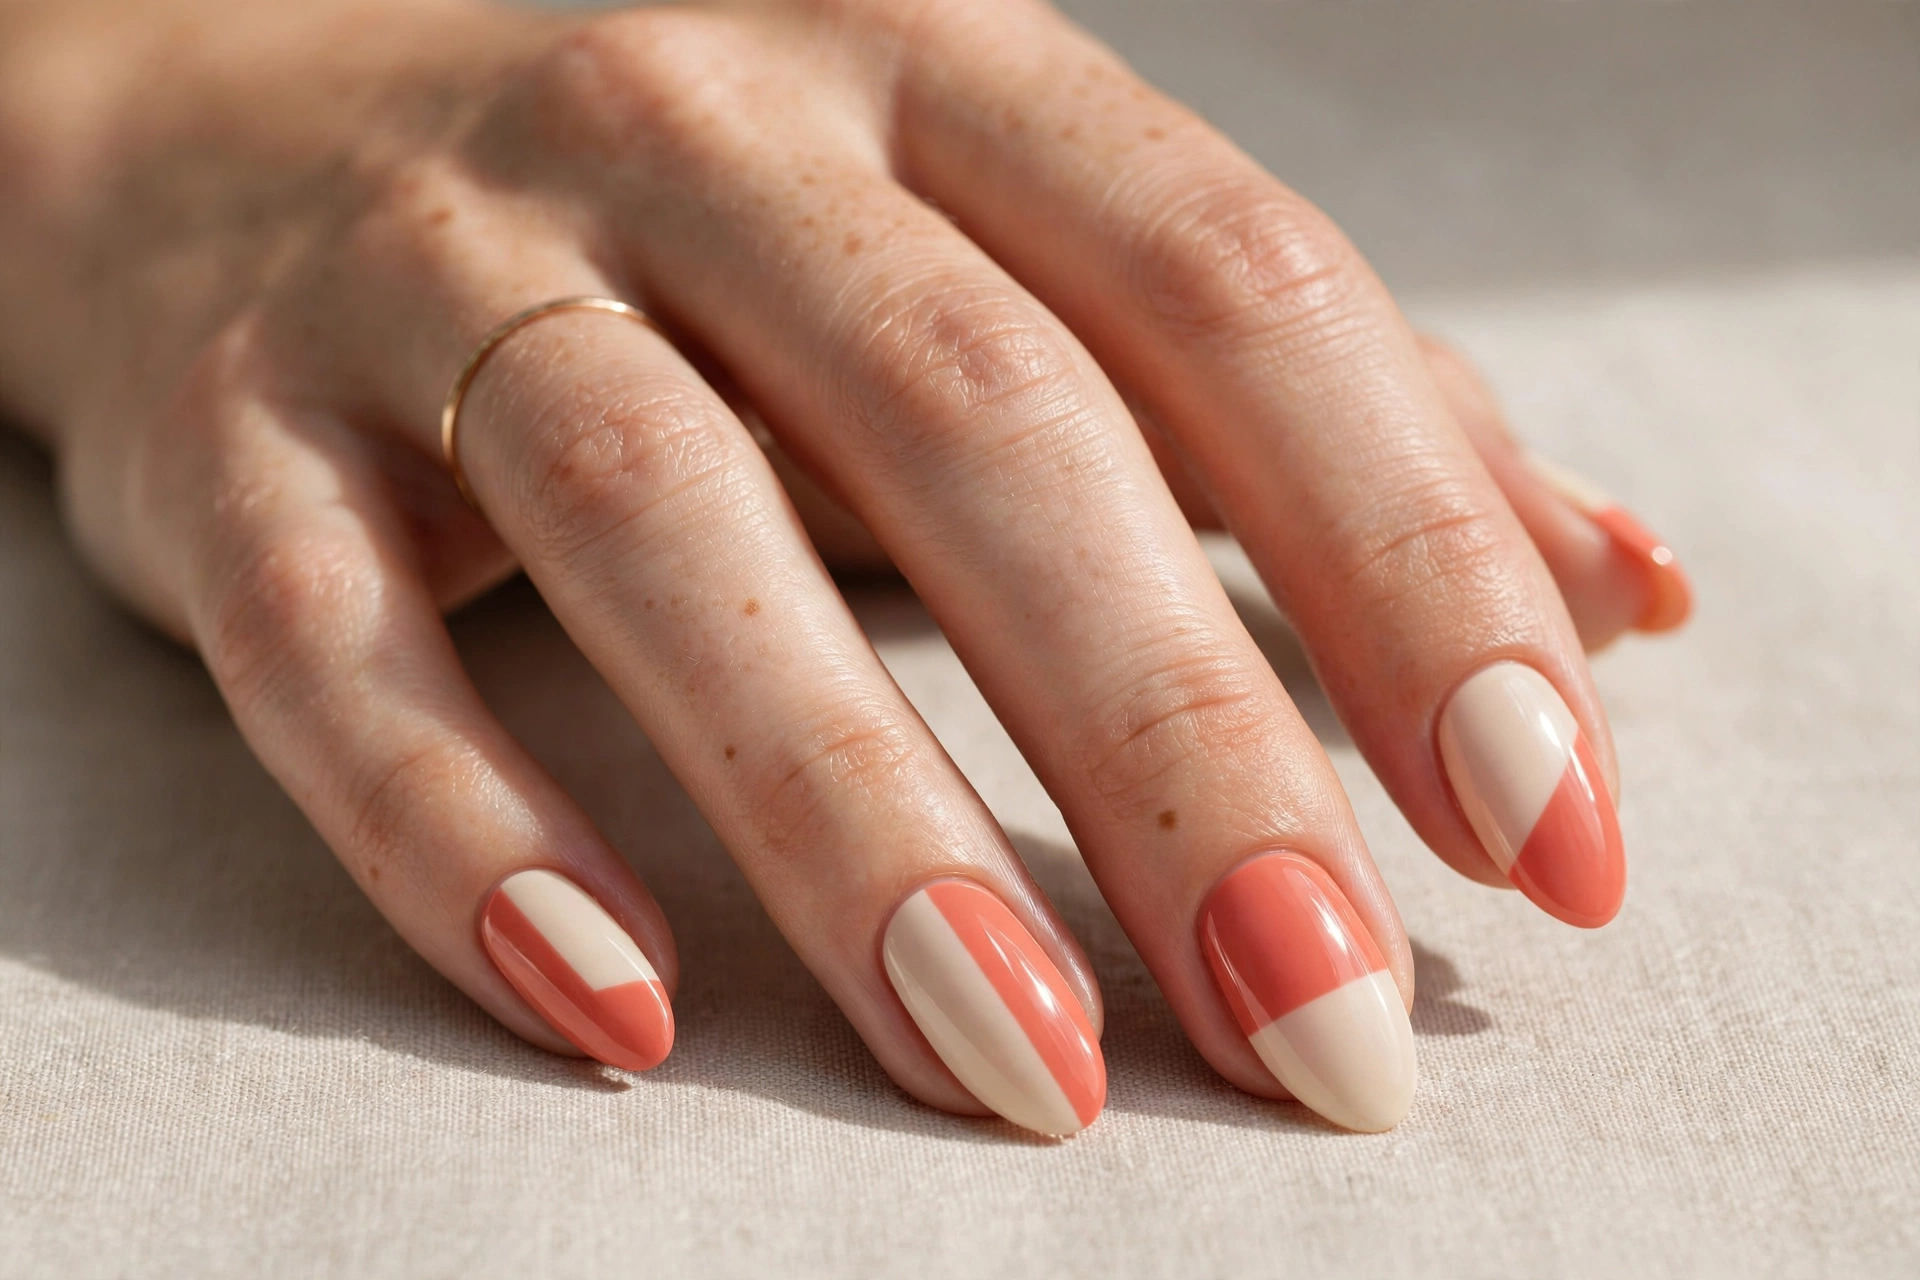
Color blocking splits the nail into bold sections of color — no precision art required, just clean straight edges. Use nail tape or a sticky note to mask off half of each nail, paint the exposed half coral, let it dry, then remove the tape and paint the other half cream. The contrast does all the visual work. This design suits confident dressers and looks fantastic with simple outfits because the nails become the accessory. For more inventive color ideas, explore our 20 ideas on nail art for a fresh, creative manicure. Experiment with different splits — diagonal, vertical, or a small corner block — to make the look your own.
11. Dry-Brush Marble Effect
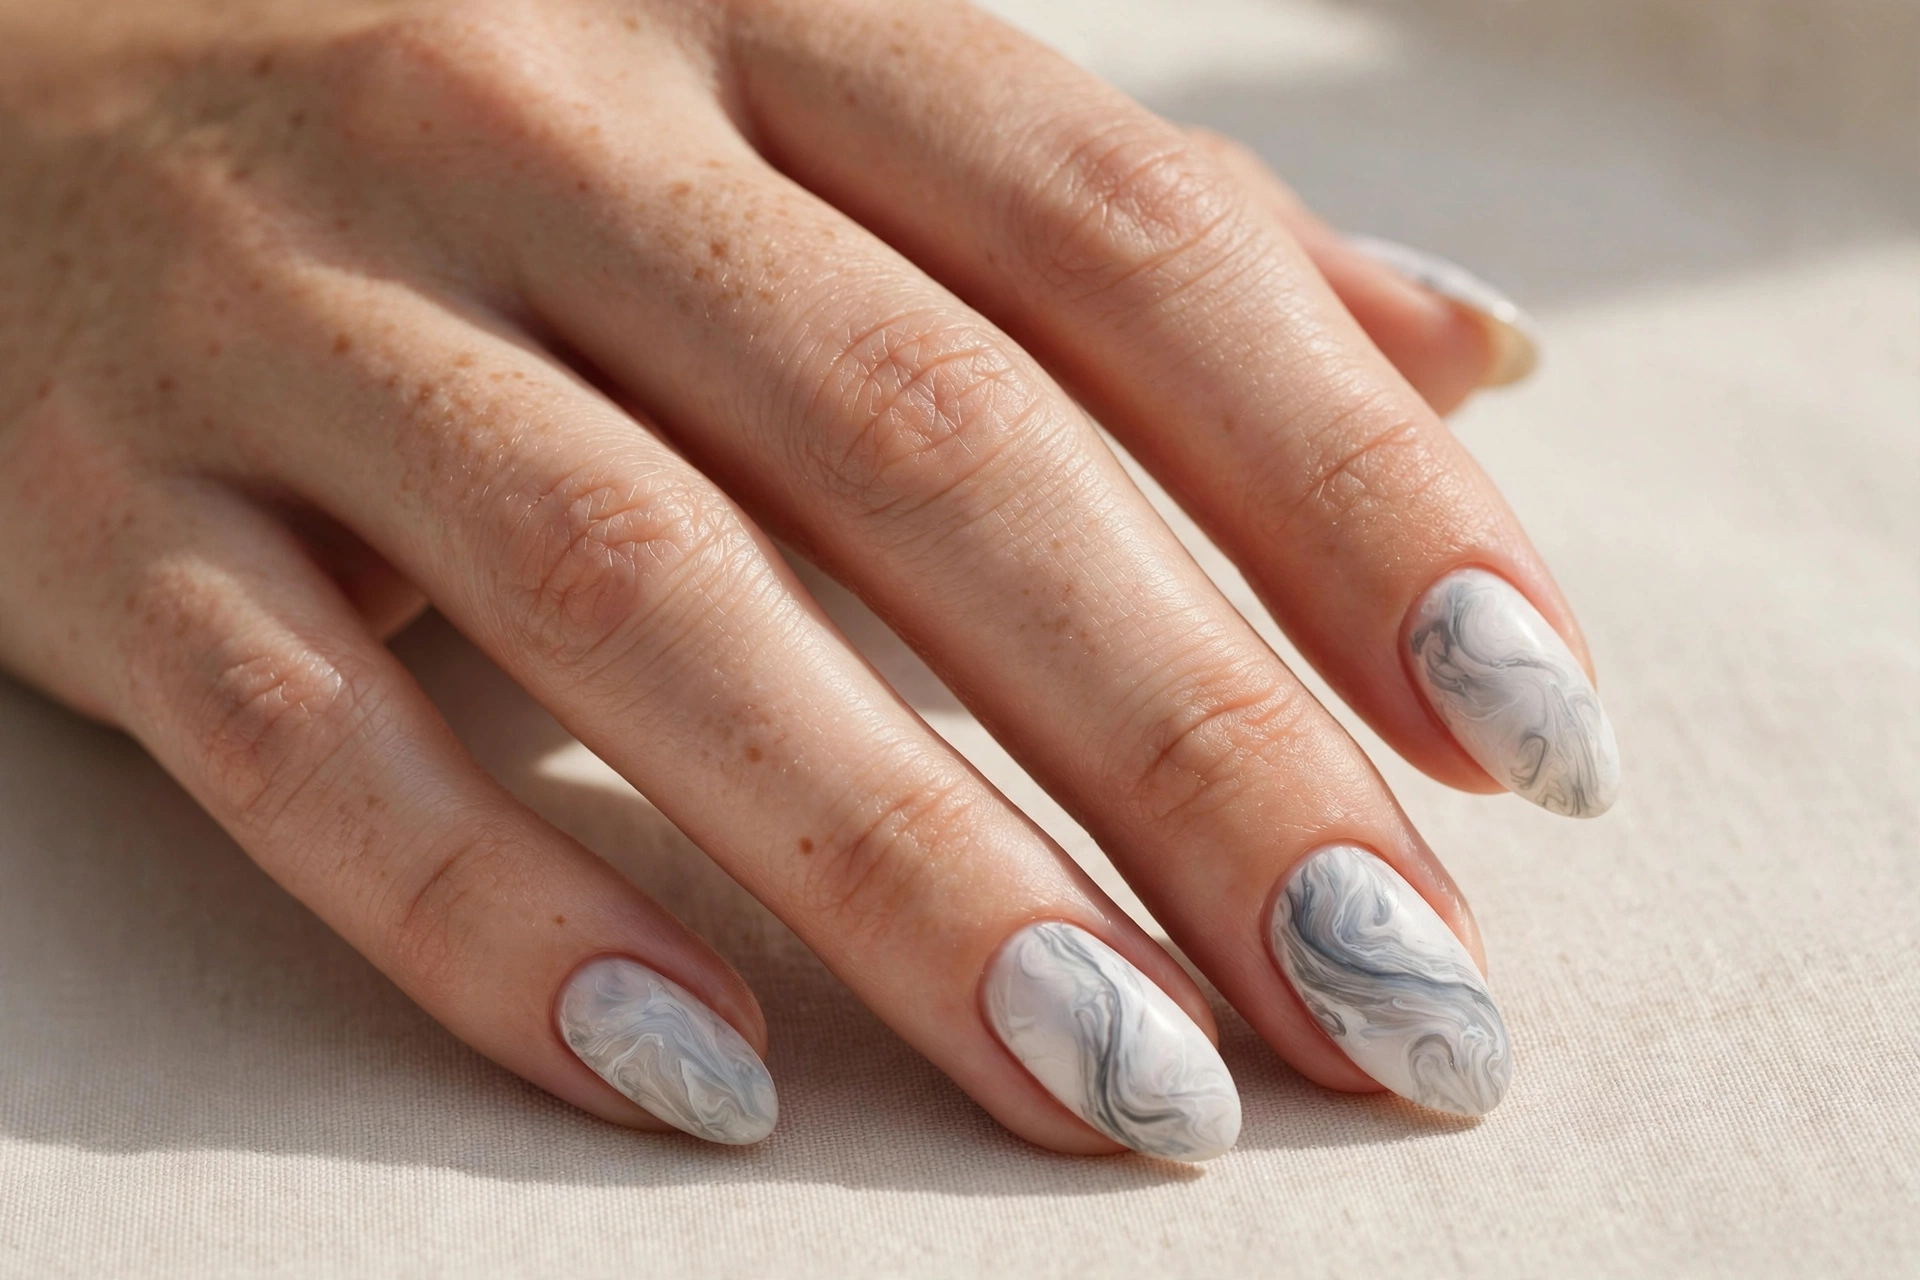
Real marble nails need water and technique, but the dry-brush version gives you a similar veined look with just a brush. Paint your nails white or very light gray. Then wipe almost all the polish off a brush loaded with a darker gray, and lightly drag it across the nail in wavy strokes — the sparse bristles create natural-looking veins. This design looks expensive and sophisticated, and it suits anyone who loves stone, quartz, and neutral aesthetics. Each nail comes out unique, which is part of the appeal. Seal with a glossy top coat to get that polished-stone shine.
12. Cute Cloud Nails
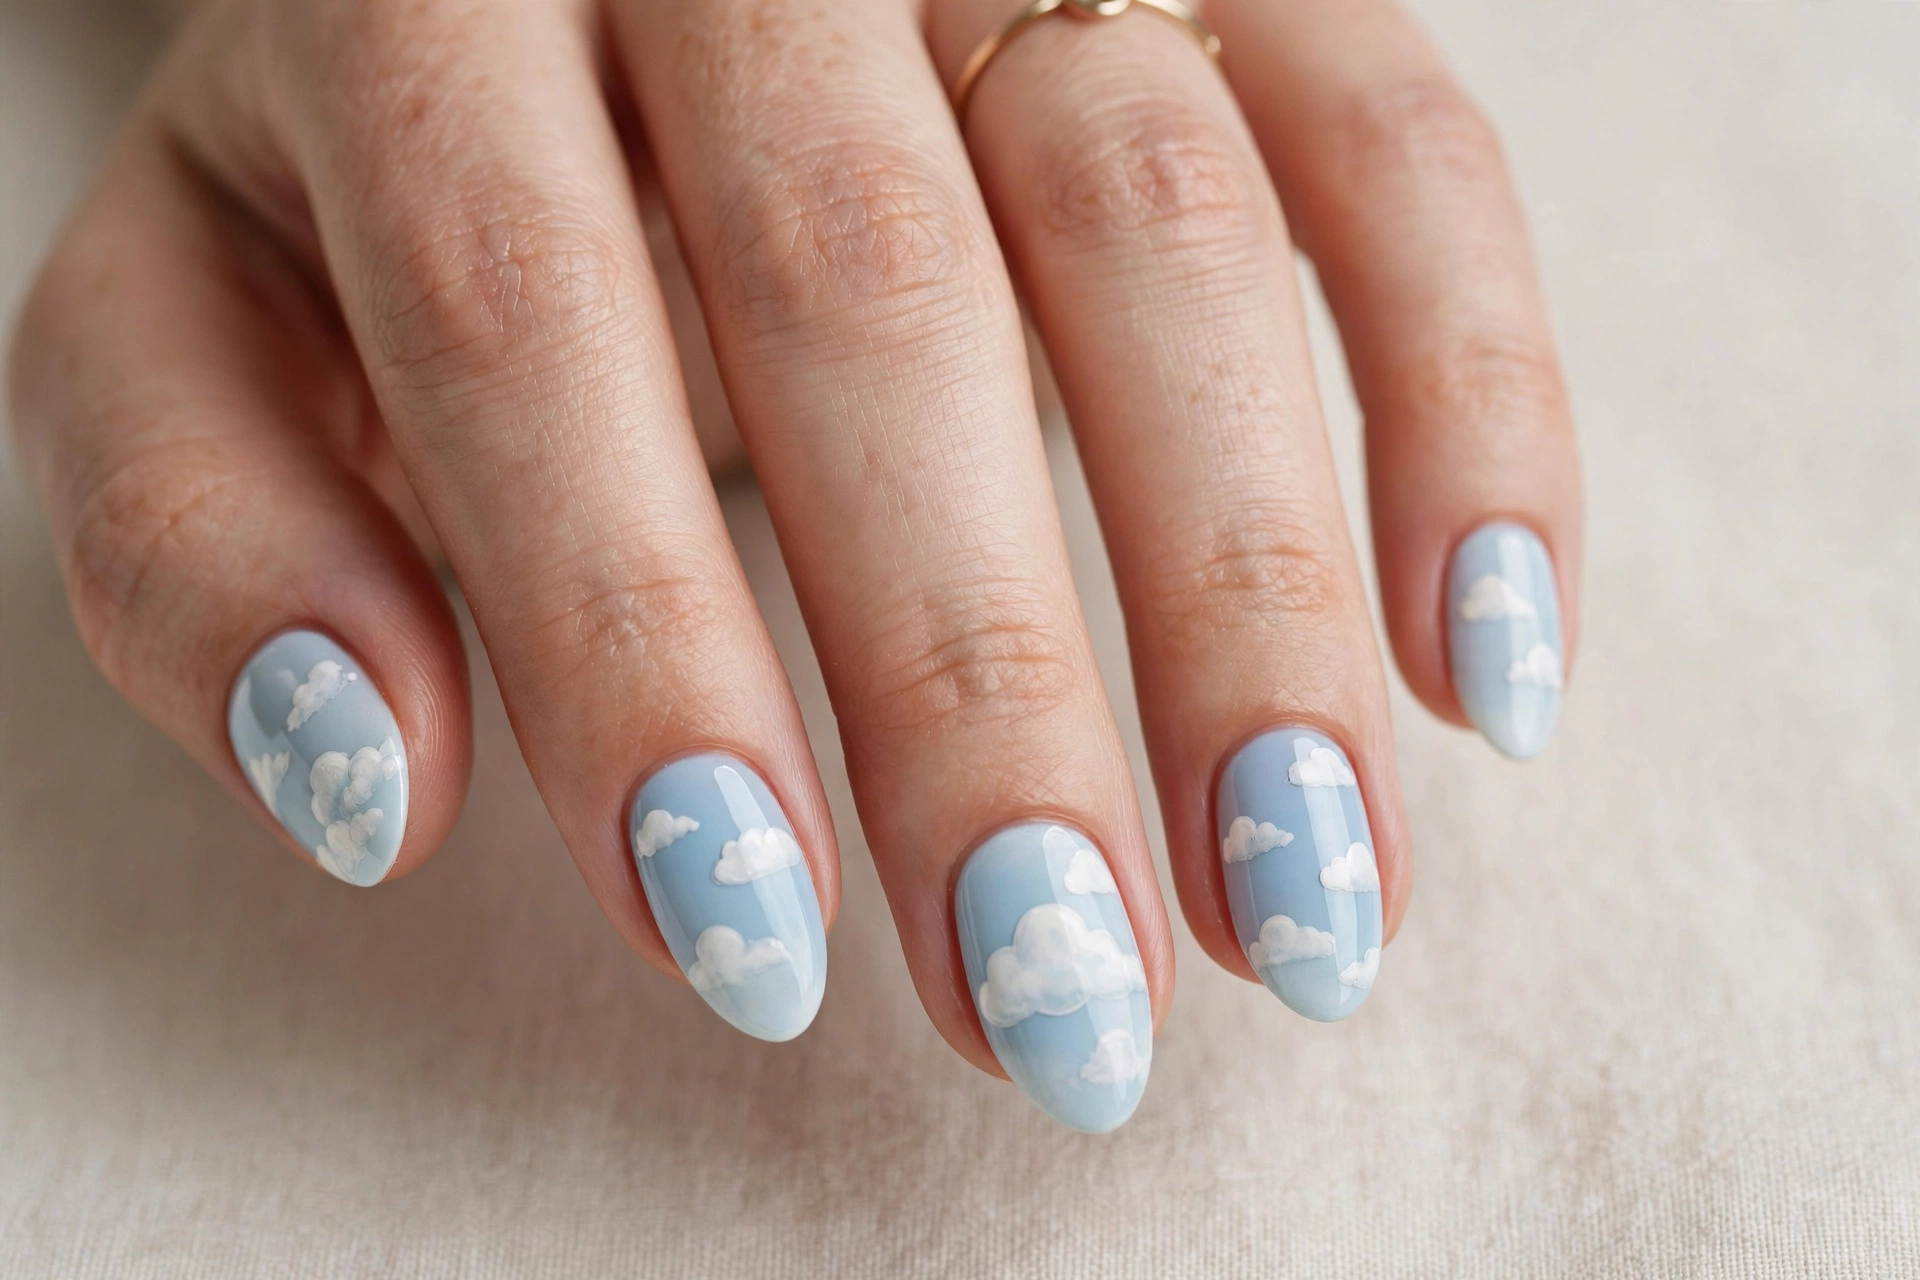
Cloud nails are pure joy — a light blue sky with fluffy white clouds that you can paint with a dotting tool. Apply two coats of sky blue, then cluster three or four white dots close together to form each cloud, letting them merge slightly while wet. This dreamy design suits playful, creative people and looks wonderful in summer. It is also a great design for kids’ nails or a fun weekend look. Do not worry about perfect cloud shapes; soft, puffy blobs read as clouds instantly. A matte top coat gives a soft, dreamy finish, while glossy keeps it cheerful.
13. Two-Tone French Tips
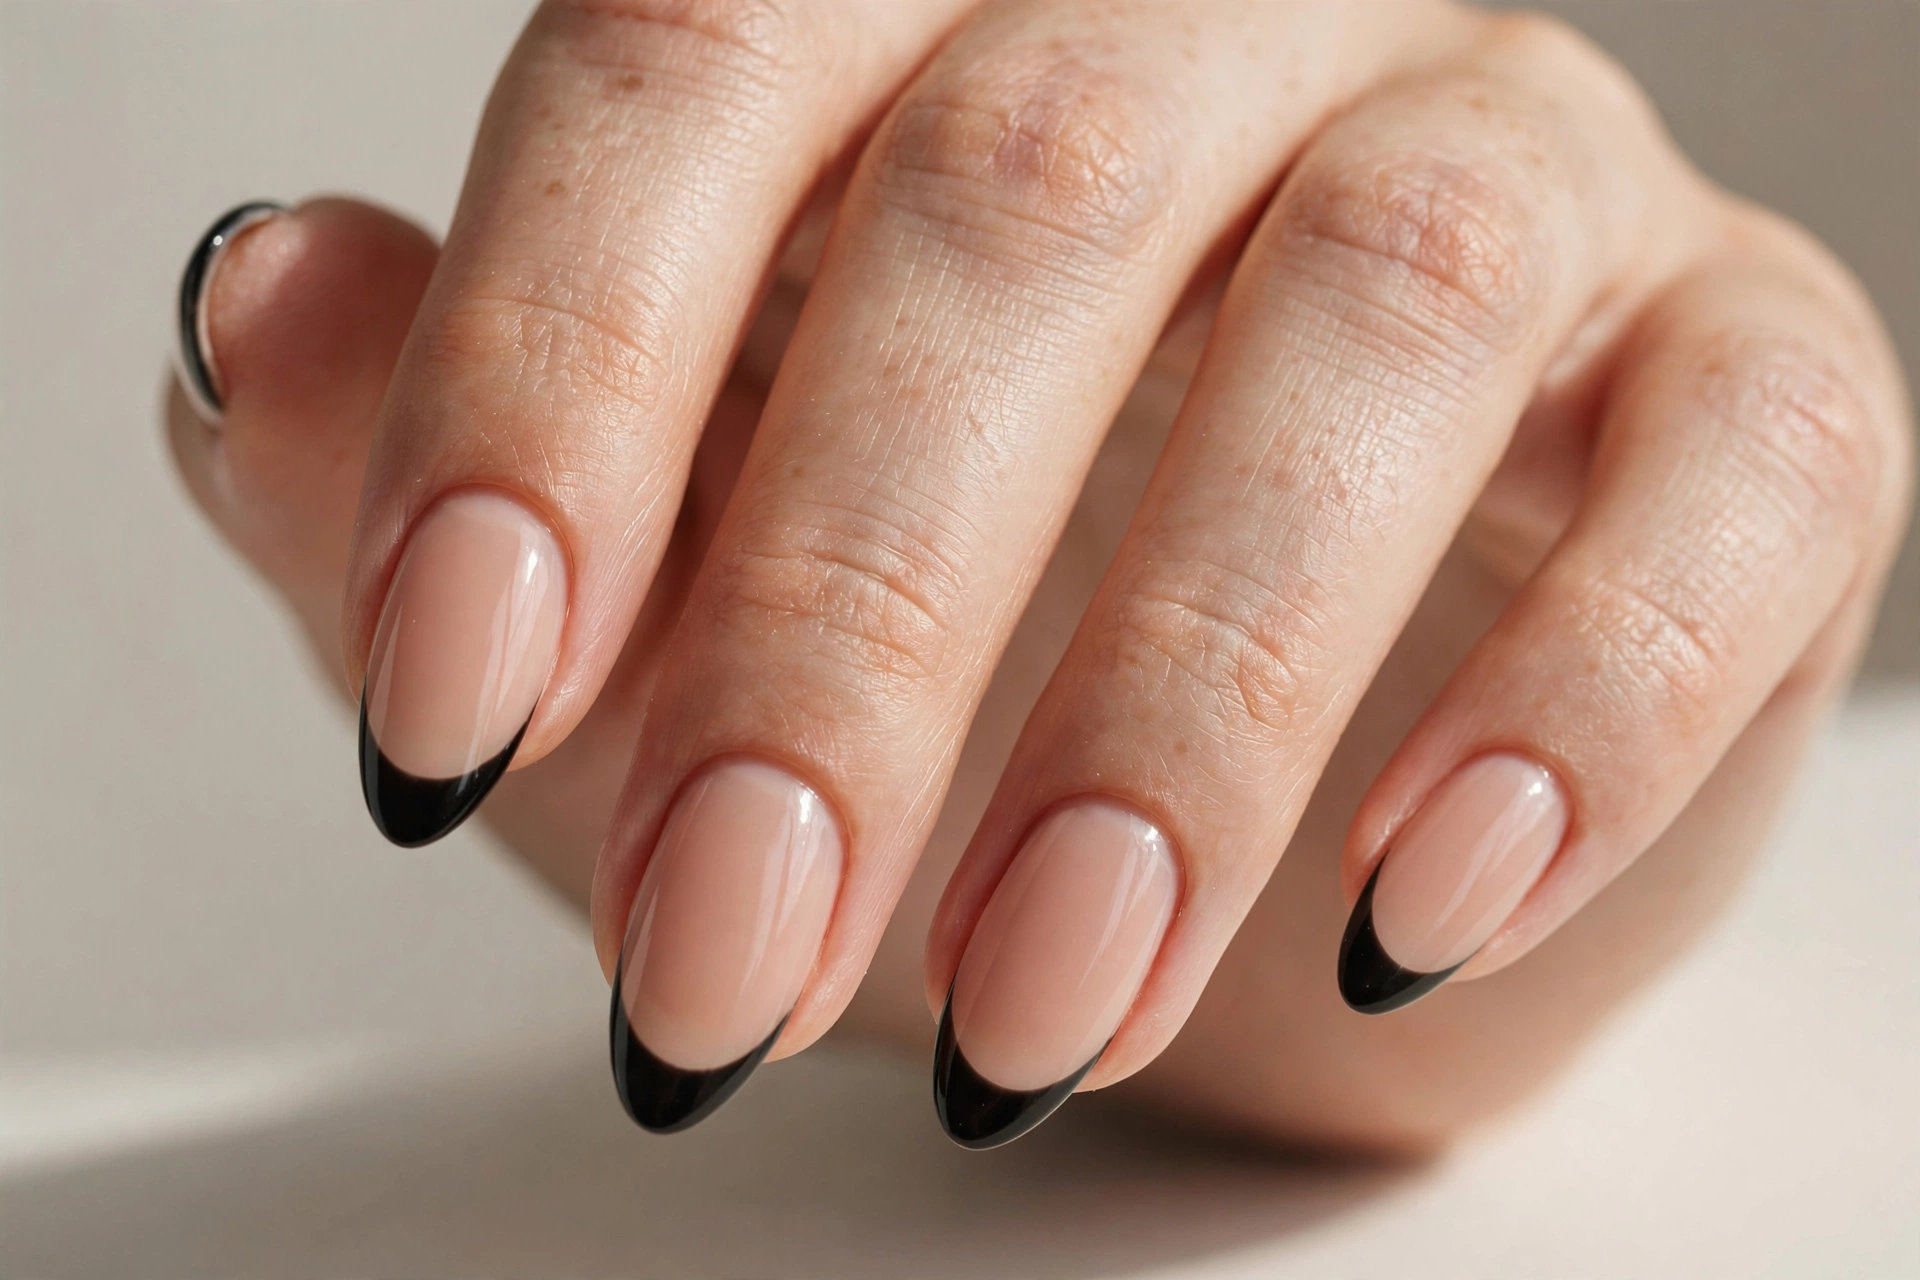
Two-tone French tips use bold contrast instead of the classic white-on-nude pairing — black tips over nude nails is the most striking version and it is just as easy as the original. Paint the nail nude, then sweep black polish across the tip following the natural curve. This design suits anyone who wants an edgy but wearable look; it reads polished rather than rebellious. It works on all nail lengths, though it looks particularly sharp on almond and oval shapes. Keep the black line thin for elegance or go thick for drama. Clean edges with a small brush and you are done.
14. Simple Checkerboard Nails
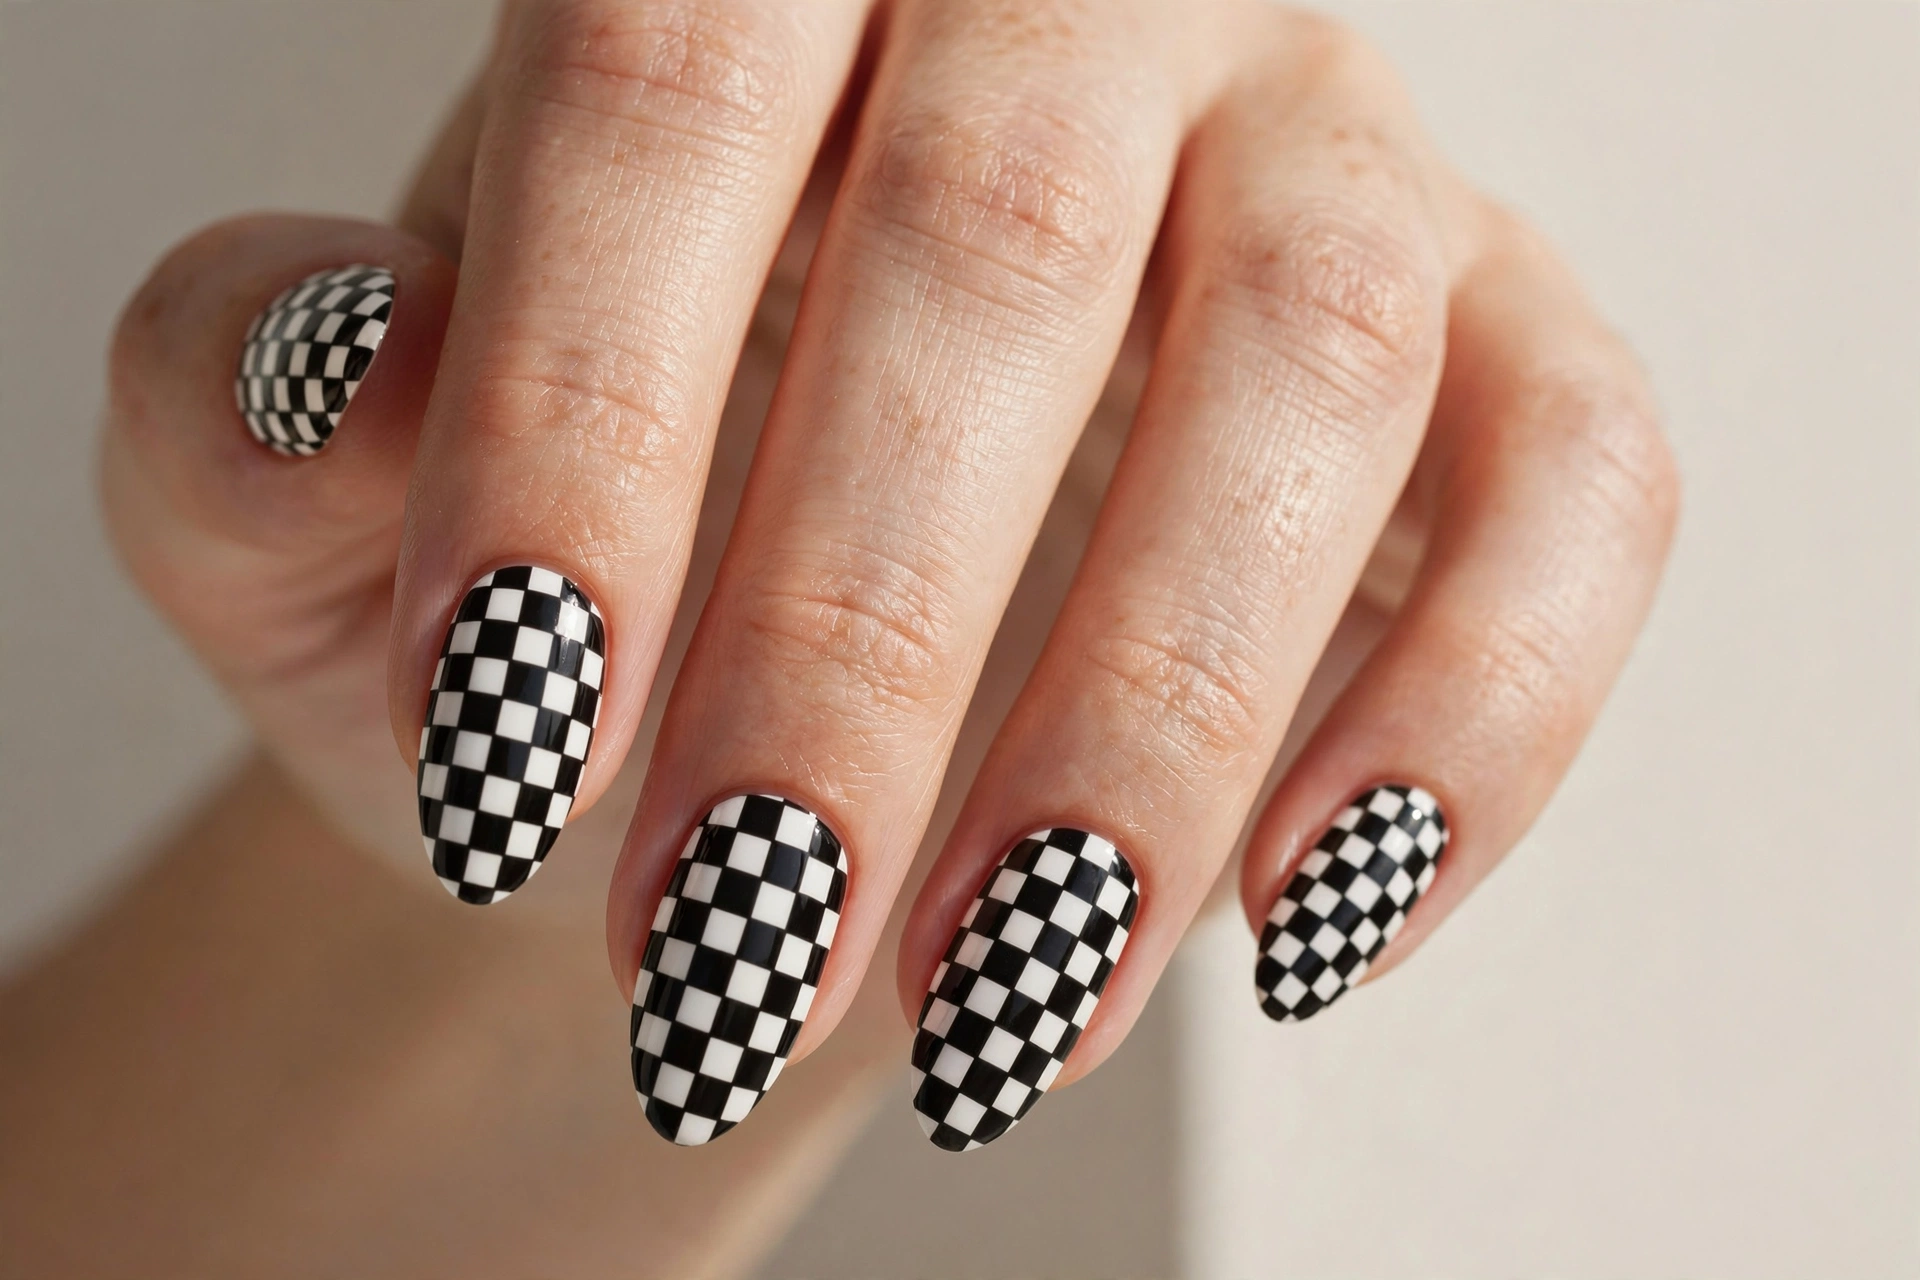
Checkerboard nails look intricate but they are just alternating squares, and a steady hand plus a little patience is all you need. Paint the nail white, then use a thin brush or a piece of tape as a guide to paint alternating black squares in a grid. This retro design suits bold, fashion-forward personalities and pairs perfectly with streetwear or monochrome outfits. Start with an accent nail or two if a full set feels like a lot — even two checkerboard nails make a statement. The pattern forgives small imperfections because the eye reads the overall grid, not individual squares.
15. Tiny Bow Accents
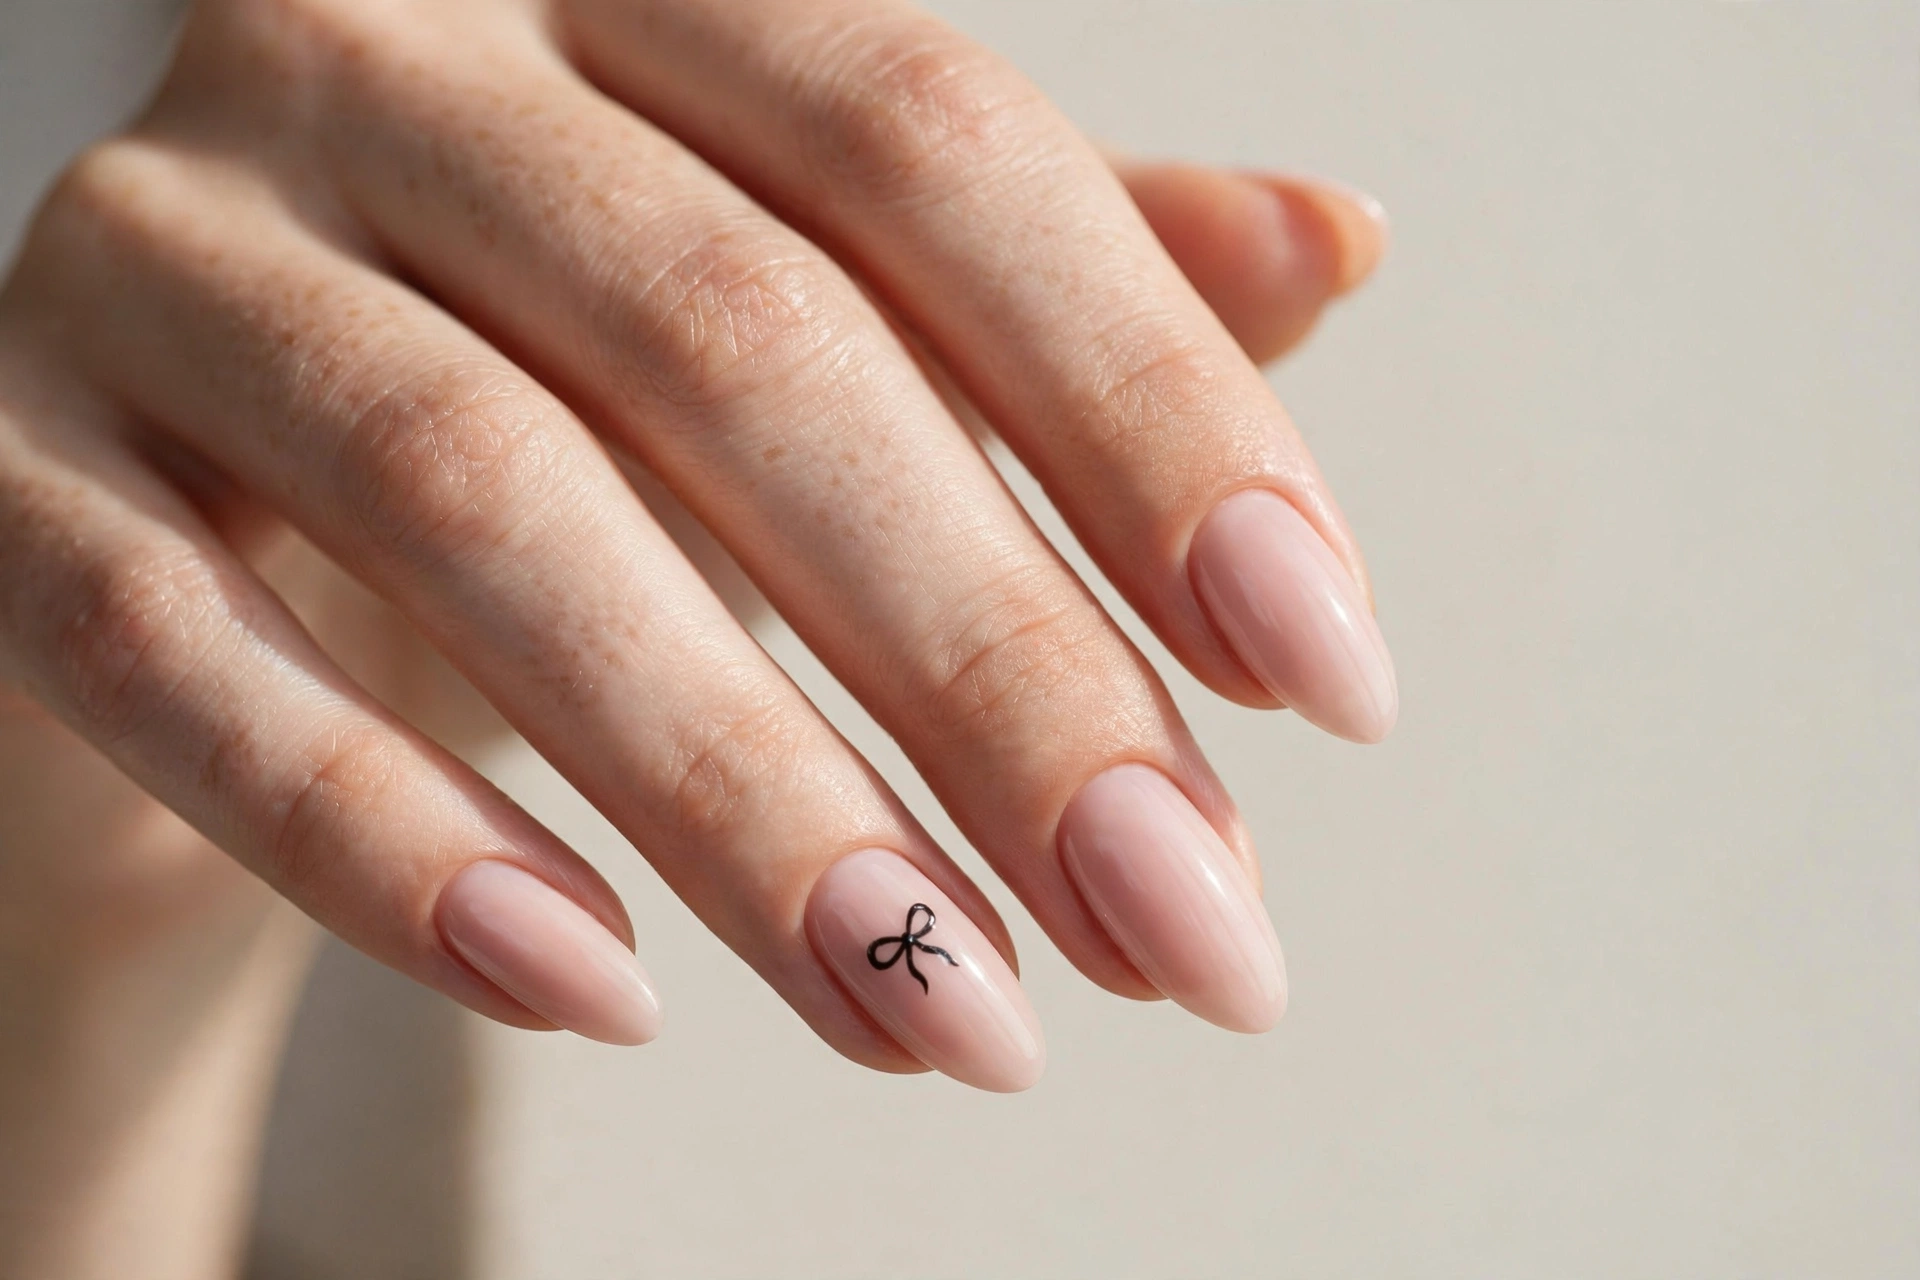
Small bows are the coquette trend’s signature, and the simplest version is two small triangles with a dot in the middle. Paint your nails nude pink, then on one or two accent nails use a fine brush or toothpick to draw a tiny bow — two loops and a center knot. This delicate design suits feminine, romantic styles and works beautifully for weddings, parties, or everyday sweetness. If freehand bows feel too fiddly, tiny bow stickers or decals give the same effect with zero drawing. Keep the rest of the nails simple so the bows stay the star of the show.
How to Make Your DIY Nail Art Last Longer
A little care goes a long way toward keeping your homemade nail art looking fresh. Always start with clean, dry nails and push back your cuticles so polish adheres properly. Apply thin coats — thick polish takes forever to dry and chips faster. A quality base coat prevents staining and helps the color grip, and a top coat seals your design; reapply the top coat every two or three days to extend wear. Wear gloves when washing dishes or cleaning, since water and harsh chemicals are the fastest way to ruin a manicure. Keep a bottle of cuticle oil by your bed and massage it in nightly — hydrated nails are flexible nails, and flexible nails chip less. If you want everything in one place, this nail polish kit covers the basics nicely (as an Amazon Associate I may earn a small commission on qualifying purchases). Finally, touch up chips promptly with a dab of matching polish and a fresh layer of top coat, and your easy nail art can easily last a full week or more.
Final thoughts: doing your own nail art is one of those skills that feels intimidating until you try it once, and then you wonder why you waited so long. Start with the simplest design on this list, give yourself permission to make a few wobbly dots, and enjoy having pretty nails that you created yourself. With a little practice, these easy designs will become second nature — and your nails will always be ready for whatever the week brings.