25 Christmas Nail Art Designs for a Festive Holiday Look
There is something quietly magical about painting your nails in December. The tree goes up, the kettle is on, fairy lights twinkle from every window, and suddenly the same everyday hands feel like they should be part of the celebration. That is the simple joy of Christmas nail art — small, wearable festive details that you carry through the whole season, from the office party to Christmas morning.
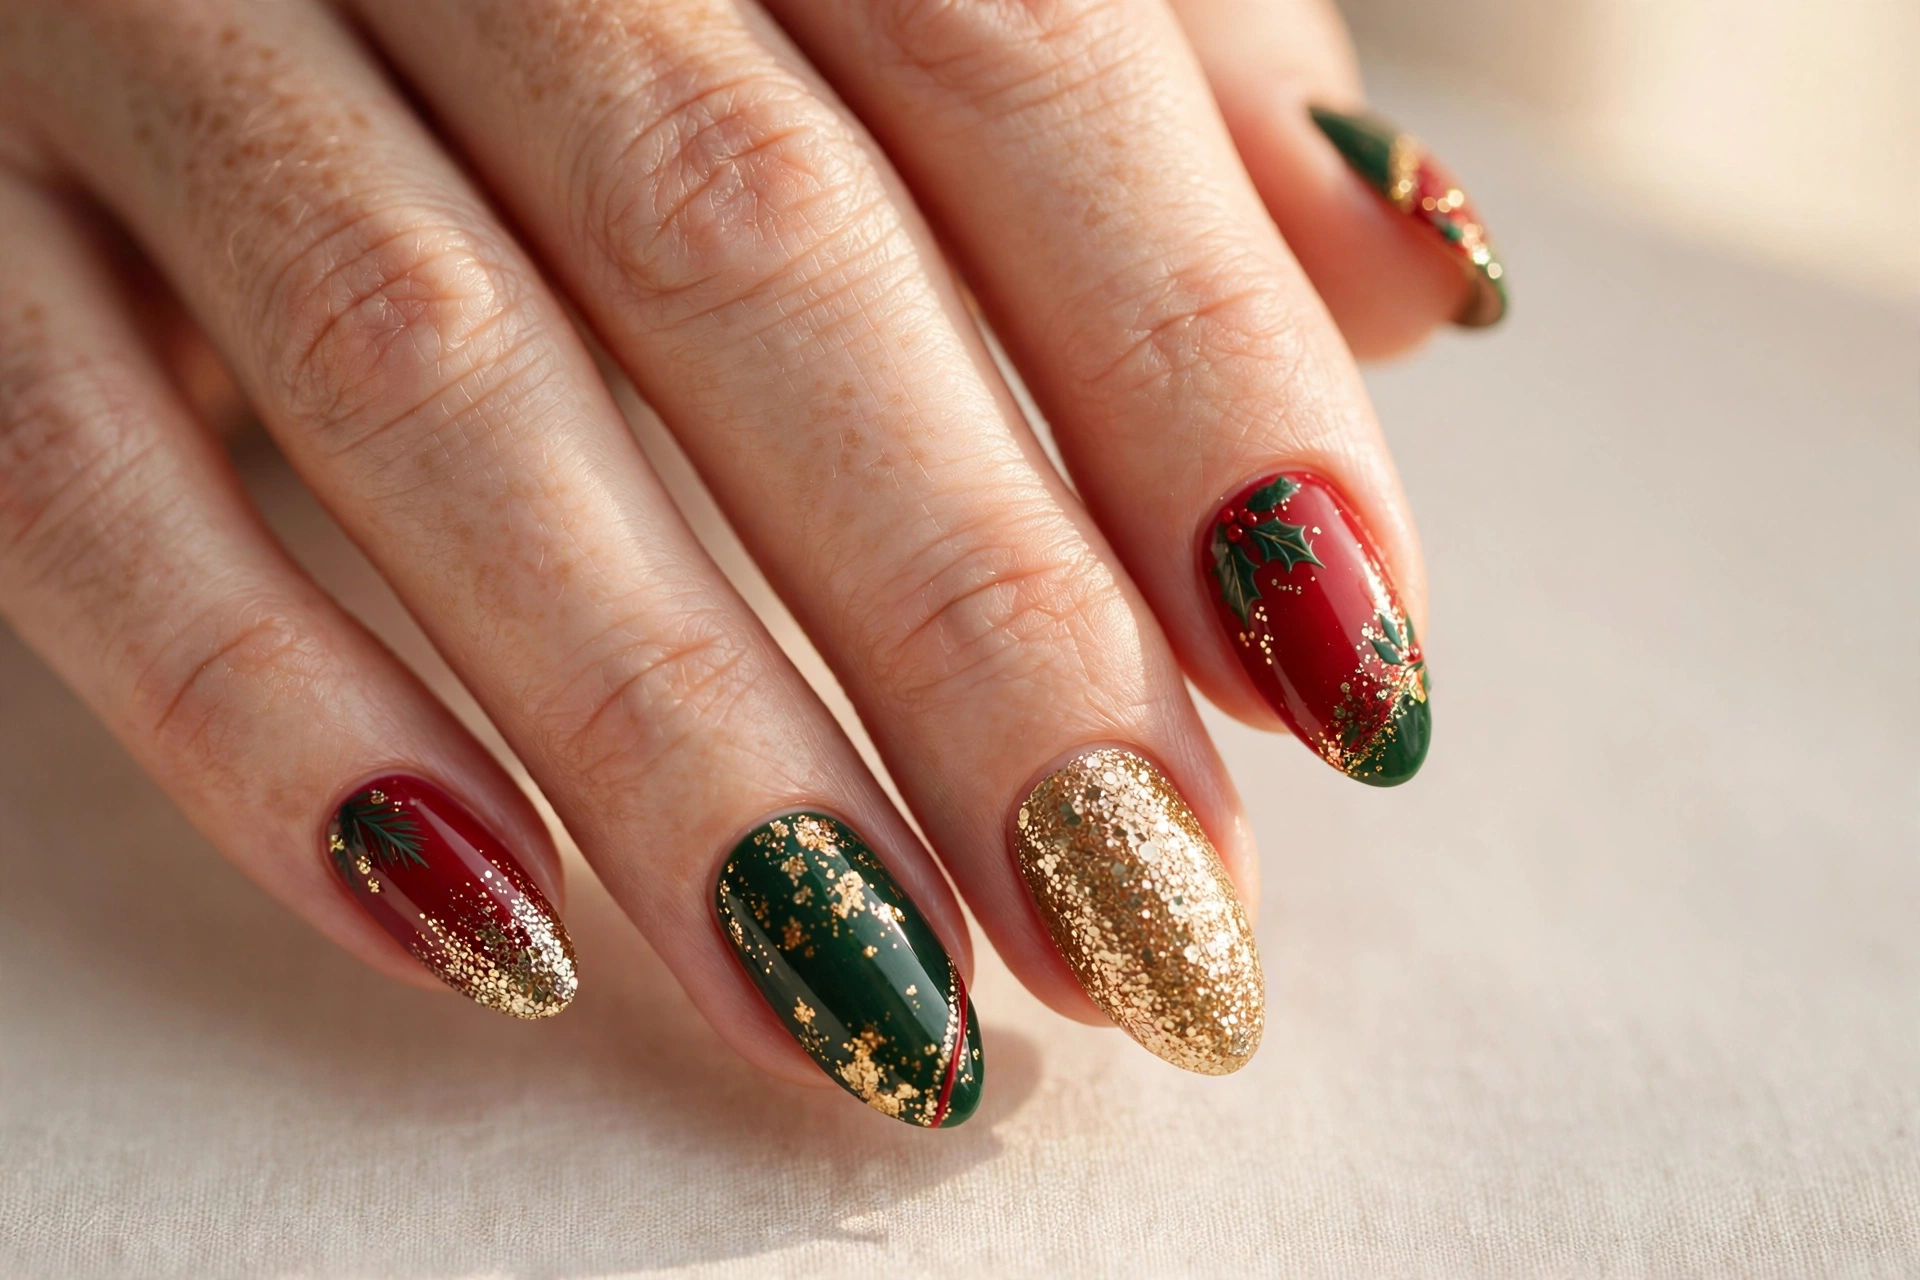
This year, Christmas nail designs are leaning both ways at once: classic reds and greens with a polished, modern finish, and playful, detailed art that tells a little story on every nail. Whether you book a salon appointment or do your own manicure at the kitchen table, this list has something for every skill level and every mood. If you are building a whole festive beauty routine, you may also enjoy browsing these nails with Christmas designs for a festive holiday look for even more ideas to mix and match.
Why Christmas Nail Art Never Goes Out of Style
Some trends fade by January, but Christmas nail art comes back every single year — and it gets better each time. The reason is simple: the holiday palette is timeless. Deep red, forest green, champagne gold and snowy white flatter nearly every skin tone, and they photograph beautifully, which matters when December is full of parties, dinners and family photos.
There is also the comfort factor. During a busy season, a fresh festive manicure is a small ritual that makes you feel put together even on the days you are running on very little sleep. Nail art lets you express the holidays in a way that fits your life — go bold and glittery, or keep it quiet with a single gold accent nail. For a wider tour of seasonal styles, take a look at these holiday nail art designs for a festive season, and then come back and pick your favorites from the list below.
1. Classic Red with Gold Glitter Accent
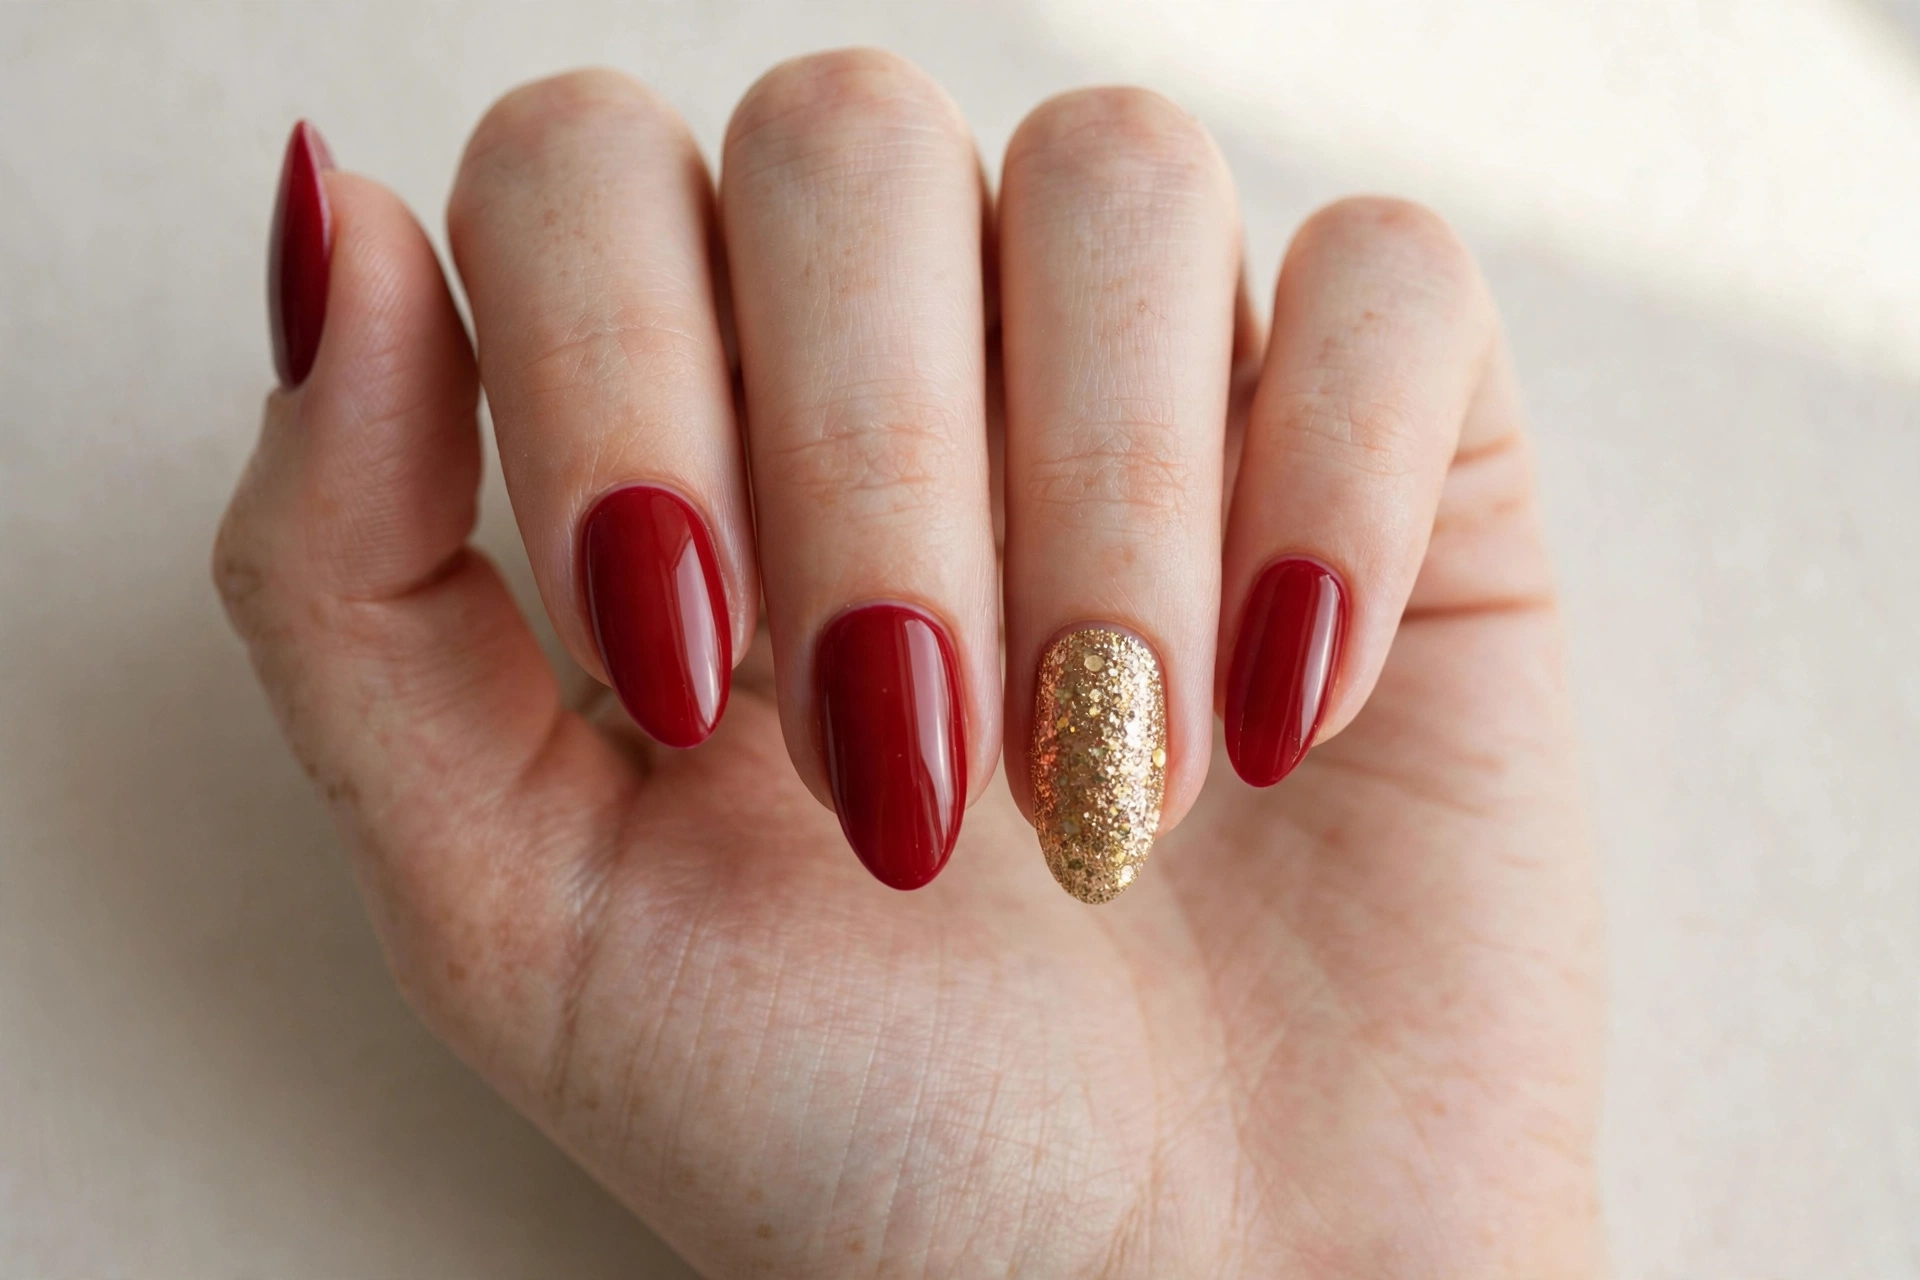
Nothing says Christmas quite like a perfect red manicure, and this version keeps it elegant with a single gold glitter accent nail. Paint four nails in a rich, glossy true red — the kind that looks like a wrapped present — and cover your ring finger in fine gold glitter. The result is festive without being loud, and it works for everything from a formal dinner to a cozy night at home. This suits anyone who loves a timeless holiday look, especially if you usually wear red at Christmas but want a little extra sparkle this year. To get it, apply a red base coat in two thin layers, then layer gold glitter polish over the accent nail until it is fully opaque. Seal everything with a high-shine top coat so the red looks wet and the glitter catches every light.
2. Hand-Painted Christmas Trees
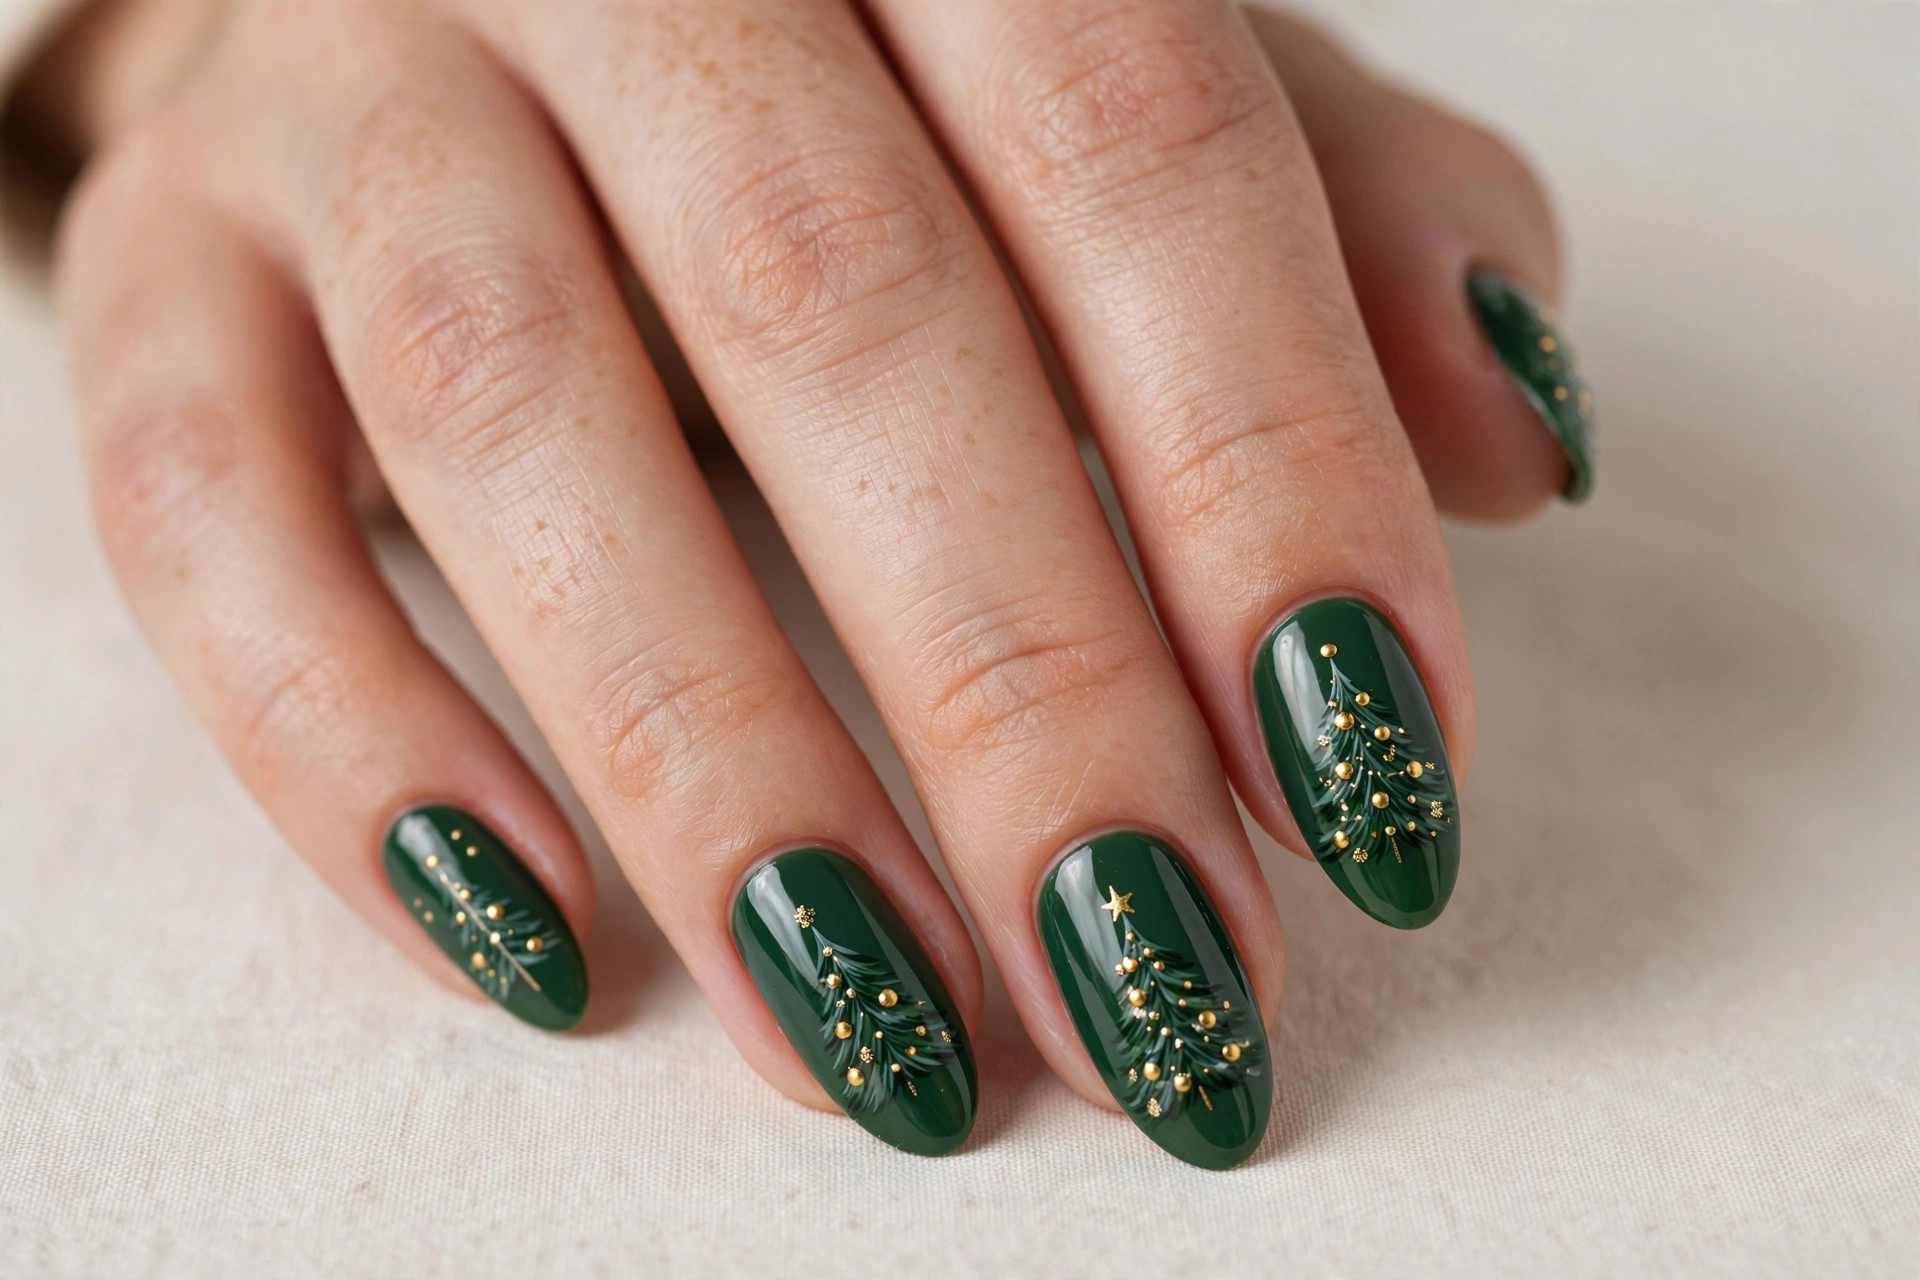
These tiny trees turn your nails into a miniature winter forest. Each nail gets a deep green base, and then a little Christmas tree is painted on one or two accent nails with a fine brush — triangle layers of green, a tiny gold star on top, and dots of red and gold as ornaments. It is the kind of design that makes people lean in for a closer look. This style suits anyone who enjoys detailed, storybook nail art and does not mind a slightly longer salon session. For a DIY version, use nail art pens or dotting tools, which are much easier to control than a brush. Start with the tree trunk, build upward in triangles, and add the ornaments last. A glossy top coat makes the whole thing look polished and keeps the details from chipping.
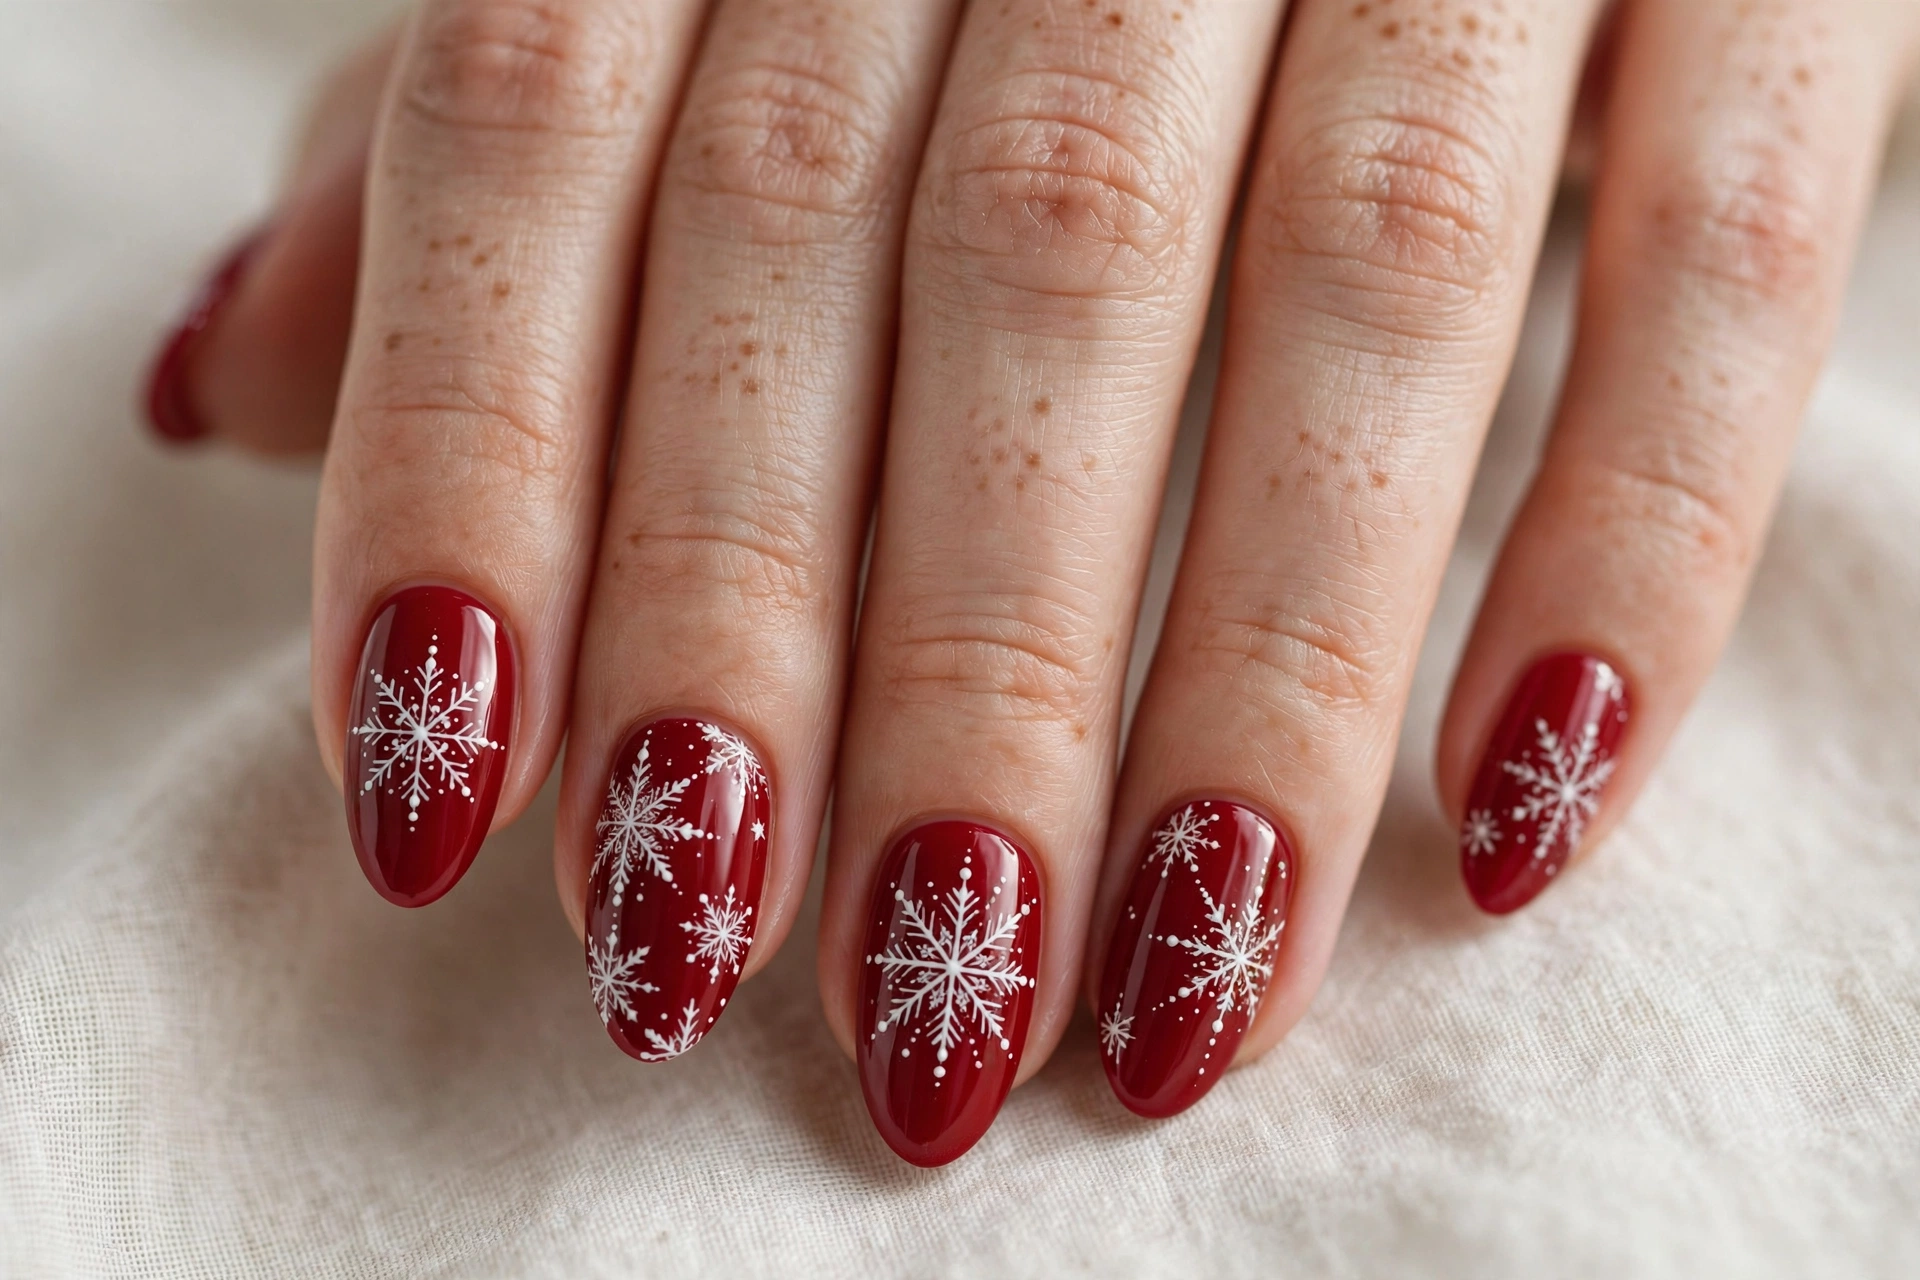
3. White Snowflakes on Red
White snowflakes over glossy red look like a postcard come to life. The contrast is striking: crisp, delicate flakes drawn on a warm red background, with the occasional tiny dot of silver or white glitter to suggest falling snow. This design suits everyone, but it is especially lovely on almond or oval nails, where there is enough length to let the snowflake shapes breathe. To get it at home, stamp or freehand each snowflake with a thin white nail art brush — a simple six-armed flake is easier than it looks and still reads beautifully. Place one larger flake on each nail or cluster a few small ones near the tip. Keep the lines thin and even, and finish with a quick-dry top coat so the white stays bright and sharp through the holidays.
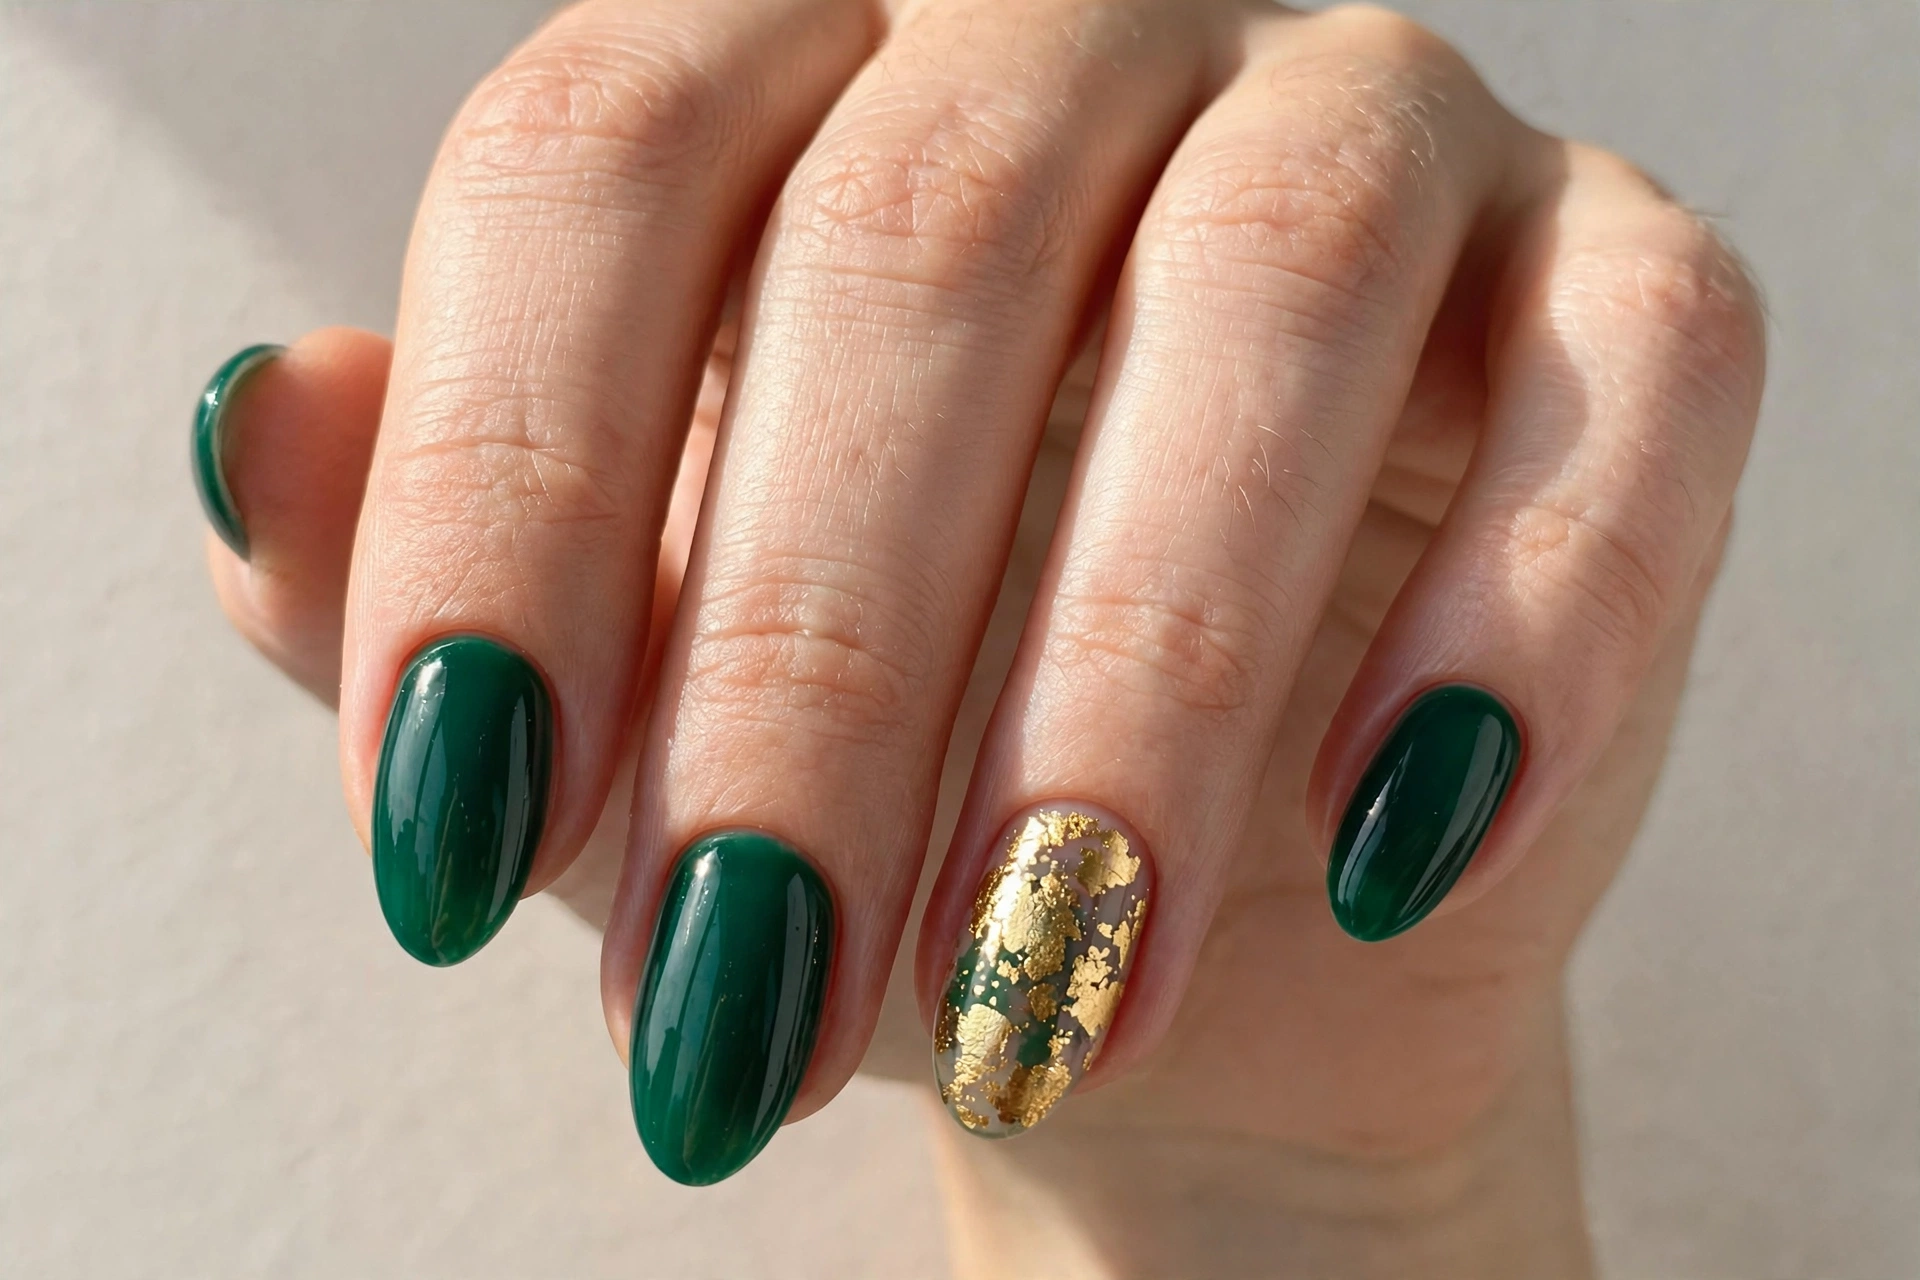
4. Emerald Green with Gold Foil
Deep emerald green with flecks of gold foil feels like the most luxurious Christmas decoration you own. The green base is rich and glossy, almost jewel-like, and then irregular pieces of gold foil are pressed onto one or two nails for a gilded, artistic finish. No two nails look exactly alike, which is part of the charm. This suits anyone who loves rich color but finds plain green a little flat — the foil adds depth and a handmade feel. To recreate it, paint your green base and let it get tacky, then use tweezers to place small gold foil pieces and press them down gently with a silicone tool. Seal with two layers of top coat so the foil edges stay smooth and do not lift. Pair it with gold jewelry and it is perfection.
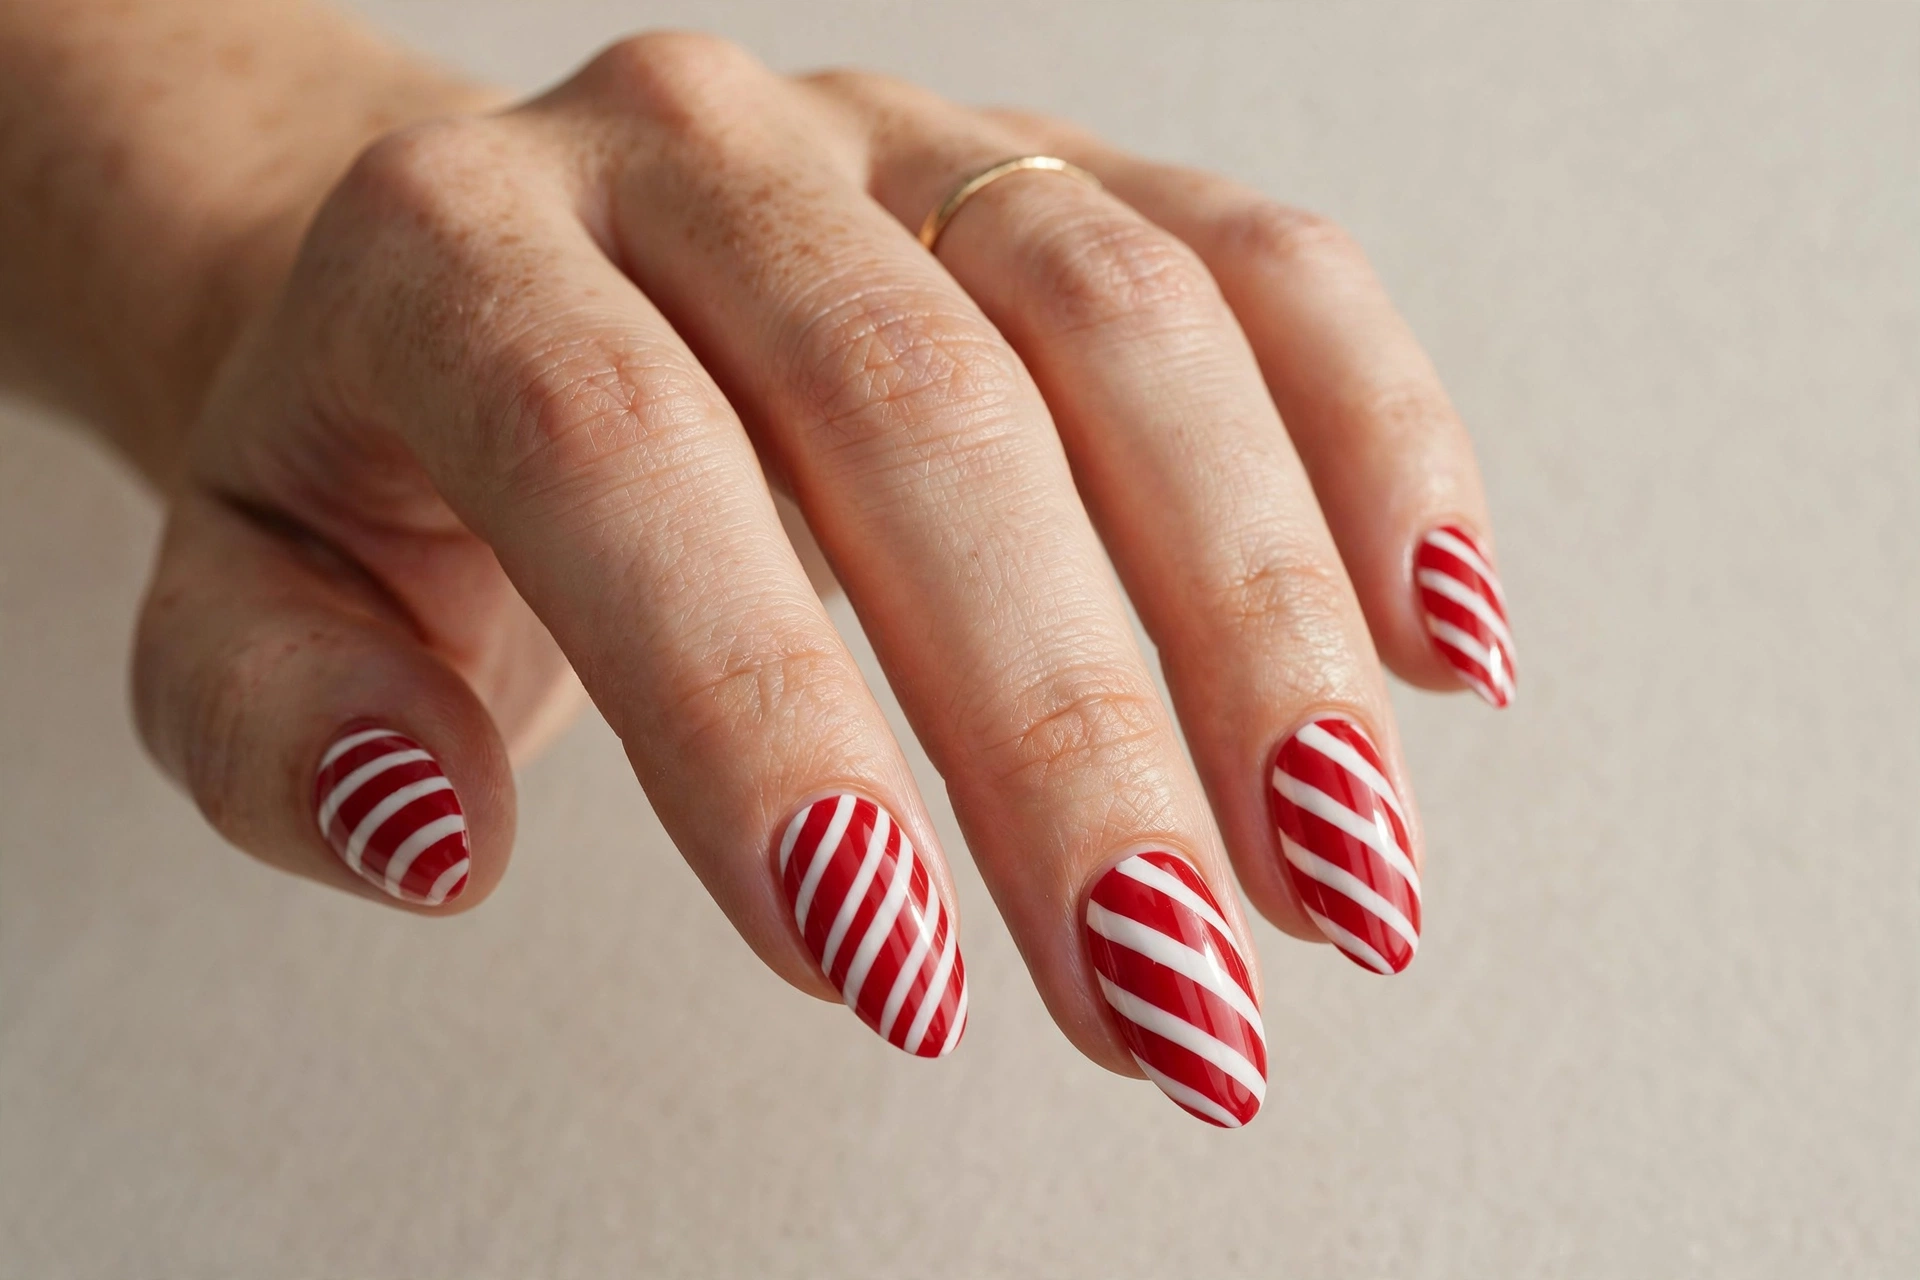
5. Candy Cane Stripes
Playful, sweet and instantly recognizable — candy cane stripes are pure Christmas fun. Diagonal red and white stripes wrap each nail just like the candy itself, and they look incredible in both glossy and matte finishes. This design works on any nail length, and it is a great pick if your nails are on the shorter side, since the bold diagonal lines make them look longer. You can find more flattering options for shorter lengths in these Christmas nail designs for short nails. To get the stripes crisp, paint a white base first, let it dry completely, then use striping tape or a thin brush to add the red diagonal lines. A steady hand helps, but slightly imperfect stripes still look charming. Finish with a high-shine top coat for that hard-candy gleam.
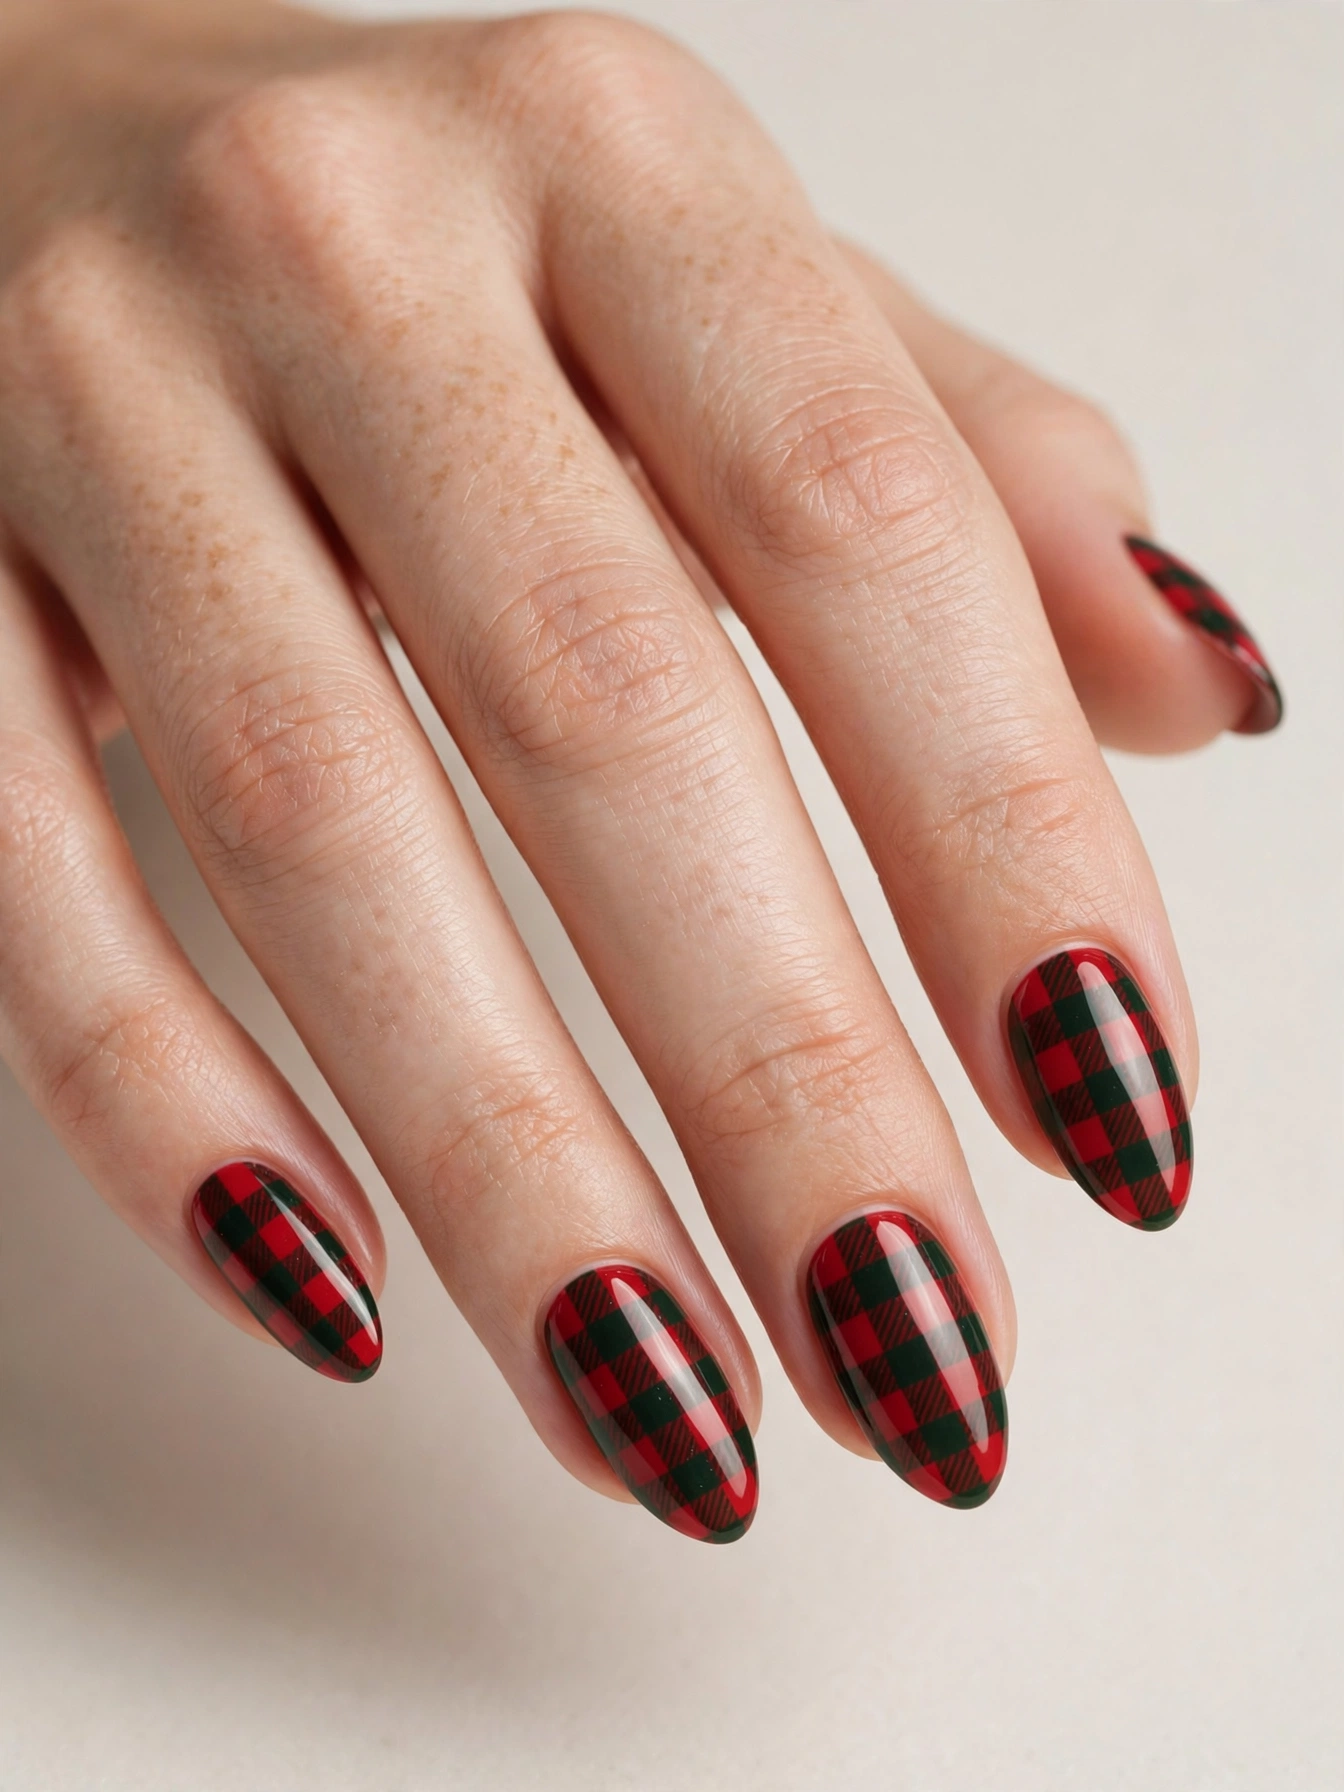
6. Red and Green Buffalo Plaid
Buffalo plaid nails are like wearing your favorite flannel shirt on your fingertips. Bold red and green checks, slightly distressed in places, give a cozy lodge-cabin feeling that is perfect for casual December days. This design suits anyone who loves rustic, laid-back holiday style — it pairs beautifully with chunky knits and boots. To get it, start with a red base, then paint crossing green stripes in both directions, layering them so some lines are more opaque than others for that woven-plaid effect. A thin brush or nail art pen makes the lines manageable, and adding a few white hairline stripes lifts the whole design. It takes a little patience, but the finished look is so worth it. A glossy top coat smooths everything together.
7. Gold Chrome Shimmer
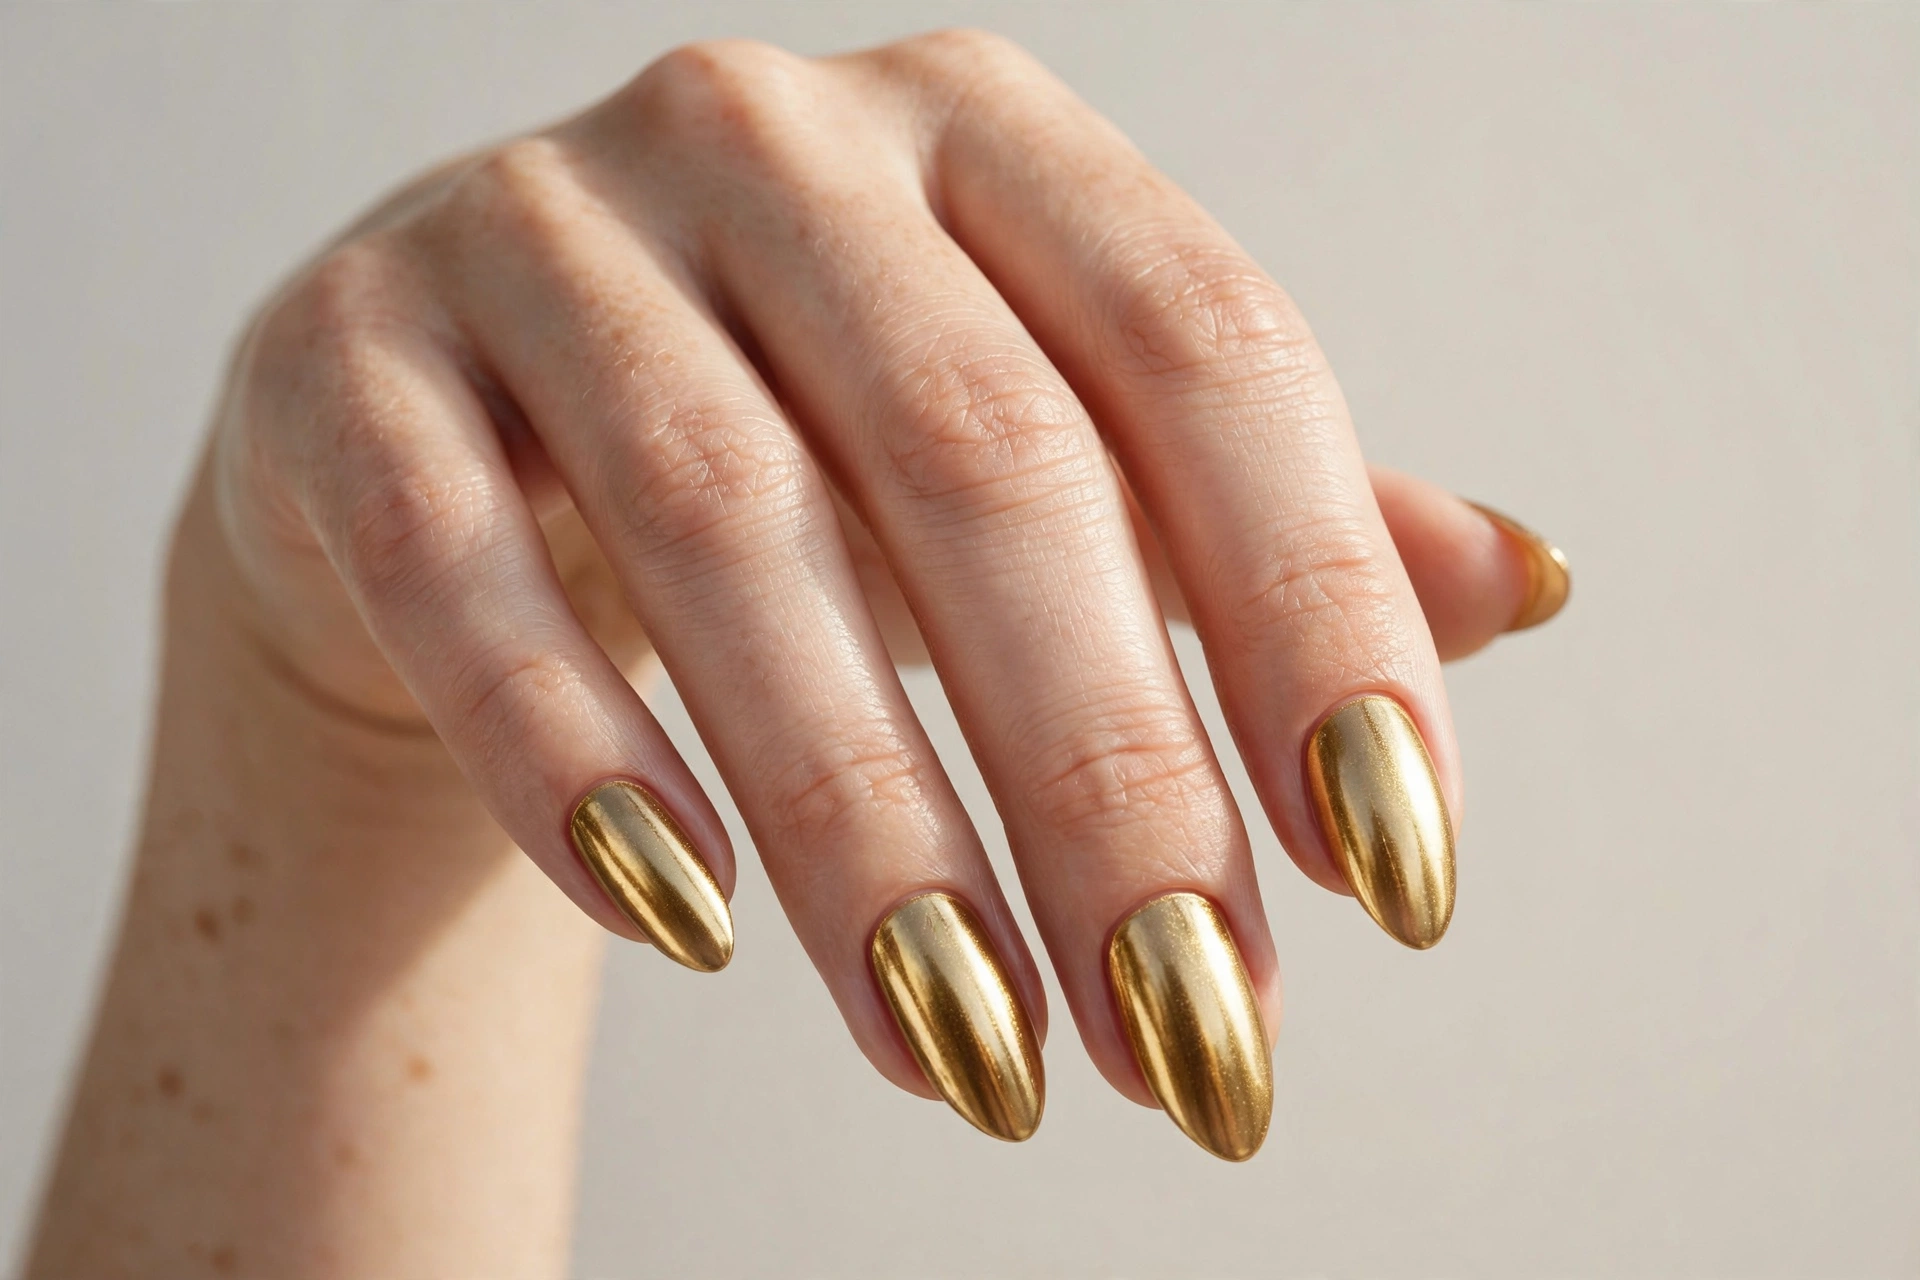
Gold chrome is the easiest way to look like a million dollars at every December event. The mirror-like metallic finish catches the light with every movement, and it needs no extra art to make an impact — the shine does all the work. This suits anyone who wants maximum glamour with minimum effort, and it is a lifesaver during the busiest party weeks when you do not have time for detailed art. The salon version uses chrome powder buffed over a no-wipe gel top coat for that liquid-metal look. At home, metallic gold polish layered over a sticky base gives a convincing version. Keep the shape clean — almond or coffin works beautifully — because chrome highlights every edge. One tip: wear it with everything, because gold genuinely goes with every outfit you own.
8. Reindeer Accent Nail
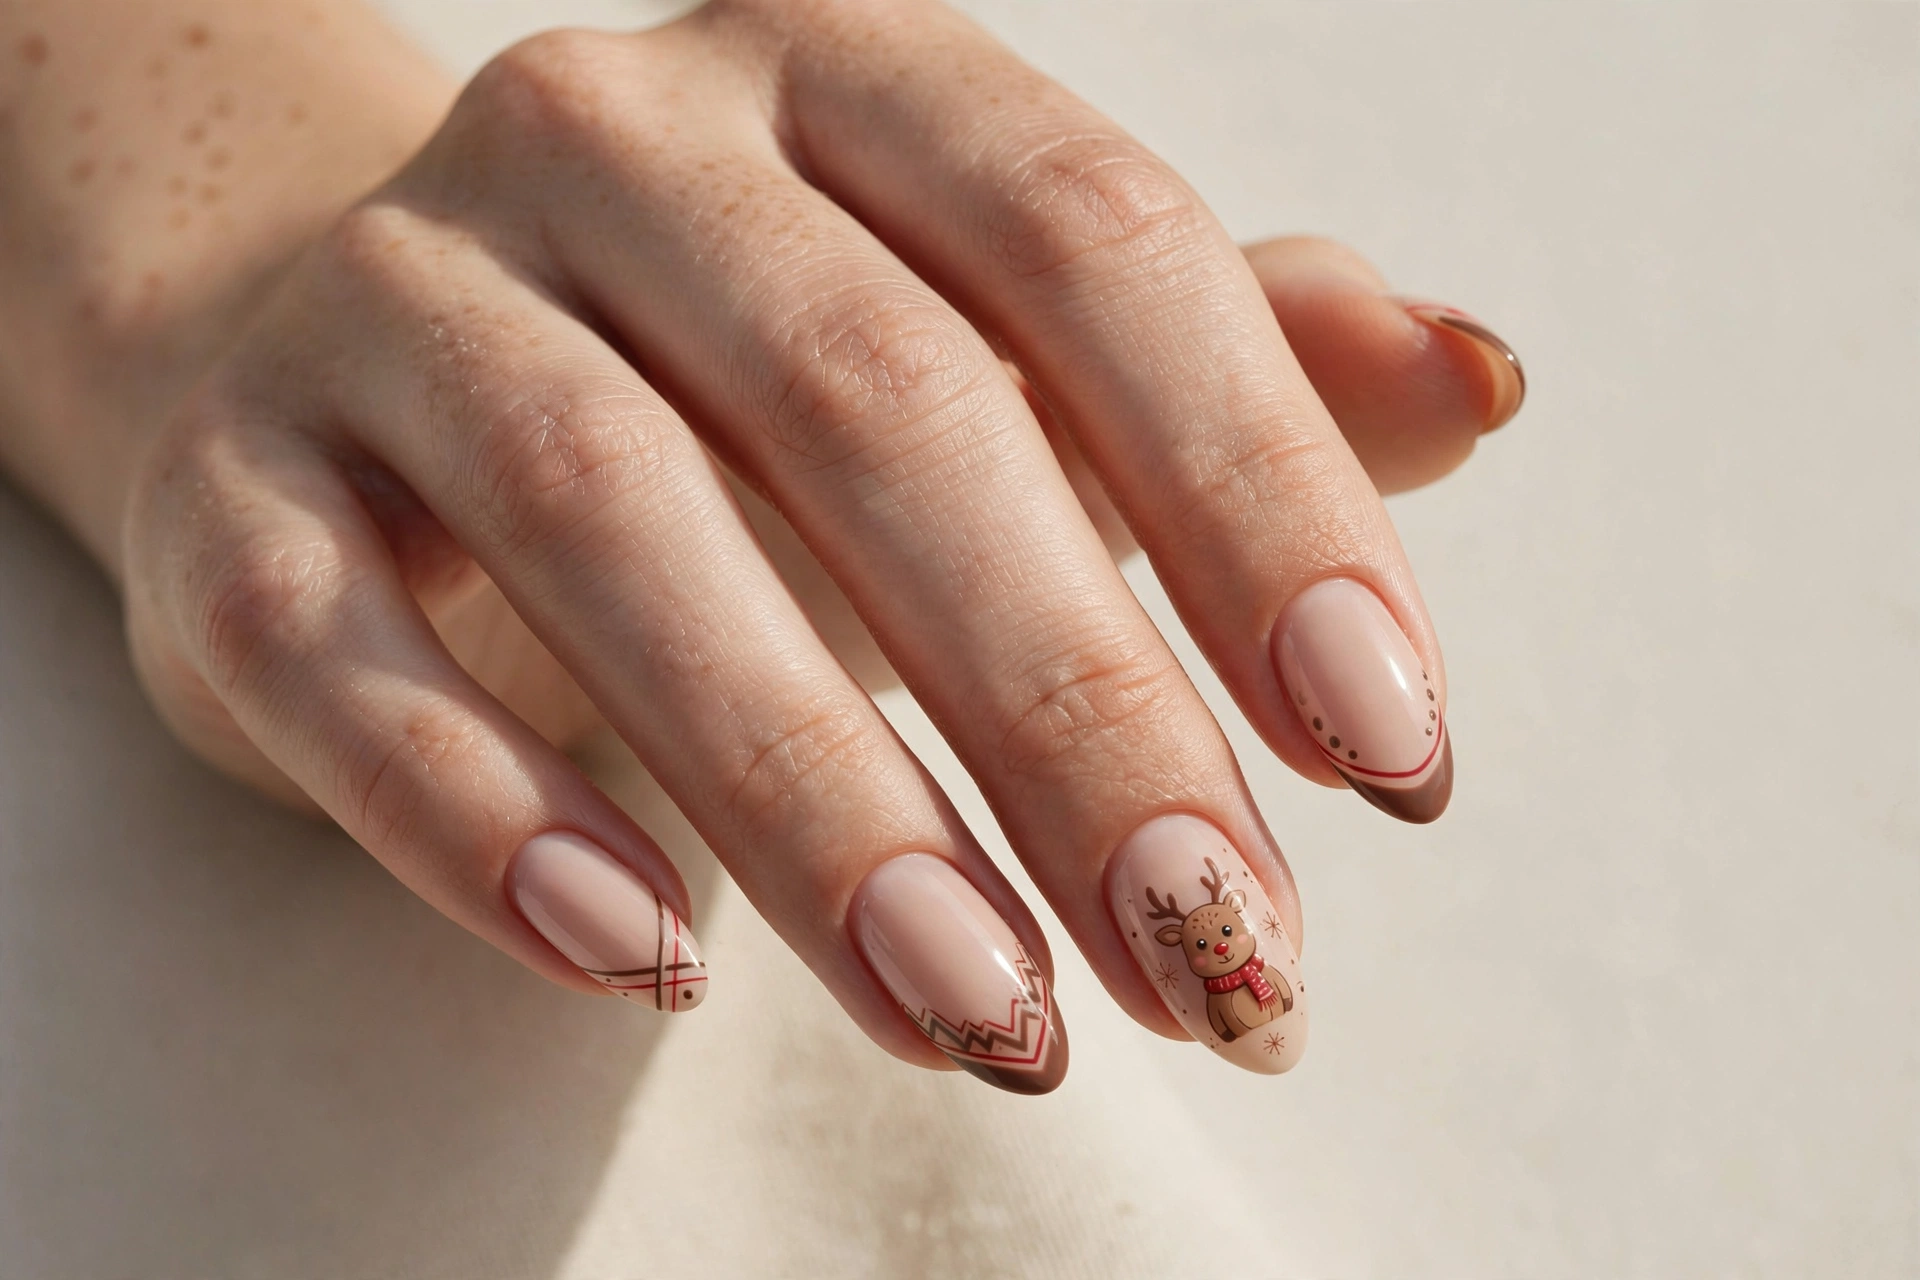
A tiny reindeer face on one accent nail is the kind of detail that makes everyone smile. The rest of the nails stay simple — usually a warm nude, soft brown or deep red — while the ring finger gets a hand-painted reindeer with a bright red nose. It is cute without being childish, and it works as well for the office party as it does for Christmas morning. This suits anyone who loves a playful holiday accent but does not want full-on character art on every nail. To paint it, use a dotting tool for the head and antlers drawn with a thin brush, then add a tiny red dot for the nose and two dots for eyes. Keep the reindeer small and centered. A glossy top coat protects the little face from smudging.
9. Frosted Icy Blue French Tips
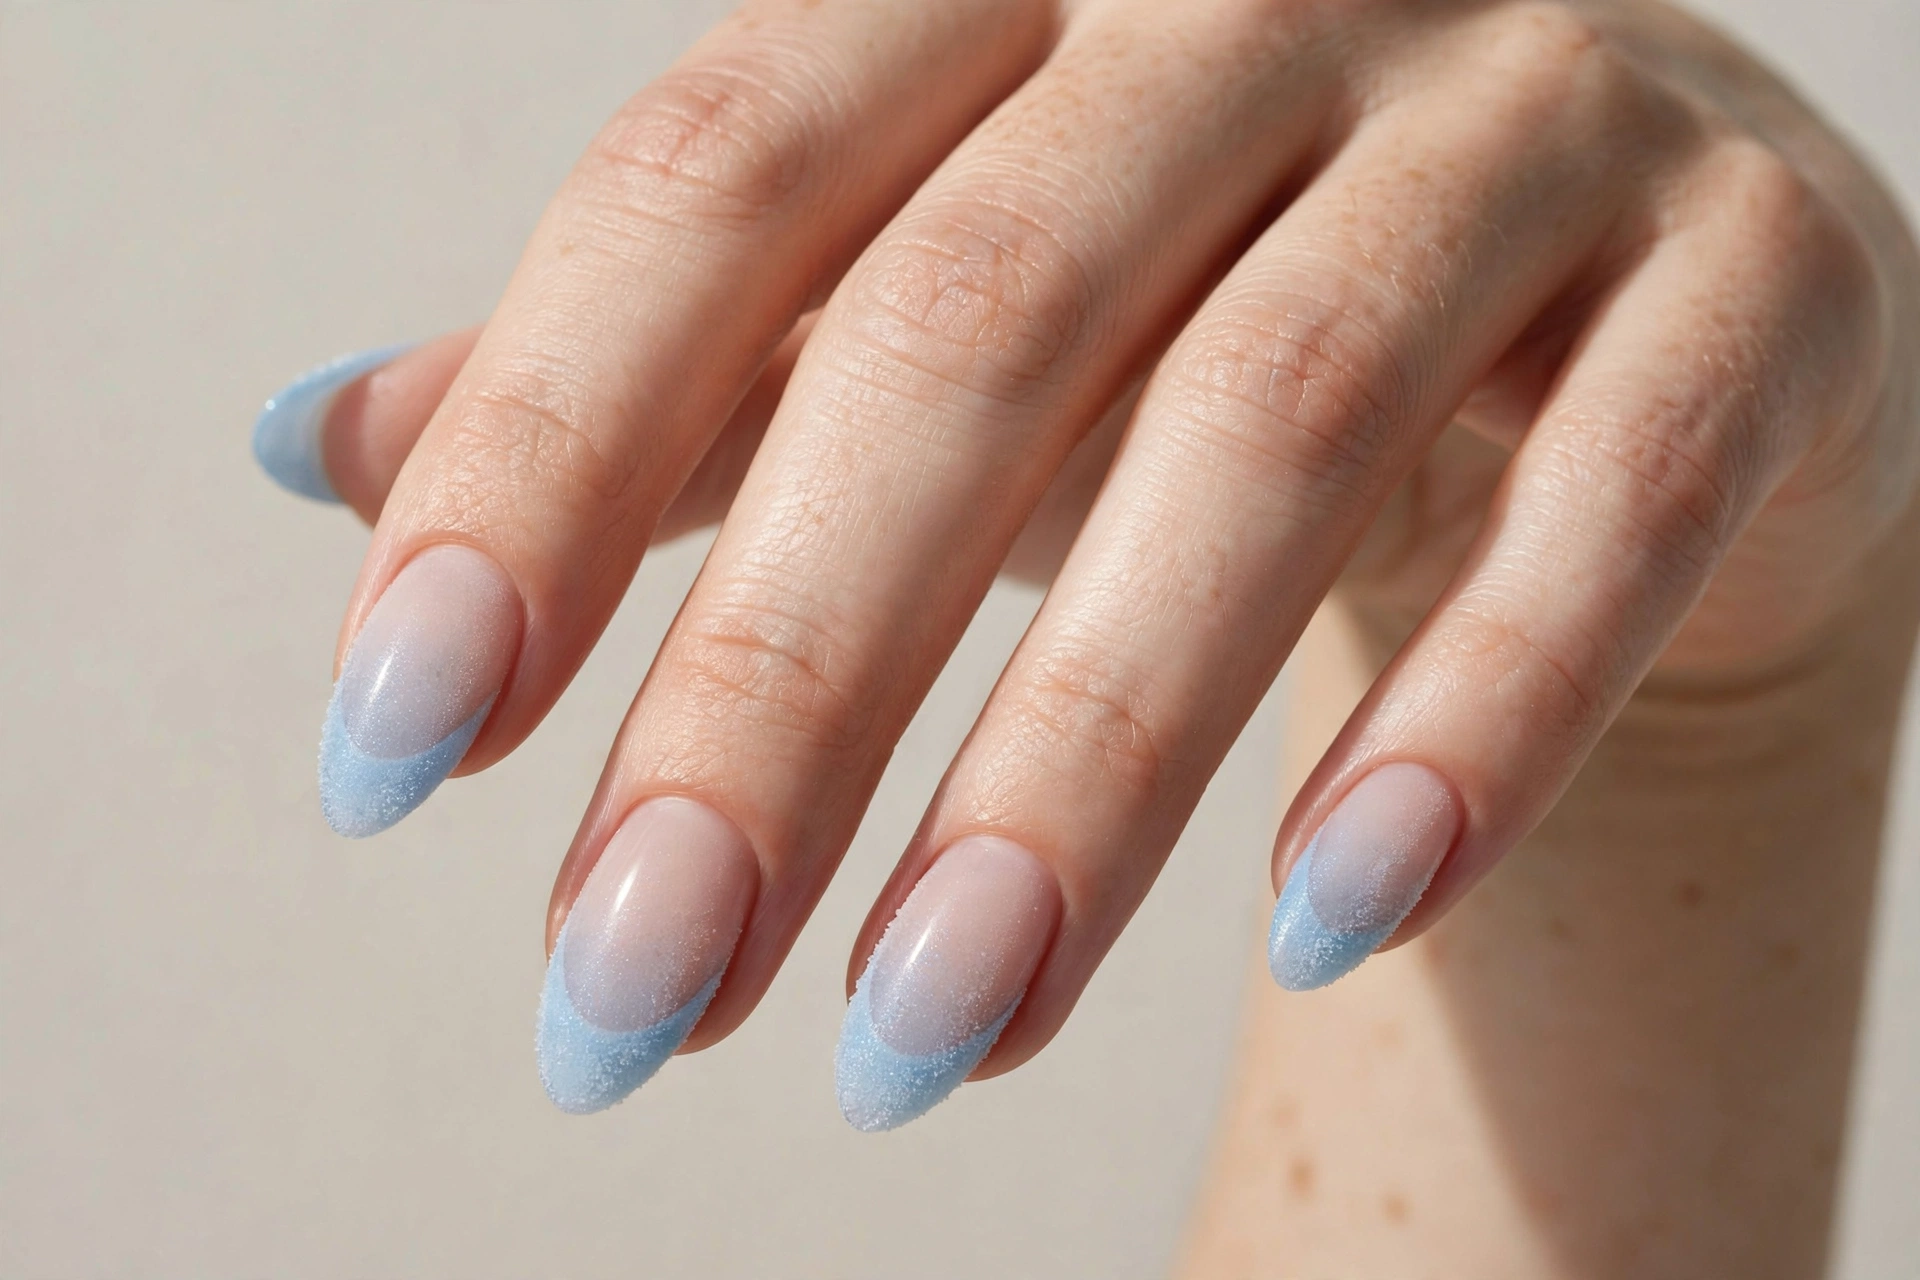
Frosted icy blue tips feel like winter itself — cool, crisp and quietly elegant. This is a French manicure reimagined for the holidays: a soft nude or pale pink base with tips in a shimmering ice-blue that fades like frost on glass. It is subtle enough for everyday wear but festive enough for the season, which makes it ideal for anyone whose December calendar is full of both work and parties. To get it, paint your base as usual, then use a French tip guide or a clean brush to paint the blue tips. A pale blue polish with fine shimmer gives the frosted effect; layer it twice for depth. Finish with a glossy top coat. It looks especially stunning on longer nails where the frost gradient has room to show.
10. Santa Hat Accent
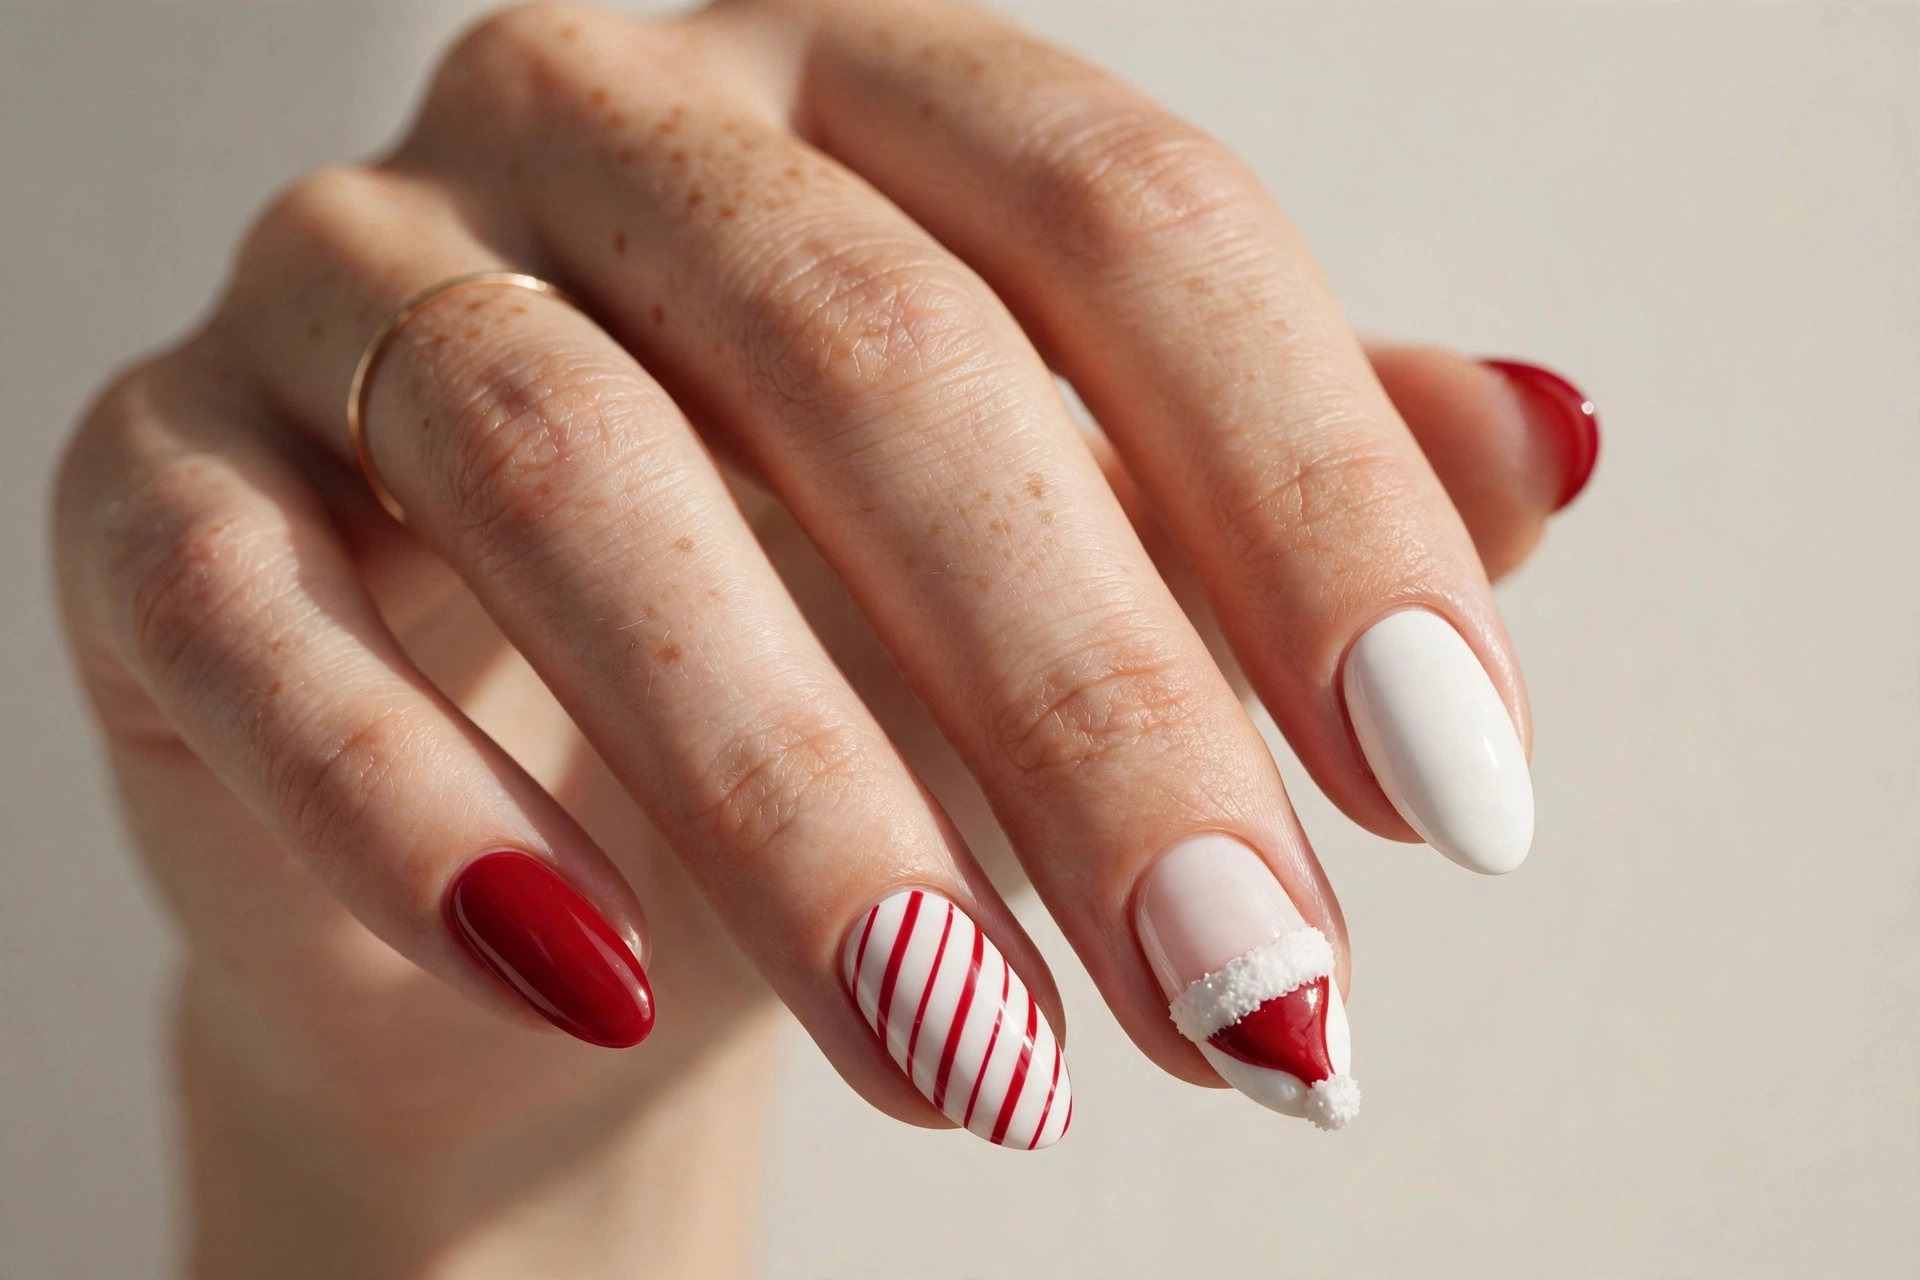
A Santa hat on one nail is an instant conversation starter. The classic red triangle with a white fluffy brim and pom-pom sits on an accent nail, while the other nails stay in coordinating red, white or nude. It is cheerful and lighthearted — perfect for anyone who treats December as a month-long celebration. To paint it, start with a red triangle from the cuticle toward the tip, add a thick white band across the base and a white dot at the point for the pom-pom. A small dotting tool makes the pom-pom perfectly round. Keep the rest of the nails simple so the hat is the star. This is a great DIY project because the shapes are simple and forgiving. Seal with a top coat and watch it make people grin all season.
11. Deep Burgundy with Gold Stars
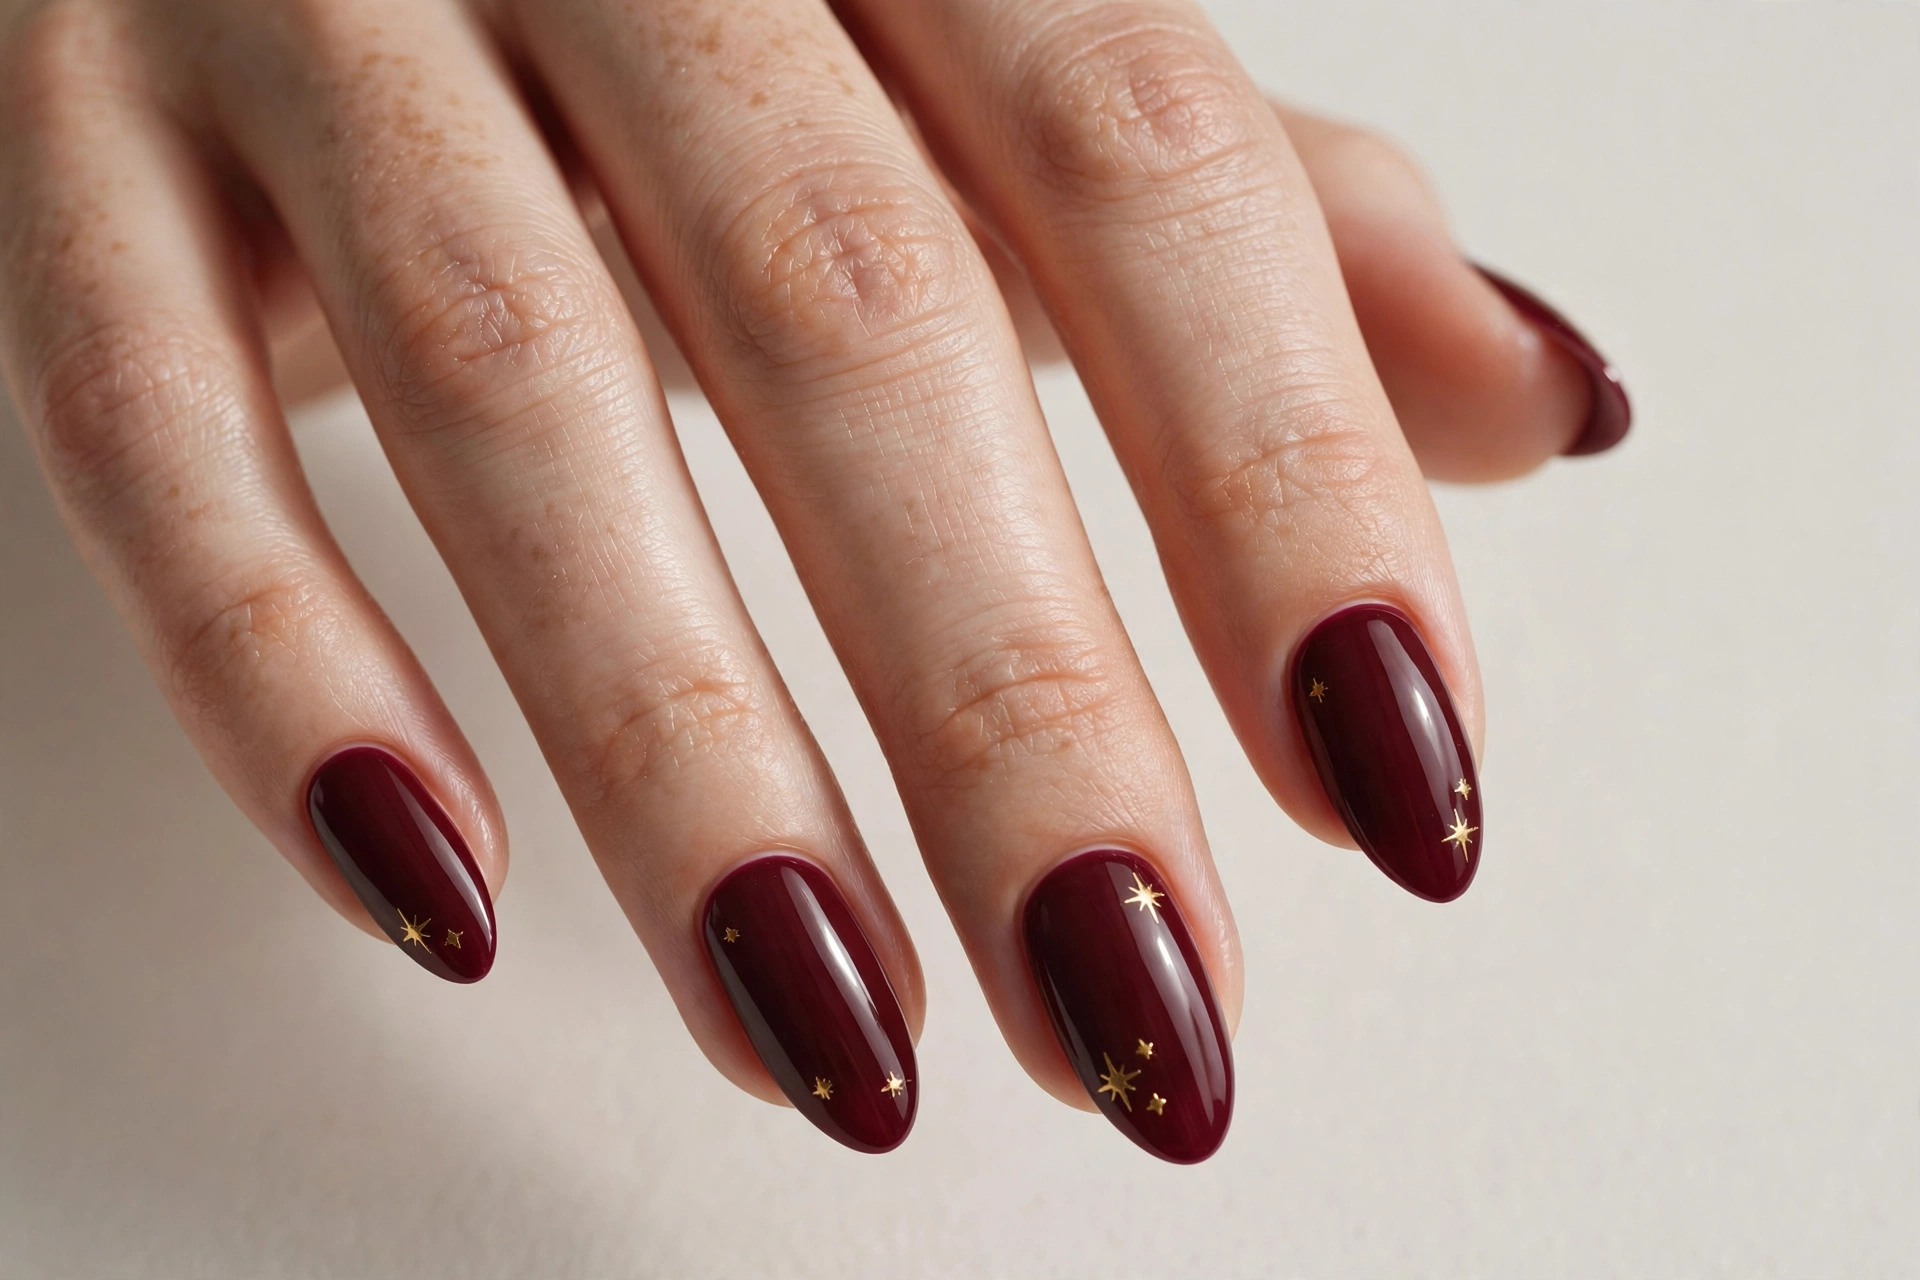
Deep burgundy with tiny gold stars looks like the night sky on Christmas Eve. The wine-dark base is sophisticated and moody, and the scattered gold stars add just enough sparkle to feel festive without tipping into glitter overload. This suits anyone who prefers an elegant, grown-up holiday look — it is stunning at evening events and pairs perfectly with dark winter wardrobe colors. To get it, paint two coats of a rich burgundy or oxblood polish, then use a star-shaped nail stamp or a fine brush to add small gold stars across each nail. Vary their sizes and positions for a natural scattered look. A single gold star on each nail near the cuticle is a simpler, equally pretty alternative. Finish with a glossy top coat to make the gold pop.
12. White Sweater-Knit Texture
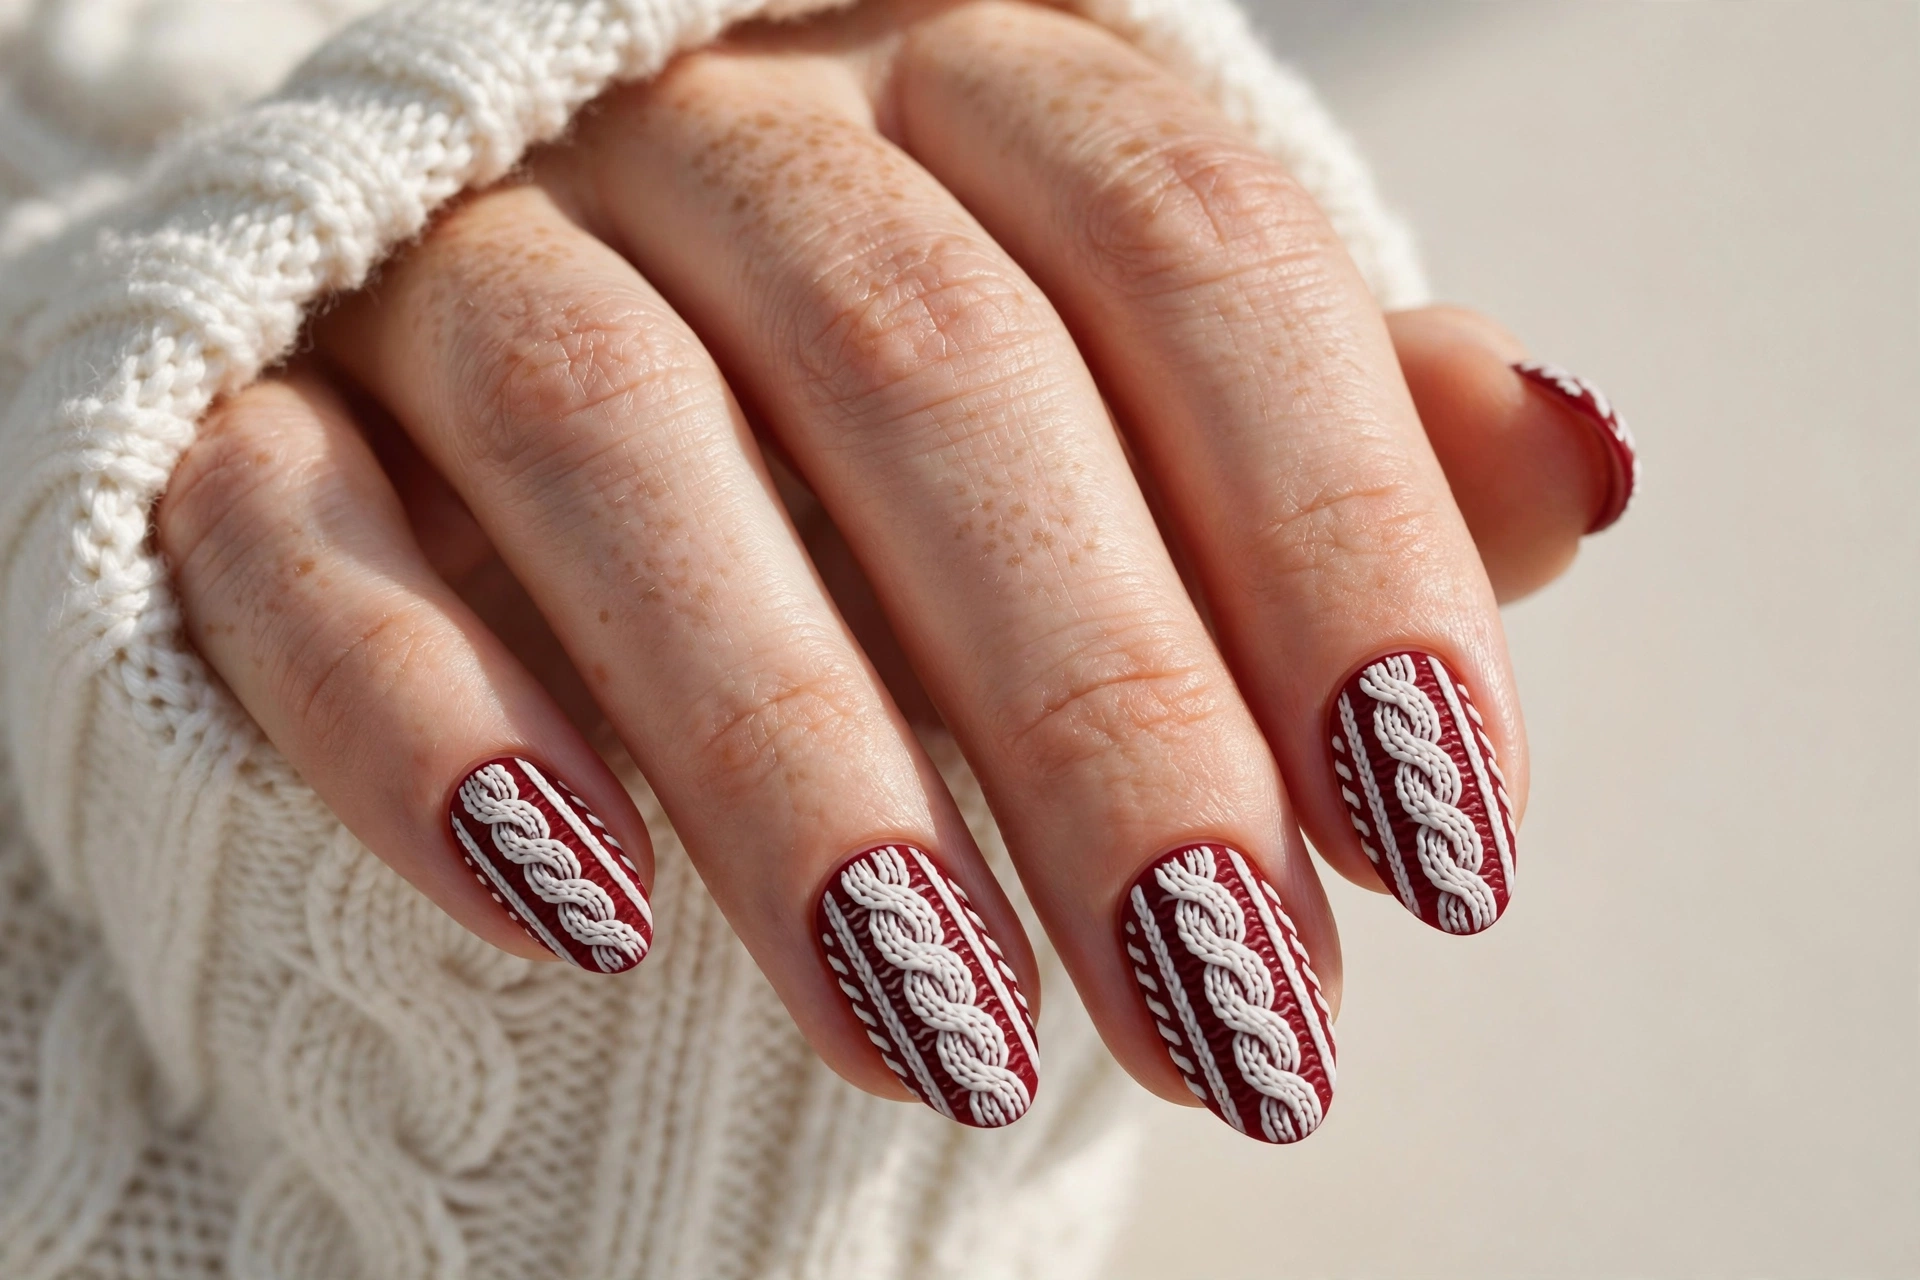
Sweater-knit nails are the coziest trend in Christmas nail art, and for good reason — they look exactly like your favorite winter sweater. Raised cable-knit patterns in white or cream are built up over a red, green or nude base, creating a three-dimensional texture that is pure comfort. This suits anyone who loves texture and detail, and it is a wonderful choice for holiday photos because the raised pattern catches the light so nicely. To create it, paint your base color, then use a thick gel or acrylic paint to pipe cable-knit lines — a series of small V-shapes or braids. Cure or let dry, then go over the raised design with the same base color so it looks knitted in. A matte top coat over the texture gives an authentic wool look.
13. Holly Berries on Nude
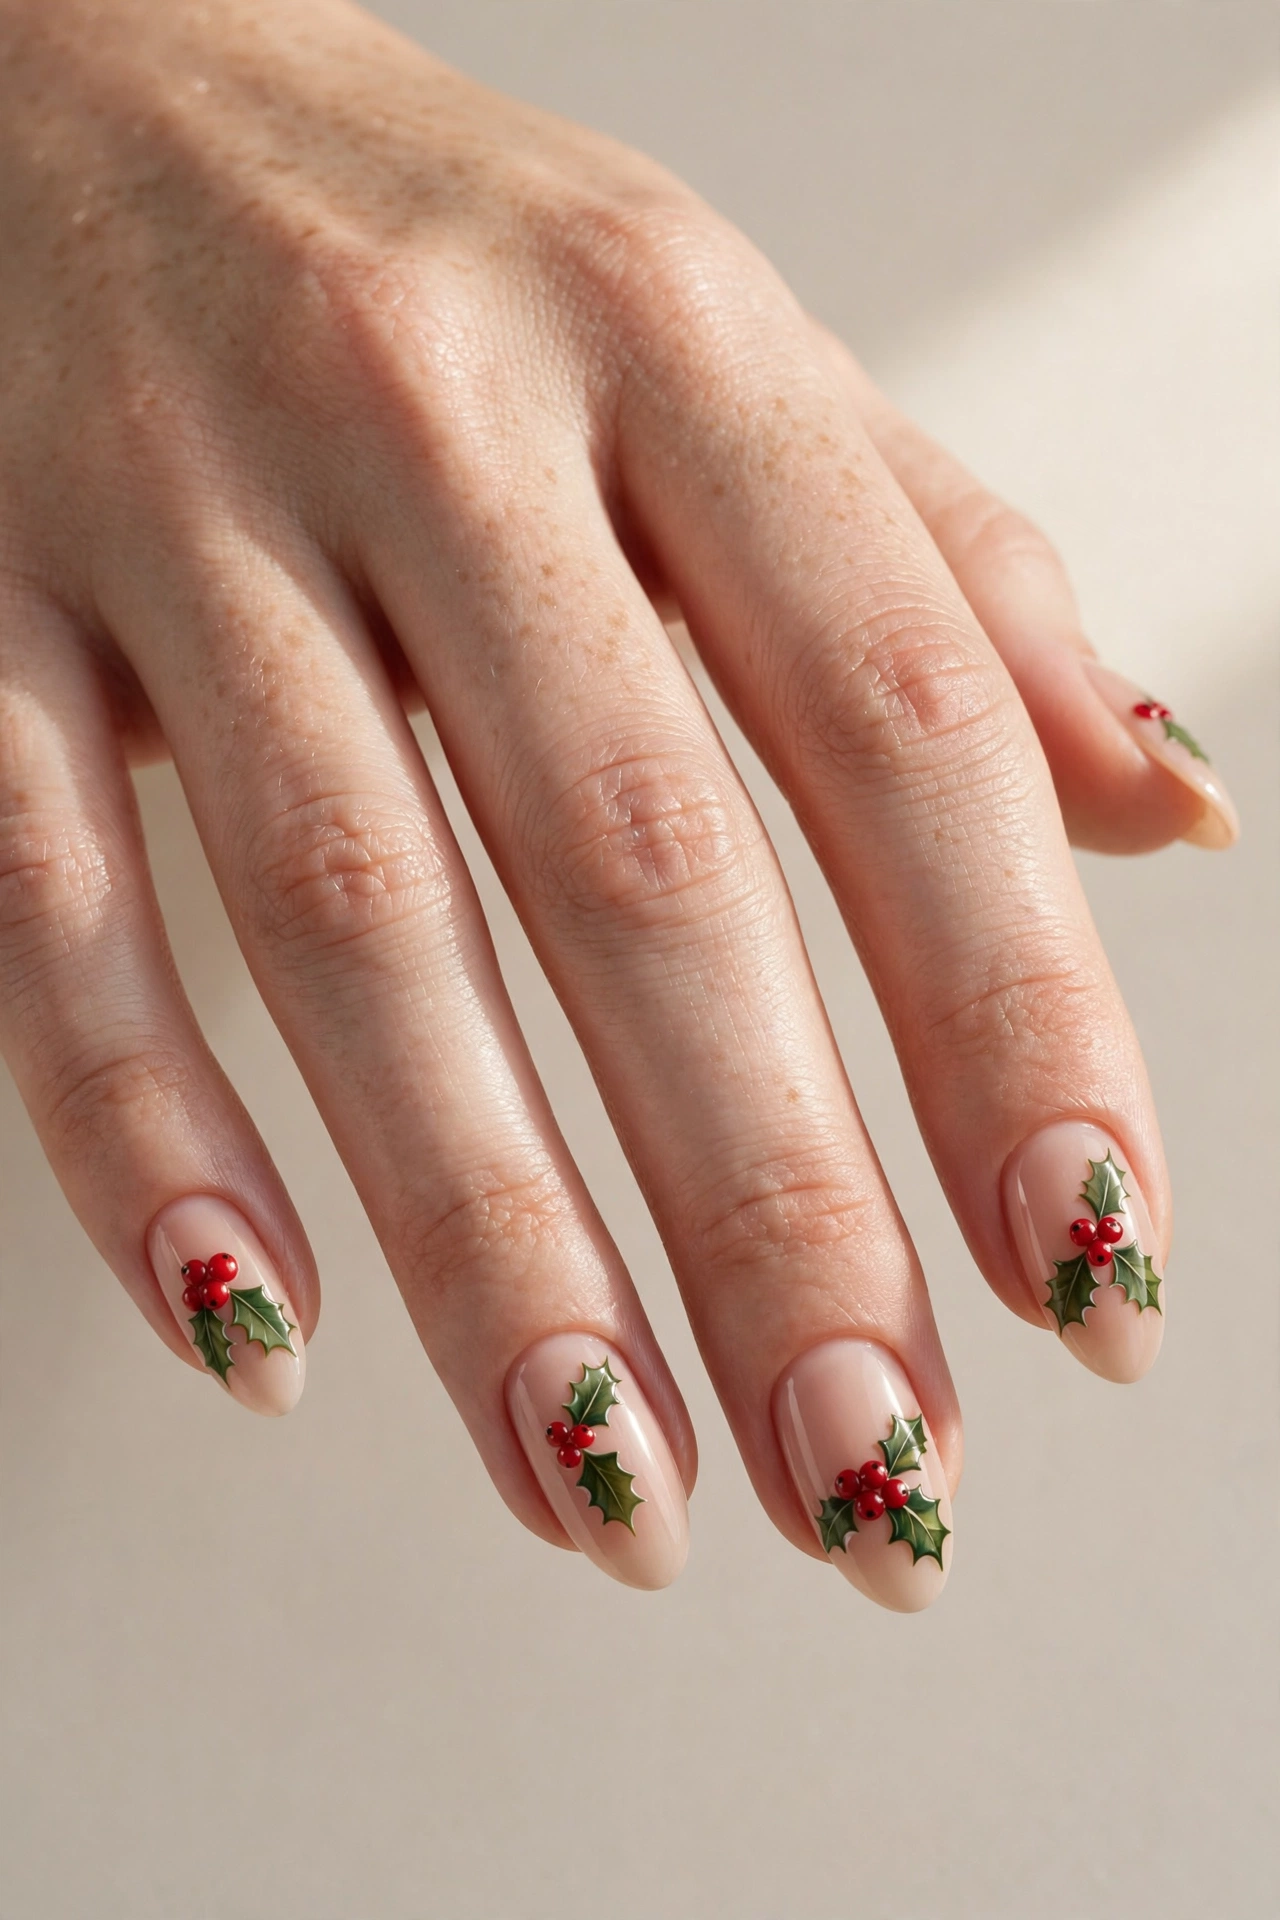
Holly berries on a soft nude base are Christmas at its most delicate. Tiny clusters of red berries with pointed green leaves are painted near the cuticle or along one side of each nail, leaving plenty of clean nude space. The effect is fresh, pretty and understated — ideal if you want holiday nails that still look refined at work. If green is your favorite holiday color, you will also love these green Christmas nail designs for a festive holiday manicure, which take the same botanical spirit even further. To paint the holly, use a dotting tool for the red berries — cluster three together — and a thin brush for the sharp little leaves. A nude or sheer pink base keeps everything soft. This is a forgiving design for beginners because small imperfections just look natural.
14. Silver Glitter Ombre
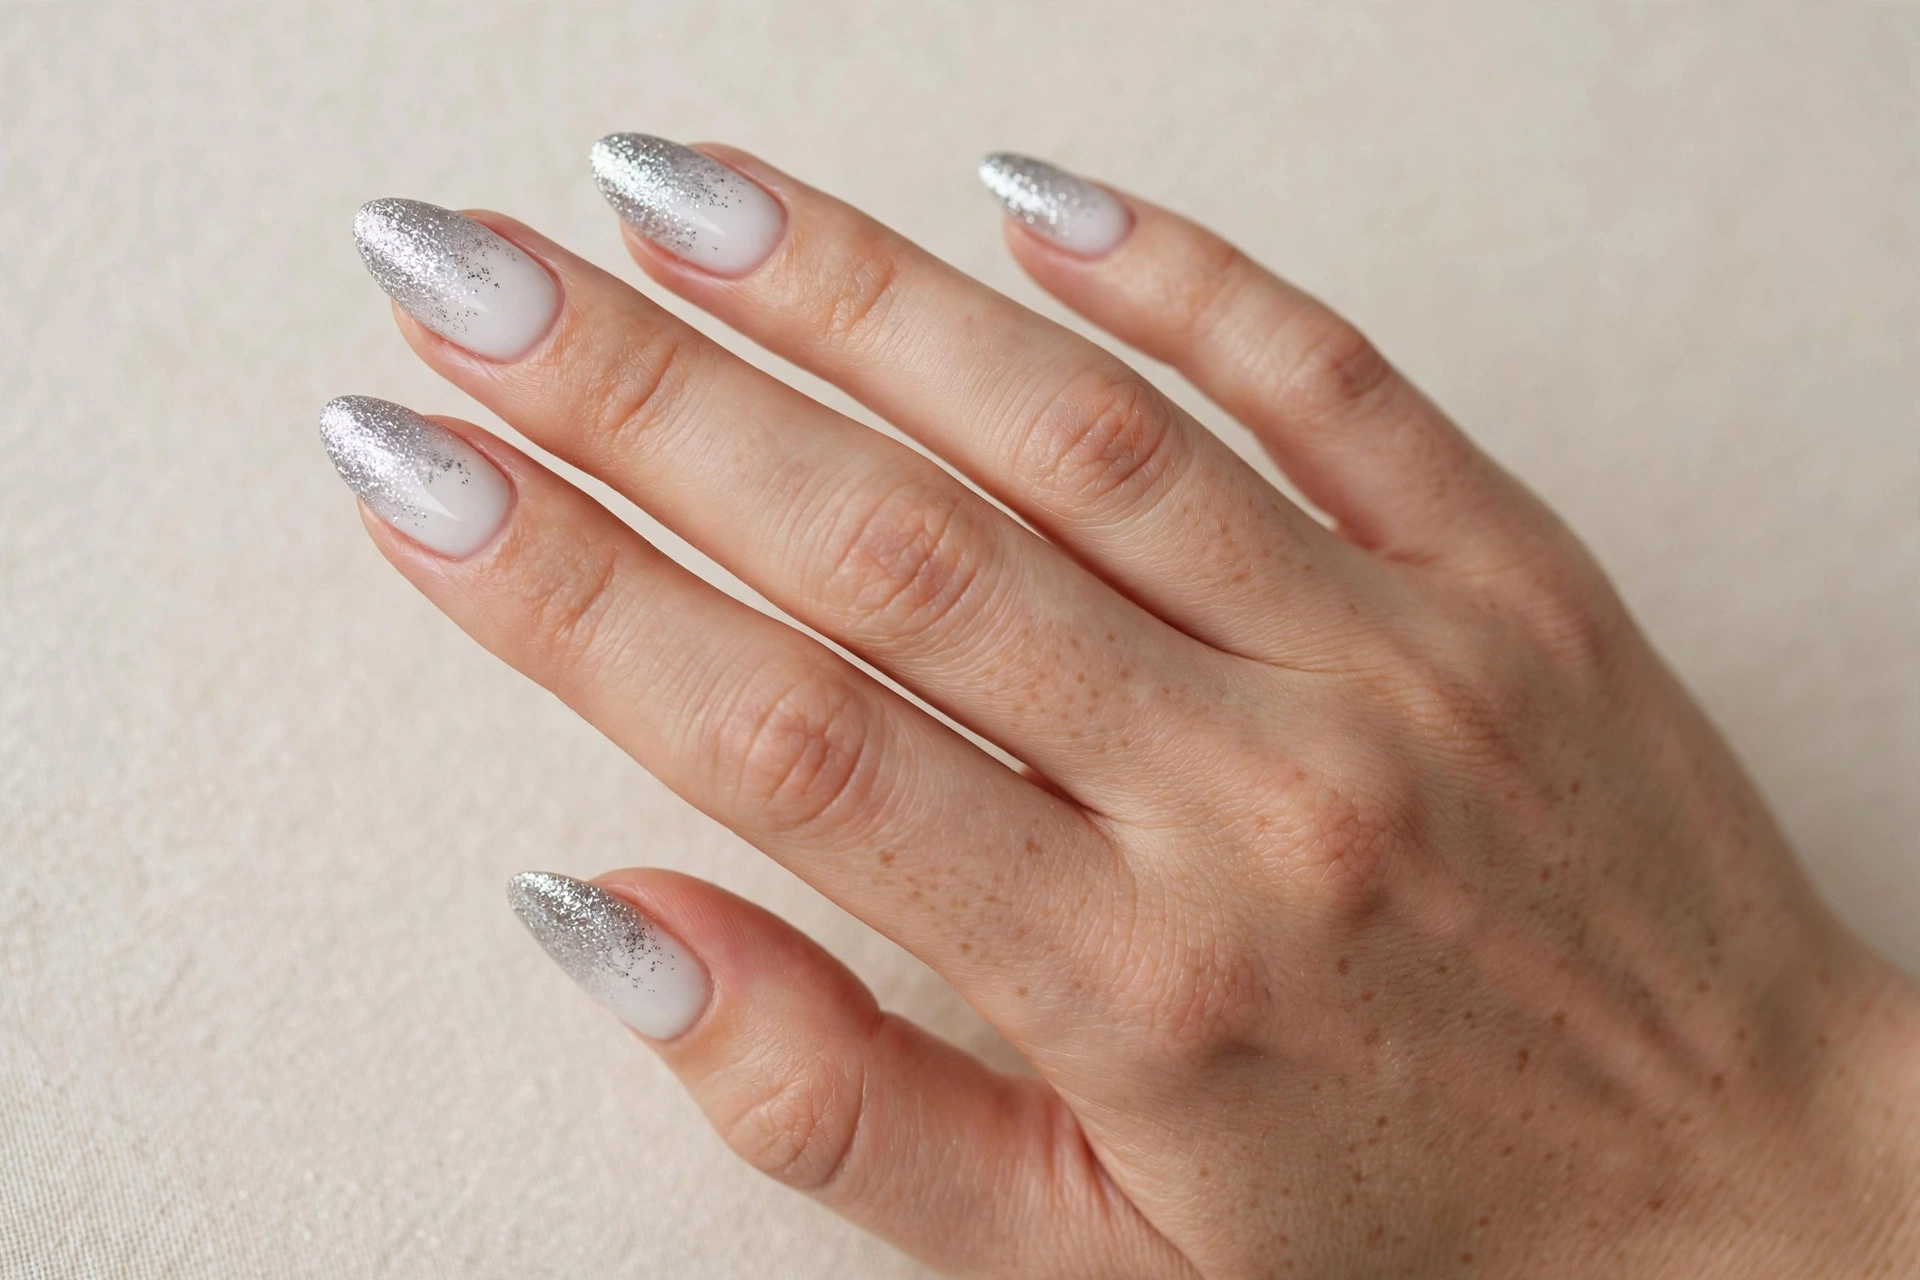
Silver glitter fading up from the tips is like fresh snow sparkling in moonlight. The ombre starts with a clean white or pale pink base near the cuticle and builds into dense silver glitter at the tips, creating a smooth, luminous gradient. This suits anyone who wants glamour without bold color — it goes with absolutely everything and looks incredible under evening lights. To get the gradient, paint your base first, then dab silver glitter polish onto the tips with a makeup sponge, building up layers until the tips are fully covered. The sponge technique is what makes the fade seamless — a brush gives a harsher line. Blend downward with lighter dabs, then seal with a generous top coat to smooth the glitter texture. It wears beautifully for weeks.
15. Gingerbread Nails
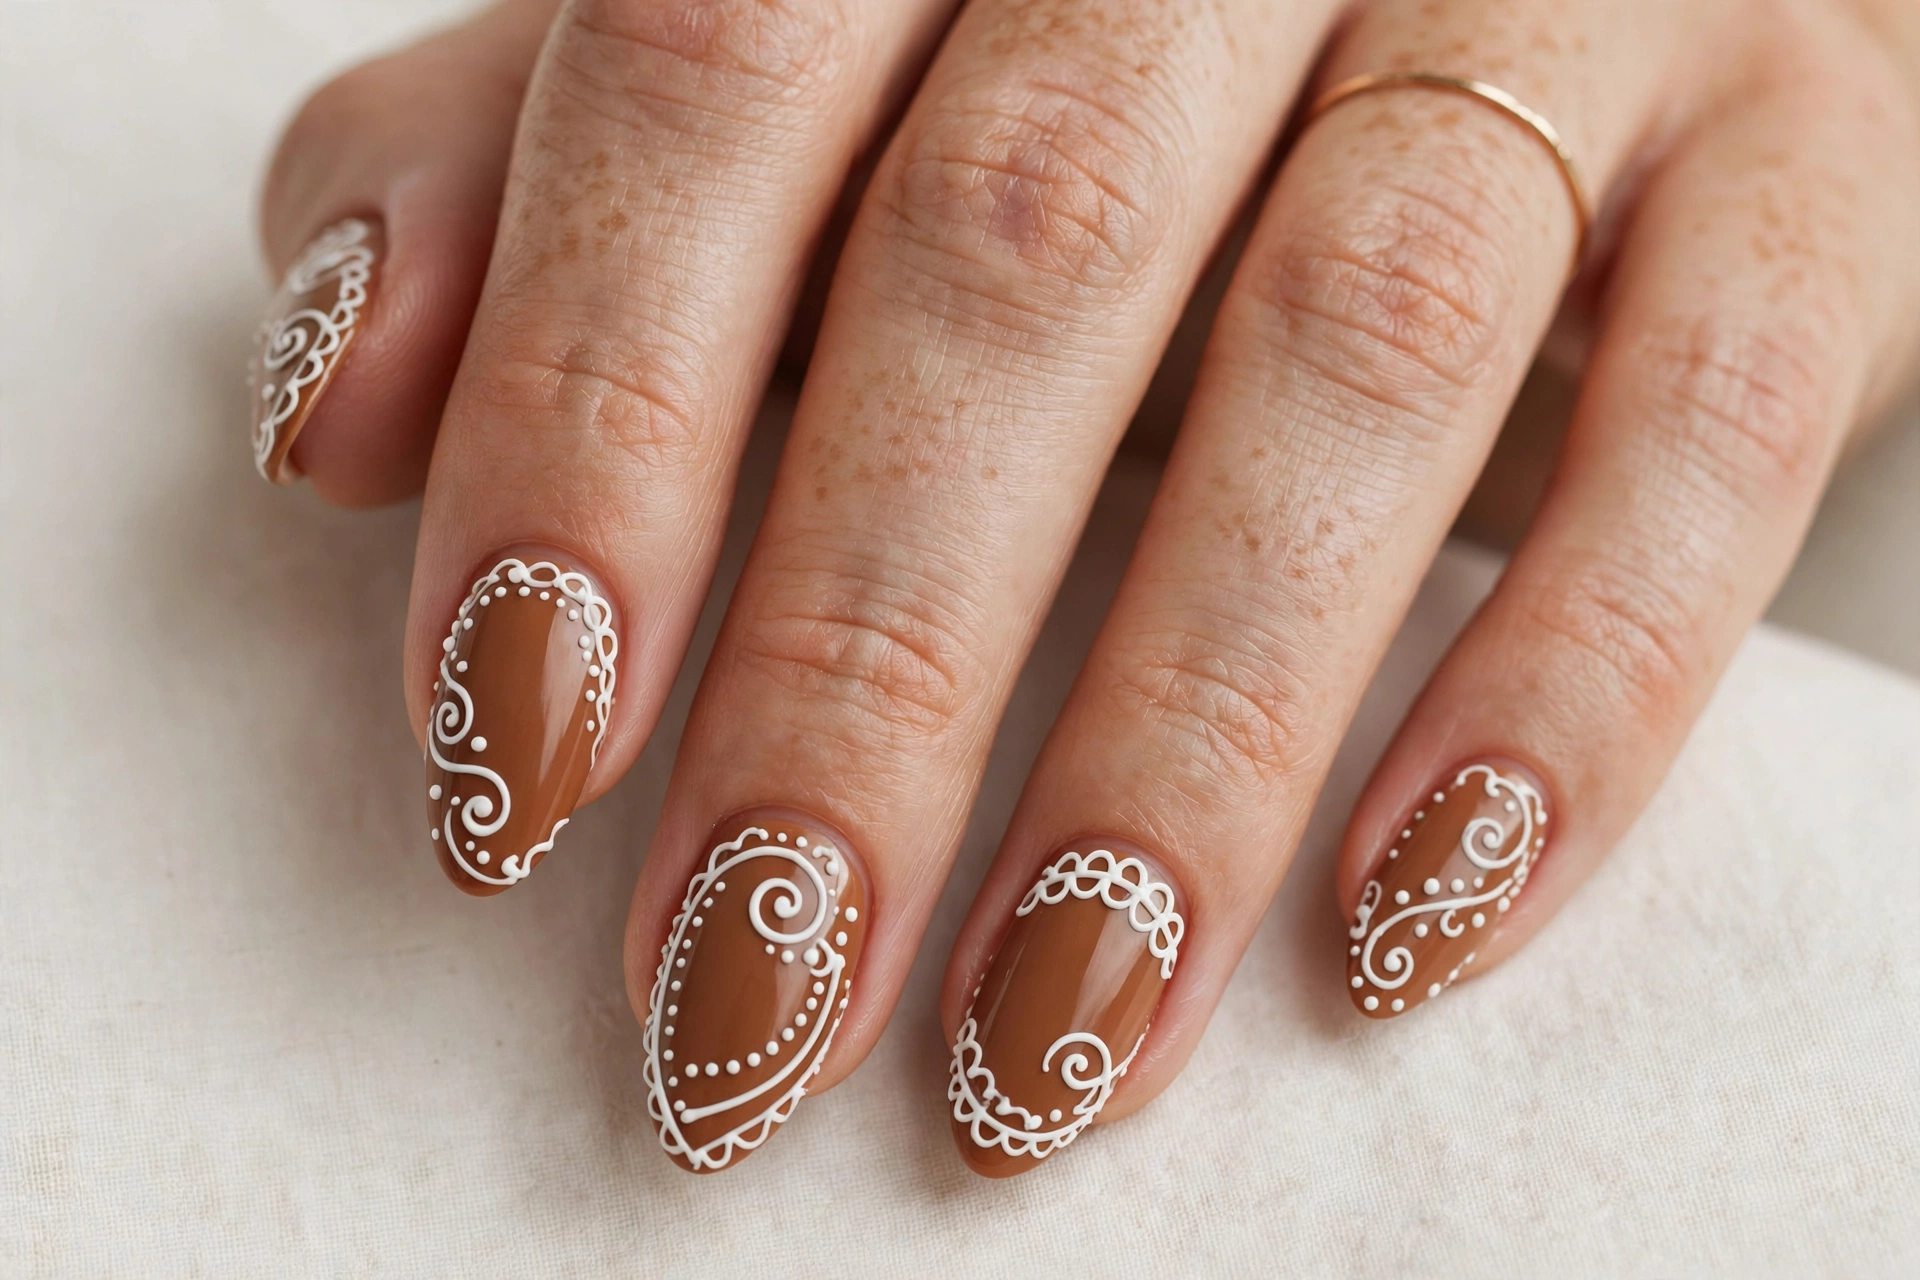
Gingerbread nails are the sweetest design on this list — literally. Warm cookie-brown bases with white icing details piped on like a real gingerbread cookie: swirls, dots, tiny bows and little hearts. They look good enough to eat and bring an instant smile to anyone who sees them. This suits playful personalities and anyone who loves the baking side of Christmas. To get it, paint a warm brown base — think gingerbread, not chocolate — then use white nail art polish or a thin brush to pipe the icing details. Keep the designs simple: a swirl here, a row of dots there. If you are nervous about freehand work, tiny icing bows and dots are the easiest place to start. A glossy top coat gives them that just-frosted look.
16. Matte Forest Green with Glossy Tips
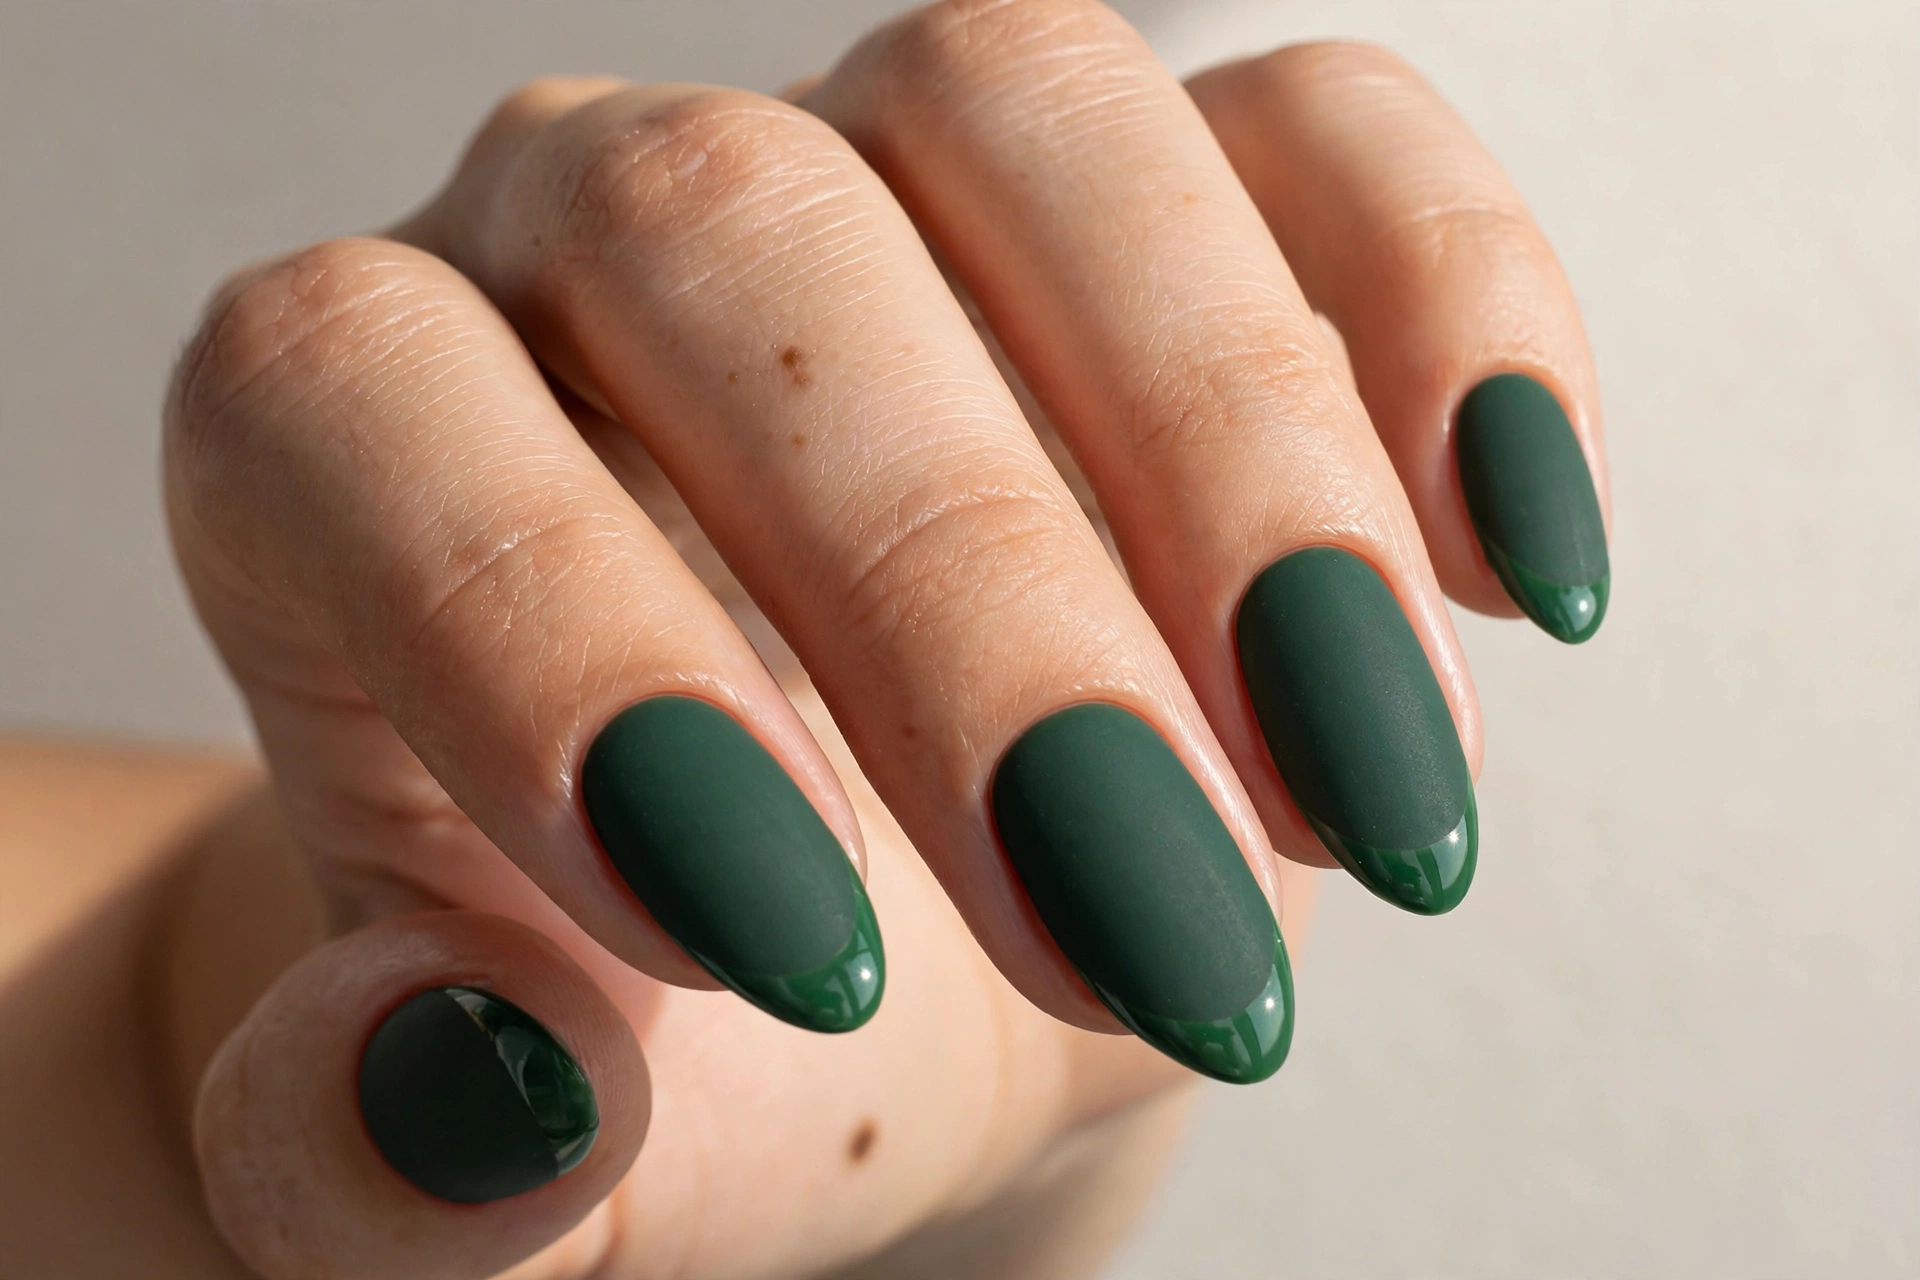
This one plays with finish instead of color — and it is quietly stunning. A deep forest green goes matte across the whole nail, then the tips get the same green in high gloss, so the design appears and disappears as your hands move. It is sophisticated, modern and just festive enough, making it a great choice for anyone who wants Christmas nails that still feel sleek and adult. To get it, paint the full nail in matte forest green and let it dry completely, then carefully paint the tips with a glossy top coat — a French tip guide helps keep the line clean. The contrast between matte and shine does all the work, so no extra art is needed. It suits shorter nails beautifully and lasts well because there is no glitter to lift or chip.
17. Red and White Ornament Dots
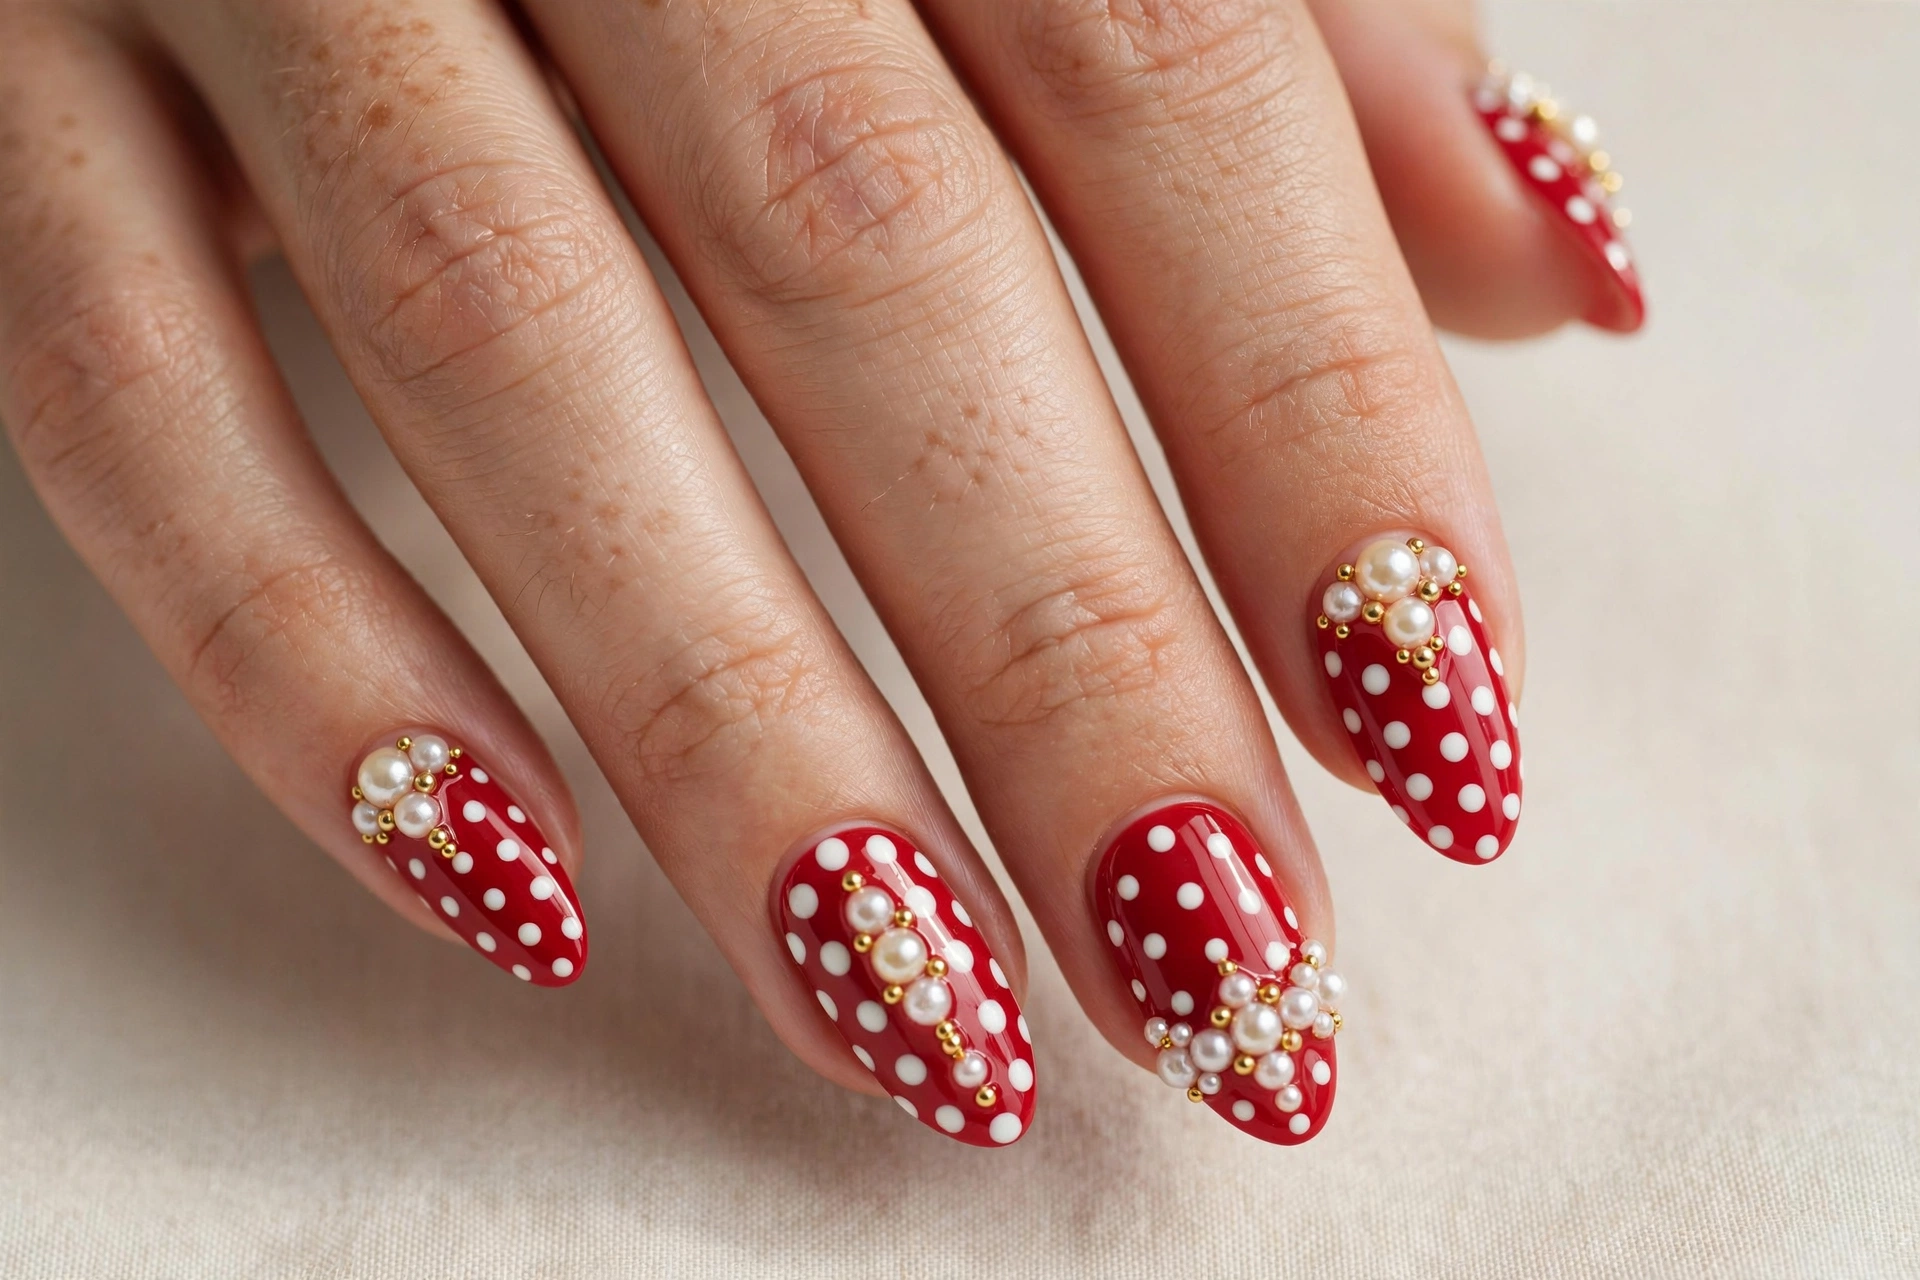
These nails look like a box of your favorite baubles. Alternating red and white dots of different sizes are scattered across a glossy base — some solid, some ringed like ornaments with tiny caps — creating a playful polka-dot Christmas that works on any nail length. It is cheerful without being childish, and the simple shapes make it one of the easiest designs on this list to do yourself. To get it, paint your base (red with white dots, or white with red dots — both are lovely), then use dotting tools in two sizes to place the dots. Add a tiny metallic dot on a few of the larger dots to suggest an ornament cap. Keep the spacing casual rather than perfect; a scattered layout looks more festive. Finish with a high-shine top coat.
18. Pine Branch Tips
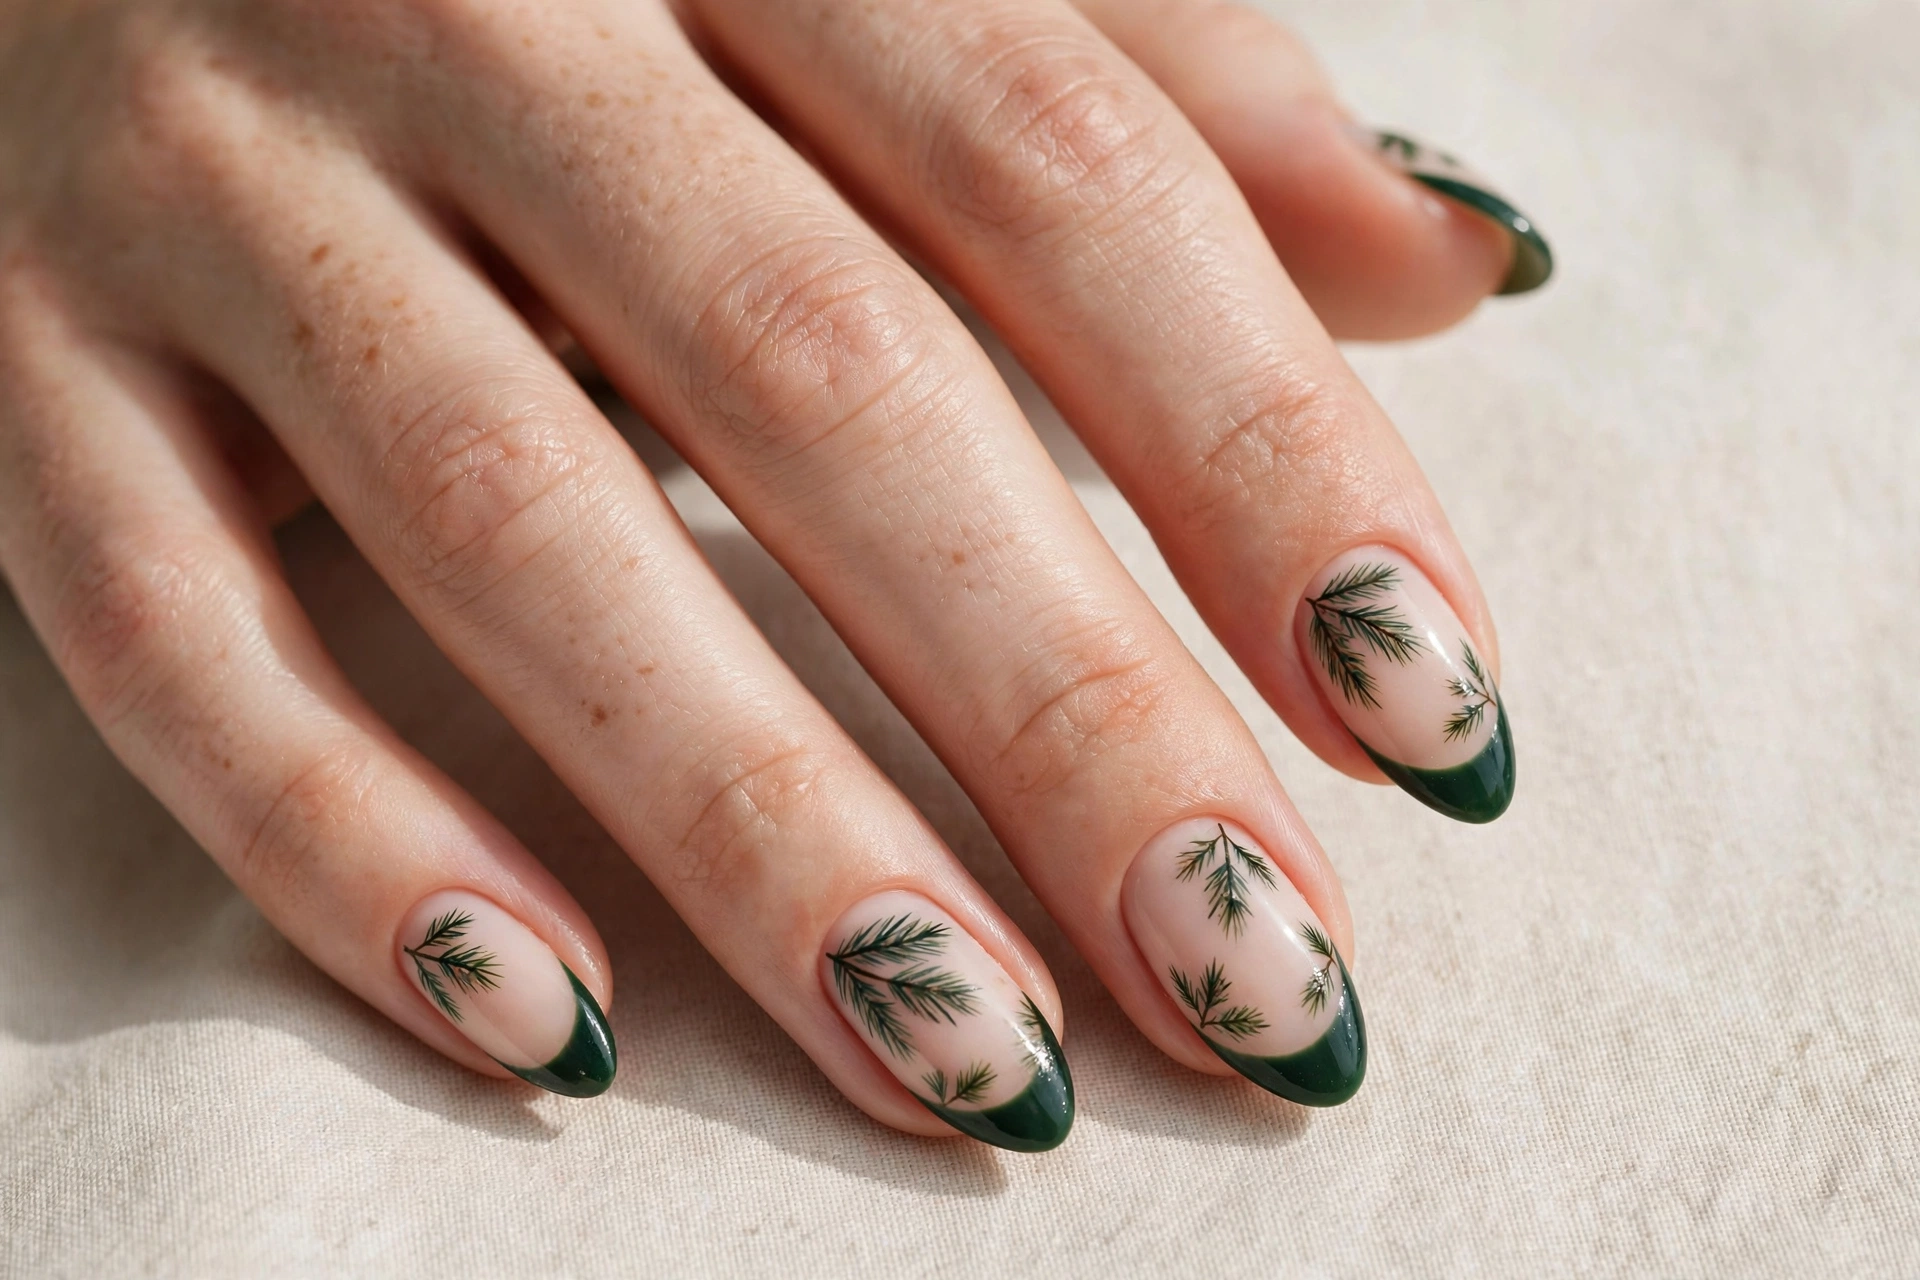
Delicate pine branches painted over dark green French tips feel like a walk through a snowy forest. The base stays nude or sheer, the tips are painted in deep green, and then tiny pine needles are brushed along the tip line with a fine brush. A few dots of gold or red suggest berries tucked into the branches. This suits anyone who loves nature-inspired, understated holiday art — it is festive without shouting about it. To get it, paint your French tips in dark green first and let them dry, then use the very edge of a thin brush to flick short pine needles along the smile line. Keep the strokes light and feathery. A glossy top coat unifies the design. It looks especially elegant on longer almond nails.
19. Crystal Rhinestone Glam
For the nights when only full glamour will do, crystal rhinestones are the answer. A champagne gold or deep red base is dressed up with carefully placed crystals — a single row along the cuticle, a cluster on one accent nail, or a full crystal nail for maximum drama. This suits anyone with a packed December social calendar, from work parties to New Year’s Eve, because rhinestones read as jewelry from across the room. To get it, paint and fully dry your base, then place each stone with a wax pencil or tweezers onto a dot of nail glue. Press gently and let the glue set before moving on. Seal around — not over — the stones with top coat so they keep their sparkle. They last surprisingly well if you are gentle with them.
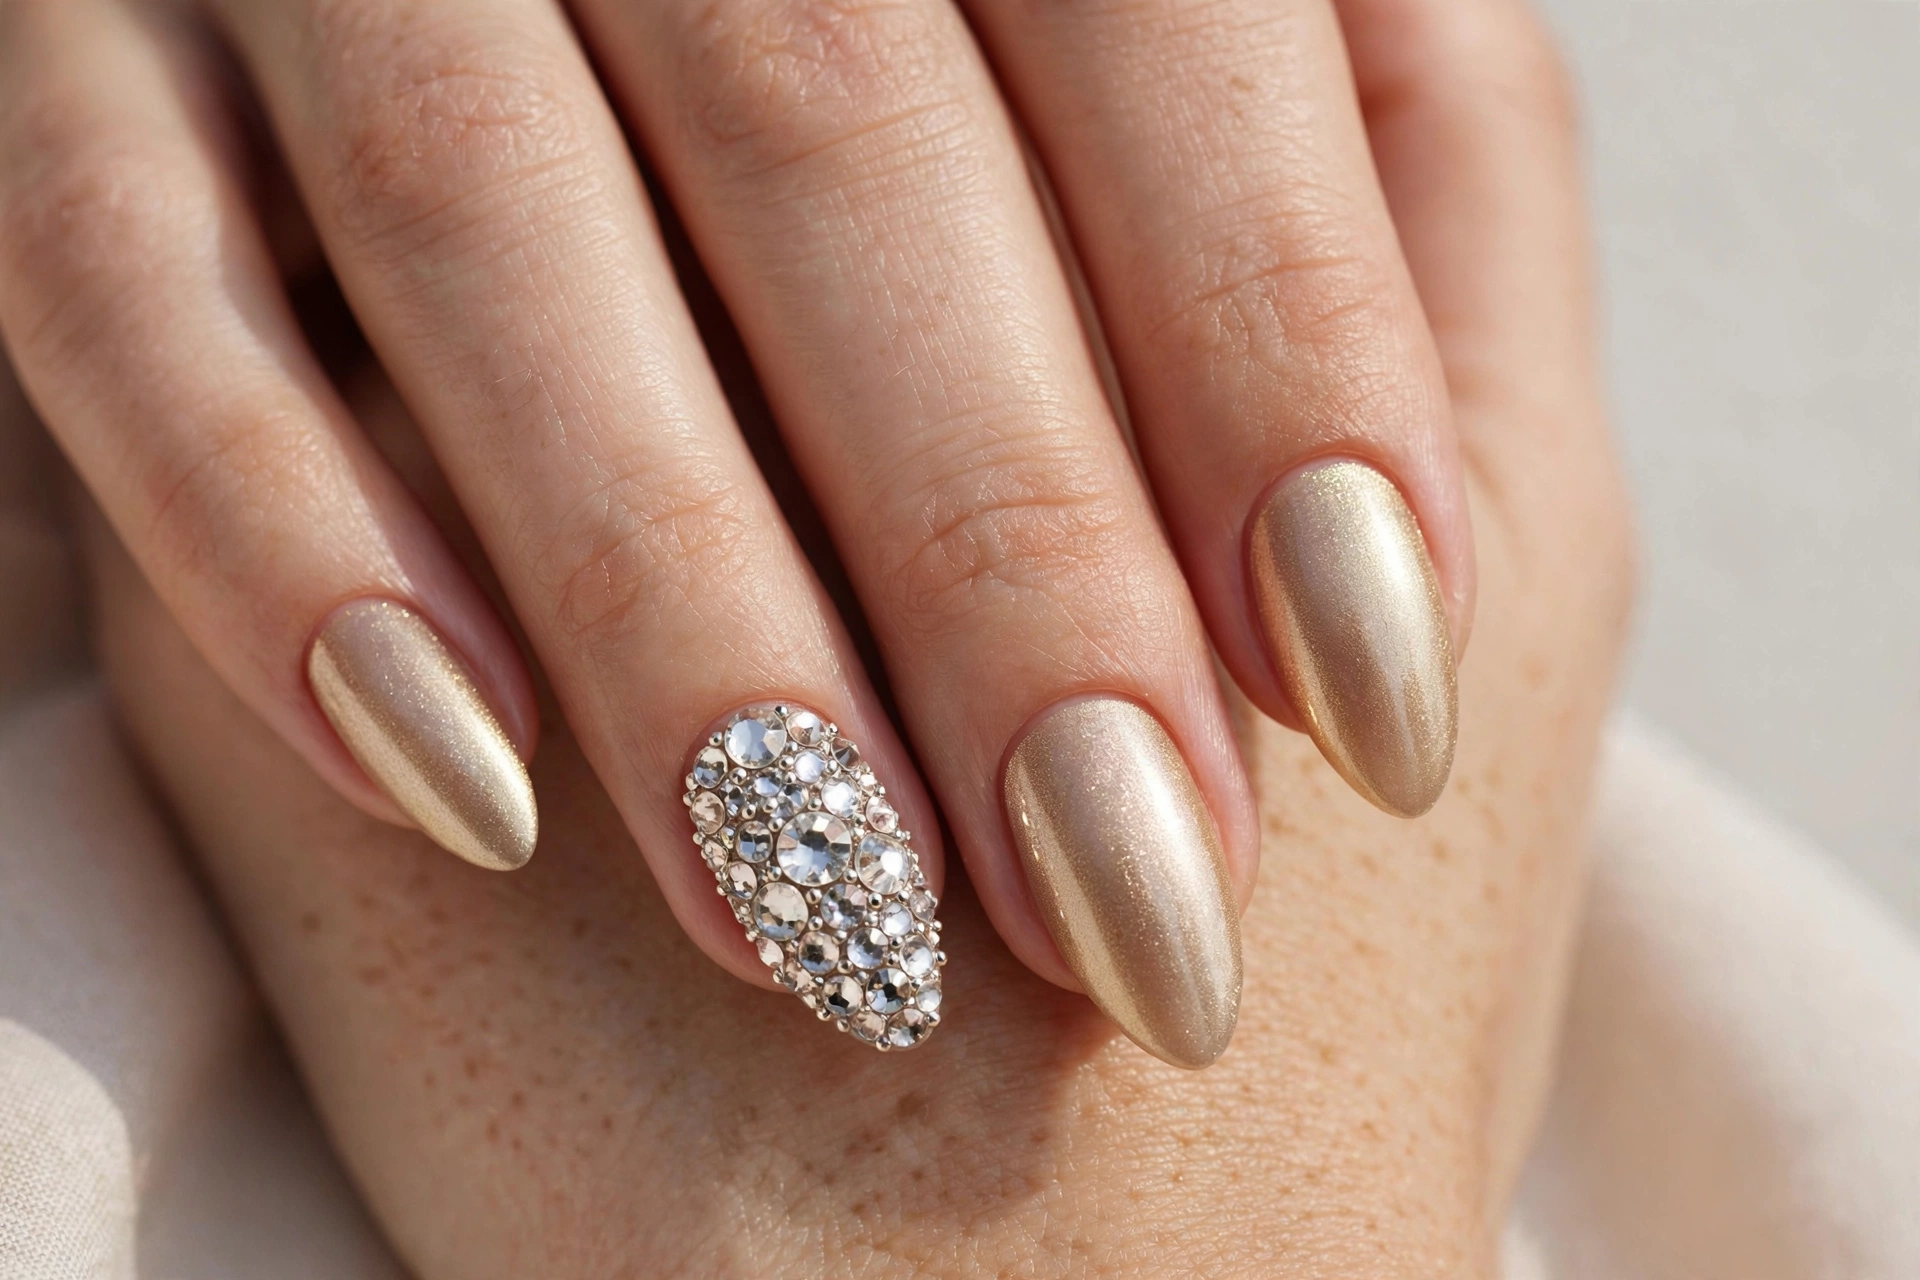
20. Red Velvet Matte
Red velvet matte nails look like the richest fabric you have ever touched. The deep red goes completely flat — no shine at all — which gives it a soft, plush, almost powdery appearance that is incredibly chic. It is a modern take on the classic Christmas red, perfect for anyone who finds glossy red a little expected but still loves the color. To get the velvet effect, paint two coats of a rich red, then finish with a velvet or matte top coat — or use flocking powder pressed onto tacky polish for a true fuzzy texture. Keep the shape neat and slightly rounded, since matte finishes show every imperfection. One practical note: matte top coats can lift at the tips faster, so keep one on hand for touch-ups through the week.
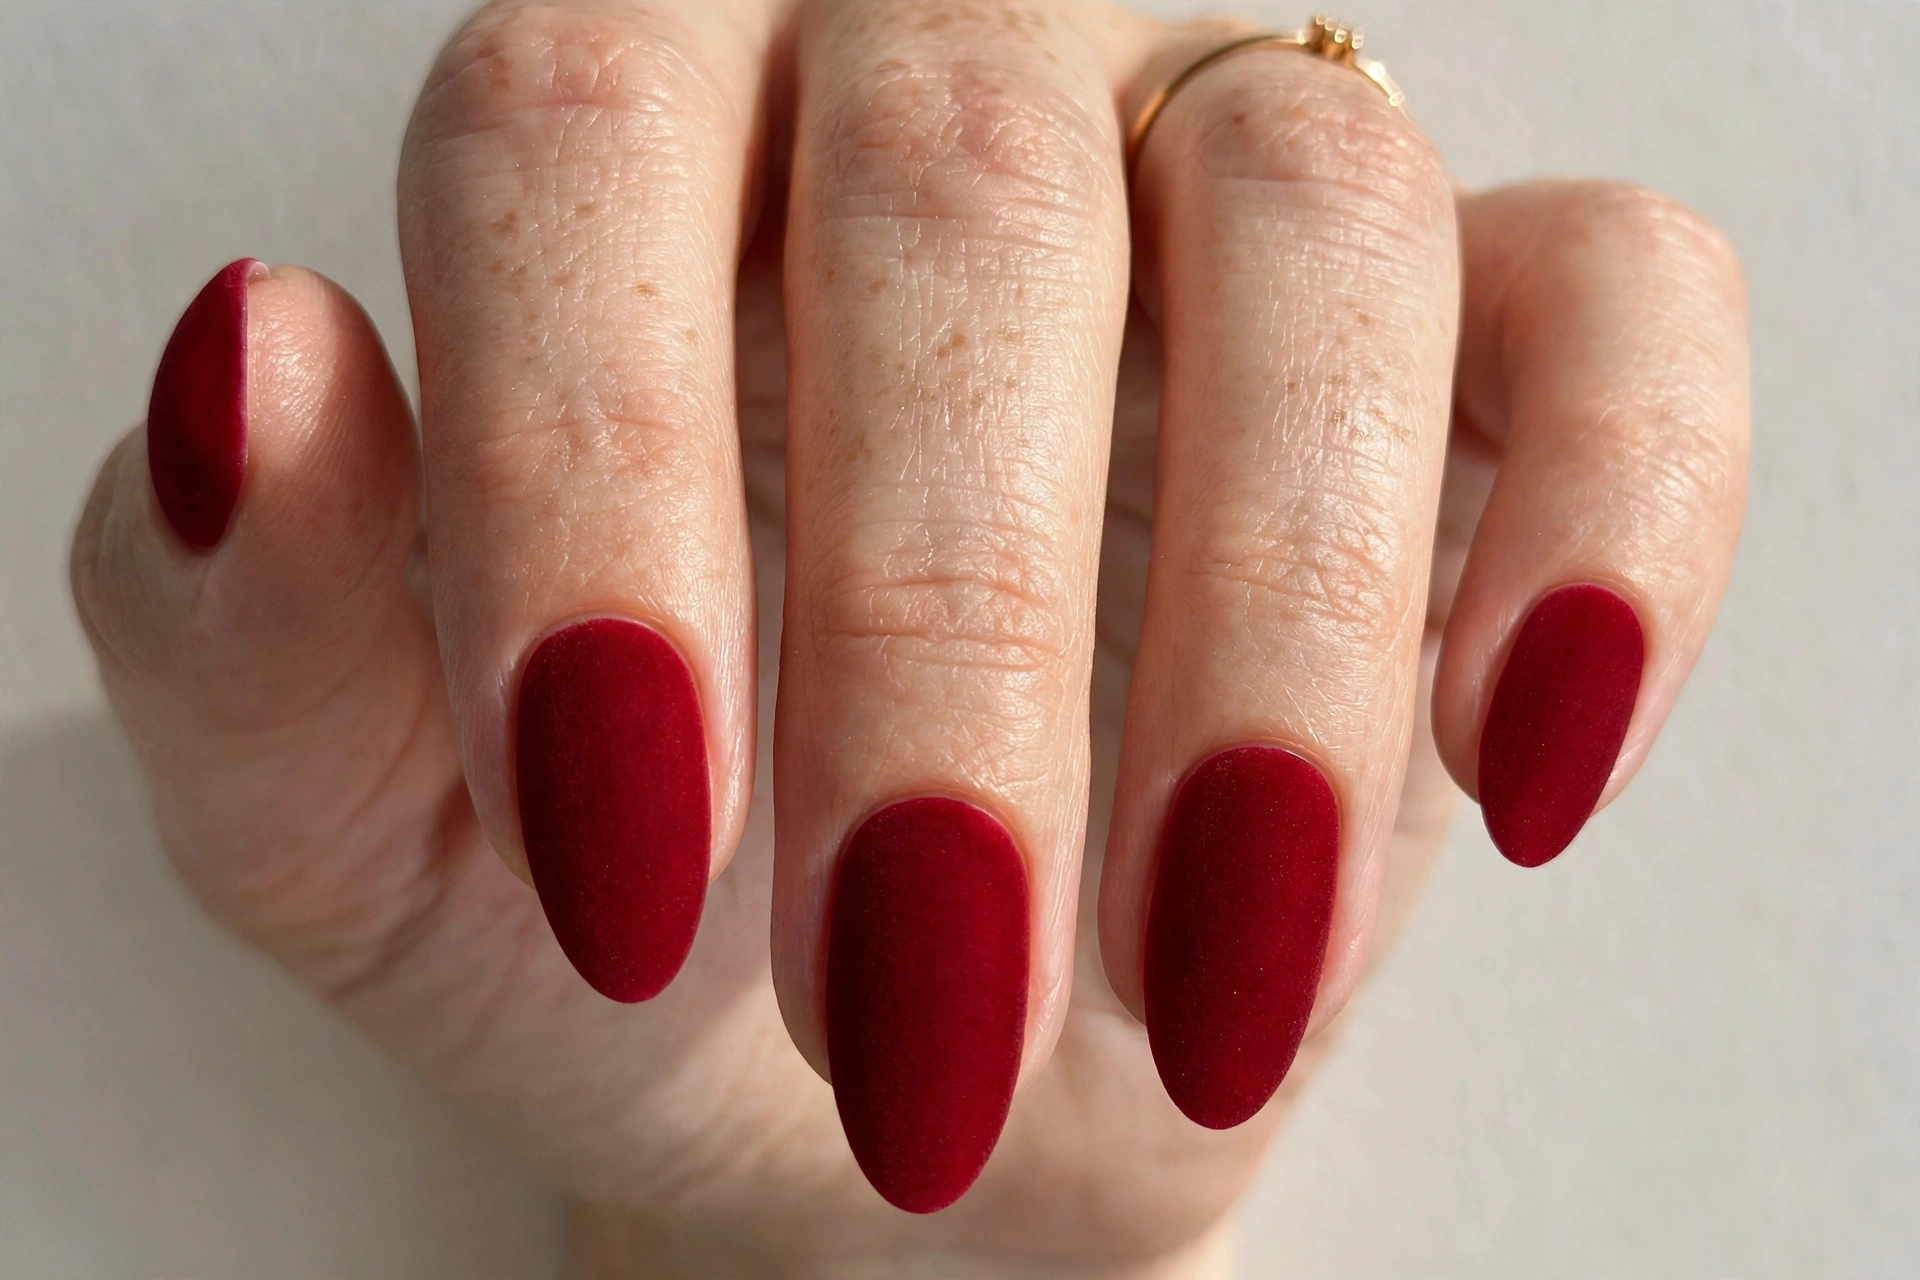
21. Gold Glitter Gradient
A gold glitter gradient is pure celebration in nail form. Starting from a soft nude at the cuticle, fine gold glitter builds toward the tips until they are fully, brilliantly covered — like your nails are fading into tinsel. This suits anyone who wants festive nails that still feel wearable every day, since the nude base keeps it grounded while the glitter does the partying. To get it, paint a nude base, then use a makeup sponge to dab gold glitter polish onto the tips, building density in layers and blending downward with lighter touches. The sponge is the secret to a smooth fade. Seal with two coats of top coat to lock the glitter down and smooth the texture. It is gorgeous with warm gold jewelry.
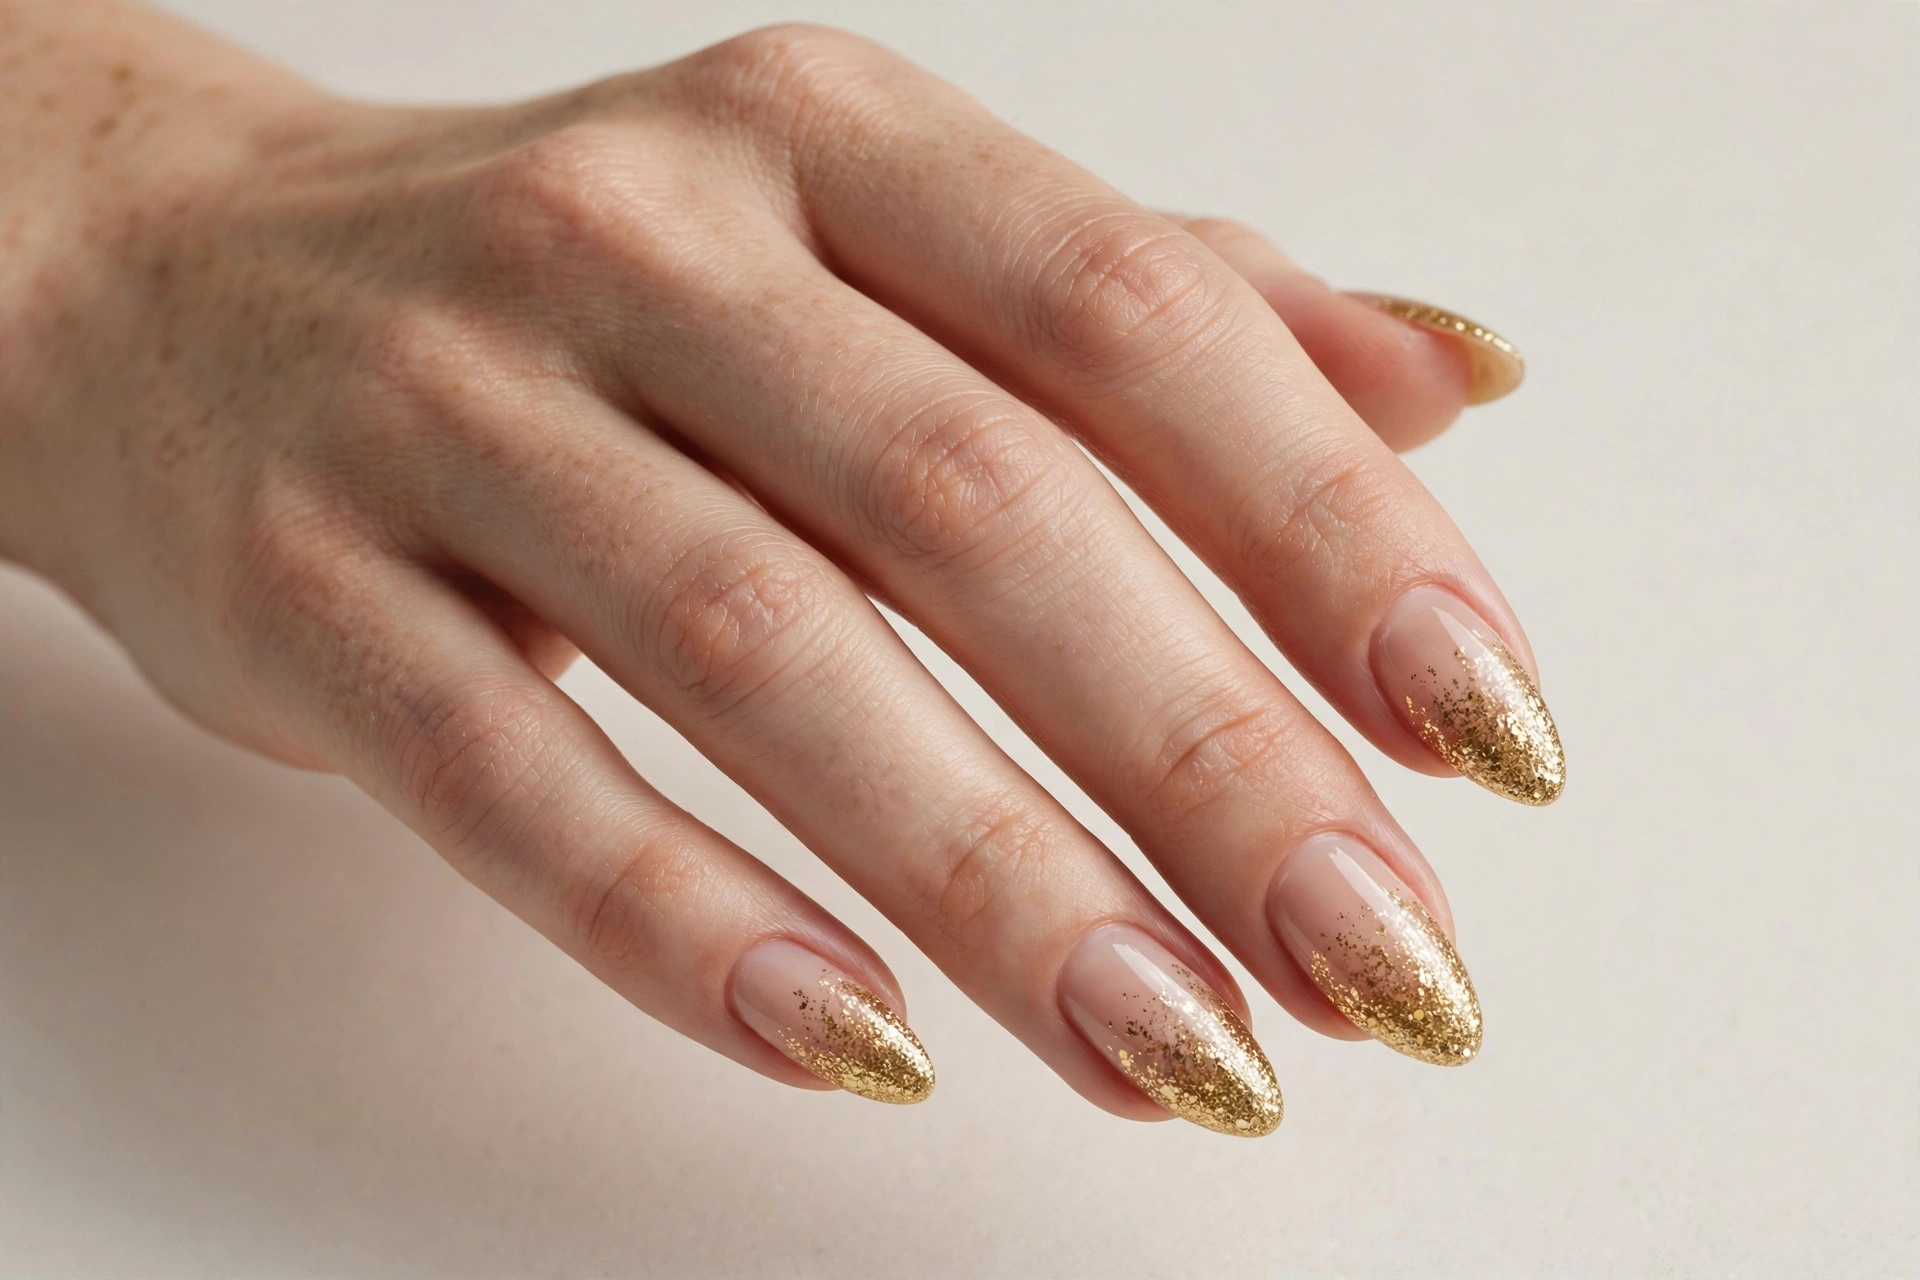
22. Mistletoe Nail Art
Delicate mistletoe sprigs on a nude base are Christmas romance in miniature. Small clusters of green leaves with tiny white berries are painted near the cuticle of each nail, leaving the rest clean and natural. The effect is sweet, fresh and quietly festive — a lovely choice for Christmas Eve dinner or a holiday date night. This suits romantics and minimalists alike, and it works beautifully on shorter nails since the design is small and placed near the base. To paint it, use a thin brush for the leaf shapes — two or three per sprig — and a dotting tool for the white berries. Keep the sprigs small and let the nude base show through. A glossy top coat makes the little berries look dewy and fresh.
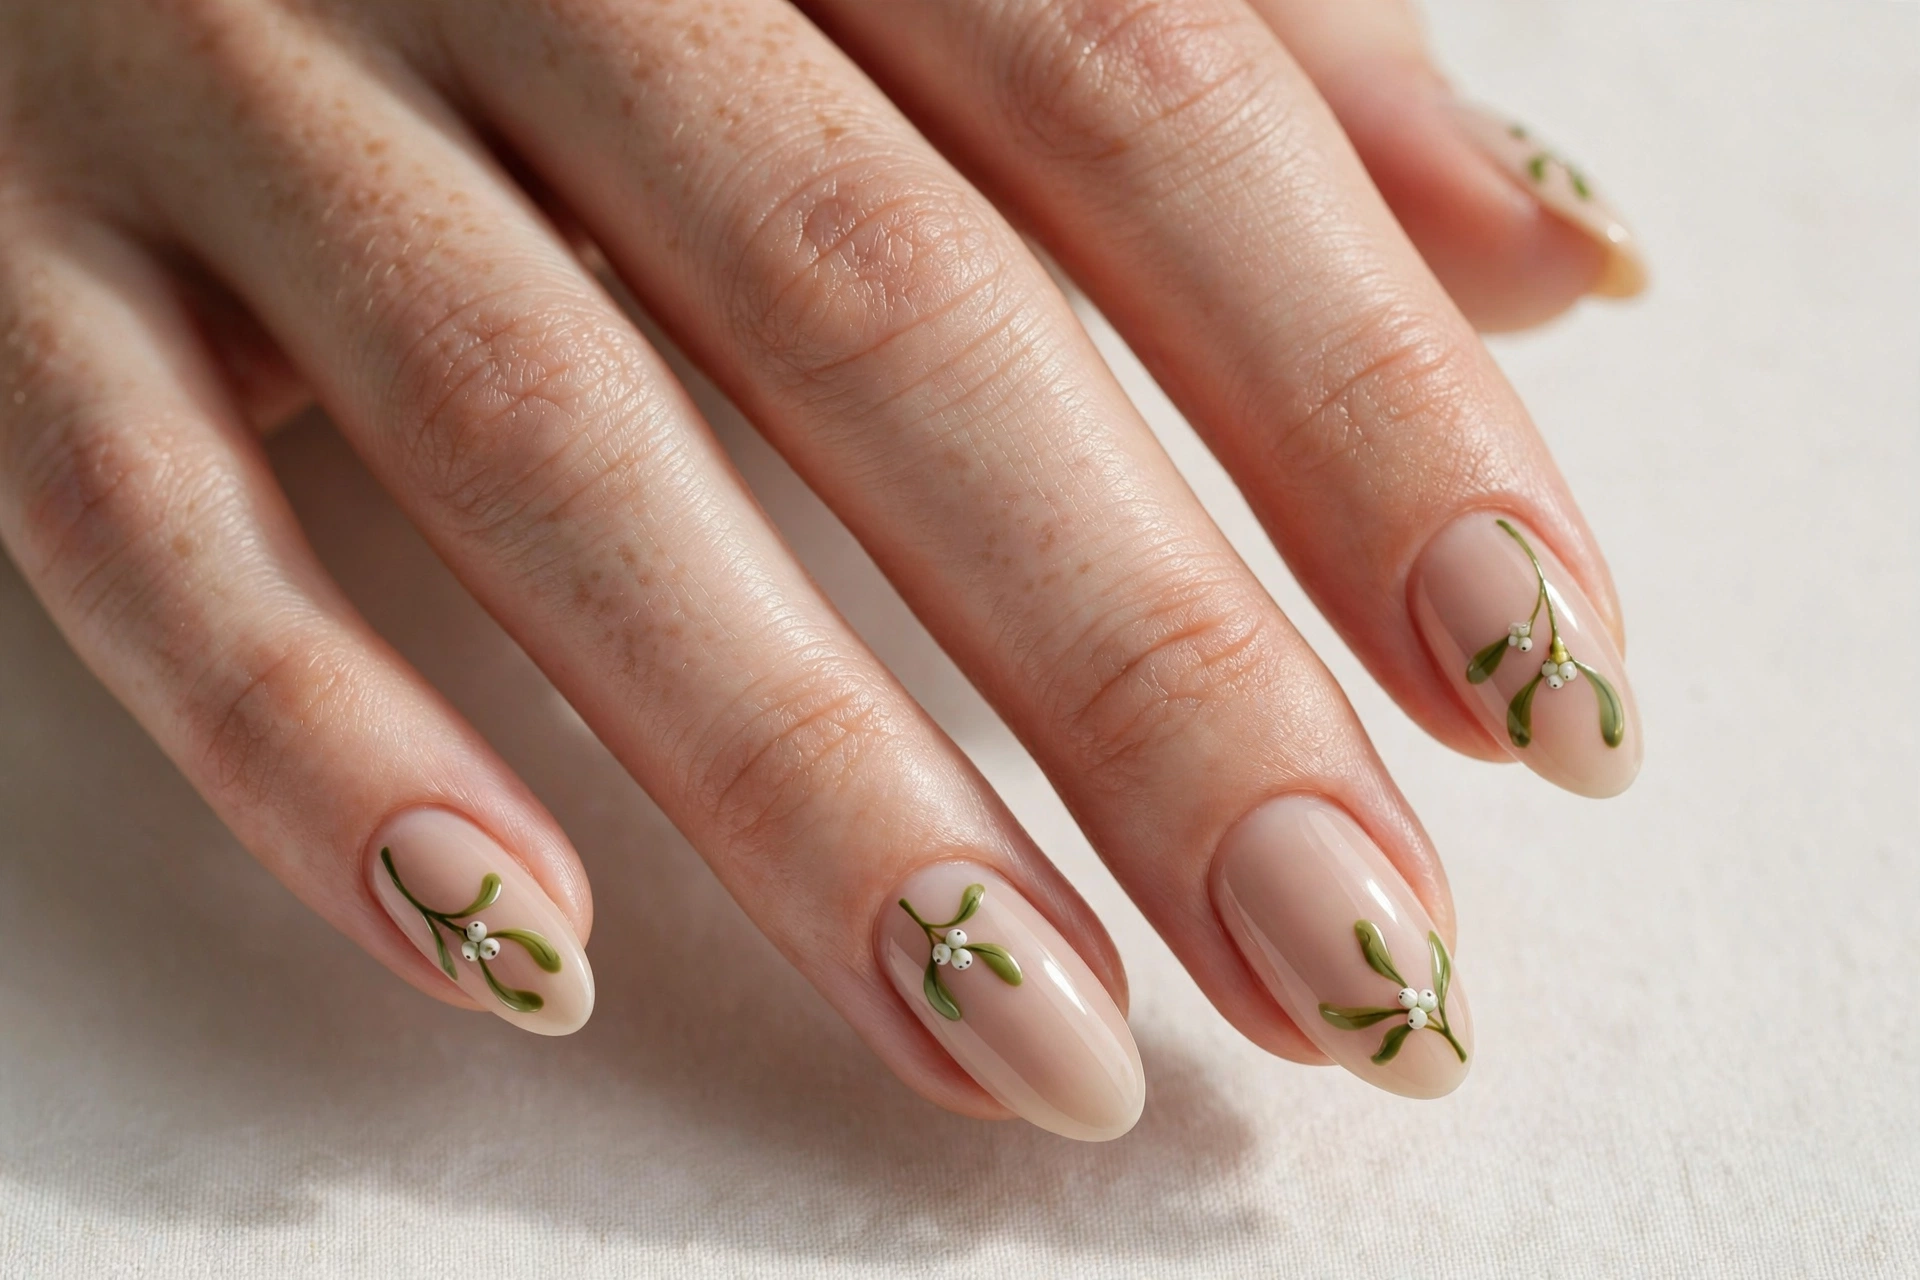
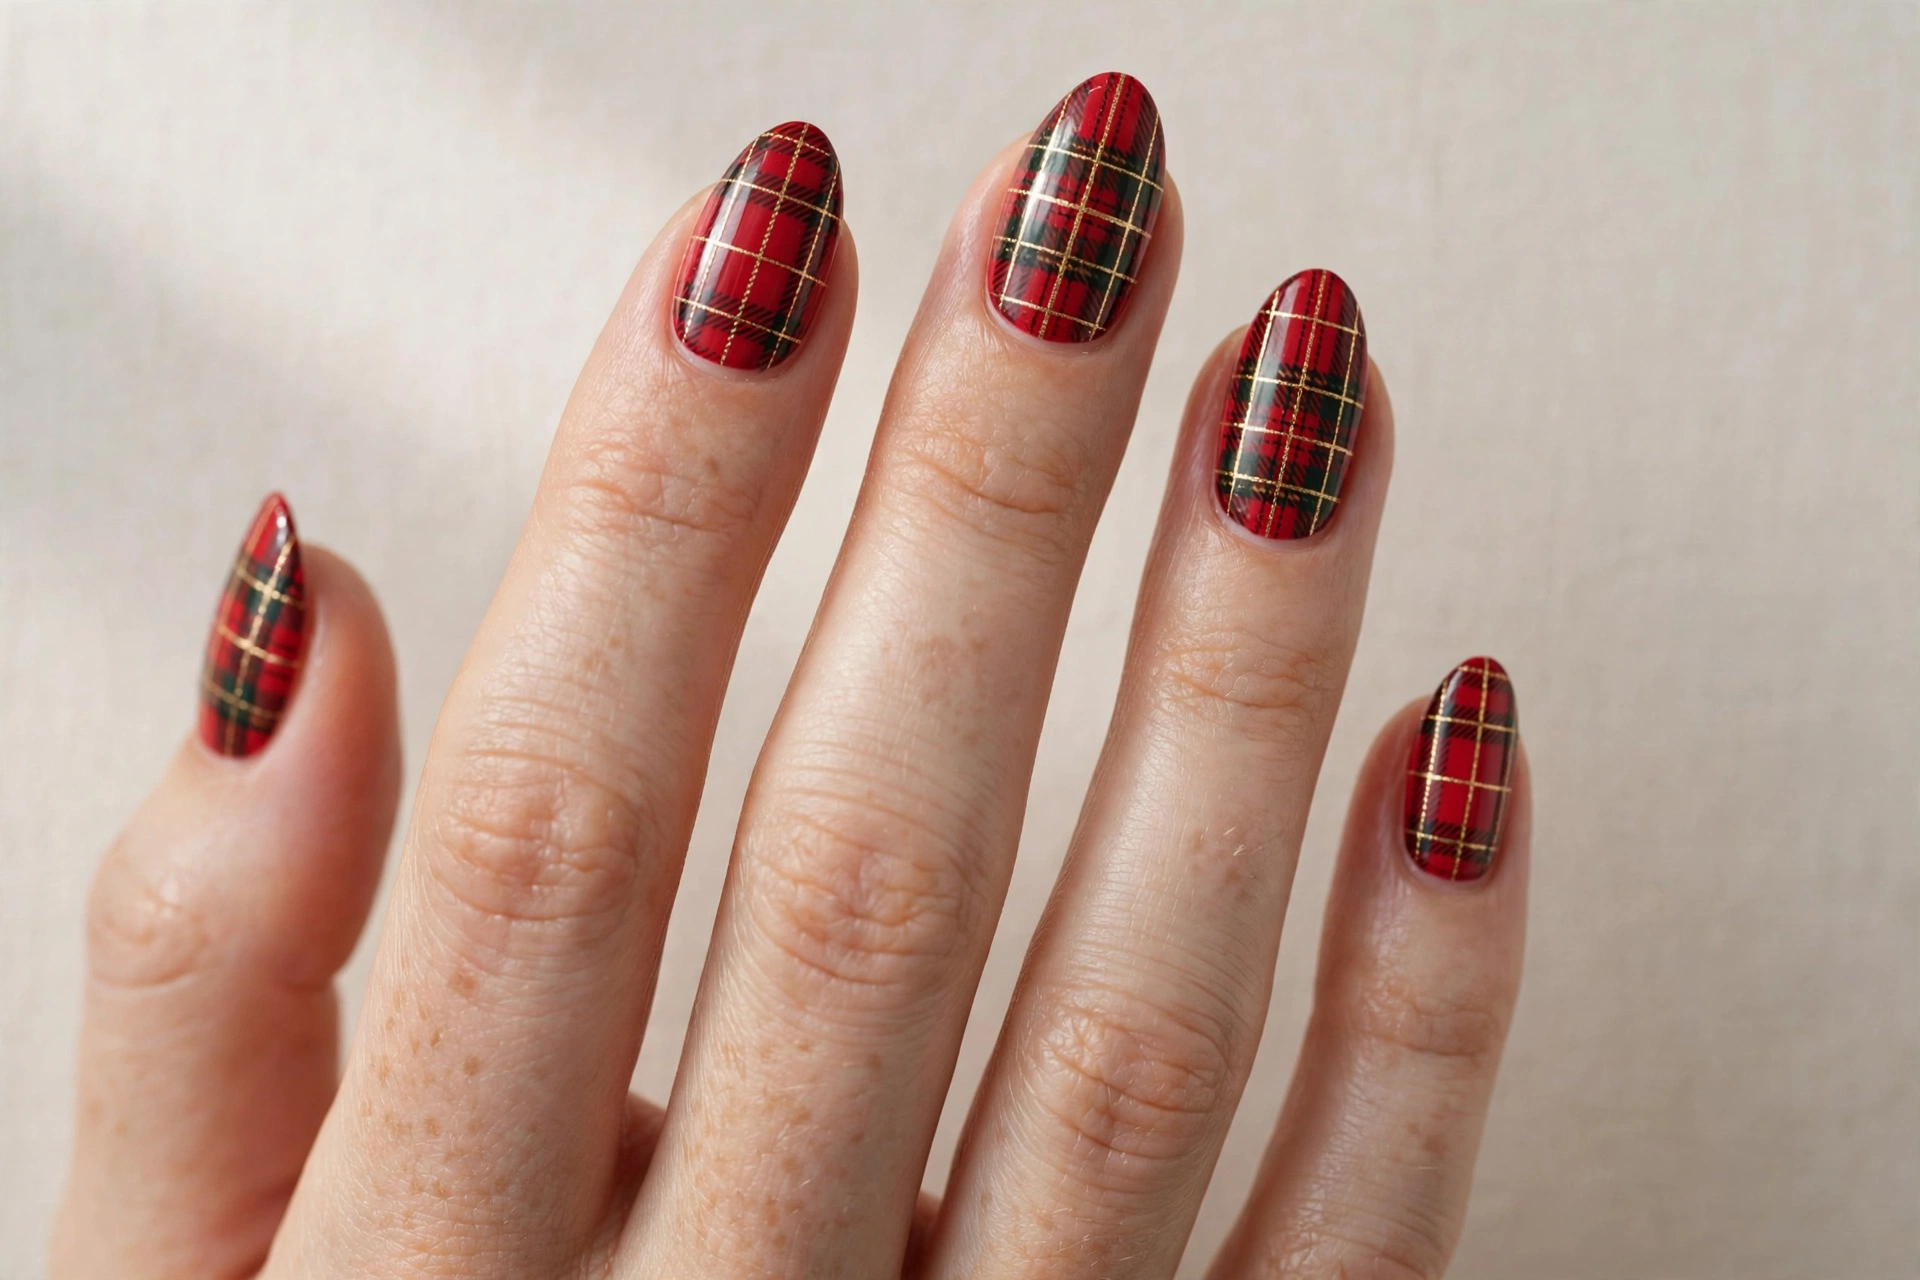
23. Red Tartan Plaid
Red tartan with fine gold lines is Christmas plaid at its most polished. Unlike the rustic buffalo plaid earlier in this list, this version is crisp and tailored — thin crossing lines over a deep red base, with the gold accents catching the light. It feels like a beautiful wrapping paper or a classic holiday scarf, and it suits anyone who loves preppy, put-together style. To get it, paint a deep red base, then use a thin striping brush to add the plaid grid in slightly darker red, finishing with fine gold lines over the top. Let each layer dry before adding the next so the lines stay sharp. It takes patience, but the result is so refined. A glossy top coat makes the gold lines gleam.
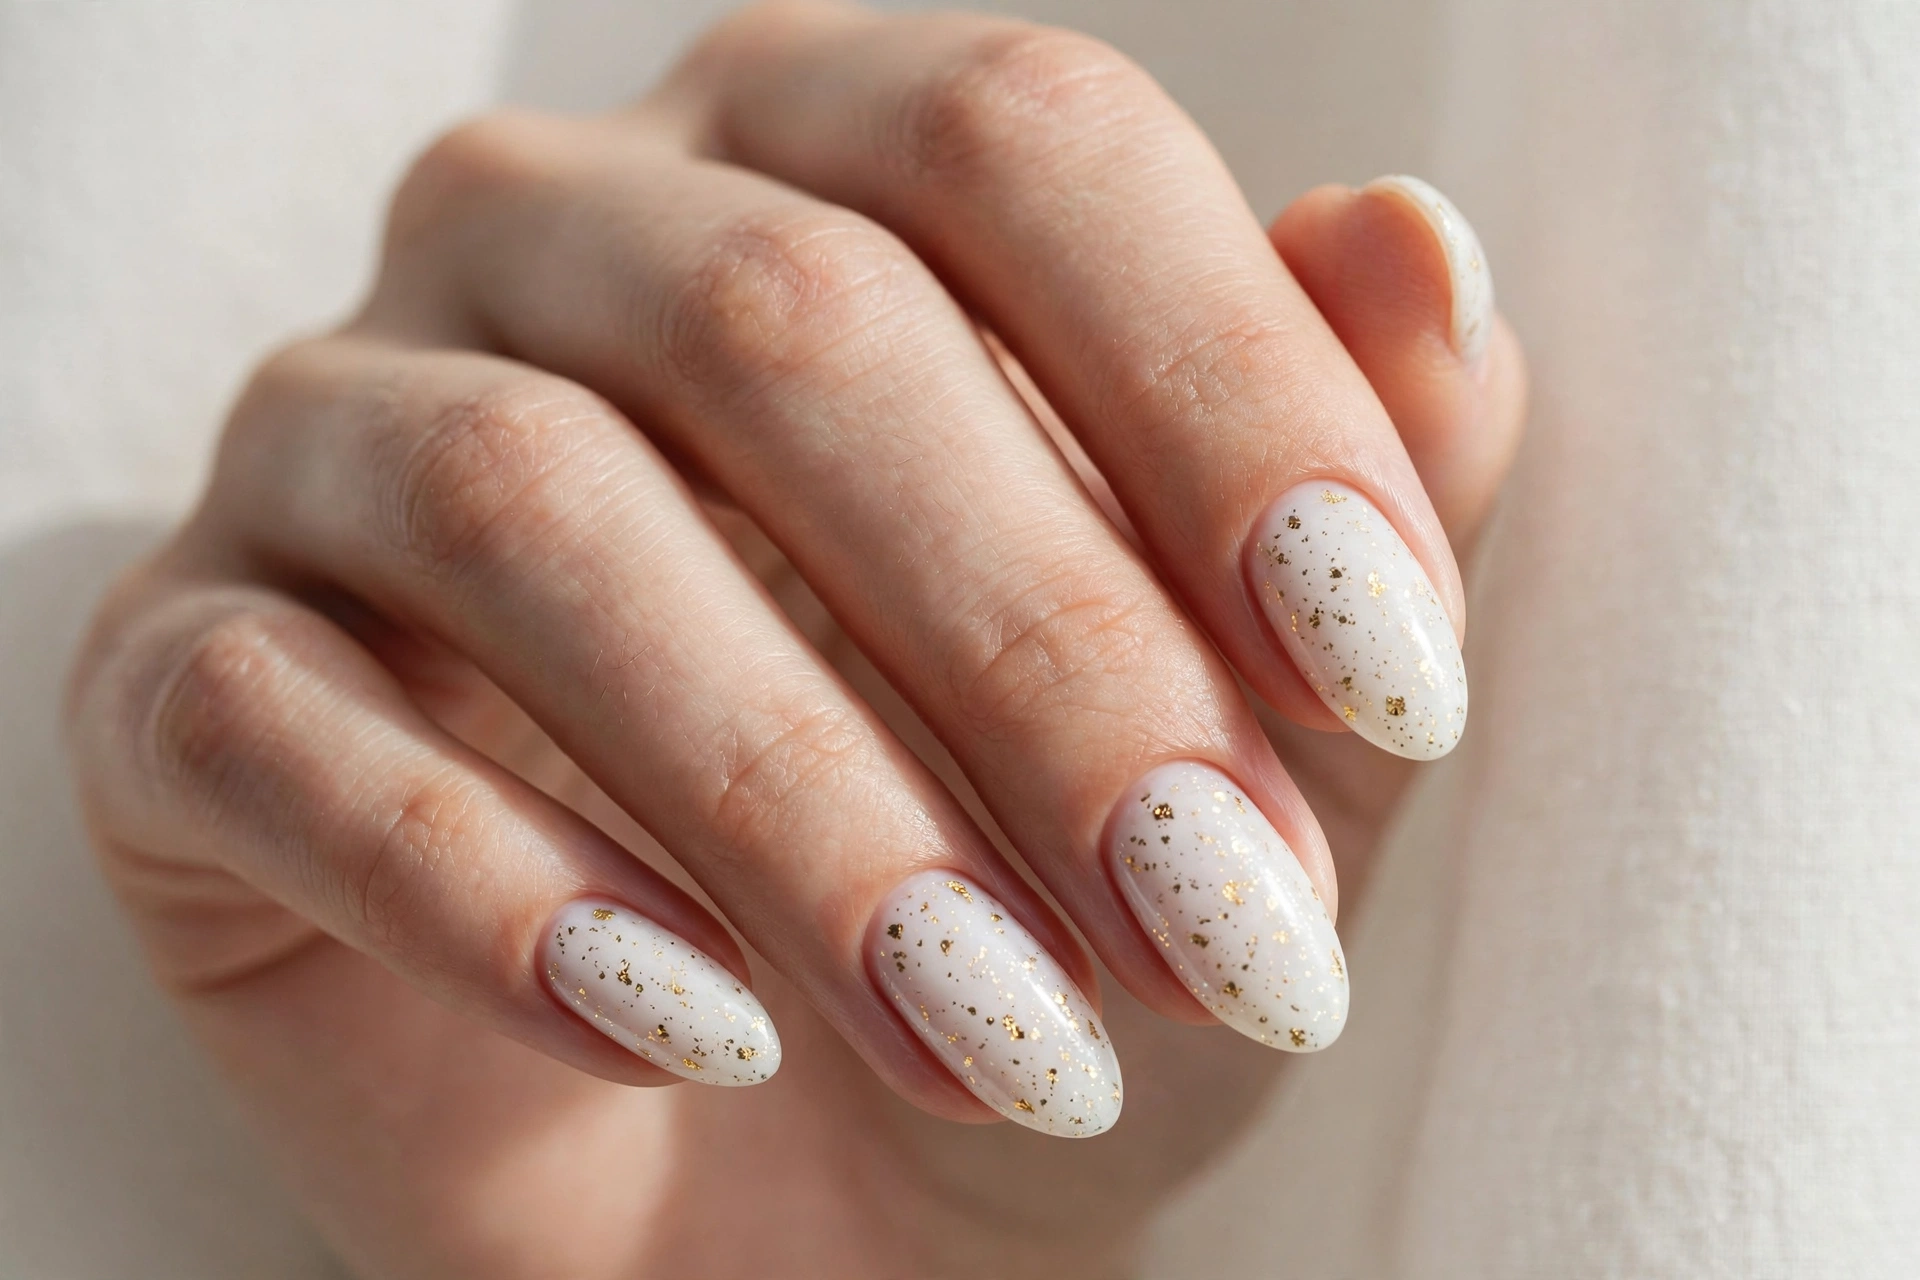
24. Snowy White with Gold Flecks
Snowy white nails with tiny gold flecks look like the first snowfall under streetlights. The clean white base keeps everything fresh and bright, while scattered gold flecks — like foil confetti — add warmth and festive sparkle. This suits anyone who loves a light, clean manicure but still wants a nod to the season. It is also one of the most flattering options for very short nails, since the bright white makes them look neat and elongated. To get it, paint two coats of an opaque white, then press tiny gold foil pieces or dab gold flecks randomly across each nail while the top coat is still tacky. Less is more — five or six flecks per nail is plenty. Seal with a glossy top coat for a smooth, glassy finish.
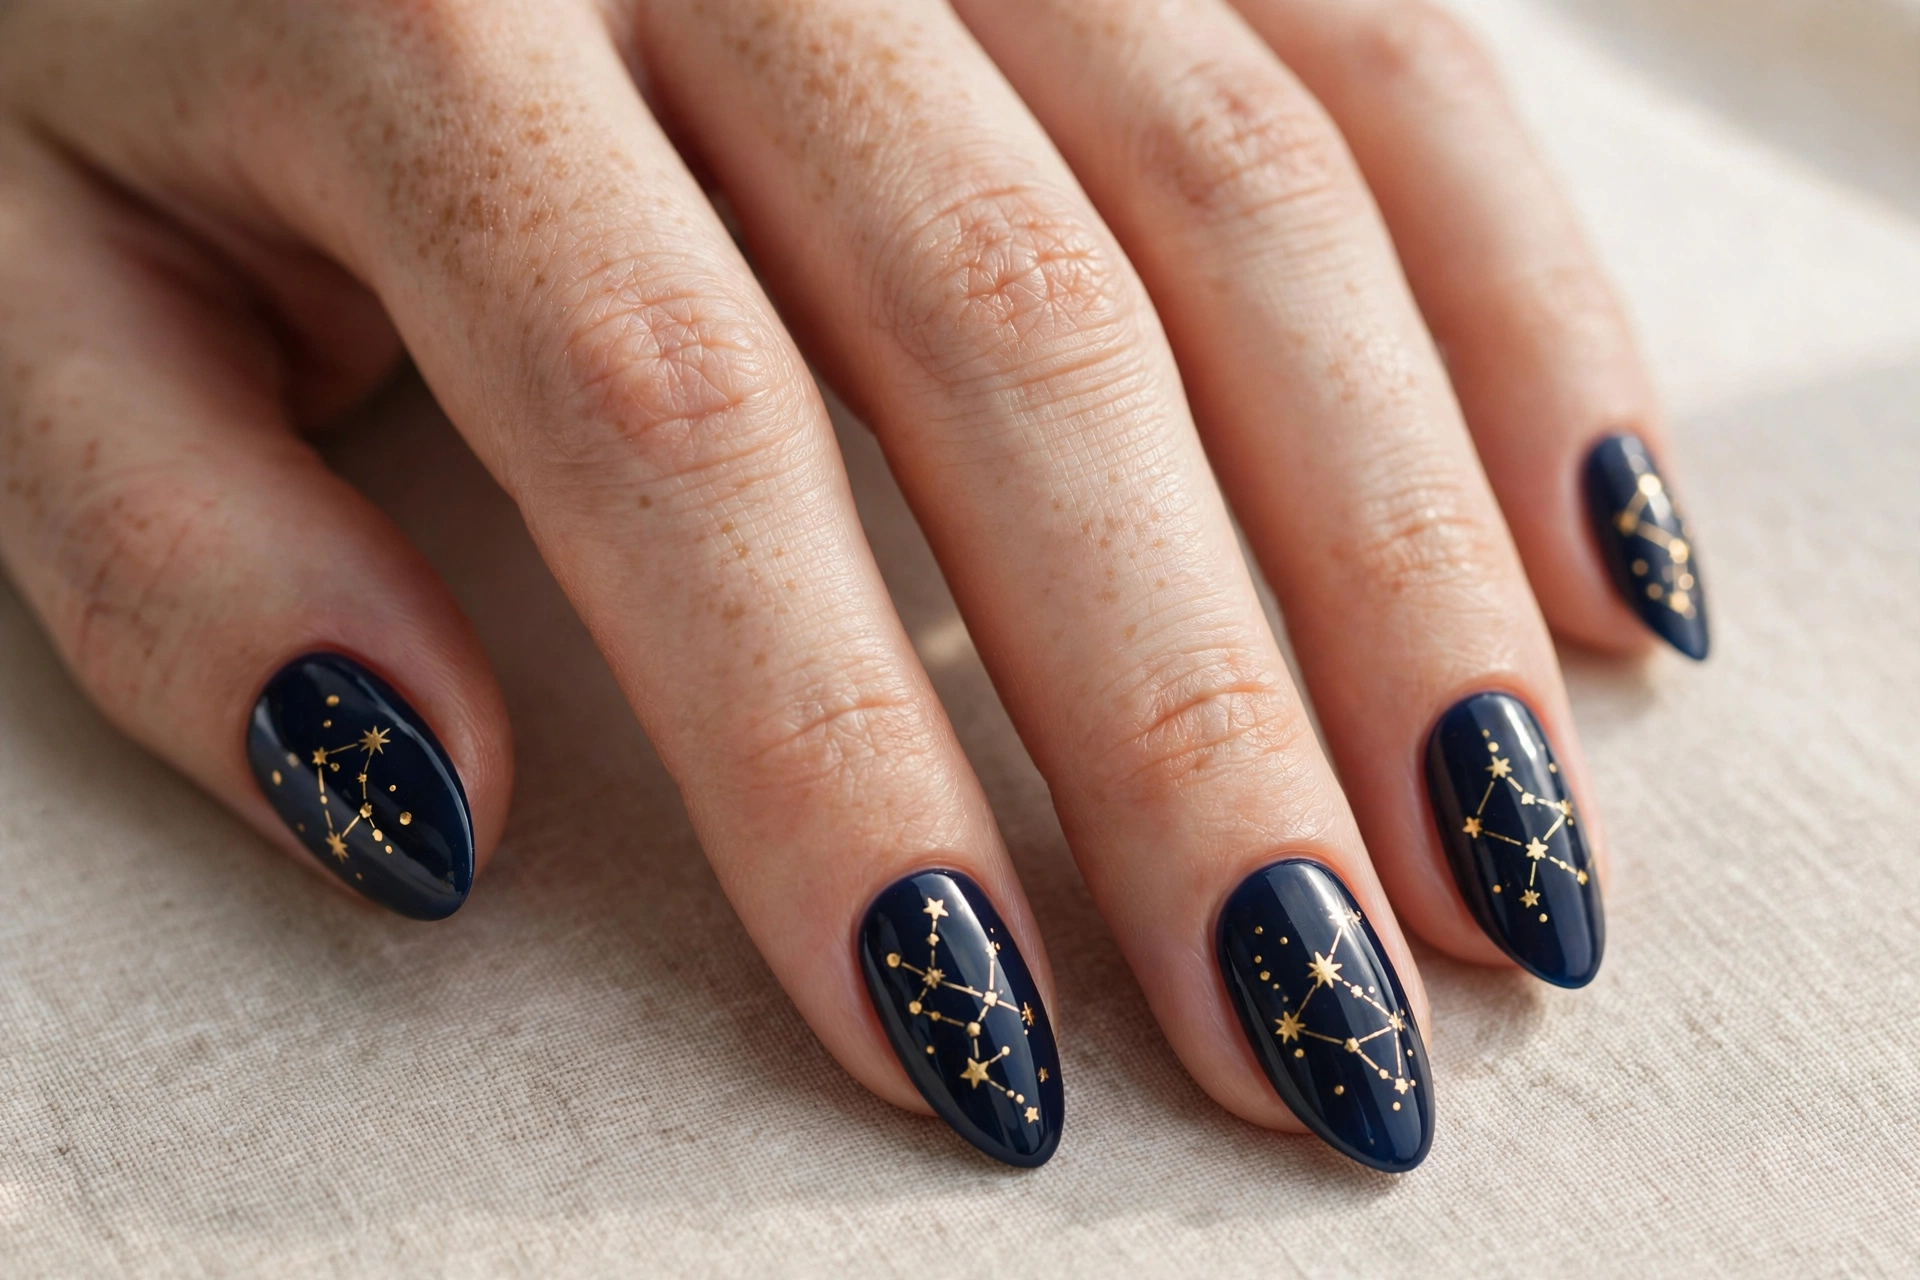
25. Midnight Navy with Gold Constellation
Midnight navy with a gold constellation is the most dramatic design on this list — and a perfect finale. The deep blue base is rich and mysterious, like the sky on a clear winter night, and tiny gold stars and dots are scattered across each nail in constellation patterns. It suits anyone who wants Christmas nails with an edge, and it transitions beautifully into New Year’s Eve. To get it, paint two coats of a deep navy, then use a fine brush or dotting tool to add gold stars and tiny connecting dots. Vary the patterns nail by nail so it feels like a real night sky. A glossy top coat deepens the navy and makes the gold shine. Pair it with silver or gold jewelry and you are ready for anything December brings.
Care Tips to Keep Your Christmas Manicure Looking Fresh
December is hard on nails — cold air, hot water, wrapping presents and endless hand washing all take their toll. A few simple habits will keep your Christmas manicure looking salon-fresh well into the new year. Always wear gloves for washing up and cleaning, because hot water and detergents are the fastest way to lift polish. Reapply a thin layer of top coat every two to three days to seal the tips and refresh the shine. Keep cuticle oil by your sink and use it daily; hydrated cuticles make the whole manicure look better and help prevent chips. And if you do your own nails, investing in quality basics makes a real difference — this nail polish kit has everything you need for a long-lasting festive manicure at home. Finally, resist picking at chips — dab a little matching polish over them instead, and nobody will ever know.
Final Thoughts
Whether you chose a single gold accent nail or went all in on hand-painted trees, the best Christmas nail art is the kind that makes you smile every time you catch sight of your hands. Start with the designs that match your skill level and your December plans, and do not be afraid to mix ideas — a snowflake here, a glitter gradient there. Save your favorites, book that salon appointment or set up your at-home station, and enjoy wearing the season on your fingertips.