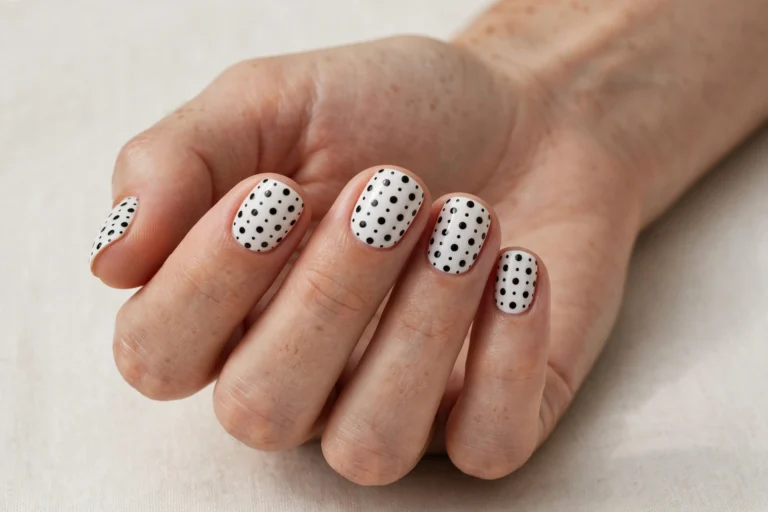
25 Chucky Nail Designs
Chucky nails are the ultimate pick for horror fans who want their manicure to make a statement. Inspired by the infamous killer doll, these designs mix stitched details, dark reds, and spooky toy-box imagery into nail art that is equal parts creepy and cool. They are perfect for Halloween parties, horror movie nights, or anytime you want an edgy manicure with attitude. If you love bold seasonal looks, these 14 bloody nail designs for a bold Halloween look are another great way to wear horror on your fingertips.
Below you will find 25 chucky nail designs, from subtle stitched accents to full horror scenes. Each one includes notes on who it suits and how to get it, at home or in the salon.
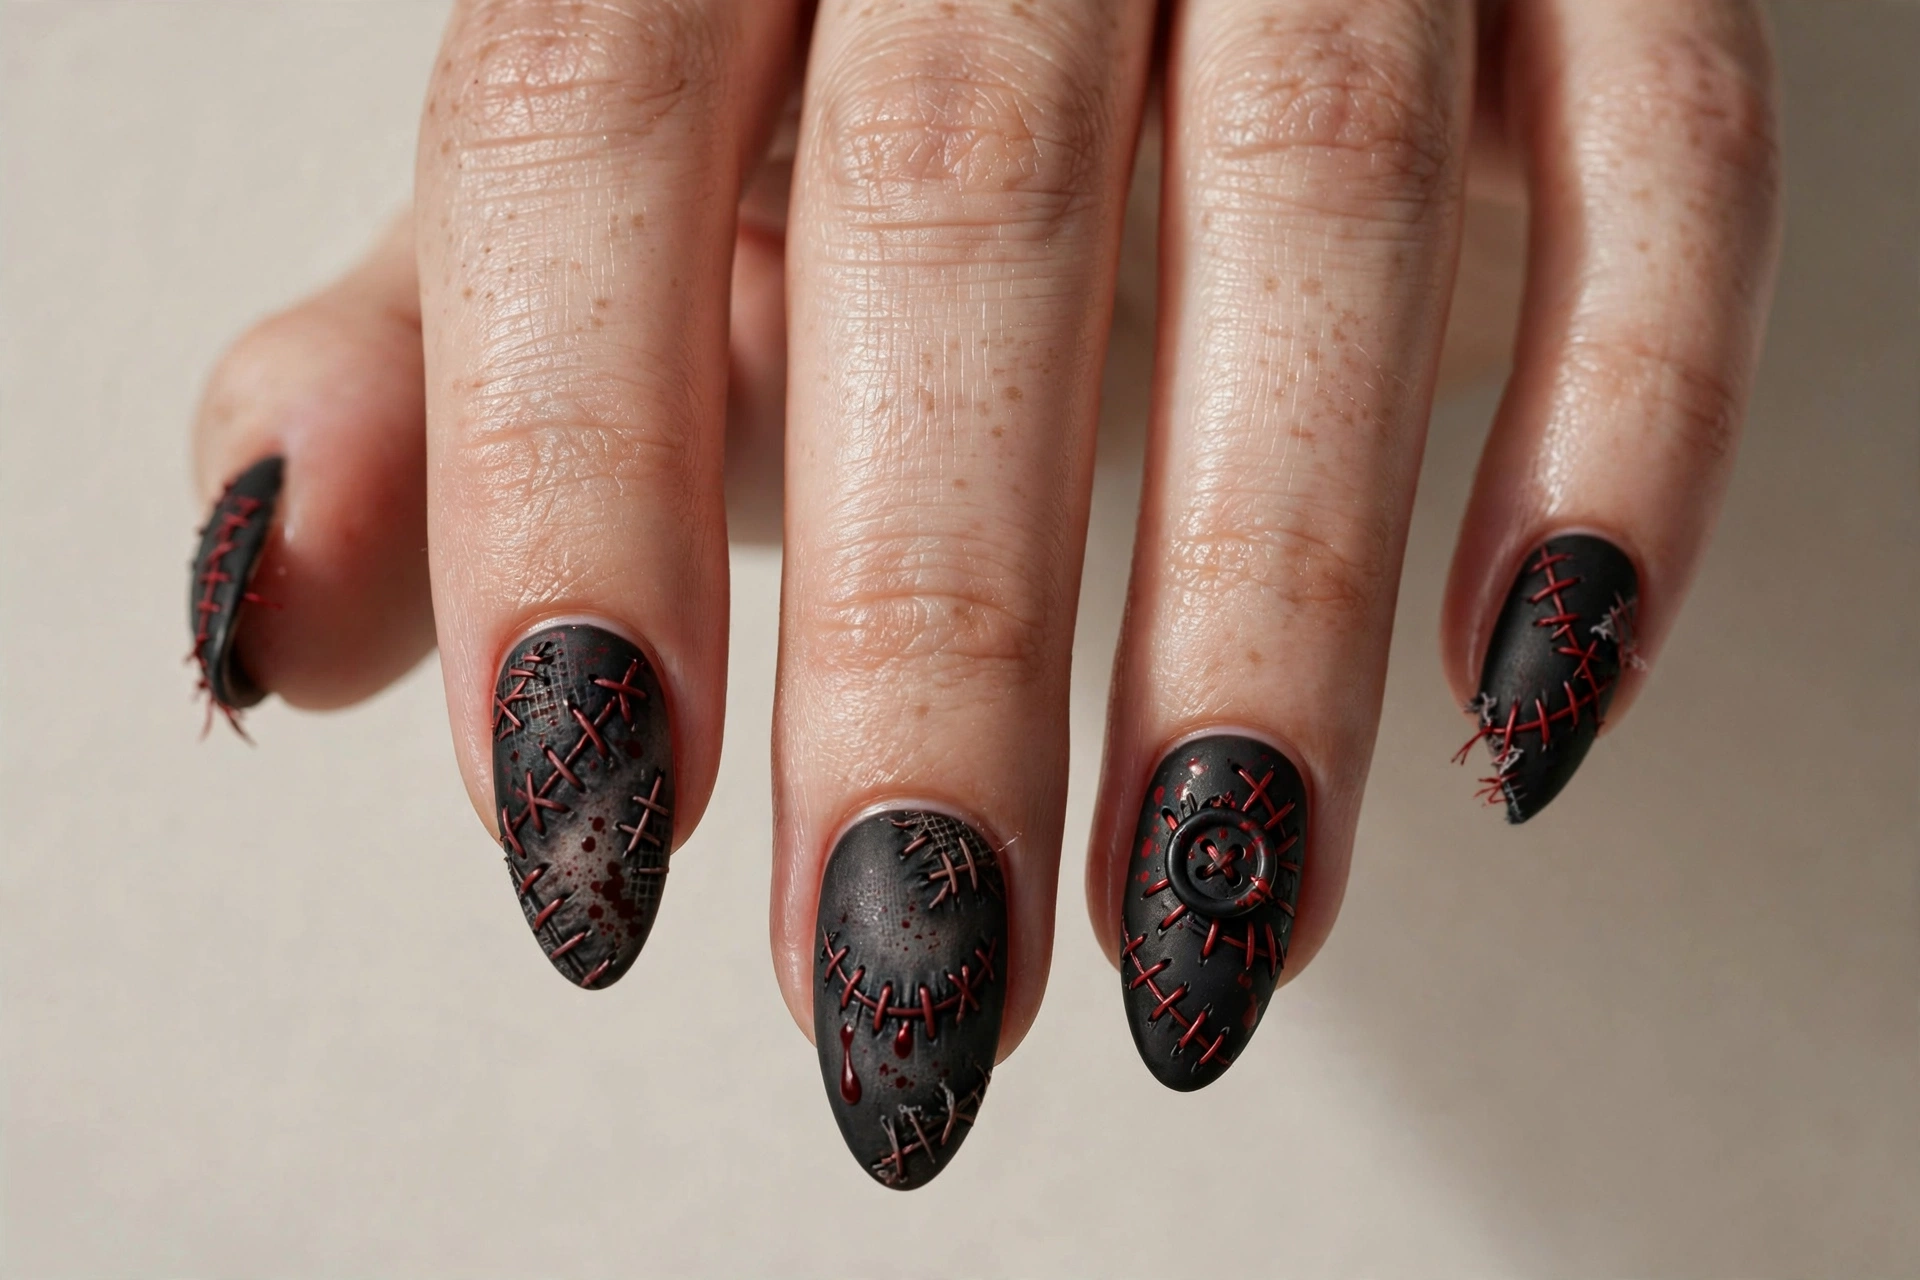
Why Chucky Nail Designs Are a Horror Favorite
Few horror icons are as recognizable as the stitched-up killer doll, which is exactly why chucky nails work so well. The visual language is instantly readable: red and black, rough stitches, denim blue, and toy-box graphics. Stitches, stripes, and splatters are forgiving shapes that look better a little rough. For more dark magic, the 25 witchy nail designs for a magical look collection shares the same spooky spirit.
1. Stitched Rag Doll Patchwork
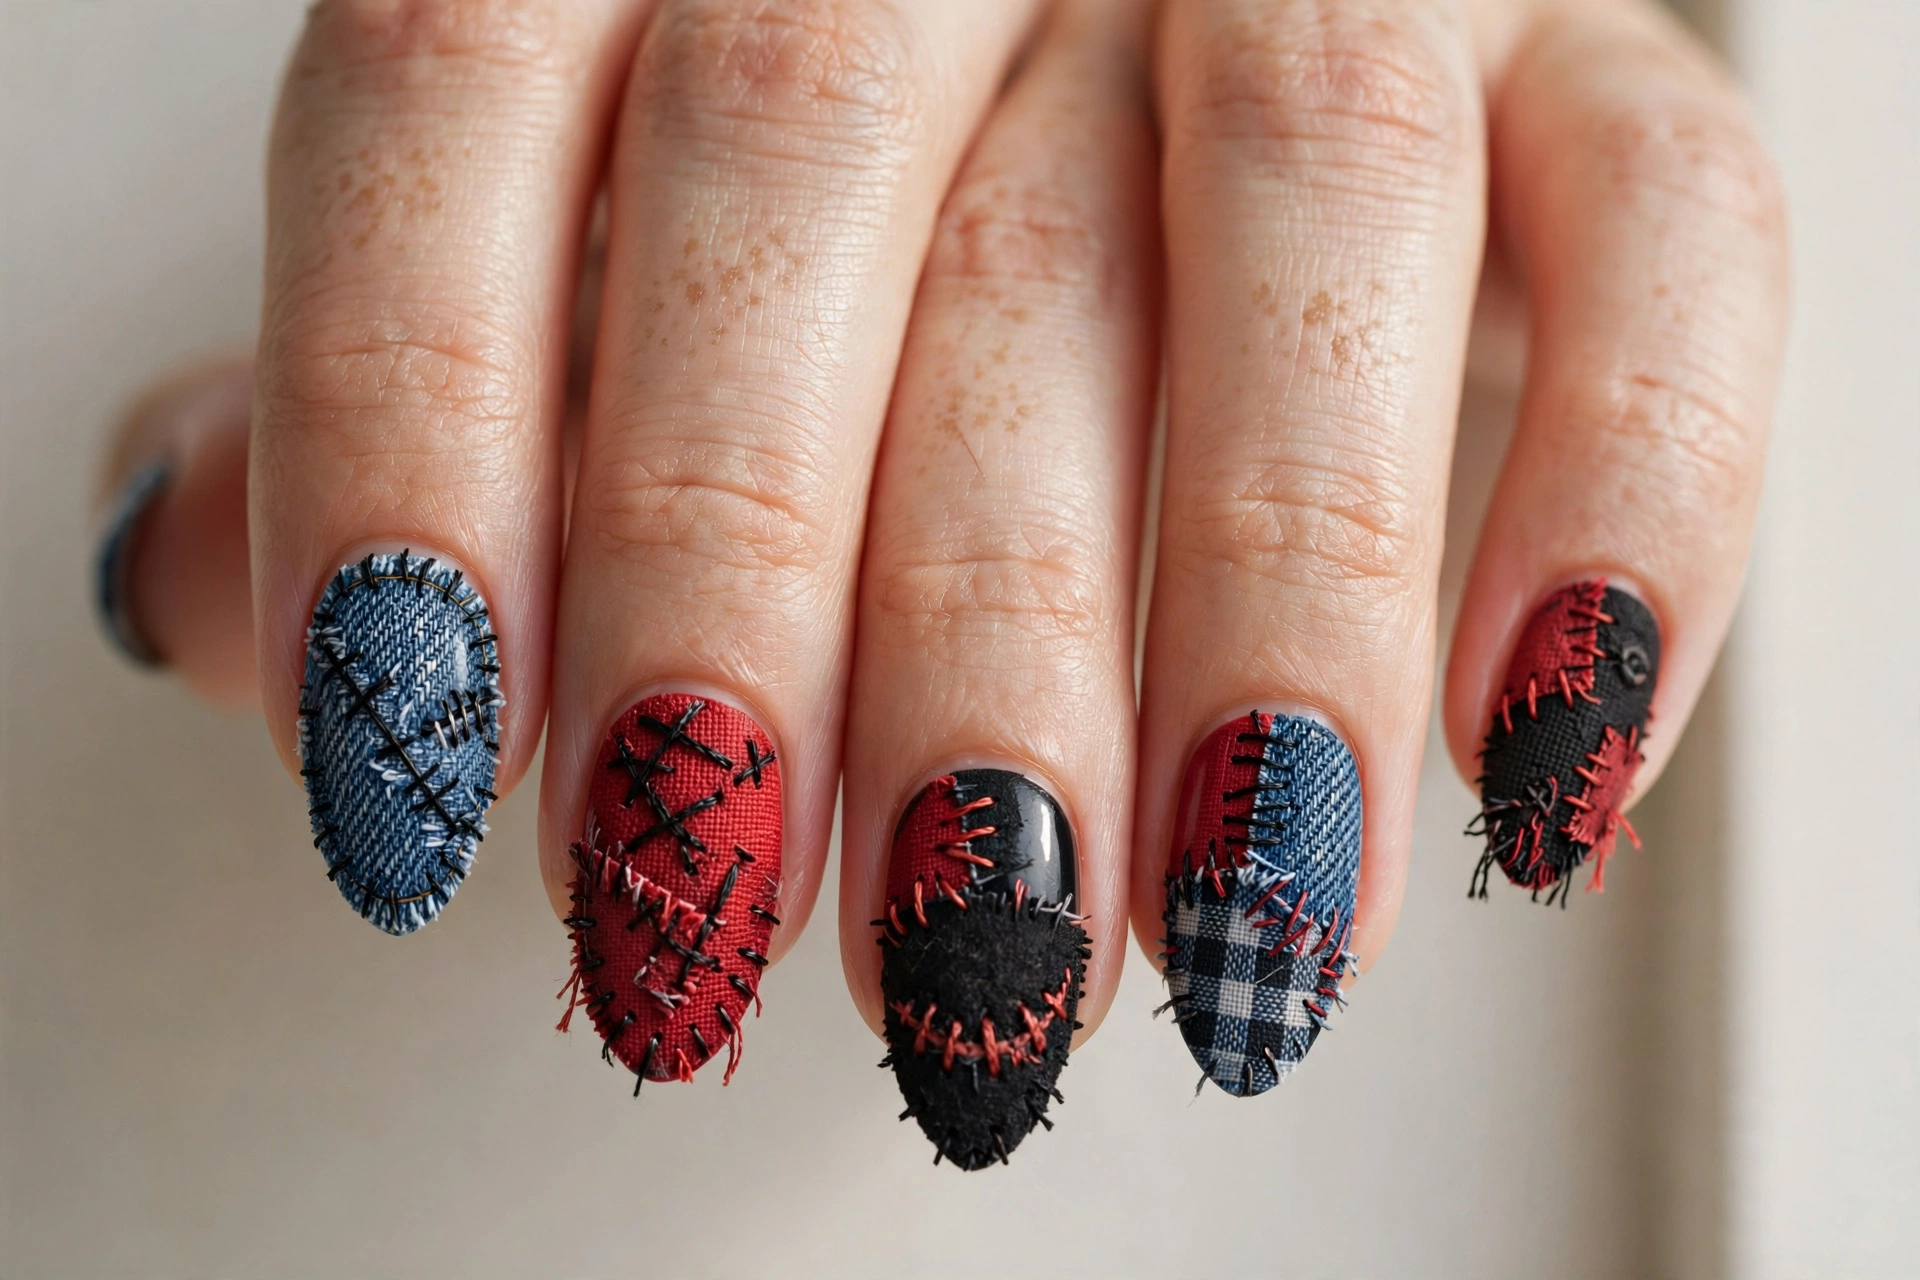
Patches of red, black, and denim blue stitched together like a rag doll’s outfit. This is the signature chucky look in abstract form. Use striping tape to block the color patches, then add stitch lines with a thin liner brush. It works on any nail length and looks great with a matte top coat.
2. Good Guys Toy Box
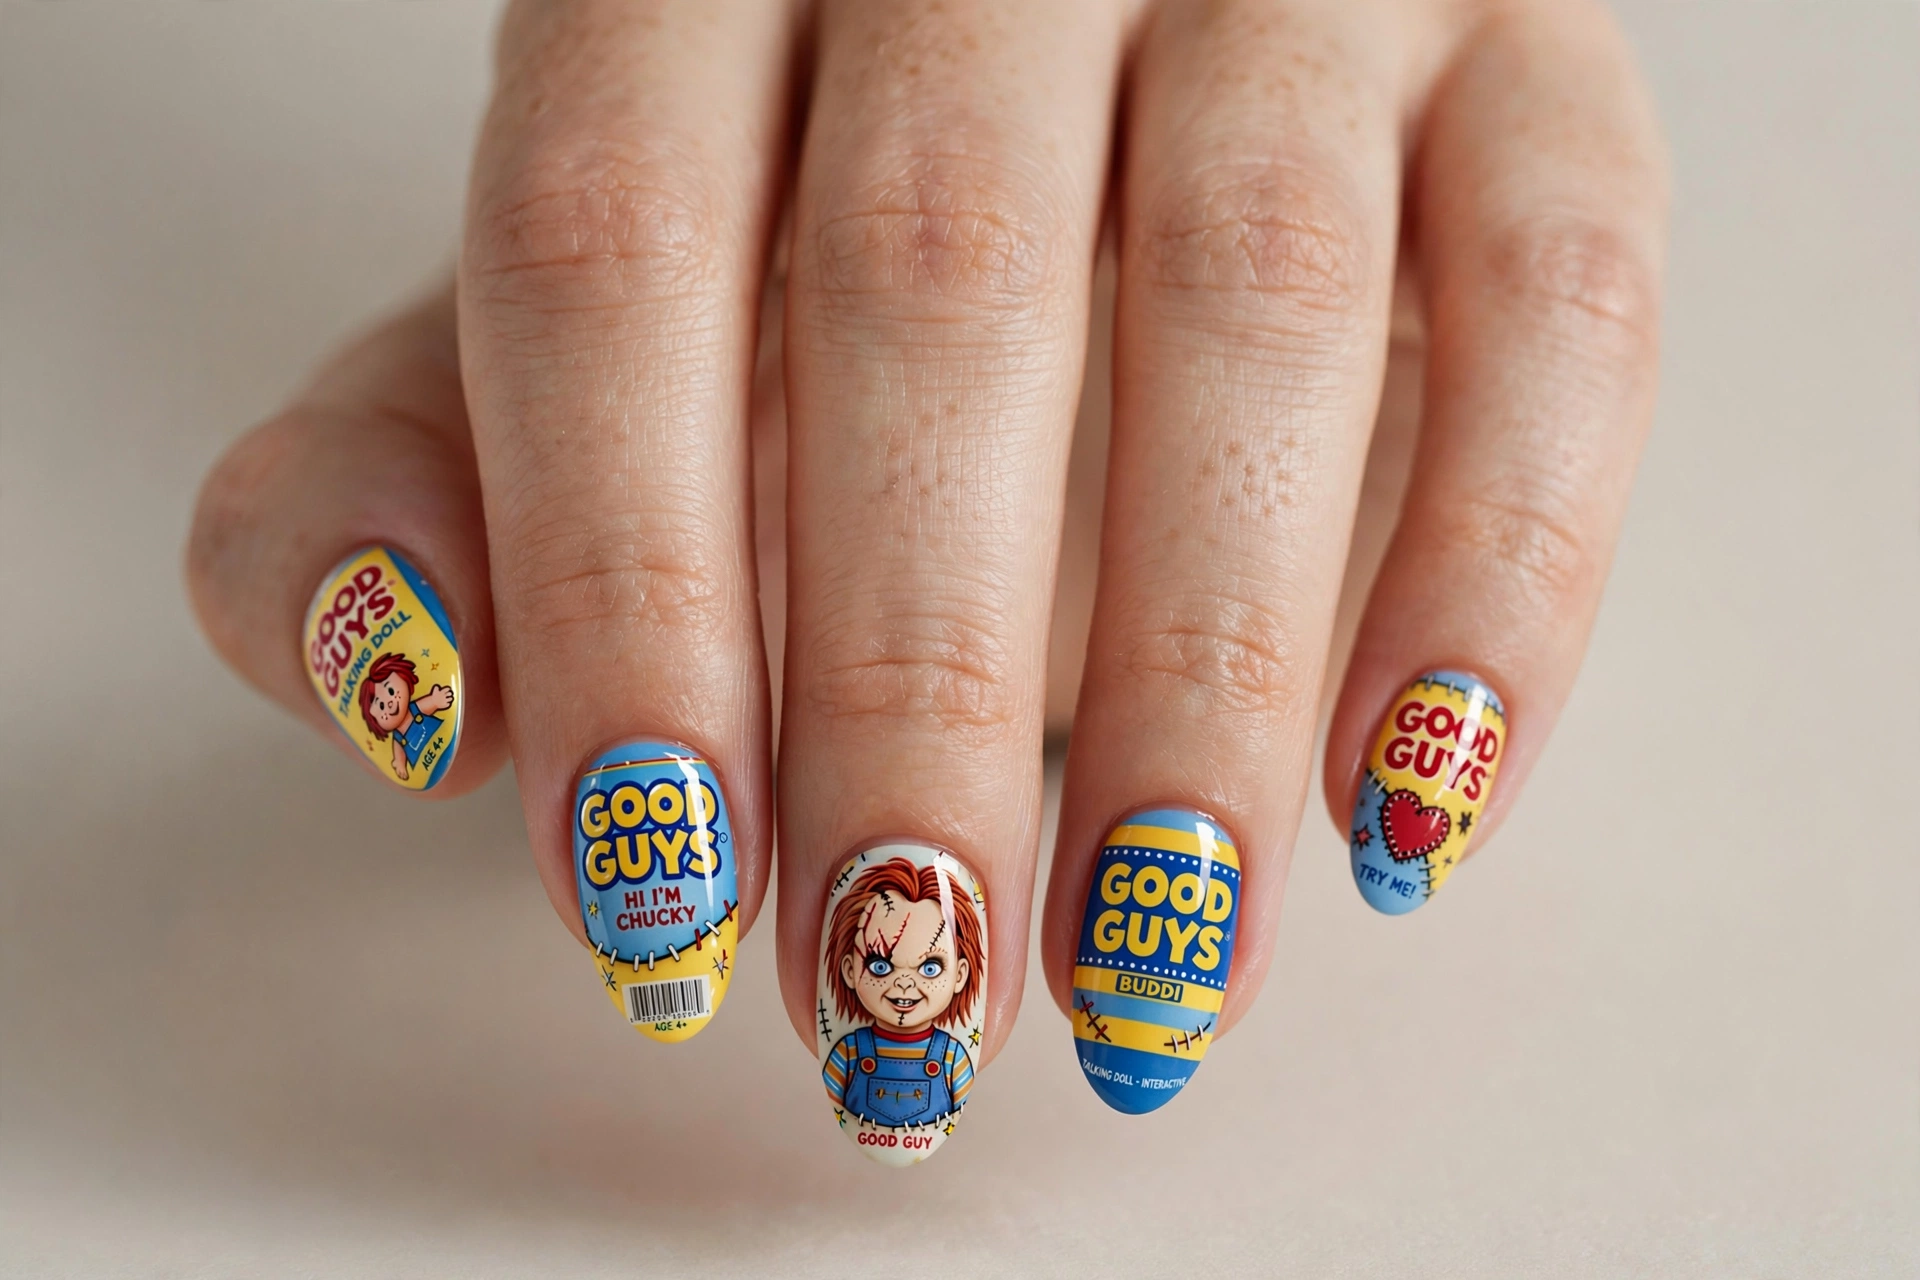
Nails designed to look like vintage toy packaging, complete with bold graphics and bright colors. This playful take suits horror fans with a sense of humor. The graphic style is easiest with nail stickers or water decals over a solid base. Keep one or two nails as the box art and paint the rest in coordinating solids.
3. Striped Shirt
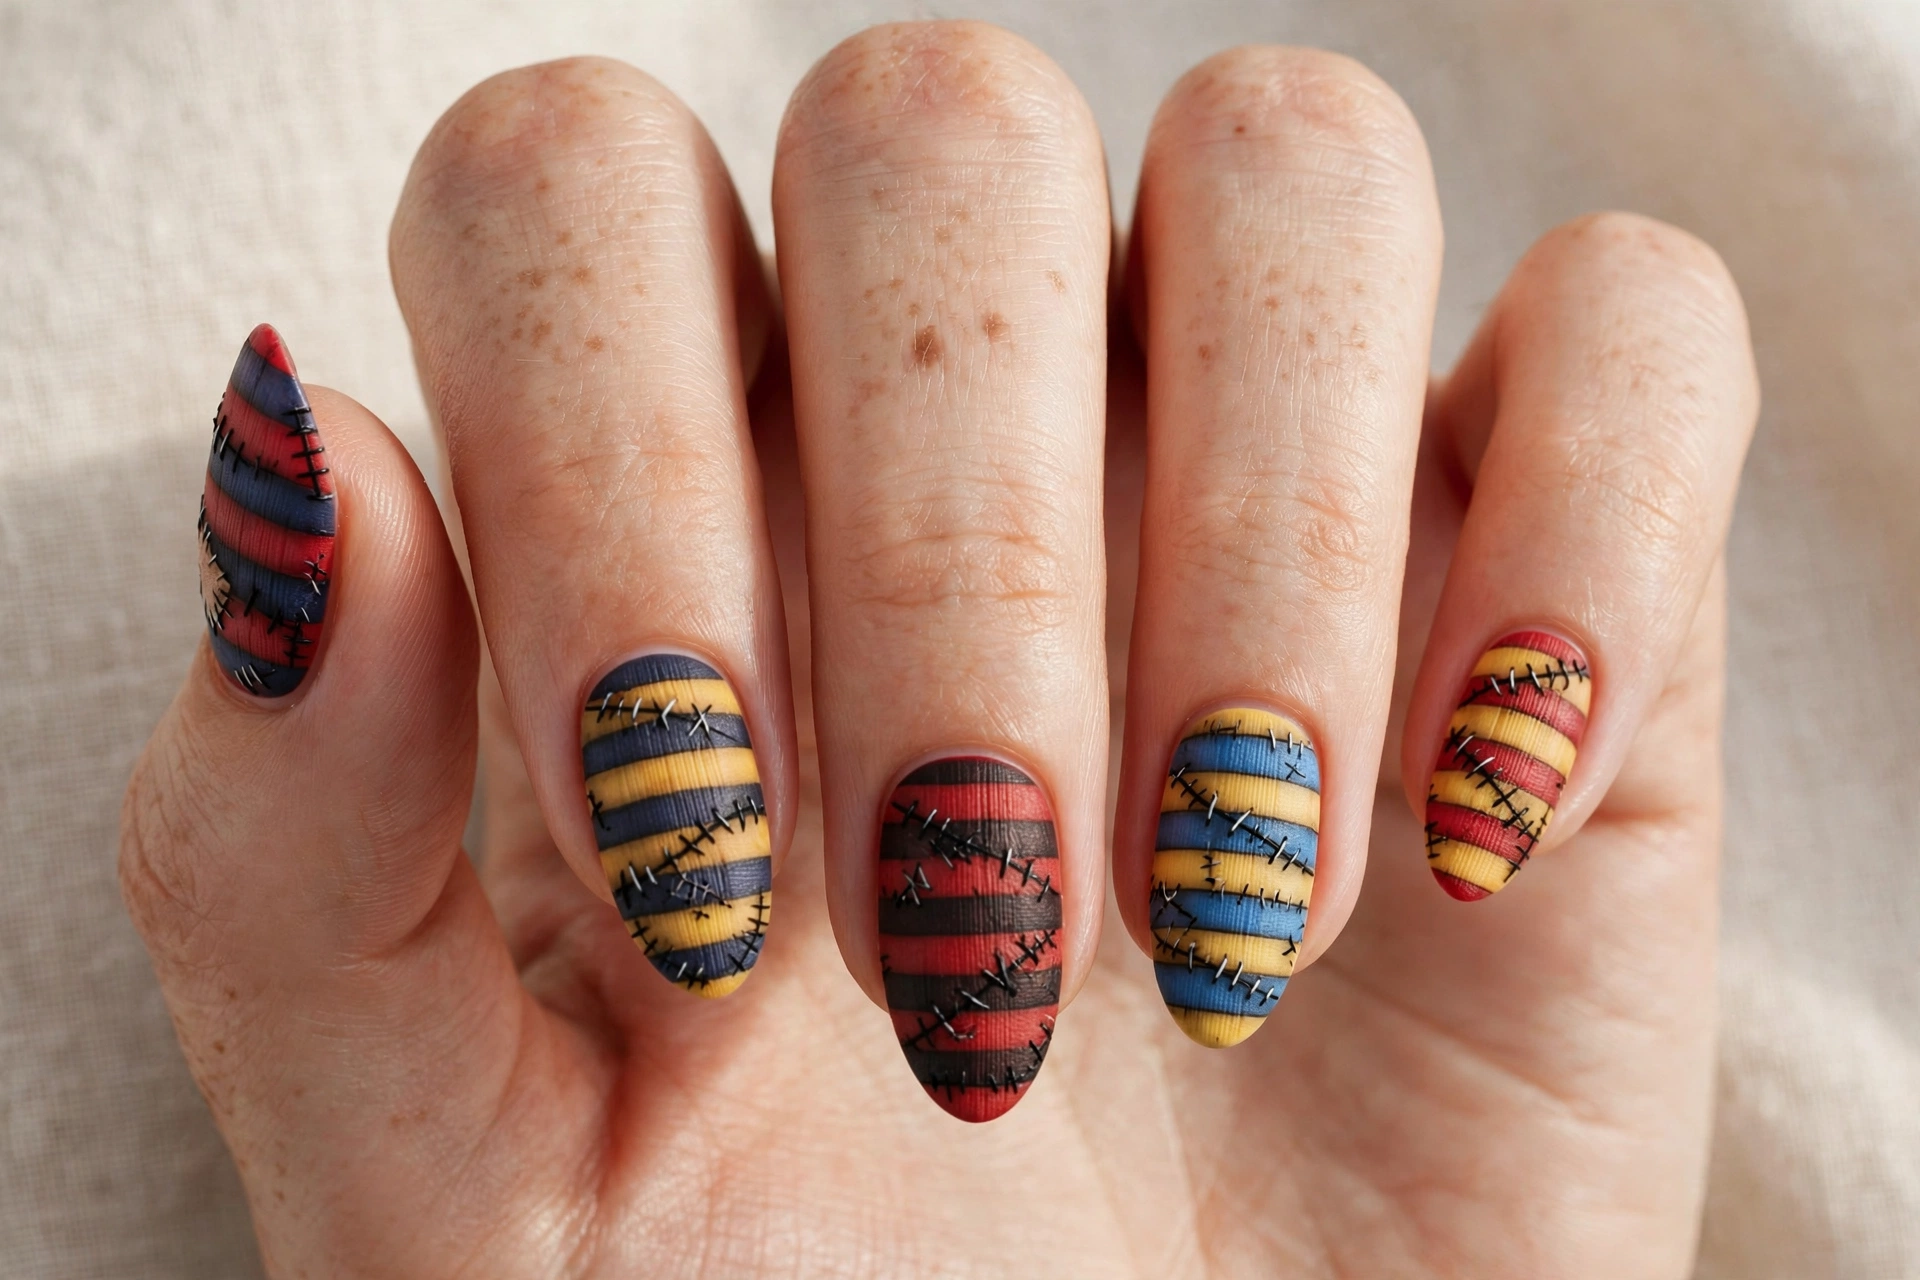
Horizontal stripes in red, blue, and yellow mimic the doll’s iconic shirt. Simple, bold, and instantly recognizable to horror fans. This suits beginners since stripes are easy with striping tape. Paint the base white, tape off sections, and fill in the colors. It looks fantastic on short to medium nails and pairs well with a denim-blue accent nail.
4. Scar Stitches
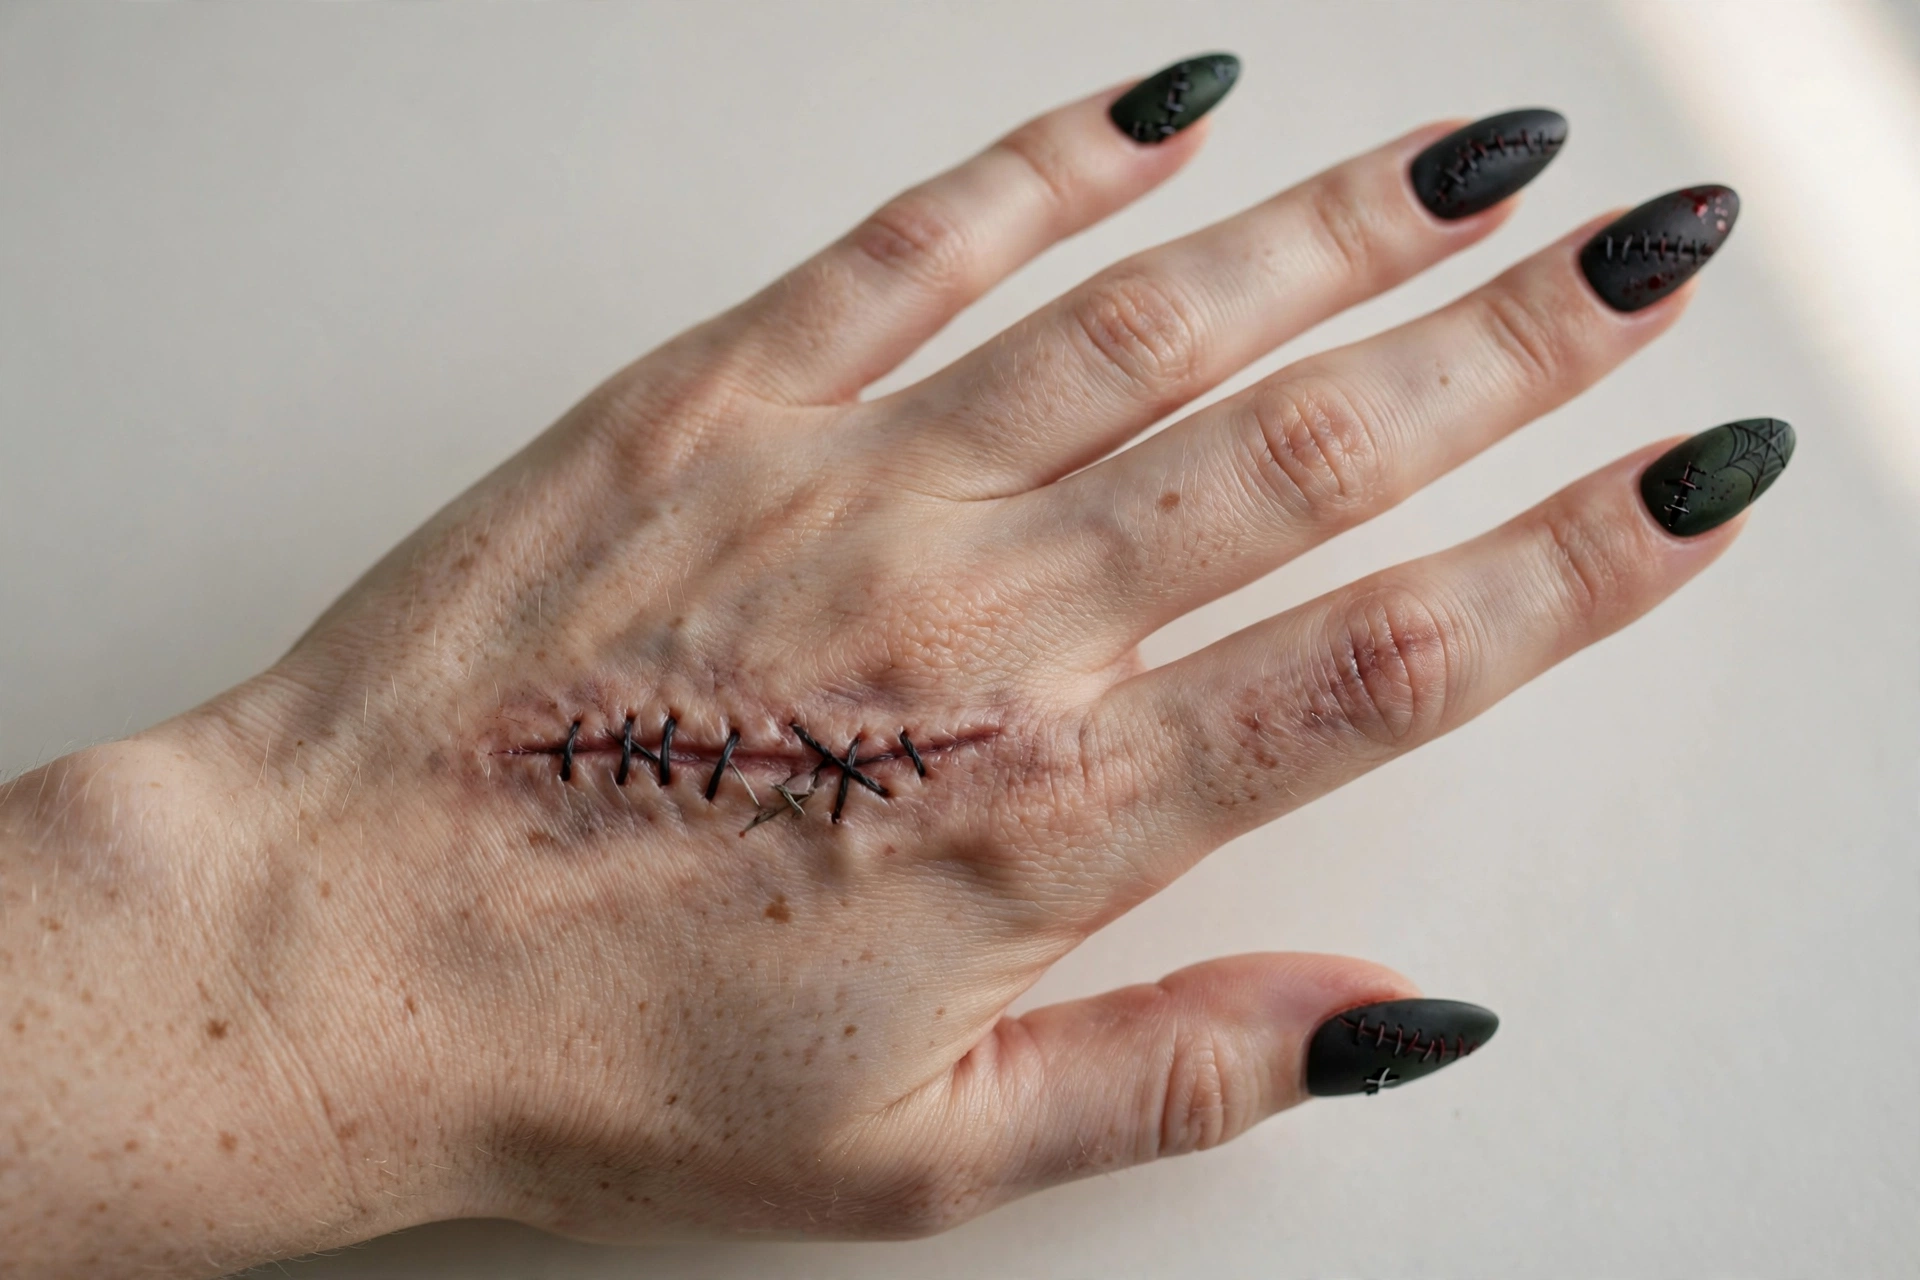
Black stitch lines running across a nude or pale base, like scars sewn shut. Minimalist horror at its best. A thin liner brush gives the cleanest stitches. Add a tiny red dot at each stitch end for a fresh-sewn look. It is office-friendly from a distance, spooky up close.
5. Lightning Storm Horror Night
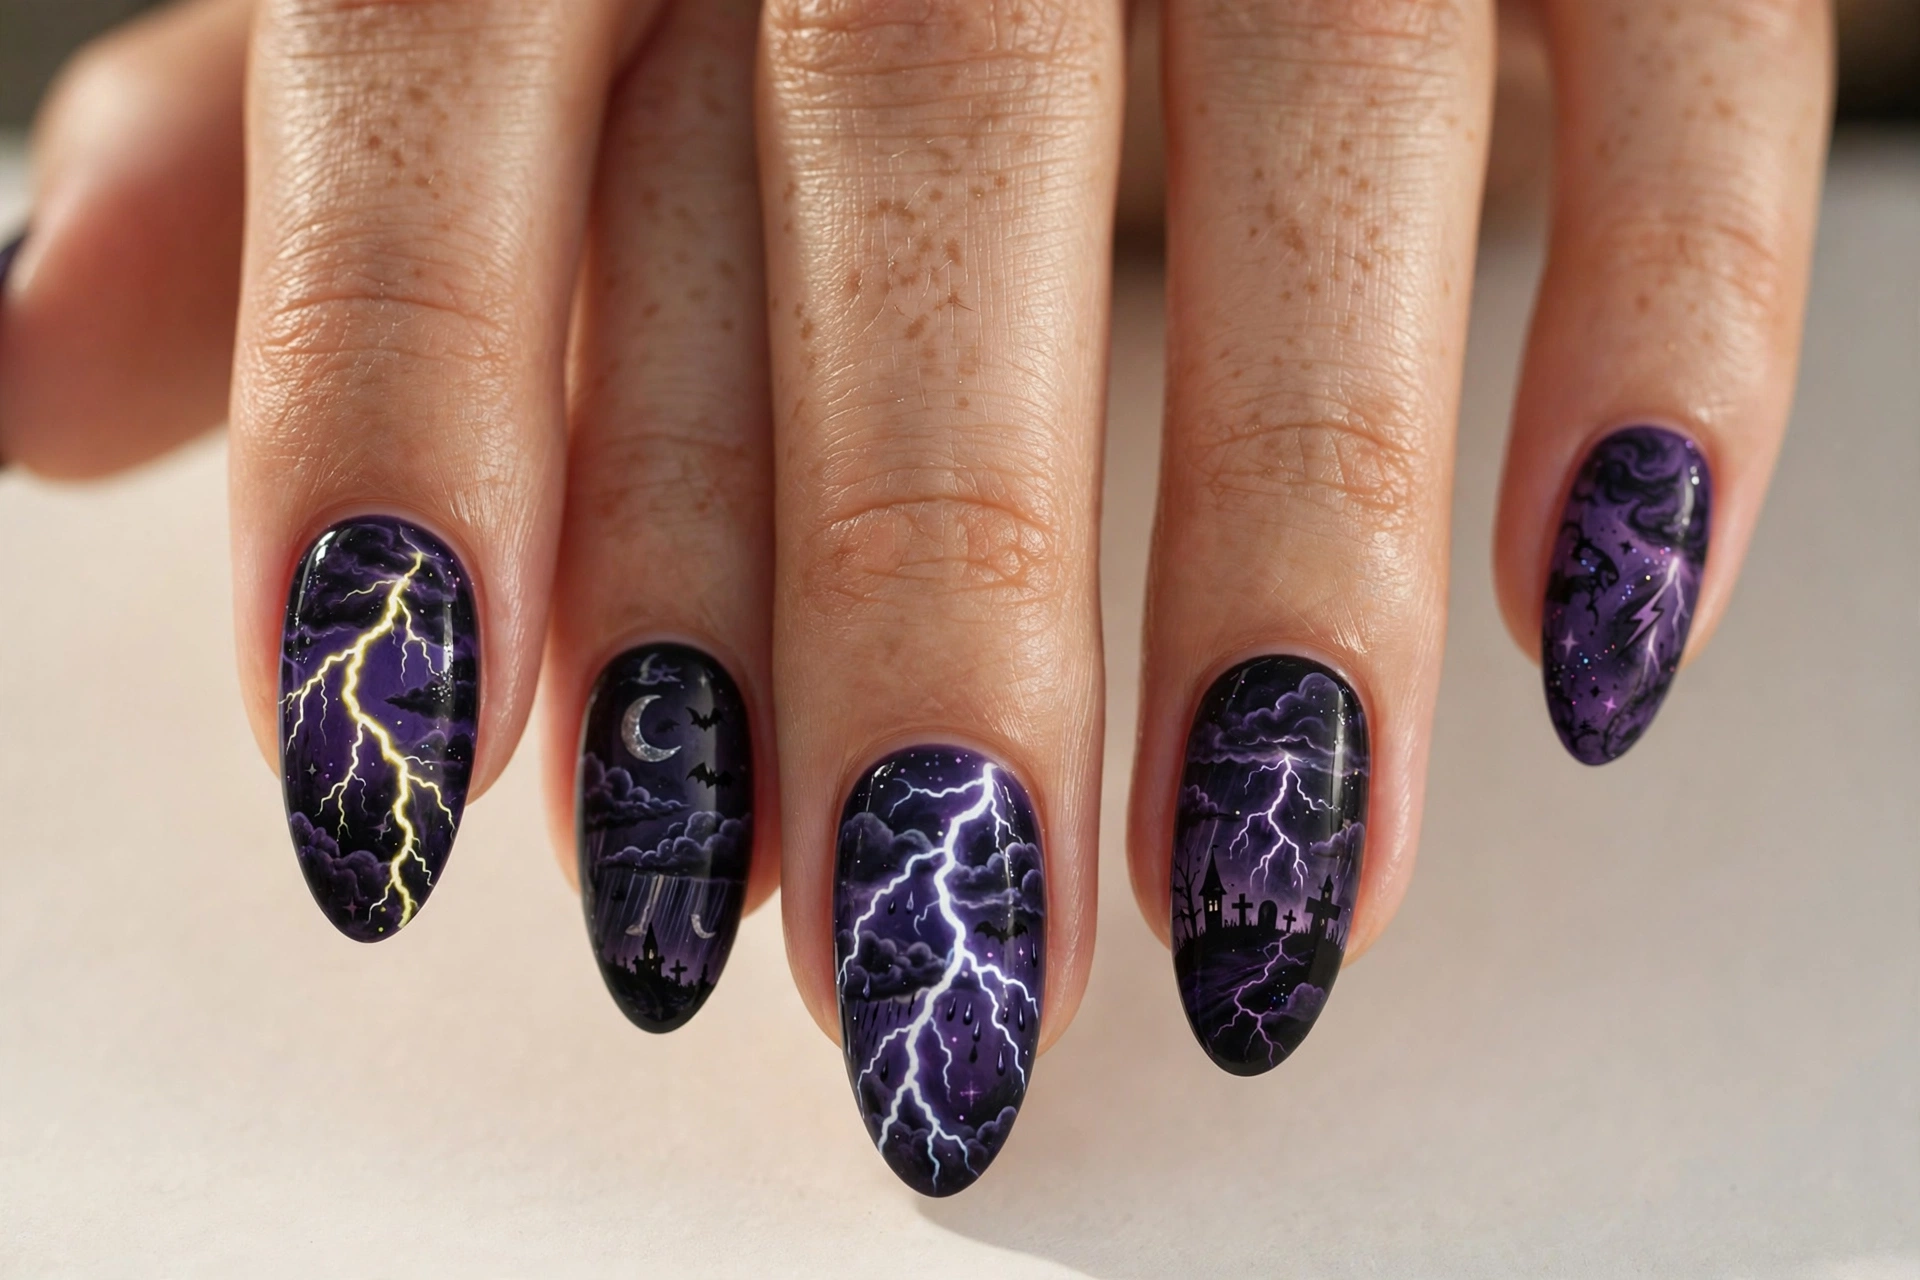
A dark purple and black stormy sky with jagged lightning bolts. This atmospheric design captures horror movie mood without any gore. It suits anyone who loves moody, dramatic nails. Sponge the dark gradient first, then paint lightning with a detail brush in white or pale yellow. The chaotic energy means imperfect bolts look perfect. Great for long almond nails.
6. Wanna Play Script
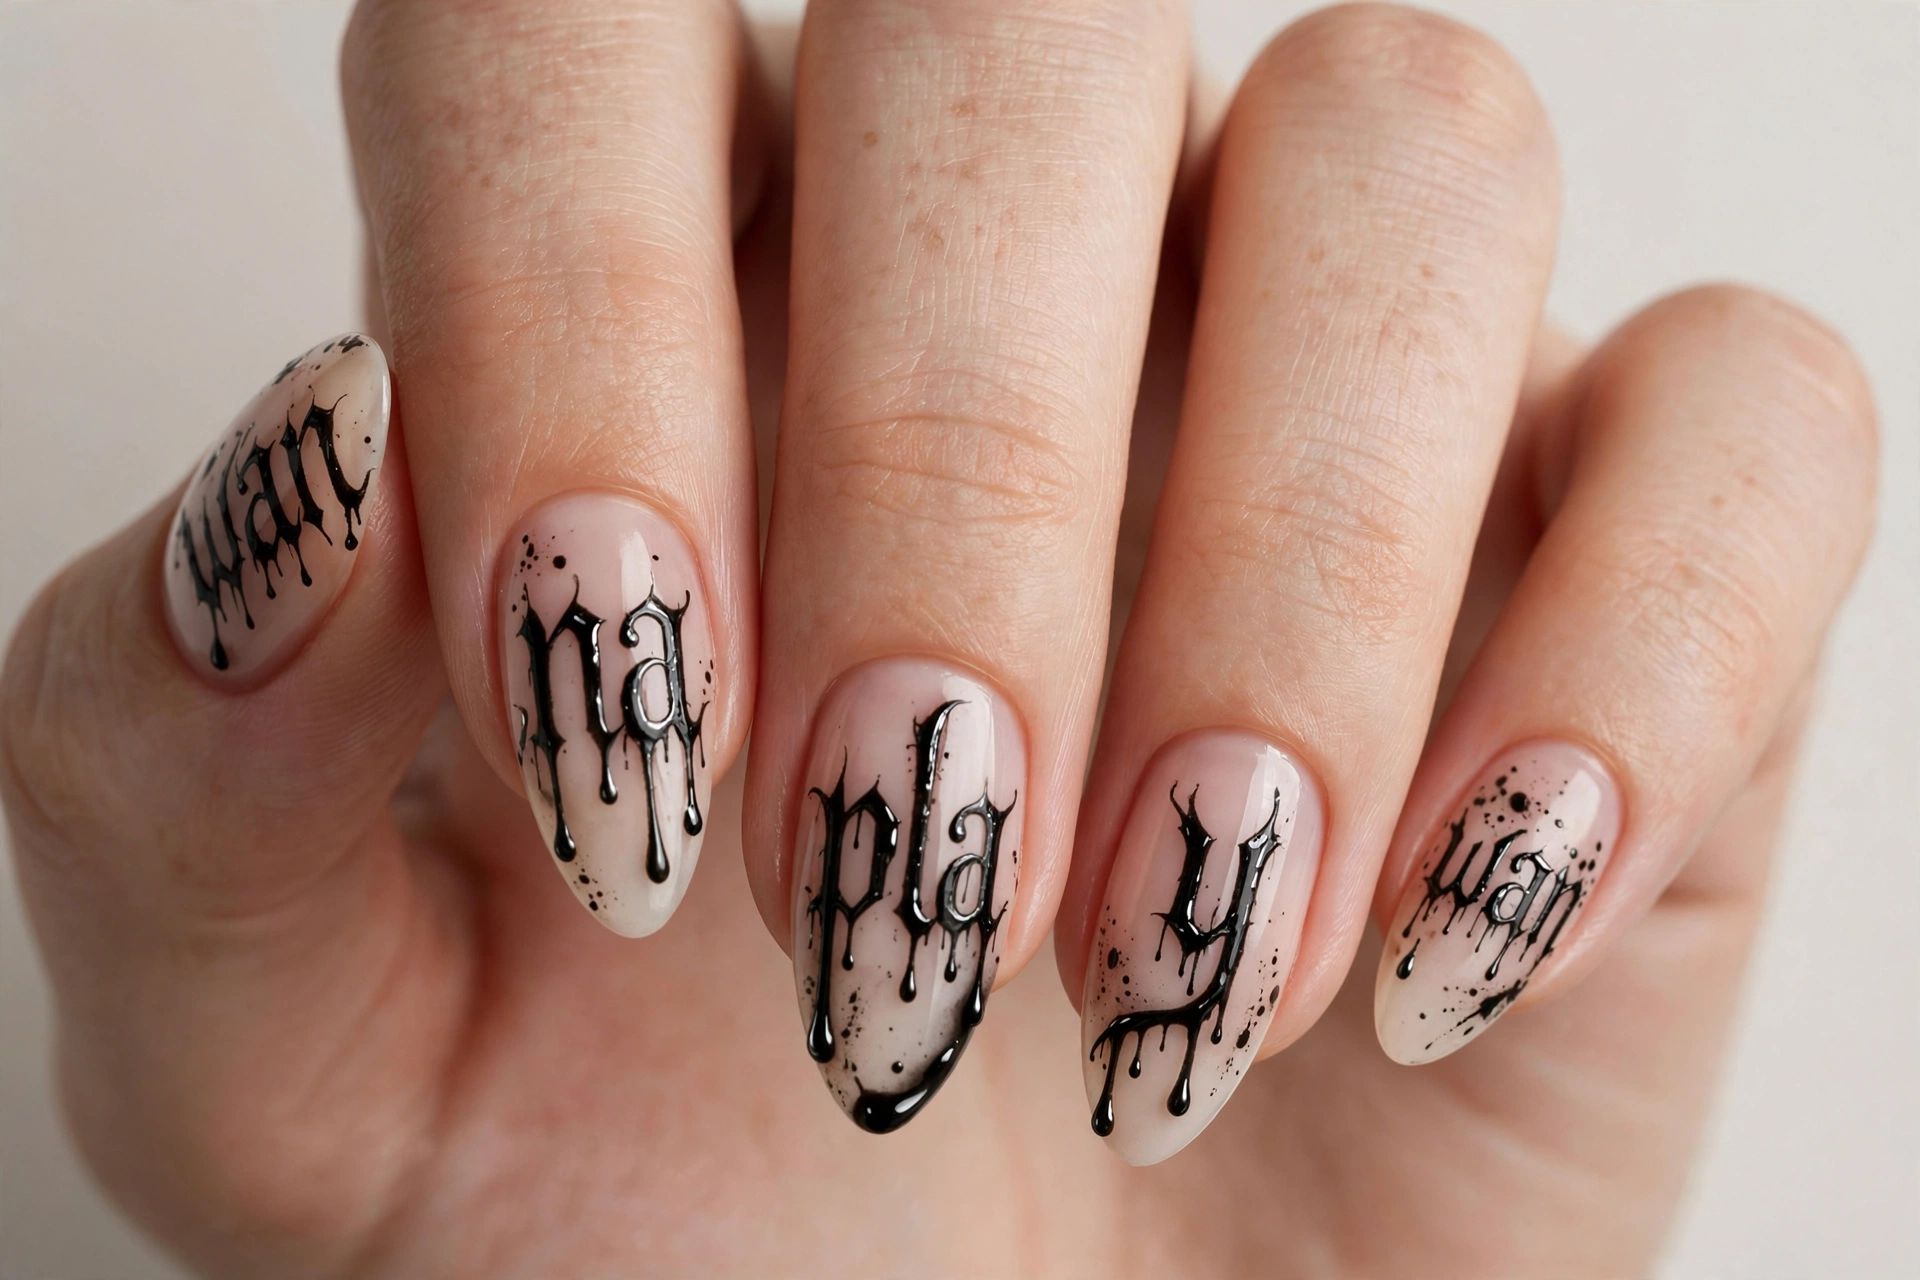
The doll’s infamous catchphrase in dripping gothic letters across your nails, a guaranteed conversation starter at any Halloween party. Use nail art stickers for crisp lettering, or freehand with a fine brush. Keep the base pale so the black script pops. One phrase across five nails reads like a tiny movie poster.
7. Gothic Lace and Dark Roses
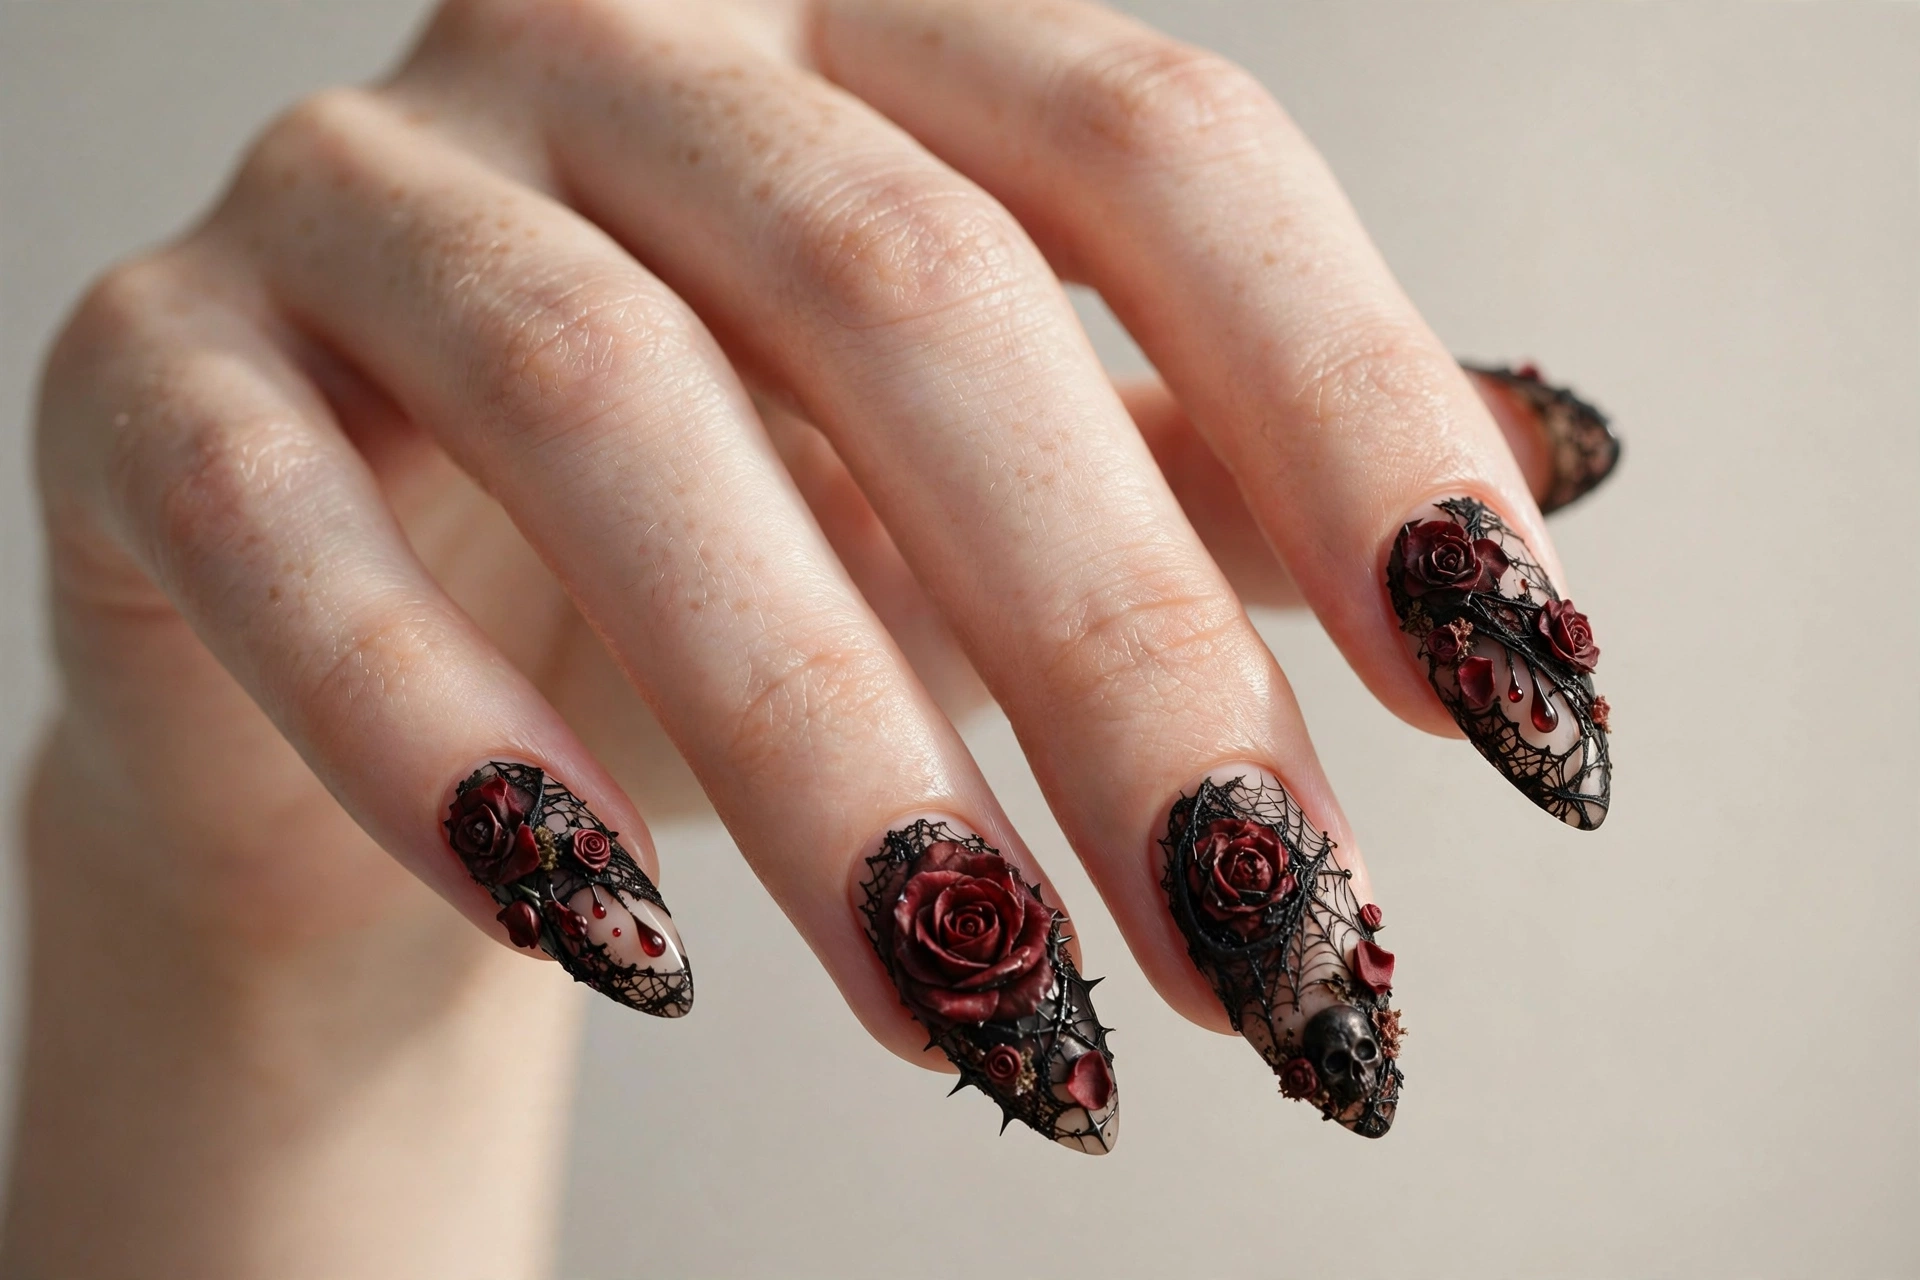
Black lace patterns with deep red roses bring a romantic gothic edge to the horror theme. Lace stamping plates give the cleanest results over a dark base. Add tiny rose decals or hand-paint simple shapes. It works beautifully for Halloween weddings. For more dark romance, see these 20 gothic nail designs for a dark edgy look.
8. Gothic Bride
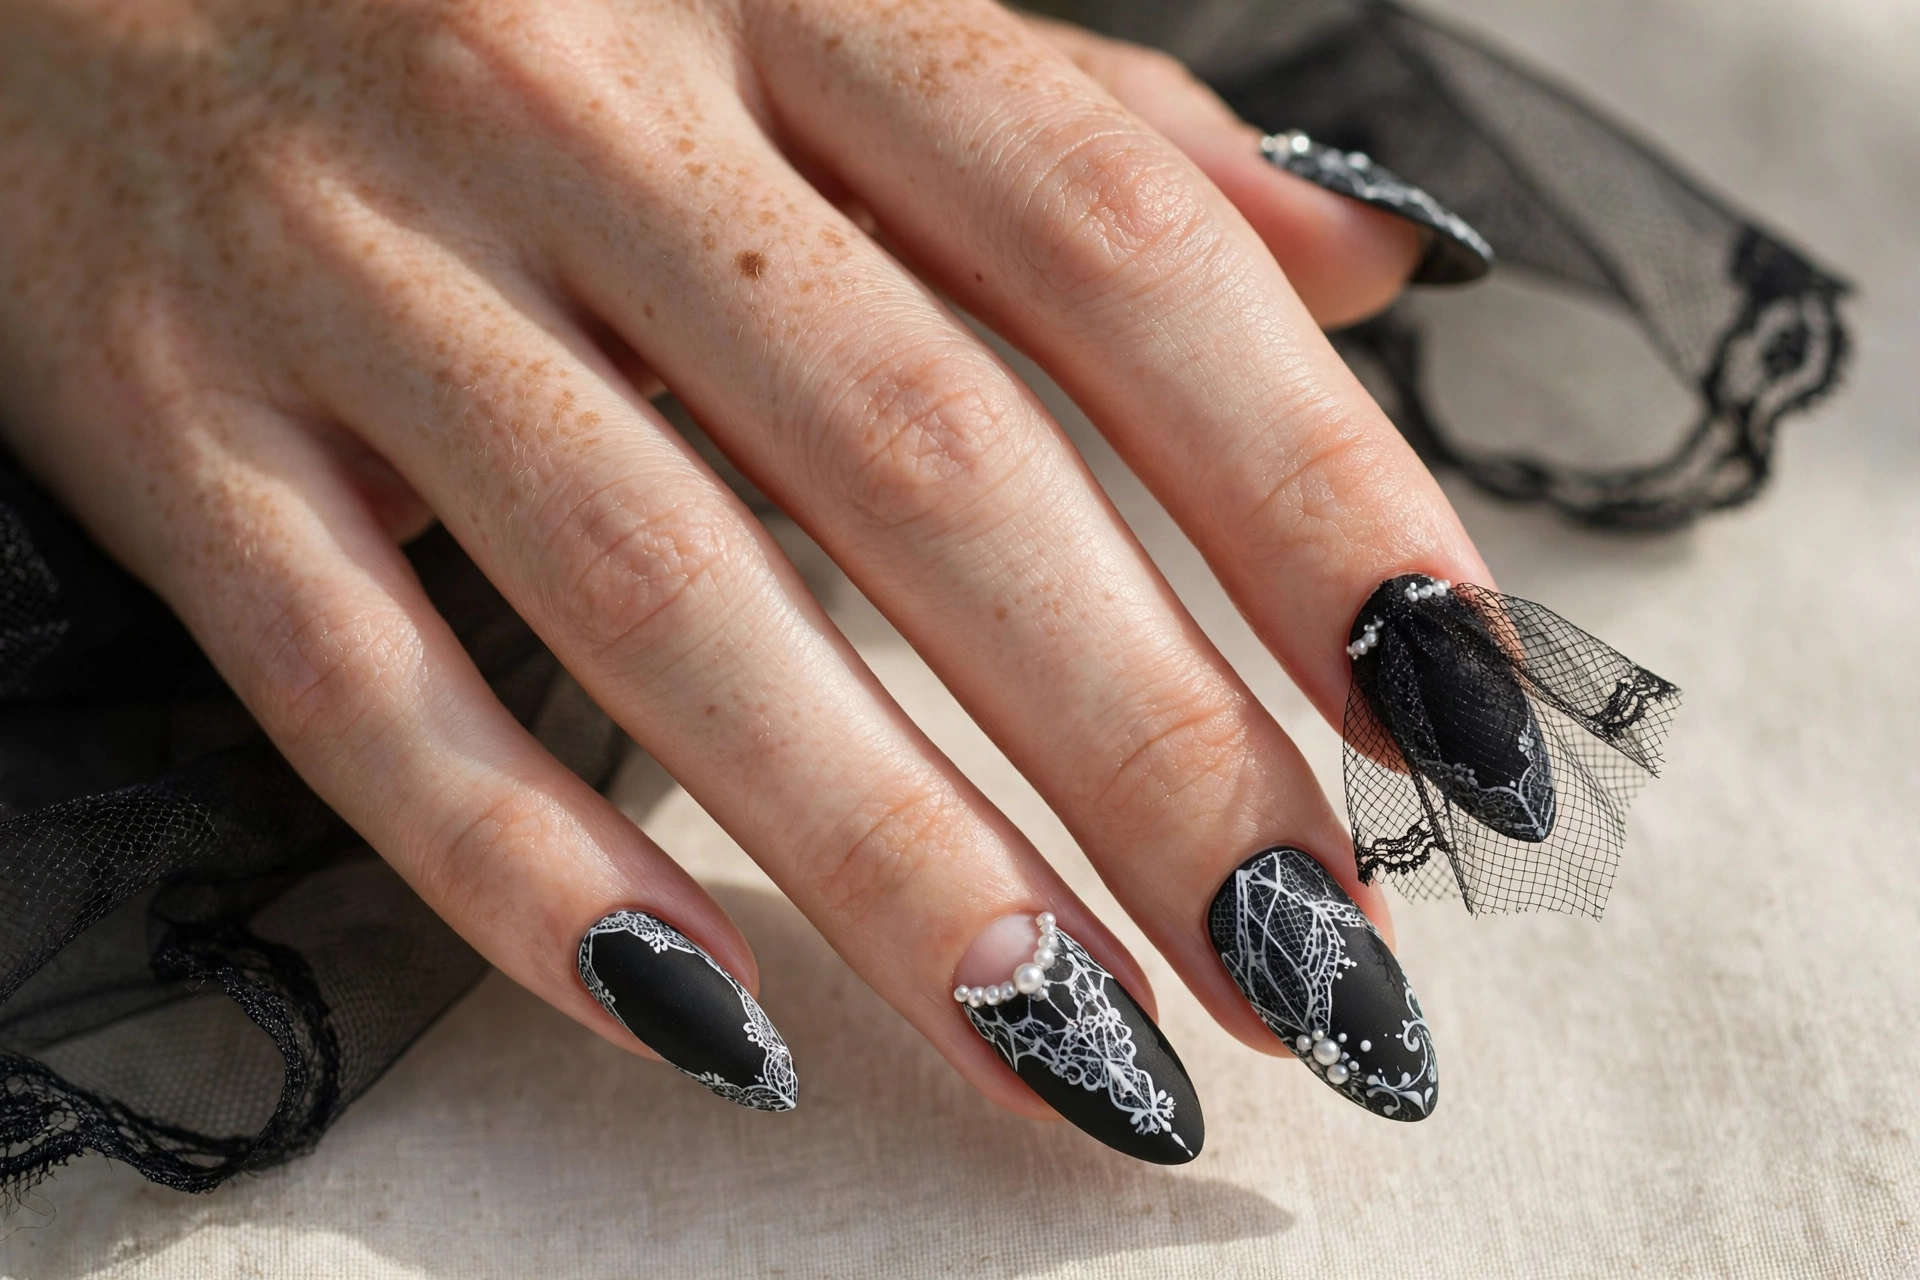
Black veils and white lace for a haunted bride aesthetic. This design suits romantics with a dark side and looks stunning at Halloween parties. Paint a sheer black base, then add white lace details with a stamping plate or fine brush. A single veil-like accent nail with solid black on the rest keeps it chic. It photographs beautifully in evening light.
9. Horror Stitch Lines
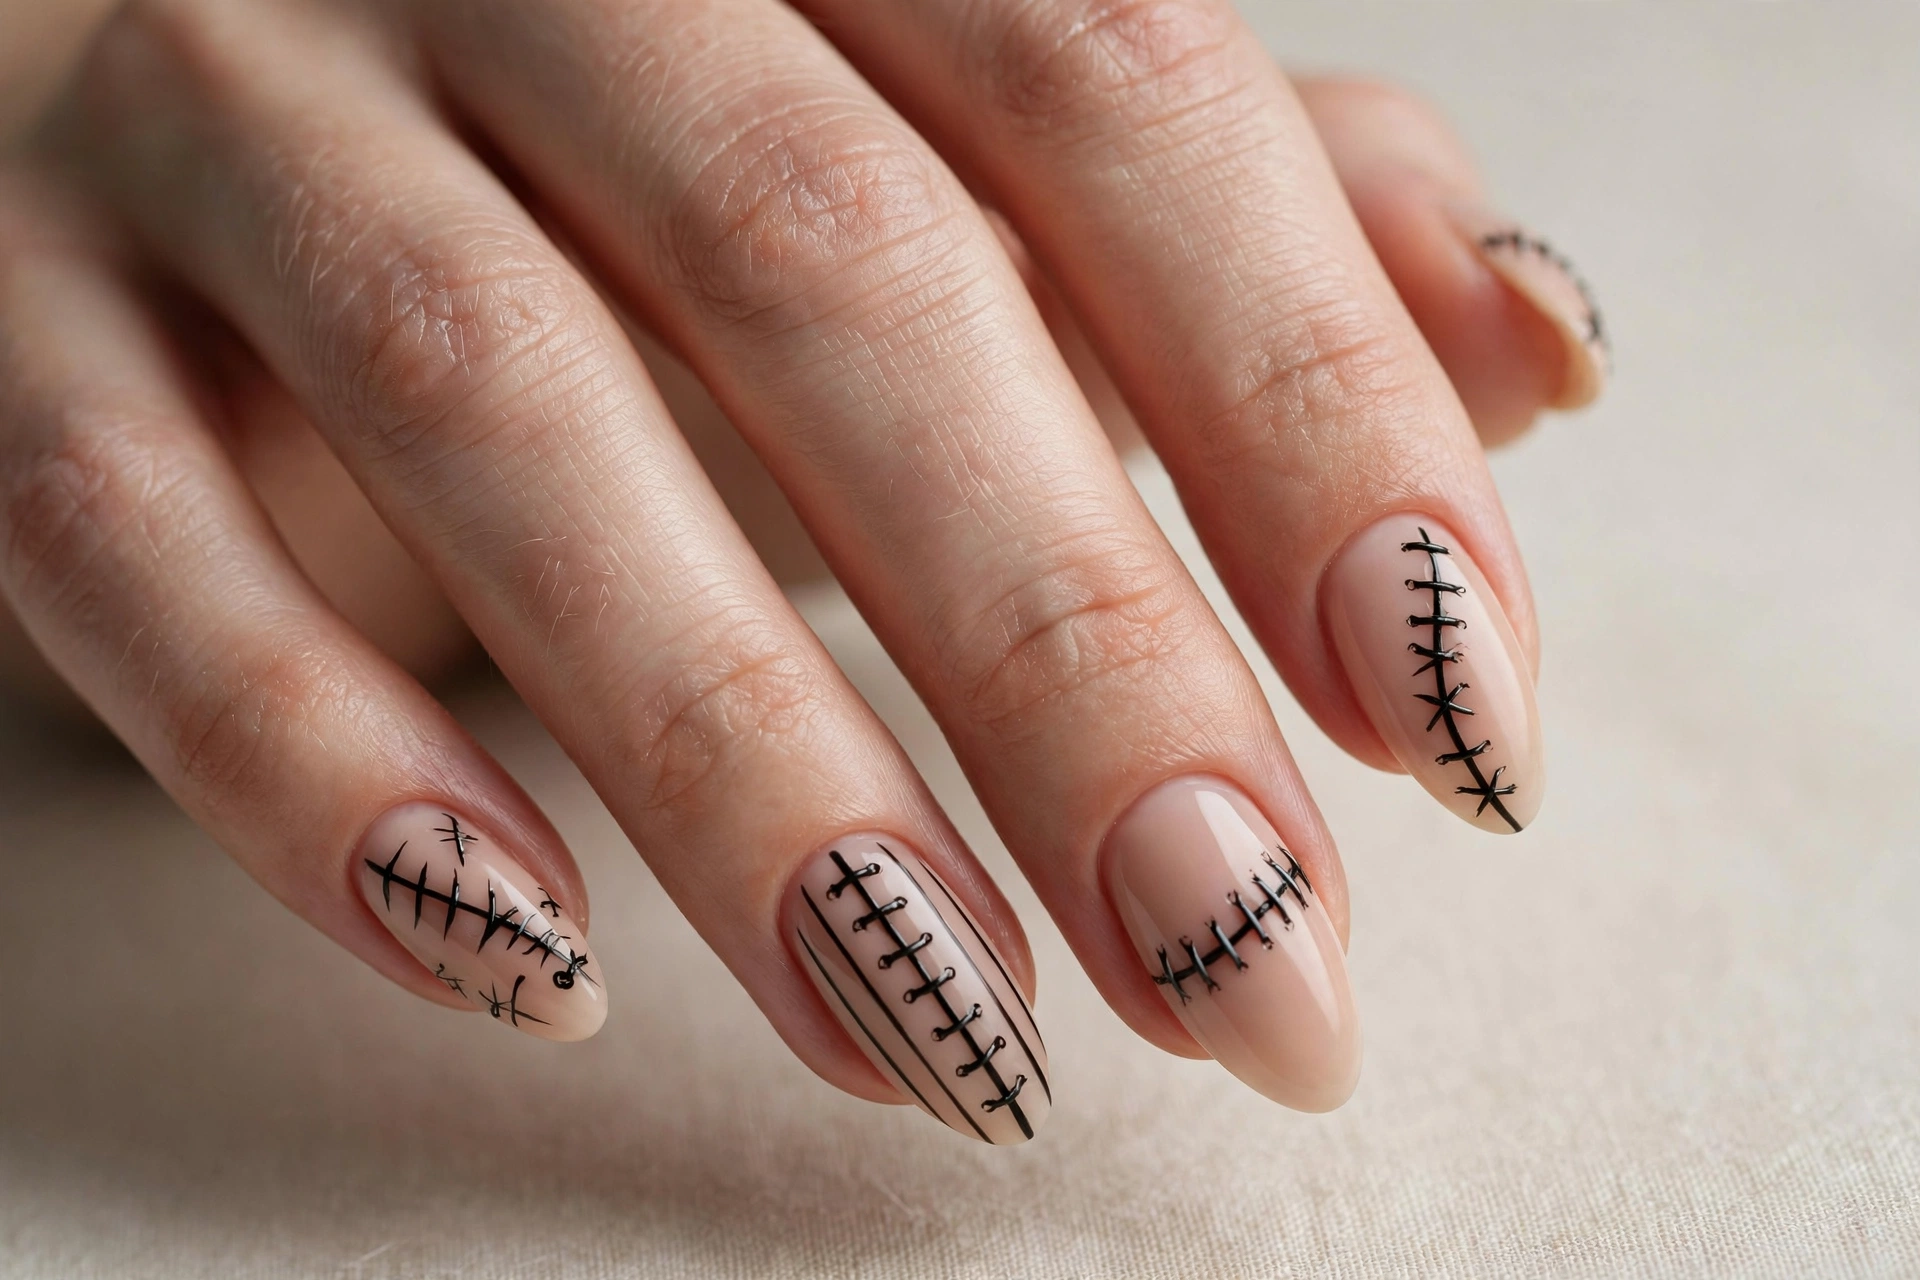
Simple rows of black stitches over nude nails. Clean, graphic, and unmistakably horror-themed. This suits minimalists who want the vibe without heavy art. The stitches do not need to be perfect, which makes this very beginner friendly. Use a liner brush and keep the lines short and slightly uneven. Seal with a glossy top coat so the stitches look like fresh thread.
10. Dark Red Splatter
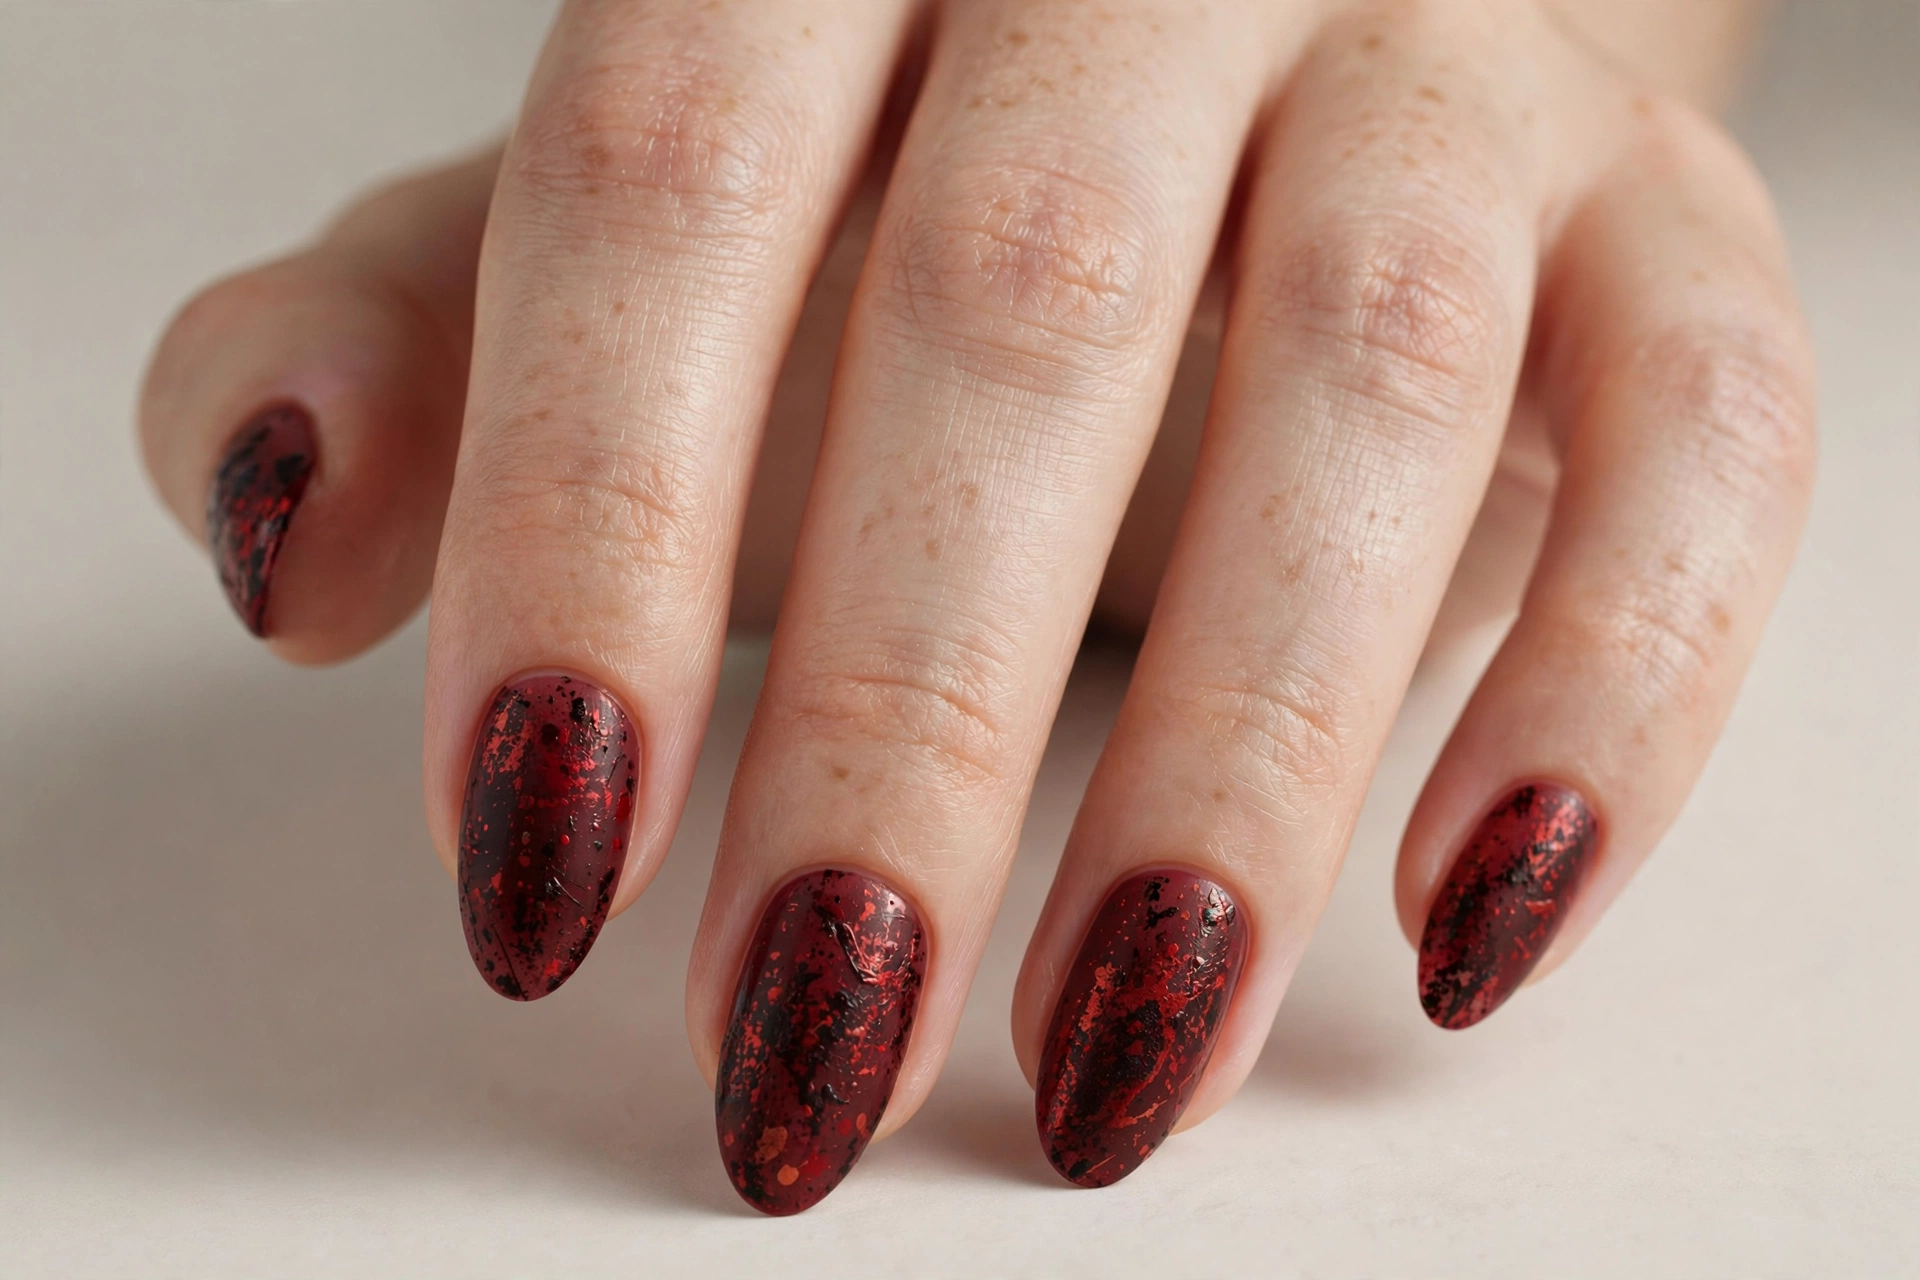
Grungy dark red splatters over a dark base for maximum horror impact. Flick the polish off a brush for natural splatter, and protect your skin with liquid latex first. Layer different reds for depth. It is messy by design, so there is no way to get it wrong.
11. Glowing Eyes in the Dark
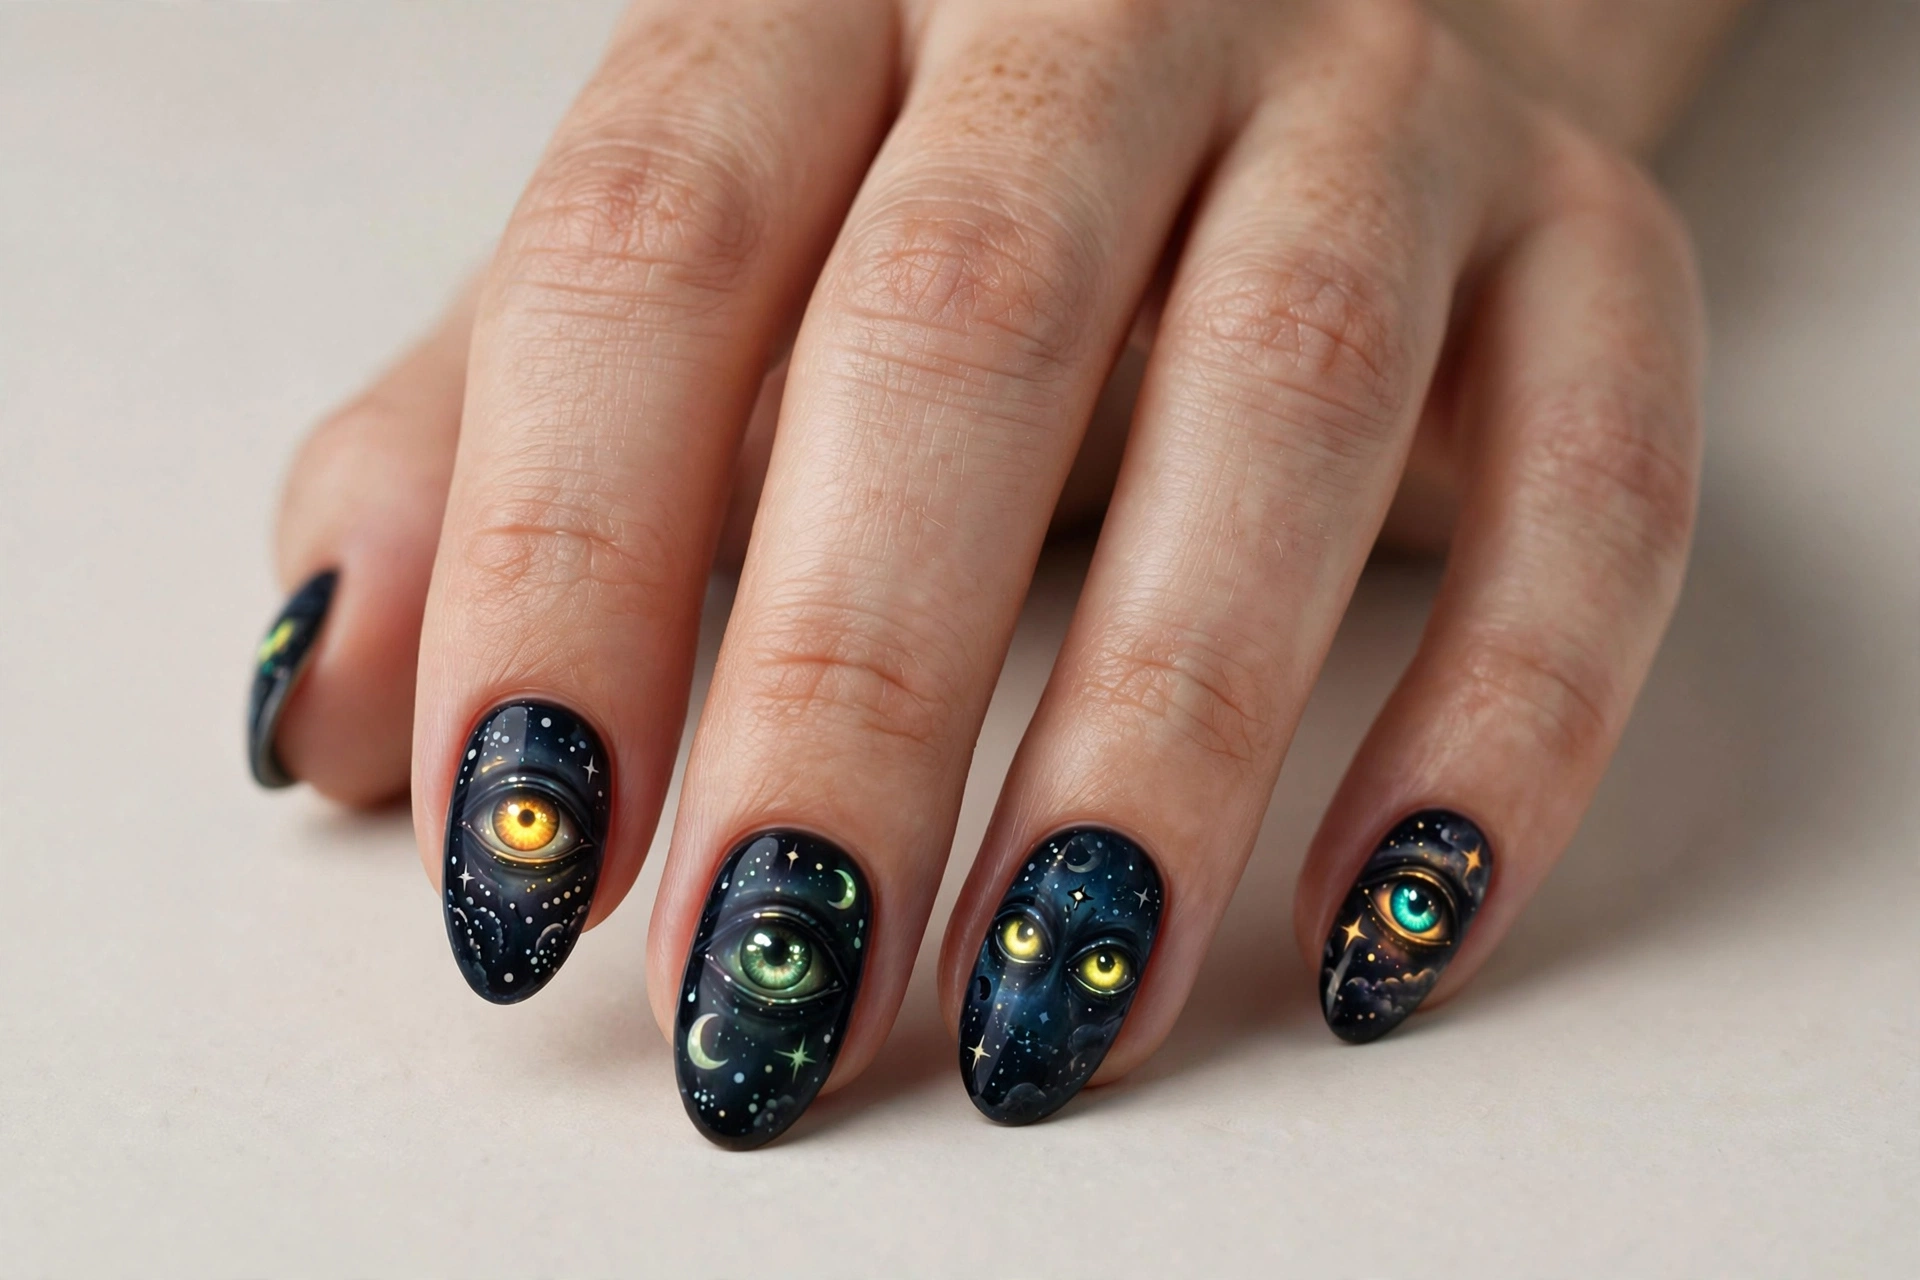
Eerie glowing eyes staring out from pitch-black nails. Spooky, simple, and effective. This suits anyone who wants nails that look great in dim party lighting. Paint the base black, then add eye shapes in pale yellow or white with tiny dark pupils. A matte black base with glossy eyes adds dimension. It is one of the easiest designs here and looks amazing on short nails.
12. Denim Overalls
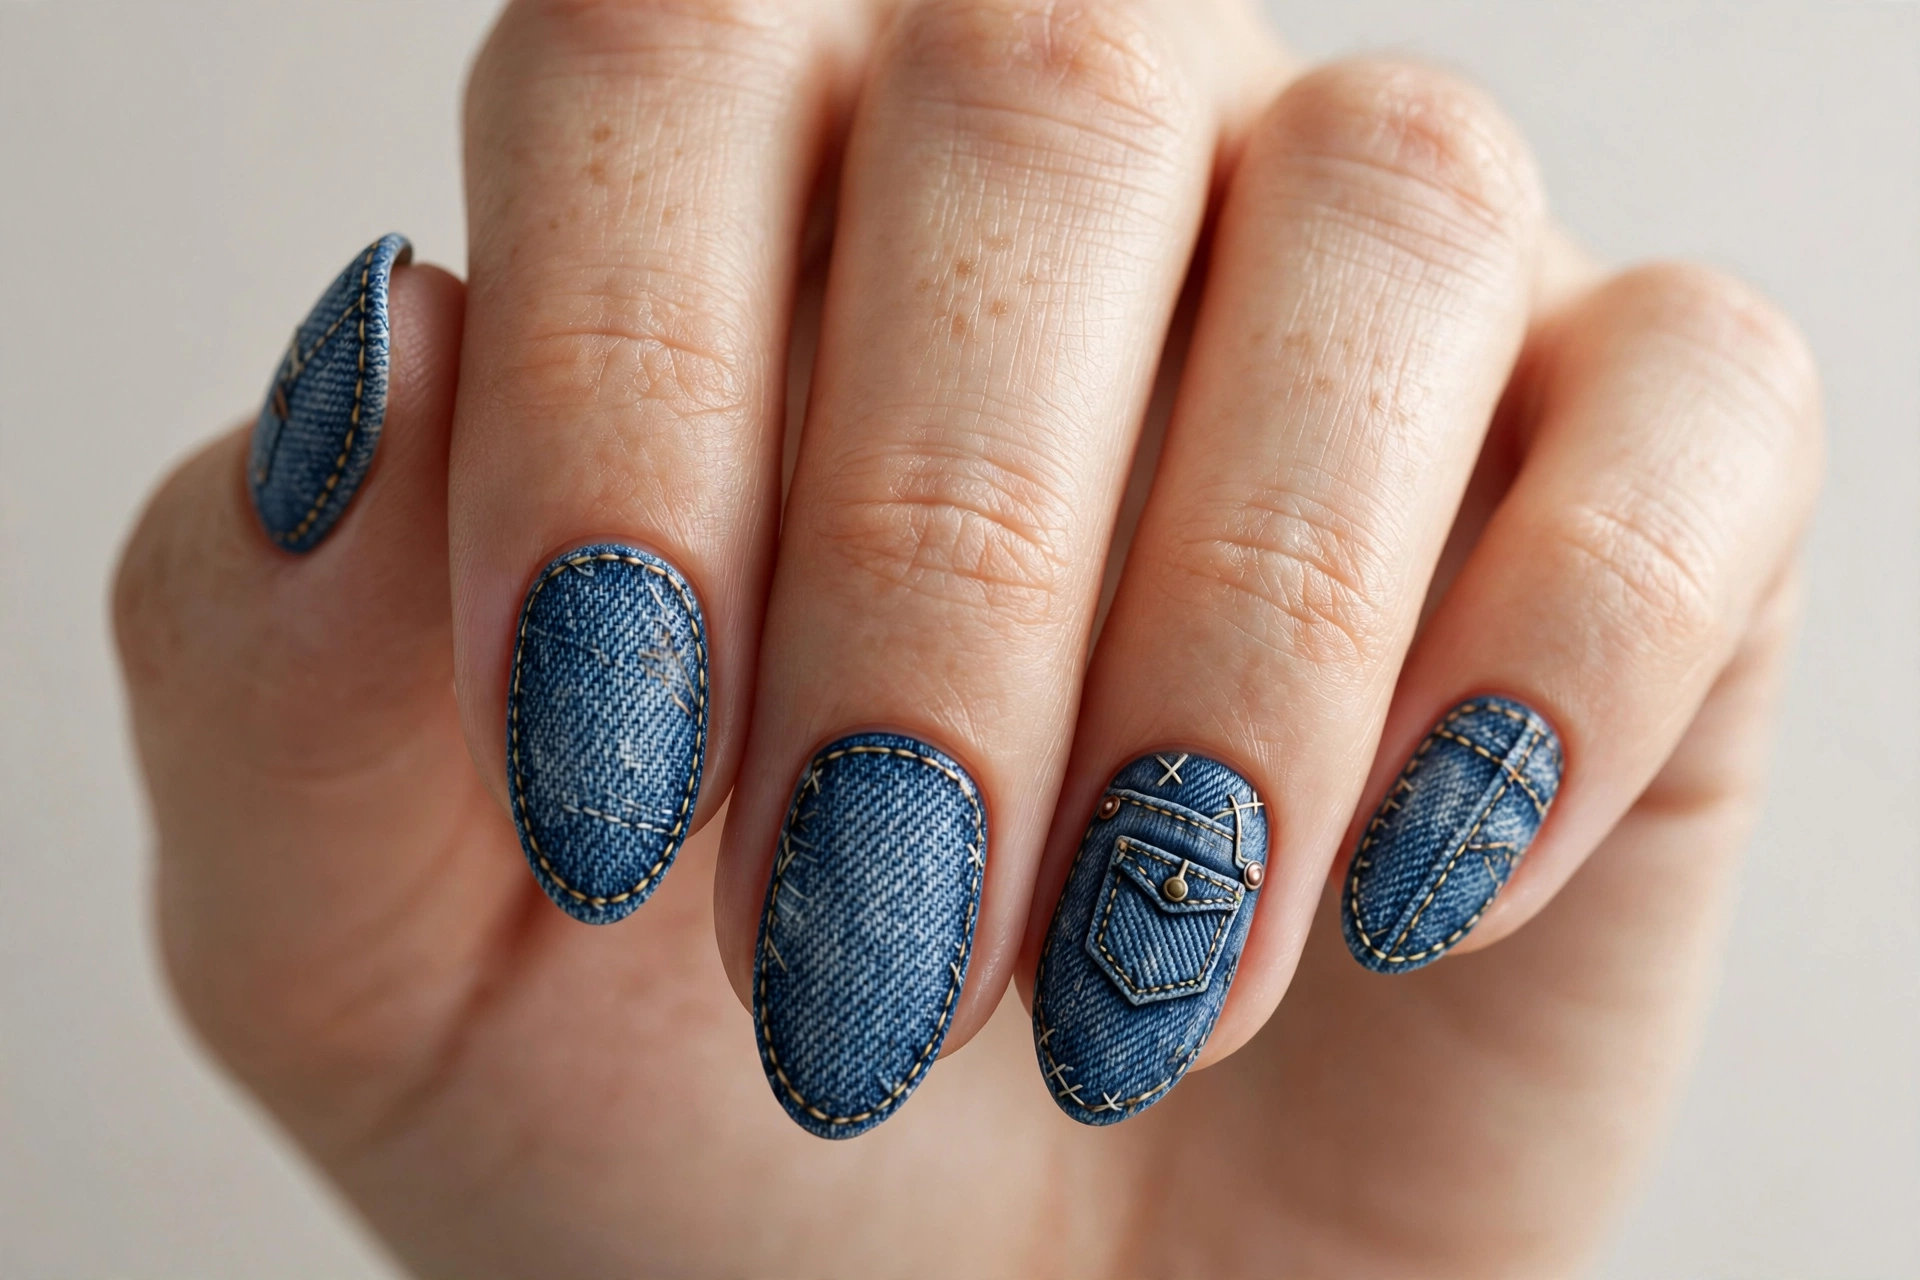
Blue denim texture with contrast stitching, like tiny overalls for your fingertips. This is a fun, subtle nod that horror fans will recognize instantly. It suits anyone who wants theme nails that are still cute. Use a textured denim-blue polish or stamp a denim pattern, then add stitch lines in a contrasting thread color. It pairs perfectly with actual denim outfits.
13. Fiery Red Strands
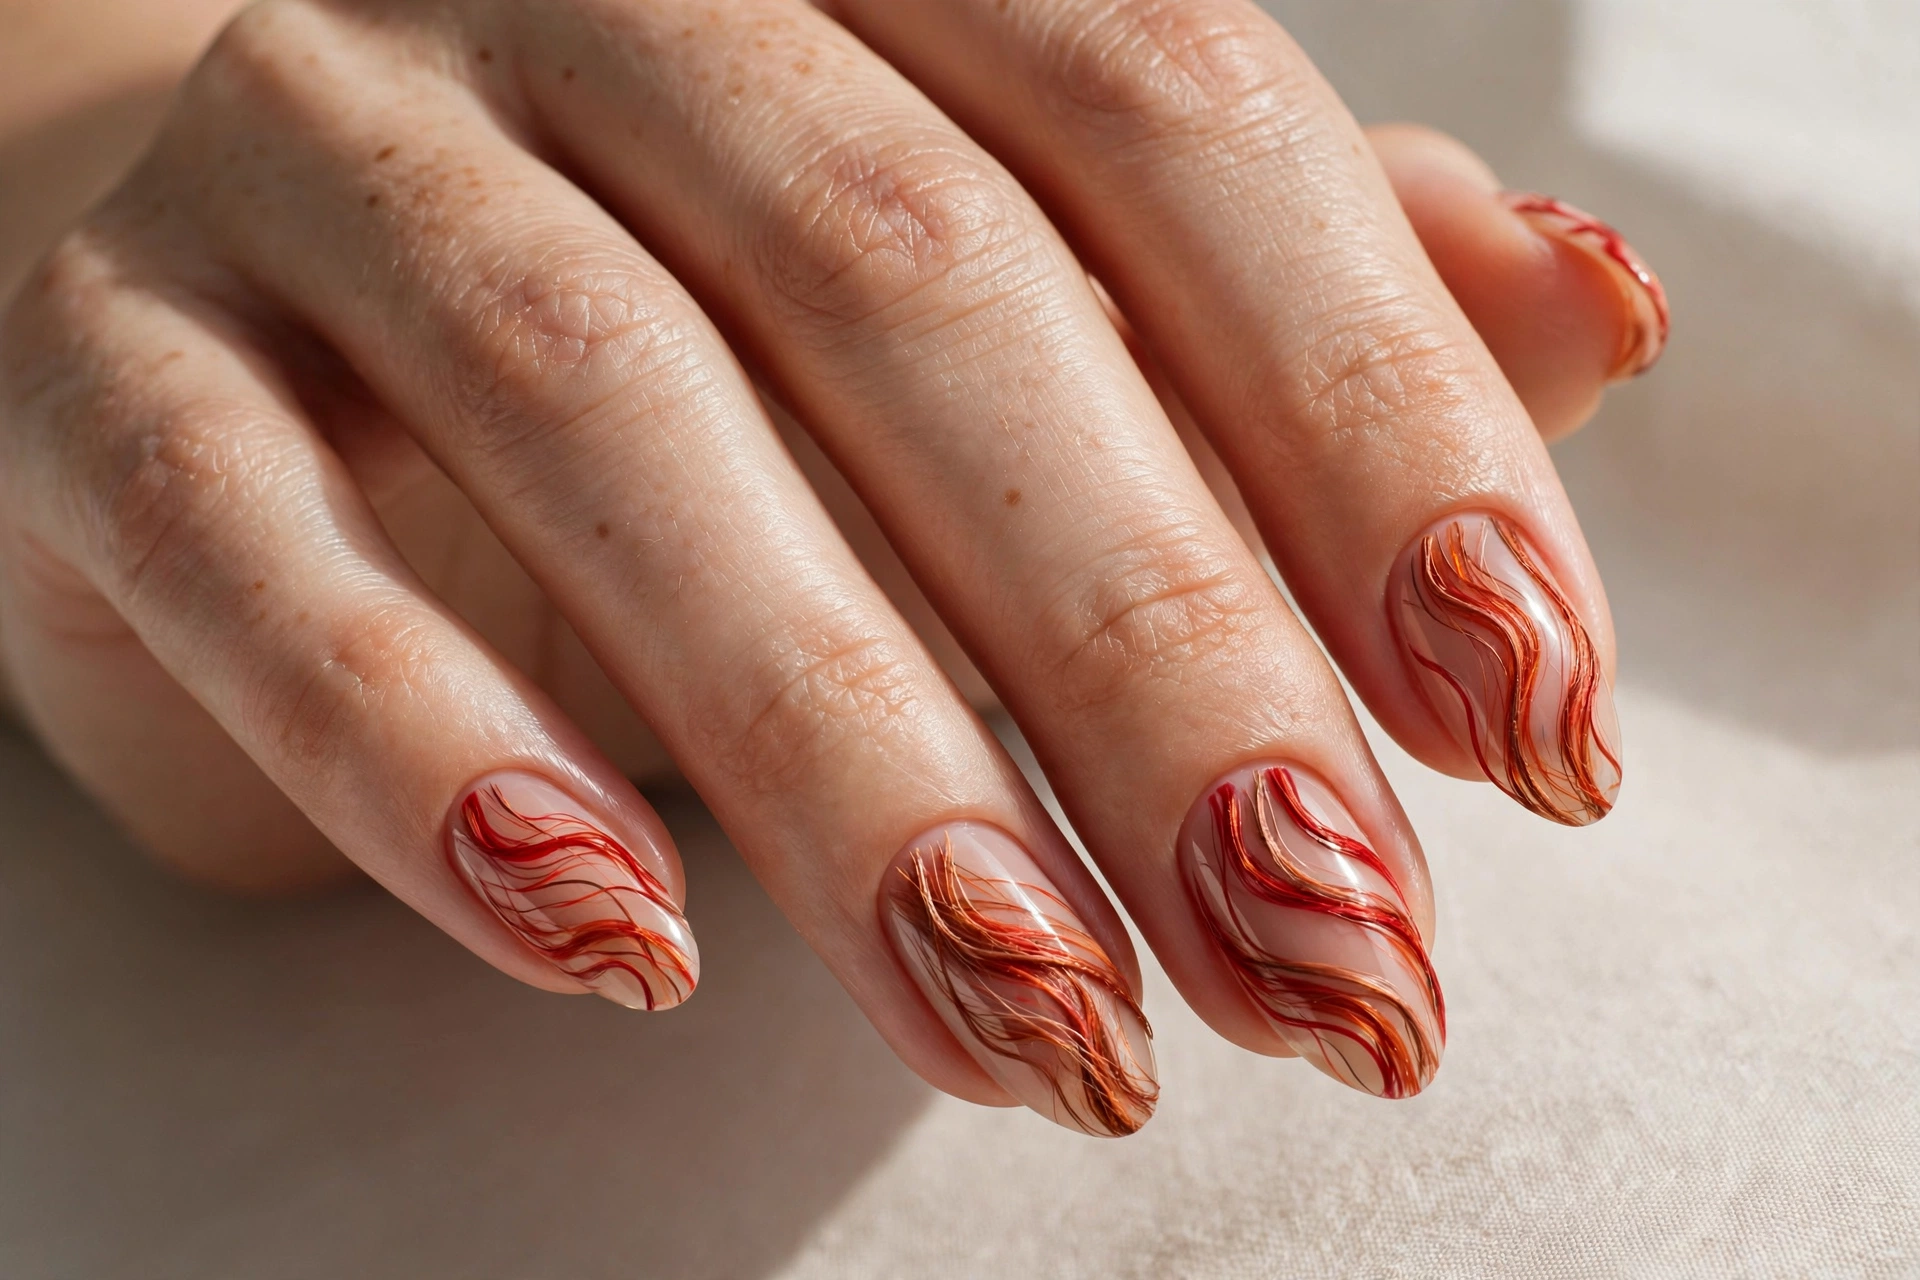
Wild, wavy strands of fiery red flowing across each nail. This captures the doll’s untamed hair in abstract form. It suits bold personalities and looks incredible with movement. Paint flowing curves with a detail brush in two or three red tones over a dark base. The messier the strands, the better the effect. This is pure fun and very forgiving to paint.
14. Stitched Heart and Pins
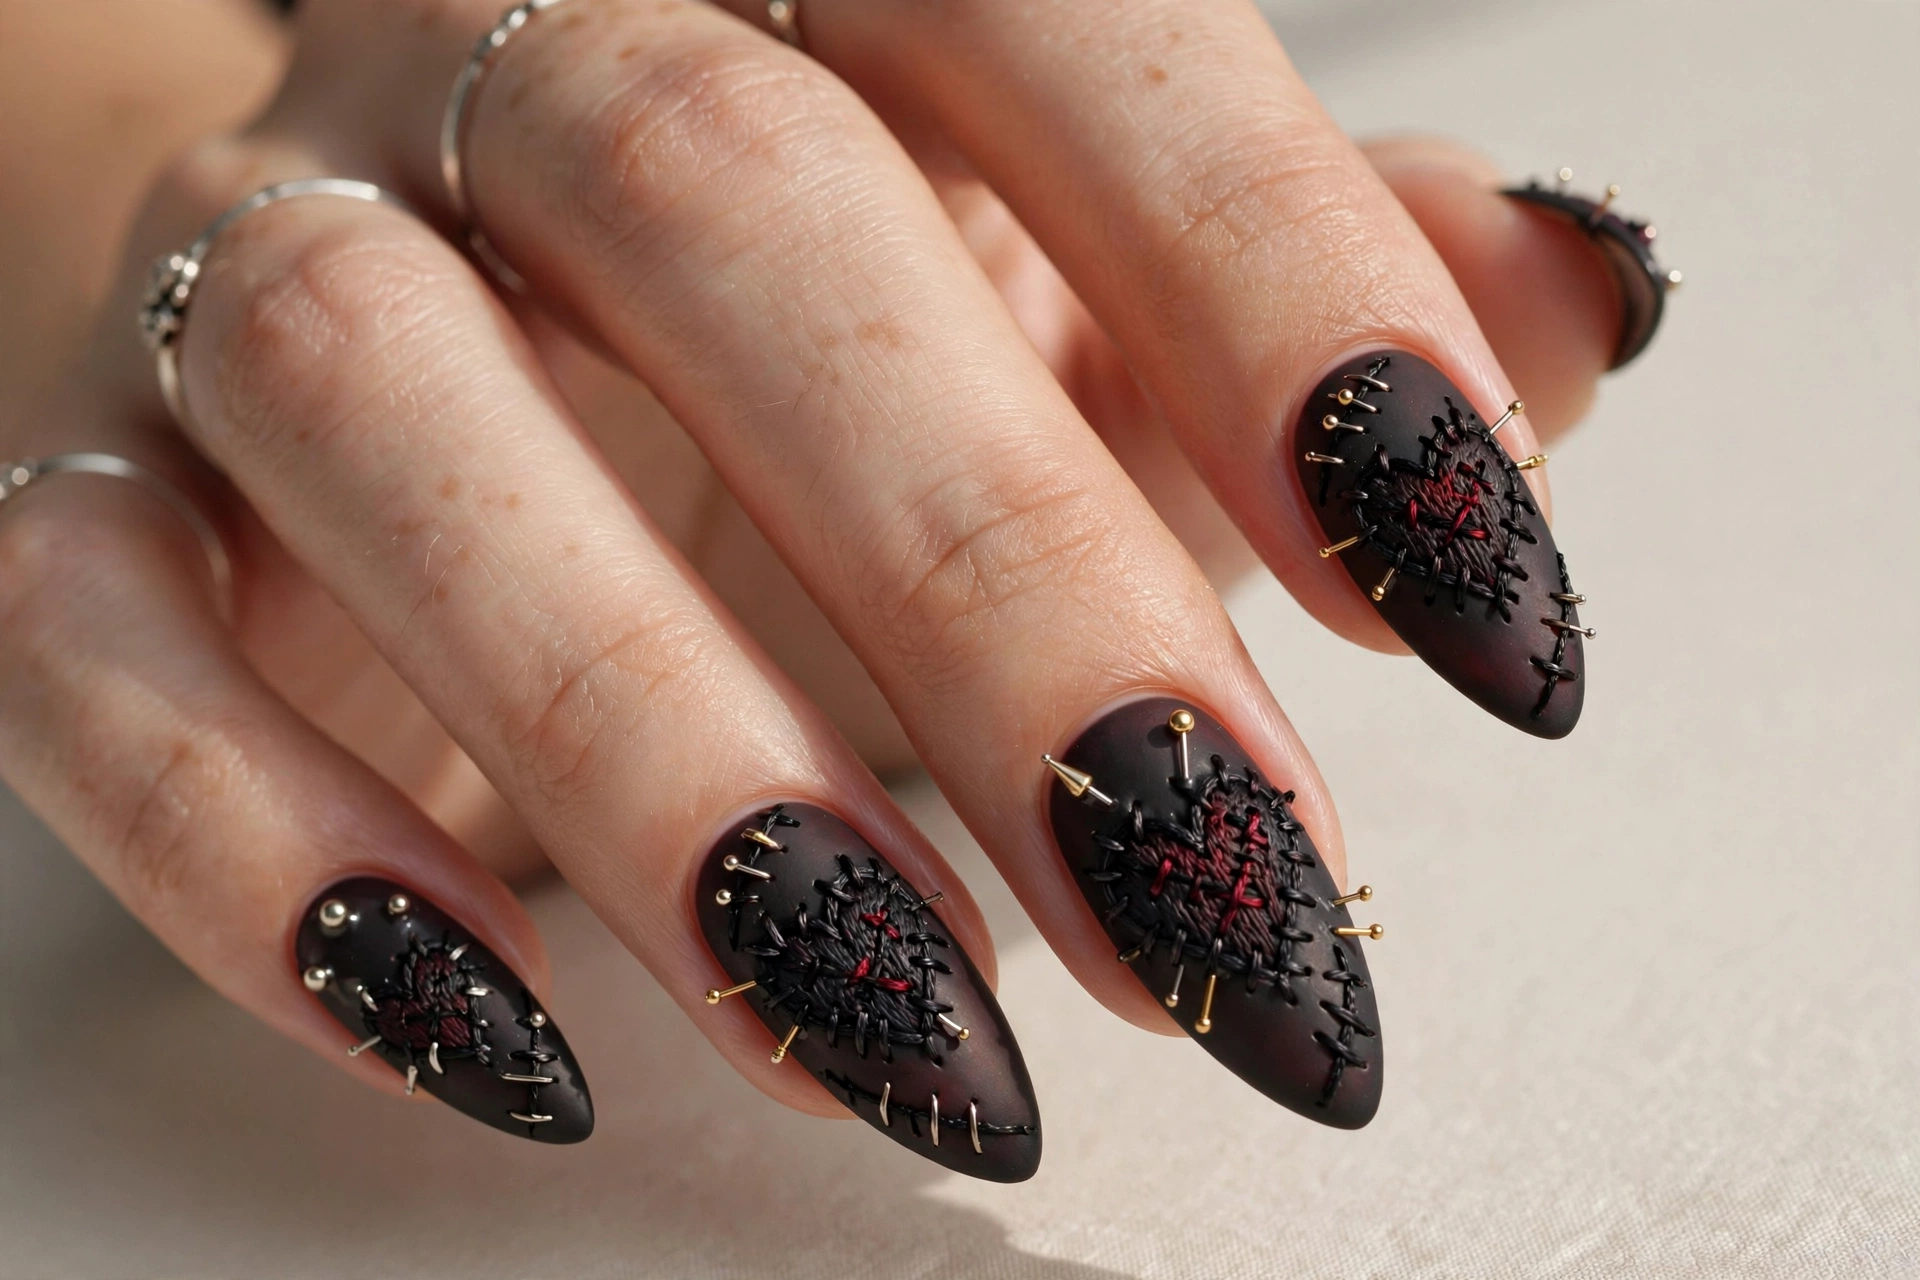
A dark stitched heart with tiny metallic pins, equal parts creepy and romantic. Paint the heart in deep red or black, outline it with stitch marks, and add silver pin dots with a dotting tool. It works as a single accent nail or across the whole set. If you love character-driven horror nails, these 23 Jack Skellington nail designs for spooky season are a perfect companion.
15. Drive-In Movie Night
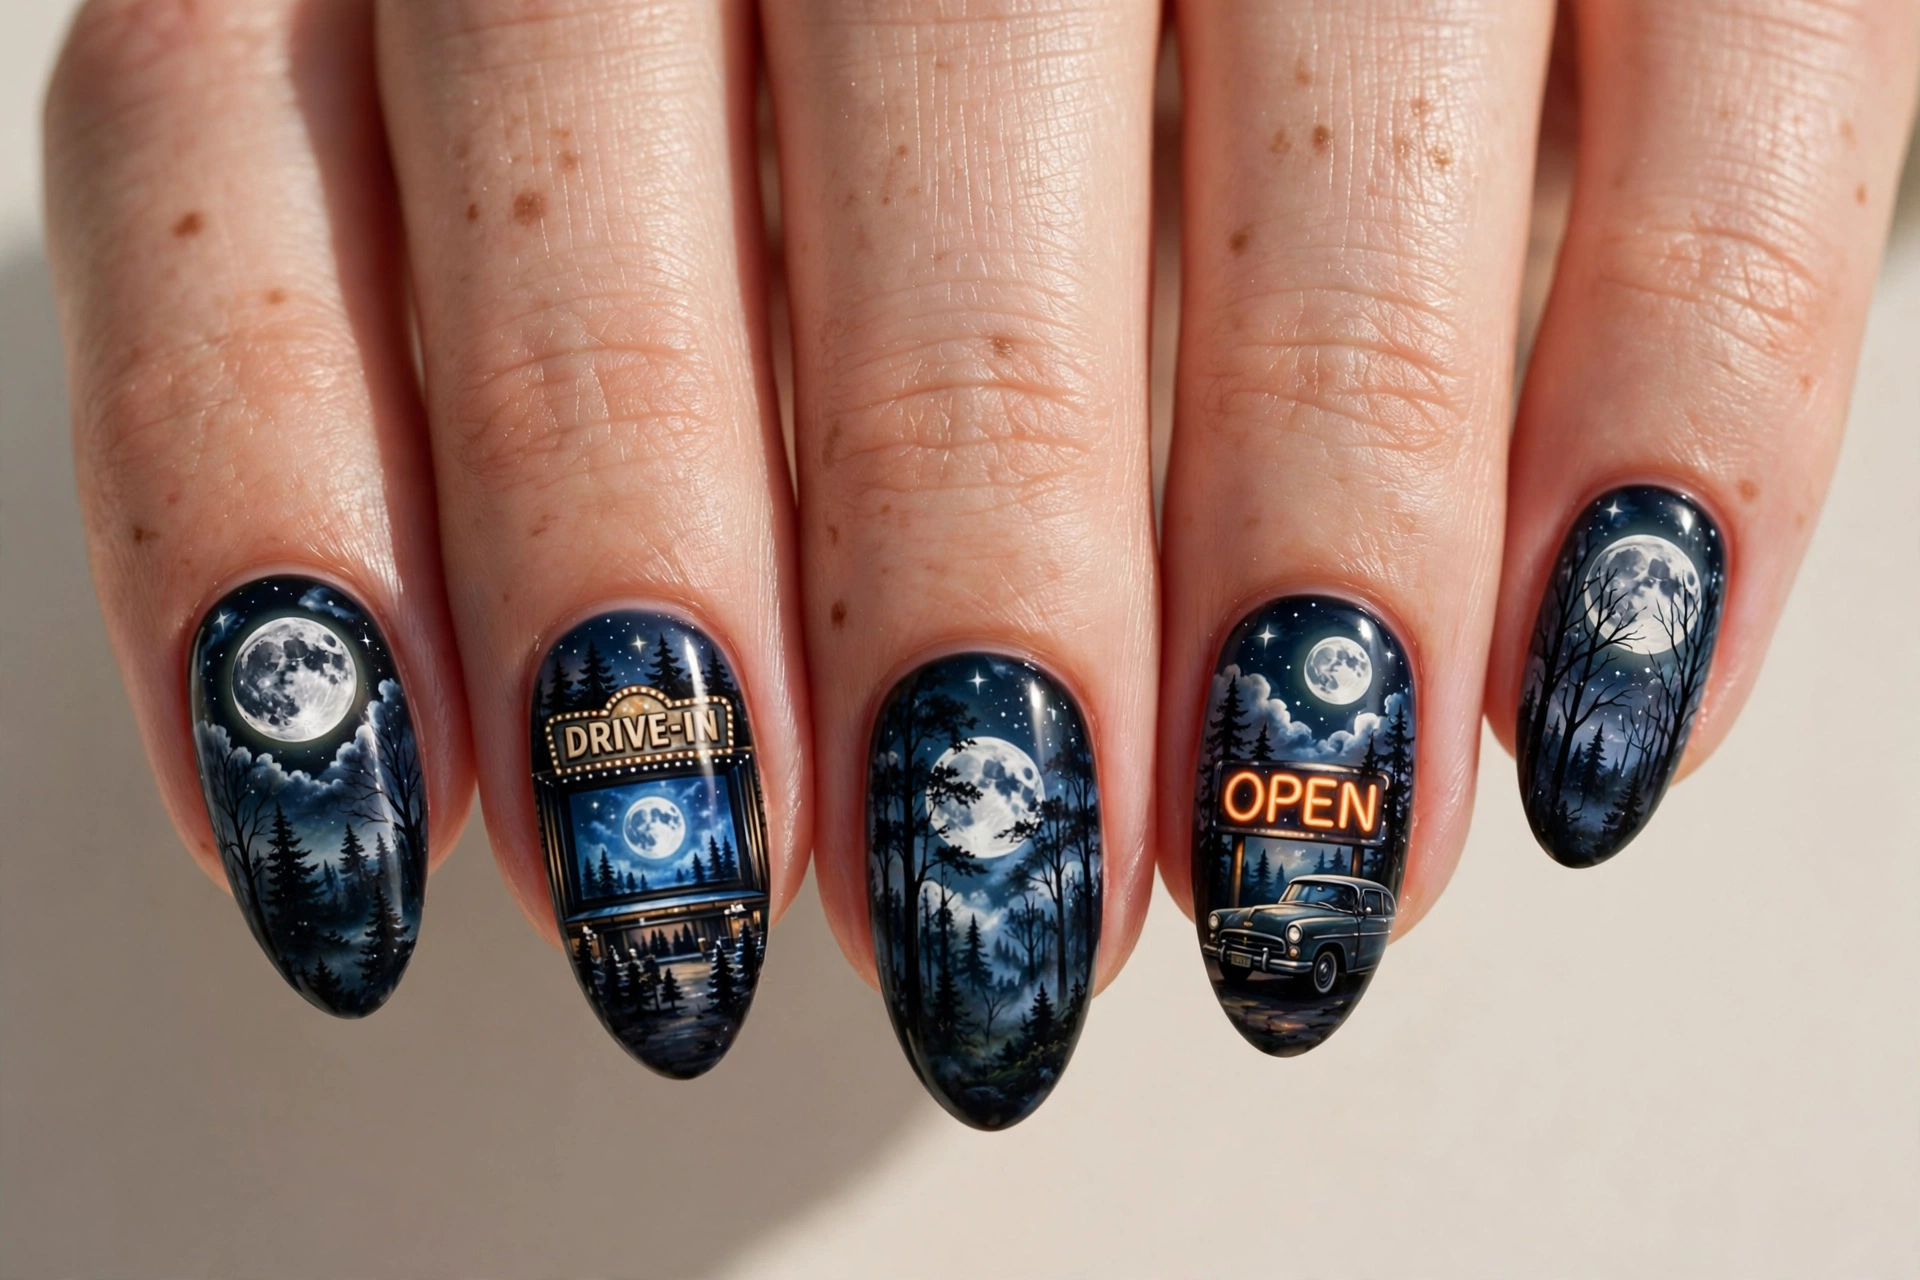
A full moon rising over dark trees, like the opening shot of a horror film. Sponge a night-sky gradient, paint the moon with a dotting tool, and silhouette the trees with a detail brush. Keep the scene to one or two accent nails with solid dark polish on the rest.
16. Antique Toy Shop
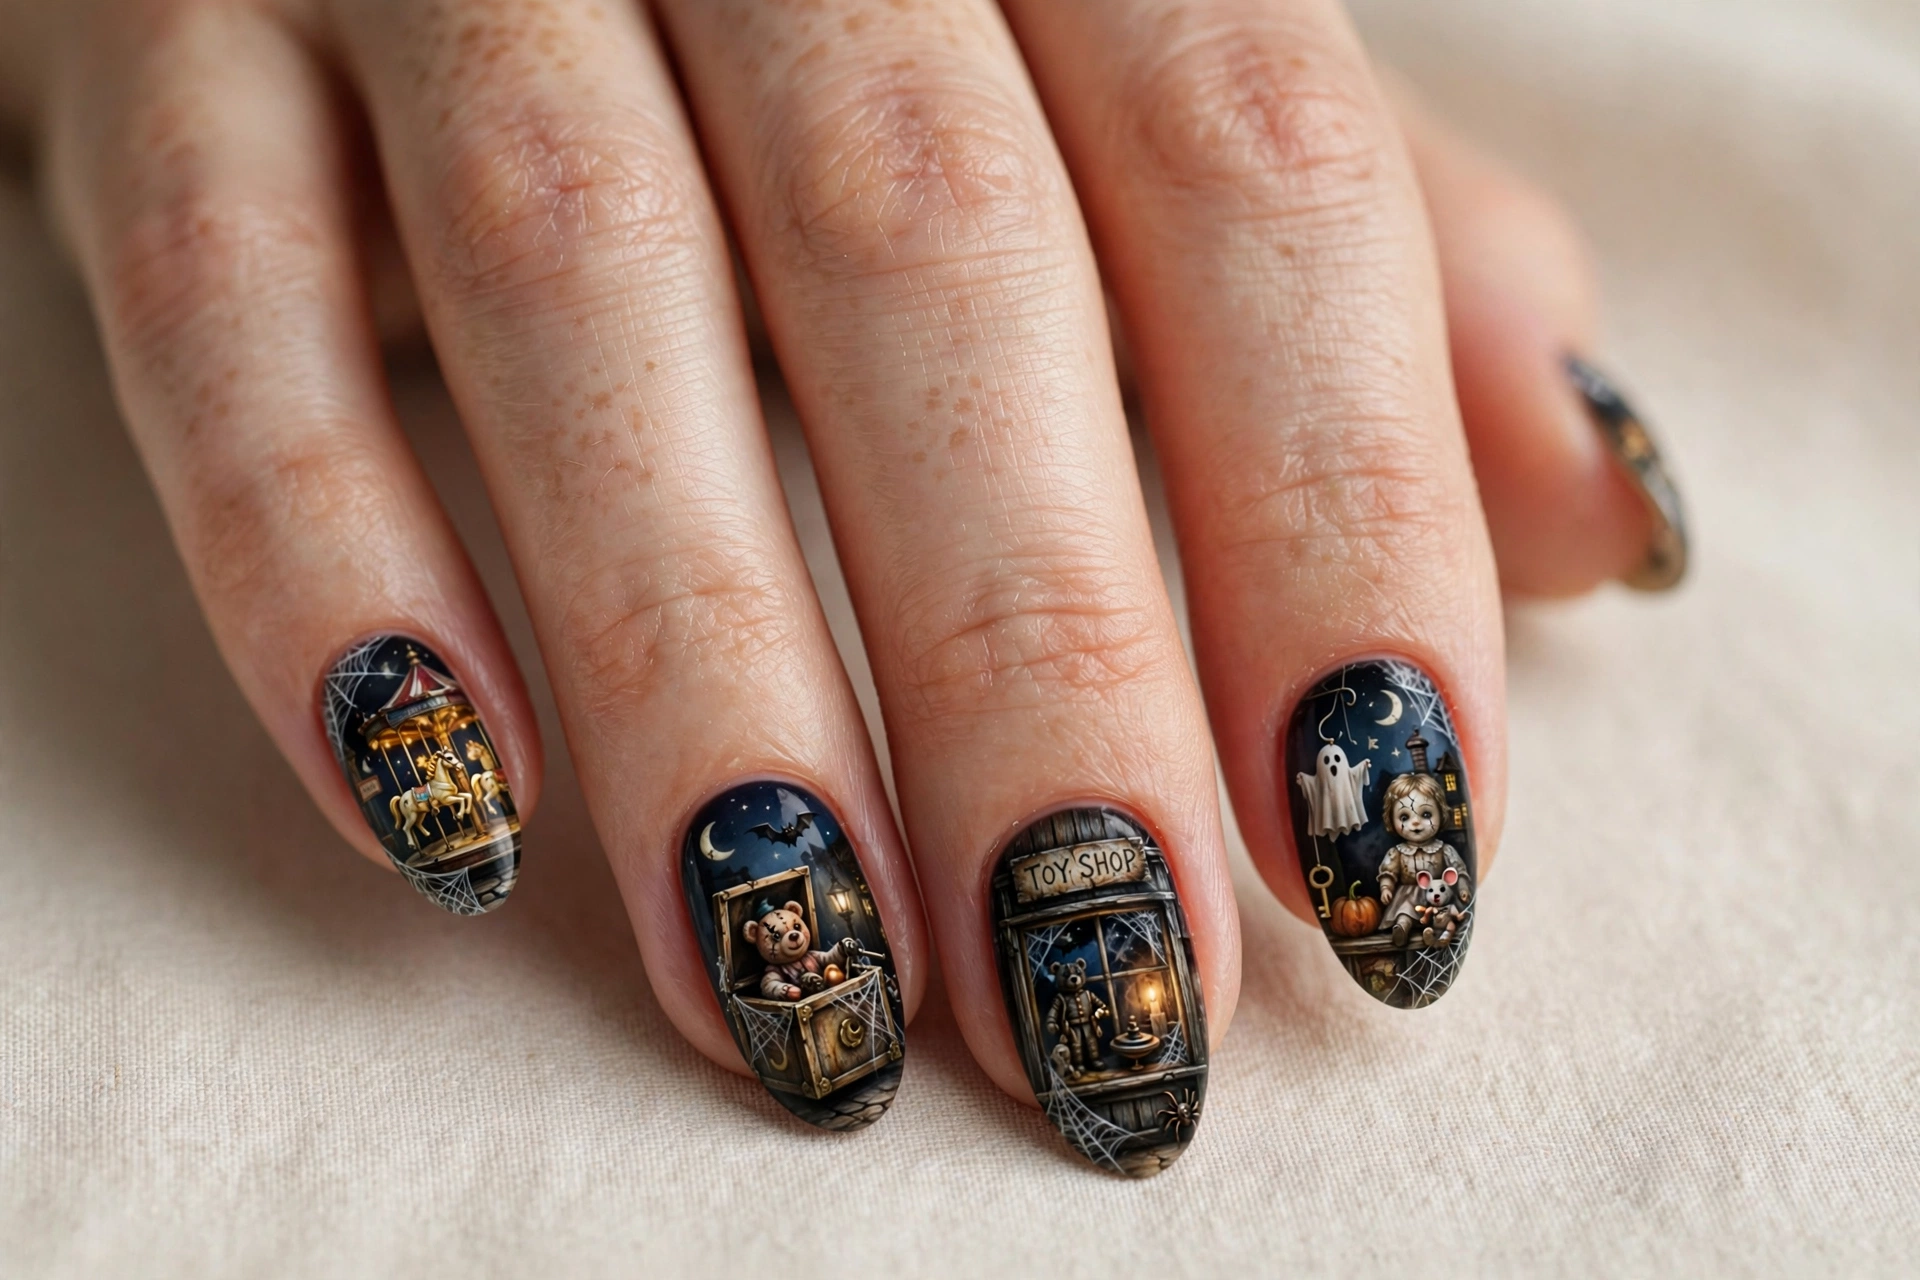
A dimly lit antique toy shop window at night, full of shadows and mystery. This storytelling design suits creative types who want nails with narrative. Paint a dark window frame, add faint shelf shapes, and leave plenty of shadow. The less detail you add, the creepier it feels. It is a great accent nail paired with solid black or deep red on the other fingers.
17. Haunted House Silhouette
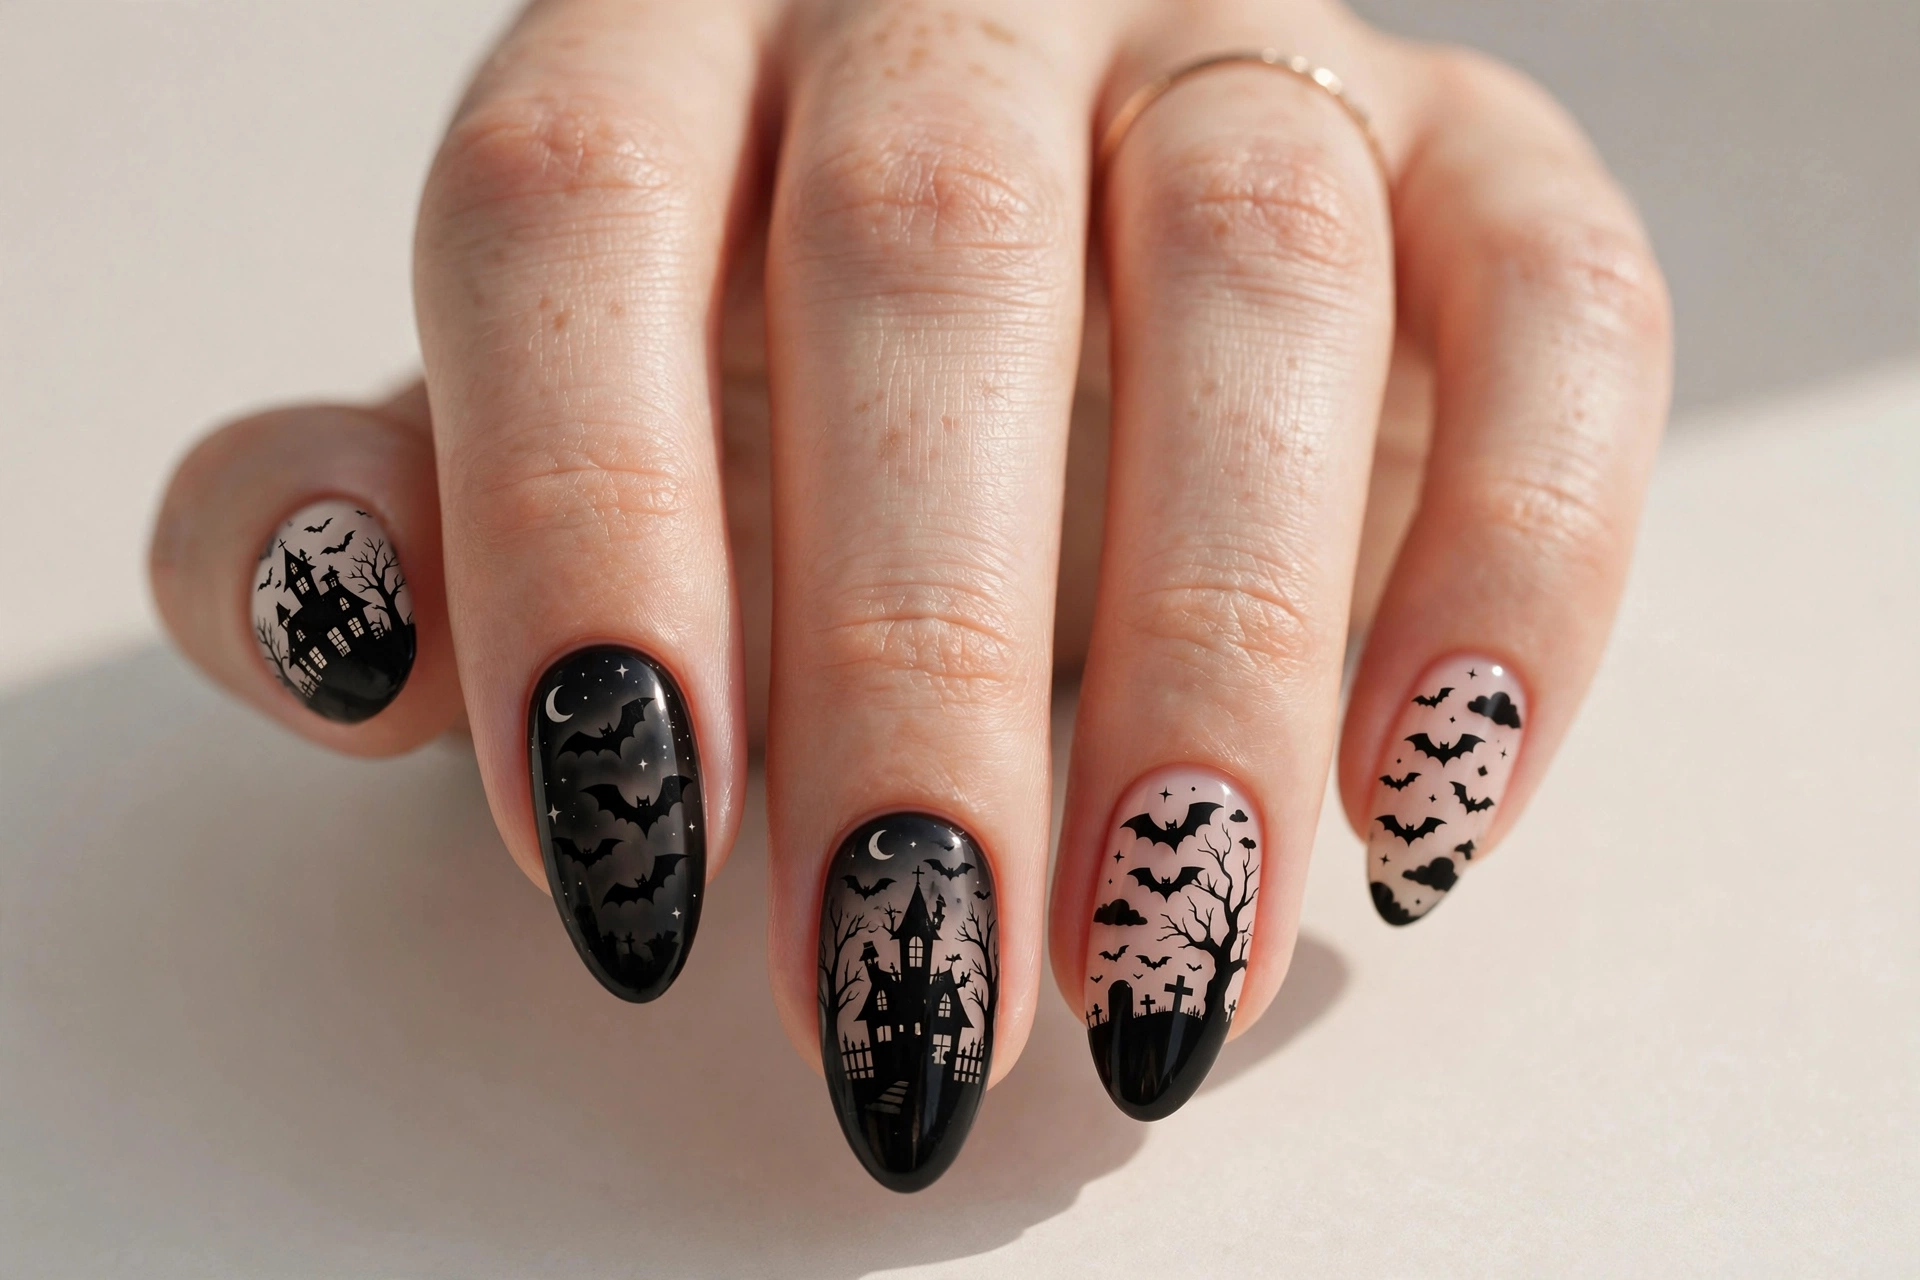
A haunted house silhouette with bats against a blood-orange moon. Classic Halloween imagery with horror movie energy. This suits anyone who wants instantly readable spooky nails. Sponge an orange-to-black gradient, then paint the house and bats in solid black with a detail brush. Stamping plates make this easy if freehand silhouettes feel tricky. It is a Halloween party essential.
18. Red, Blue and Yellow Stripes
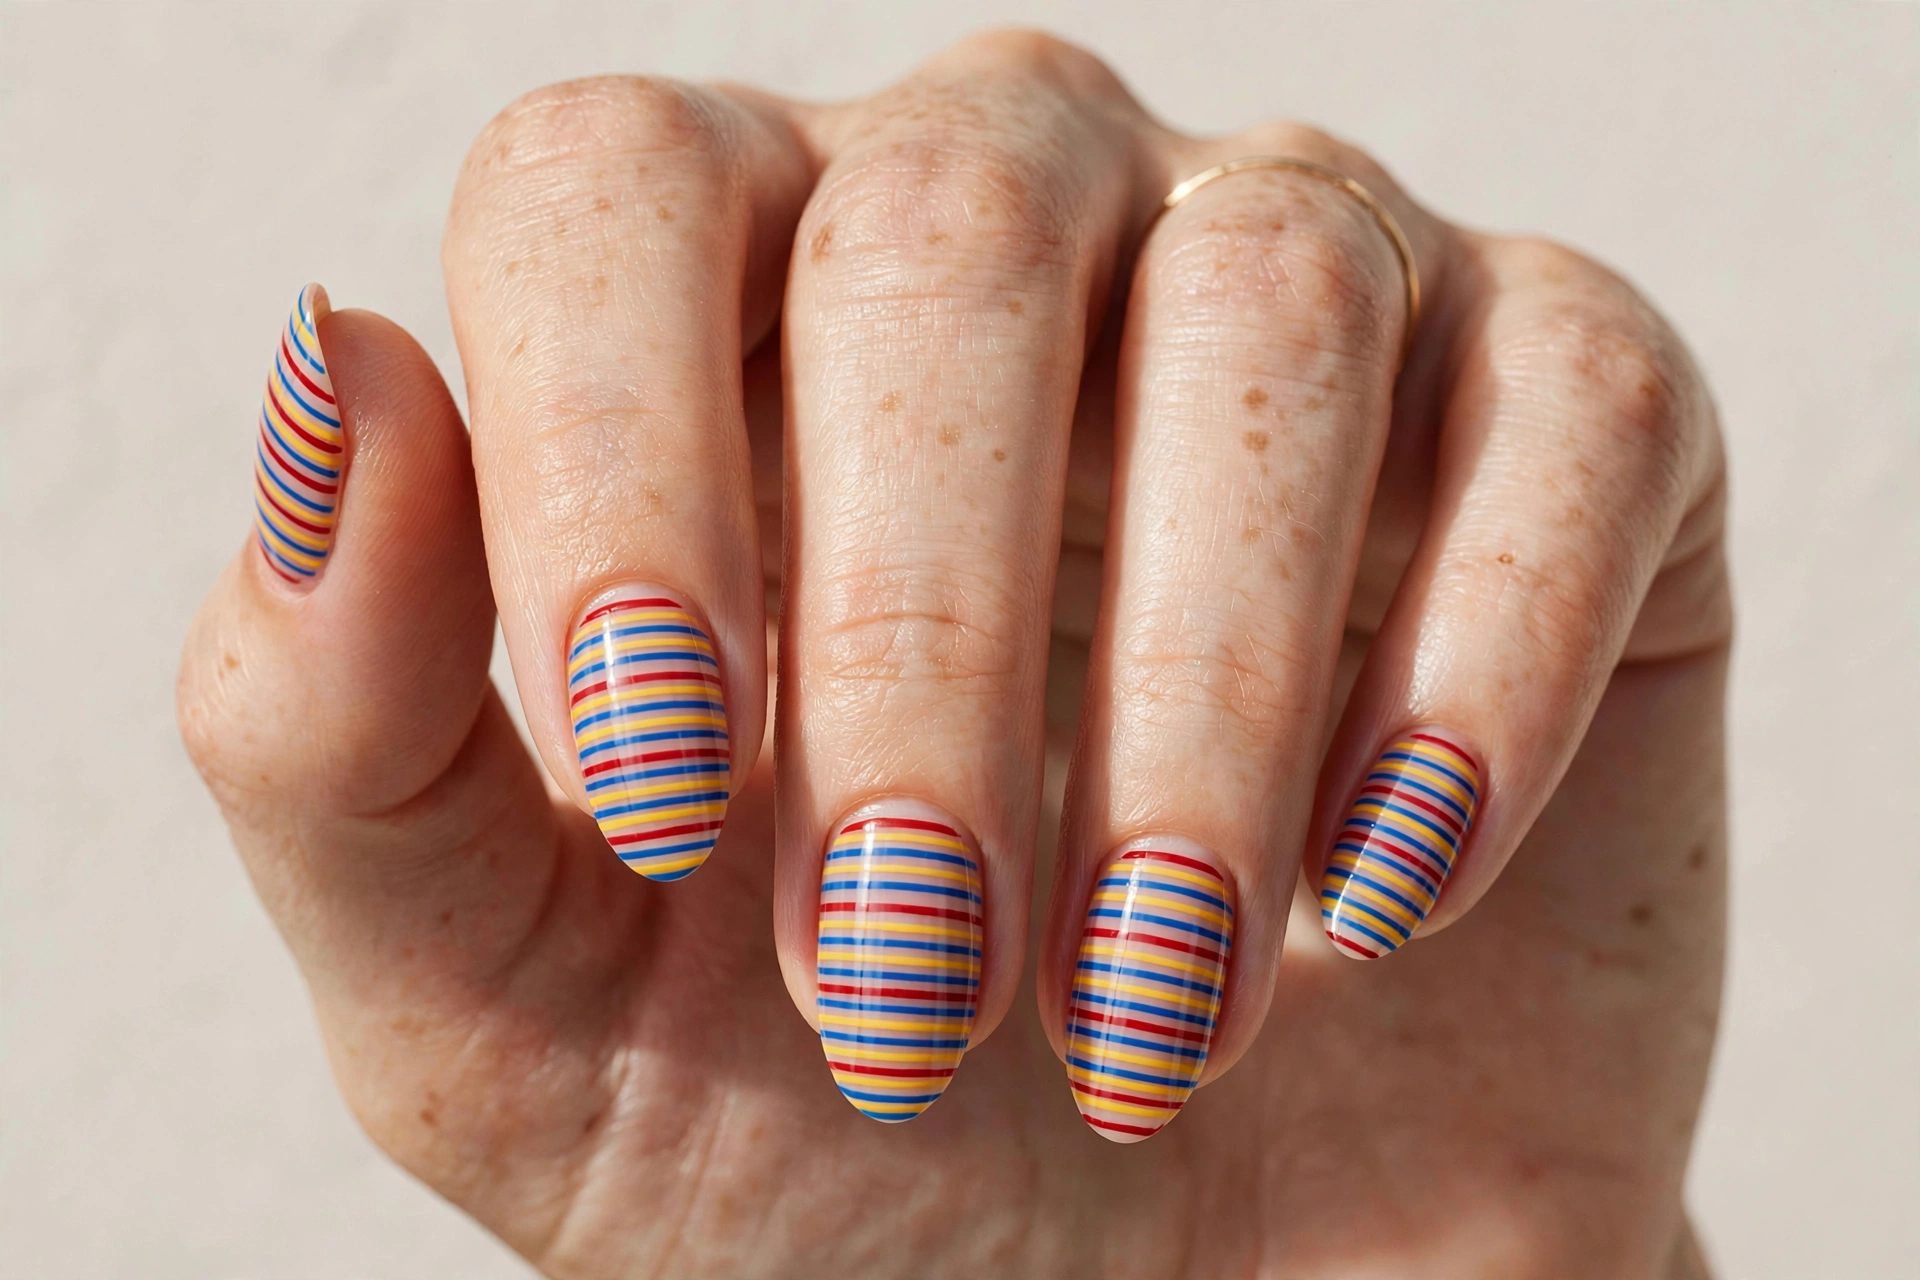
Bold primary stripes that echo the doll’s outfit colors. Graphic, punchy, and fun. This suits color lovers who want horror-adjacent nails that still feel playful. Use striping tape for crisp lines over a white base. Vary the stripe widths for a retro toy-box feel. It looks great on short square nails and works far beyond Halloween as a statement manicure.
19. Cross-Stitch Embroidery
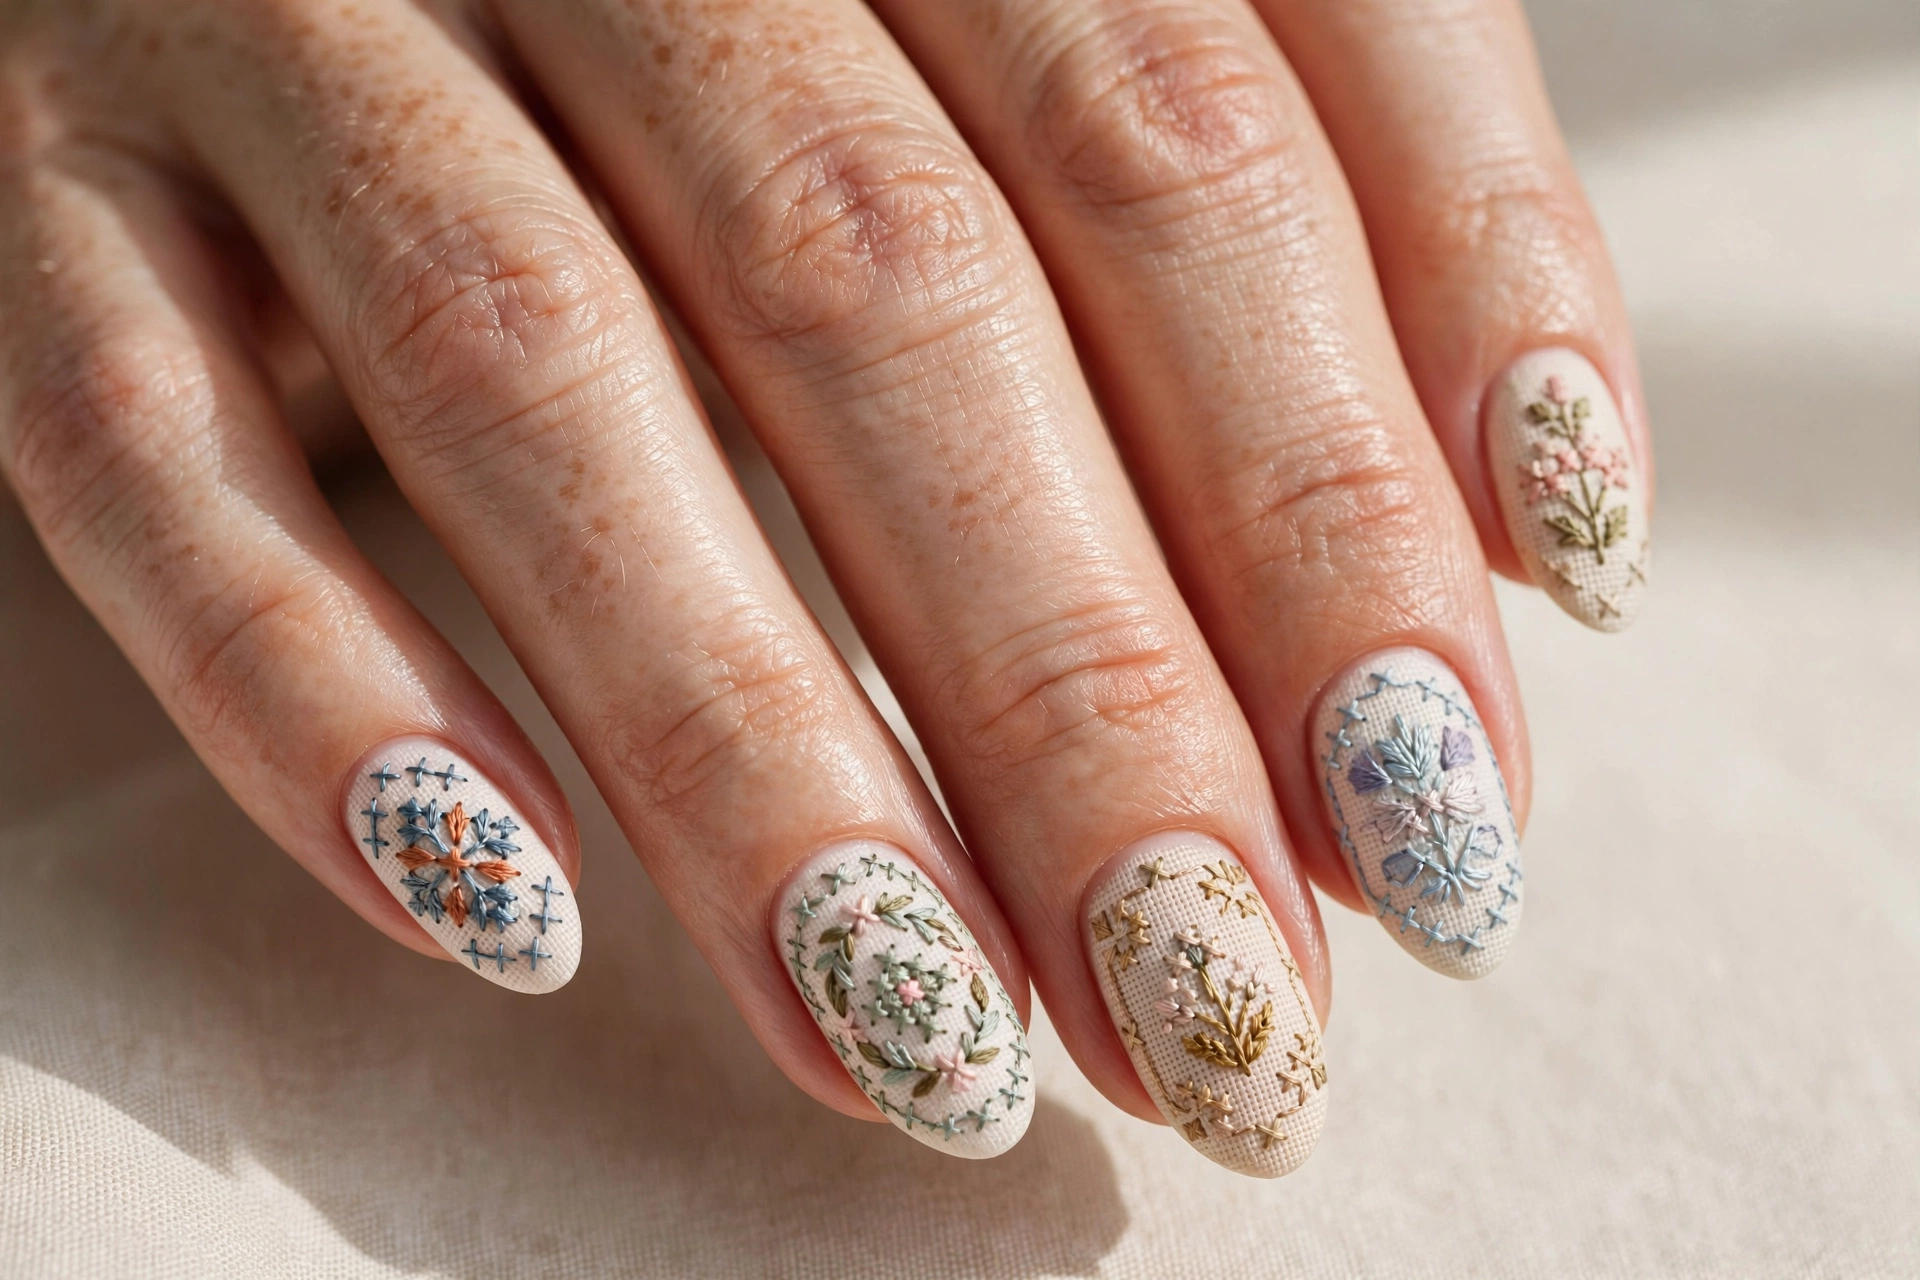
Delicate cross-stitch embroidery patterns like vintage sewing samplers. This is horror through a crafty lens, creepy and charming at once. It suits anyone who loves detailed, intricate nail art. Use a dotting tool to build the X-shaped stitches in rows. Keep the palette to red thread on cream for the most authentic sampler look. It is meditative to paint and stunning up close.
20. Crooked Stitched Smile
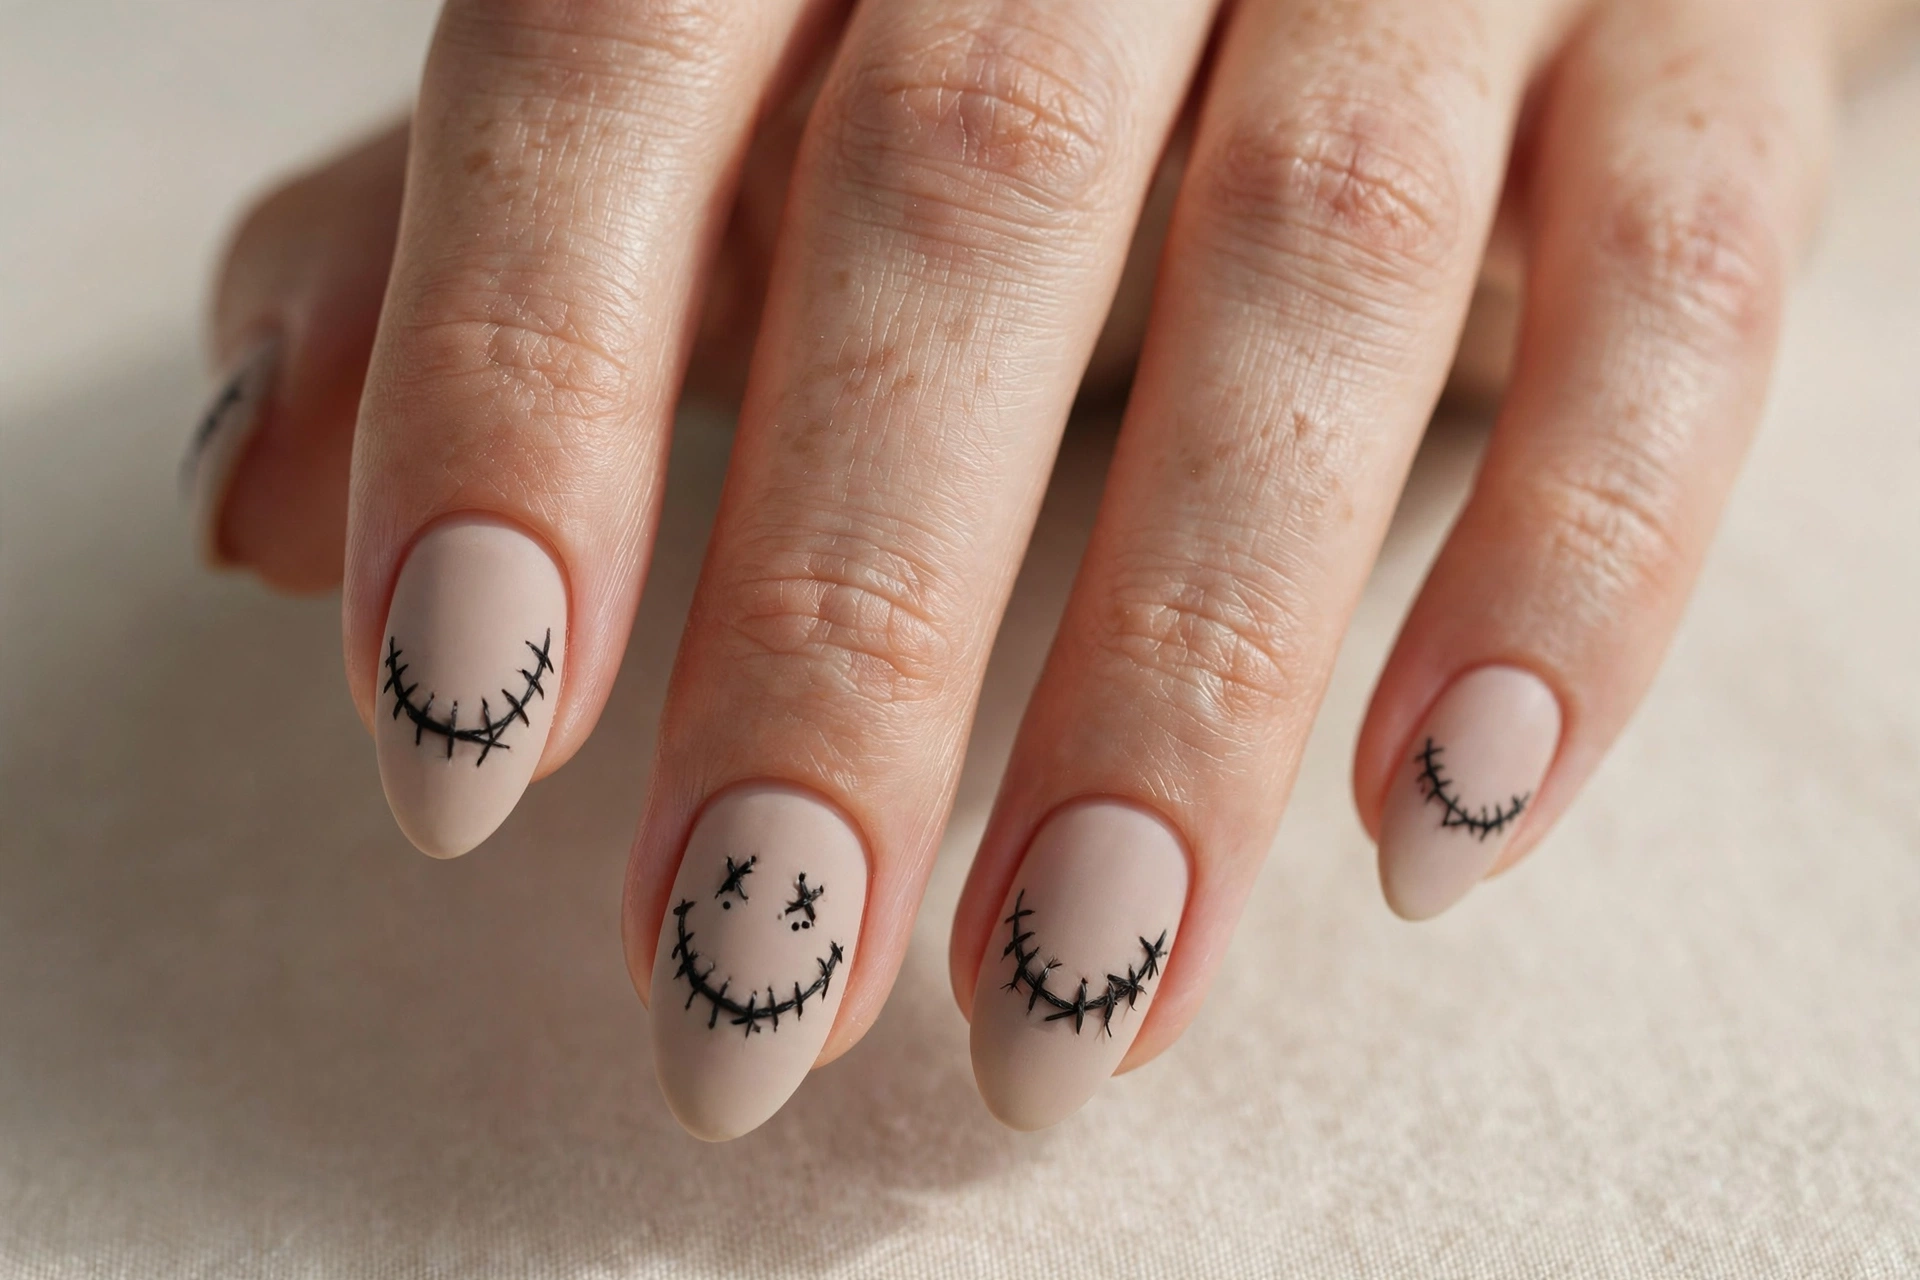
A crooked, stitched-up smile stretched across the nails. Unsettling in the best way. This suits horror purists who want maximum creep factor. Paint a wide grin shape in dark red or black, then add vertical stitch lines crossing it. Keep it to one or two accent nails so the effect stays punchy rather than overwhelming. It is a guaranteed double-take at parties.
21. Retro Toy Packaging
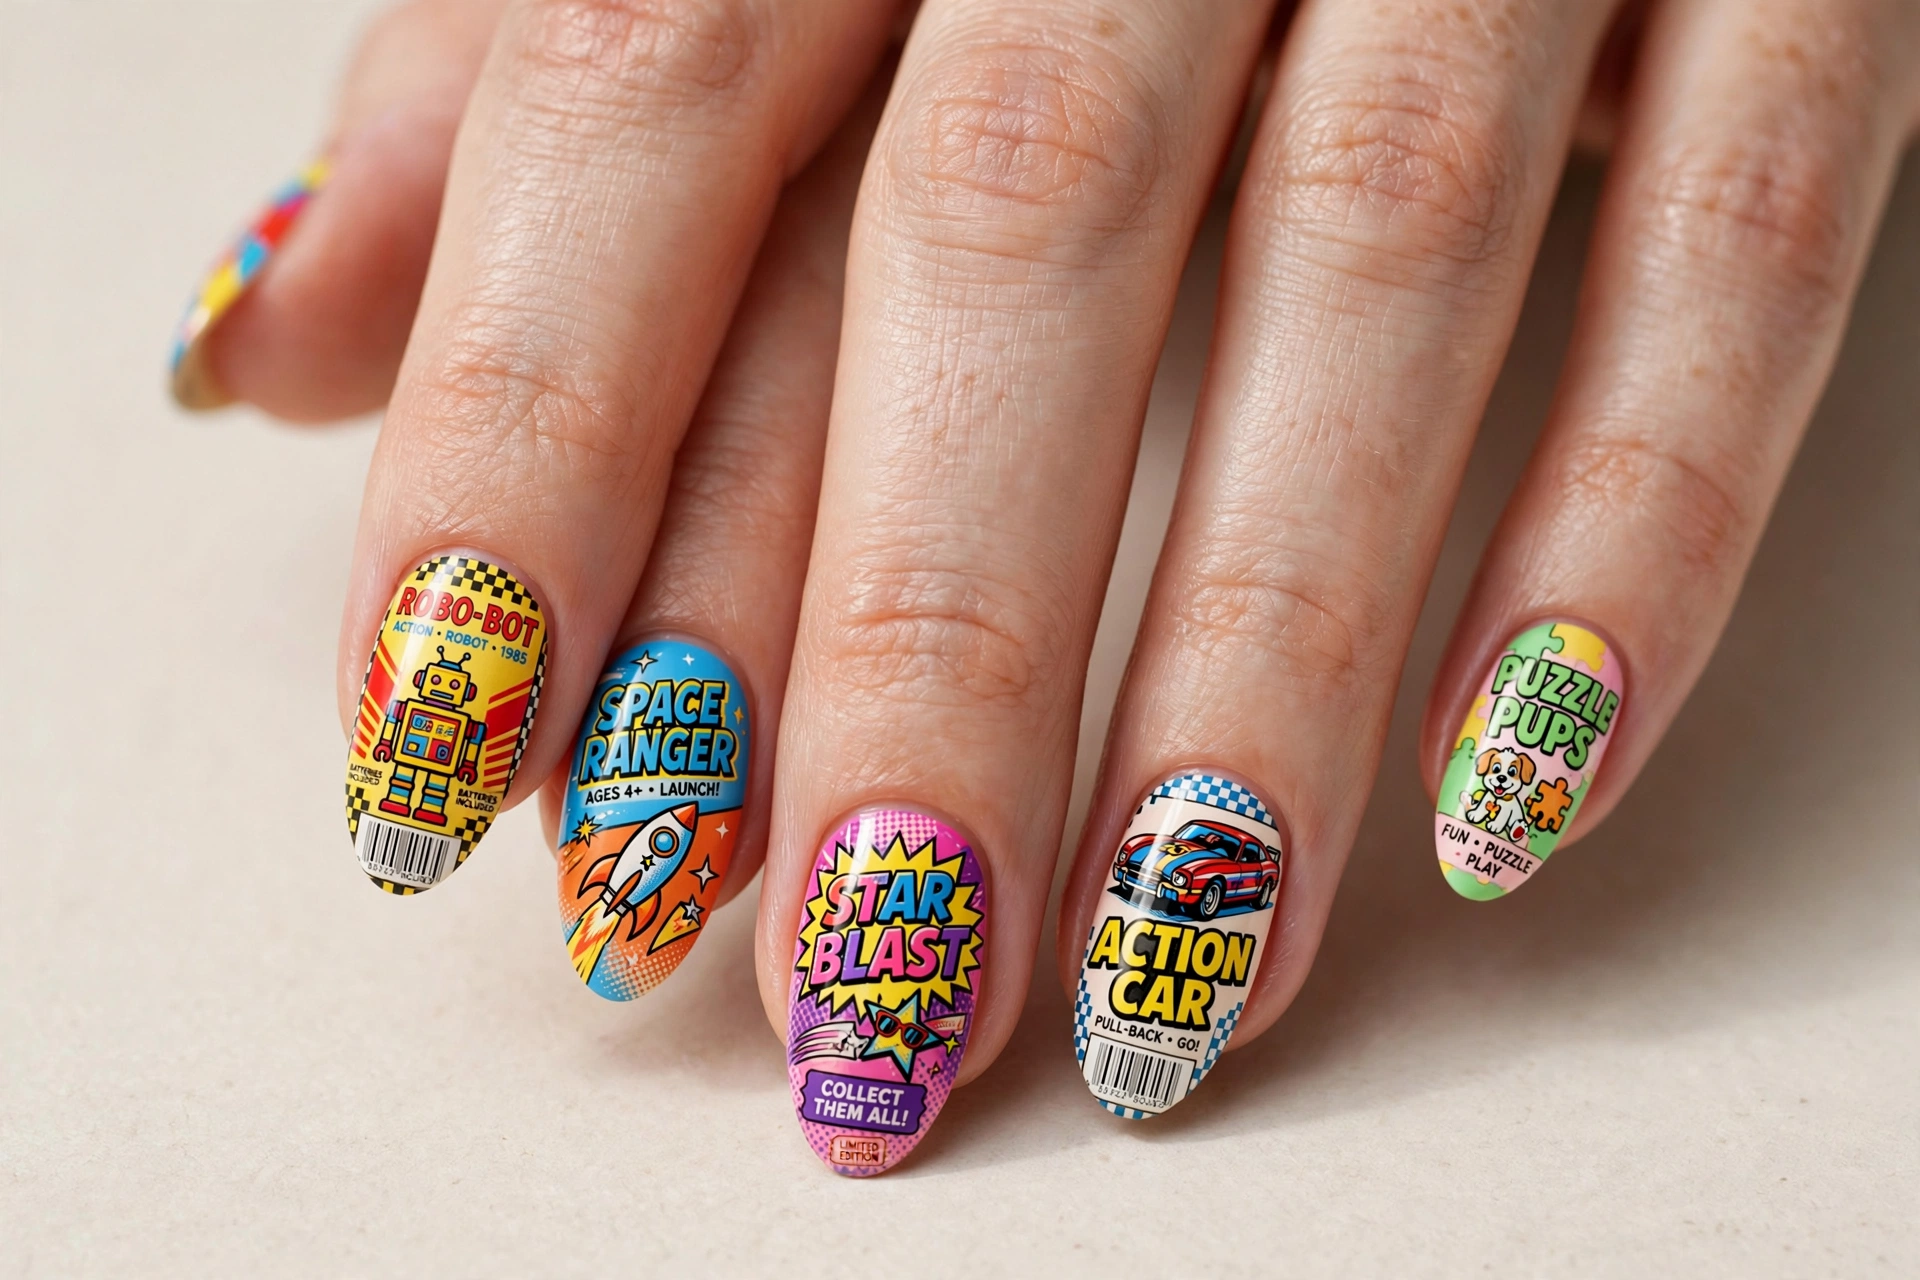
Bright, bold graphics like the front of a vintage toy box. Nostalgic and ironic, perfect for horror fans with a sense of humor. This suits collectors and pop culture lovers. Nail decals give the sharpest graphics, or paint simple bold shapes freehand. Pair the graphic accent nails with solid red or blue on the rest. It is playful horror at its finest.
22. Halloween Horror Scene
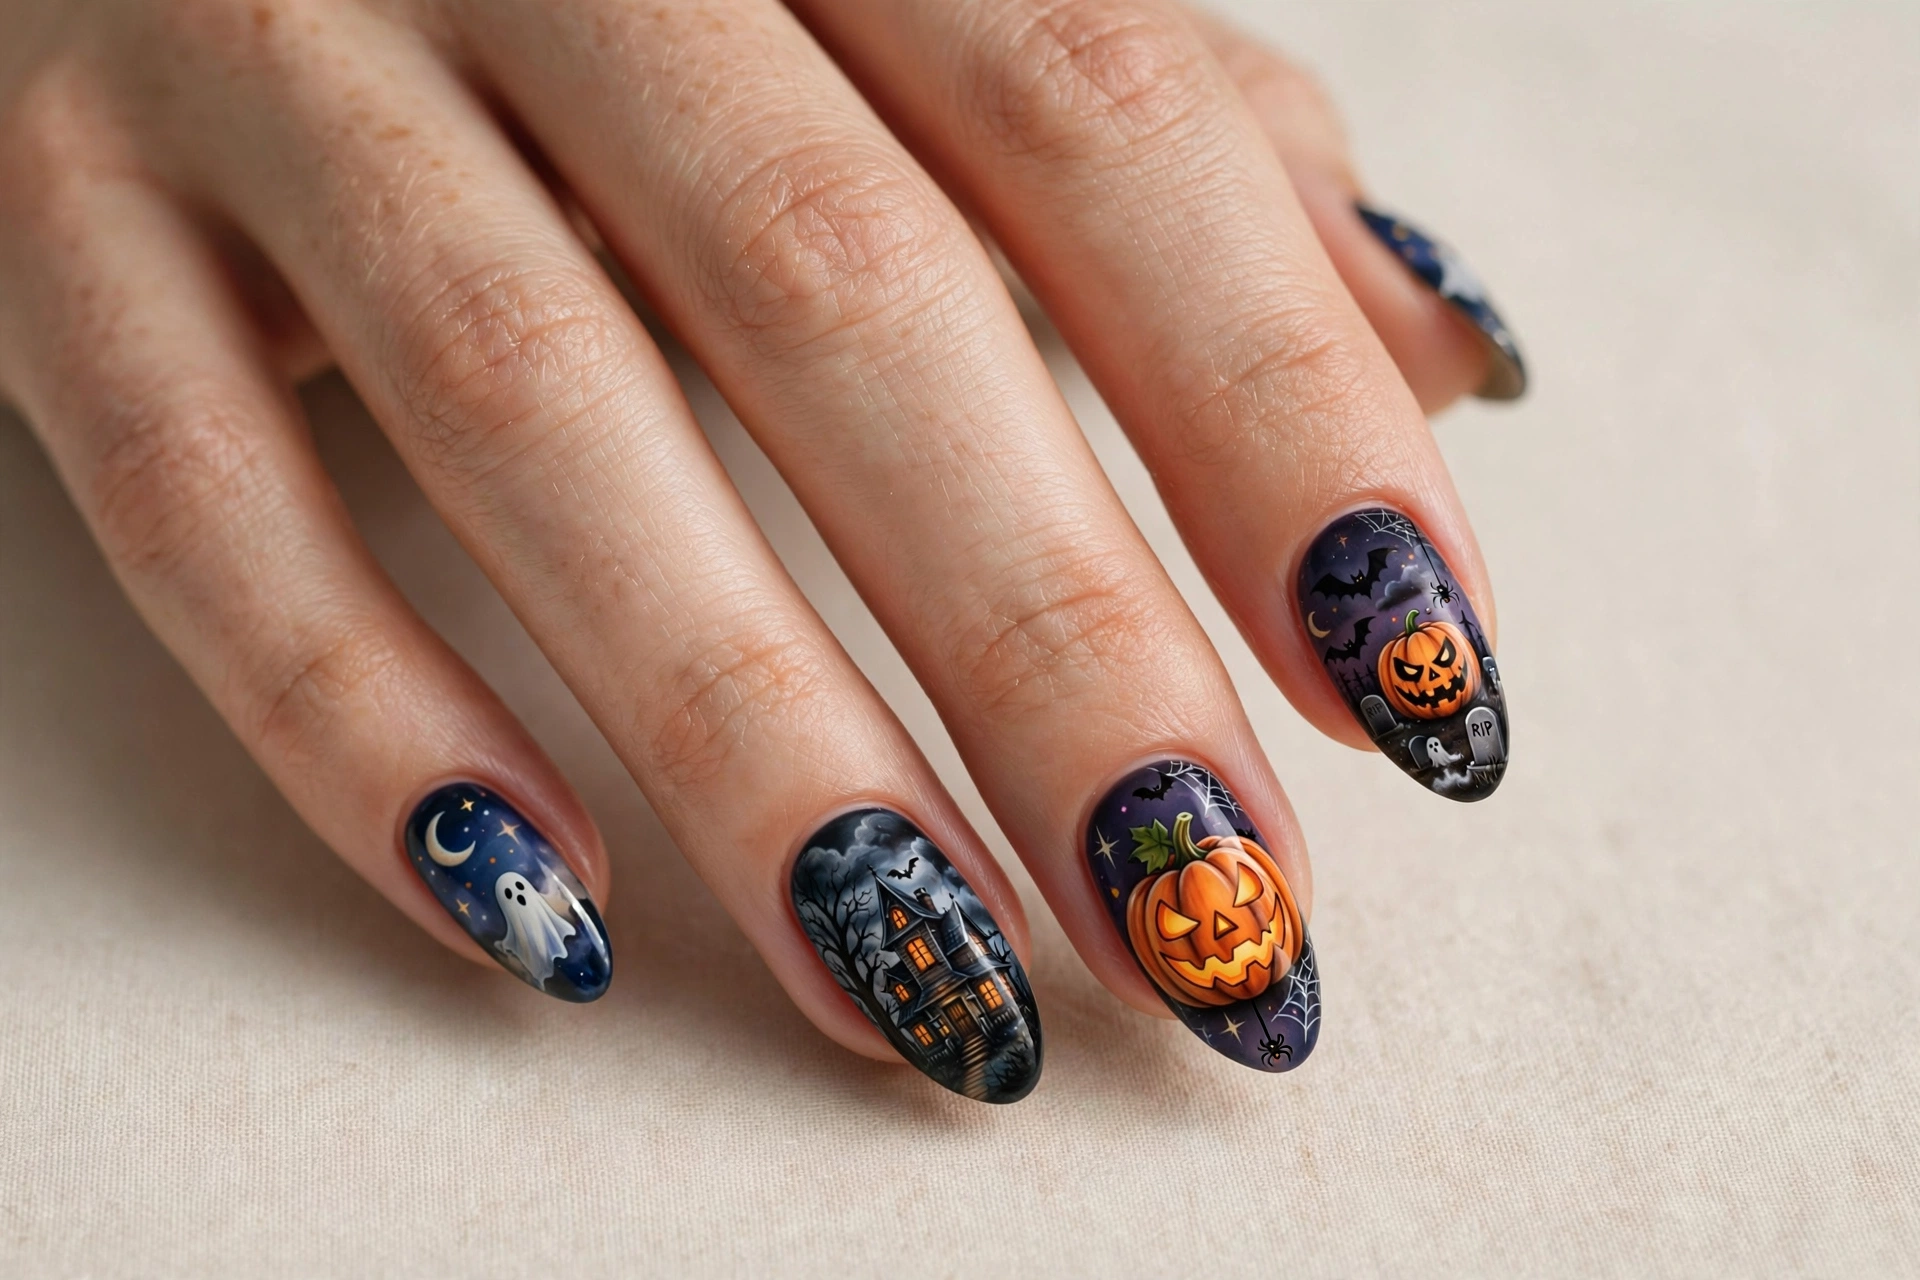
A full Halloween night scene with haunted houses and glowing jack-o-lanterns. This is storybook spooky done right. It suits anyone going all-in on Halloween nails. Build the scene in layers: dark sky, moon, house silhouette, then tiny glowing pumpkins. Ask your nail artist for this one if the detail feels daunting. It is the ultimate October manicure.
23. Dark Red and Black Gothic
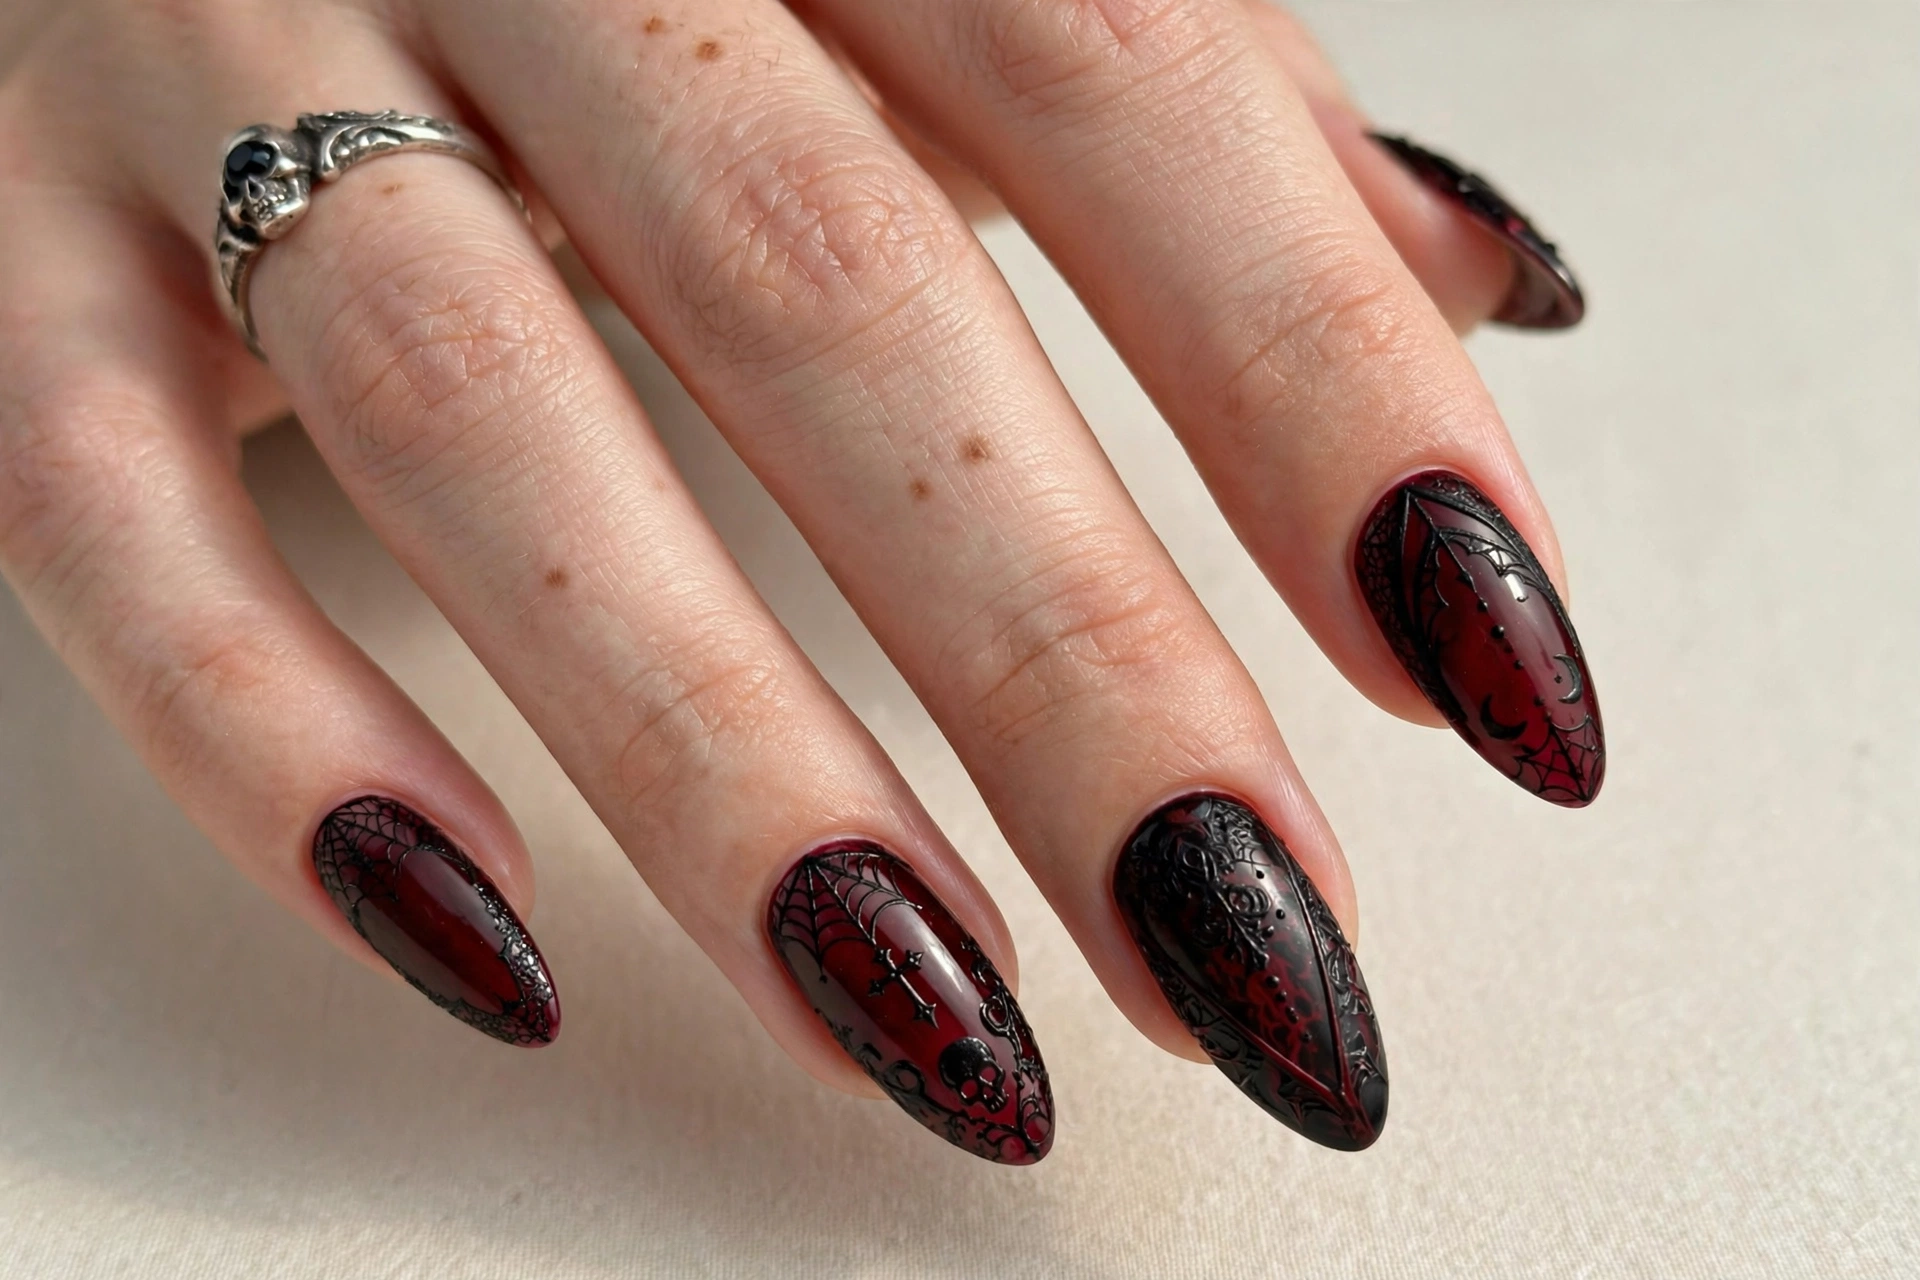
Deep red fading into black for a moody, gothic base that fits the theme perfectly. This suits anyone who wants horror-adjacent nails that work beyond Halloween. Sponge the gradient from dark red at the cuticle to black at the tip, then seal glossy. It is elegant, dramatic, and endlessly wearable. Add a single stitch accent nail to tie it to the theme.
24. Vintage Horror Illustration
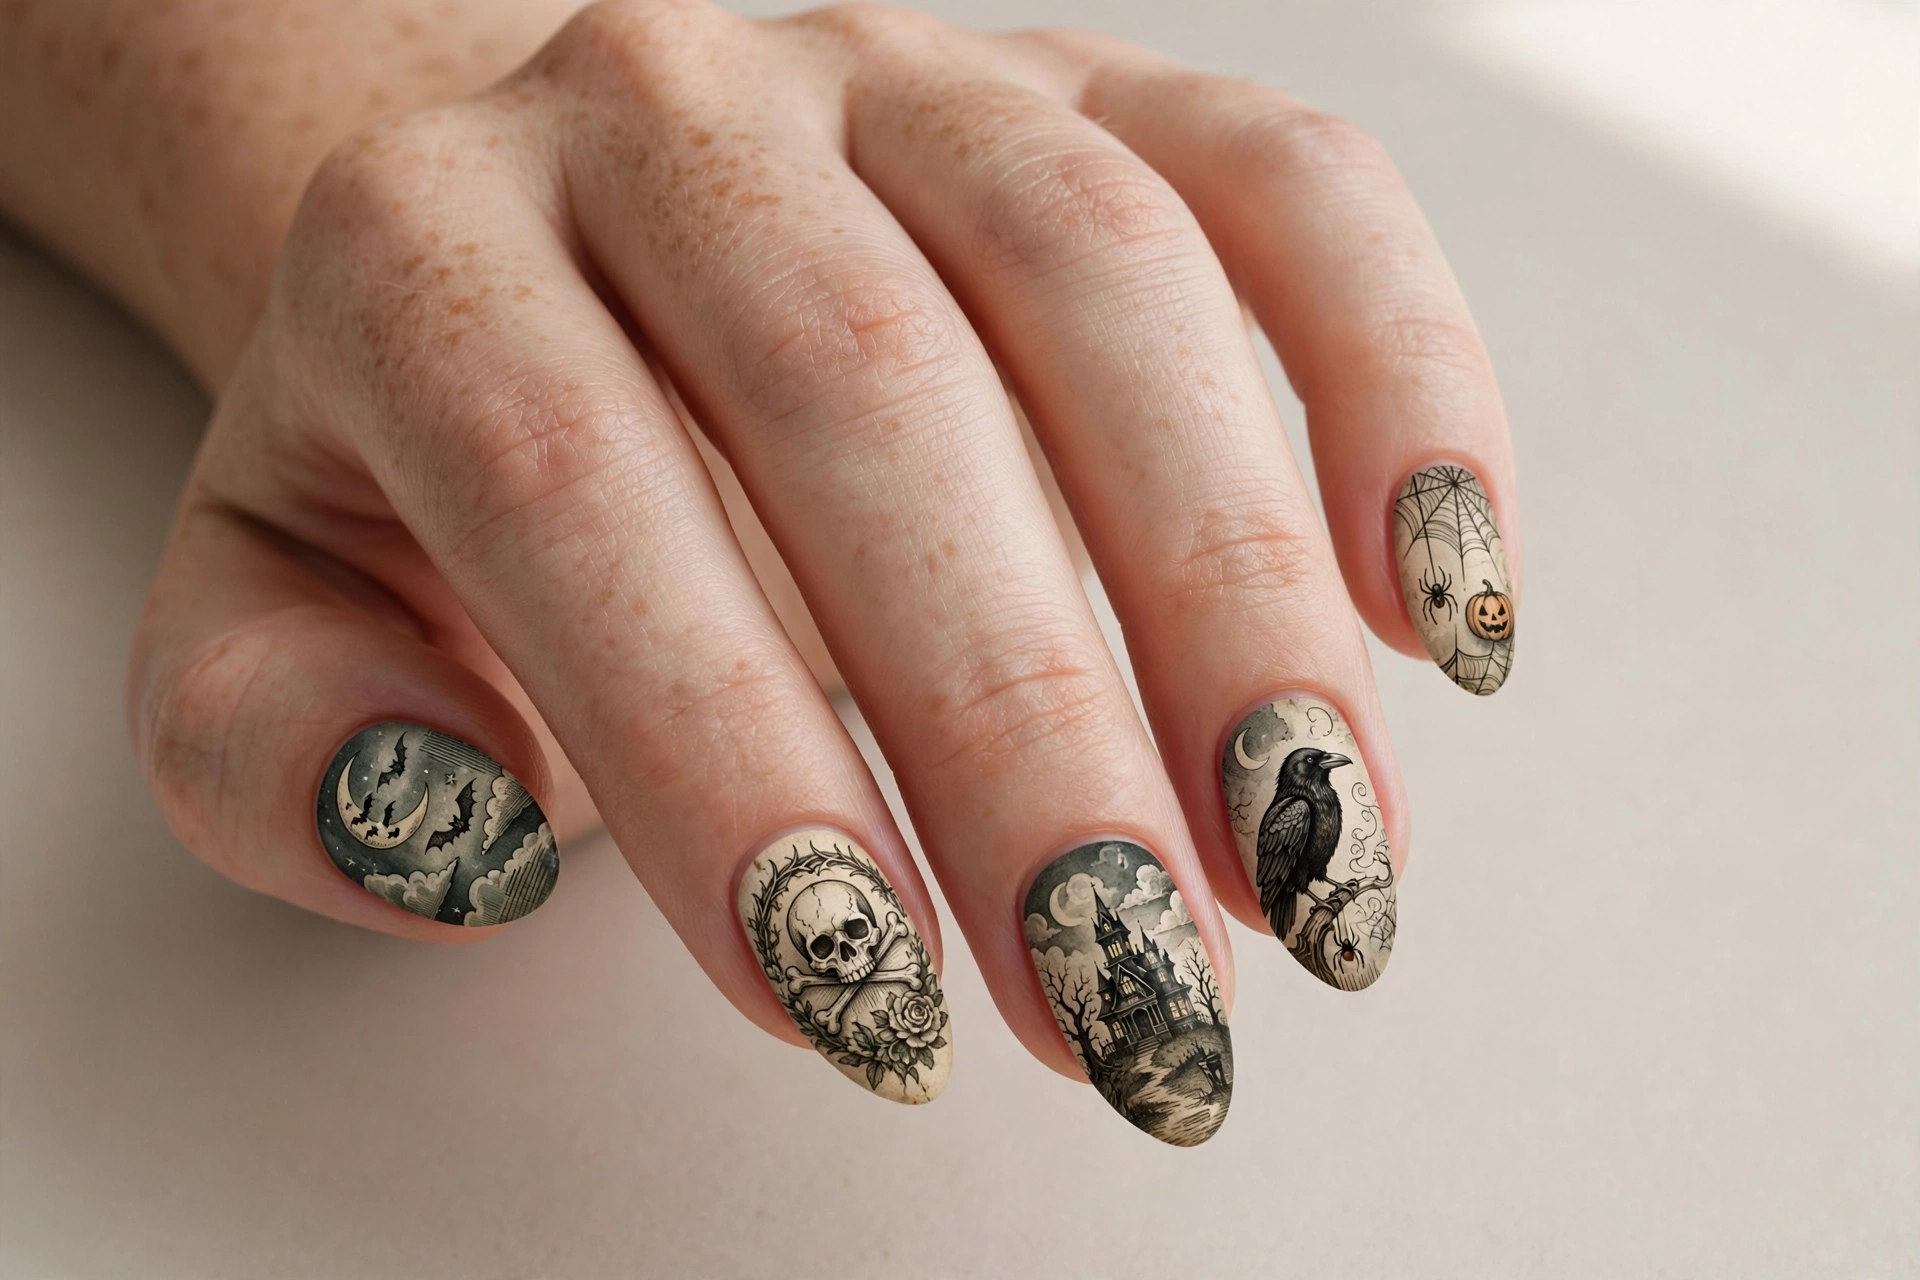
Storybook-style vintage horror illustrations, like pages from a creepy old book. This suits art lovers who want truly unique nails. The detailed style works best as an accent nail or two, with dark solids on the rest. Look for horror illustration water decals, or commission your nail artist for hand-painted scenes. It is wearable art with a dark twist.
25. Cracked Porcelain
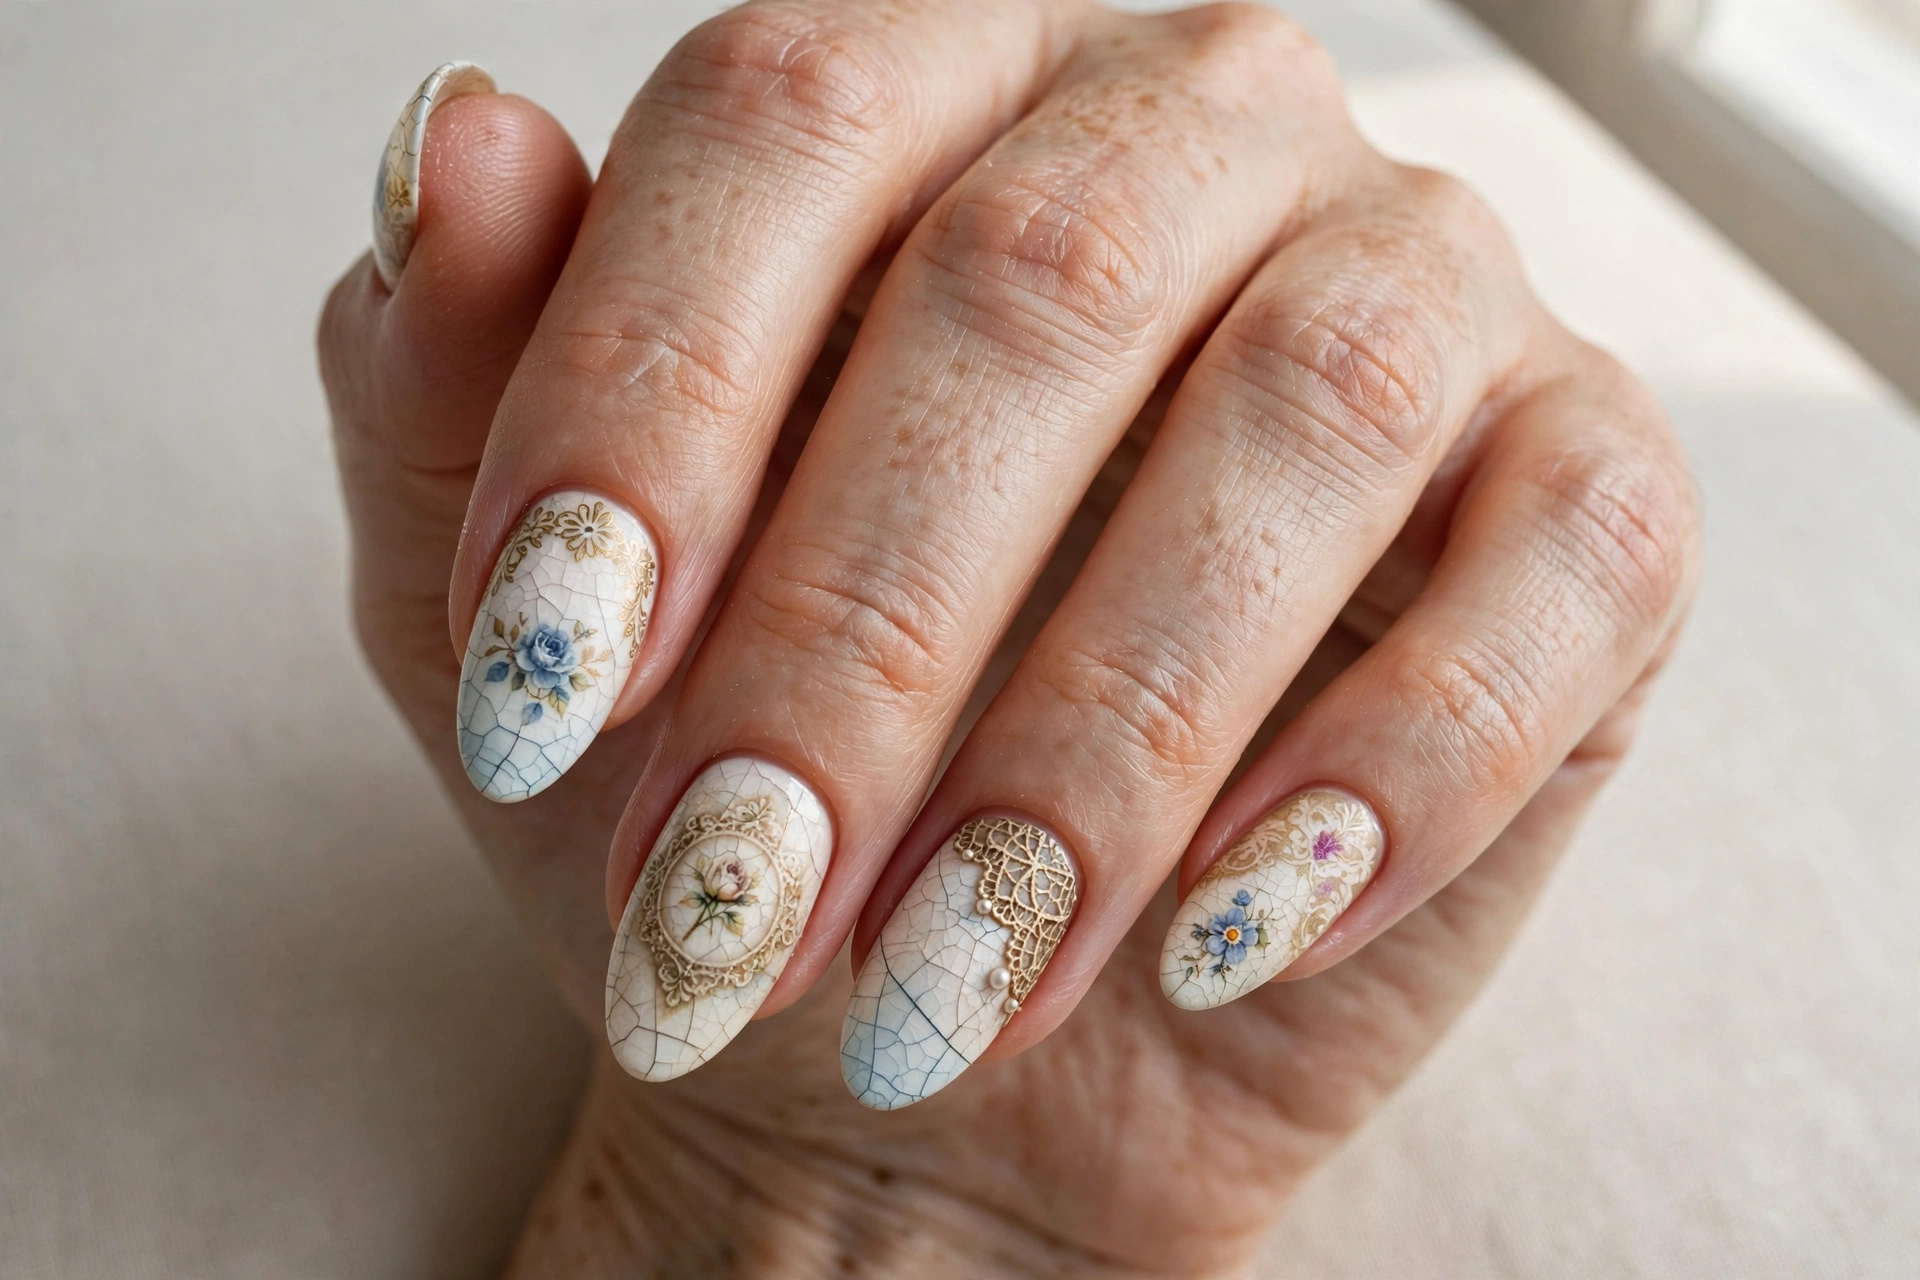
Cracked porcelain texture like an antique doll’s face, beautiful and broken. This suits anyone who loves the creepy-doll aesthetic in its most elegant form. Paint a pale porcelain base, then add fine crack lines with a detail brush in grey. A glossy top coat makes the cracks look like real glazed ceramic. It is haunting, delicate, and unforgettable.
Tips to Make Your Chucky Manicure Last
Horror nail art involves more layers than a simple solid, so good prep matters. Always start with a base coat, especially under dark reds and blacks that can stain. Apply thin coats and let each layer dry before adding details. Cap the free edge with top coat, and reapply it every two to three days.
A fine liner brush and a dotting tool will handle almost every design here. If you are building your kit, this nail art brush set has the liners and detail brushes you need for horror designs. As an Amazon Associate I earn from qualifying purchases. With proper prep, your creepy manicure will stay sharp through every Halloween party.
Final Thoughts
Chucky nail designs prove that horror and beauty make a great pair. Whether you go for subtle stitches, bold toy-box graphics, or full haunted scenes, there is a creepy design here for every horror fan. Pick your favorite, grab your detail brushes, and get ready for the spookiest manicure of the season.