20 Clear Nail Designs for a Clean, Effortless Look
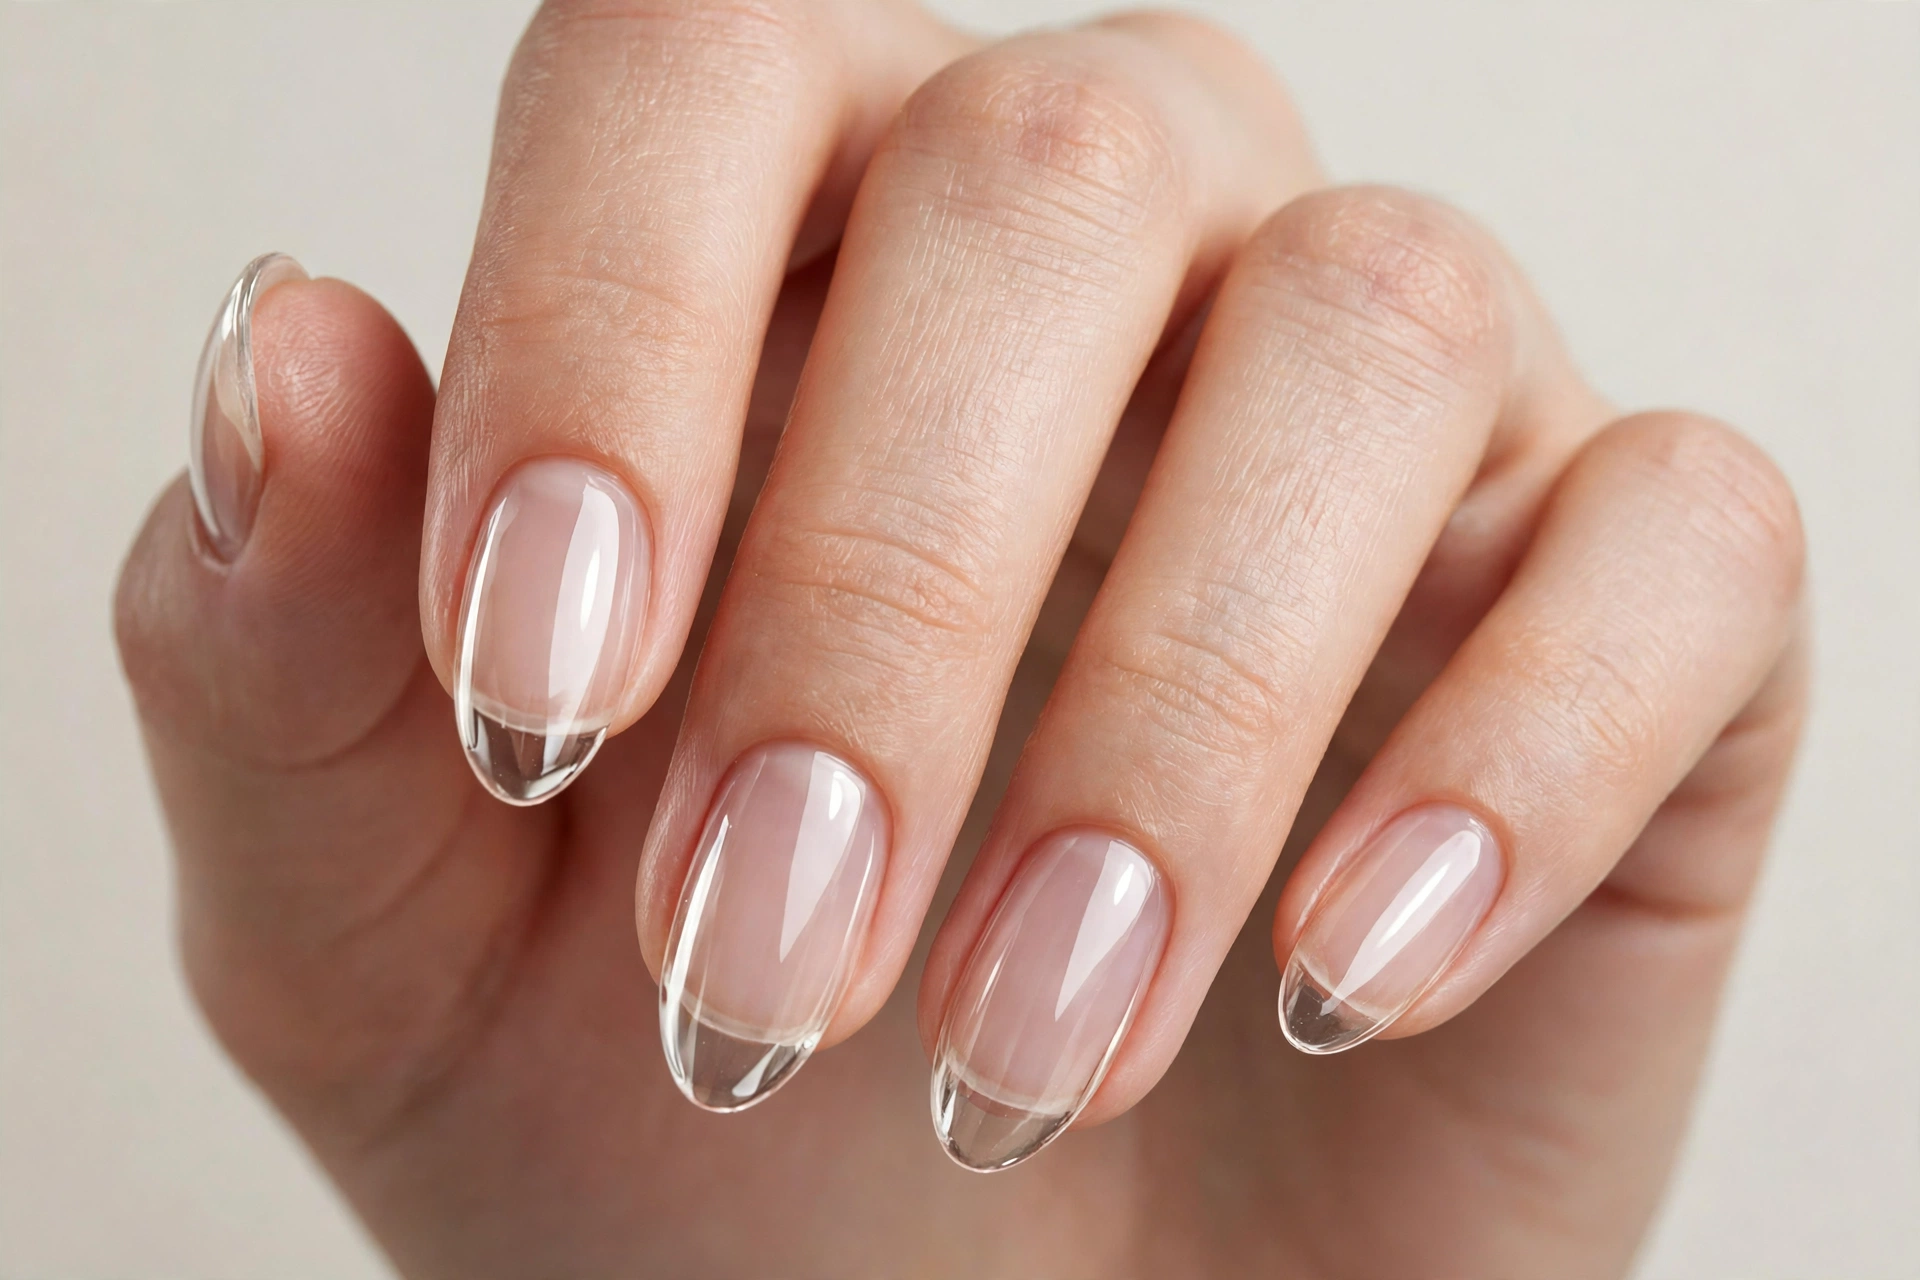
Clear nail designs have a quiet kind of confidence. They do not shout for attention with bold color — instead, they make your natural nails look like the best version of themselves: glossy, healthy, and effortlessly put together. Whether you are taking a break from polish, working somewhere with a strict dress code, or simply drawn to the clean-girl aesthetic, transparent and barely-there manicures fit almost every part of life.
What makes clear nails so versatile is how many directions you can take them. A simple high-gloss top coat over your natural nails is the fastest route, but you can also lean into trends like glass nails, encapsulated glitter, or a crisp clear French tip. Below are 20 clear nail designs to try, from the barely-there to the subtly artistic.
Why Clear Nail Designs Work for Everyone
Clear manicures suit every nail length and shape. On short nails, a transparent finish keeps the look neat and professional. On long almond or coffin nails, clear designs show off the shape itself. They also grow out gracefully: with no colored edge, chips and regrowth are far less noticeable than with opaque polish. Clear designs are also one of the most forgiving starting points for DIY nails — a lopsided stroke on transparent polish is nearly invisible. And a clear base transitions beautifully into accent trends, like a chrome sheen over clear nails for a glazed, dimensional finish.
1. Classic Barely-There Sheer Gloss
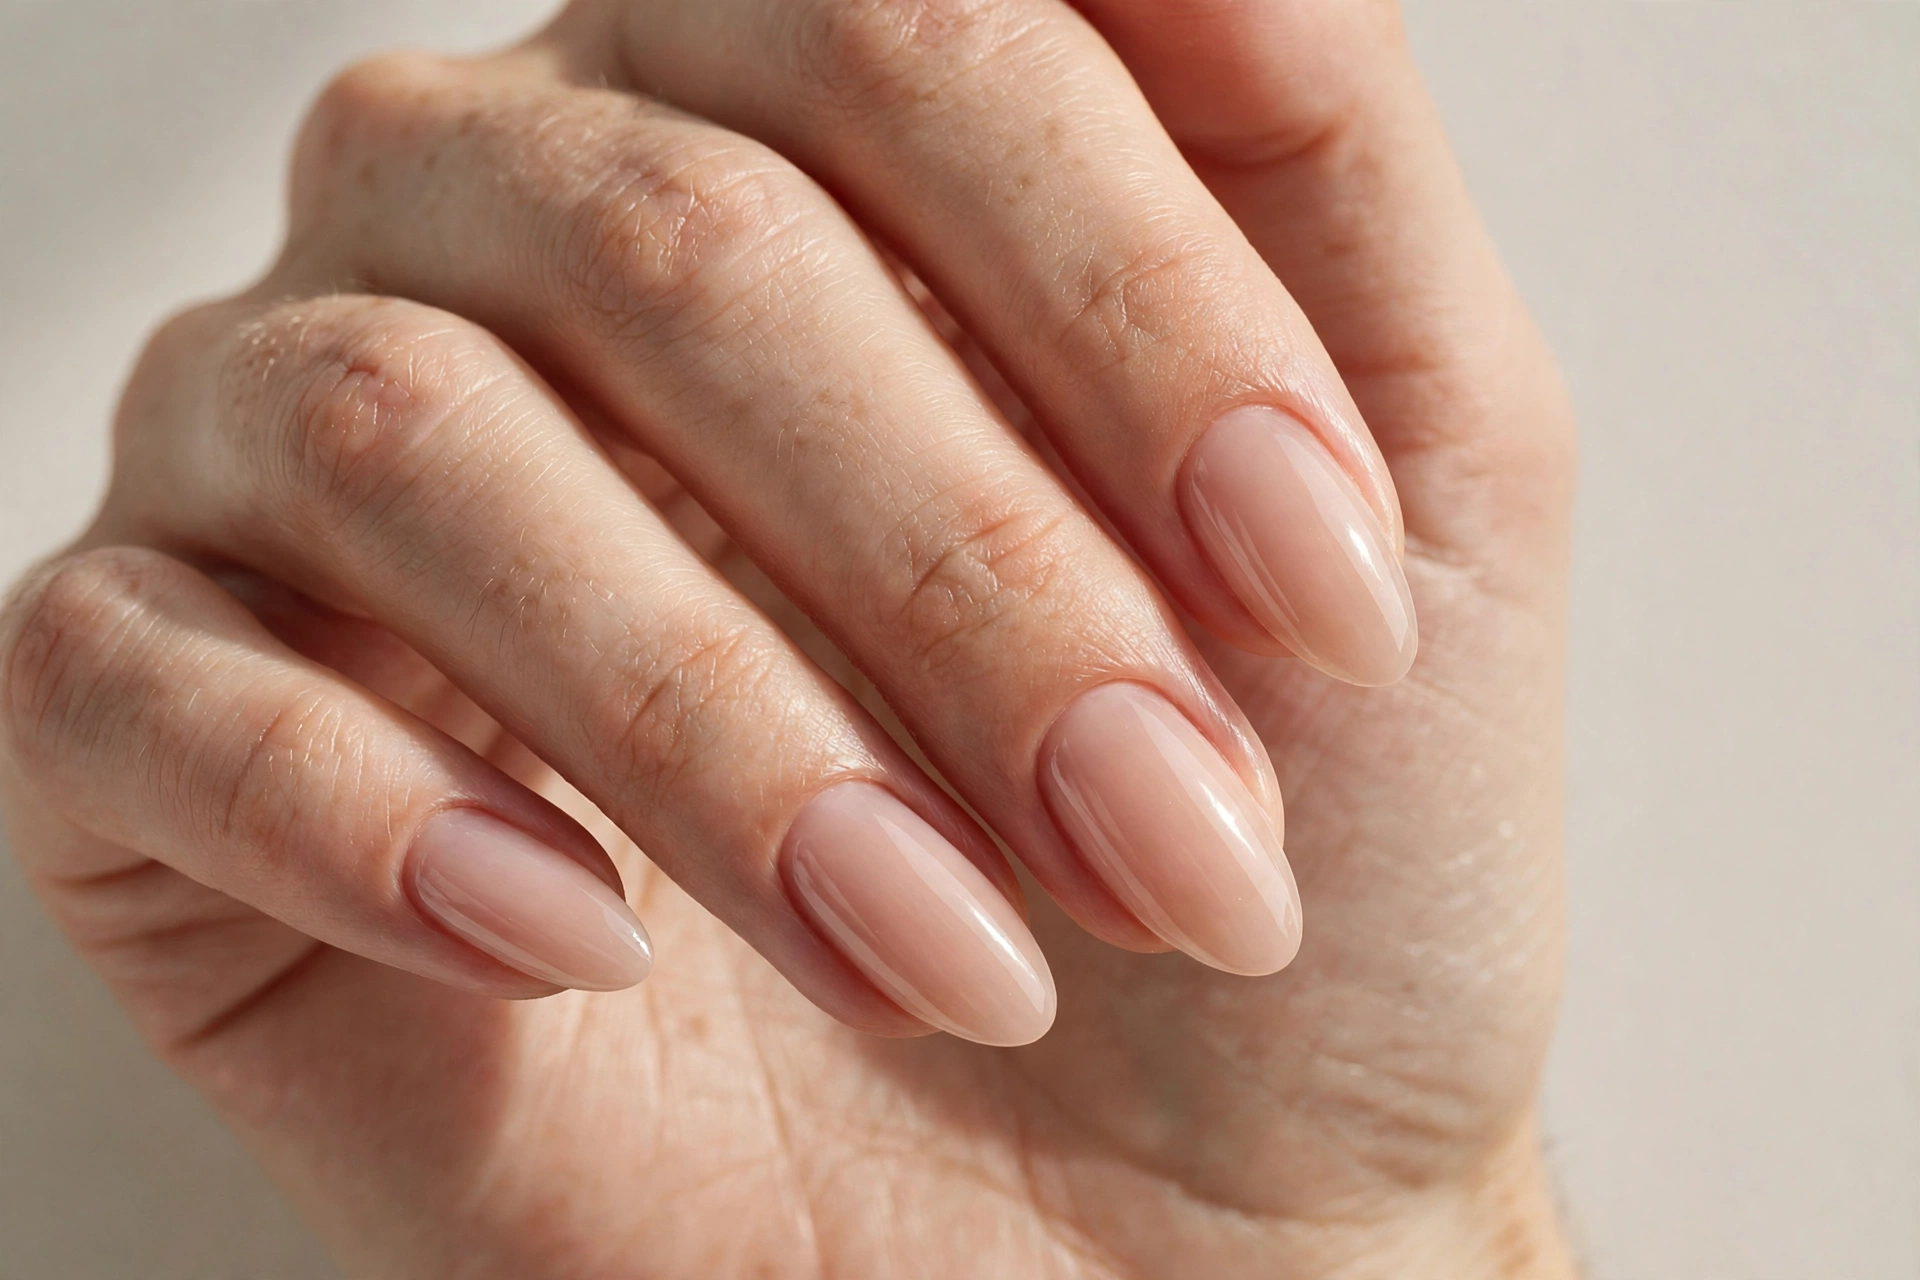
The simplest clear nail design: your natural nails, perfectly shaped, finished with two thin coats of sheer nude gloss. Prep is everything — push back cuticles, buff ridges gently, and shape the free edge into a soft almond so light catches a clean curve. Pick a sheer shade close to your skin’s undertone, not a stark white. Two thin coats beat one thick coat, which can pool at the cuticle and look cloudy. Finish with a glossy top coat and a drop of cuticle oil per nail. It shines brightest on medium to short nails, where neatness is the star.
2. Korean Glass Nails
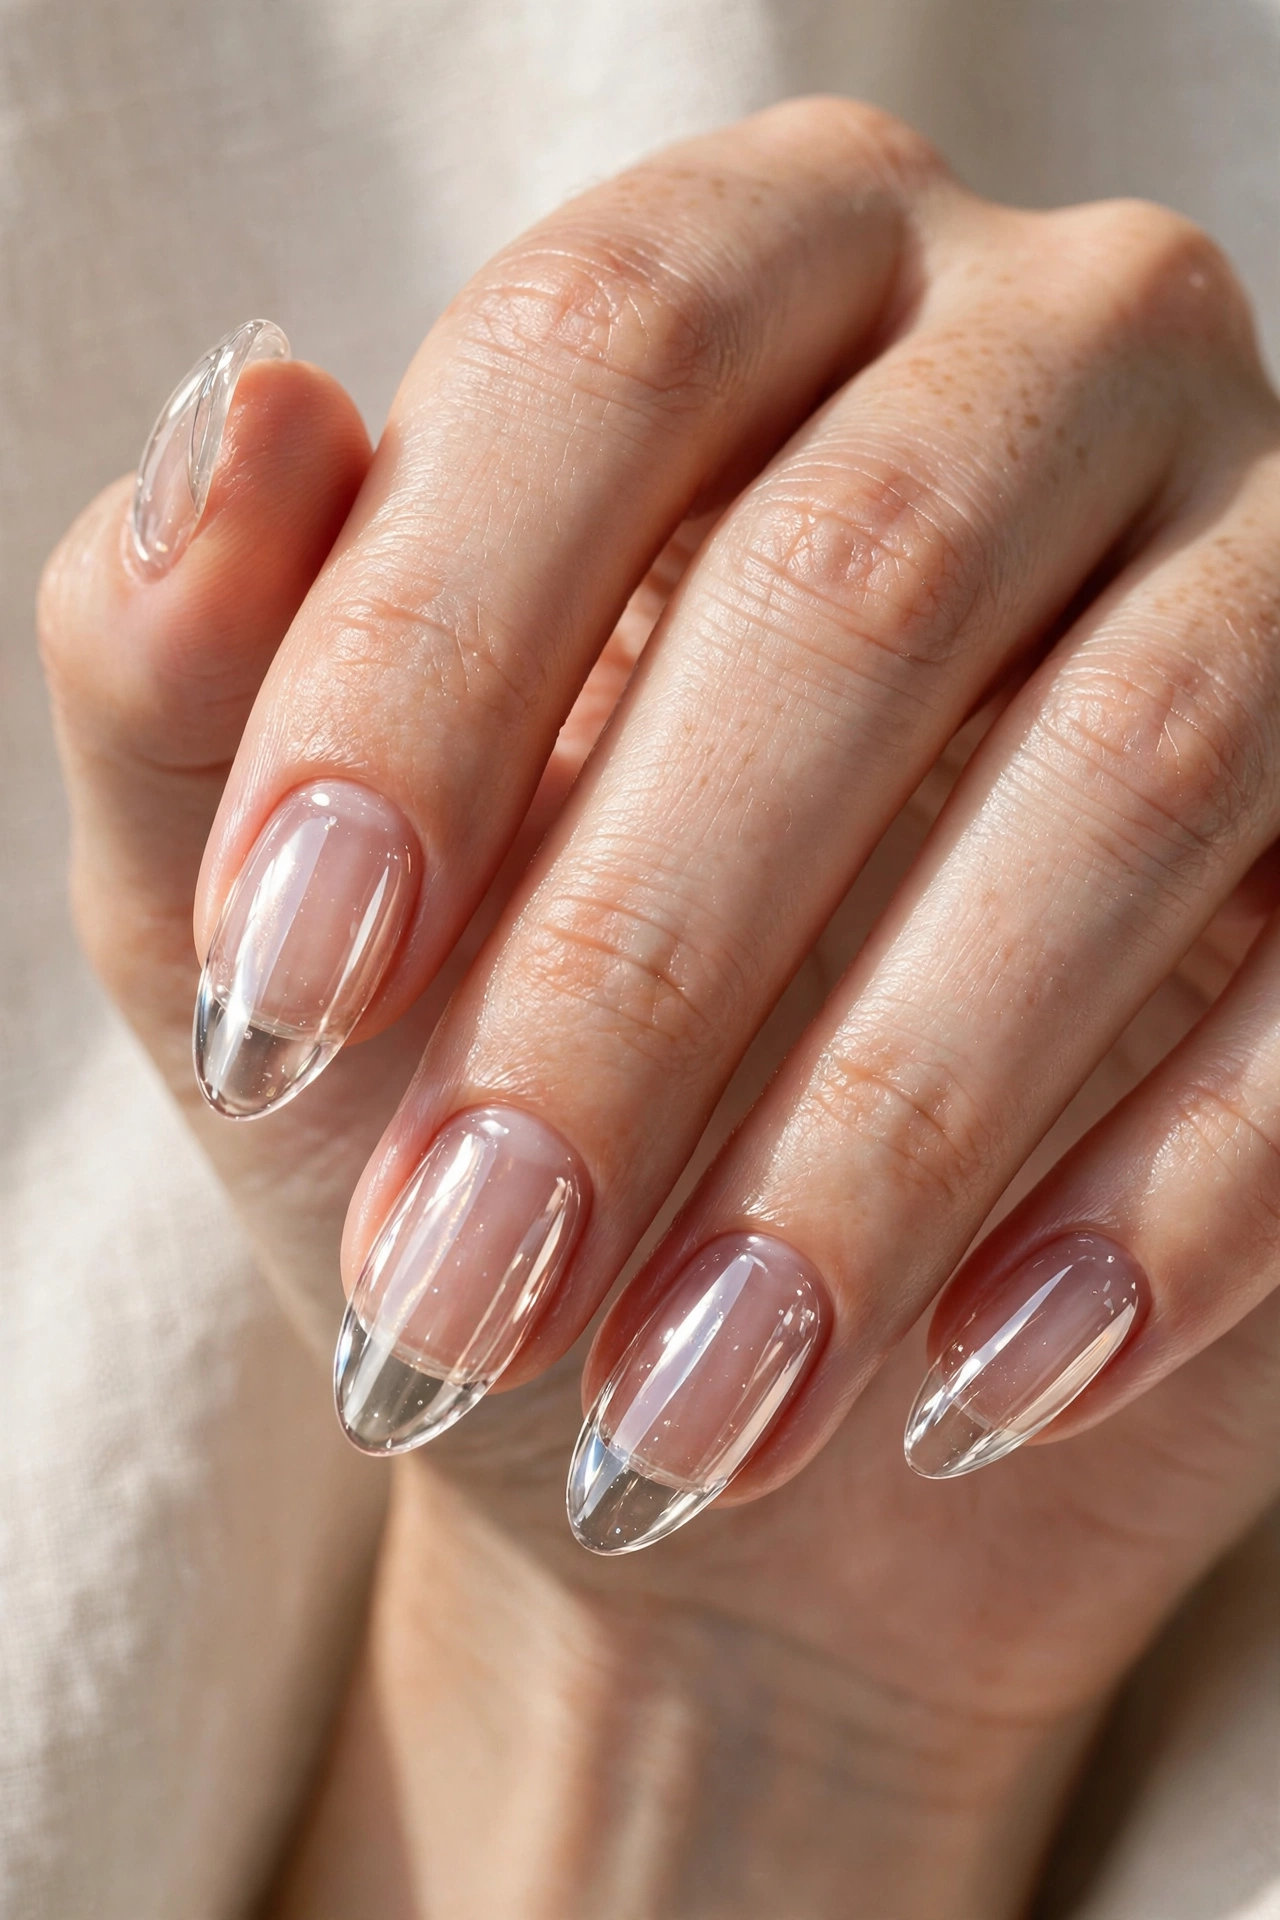
Glass nails look like each nail was dipped in water. The effect comes from layering clear builder gel or a thick self-leveling top coat over a well-shaped nail, sealed with a high-gloss finish that has zero texture. Ask your nail tech for “glass nails,” or do it at home with a clear builder gel layer and your glossiest top coat. Keep the free edge perfectly smooth — any rough filing edge scatters light and breaks the illusion. Long almond nails show off the watery depth best, but it works on every length.
3. Clear Jelly Tips
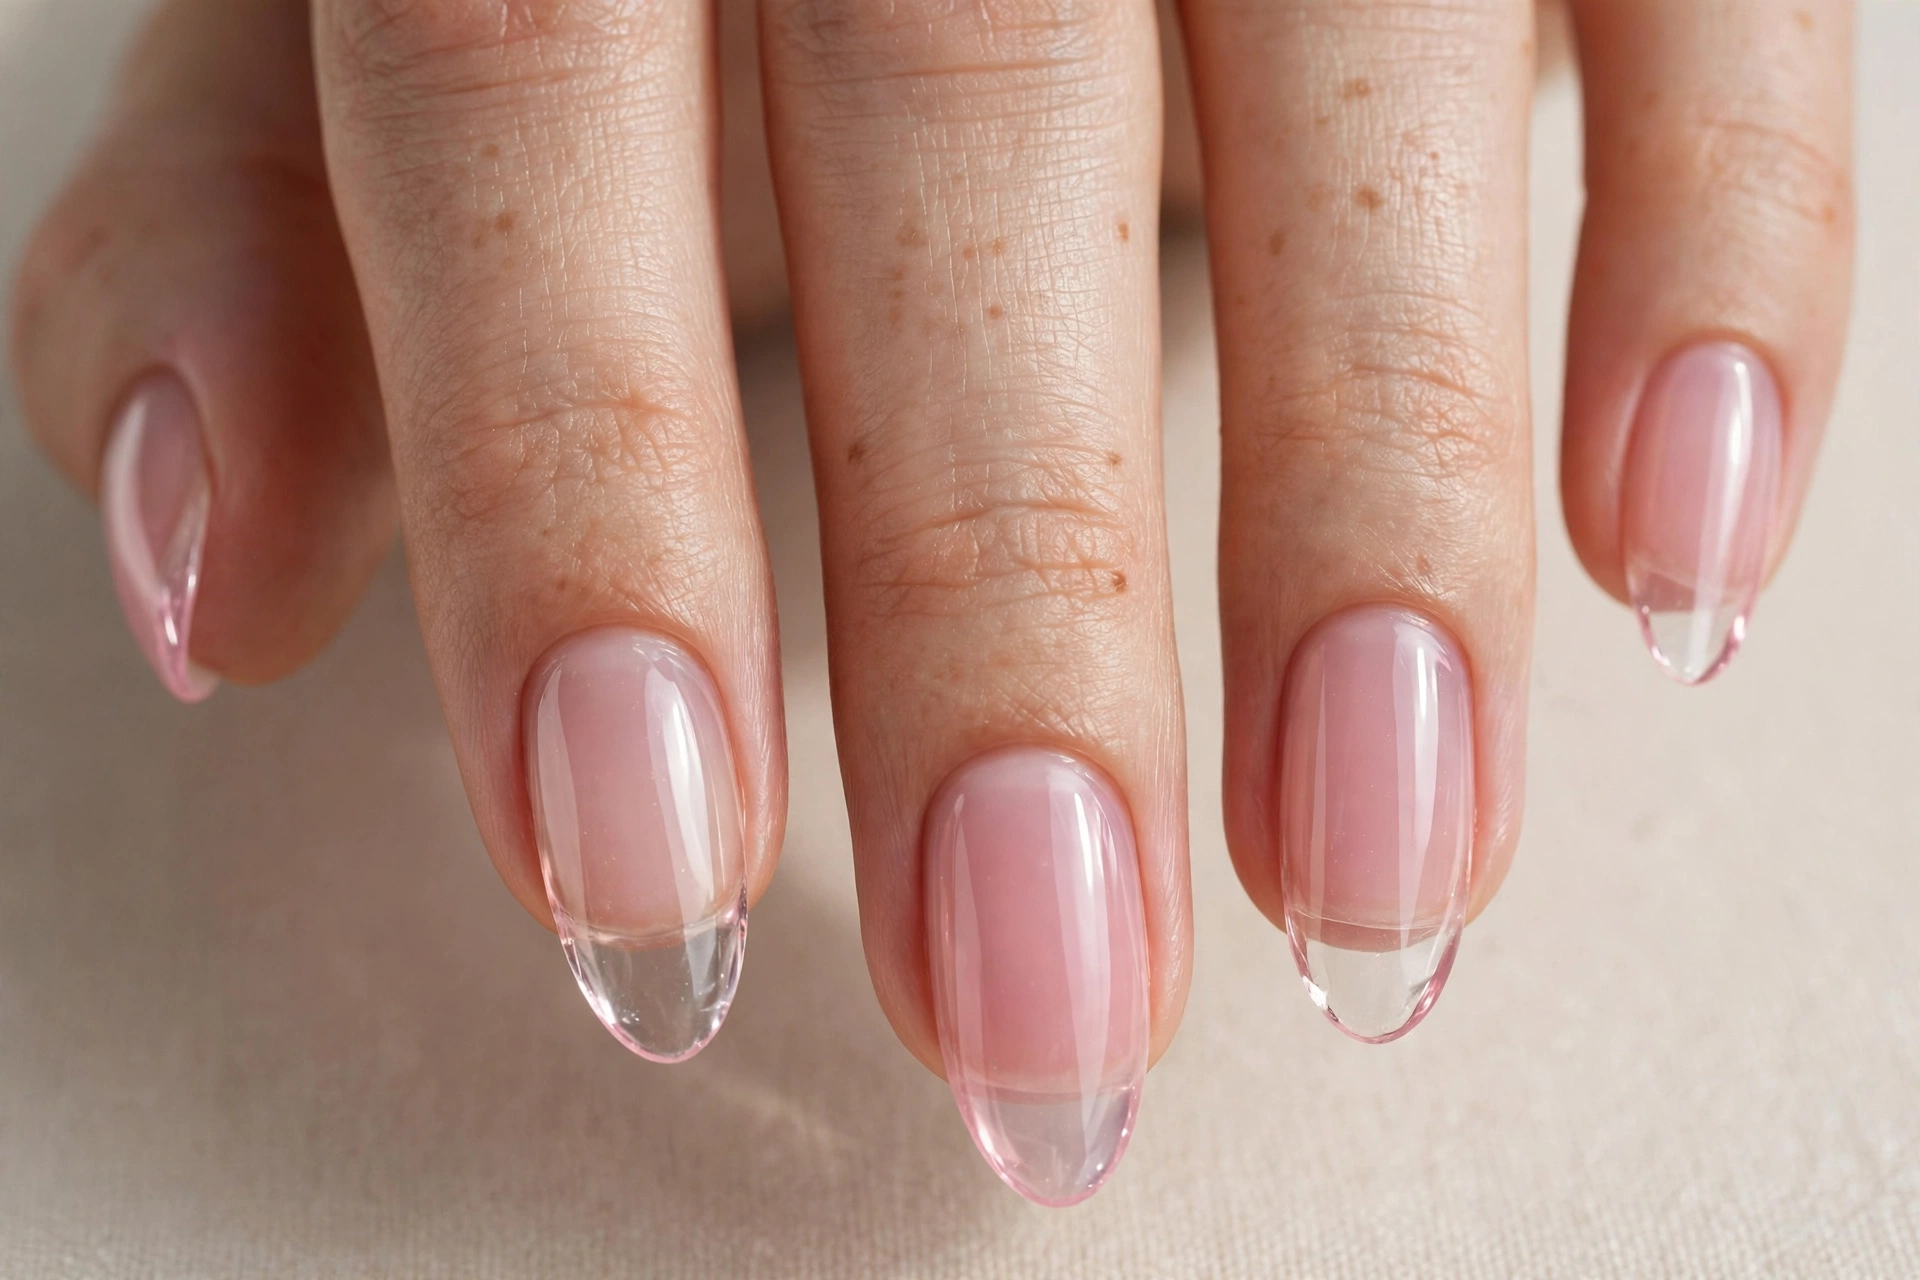
Jelly tips give you the see-through trend with a whisper of color: translucent polish that is clear at the base and deepens toward the tip in soft pink, peach, or lilac. Your natural nail bed still shows through, so the color never looks flat. Apply two to three thin coats, letting each layer build depth — one thick coat looks uneven. Jelly tips flatter longer nails where the gradient has room to build, but they also look fresh on short nails in the palest tints.
4. Gold Flake Encapsulation
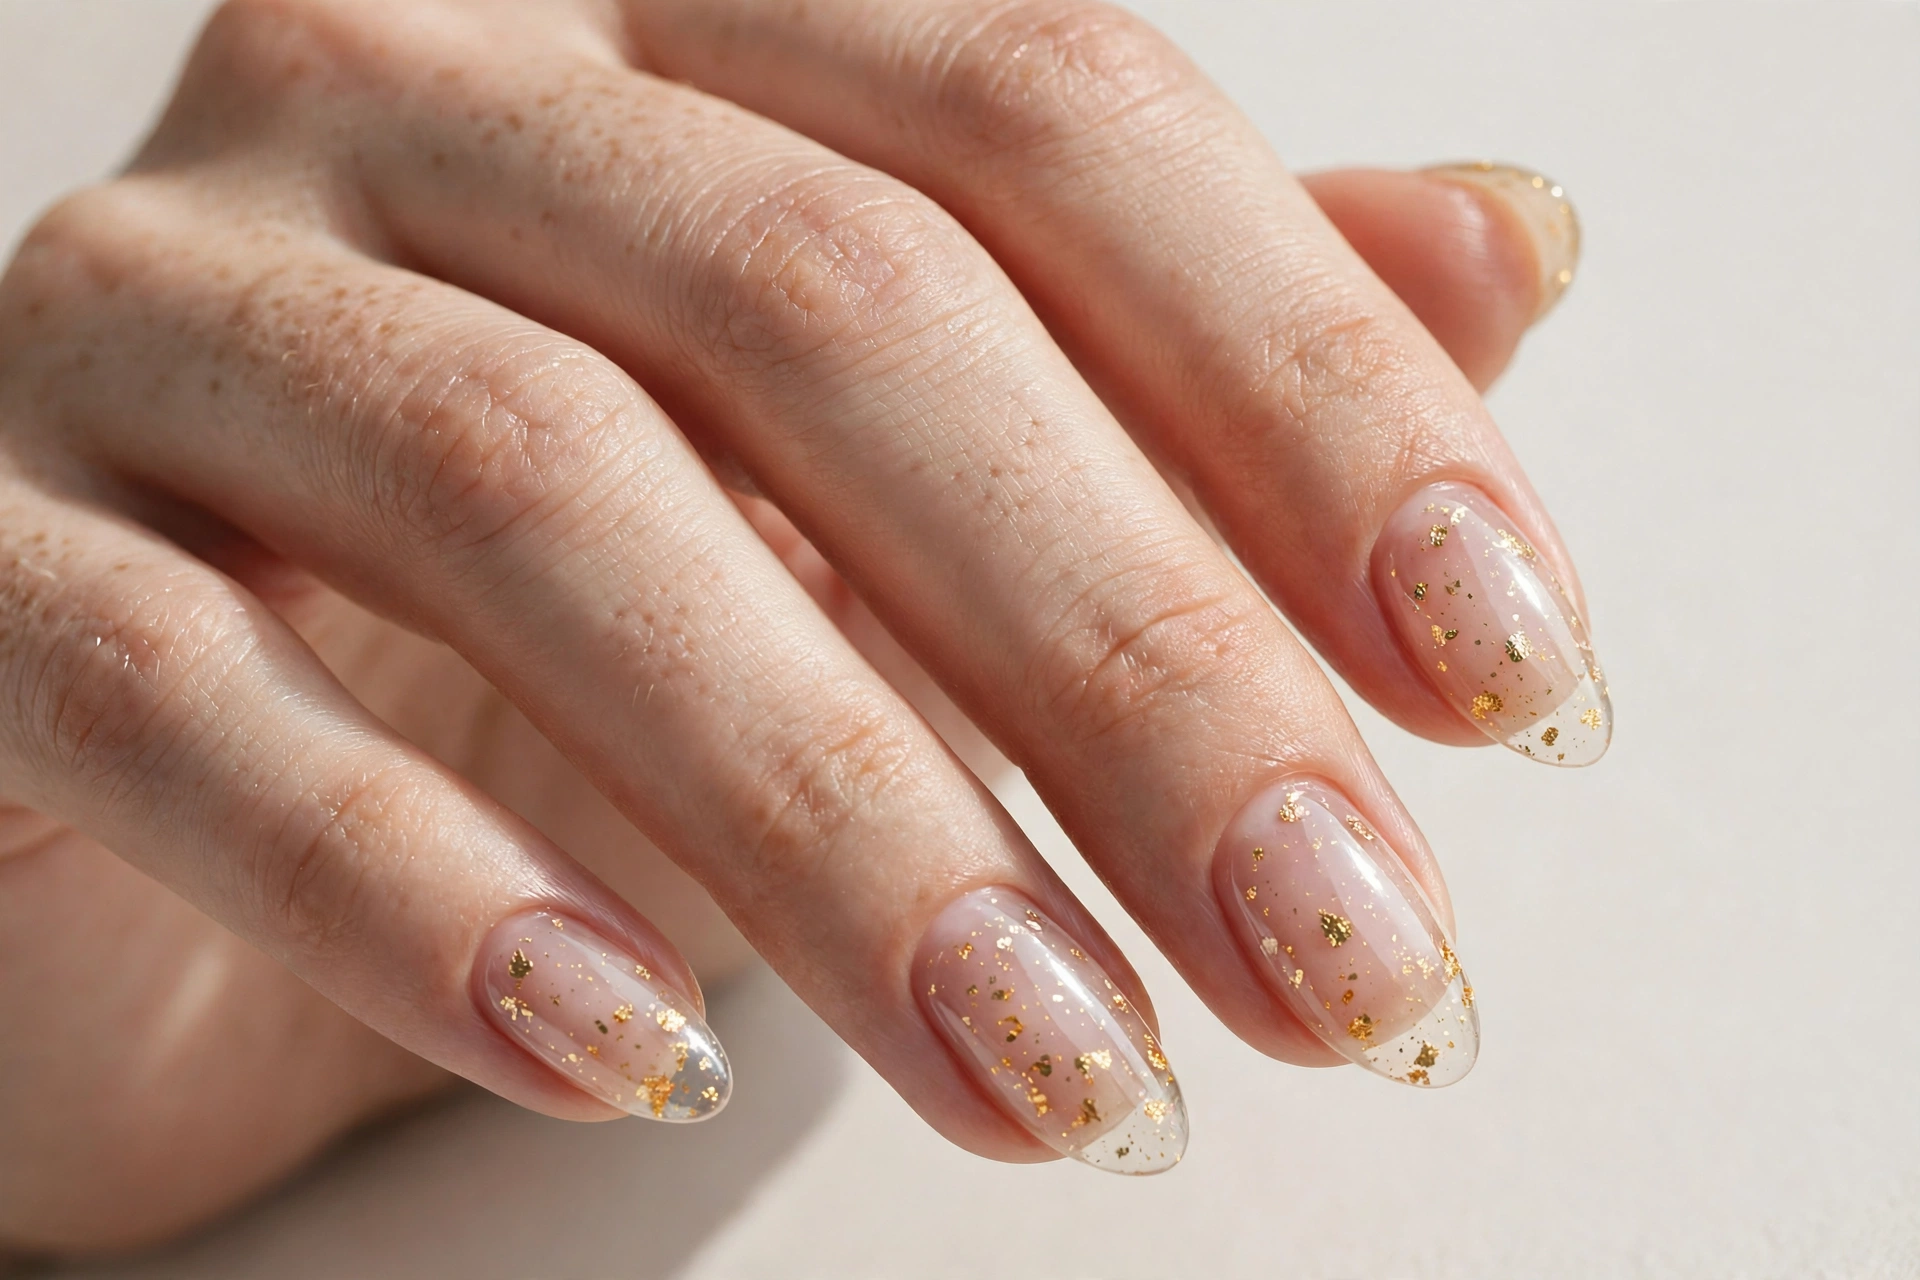
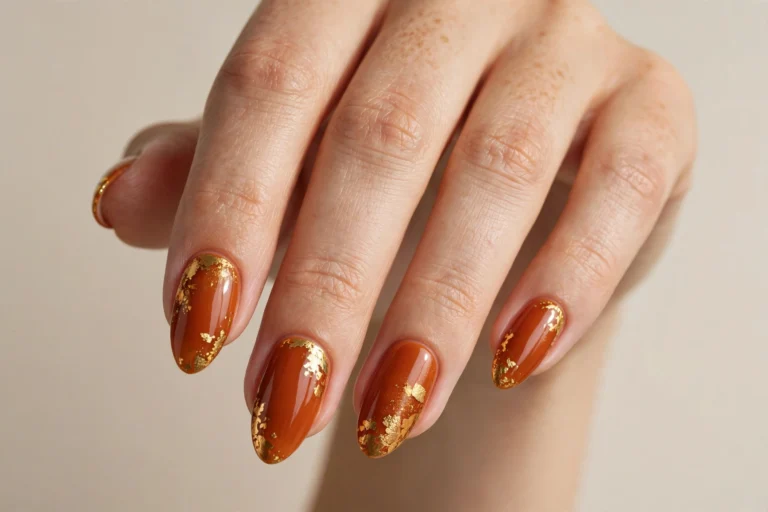
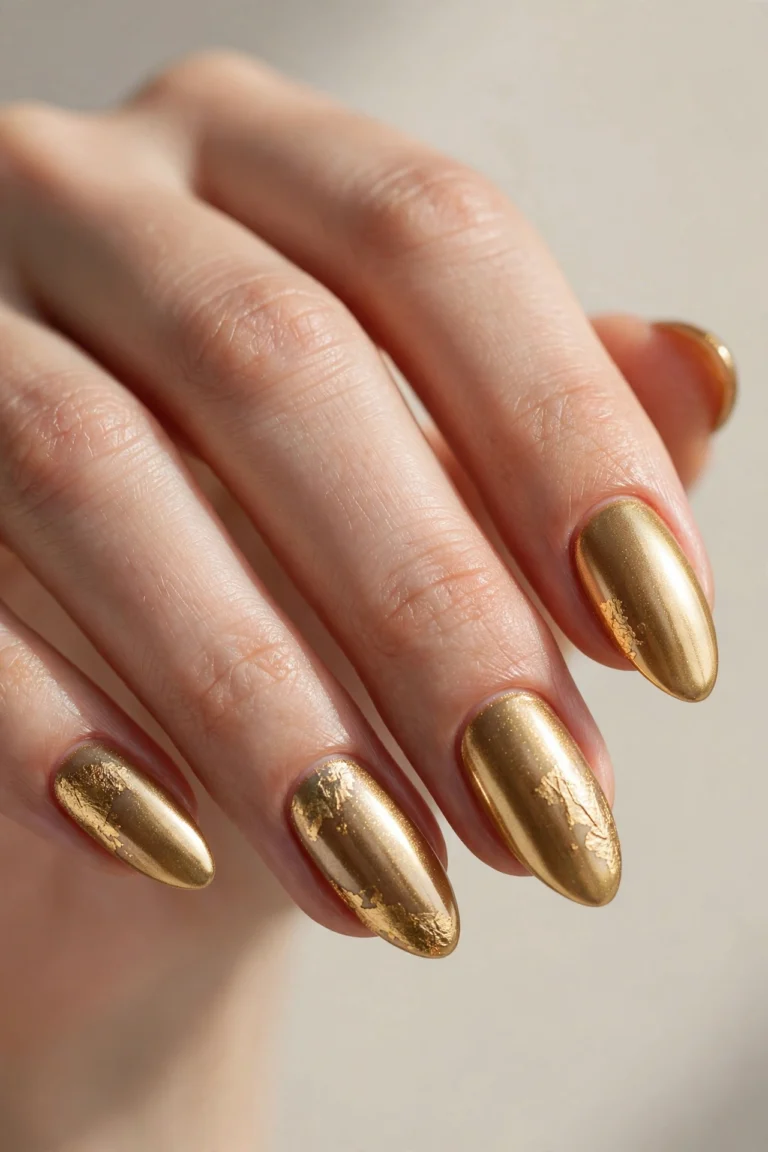
Tiny pieces of metallic foil suspended in a clear layer look like they are floating just beneath the surface — the gloss above catches light and makes the flakes sparkle as your hands move. At the salon, your tech lays the flakes onto a tacky clear layer and seals them under builder gel; at home, press cosmetic gold flakes onto a not-quite-dry clear coat and bury them under two top coat layers. Scatter them unevenly — randomness looks more expensive than a pattern. It suits medium and long nails and photographs beautifully.
5. Dried Flower Encapsulation
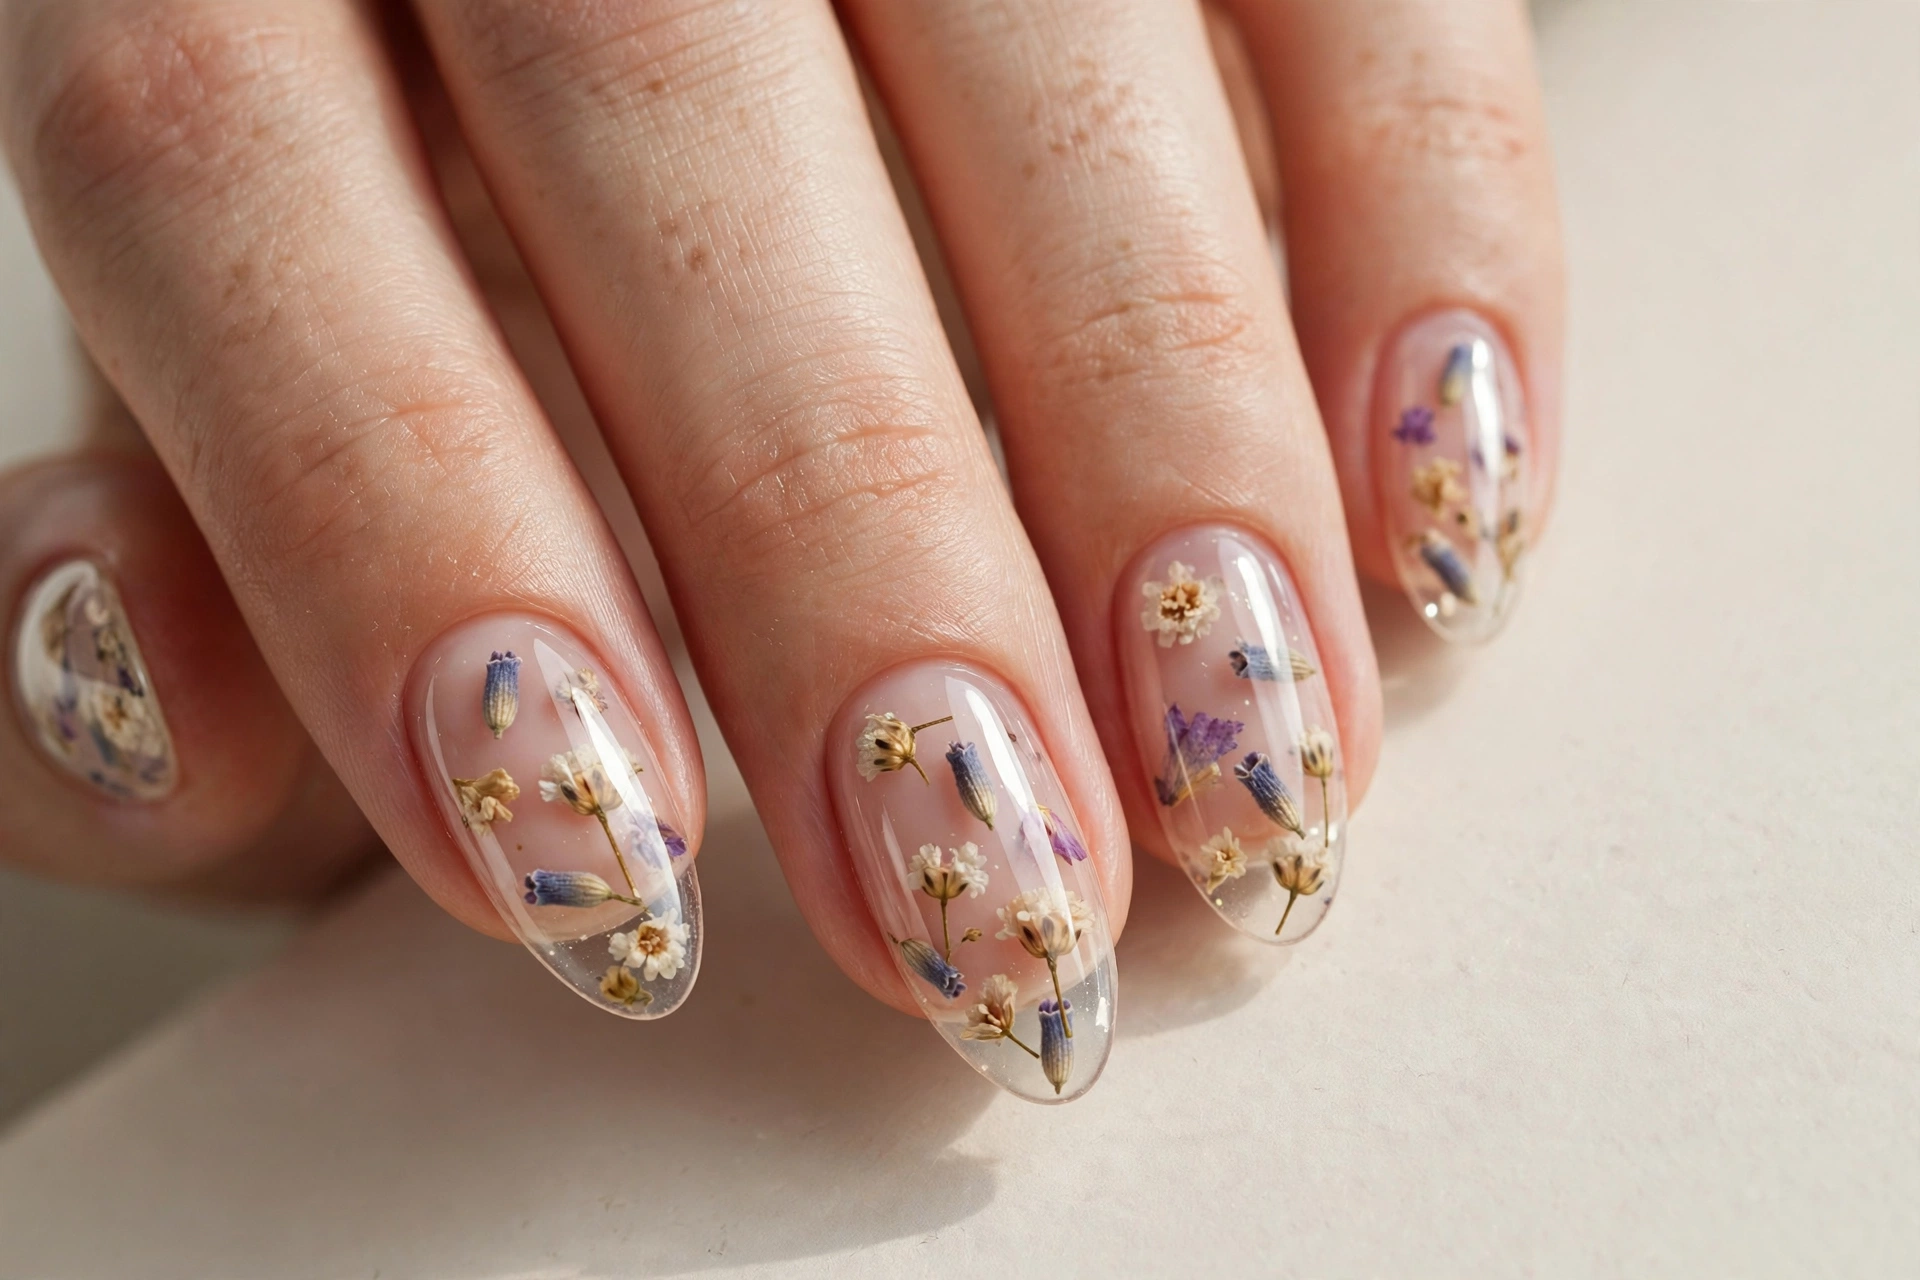
Dried flower encapsulation turns clear nails into tiny glass terrariums. Pressed baby’s breath, miniature daisies, or delicate fern fronds are sealed under a clear layer so the petals stay flat and protected. Use only fully dried, very thin pressed flowers — fresh petals bubble or rot under gel. Place one small flower per nail, or concentrate florals on two accent nails with the rest kept plain clear. A lovely pick for spring weddings and garden parties.
6. Clear French Tips
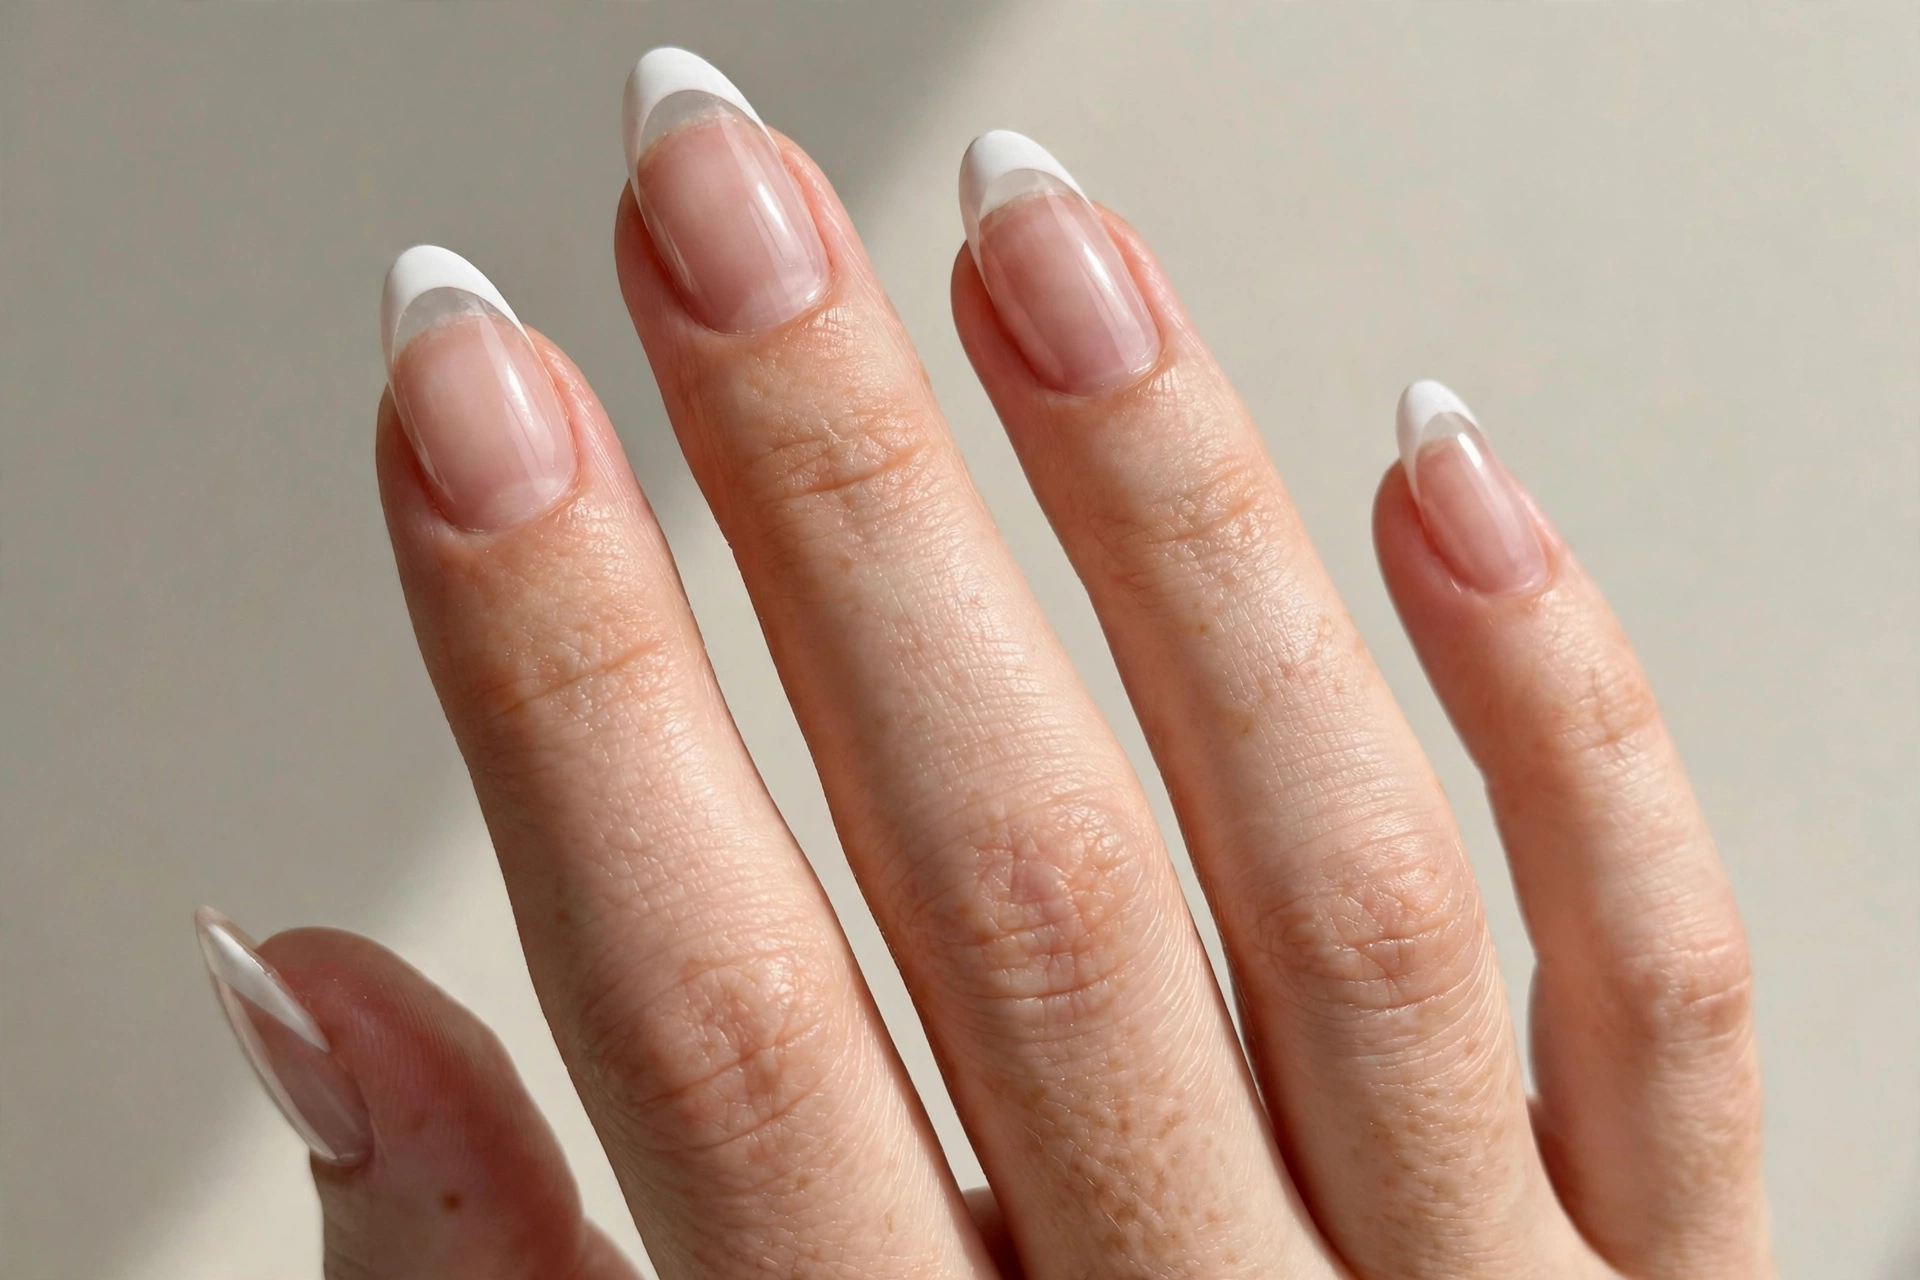
The clear French tip keeps the classic smile line but swaps the pink base for a completely transparent one. The result feels lighter and more modern — the white tips seem to float on glass. The key is a crisp smile line: use tip guides or a fine liner brush, and keep the white tip slim rather than thick. Two coats prevent streakiness, and a glossy top coat unifies the base with the tip. It works on all lengths, and it is an excellent choice for brides who want something timeless but not heavy.
7. Reverse French on a Clear Base
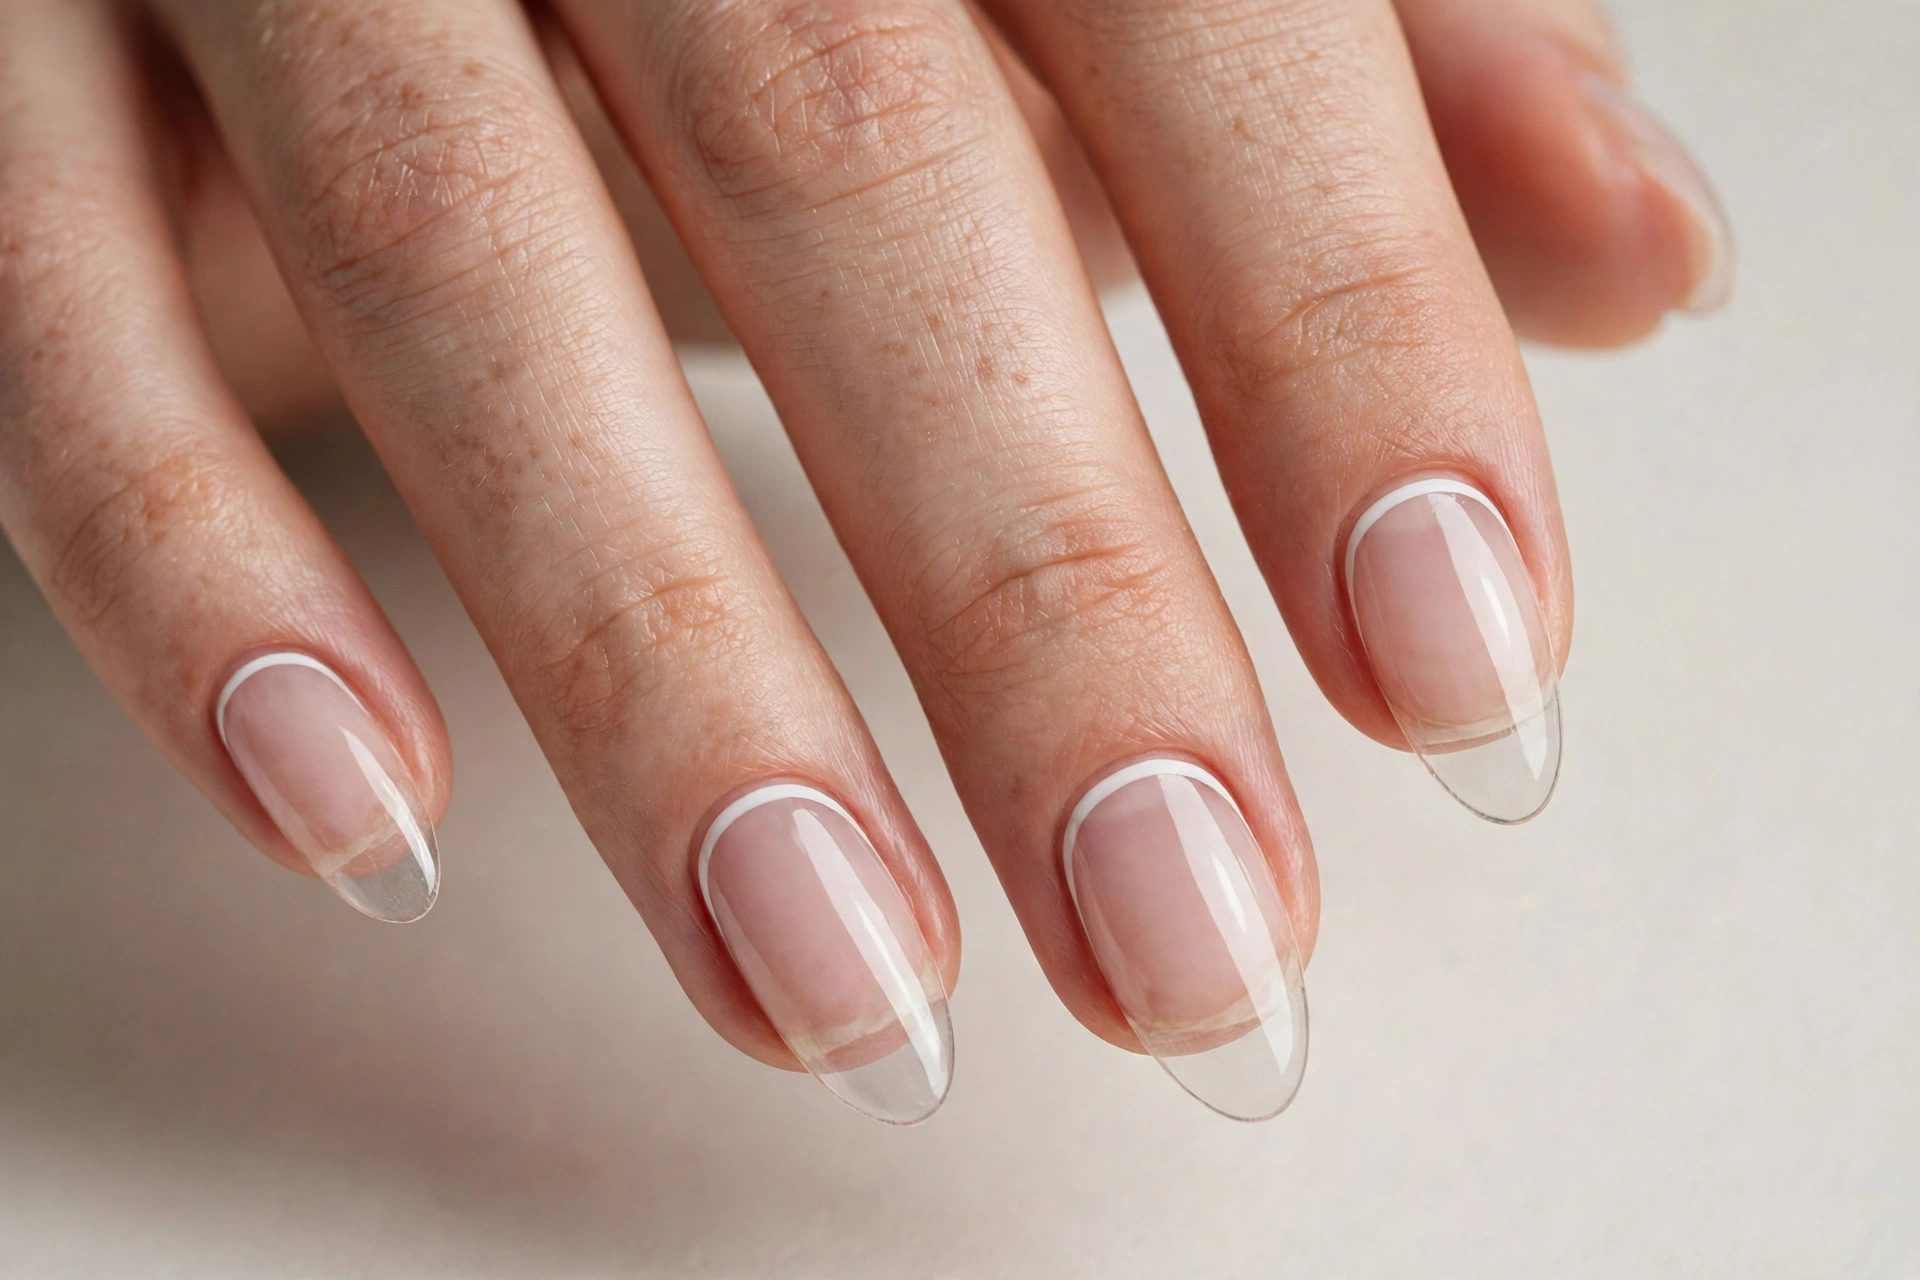
Instead of painting the tip, paint a slim smile line along the cuticle and leave the rest perfectly clear. The reverse French draws the eye to the base of the nail, which makes short nails look longer. Use a thin striping brush; the line should hug the cuticle without touching it. White is classic, but metallic gold elevates it for evening. Because the accent sits at the base, regrowth is less visible than with tip designs. It suits short to medium nails especially well.
8. Glitter Gradient Tips
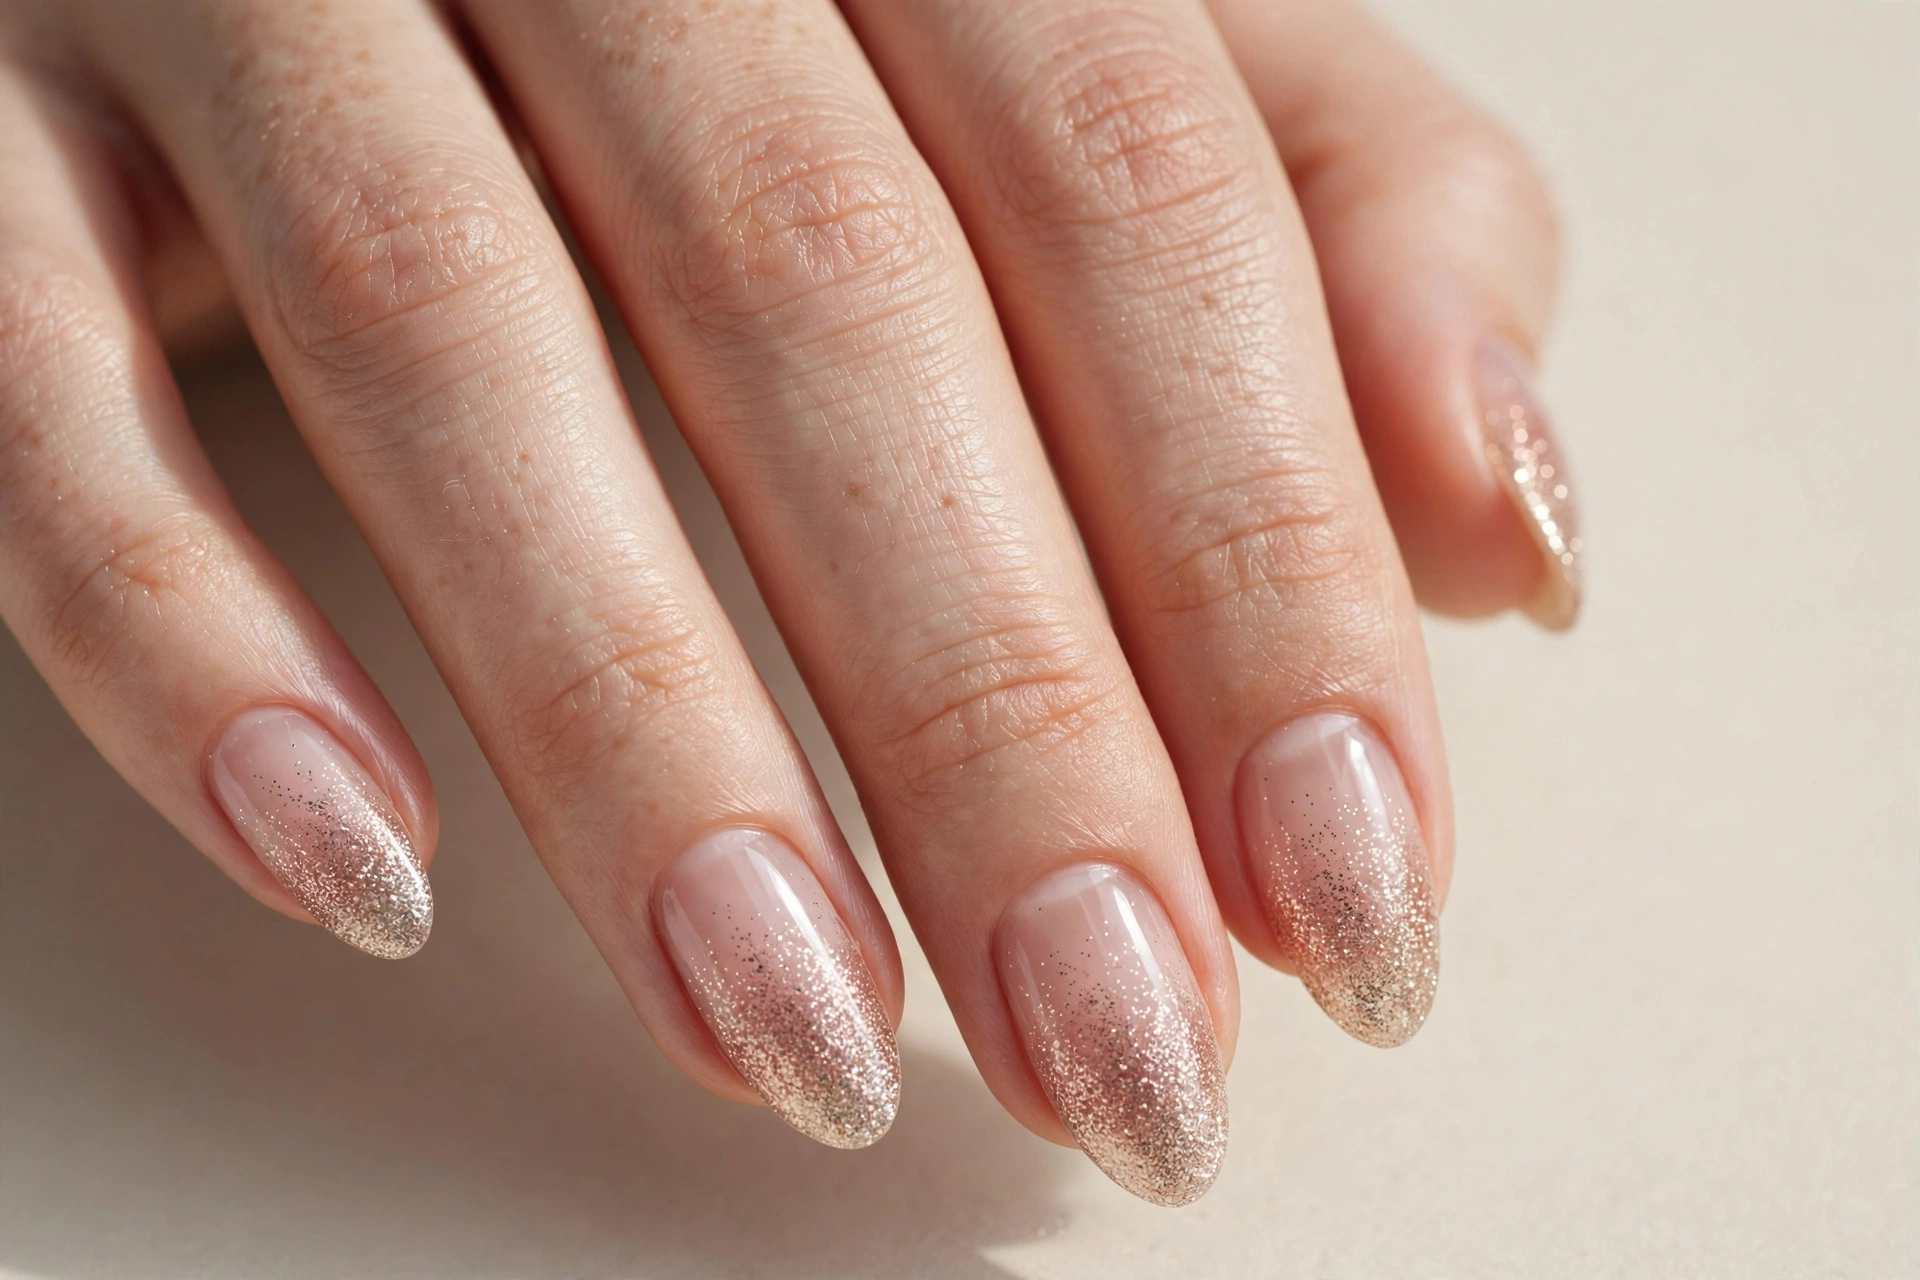
A glitter gradient fades from transparent at the base to sparkling at the tip, like frost catching light. Dab fine glitter polish onto the tip with a makeup sponge, easing off pressure toward the cuticle, then seal with clear top coat. Silver and champagne look most refined. Keep the gradient to the outer third of the nail — dragging glitter halfway down starts to look heavy. A gentle entry point if you usually wear plain polish but want something for a party without full color.
9. Encapsulated Butterfly Art
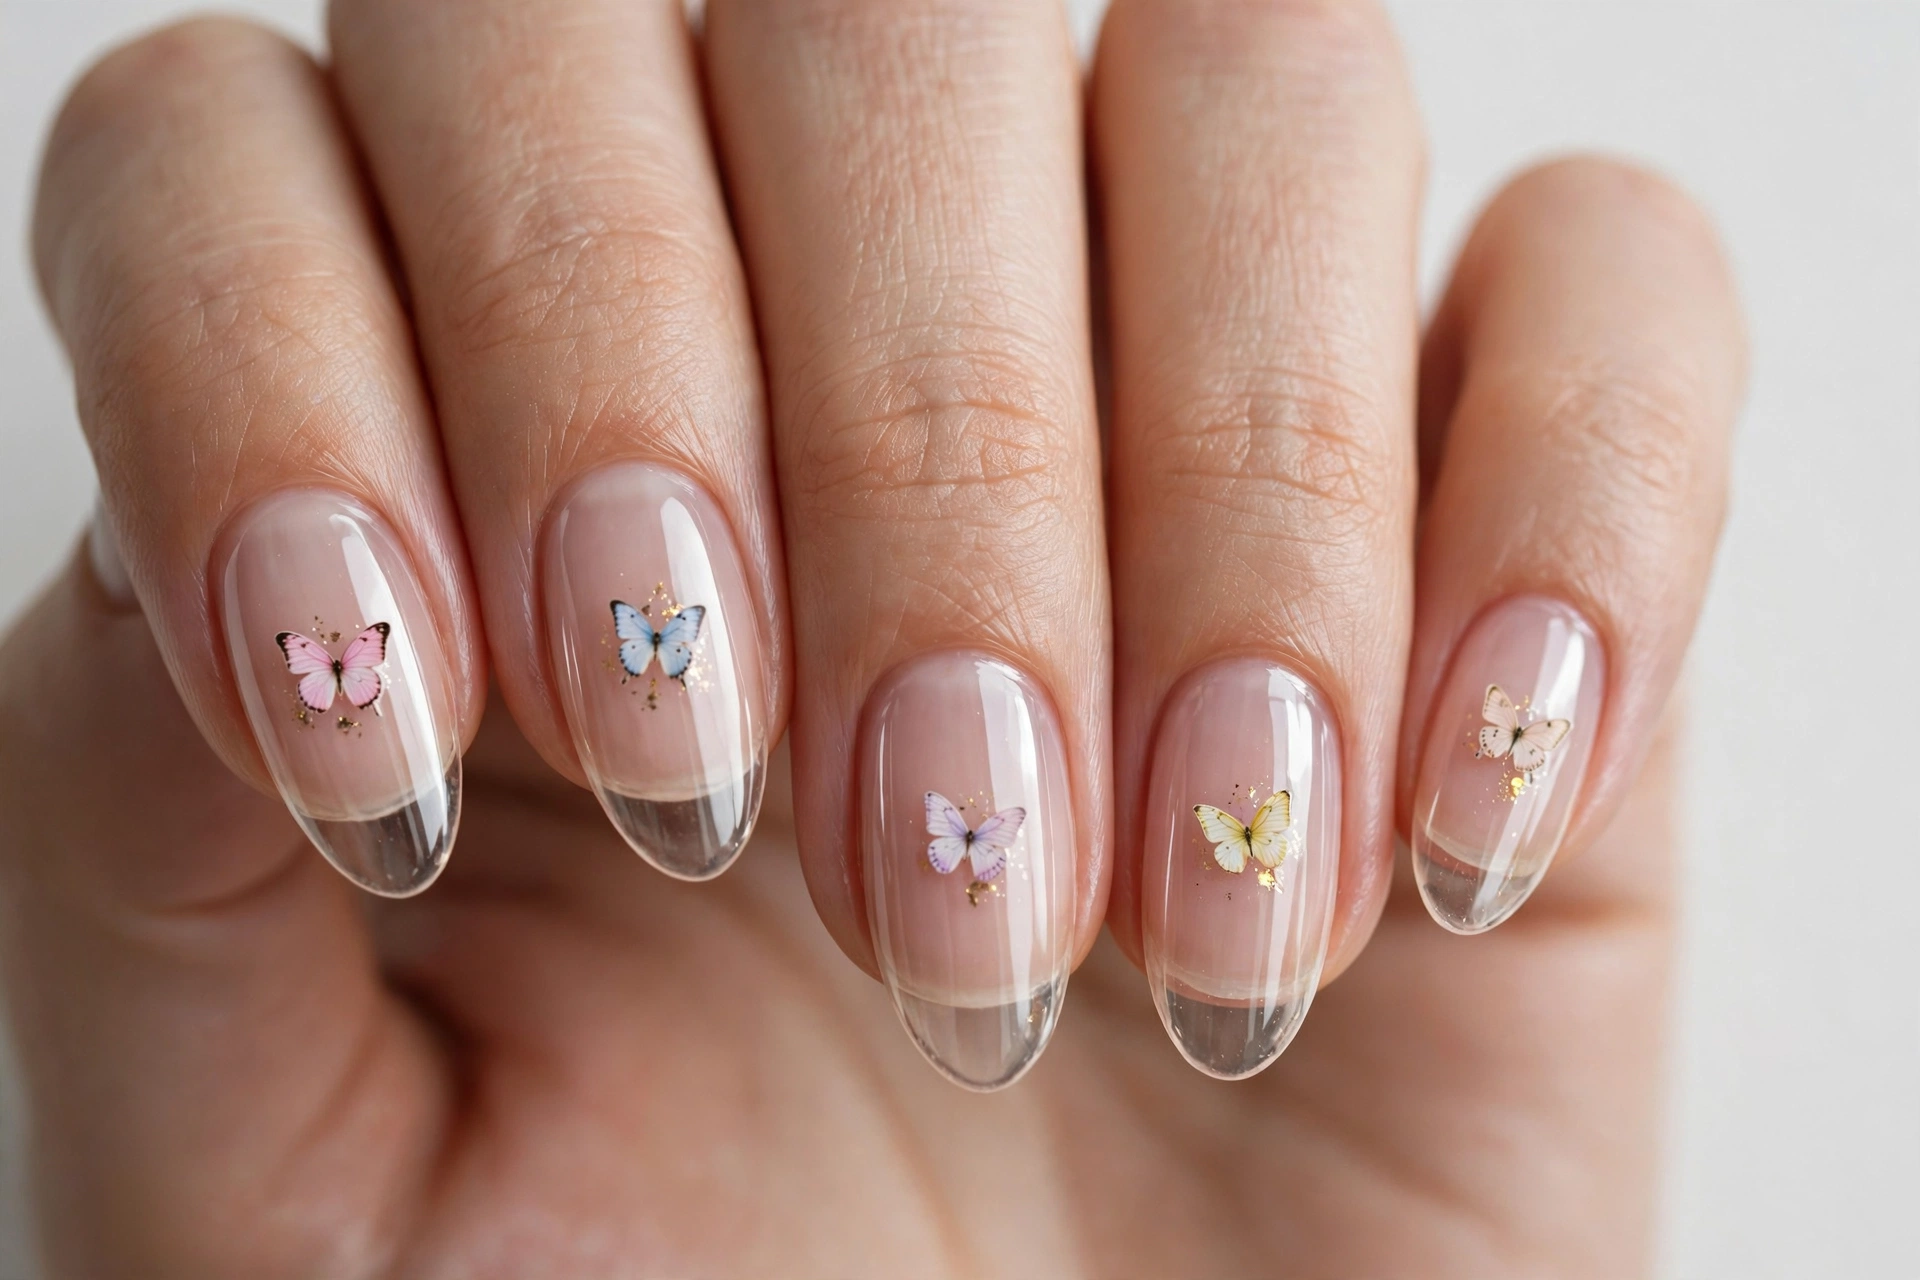
Encapsulating butterflies under clear polish makes them look dimensional rather than sticker-flat. Place one tiny butterfly per nail onto a tacky clear layer, then bury it under builder gel or several top coat layers so the edges disappear. Position them slightly off-center — asymmetry looks more artful. Pastel or iridescent butterflies suit the transparent base best. Made for longer nails where the butterfly has room to spread its wings.
10. Chrome Sheen Over Clear
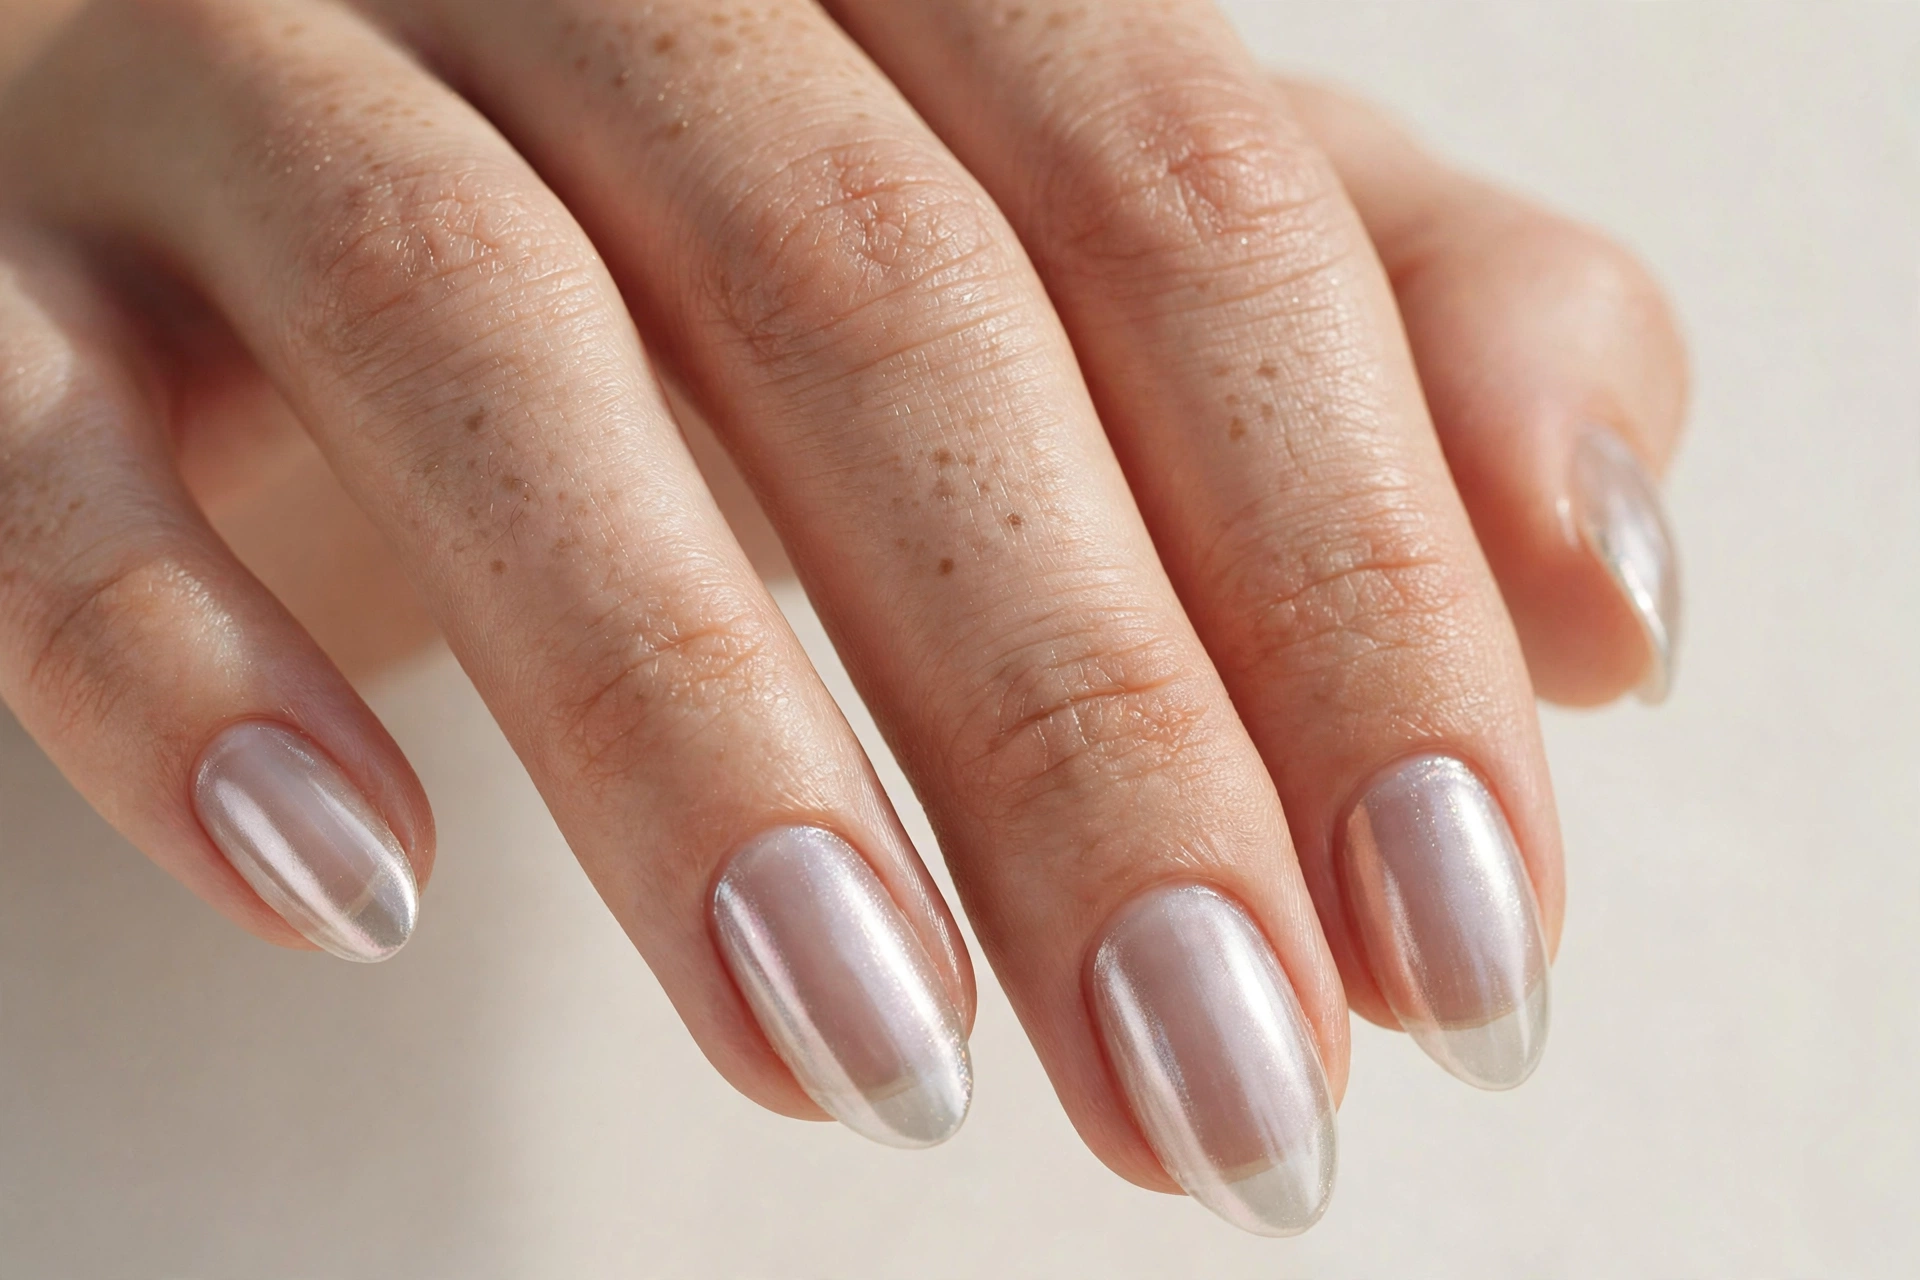
Rub a whisper of chrome powder over a clear base for the glazed-donut effect in its purest form — a mirror-like sheen with no base color underneath. Apply clear gel, buff in a tiny amount of pearl or aurora powder with a sponge applicator, then seal with a no-wipe top coat. Less powder is more: you want a sheen, not a metallic coat. Pearl white keeps it clean; aurora adds a faint rainbow shift. It flatters every length and shape.
11. Water Droplet Effect
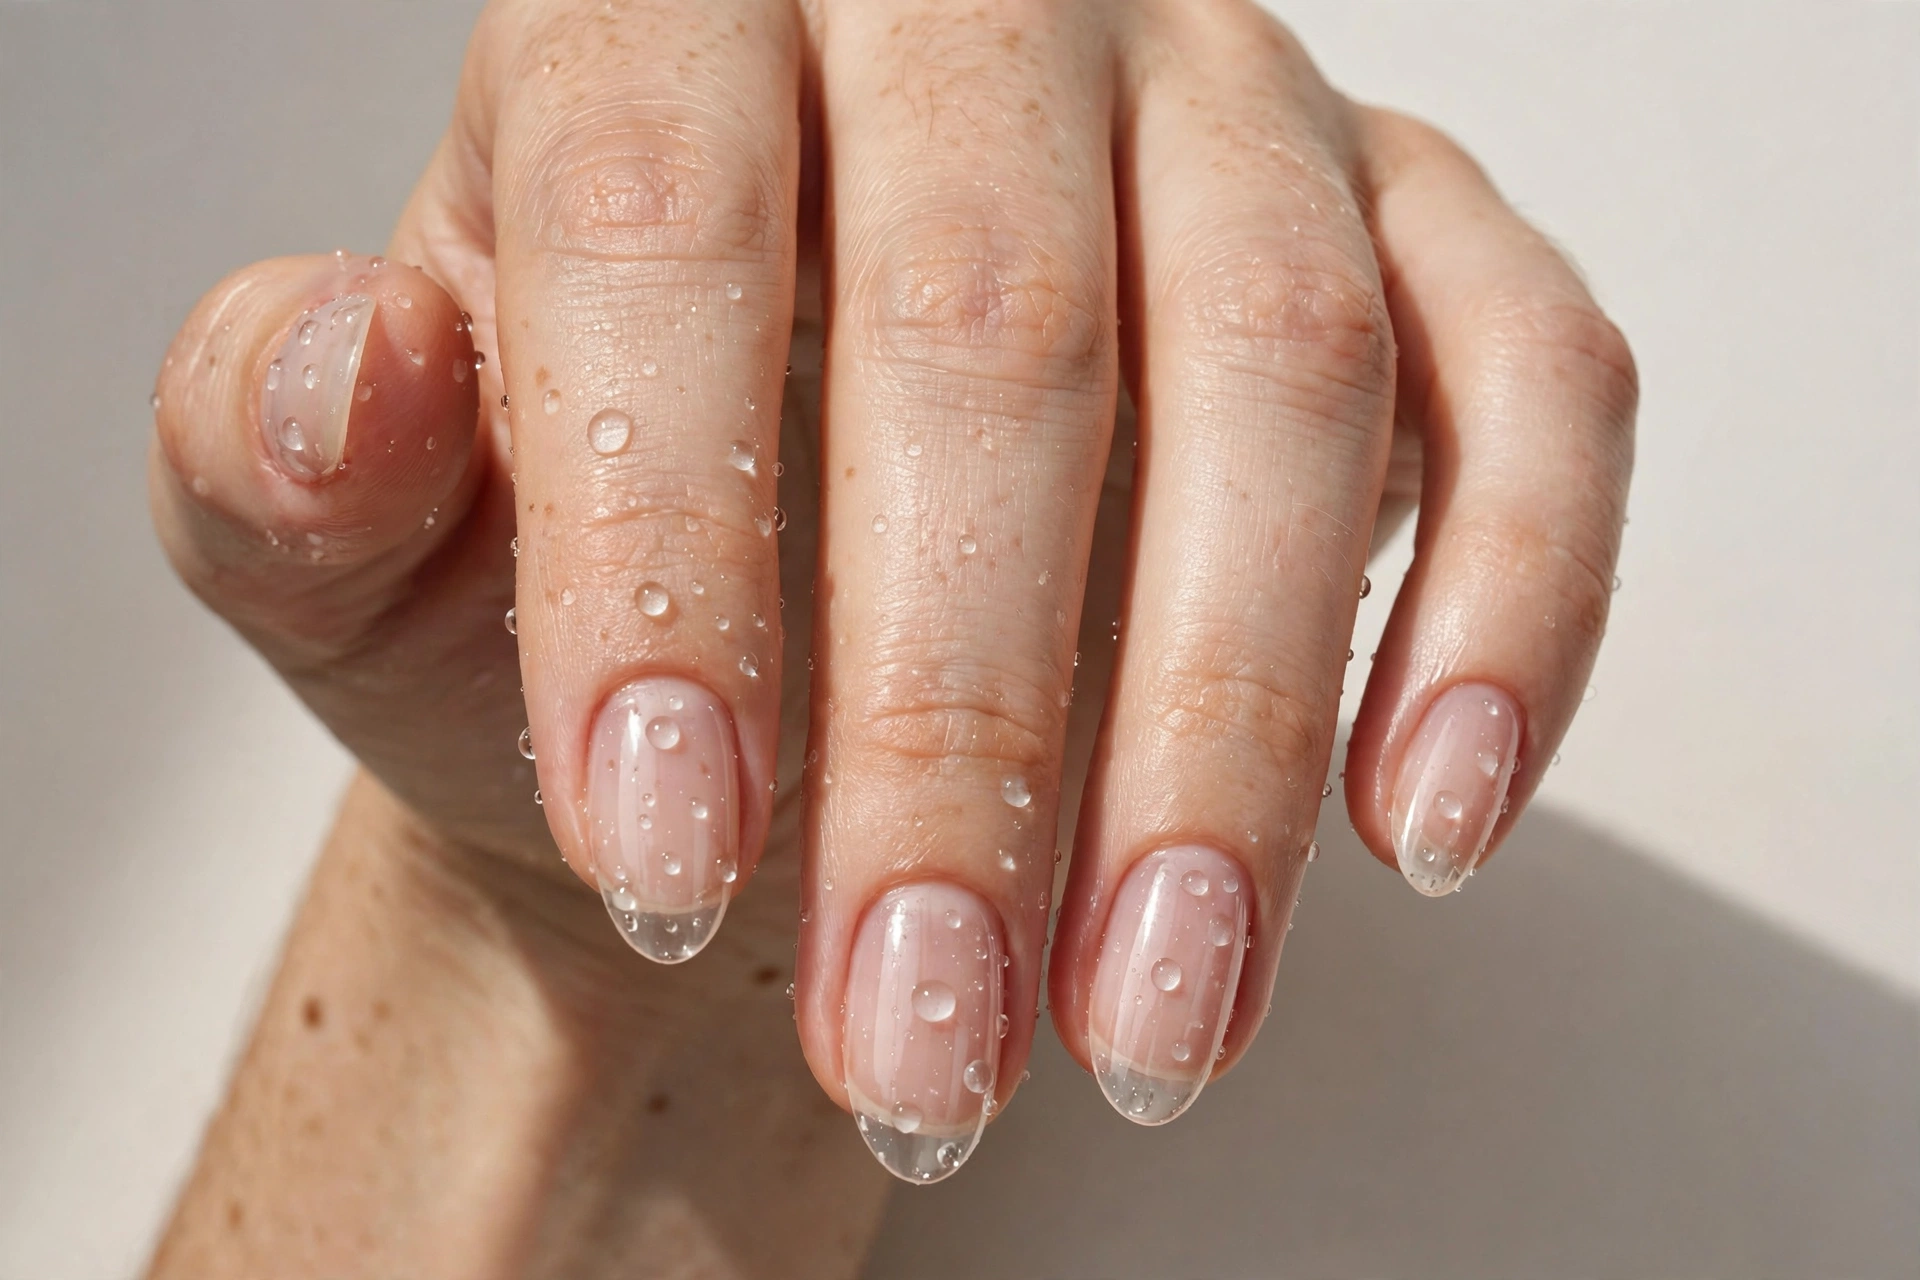
The water droplet effect makes clear nails look freshly caught in rain — tiny raised gel beads on the glossy surface catch the light. Apply droplets with a dotting tool using clear builder gel, varying sizes from pinhead to sesame-seed, then cure fully. Place them unevenly, heavier toward the tip, to mimic real water. It suits medium to long nails where the beads have space to scatter — and people will want to touch them.
12. Delicate White Line Art
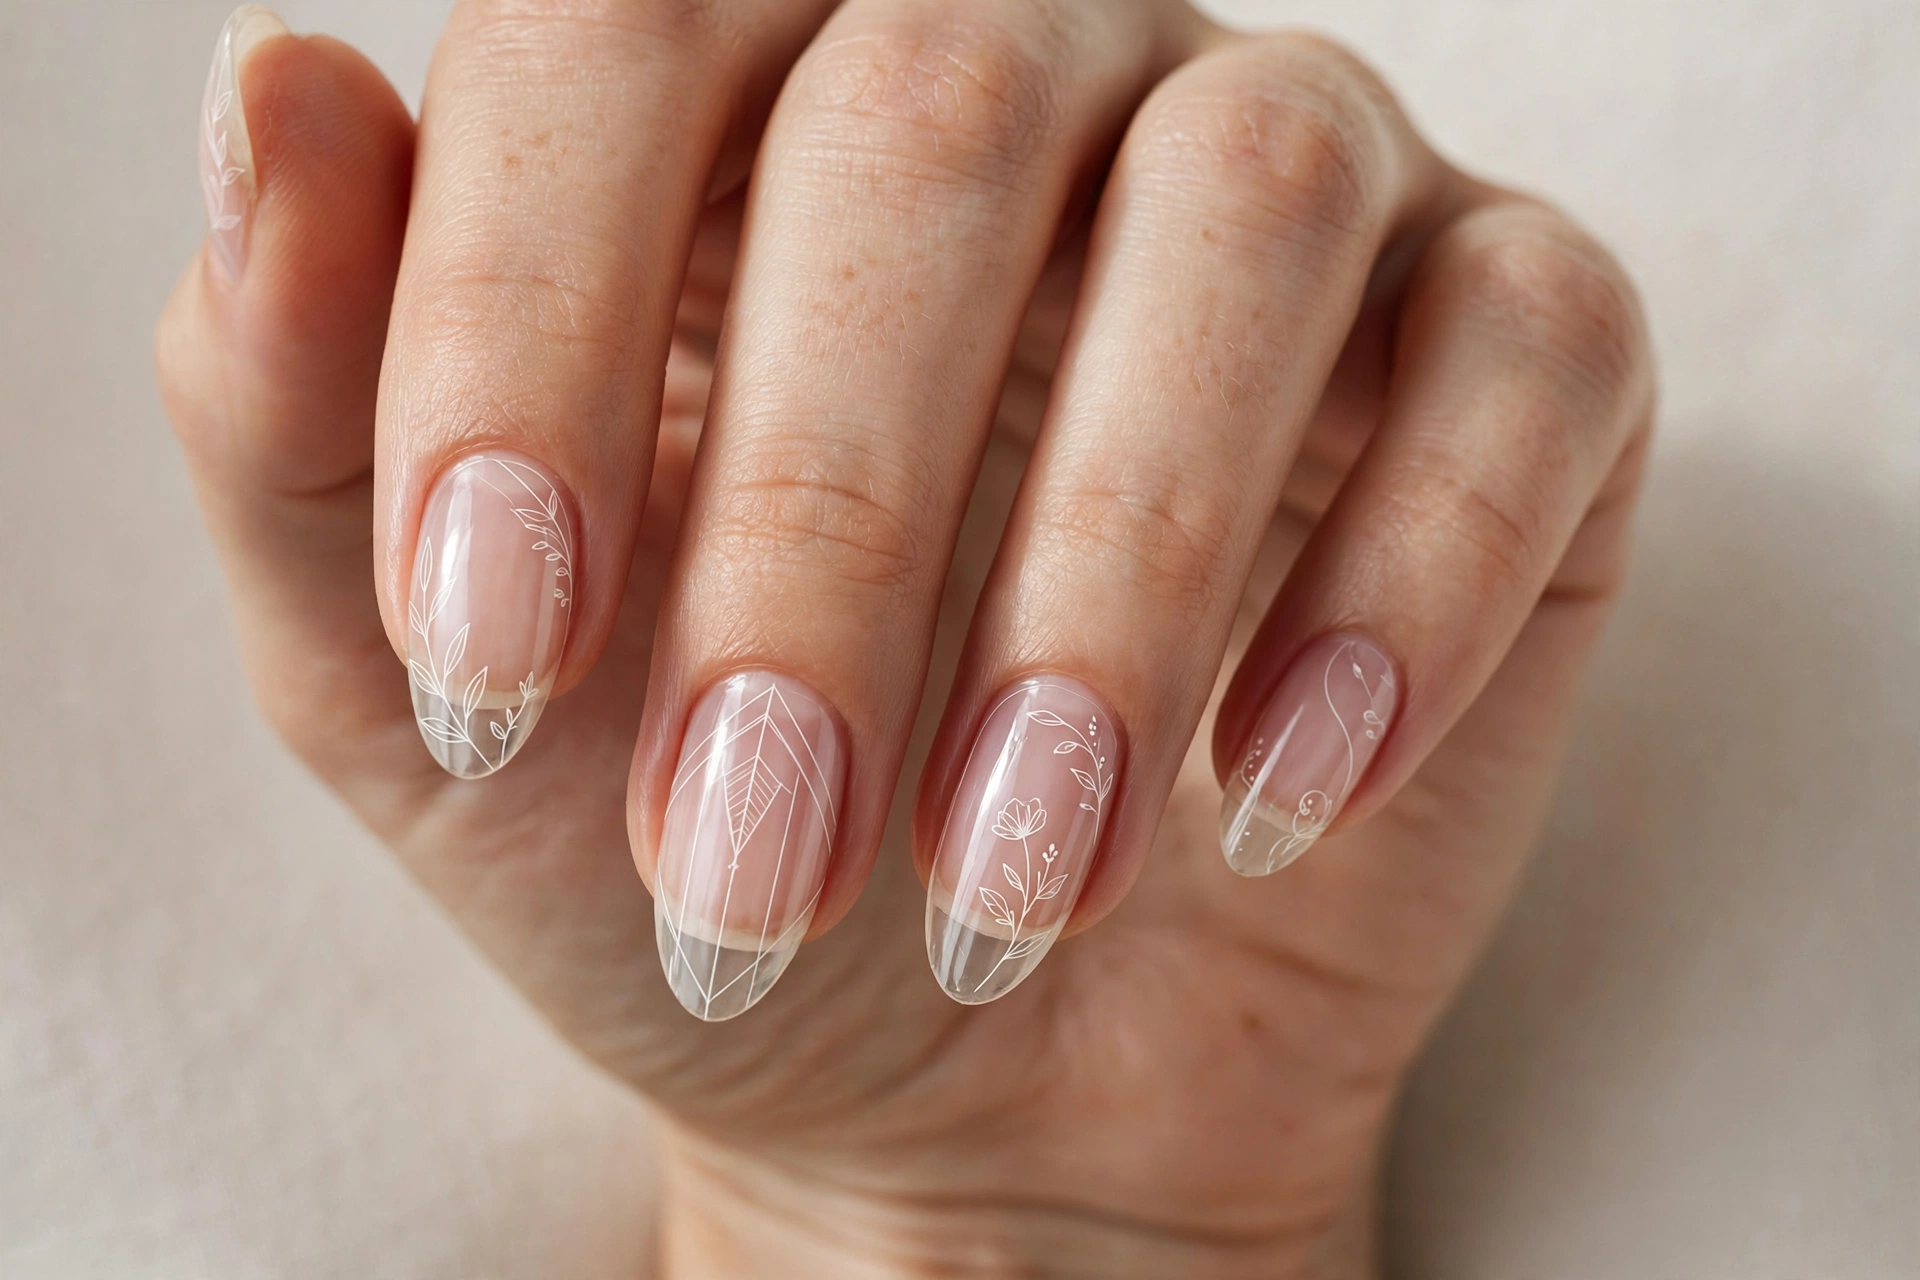
Thin white line art over a clear base is minimalism at its most artistic: one curved line or tiny arc floating on glass. The lines must be hairline-thin — thick lines look like a mistake on a transparent base. Use a liner brush or nail art pen, one or two strokes per nail; restraint is the whole aesthetic. Try a single diagonal line for a modern feel, or a tiny arc near the cuticle for something softer. It reads especially well on short, neatly shaped nails.
13. Encapsulated Pearls
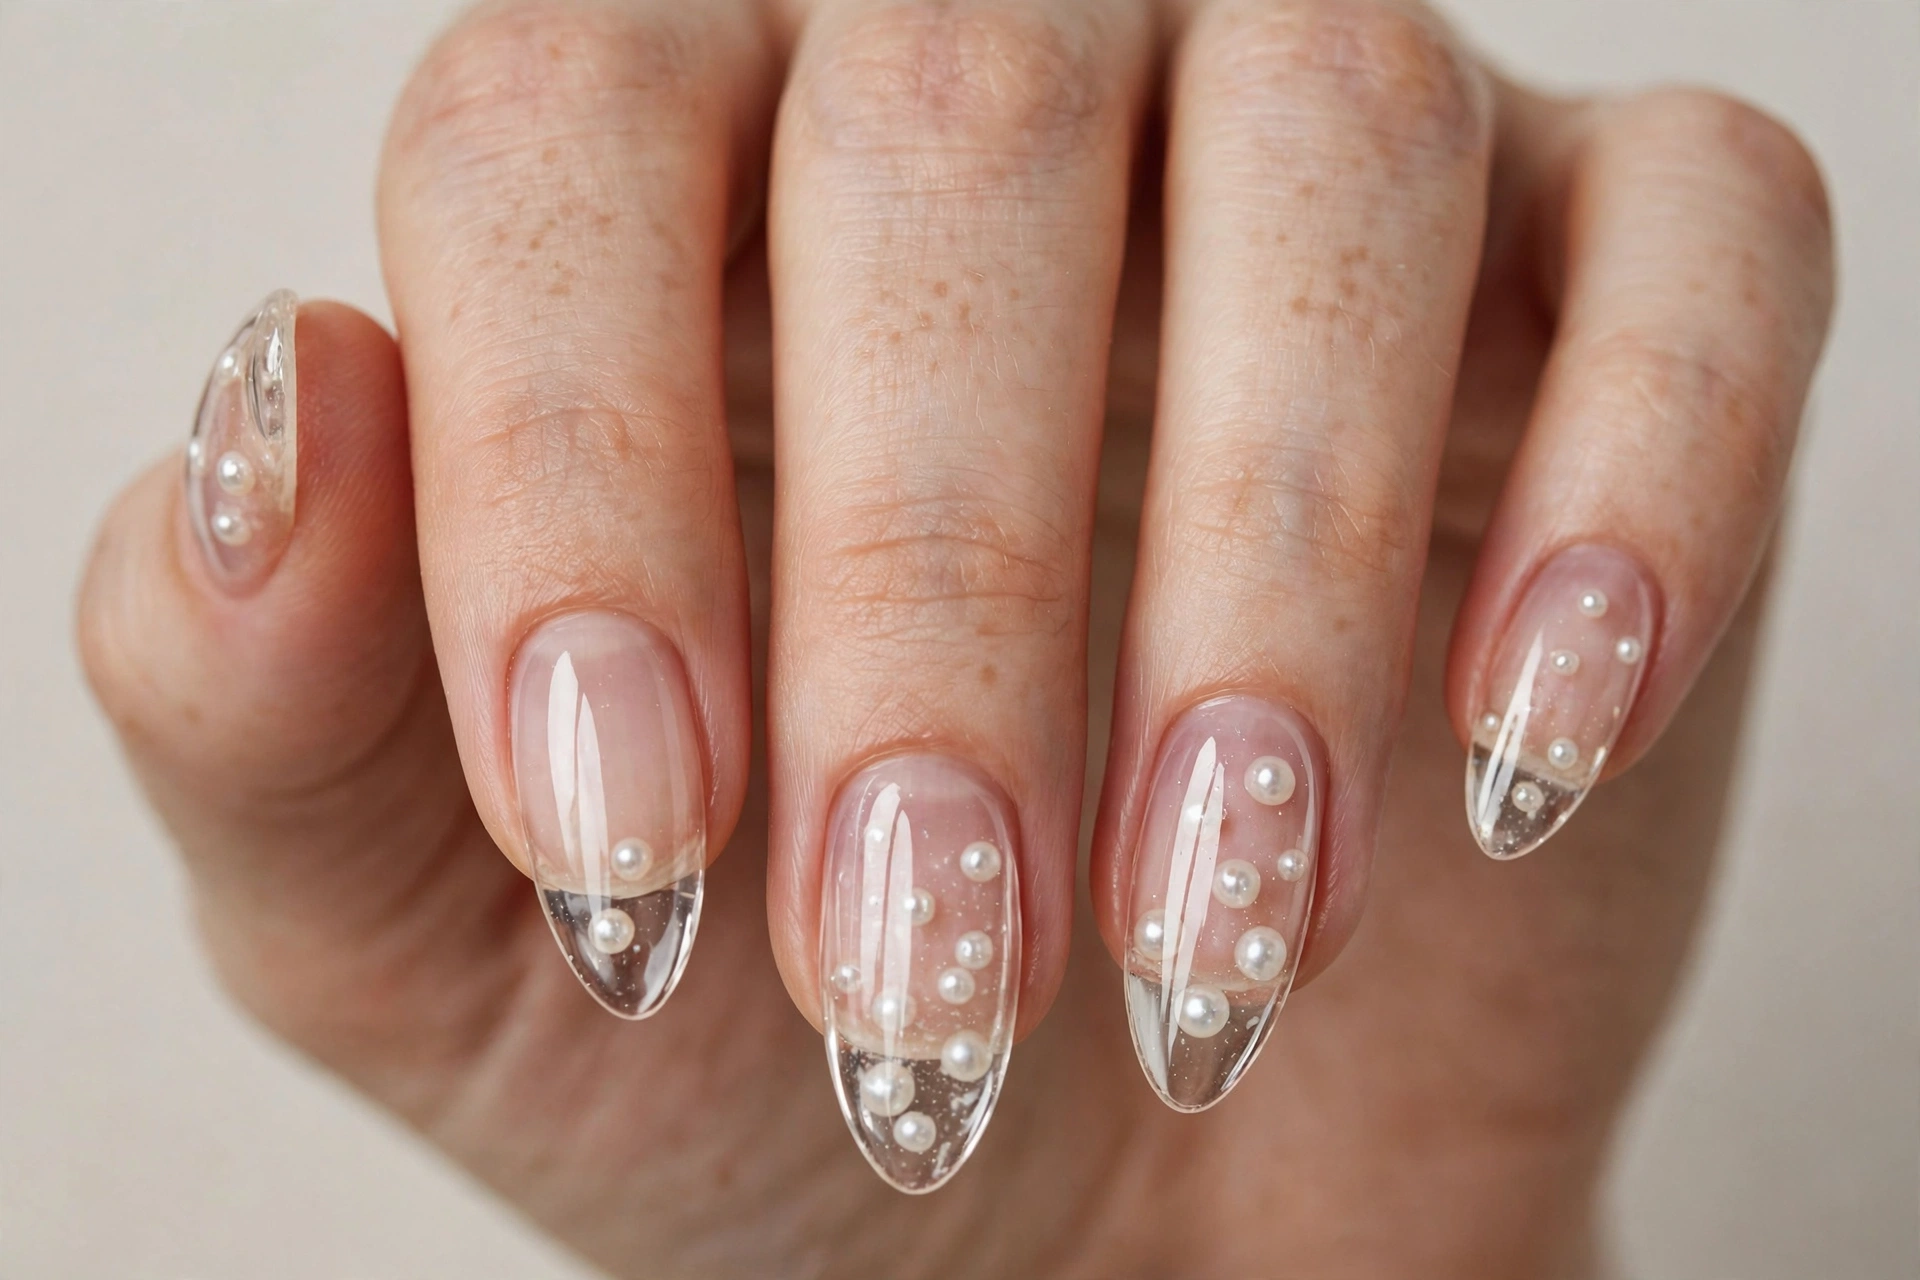
Tiny pearls suspended in clear nails bring a soft, bridal elegance no color can match. Use half pearls or micro beads — full round beads create bumps the top coat cannot smooth — and place one to three per nail on one or two accent nails, keeping the rest plain clear. Keep them under about 2mm so the sealing layer covers them fully. A natural for weddings, and almond shapes frame the pearls beautifully.
14. Iridescent Flakes
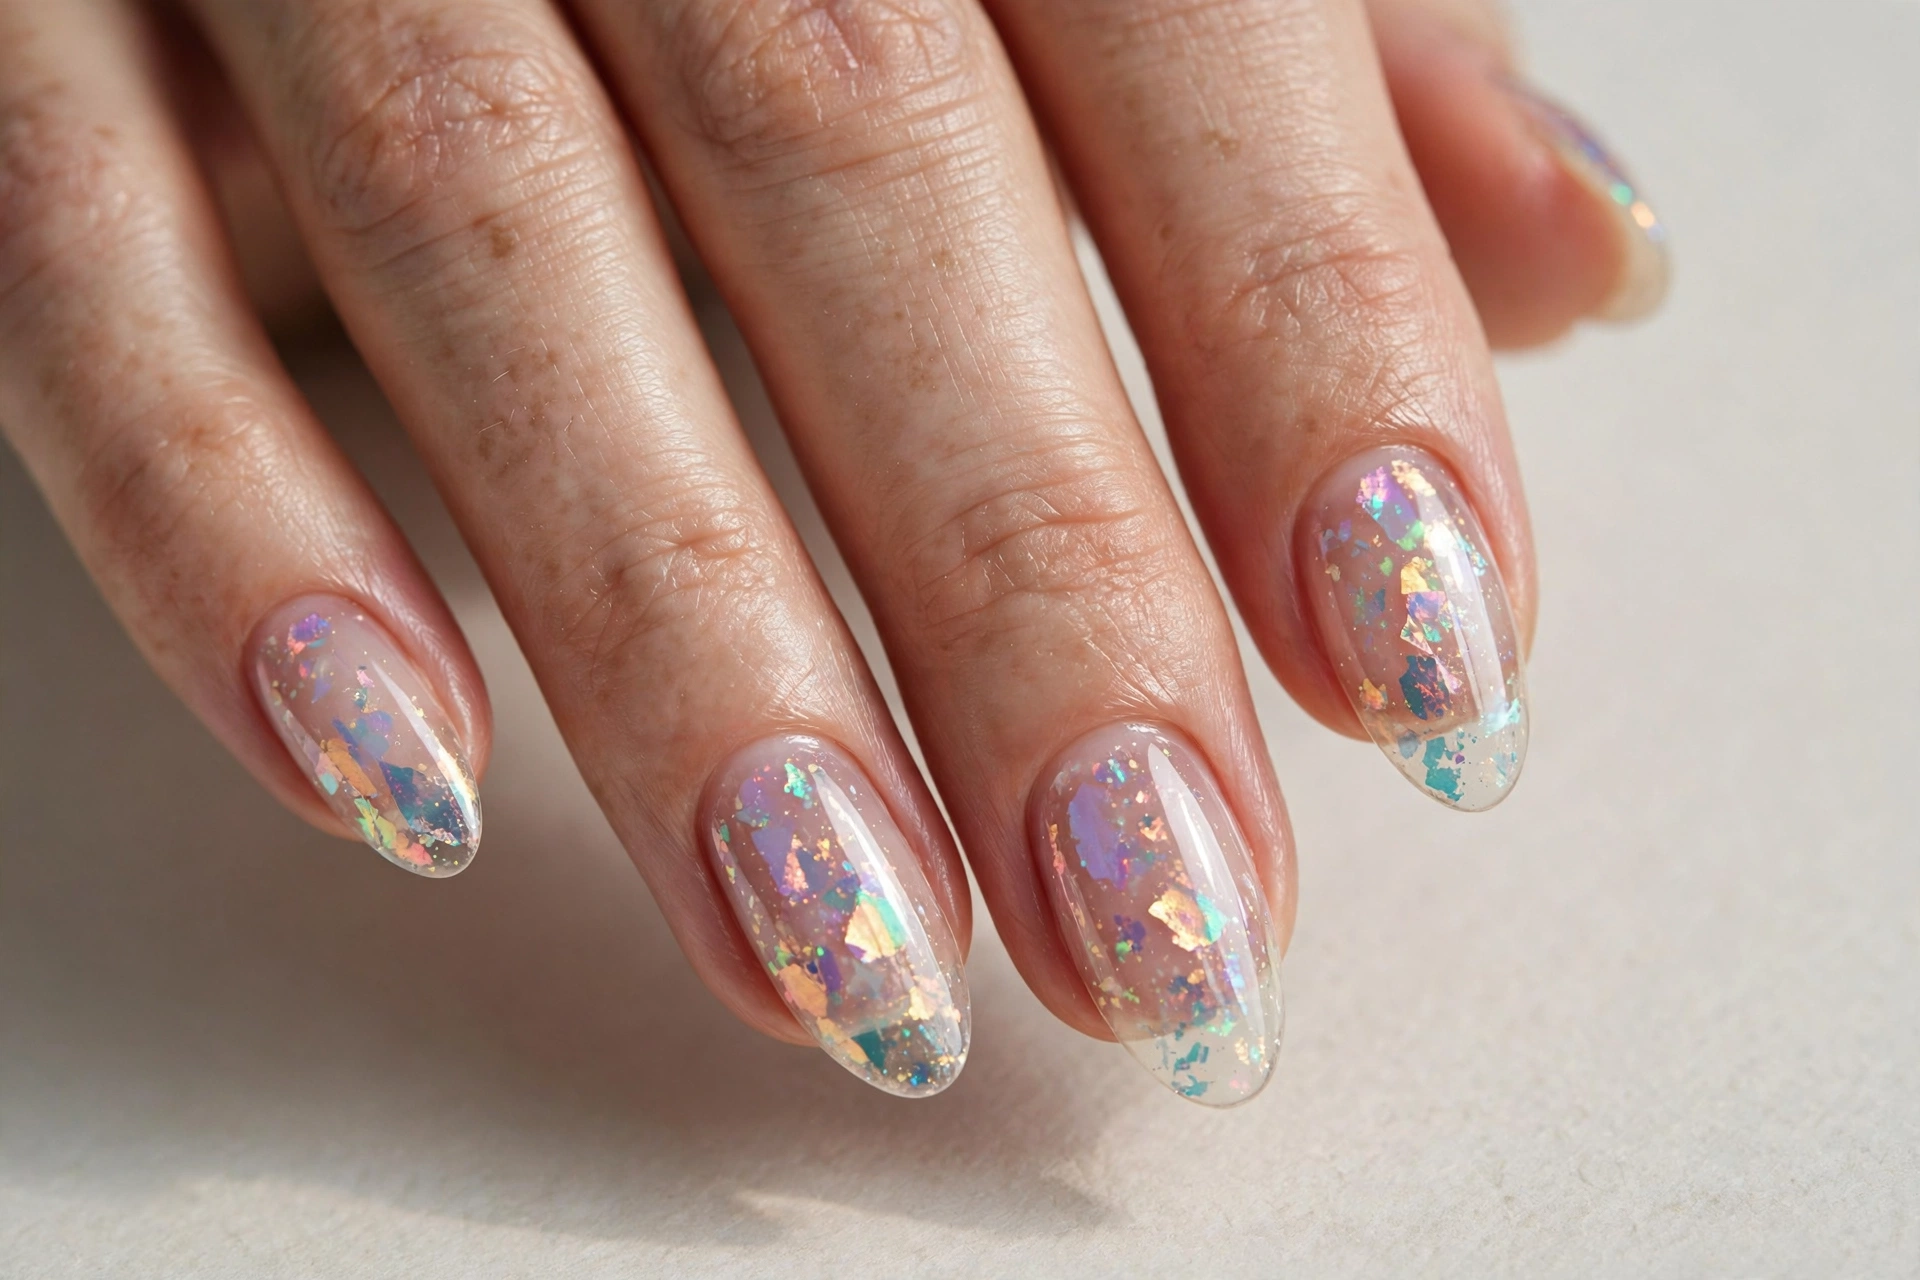
Iridescent flakes are the mermaid answer to clear nails: translucent shards that shift between pink, blue, and green as they catch light. Encapsulated under clear, the effect is dreamier than gold flakes — in sunlight they throw little rainbows across the nail. Layer them sparsely; dense packing muddies the transparency. A sparse, fine-flake version reads as elegant even on short nails. For more shimmering-finish inspiration, see these gel nail design ideas that layer dimensional effects.
15. The Naked Nail
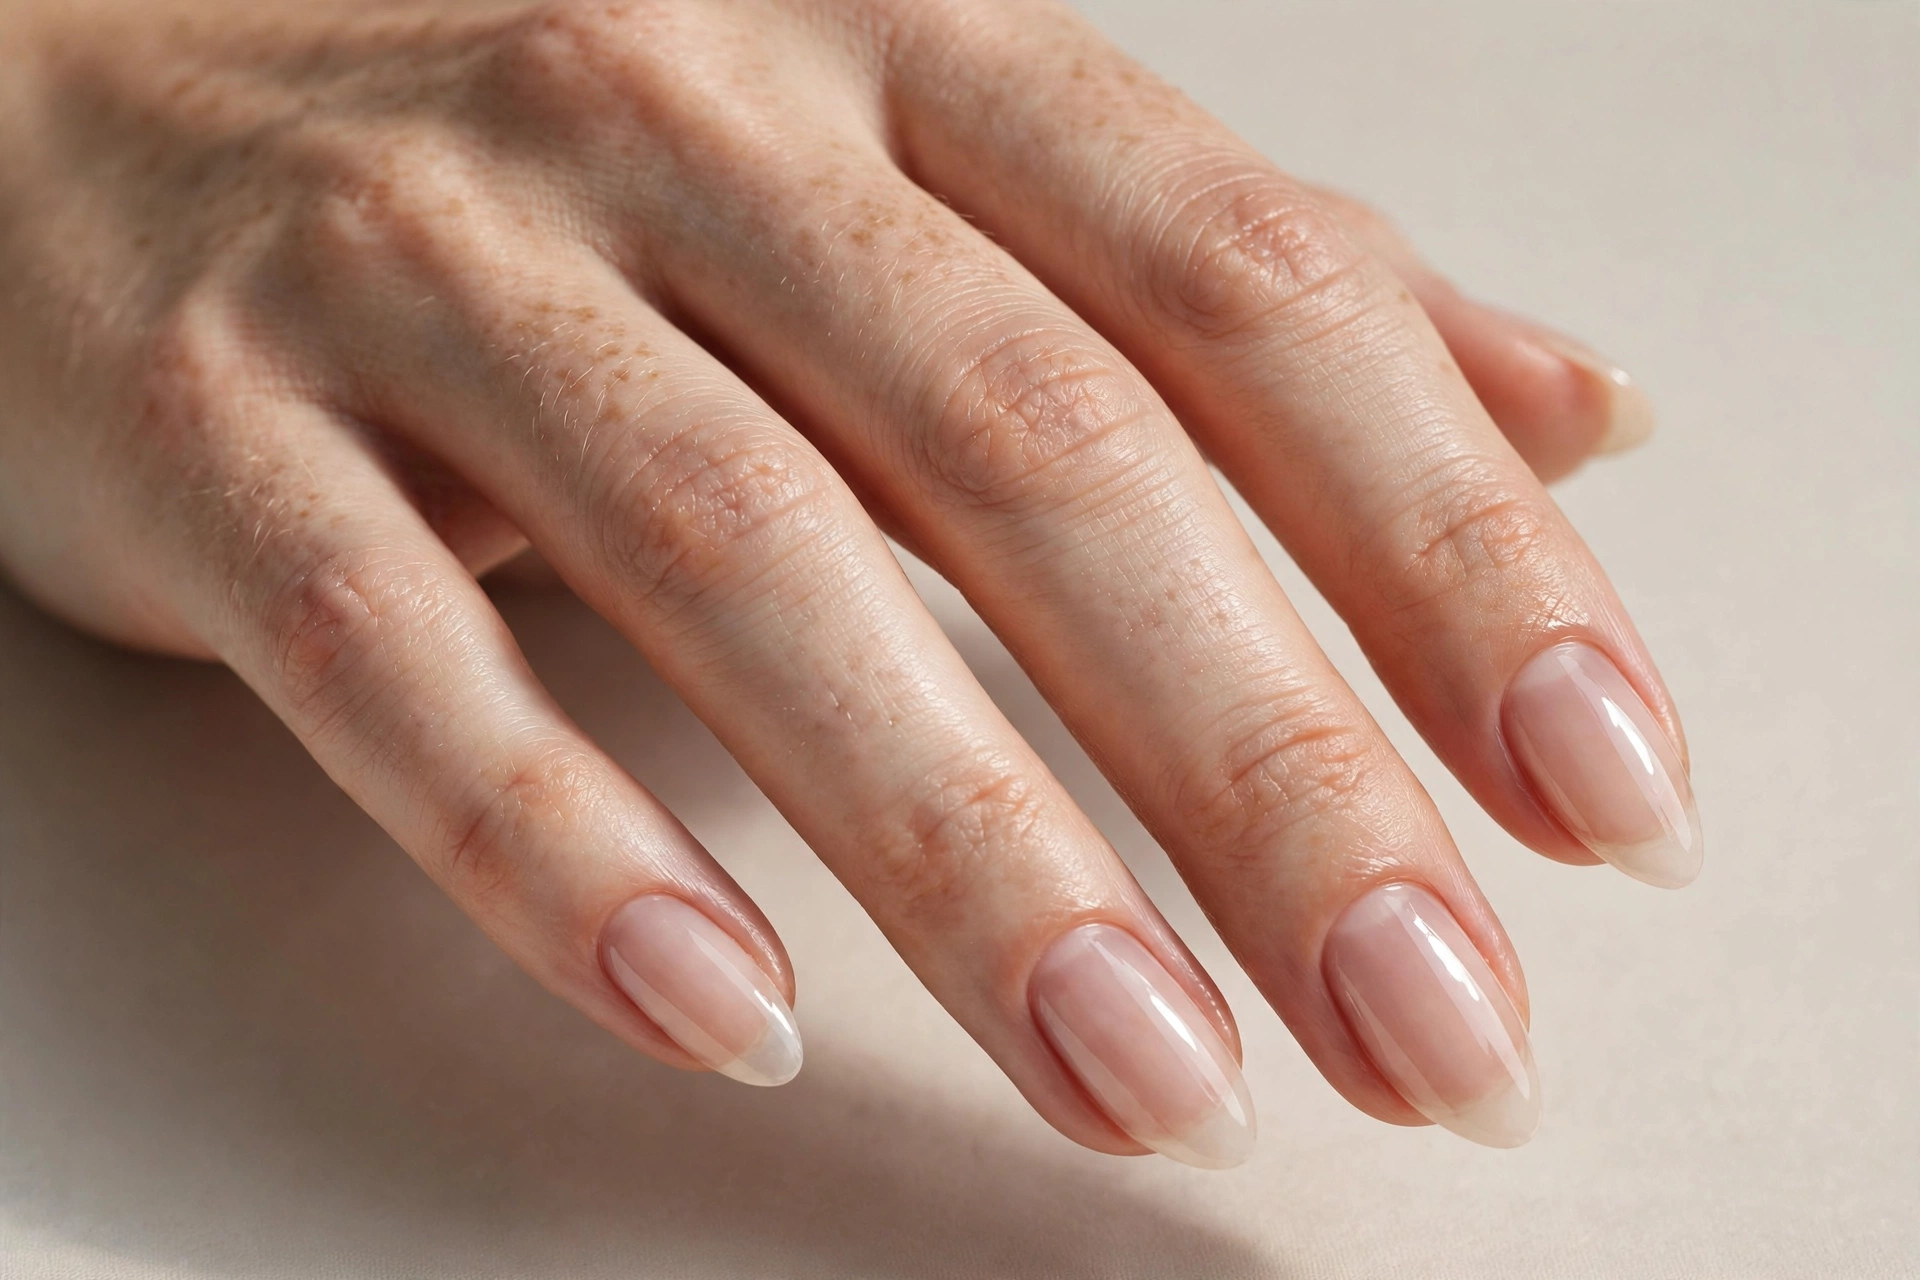
The naked nail is the clear trend stripped to its essence: no tint, no art — just natural nails with a glassy clear top coat. The emphasis shifts entirely to nail health and shape. File to an even length, buff lightly, oil cuticles daily, and reapply the top coat every few days. It goes with absolutely everything and is the most practical choice for active lifestyles. Over a clear strengthening base coat, it doubles as a recovery plan for brittle nails.
16. Gold Foil Accents
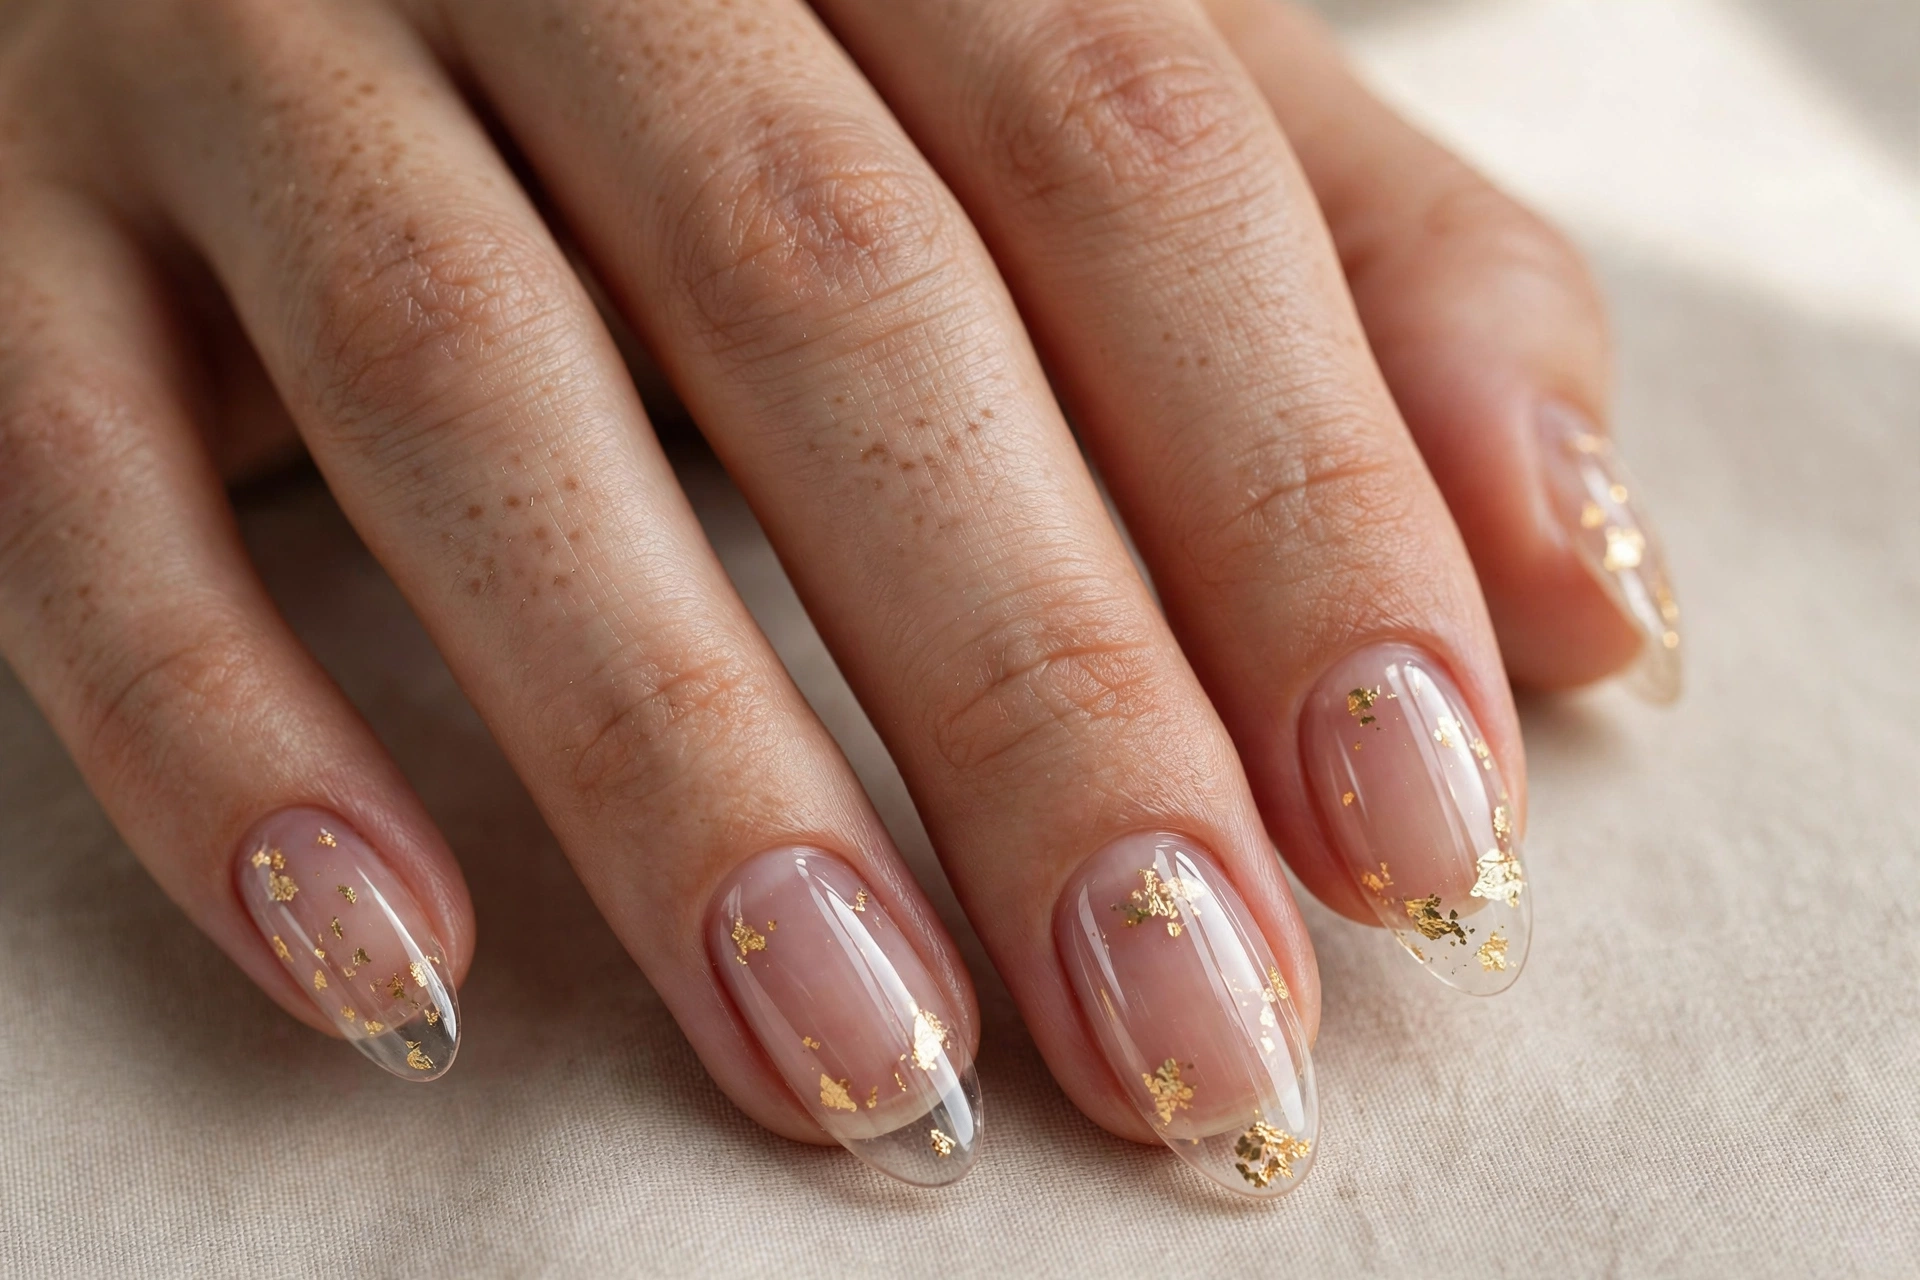
Gold foil differs from flakes in its texture: irregular torn pieces with crinkled edges that catch light in jagged, artistic ways. Press small torn pieces onto a tacky clear layer — one larger piece near the tip or a few tiny fragments scattered — and seal thoroughly, since crinkled edges can lift. Gold foil looks most striking against a fully clear base, where the metal seems to float. It carries an editorial, abstract-art feel.
17. Glass Ombré Fade
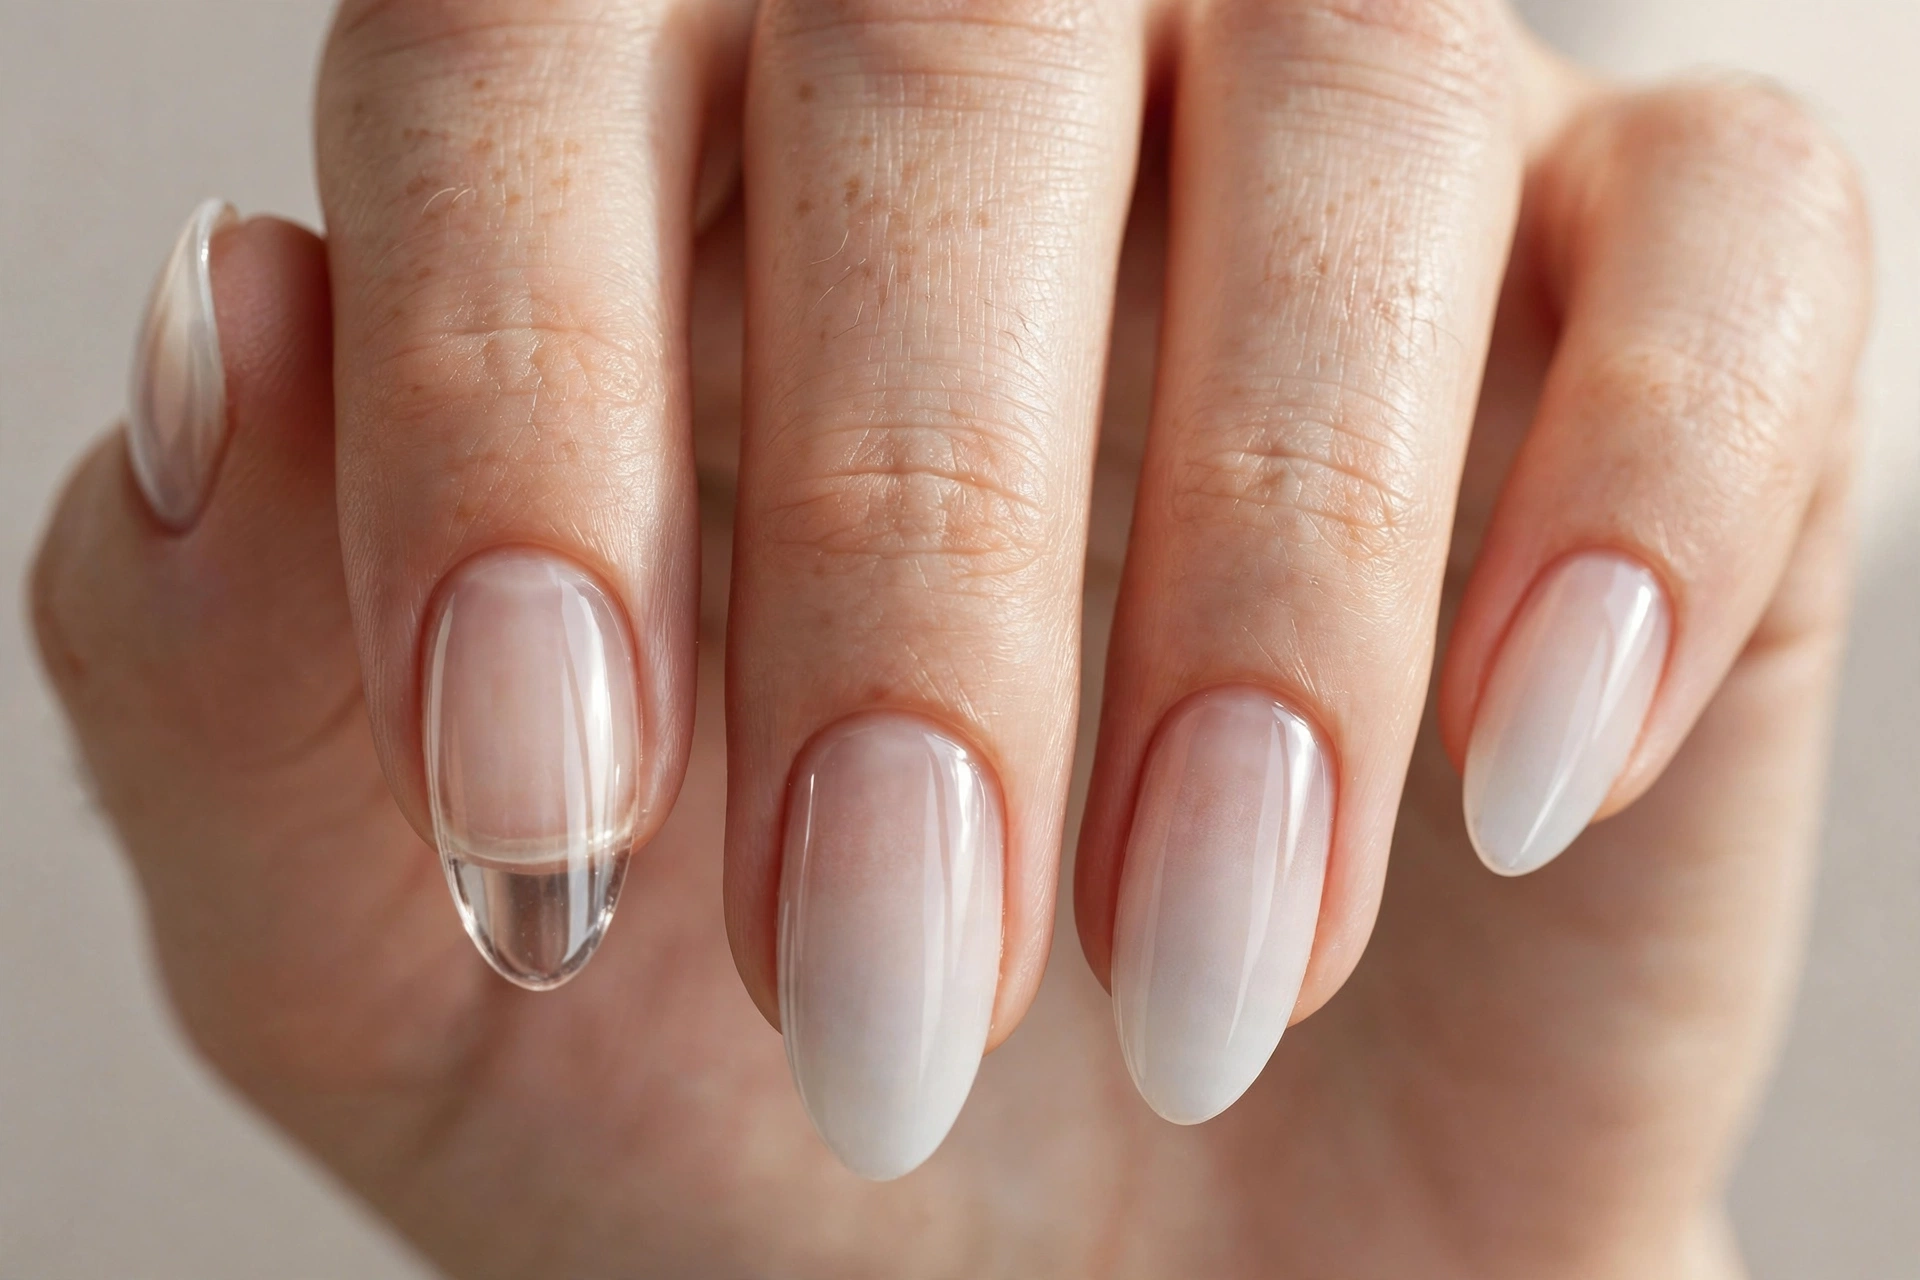
The glass ombré fades from perfectly clear at the cuticle to a milky, frosted white at the tip — like sea glass at the shoreline. Sponge a sheer white polish onto the tip over a clear base, fading pressure toward the middle, then seal with glossy top coat to melt the transition. The milkiness must stay translucent; opaque white turns it into a standard French ombré. It flatters long nails best and hides regrowth at the cuticle.
18. Encapsulated Star Sequins
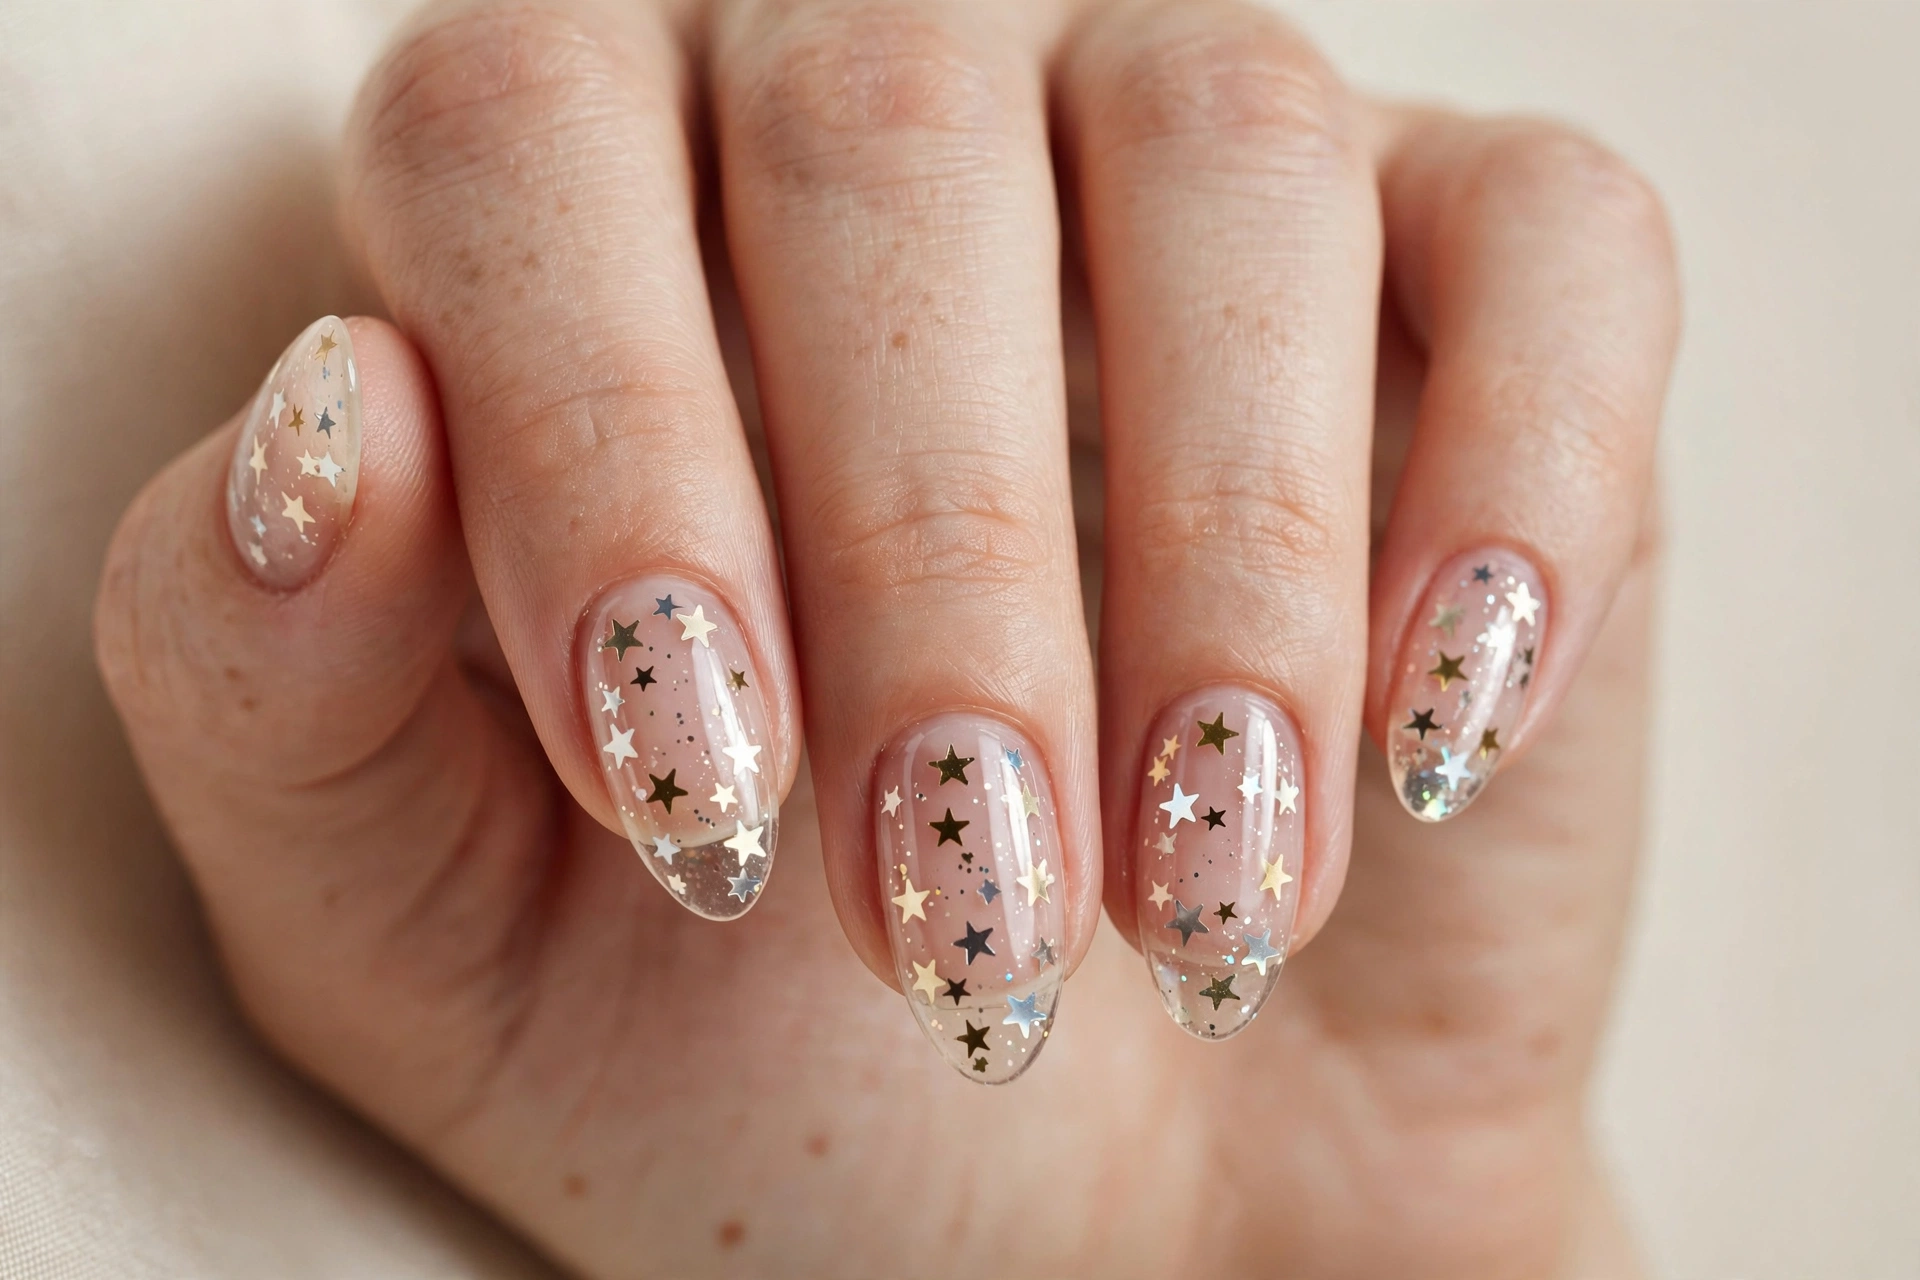
Star sequins in clear nails give a night-sky effect: tiny metallic stars suspended under glass, sparkling as your hand moves. Scatter a few small star sequins per nail over a clear or deep-sheer base — holographic stars throw the prettiest light. Keep them under 3mm so the sealing layer covers them, and place fewer near the cuticle. A natural pick for the holiday season, but a sparse gold version works year-round as subtle sparkle.
19. Minimal Dot Accents
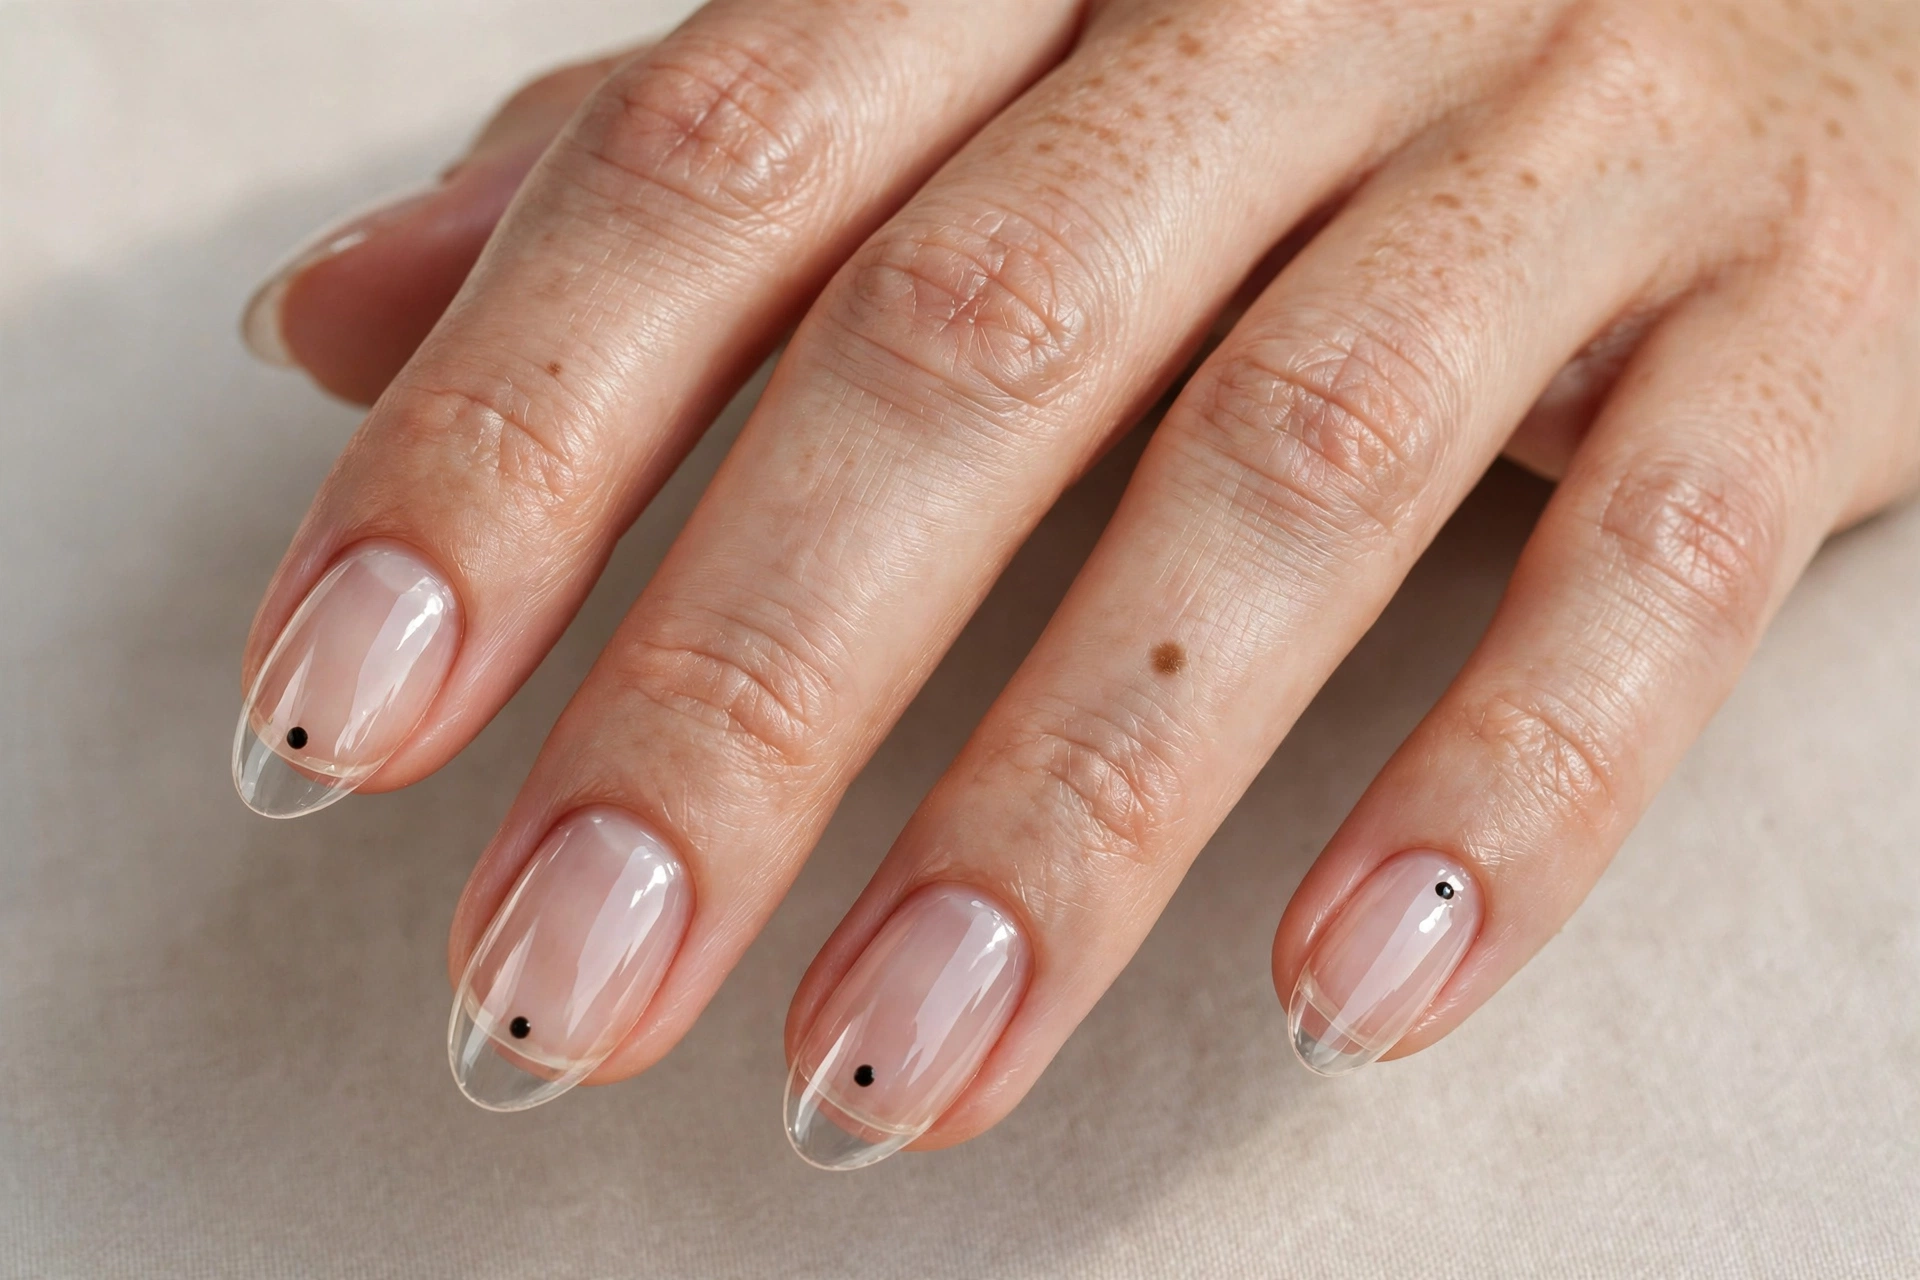
One tiny dot per nail is all this design needs. Centered dots read playful, dots near the cuticle read elegant, dots at the tip read modern. Use a dotting tool or pinhead, and keep every dot the same size for a cohesive look. One of the simplest designs for short nails, where a full art composition would feel crowded. It is also the fastest to do at home — ten dots, one top coat, done.
20. Holographic Glitter Fade
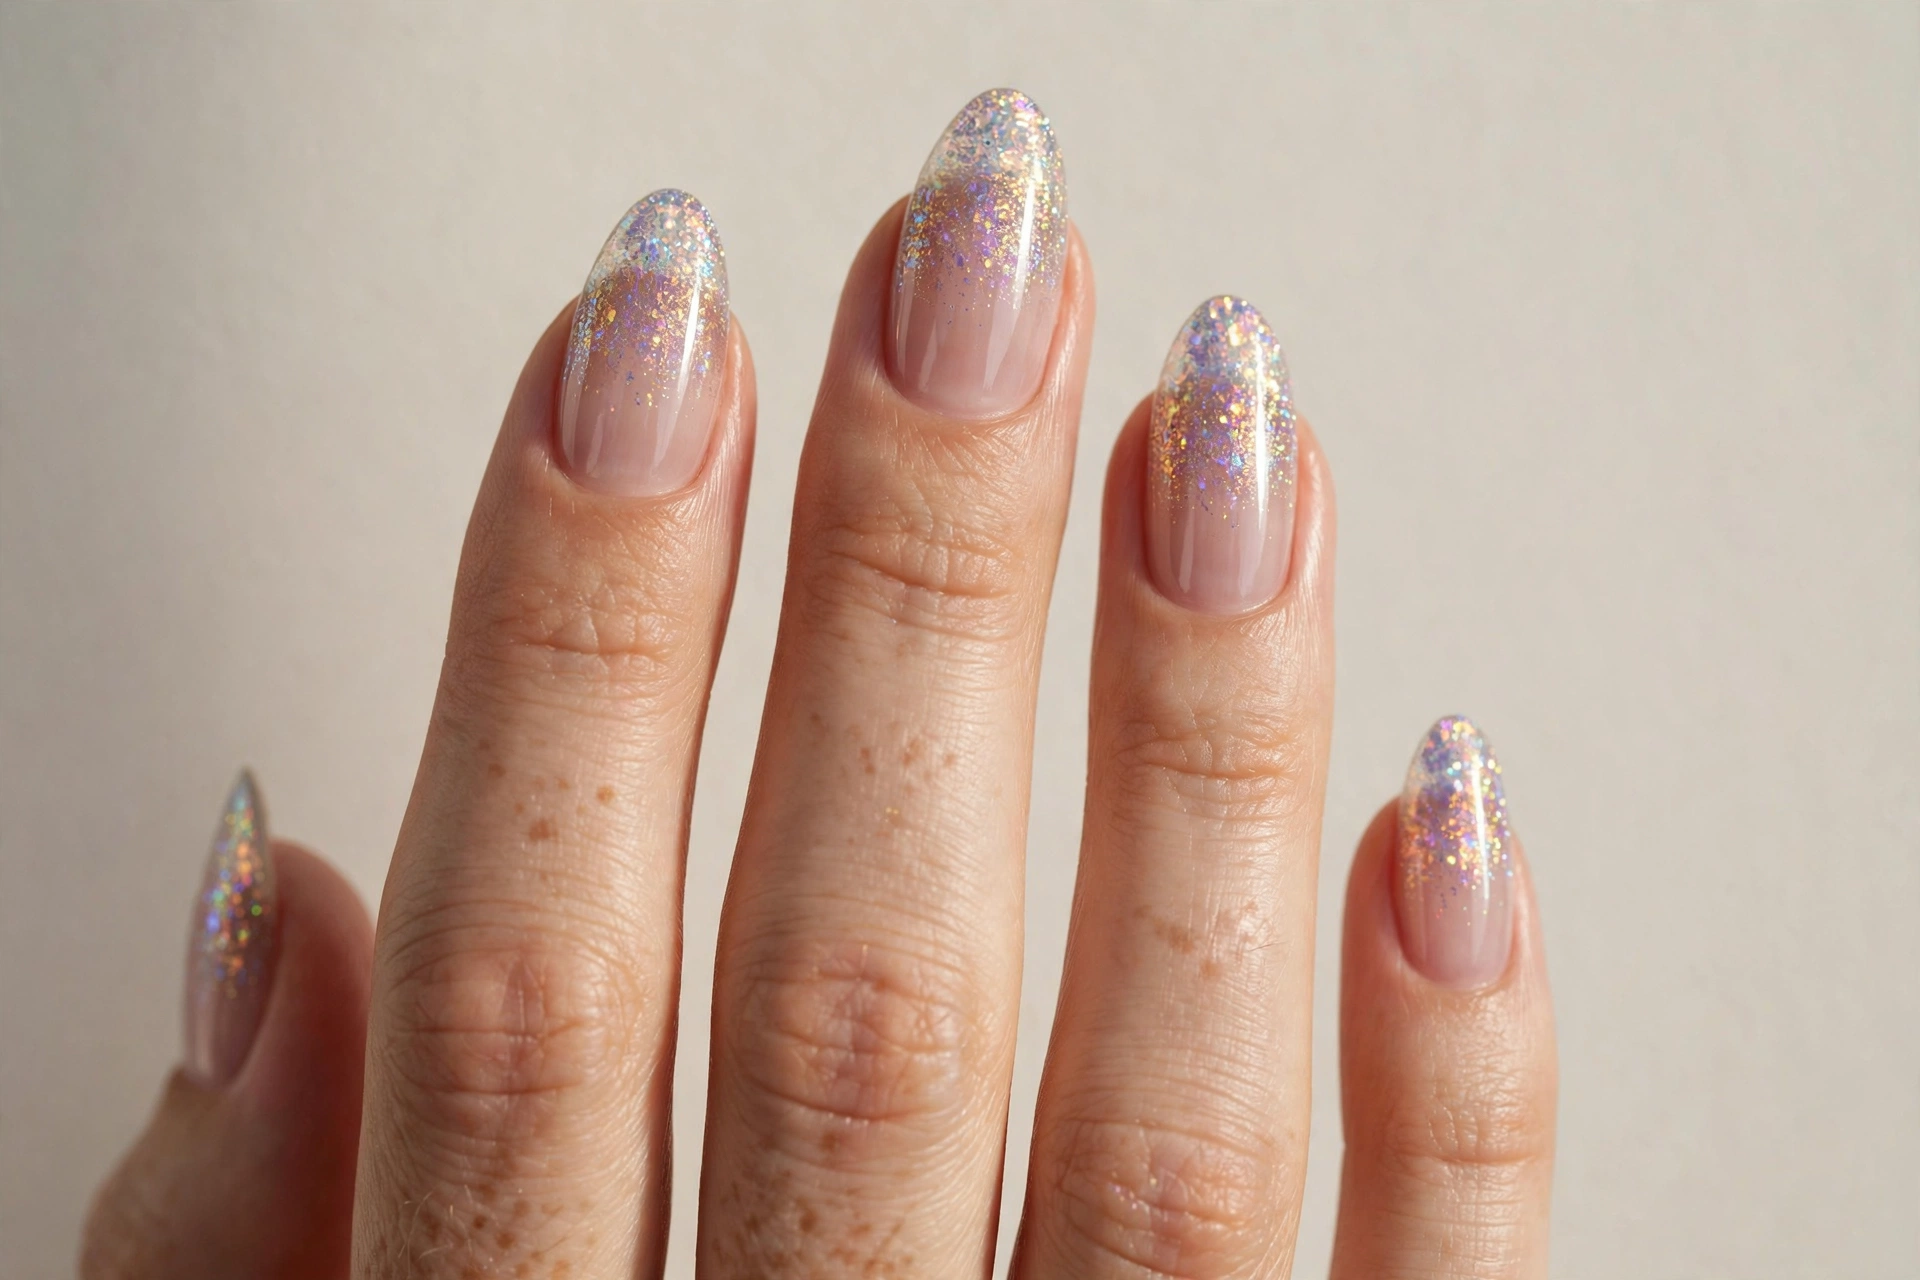
The most light-catching clear design: ultra-fine holographic glitter sponged onto the tip and faded toward the cuticle, sealed under glossy top coat. Fine particles create a smooth, prismatic shimmer rather than a gritty texture, and the clear base keeps the whole look light. Indoors it reads as subtle sparkle; in sunlight it becomes a rainbow show. Keep the glitter on the outer third so the cuticle area stays clean and regrowth stays invisible.
How to Make Clear Nail Designs Last
Clear manicures are low-maintenance, but a few habits keep them fresh for two weeks or more. Start with thorough prep: push back cuticles, remove invisible cuticle on the nail plate, and dehydrate the nail surface before base coat — lifting starts at the cuticle, and clear polish shows it more than color does. Cap the free edge with every layer, and reapply a thin glossy top coat every two to three days to keep the shine alive.
A good sheer polish and a reliable top coat are the whole kit. If you are building a starter collection, this nail polish kit covers the essentials for most of the designs above — sheer shades, a glossy top coat, and basic application tools. Oil cuticles daily, wear gloves for cleaning, and soak off gel-based clear designs rather than peeling, which damages the nail plate.
Clear nail designs prove you do not need bold color to have beautiful nails. From the invisible polish of the naked nail to the floating gold of encapsulated flakes, these 20 looks keep your manicure clean, modern, and endlessly wearable. Pick the one that matches your week — or your mood — and enjoy nails that go with literally everything you own.