12 Easy Halloween Nail Art Designs Anyone Can Do at Home
If you love Halloween but your nail art skills stop at a basic polish, these easy Halloween nail art designs are made for you. Every single look below can be done at home with regular nail polish, a toothpick or a dotting tool, and about twenty minutes of patience. No salon appointment, no steady-artist hands, no complicated freehand painting.
What makes Halloween the best season for nail art beginners is that the themes are supposed to look a little messy. A wobbly ghost, a lopsided pumpkin, a crooked spider web — they all look charming on your nails. And if you want a bolder take on the season after trying these, check out our spooky and chic Halloween nail designs for more dramatic ideas.
Why You’ll Love These Easy Halloween Nail Art Designs
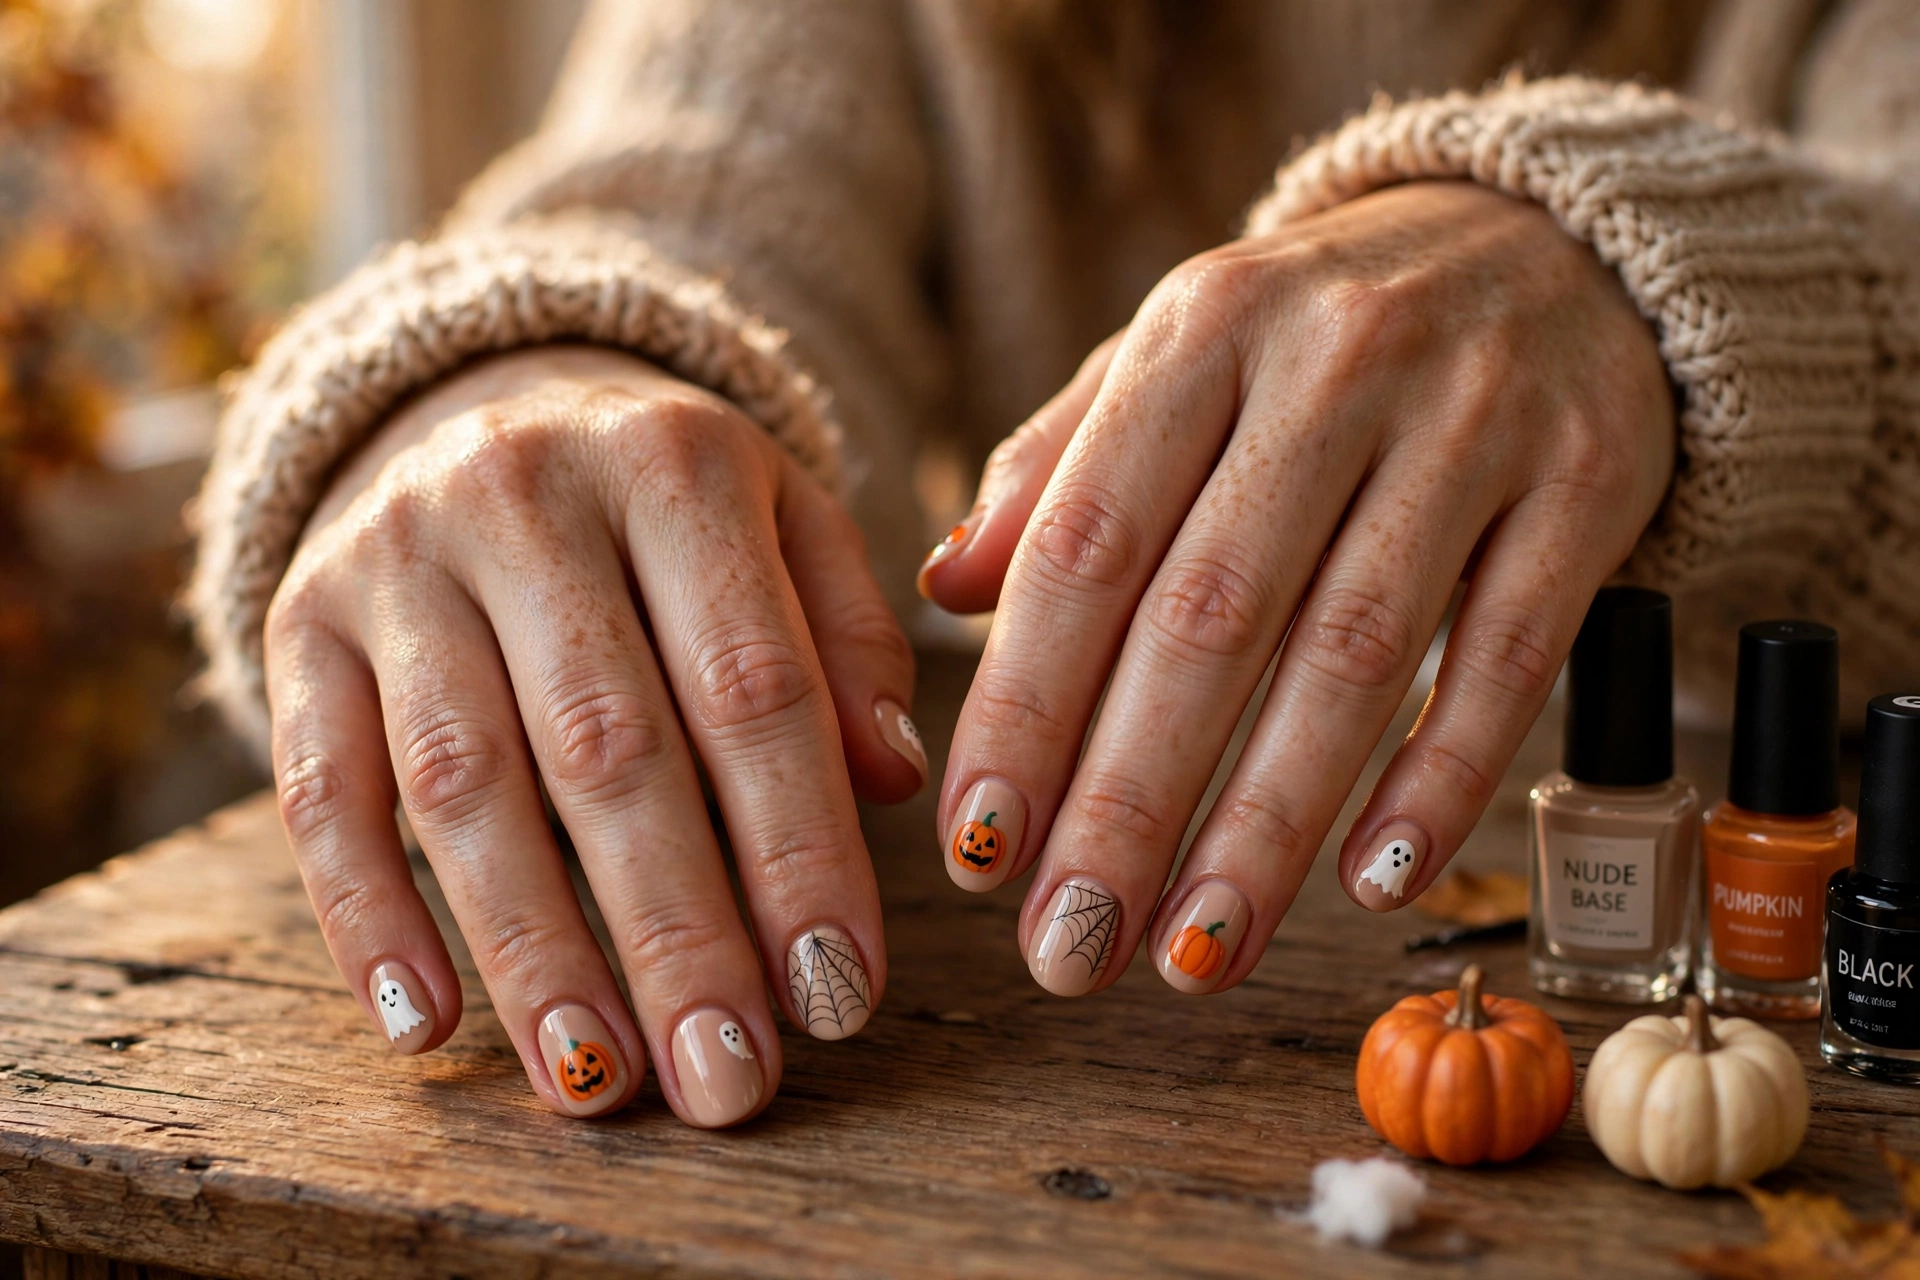
These designs use a simple trick that professionals rely on too: keep the base color easy and put all the effort into one small detail. A nude base with a tiny ghost face. An orange base with a green dot for a pumpkin stem. That is genuinely all it takes.
You also don’t need a drawer full of special supplies. Most of these easy Halloween nail art designs work with polishes you probably already own — black, white, orange, and nude — plus a toothpick for dots and a piece of tape for straight lines. If you want cleaner dots, this affordable nail art dotting tool set on Amazon is the one upgrade worth making; it turns shaky hand-painted dots into perfect circles. And because Halloween sits right in the middle of autumn, these pair beautifully with cozy fall nail designs you can wear all October long.
1. Tiny Ghost Faces on Nude Nails
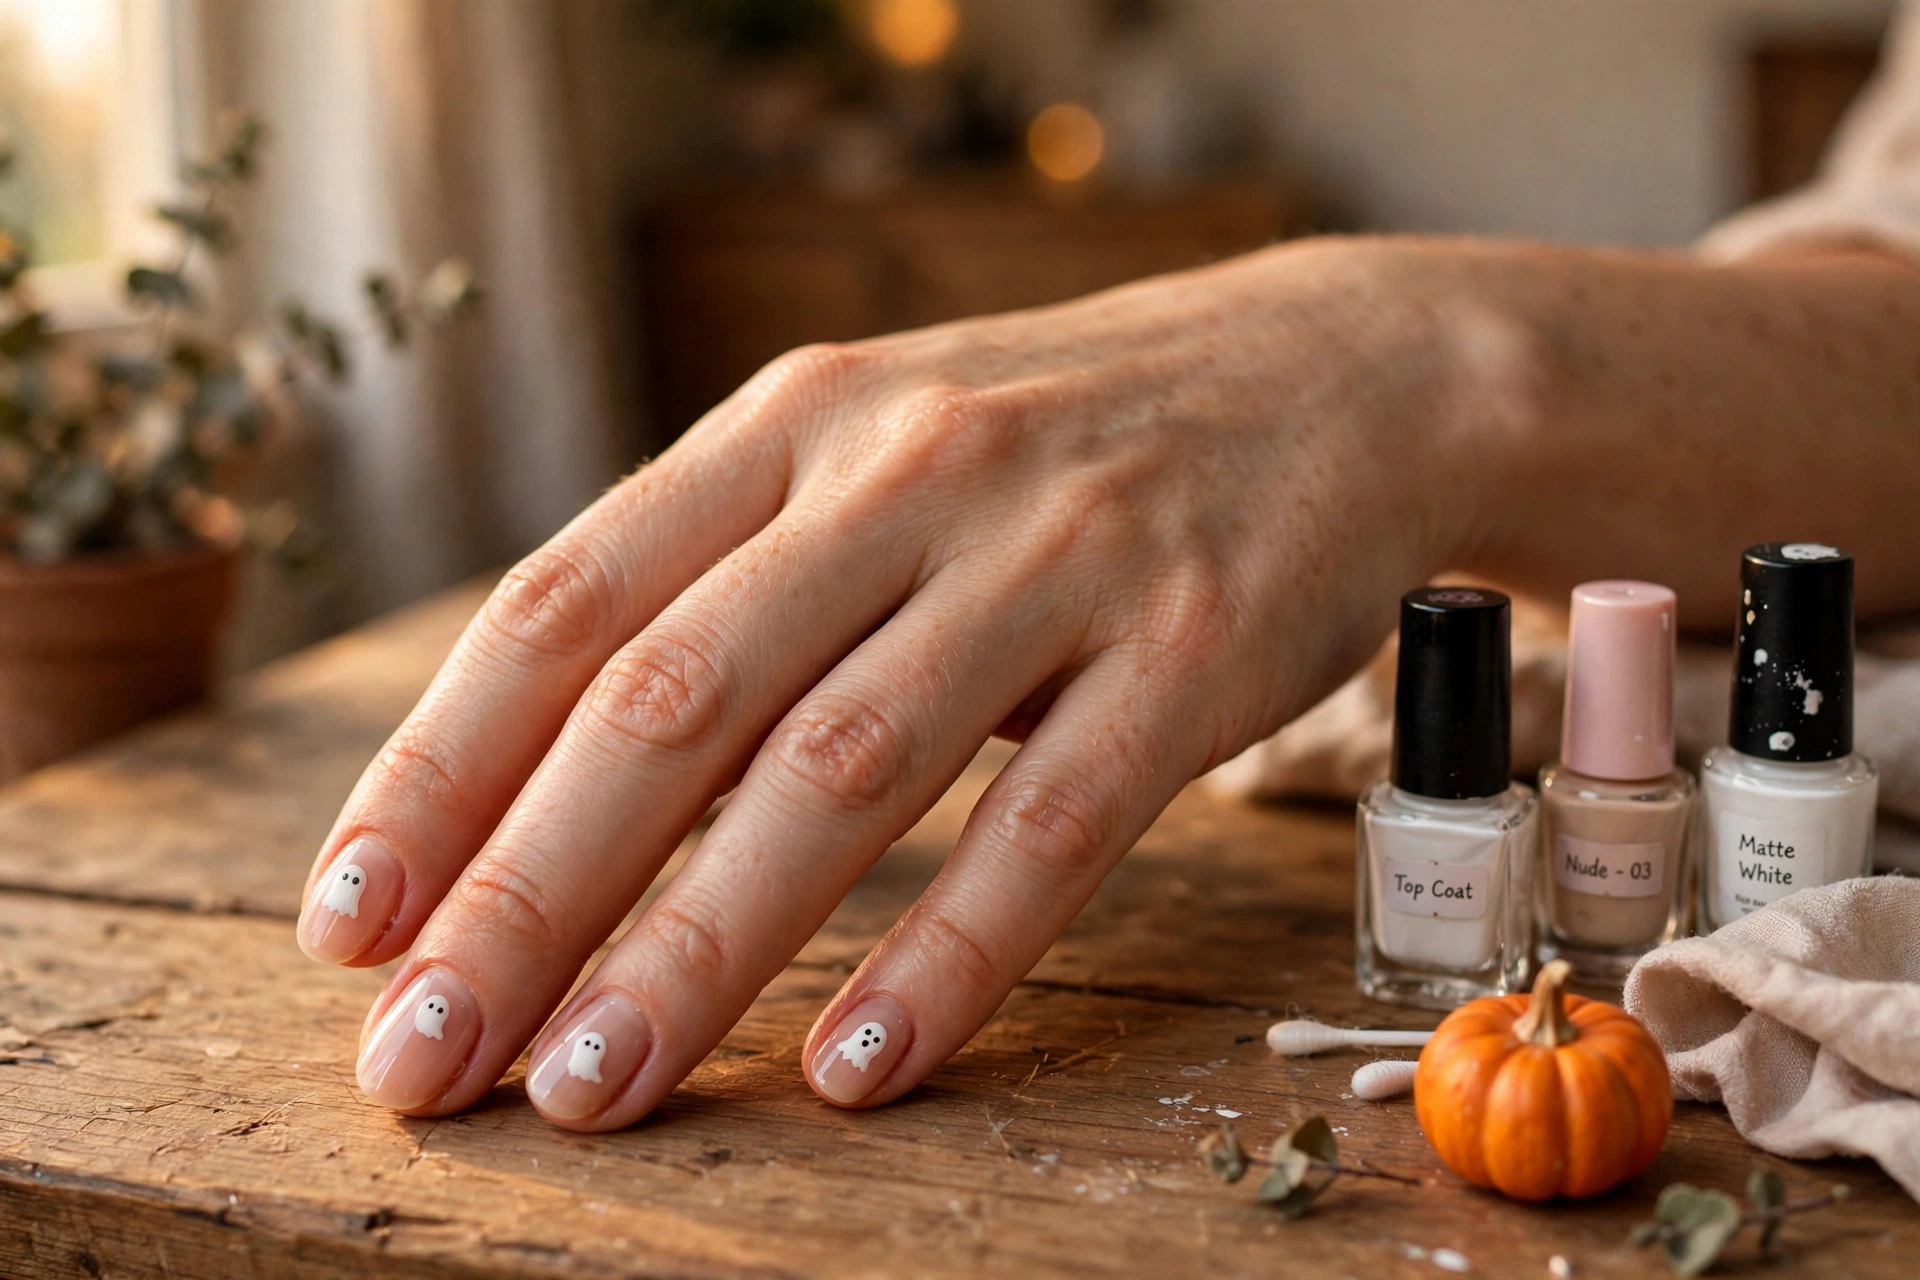
This is the easiest Halloween nail design of them all, and somehow also the cutest. Paint your nails with two coats of a sheer nude polish and let them dry completely. Then dip the end of a toothpick in white polish and paint a small rounded ghost shape on each nail — think of a little bell or a gumdrop.
Once the white is dry, use a fresh toothpick dipped in black polish to add two tiny dot eyes and a small oval mouth. Seal everything with a glossy top coat. The trick is to keep the ghosts small and centered so they read as faces, not blobs. If one comes out crooked, it only looks more like a real ghost. Ghost nails are also the perfect practice run before you try anything harder — if you can paint a rounded blob and dot two eyes, you already have the only two skills Halloween nail art ever asks of you.
2. Pumpkin Patch Orange
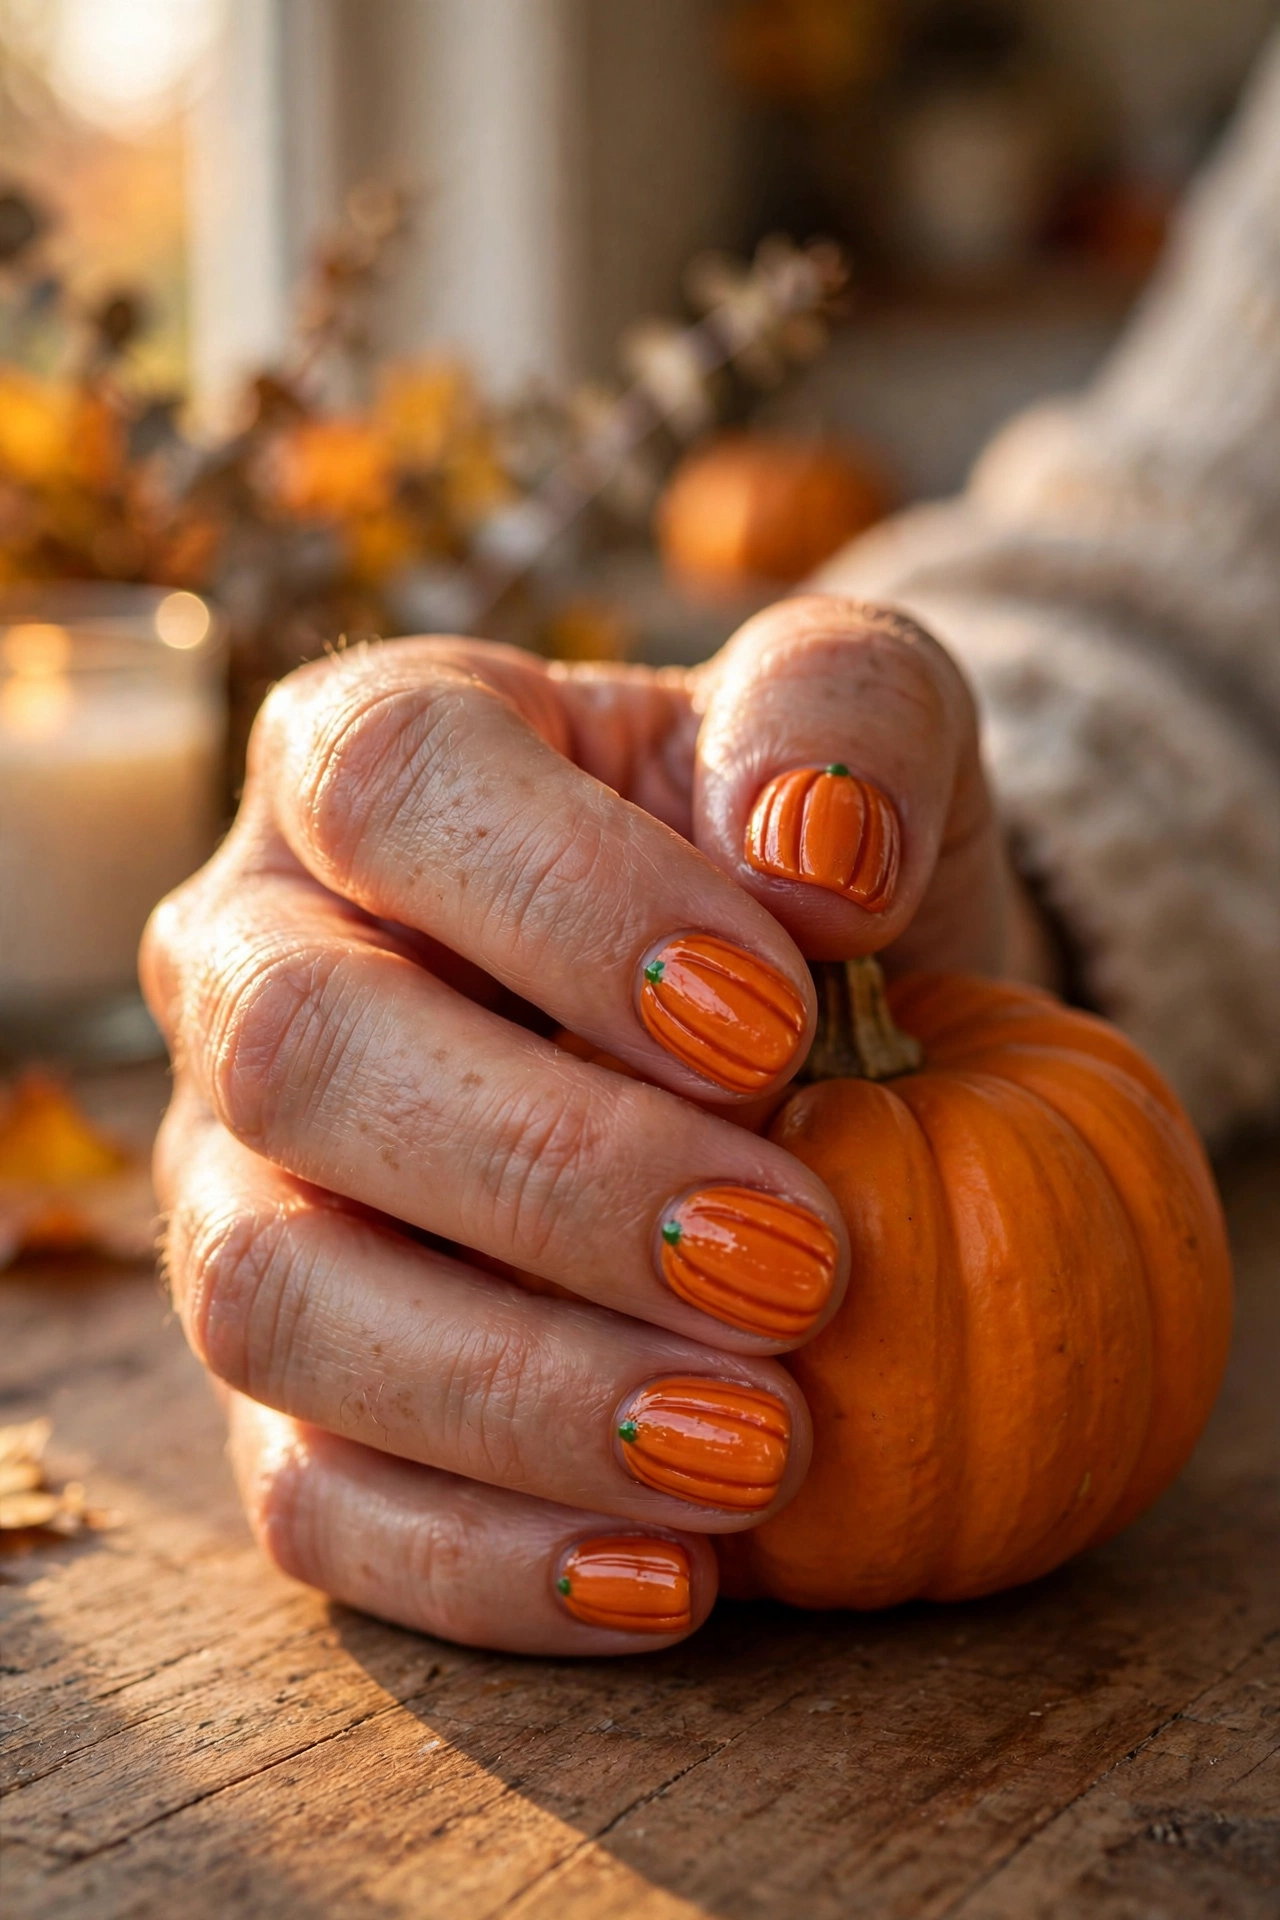
Orange nails are already festive for October, but two extra seconds turn them into pumpkins. Paint two coats of a rich pumpkin-orange polish. While the second coat is still slightly tacky, dip a toothpick in dark green polish and press a tiny dot near the cuticle of each nail — that is the stem.
For extra credit, use the toothpick to drag two short curved lines from the stem down toward the tip, which gives the pumpkin its ridges. A glossy top coat makes the orange look plump and juicy, like a real pumpkin. These read as pure Halloween from across the room, and they double as the friendliest pumpkin look to wear in daylight. These pair perfectly with harvest-season looks like our Thanksgiving nail designs if you want to stretch the wear into November.
3. Spider Web Accent Nail
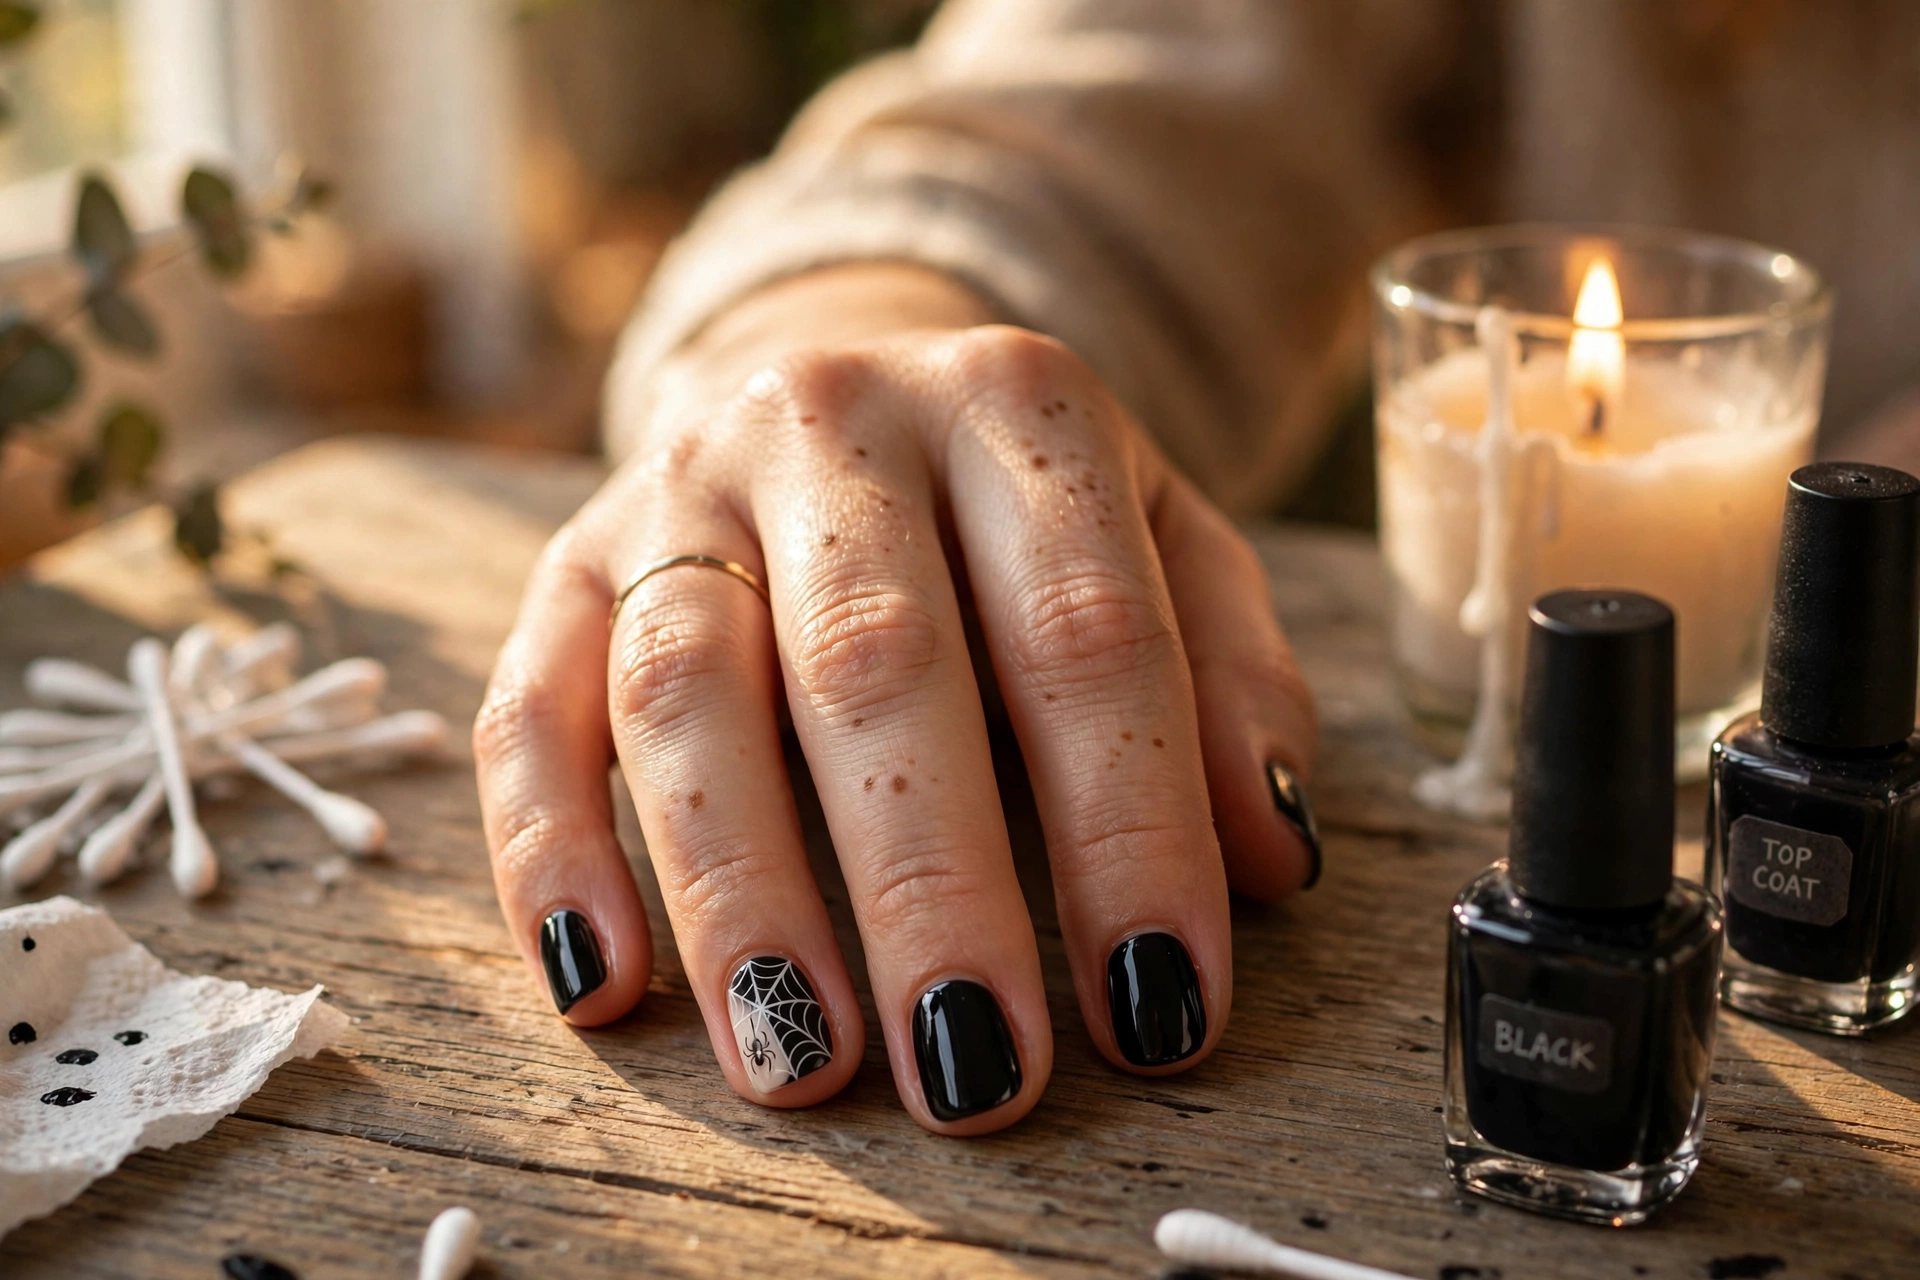
A spider web looks complicated but is really just straight lines and curves. Paint all your nails glossy black. On one accent nail per hand, use a thin brush or a toothpick dipped in white polish to draw three or four lines fanning out from one corner, like slices of a pie.
Then connect those lines with small curved arcs, working from the corner outward. Add a tiny black dot spider on the web with two or three thread-thin legs. The secret to clean webs is loading very little polish on your tool — thin lines look deliberate, thick ones look smudged. Keep the other nails plain black so the web really pops. One more tip: put the web accent on your ring finger and keep the thumb plain — that balance looks intentional and keeps the design wearable beyond a single party night.
4. Candy Corn Tips
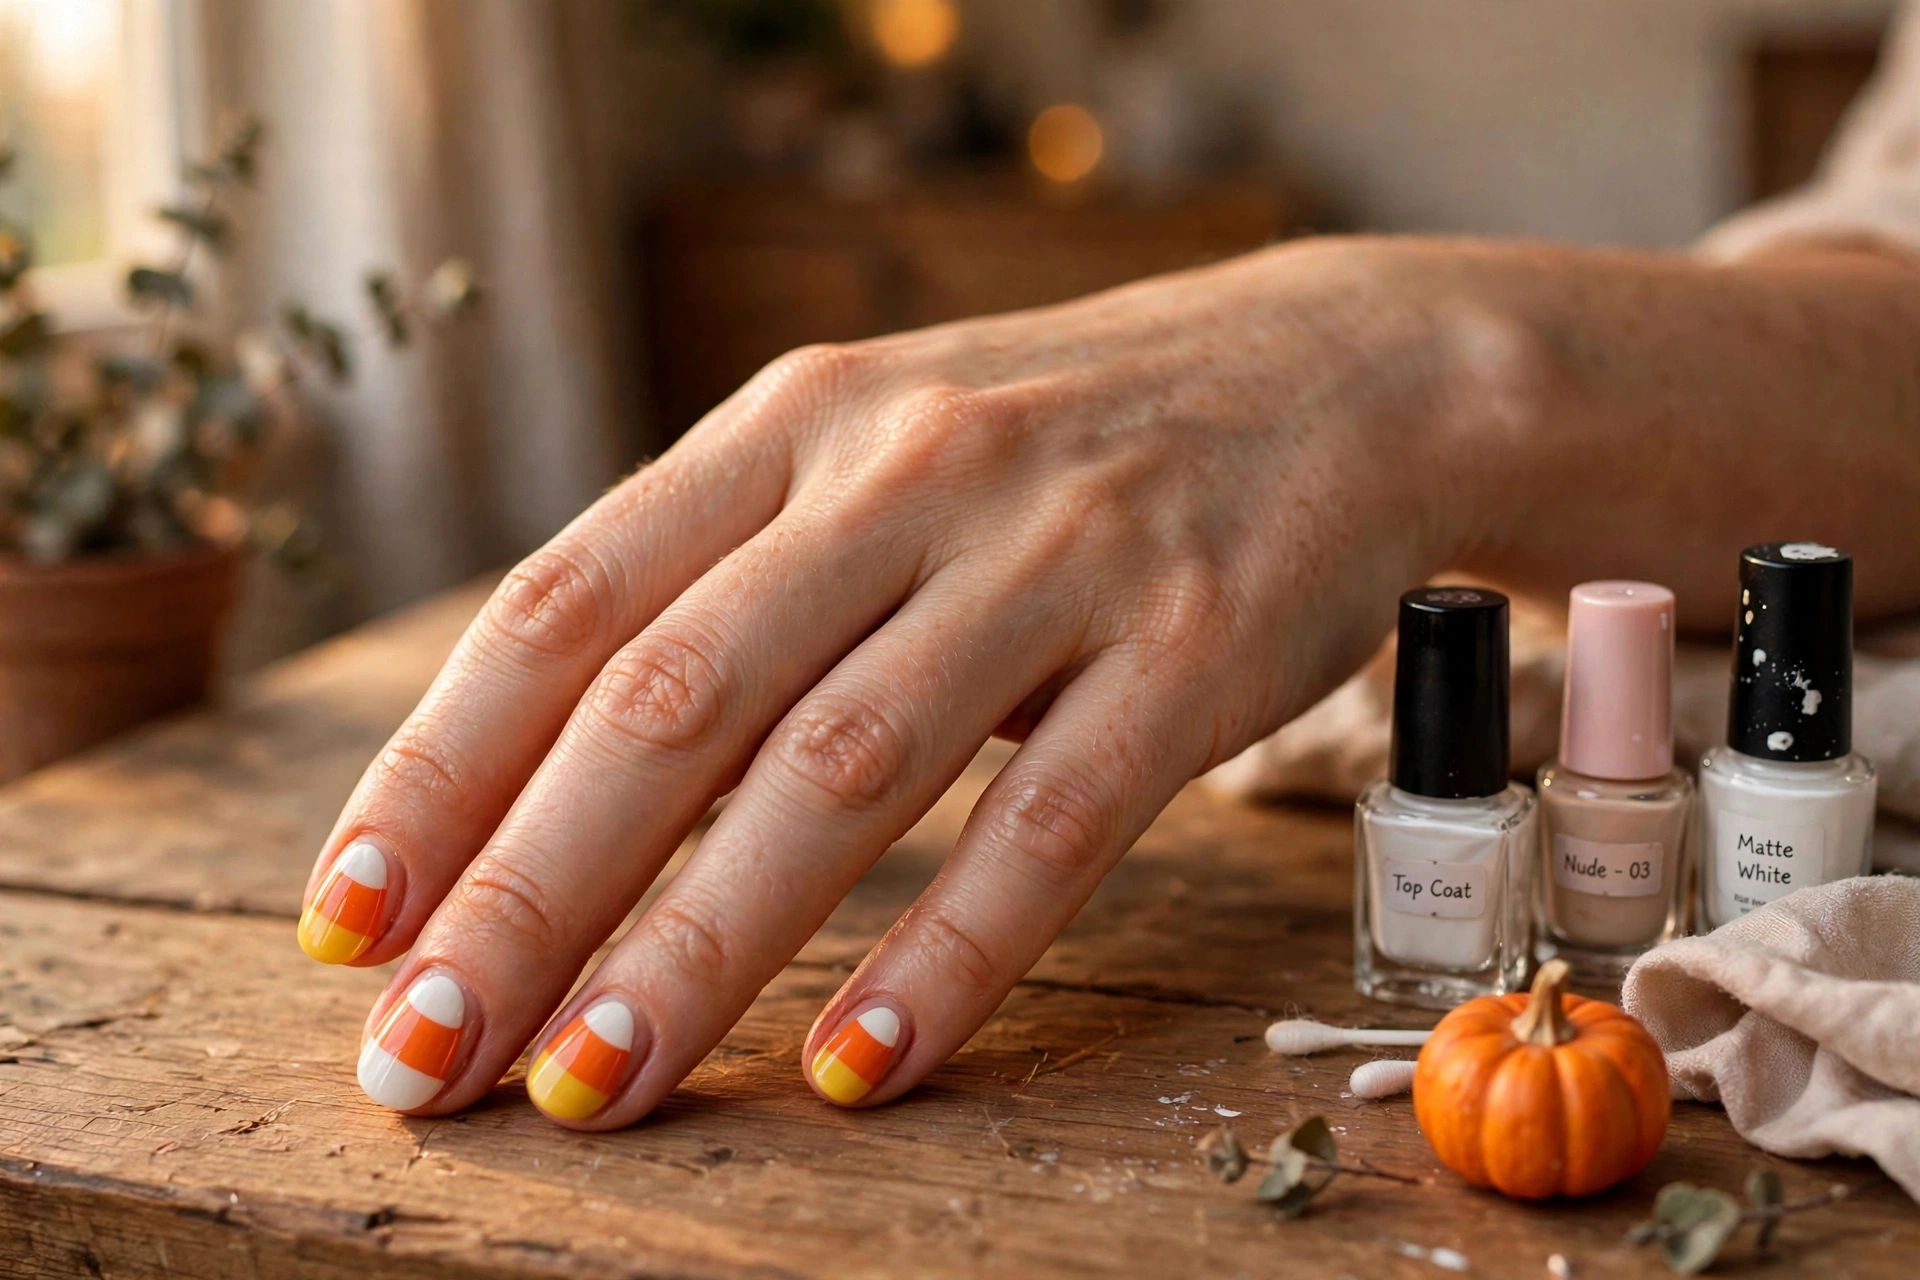
Candy corn nails are pure Halloween nostalgia, and they’re just three horizontal stripes. Paint your whole nail white and let it dry. Then paint the middle third orange, leaving the white base showing near the cuticle. Finally, paint the top third near the tip yellow.
Use small pieces of tape as guides if your lines wobble — press the tape on the back of your hand first to make it less sticky so it doesn’t pull up the polish. This design looks best on shorter nails where the three bands read clearly. Finish with a thick glossy top coat to smooth the stripes together into one seamless candy corn.
5. Black Cat Silhouette
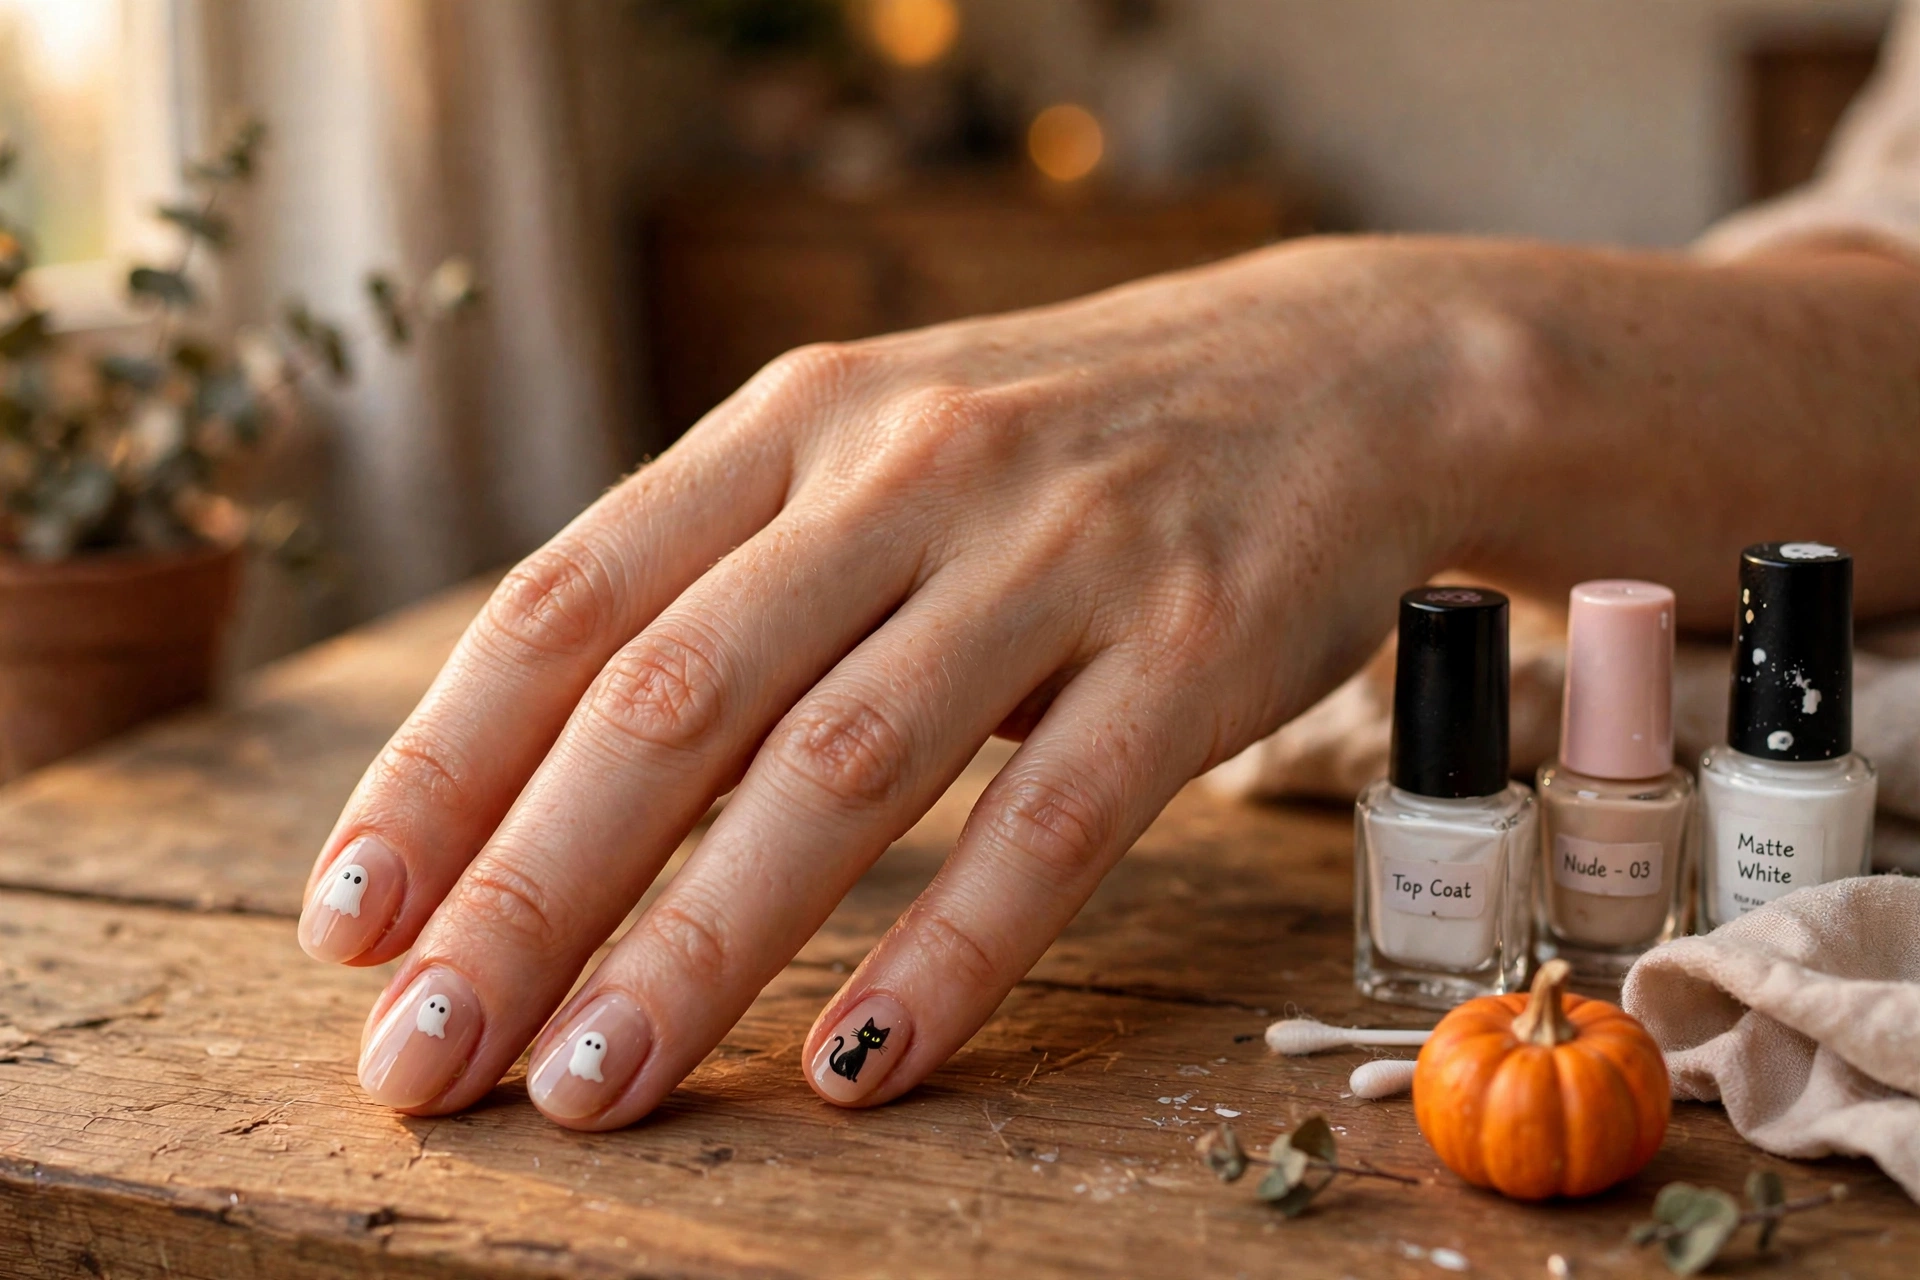
A black cat silhouette is the Halloween icon that needs the least precision. Paint your nails a soft nude or pale pink. On one accent nail, dip a toothpick in black polish and paint a simple cat shape: an oval body, a round head, two triangle ears, and a curled tail.
Don’t try to add whiskers or paws — at this size, the silhouette alone reads perfectly. Add two tiny yellow dots for glowing eyes once the black dries. If freehand feels scary, you can stamp the shape with the rounded end of a bobby pin for the body and head, then pull the tail out with a toothpick. Cute, spooky, and done in minutes.
6. Halloween Candy Stripes
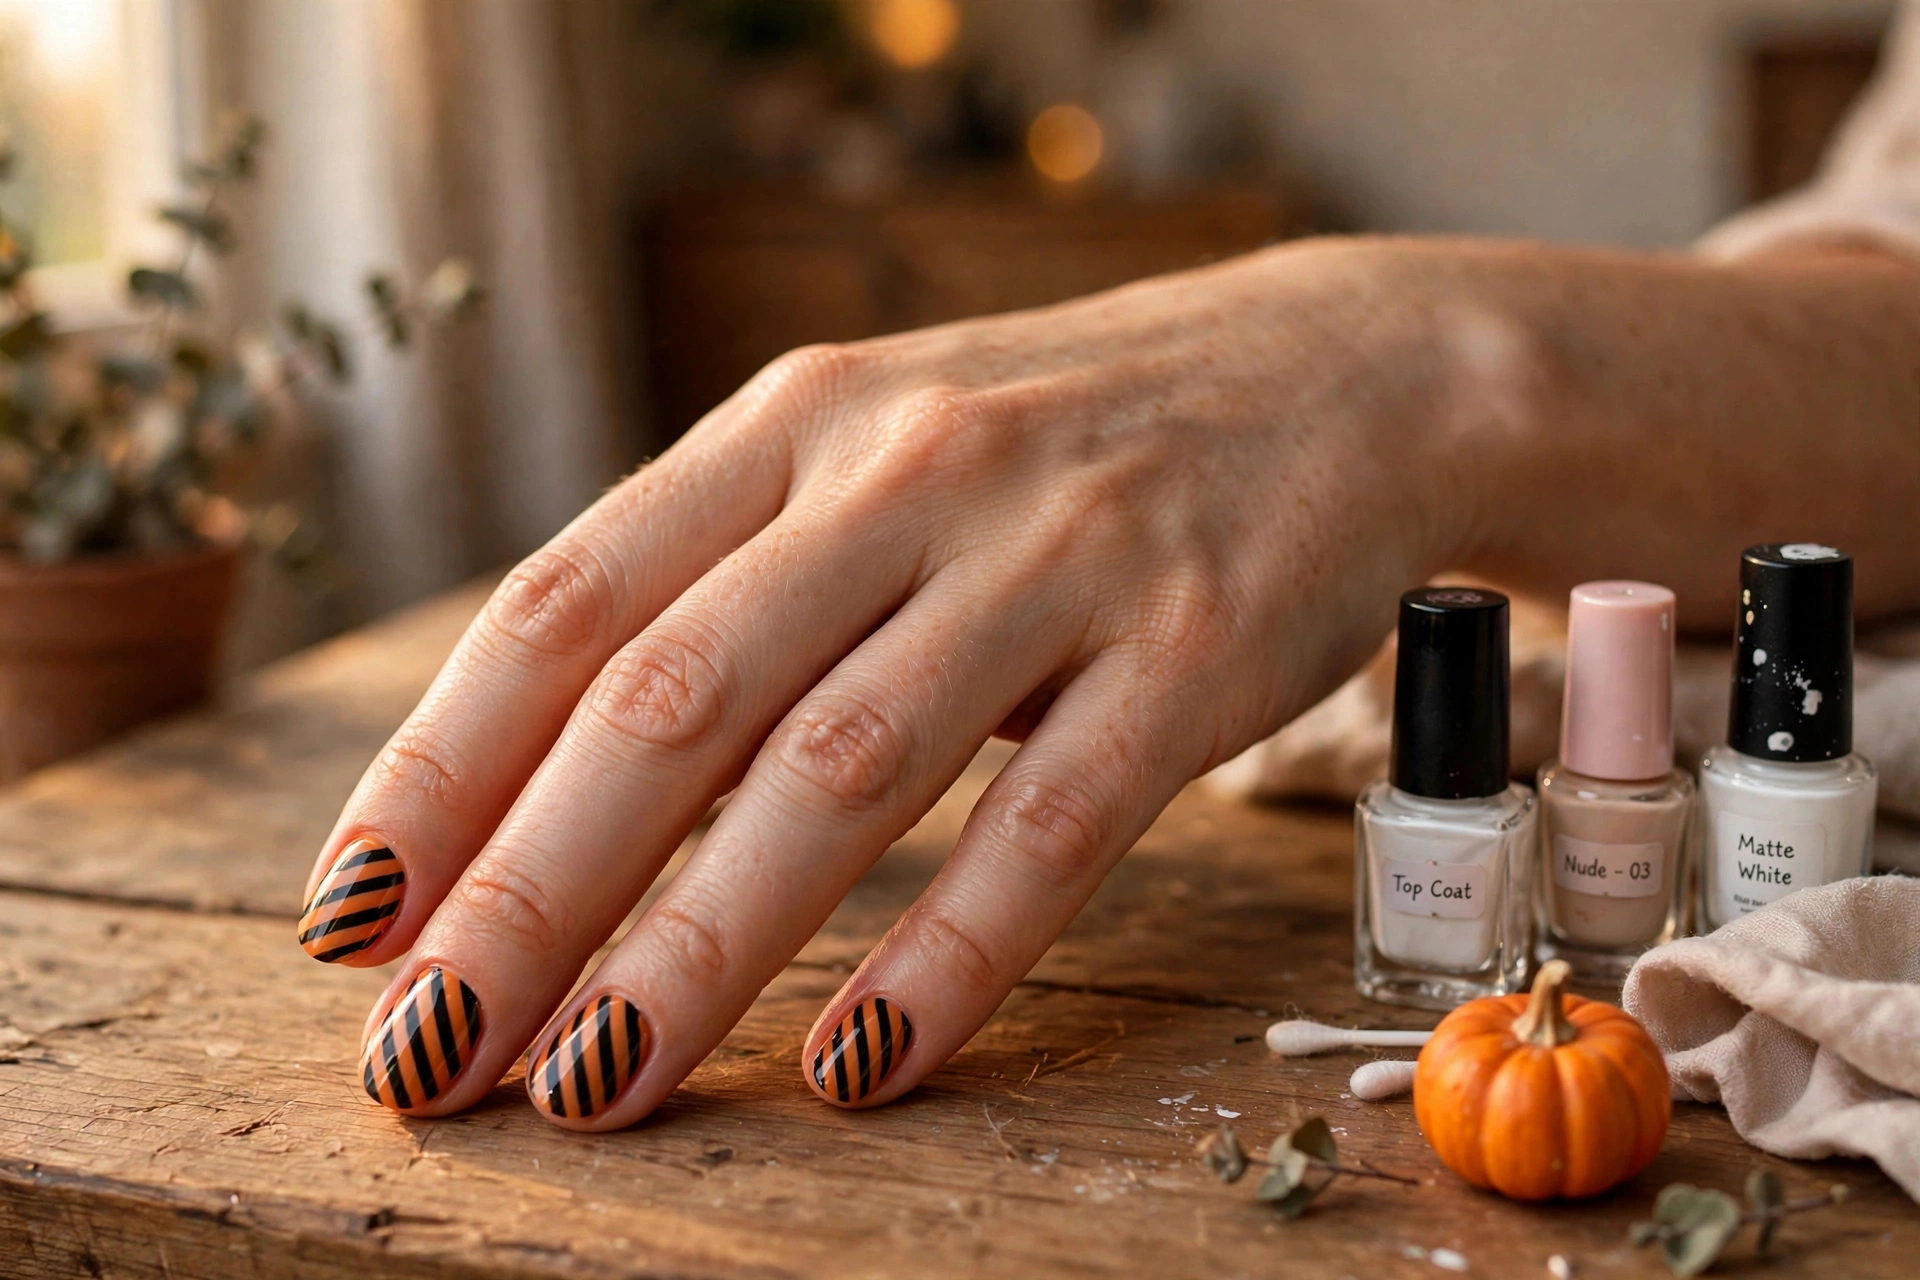
These candy-striped nails look like they came straight from a Halloween candy wrapper. Paint a base of pumpkin orange on every nail and let it dry completely. Then load a thin brush or a toothpick with black polish and drag diagonal stripes across each nail from one corner to the other.
Keep the stripes roughly even but don’t stress about perfection — candy stripes at slightly different angles look playful rather than sloppy. Vary the stripe direction from nail to nail so the set feels dynamic. Two coats of a glossy top coat give the stripes that wrapped-candy shine and smooth any ridges between the black and orange layers.
7. Bat French Tips
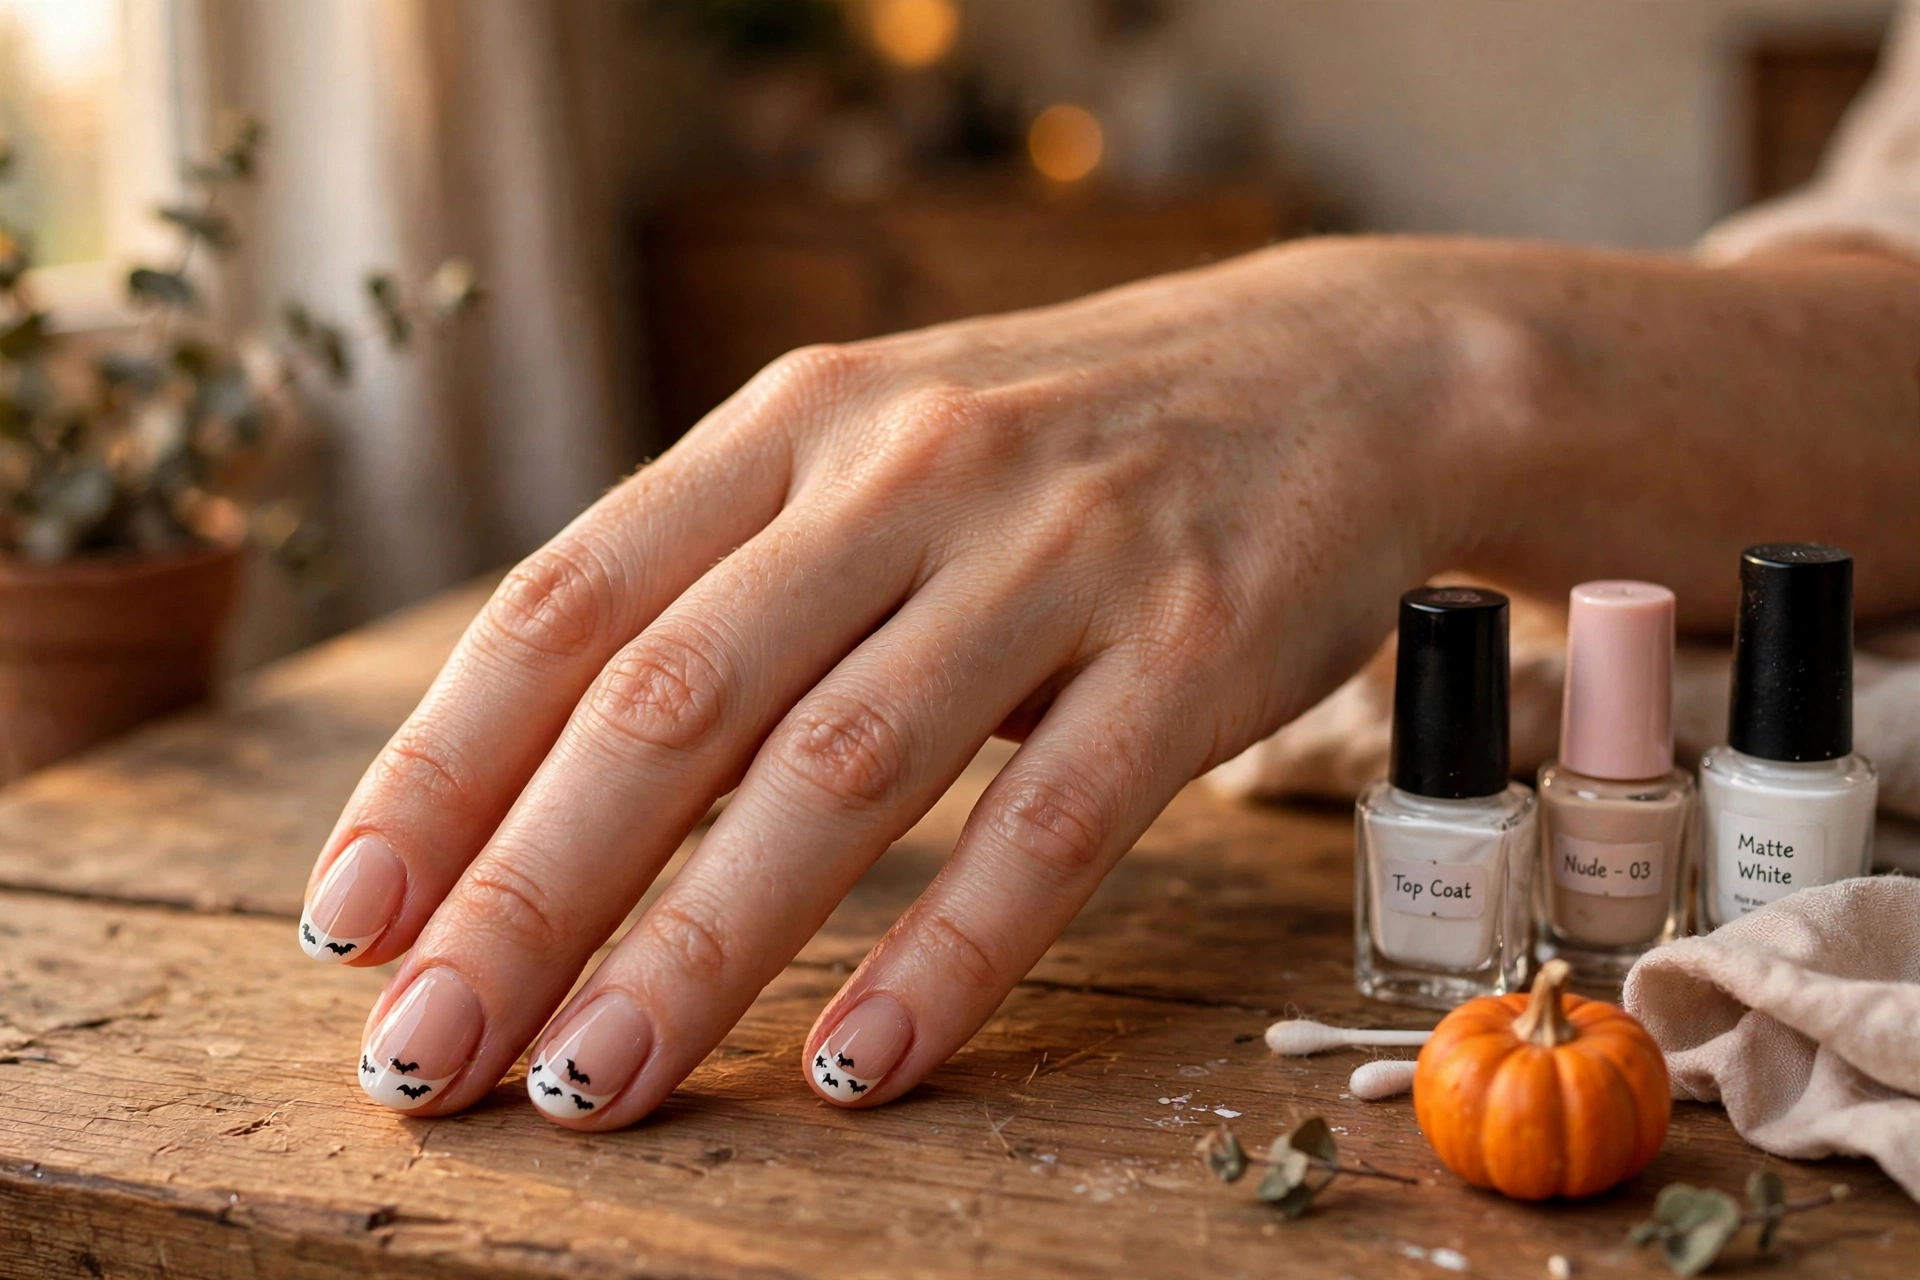
If you can paint a French tip, you can paint these bats. Start with a classic nude base and a white or black French tip — the tip gives you a stage for the bats. Then, with a toothpick dipped in black polish, paint two or three tiny bats on each tip.
A bat is just three strokes: a small oval body and two scalloped wings. Think of a wide letter M with a dot in the middle — that is genuinely the whole shape. Keep them small and scatter them at different angles so it looks like a swarm taking flight. This design works on any nail length and looks surprisingly elegant for Halloween.
8. Mummy Wrap Nails
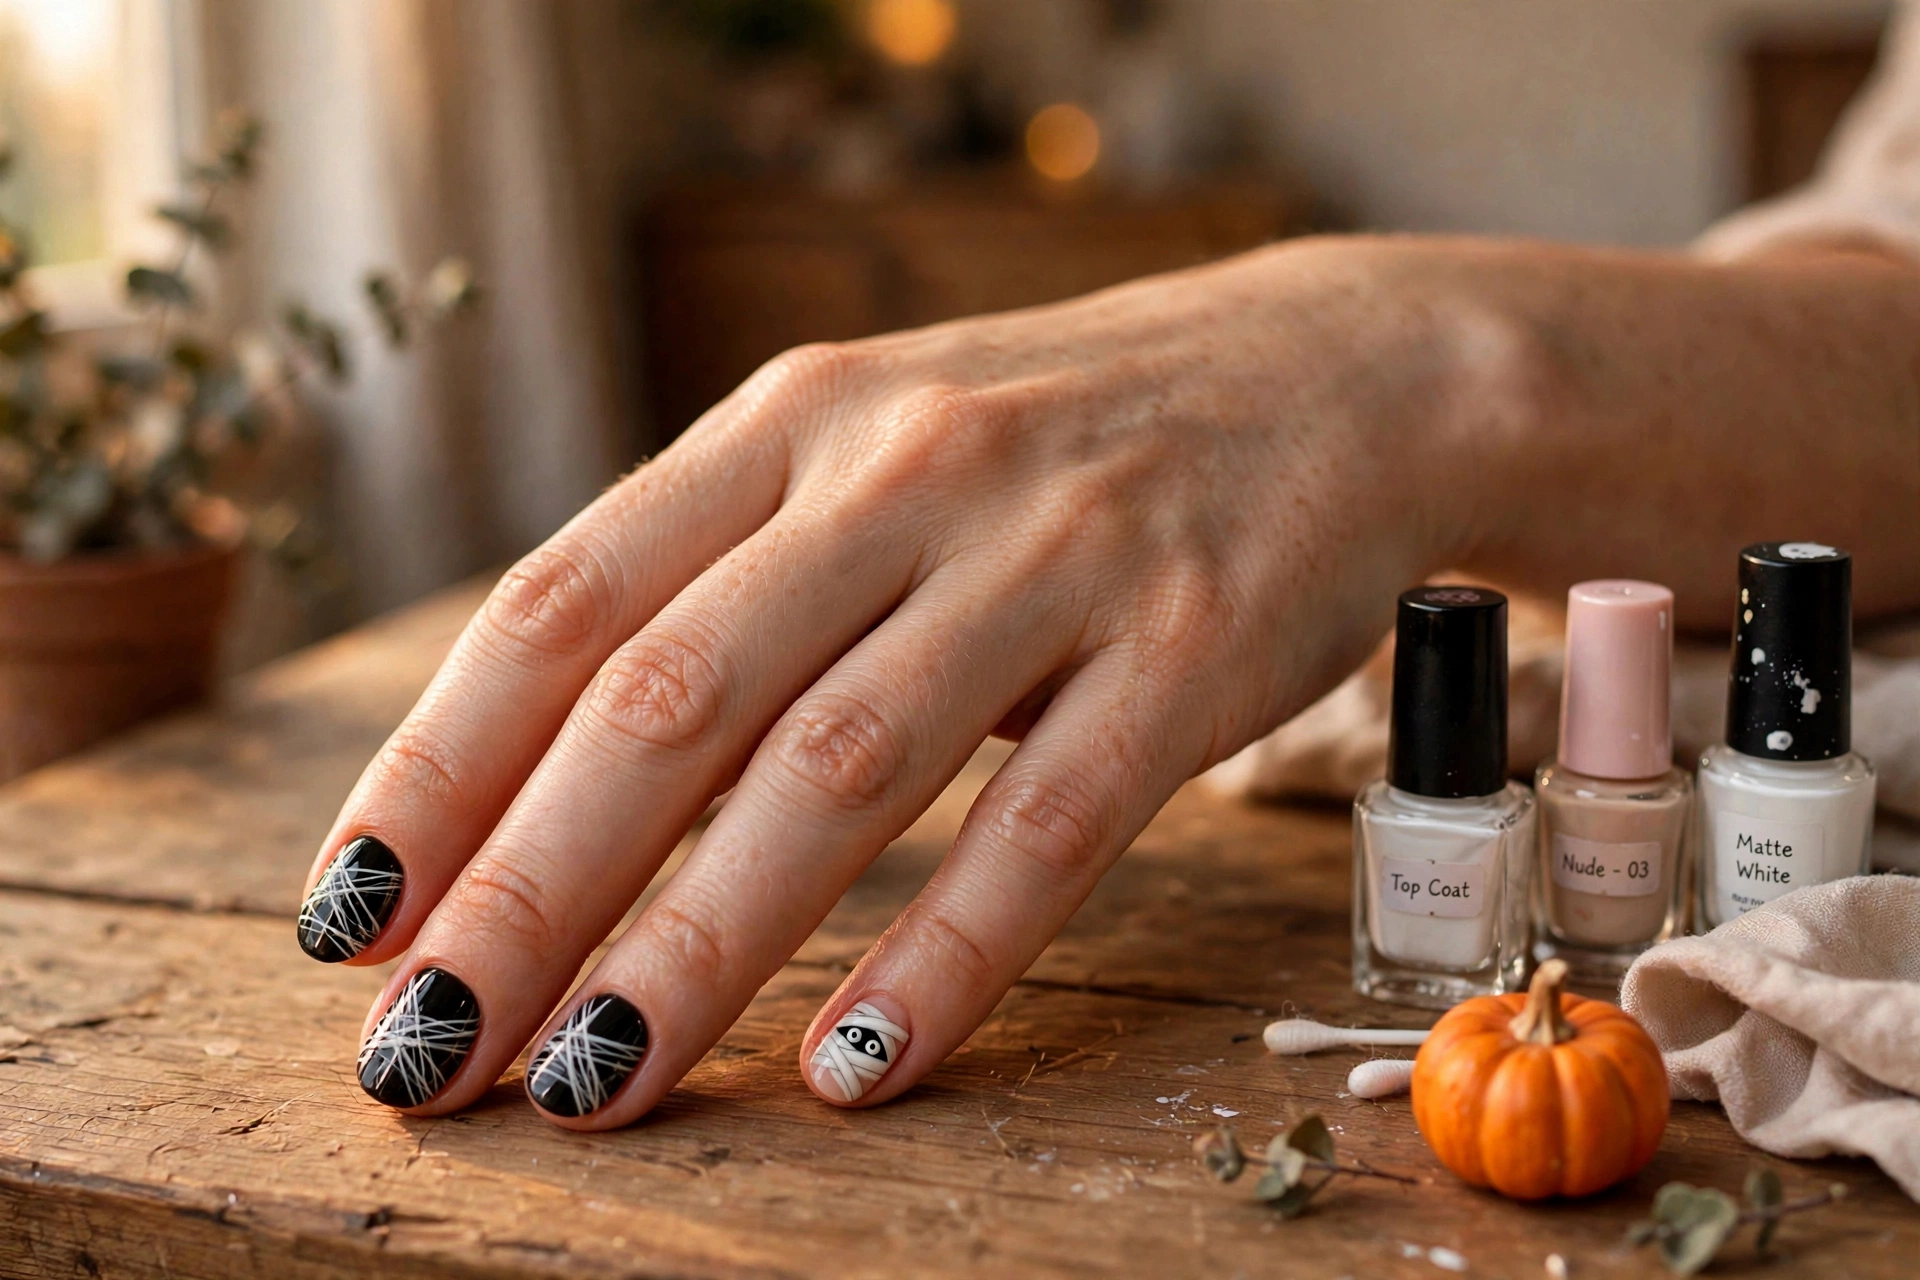
Mummy nails are made for beginners because the whole point is messy, overlapping lines. Paint your nails solid black. Once dry, take a thin brush or a striping tool dipped in white polish and drag crisscrossing lines across each nail at different angles, leaving small gaps of black showing through.
The gaps are what make it read as mummy bandages instead of just stripes, so resist the urge to fill everything in. For a finishing touch, add two tiny dot eyes peeking out between the bandages on one accent nail. A matte top coat over this design looks incredible — it gives the bandages a fabric-like finish that glossy polish can’t match.
9. Candy Apple Red Gloss
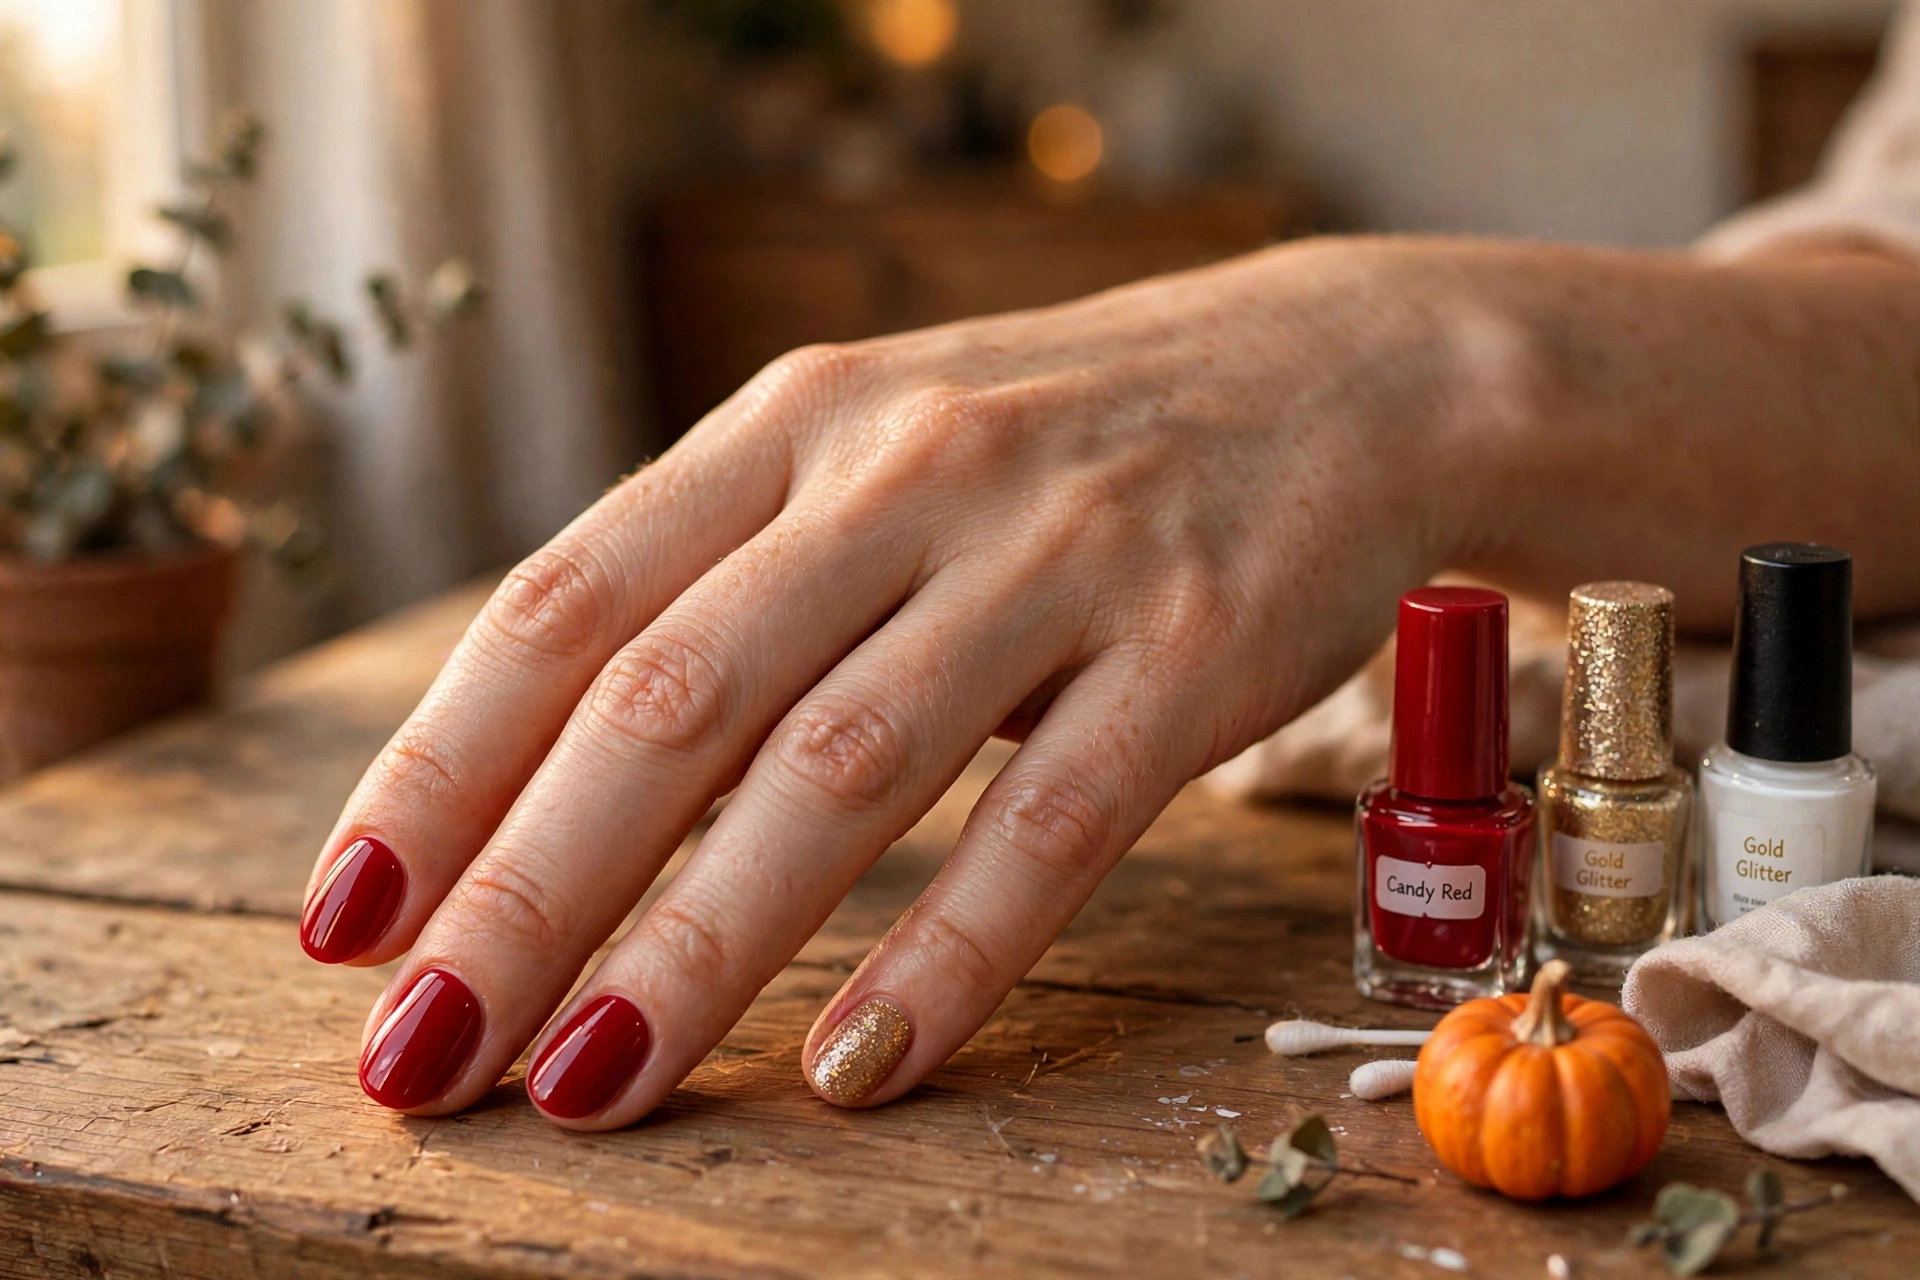
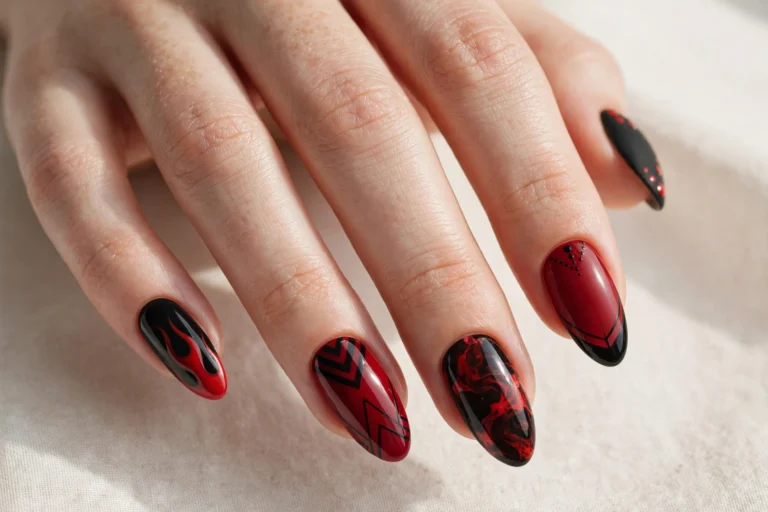
Not every Halloween nail needs a costume on it. A deep candy apple red is the color of poisoned apples and autumn cider, and it is the easiest design on this list: two coats of a rich red polish and a glassy top coat. The color does all the talking.
To add one Halloween whisper, paint a single accent nail with fine gold glitter polish over the red base — it looks like candlelight flickering on the apple. Make sure your red is fully opaque in two coats; jelly reds need three, so pick a creme formula if you want this done fast. This is the design to pick when you want festive nails that still work at the office on November 1st.
10. Haunted House Skyline
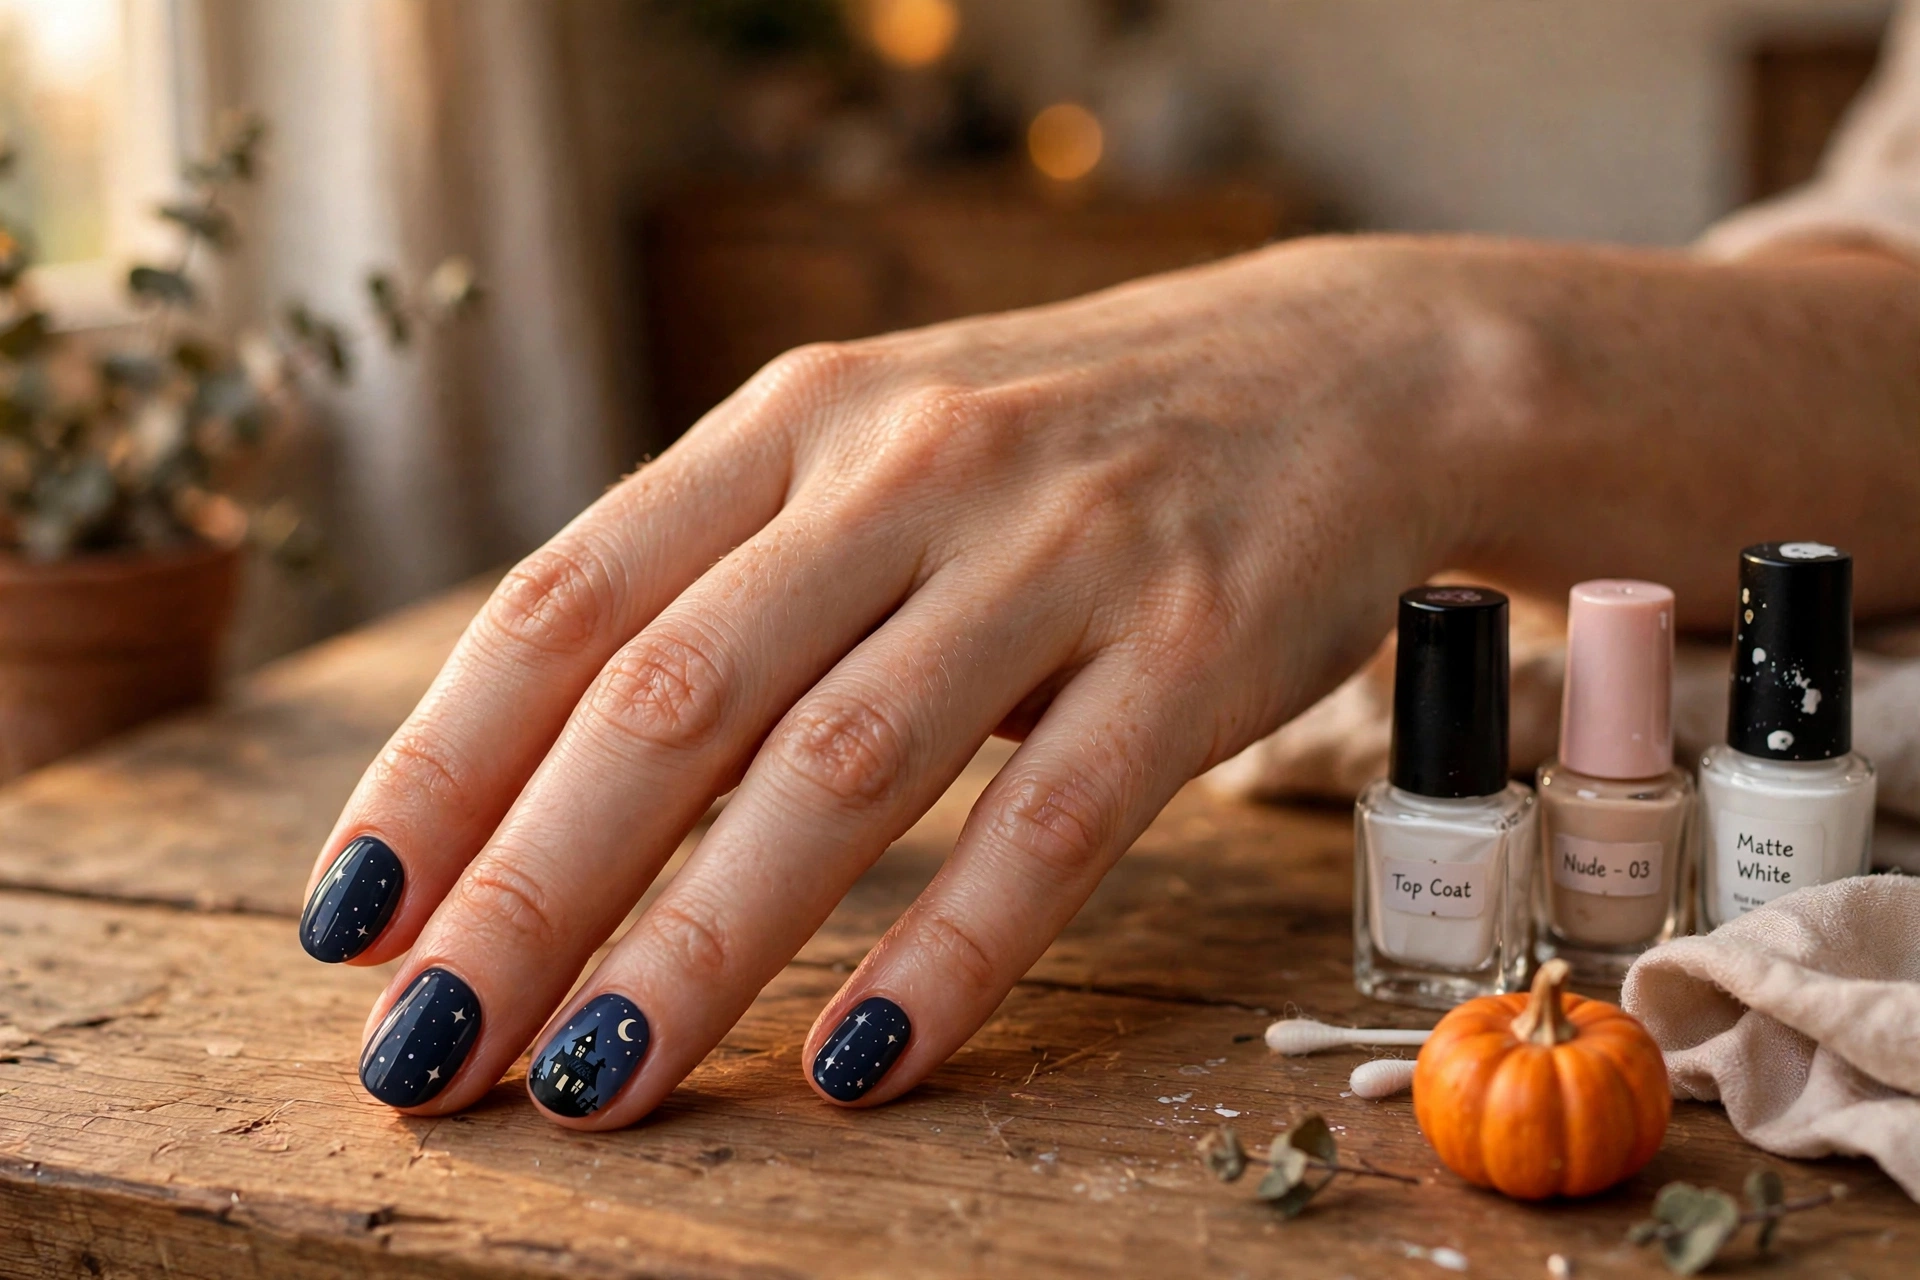
This one sounds hard but is really just a silhouette, and silhouettes forgive everything. Paint your nail a deep navy night sky and let it dry completely. Then, with black polish and a toothpick, paint a simple house shape along the bottom — a square with a triangle roof and one crooked chimney.
Add a round white or pale yellow moon in the upper corner of an accent nail. Wobbly lines just make the house look more haunted, which is exactly the point. Keep the skyline on one or two accent nails and paint the rest solid navy so the design stays special. A slightly shaky hand is a feature here, not a bug.
11. Jack-o’-Lantern Faces
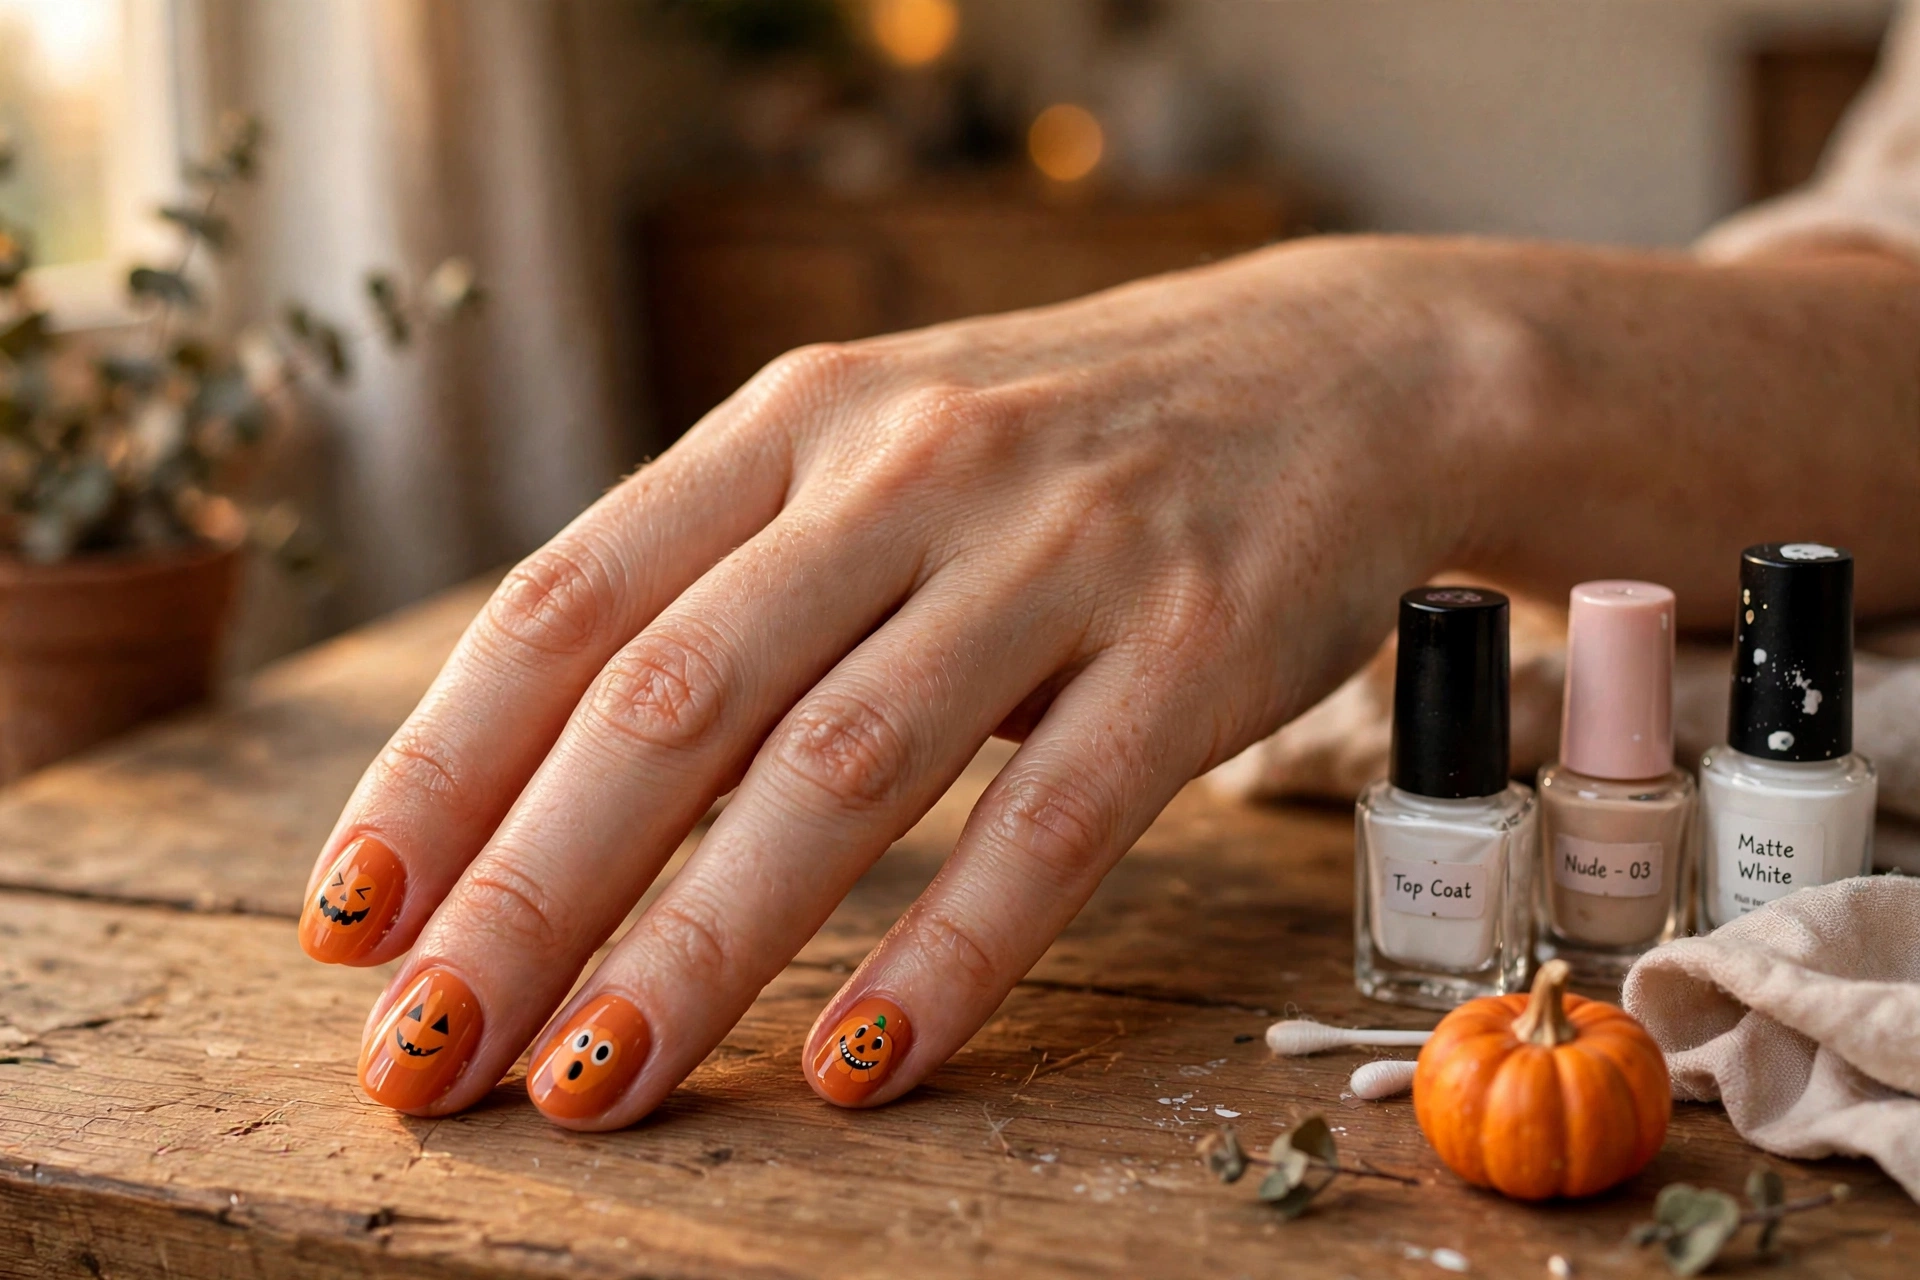
Take the pumpkin nails from idea two and add faces — now they’re jack-o’-lanterns. Paint two coats of orange polish and let them dry. With a toothpick dipped in black polish, paint triangle eyes and a jagged zigzag mouth on each nail.
The trick is scale: keep the faces small and centered, and leave plenty of orange around them so the design reads clearly. Vary the expressions — one nail gets a happy grin, another gets a surprised oval mouth, another gets angry slanted eyes. A set of mismatched jack-o’-lantern faces looks hand-crafted in the best way, like a real carved pumpkin patch.
12. Purple and Black Ombré
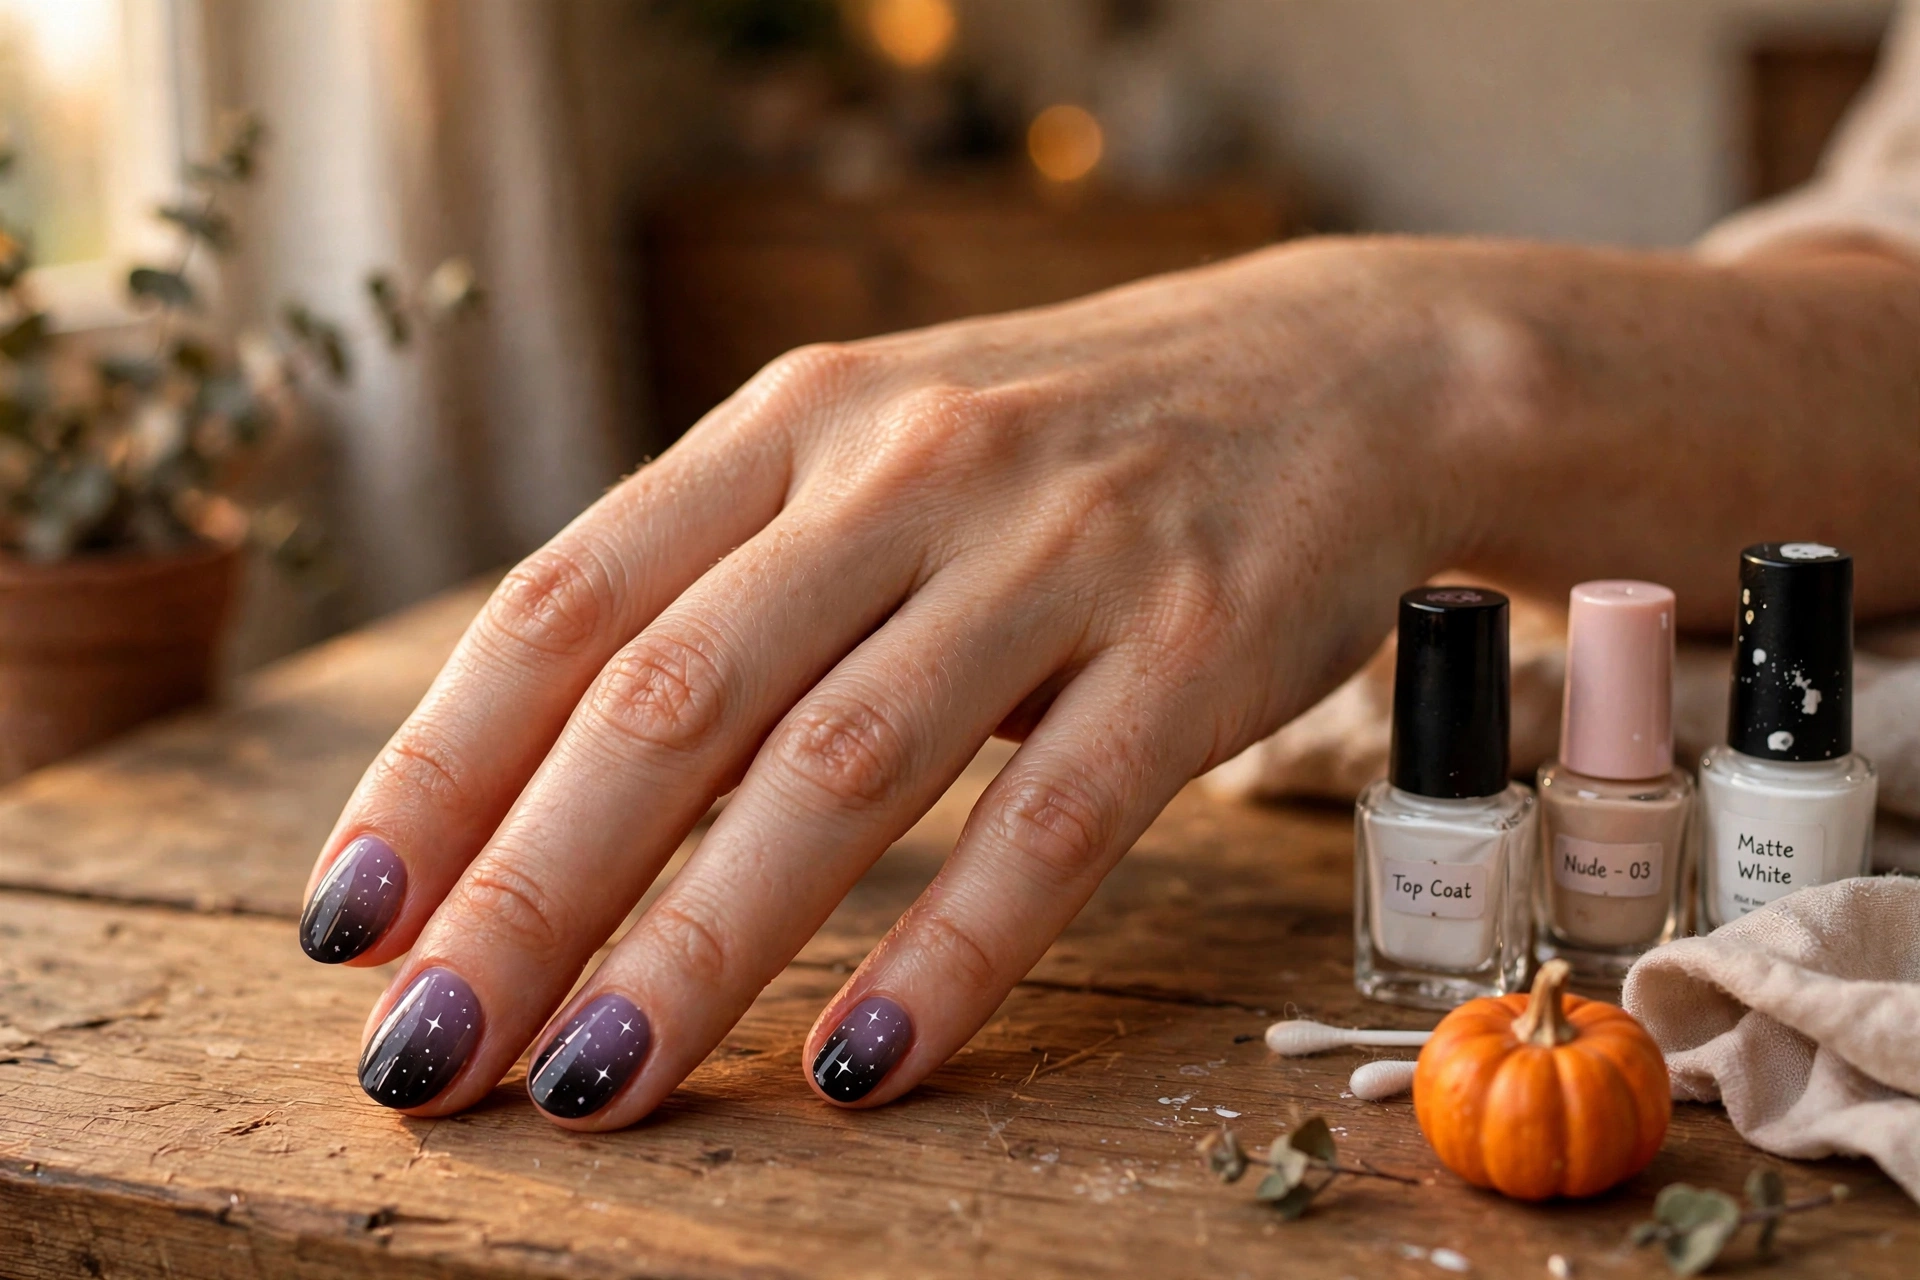
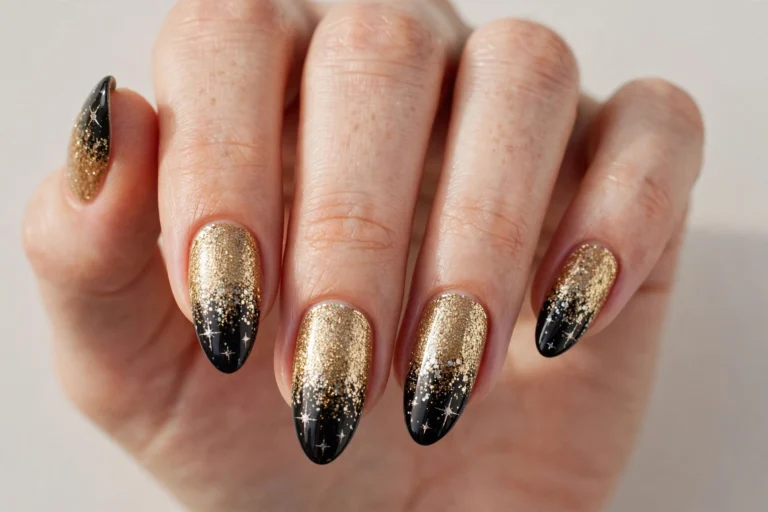
Ombré sounds like a salon technique, but the sponge method makes it a true beginner design. Paint your nails black as a base. Put a stripe of deep purple polish and a stripe of black polish side by side on a makeup sponge, then dab the sponge onto the nail two or three times, reapplying polish to the sponge each time.
The result is a smoky purple-to-black fade that looks like a Halloween night sky. While the last layer is still tacky, press on a few tiny star stickers or paint pinprick white dots with a toothpick. Clean up the edges with a small brush dipped in nail polish remover. This ombré also makes a stunning base if you want to layer a ghost or bat on top later. And if the sponge dabbing leaves polish on your cuticles, wait for everything to dry completely, then wrap a small angled brush in a cotton pad dampened with remover and trace the nail edge — one clean pass and your manicure looks salon-finished.
Final Thoughts
The best thing about these easy Halloween nail art designs is that they remove the pressure. Halloween nail art rewards imperfection, uses colors you already own, and every design above can be redone in minutes if you don’t love it. Pick the one that made you smile, pour yourself something warm, and give yourself a little at-home manicure session.
Start with the ghosts or the candy corn if you’re nervous — they’re the most forgiving. Save the haunted house skyline for when you’re feeling brave. However you wear them, your nails will be ready for every pumpkin patch, costume party, and candy run October throws at you.