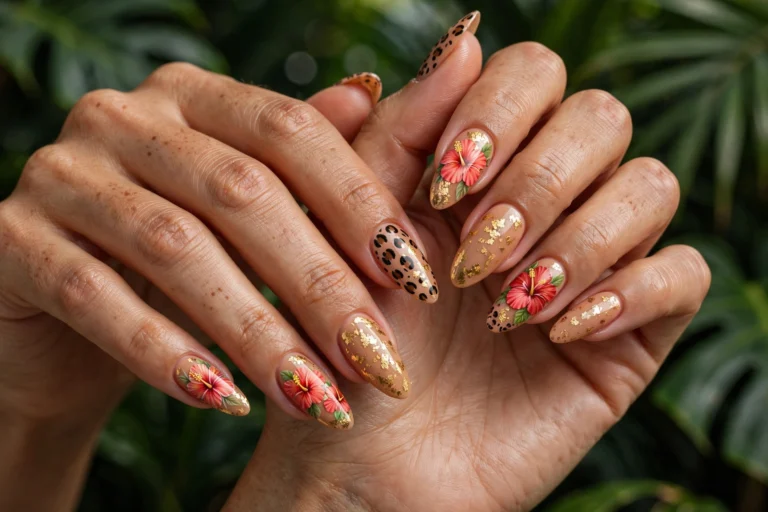
17 Fun Nail Designs to Brighten Your Manicure
Some manicures are made to look polished and quiet. Fun nail designs are the opposite — they are made to make you smile every time you look down at your hands. Bright colors, playful patterns, and little details that feel more like accessories than beauty routines. Whether you are getting ready for a party, a vacation, or just a regular Tuesday that needs cheering up, a fun manicure is the easiest mood lift you can wear.
The best part is that fun nails work on every nail length and every budget. You do not need extensions or a salon appointment to try most of the ideas below. A few polishes, a dotting tool, and a steady hand are enough to get started. If you like a bolder, edgier take on playful nails, these cool nail designs are a great place to look for extra inspiration before you pick your favorite from this list.
Why Fun Nail Designs Never Go Out of Style
Trends come and go, but playful nails always come back. The reason is simple: they are personal. A rainbow swirl or a tiny smiley face says something about your mood in a way a plain nude manicure never will. They are also incredibly forgiving. A slightly wobbly dot or an uneven stripe just adds to the handmade charm, which makes fun designs perfect for beginners painting their own nails at home.
Fun nails are also the most complimented manicures out there. People notice color and pattern, and a bright, cheerful set is a natural conversation starter. If you want to go even brighter, neon nail designs take that same playful energy and turn the volume all the way up. Below are 17 ideas, from easy dots and stripes to full statement sets, so you can find one that fits your style, your skill level, and your week.
1. Rainbow Swirl Tips
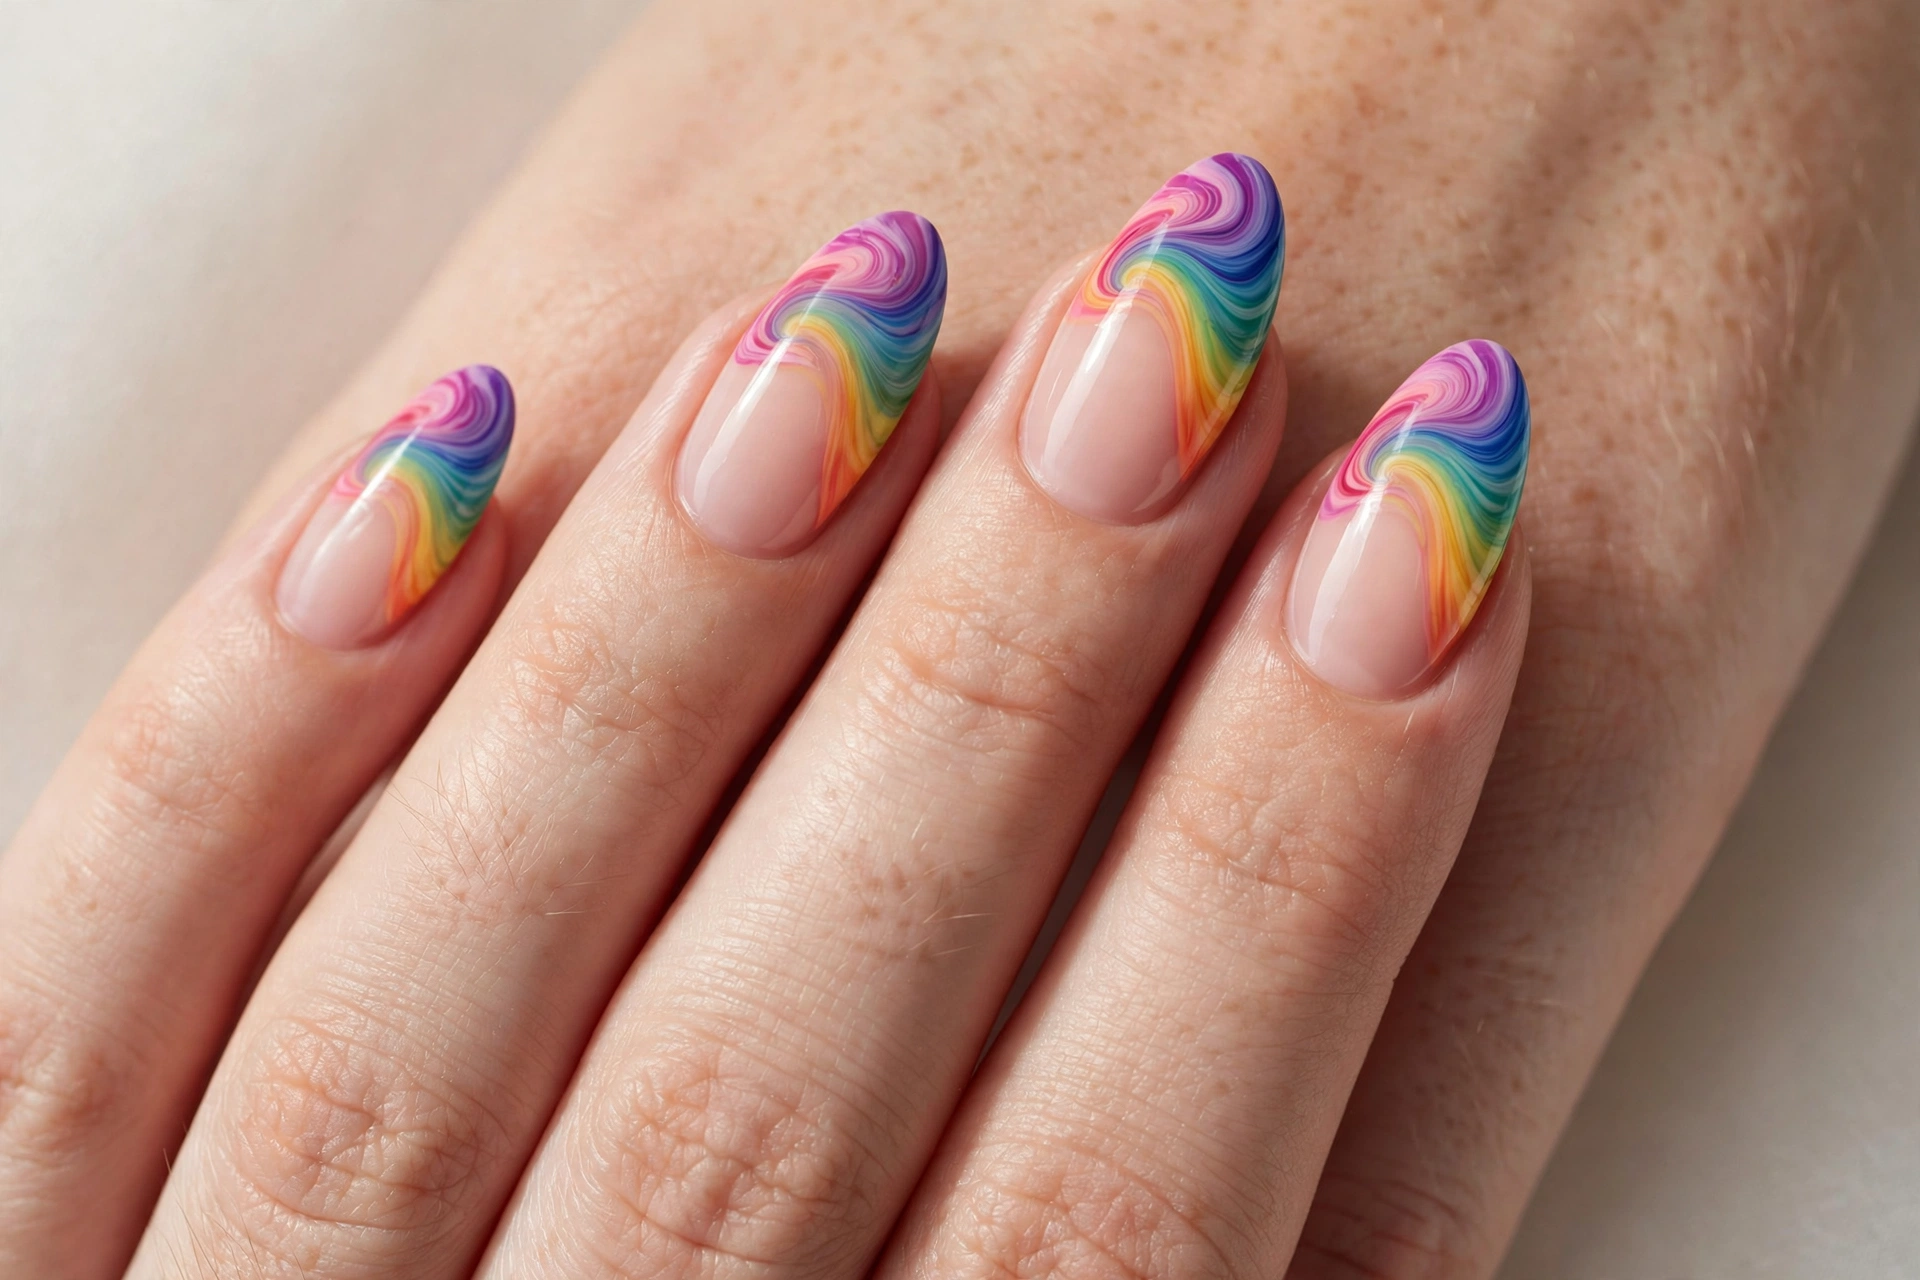
Rainbow swirl tips take the classic French manicure and give it a joyful twist. Instead of one white tip, each nail gets a swirling blend of two or three bright shades that melt into each other like a watercolor painting. The look is bold but still wearable, because the base of the nail stays soft and natural while all the color lives at the tips.
This design suits anyone who wants color without committing to a full bright set. It looks beautiful on almond and oval shapes, and it works just as well on shorter nails. To get it at home, paint your base coat, then use a thin brush to drag small arcs of color across each tip and swirl them together while the polish is still wet. Seal it with a glossy top coat and the swirls will look smooth and salon-finished.
2. Confetti Sprinkle Nails
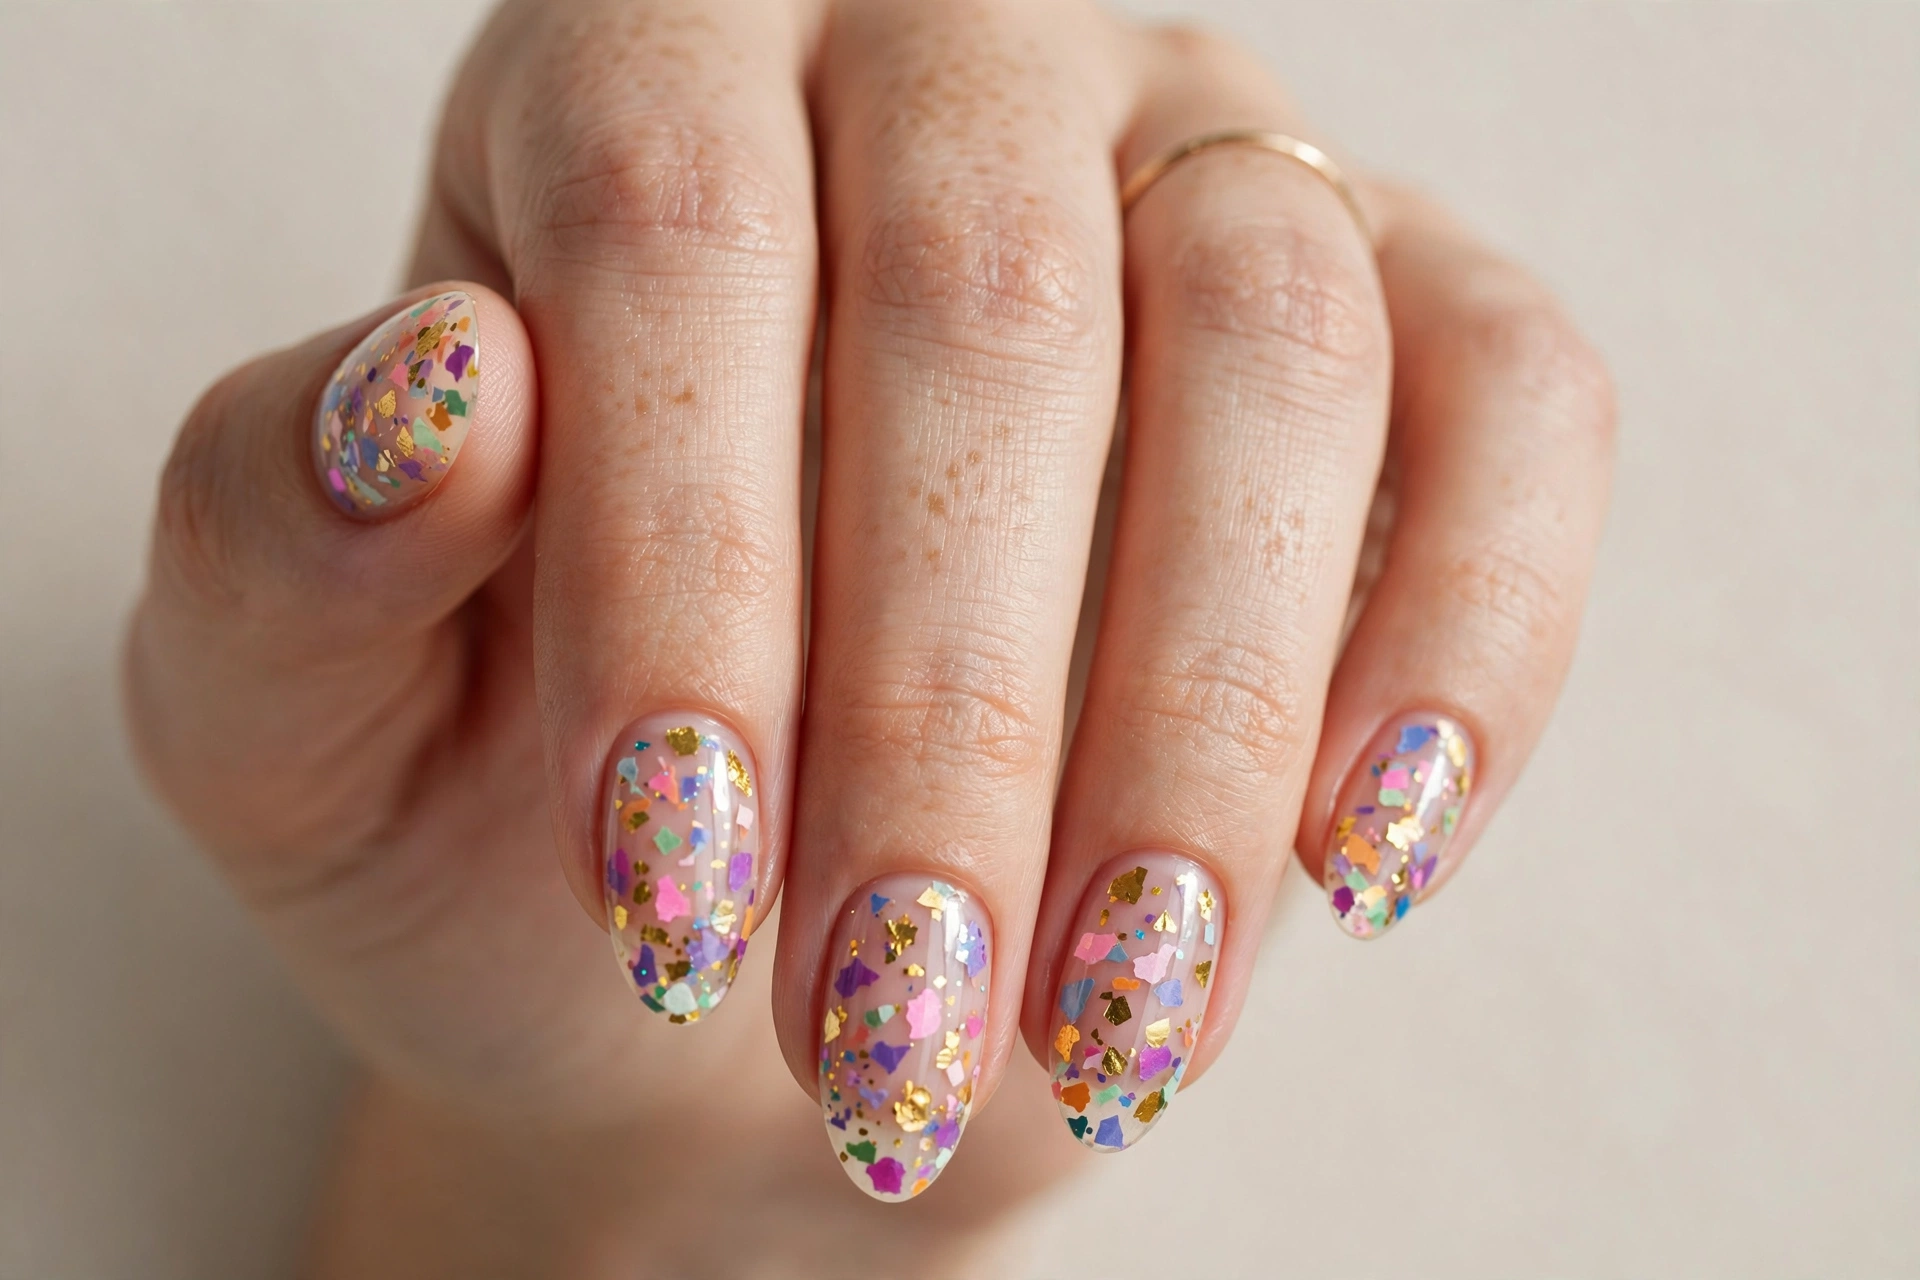
Confetti sprinkle nails look like a celebration on your fingertips. Tiny dots, dashes, and mini shapes in every color of the rainbow are scattered over a clear or pale base, like sprinkles on a birthday cake. The scattered placement is what makes them work — nothing has to line up perfectly, and every nail turns out a little different.
This is one of the easiest fun designs to do yourself, which makes it ideal for beginners. It suits every age and every occasion, from birthdays to beach days. Start with a neutral base, then use a dotting tool or the tip of a bobby pin to place random dots in three or four colors. Add a few tiny dashes for variety, finish with top coat, and you have a party-ready manicure in under half an hour.
3. Smiley Face Accents
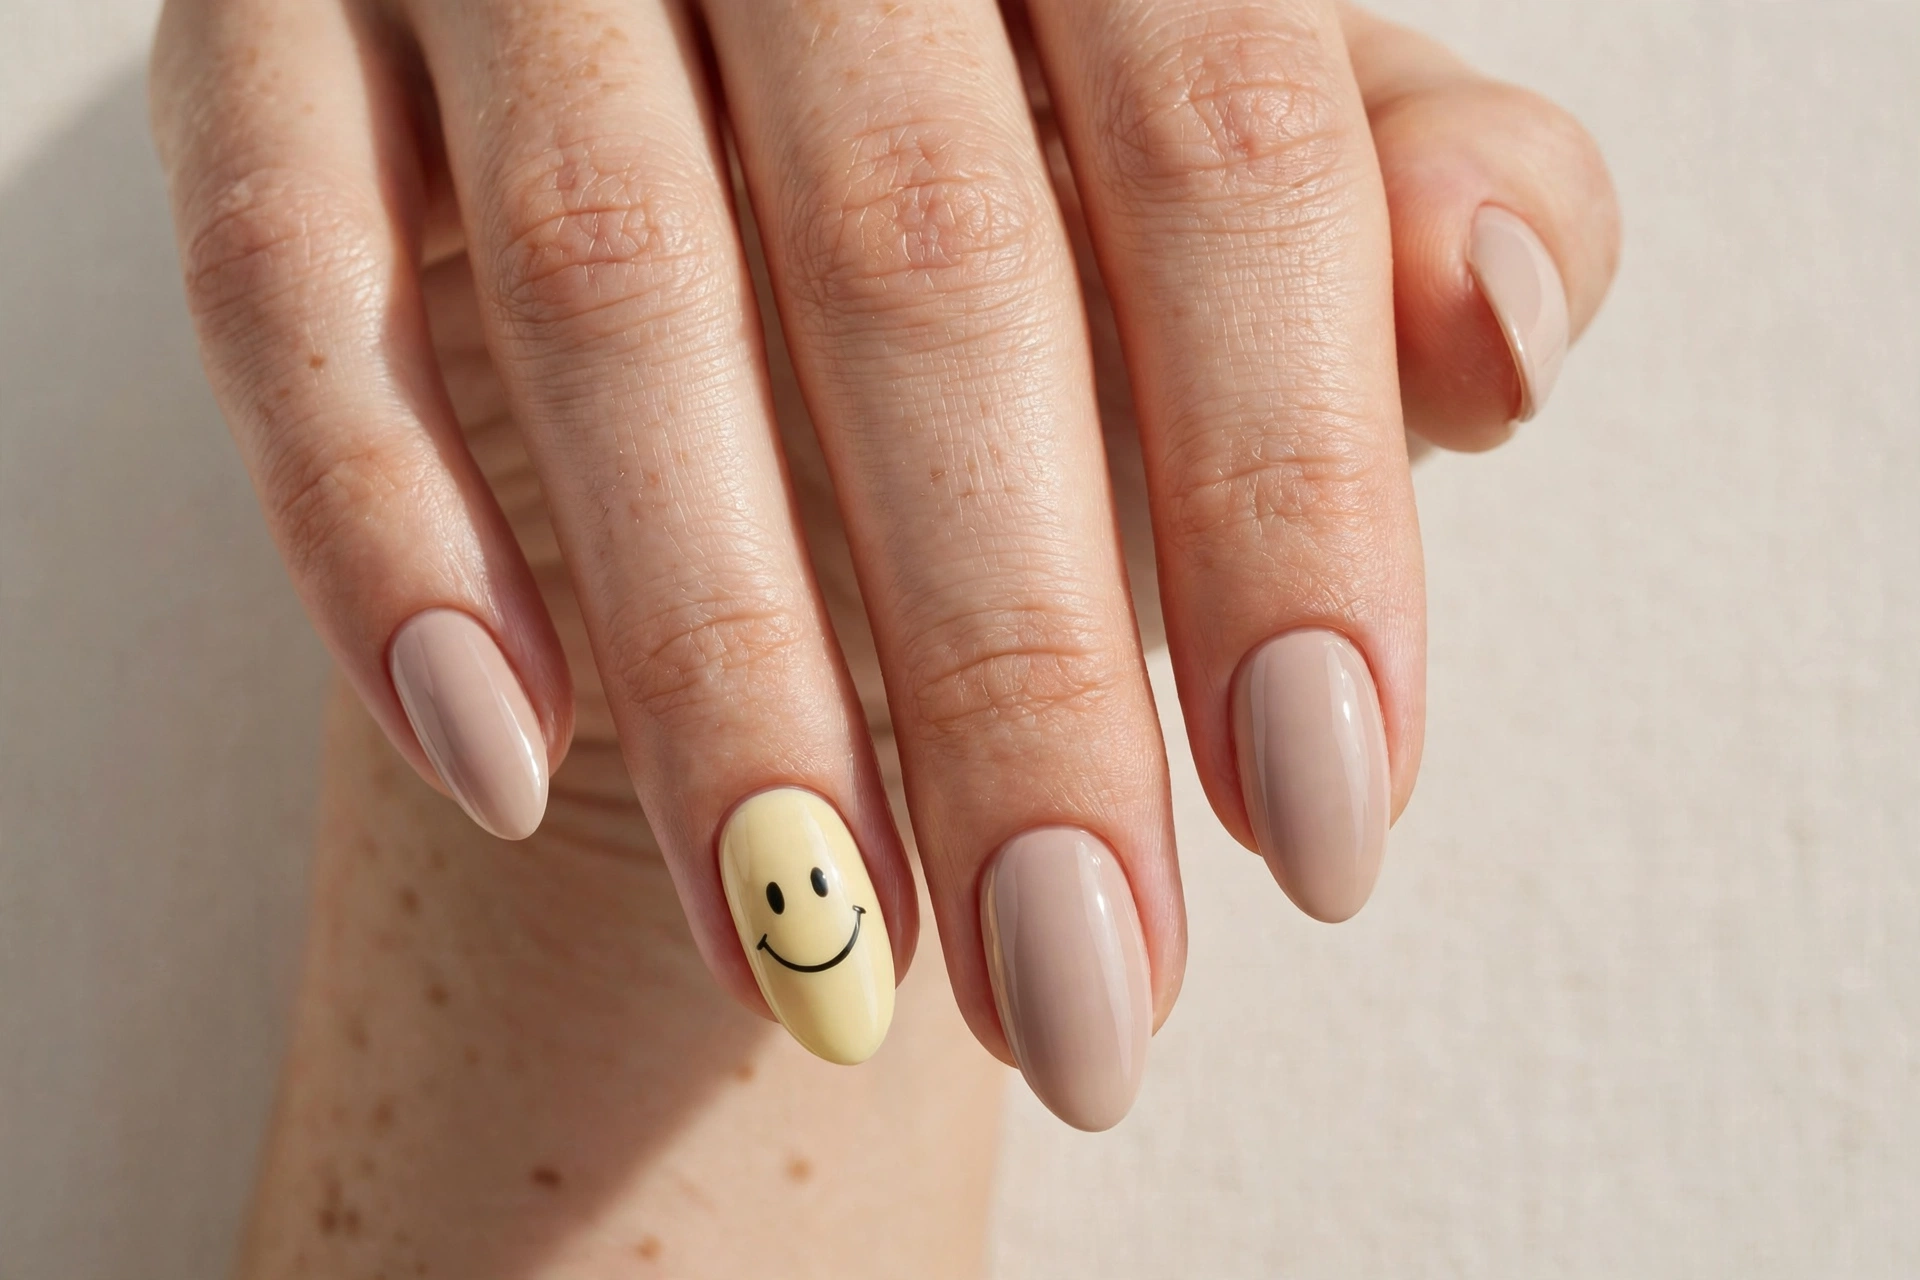
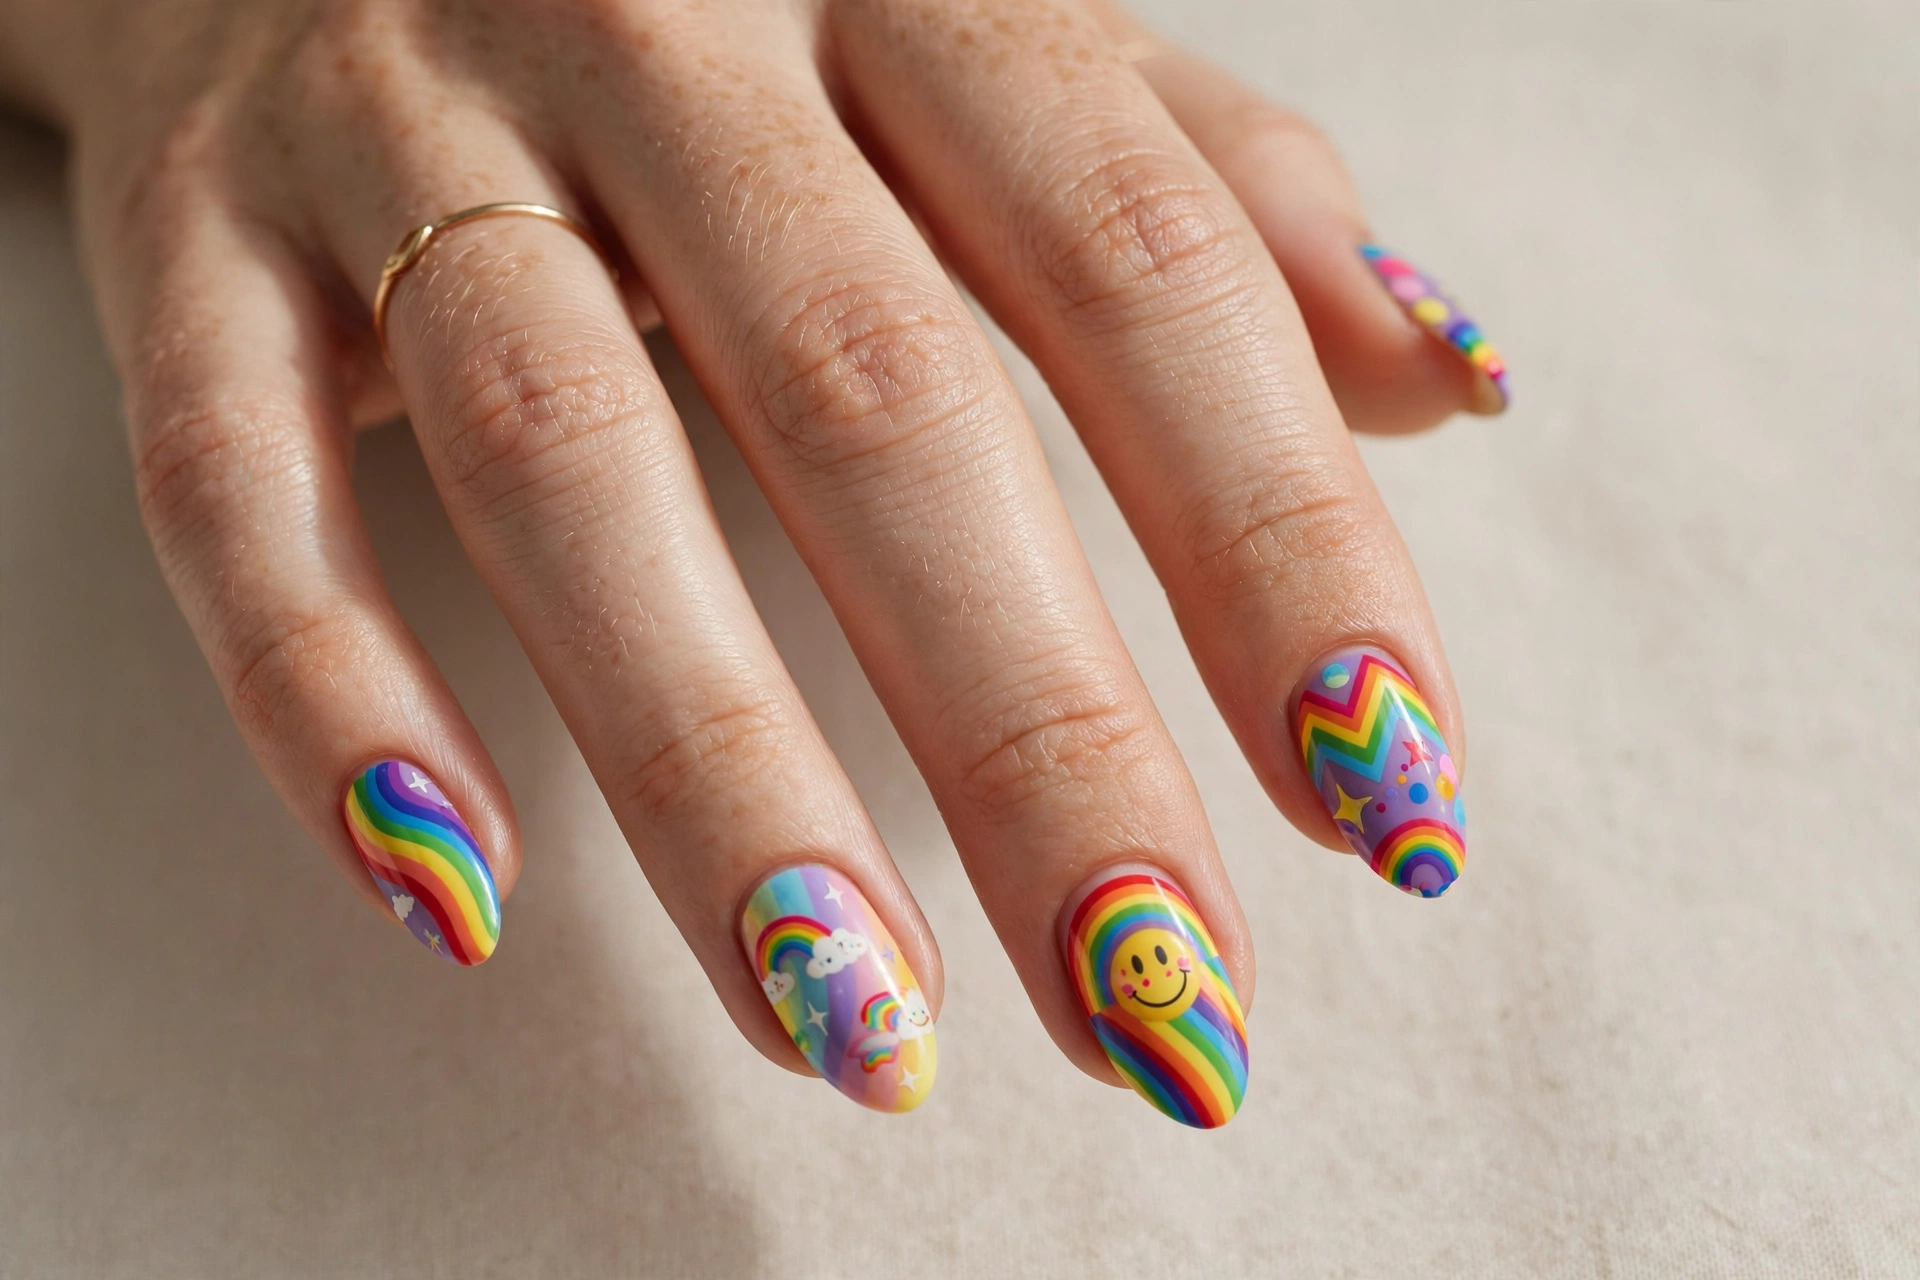
Nothing says fun quite like a smiley face on your nails. This design usually keeps most nails simple — a soft pastel or a clean nude — and puts one cheerful smiley on an accent nail, usually the ring finger. The contrast between the calm base and the happy little face is what makes it so charming.
Smiley accents suit anyone who likes cute details without going over the top. They are perfect for everyday wear and they always get a smile from strangers too. To paint one, use a dotting tool for the two eyes and a thin brush for the curved mouth, or use a small smiley sticker if freehand feels tricky. Keep the rest of the nails simple so the smiley stays the star of the show.
4. Fruity Citrus Slices
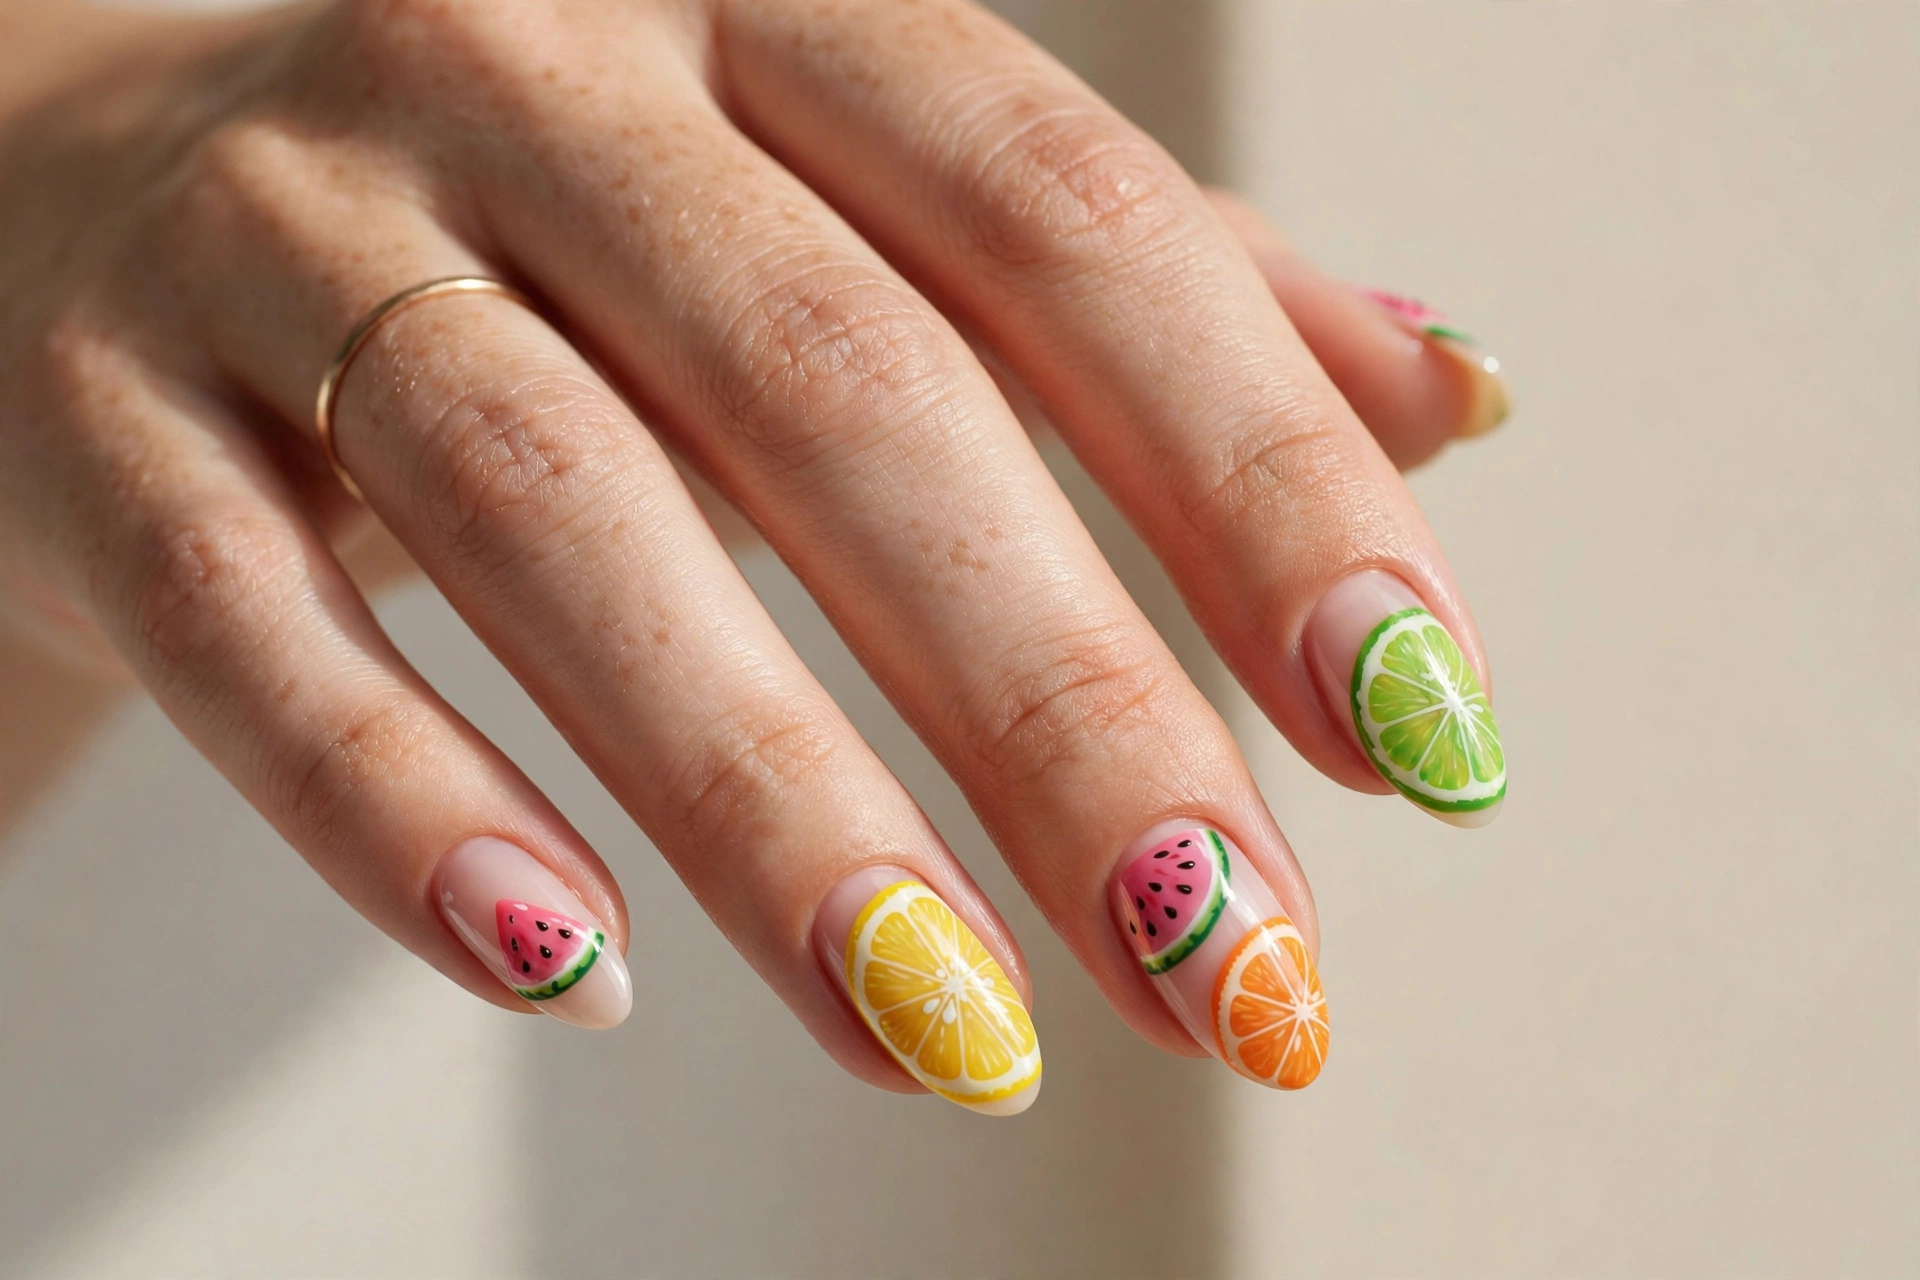
Fruity citrus nails are summer in manicure form. Watermelon wedges, lemon slices, lime wheels, and orange segments painted across the nails look fresh, juicy, and instantly happy. The bright fruit colors pop against a sheer or milky base, and the tiny details — seeds, rind lines, segments — make people look twice.
This design is made for vacations, pool days, and anyone who loves a themed manicure. It works best on medium to long nails where there is room for the fruit artwork. You can paint a different fruit on each nail or repeat one favorite fruit across all ten. A fine detail brush is your best friend here, and a glossy top coat makes the fruit look freshly cut and juicy.
5. Rainbow Polka Dots
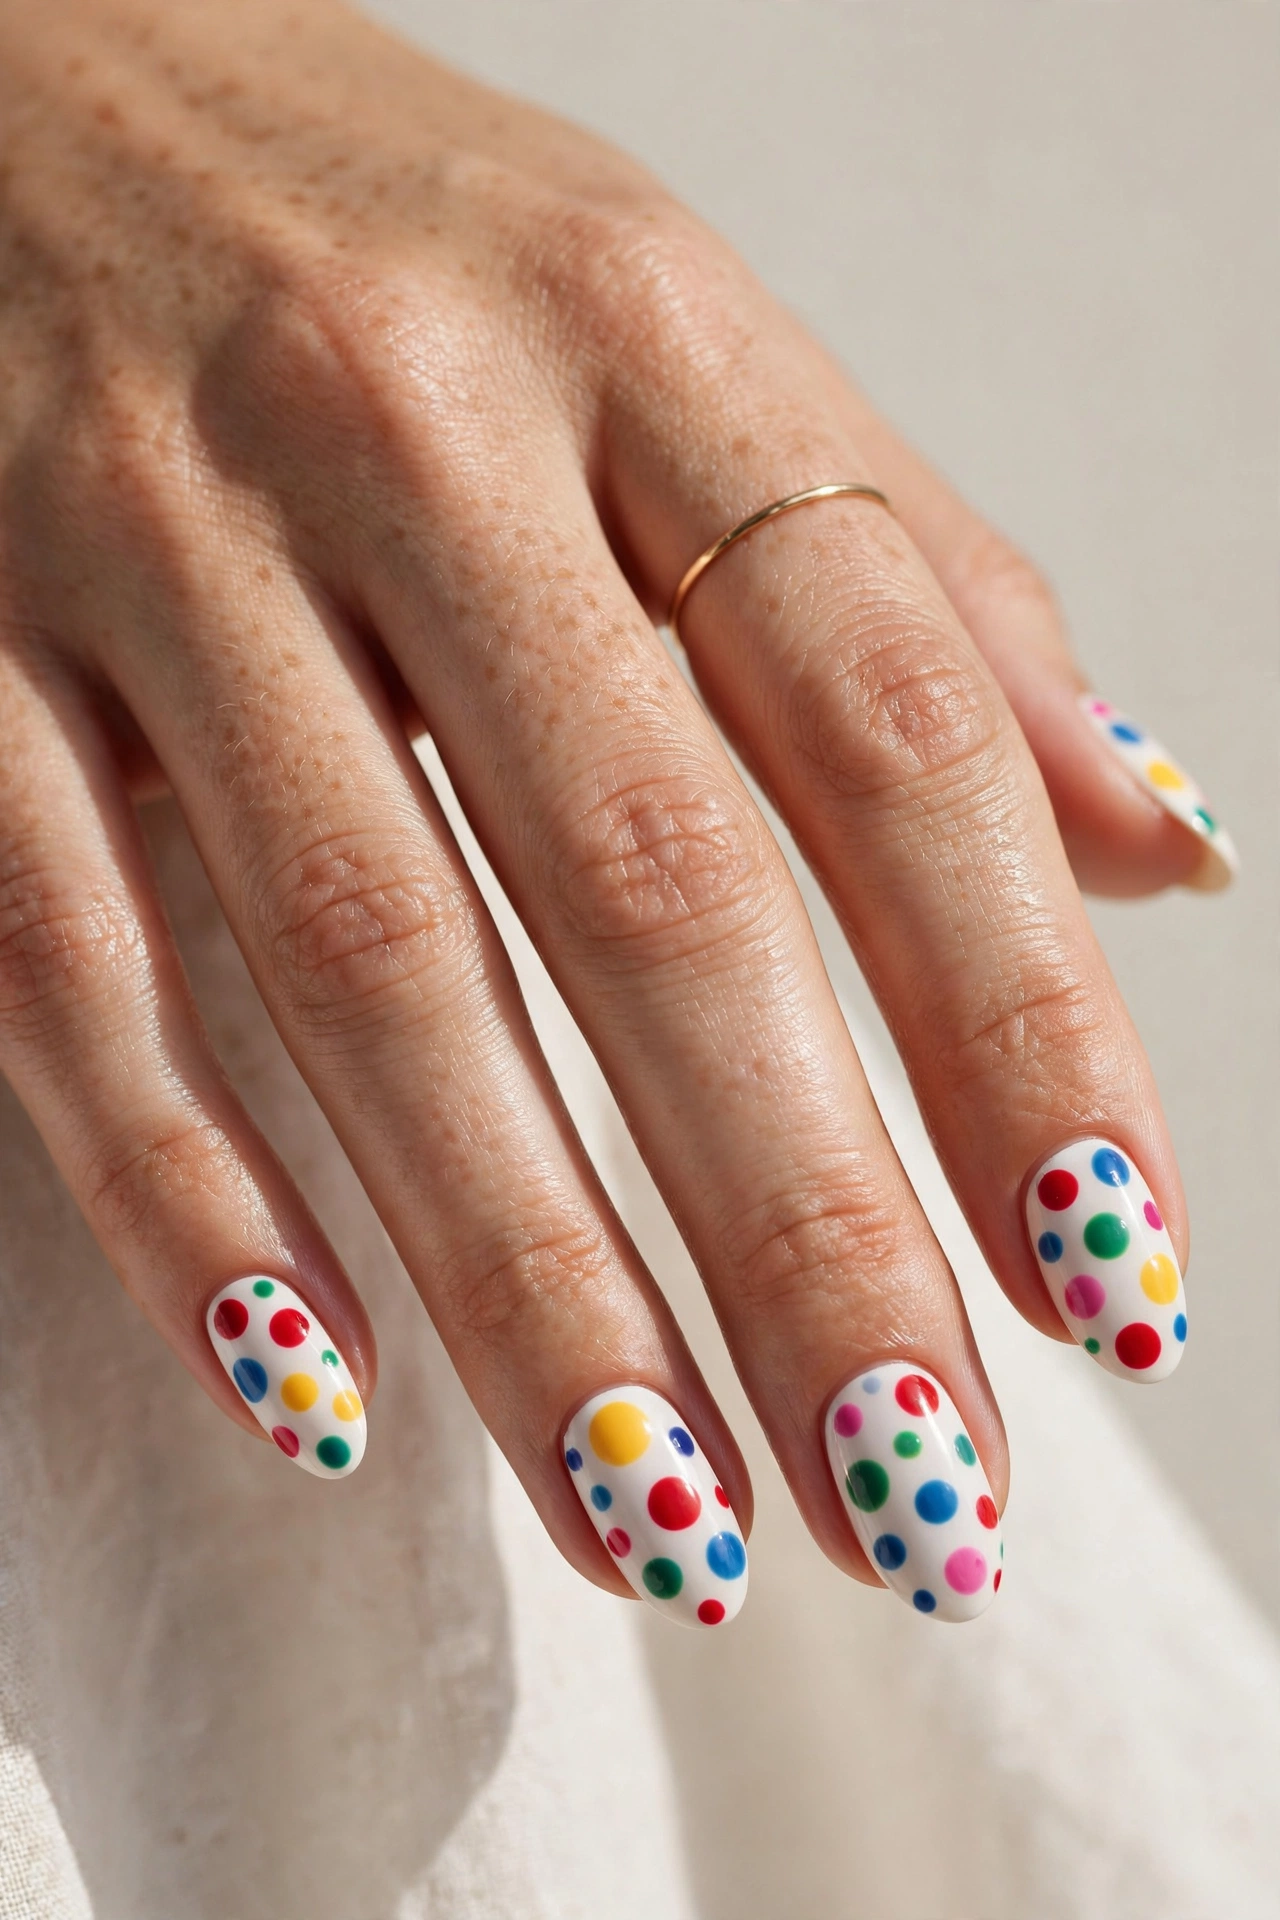
Polka dots are a classic for a reason, and rainbow polka dots are the happiest version of the classic. Big and small dots in red, yellow, green, blue, and pink scattered over a crisp white base look like a bowl of candy. The white background keeps the look clean, so the colors can be as loud as you like.
This design suits literally everyone — it is cute on short nails, striking on long ones, and easy enough for a first attempt at nail art. Use dotting tools in two sizes to vary the dots, and do not worry about even spacing; random placement looks more playful. Two coats of white underneath make the colors pop, and a shiny top coat ties the whole look together.
6. Tie-Dye Swirls
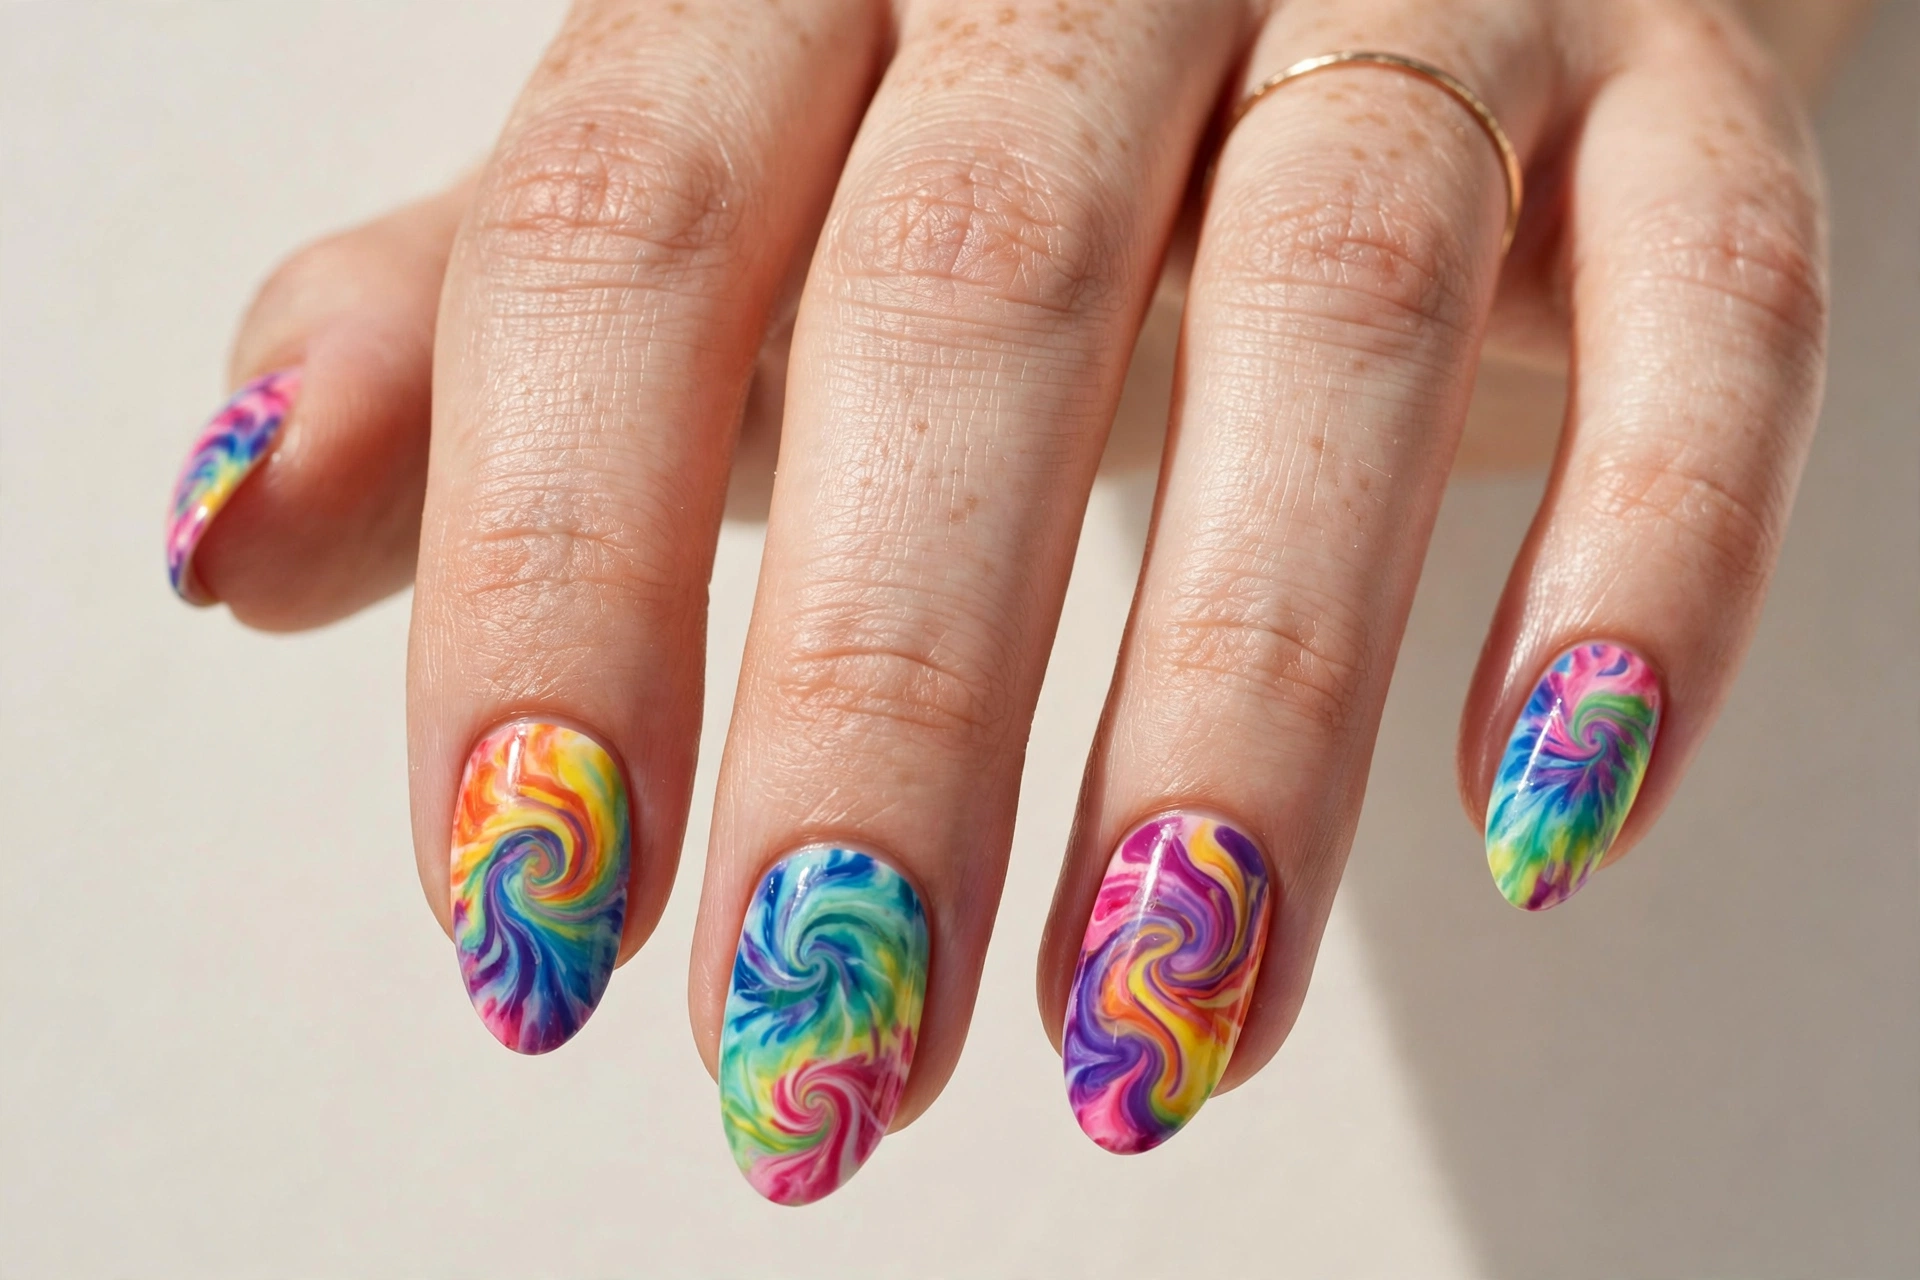
Tie-dye nails bring back the best of retro style with a modern, glossy finish. Ribbons of pink, purple, blue, green, and yellow swirl together on every nail so no two nails look alike. The effect is dreamy and psychedelic, but the glossy top coat keeps it looking polished rather than messy.
This is a great pick for festival season, summer parties, or anyone who loves bold color. It suits longer nails best, since the swirls need room to move. The easiest way to get the look is the water-marbling trick or simply dragging a thin brush through wet polish in a spiral. Because the pattern is random by nature, mistakes just blend into the design, which makes it very beginner-friendly.
7. Checkerboard Pop
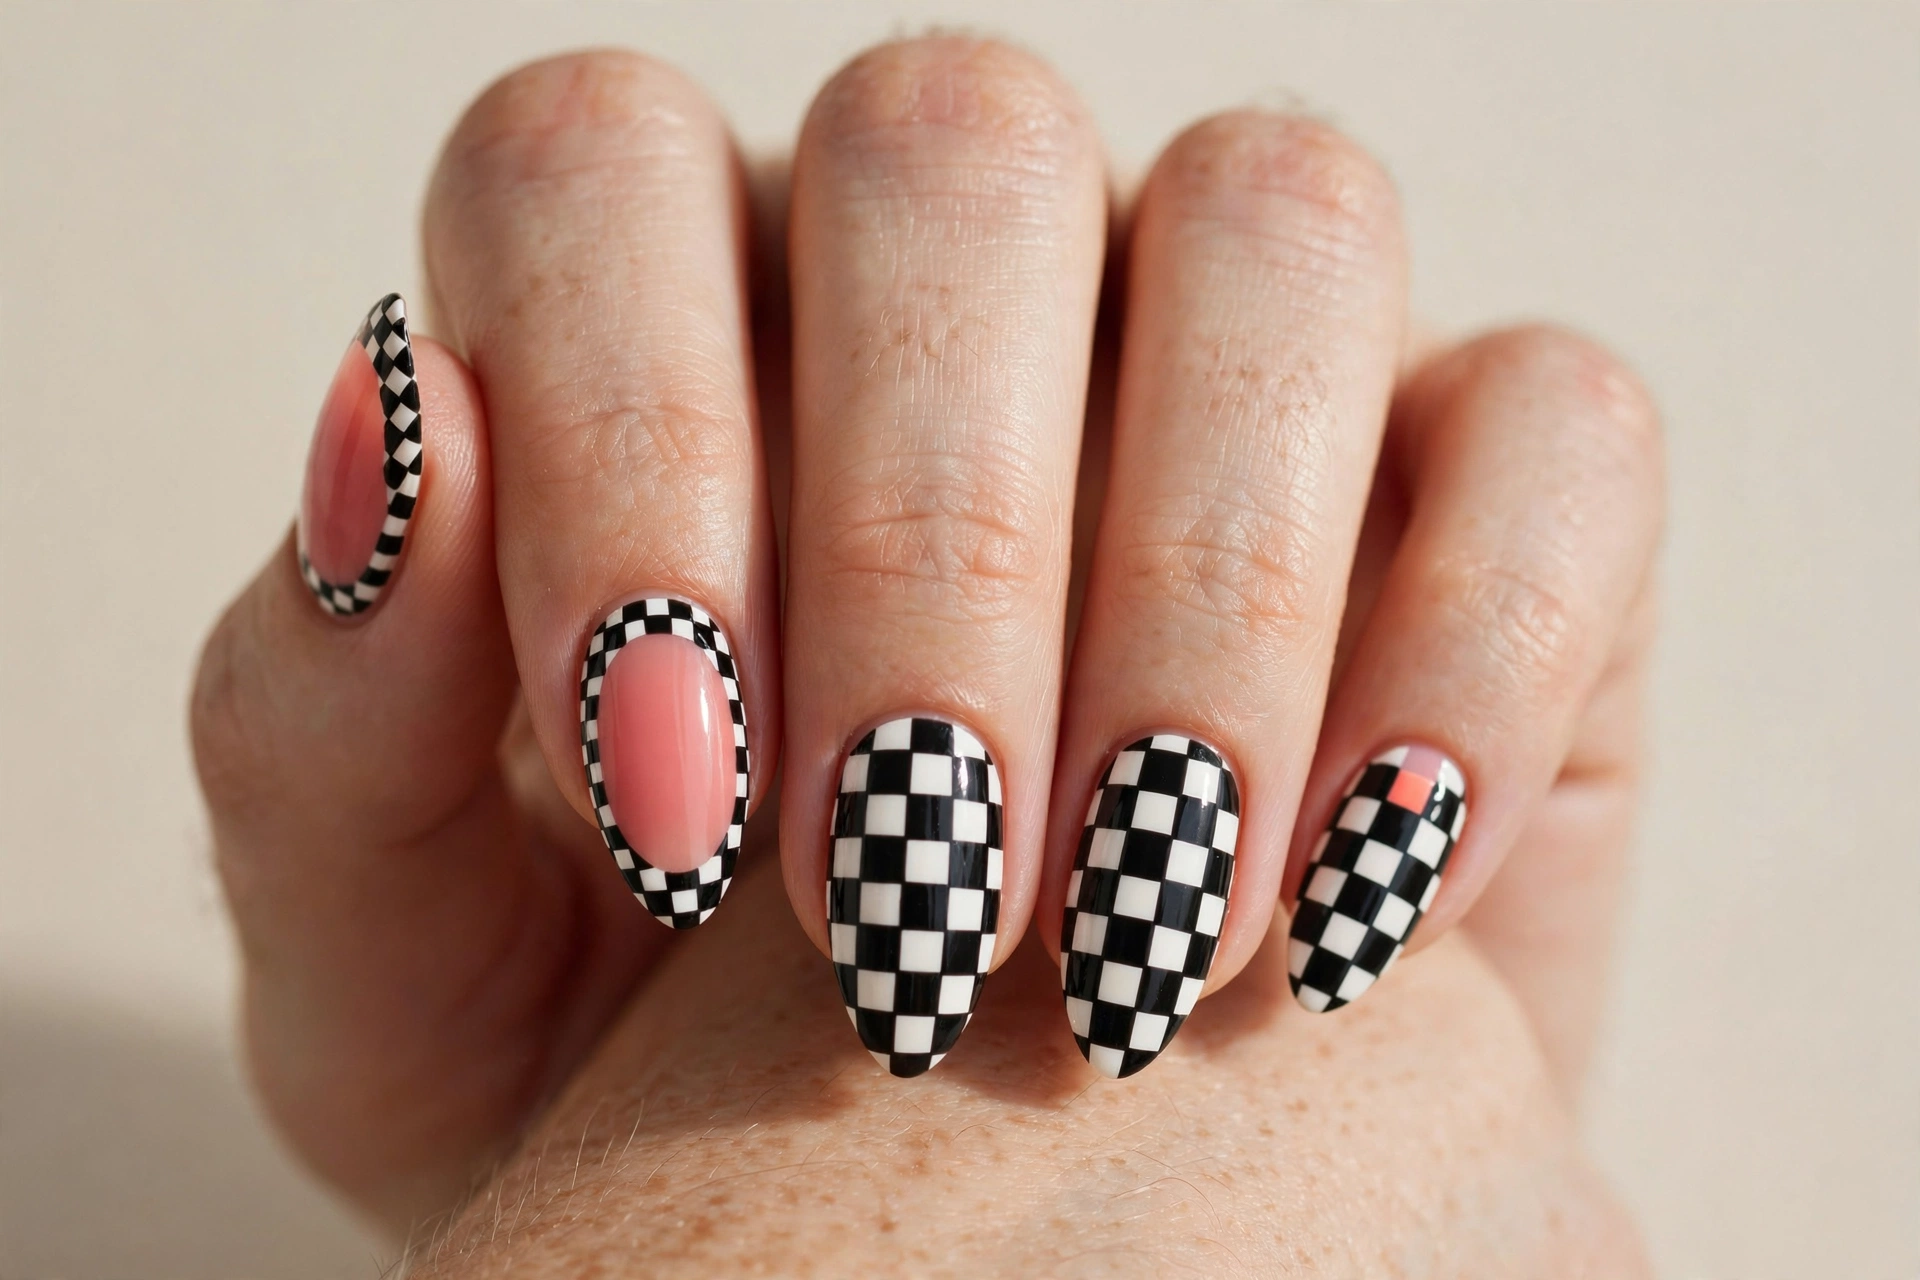
Checkerboard nails are graphic, bold, and surprisingly fun. The black-and-white grid looks like something straight off a skateboard or a retro diner floor, and it instantly makes a manicure look intentional and cool. Some nails can be full checkerboard while others keep a pink base with a checkered frame for variety.
This design suits anyone who likes a bit of edge with their fun. It looks fantastic on almond and stiletto shapes, and it pairs well with streetwear and monochrome outfits. For a clean grid, use nail stickers or a striping brush, and paint the squares in two passes so the lines stay sharp. A high-gloss top coat makes the contrast between black and white really pop.
8. Rainbow Glitter Ombré
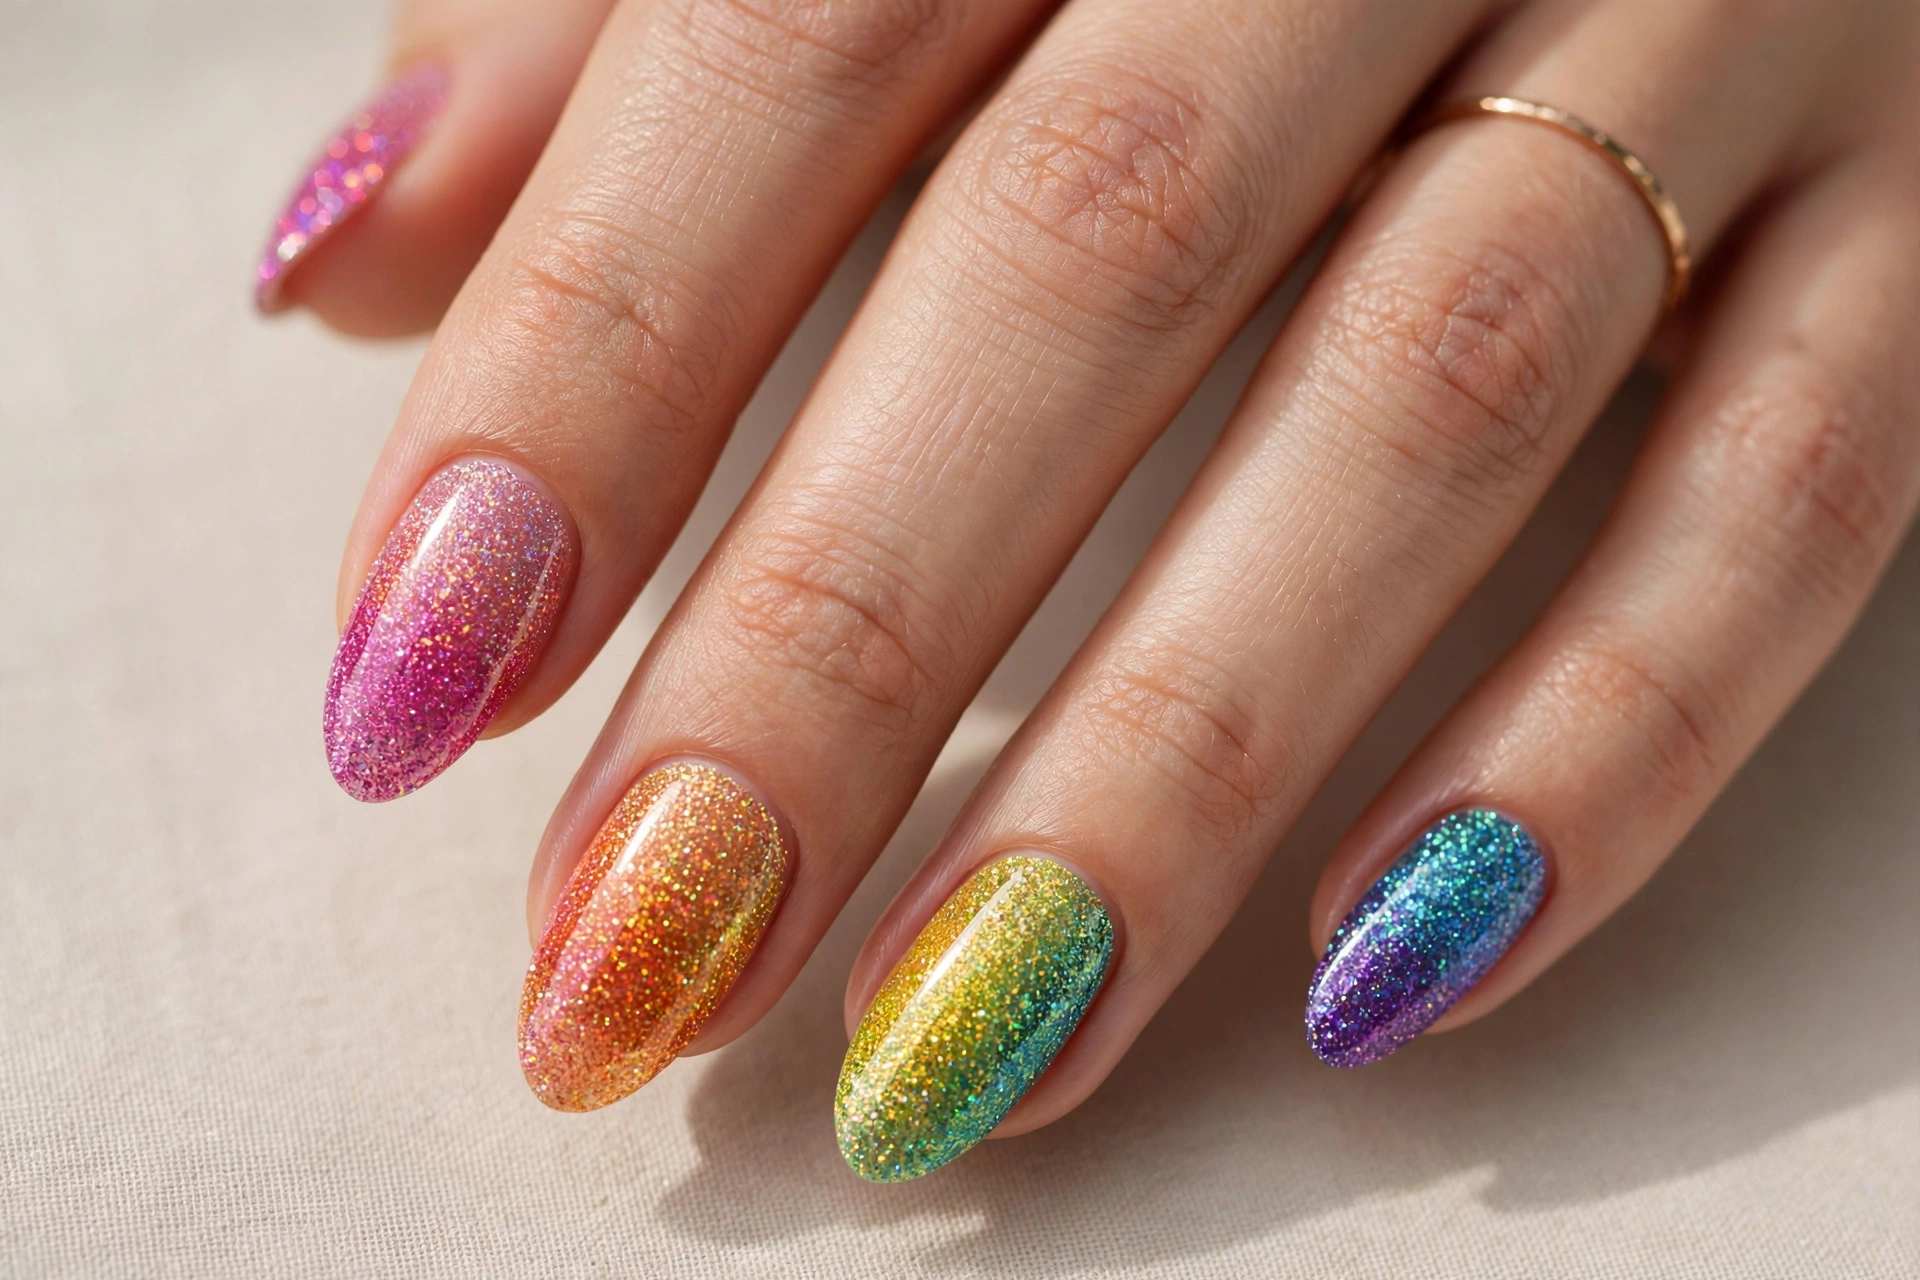
If regular glitter is fun, rainbow glitter ombré is a full celebration. Each nail fades through glitter shades — pink into orange, green into blue, purple into teal — so your whole hand looks like it is sparkling in a different color from every angle. The gradient effect gives the manicure depth that a single glitter shade never could.
This is the design to choose for parties, weddings, or any night you want your hands to be noticed. It suits all nail lengths and it hides chips well, since the glitter texture is forgiving. If you want even more sparkle, these glitter nail designs have plenty of extra ideas. Apply the glitter over a matching base color and blend the edges with a sponge for the smoothest fade.
9. Pastel Doodle Nails
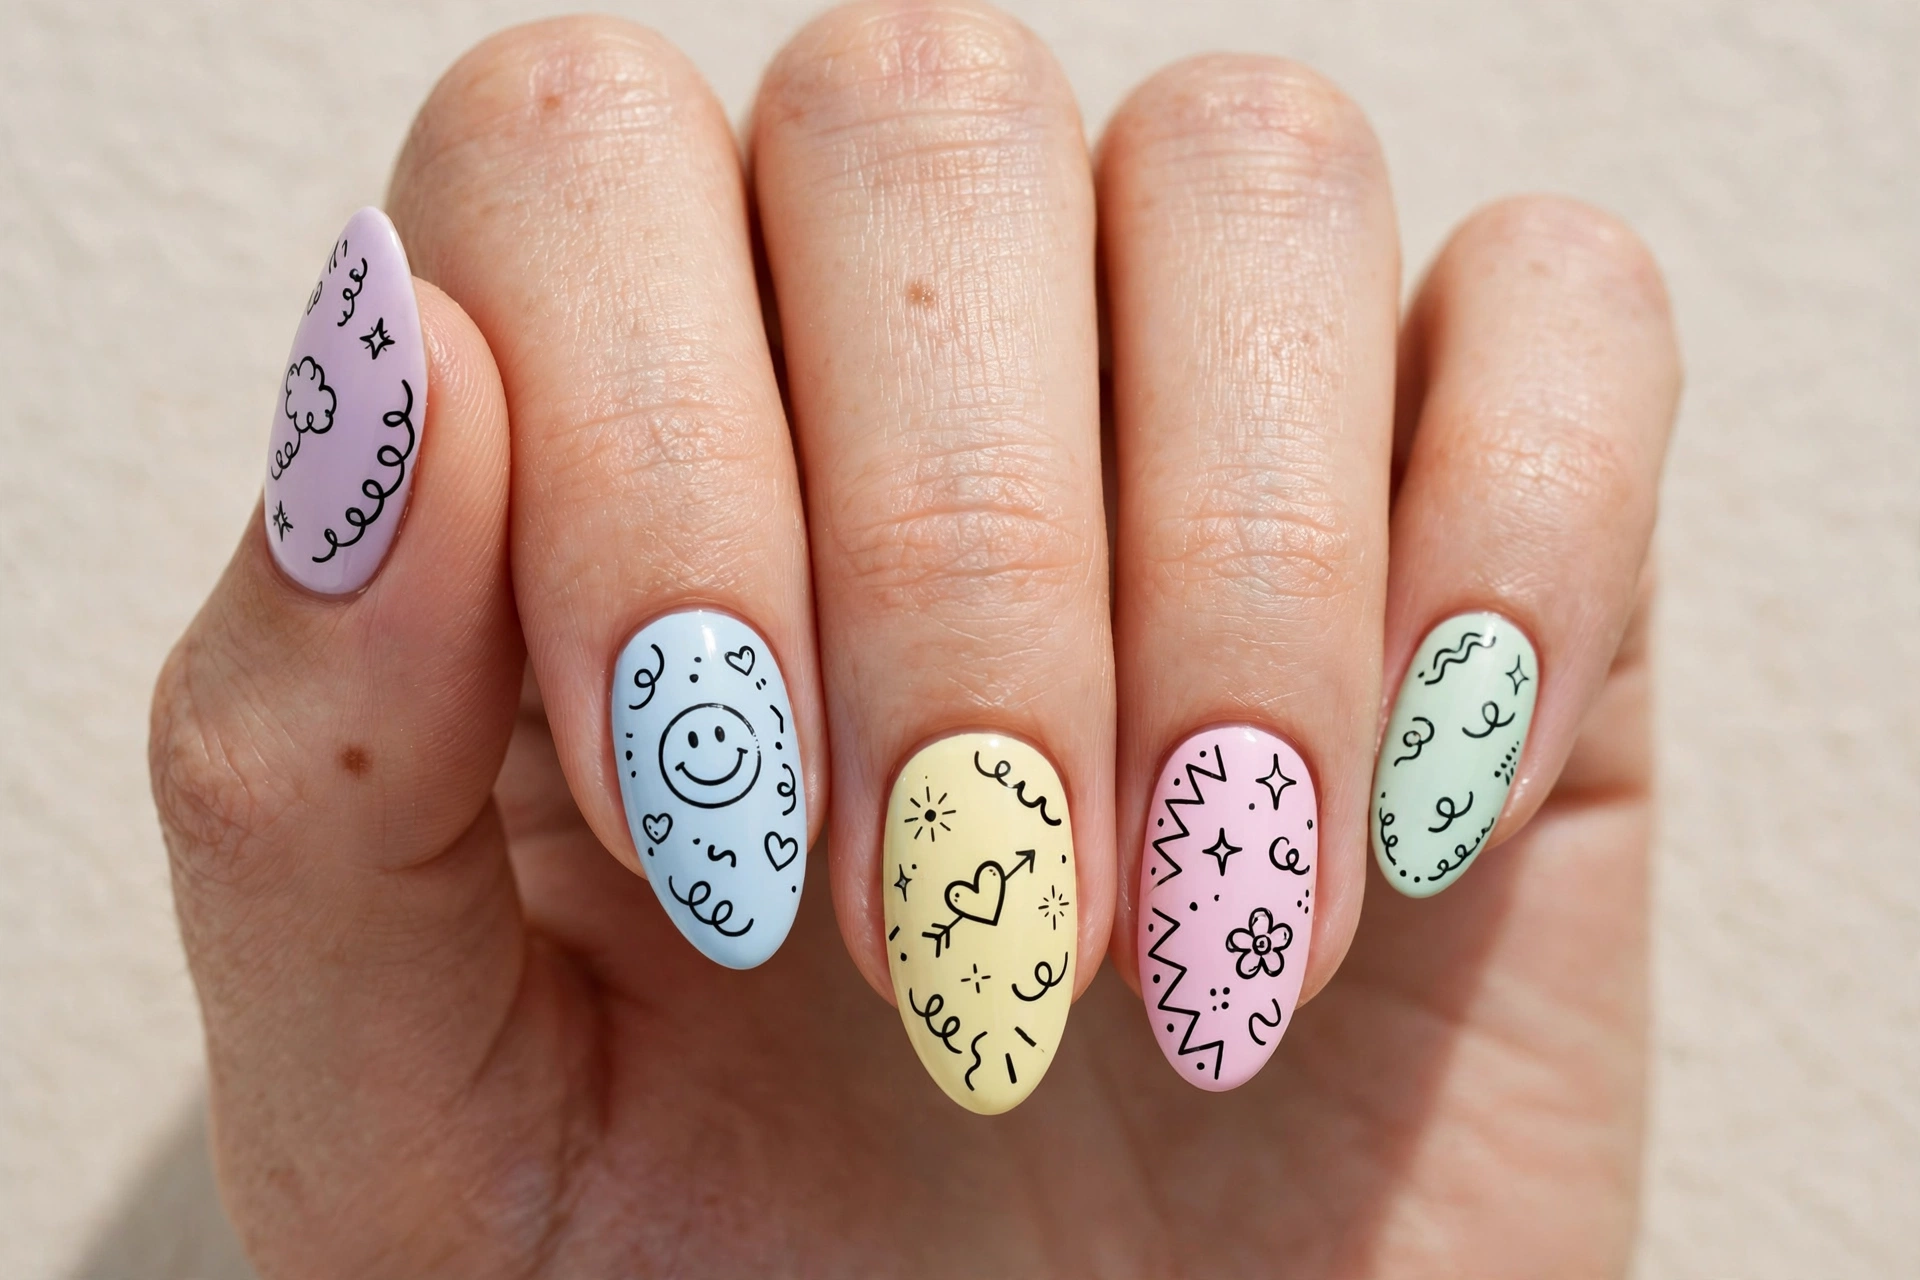
Pastel doodle nails look like a page from a sketchbook, in the best way. Each nail gets a soft pastel base — lilac, baby blue, butter yellow, mint, pink — and then tiny black doodles: smiley faces, hearts, stars, squiggles, and flowers drawn on top like pen art. The mix of soft color and playful line art is sweet without being childish.
This design is perfect for anyone who loves cute, artsy details and wants something a little different from standard nail art. It works beautifully on medium-length almond nails. Use a very thin nail art pen or a fine brush for the doodles, and keep each nail’s doodle simple — one or two motifs per nail is plenty. A matte or glossy top coat both work, depending on whether you want a sketchbook or a polished finish.
10. Neon Paint Splatter
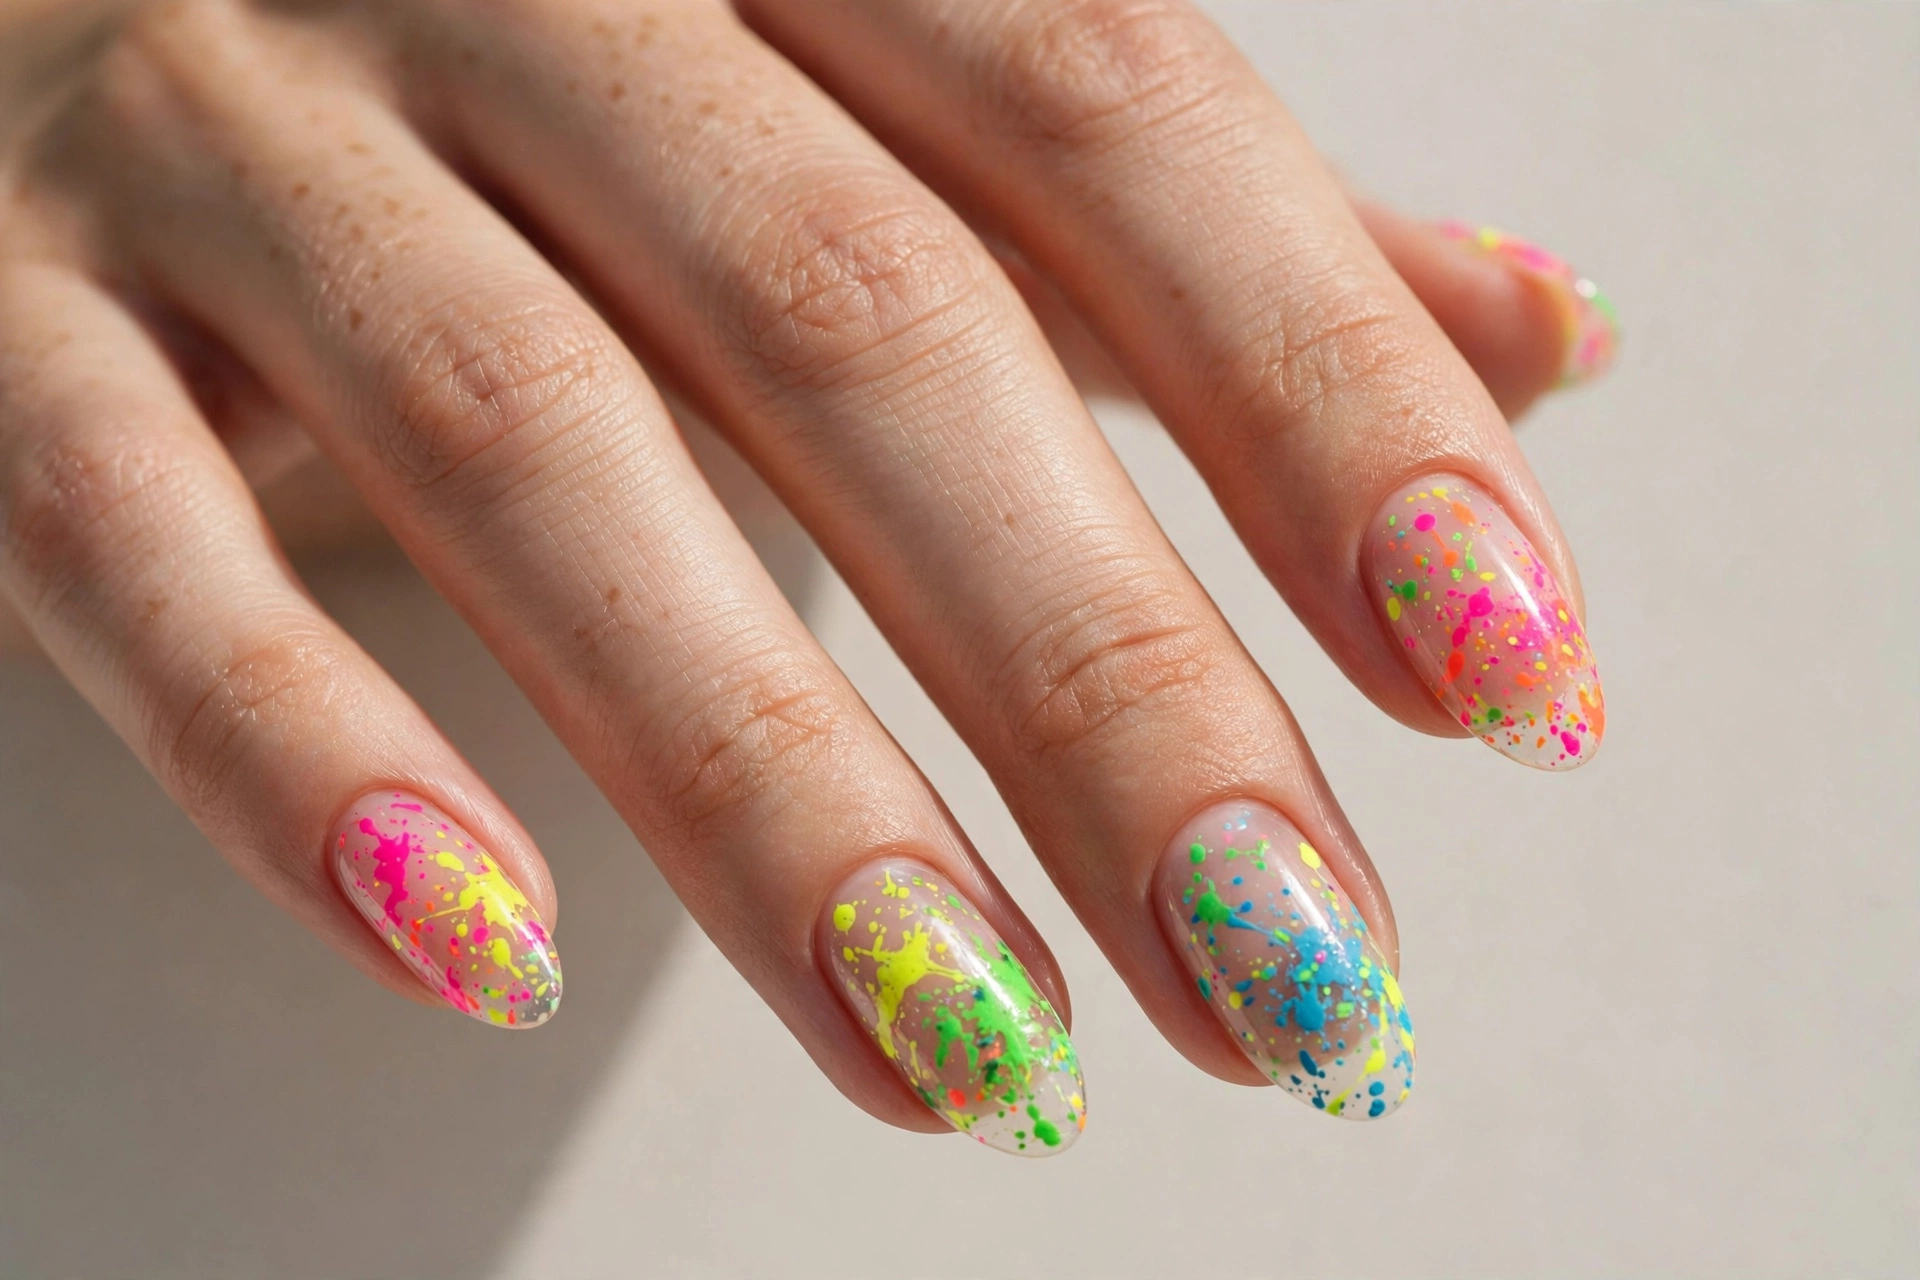
Neon paint splatter nails are pure creative chaos, and that is exactly the point. Bright neon pink, green, blue, and yellow are flicked and splattered over a clear base, like a tiny art project on each nail. The randomness is what makes them so fun — you genuinely cannot mess them up.
This design suits adventurous spirits, festival goers, and anyone who wants a manicure that looks like wearable art. It works on any nail length, and the clear base keeps it feeling light rather than heavy. To do it at home, dip a small brush or an old toothbrush in neon polish and flick it over your nails, protecting your skin with tape or liquid latex around the cuticles. Finish with a glossy top coat to lock in the splatter.
11. Tiny Rainbow Hearts
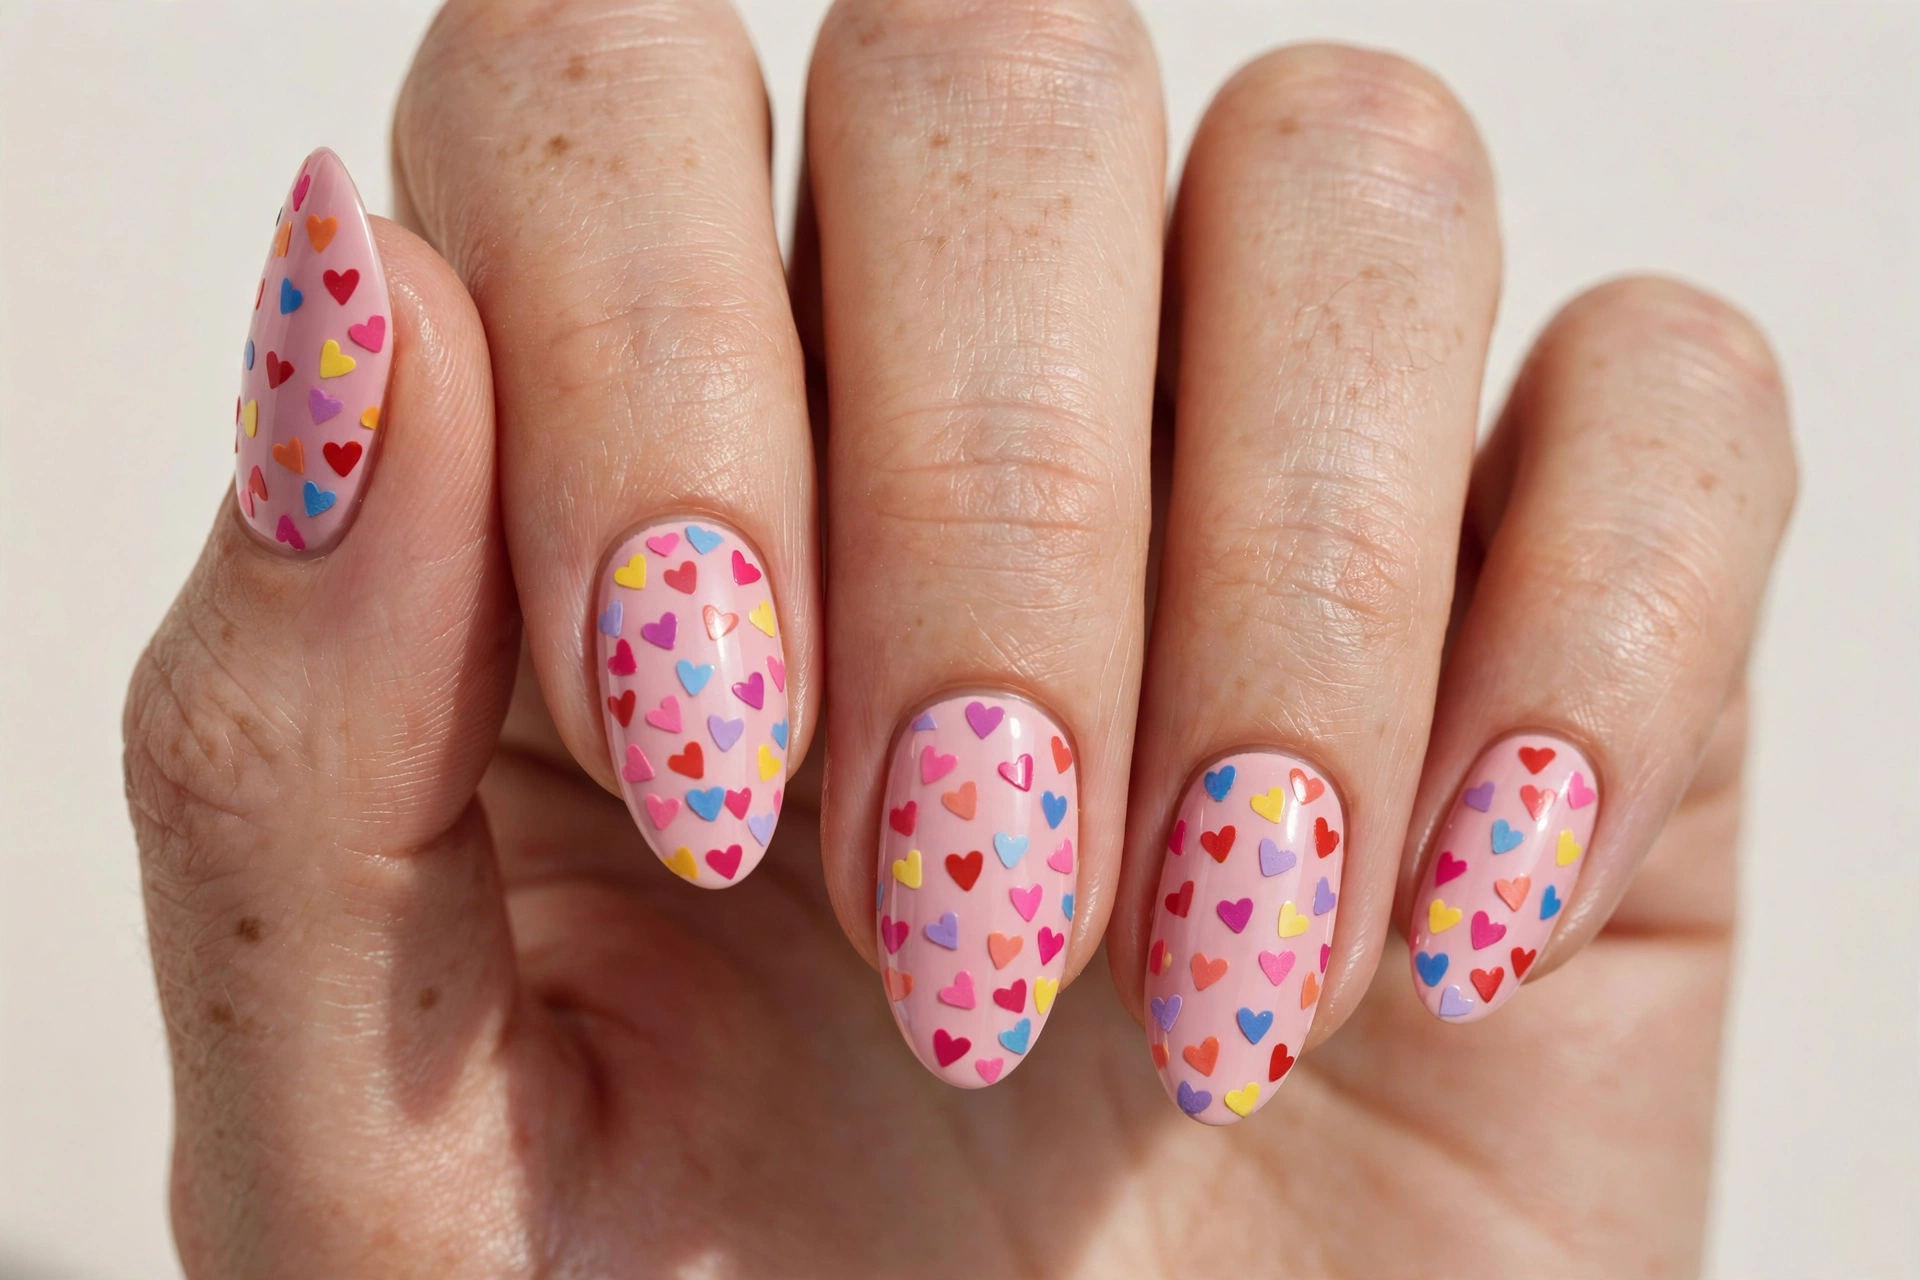
Tiny rainbow hearts scattered over a soft pink base are about as sweet as nails get. The little hearts in red, yellow, blue, purple, and orange look like confetti made of love, and the pink background keeps the whole manicure feeling soft and romantic rather than loud.
This design is lovely for date nights, Valentine’s season, or just because you feel like spreading a little joy. It suits short and medium nails beautifully, since the small hearts do not need much space. If tiny hearts feel fiddly to paint freehand, heart stickers or a stamping plate give the same result in minutes. For more sweet inspiration, these cute fingernail designs are full of gentle, wearable ideas that pair perfectly with this one.
12. Pastel Rainbow French Tips
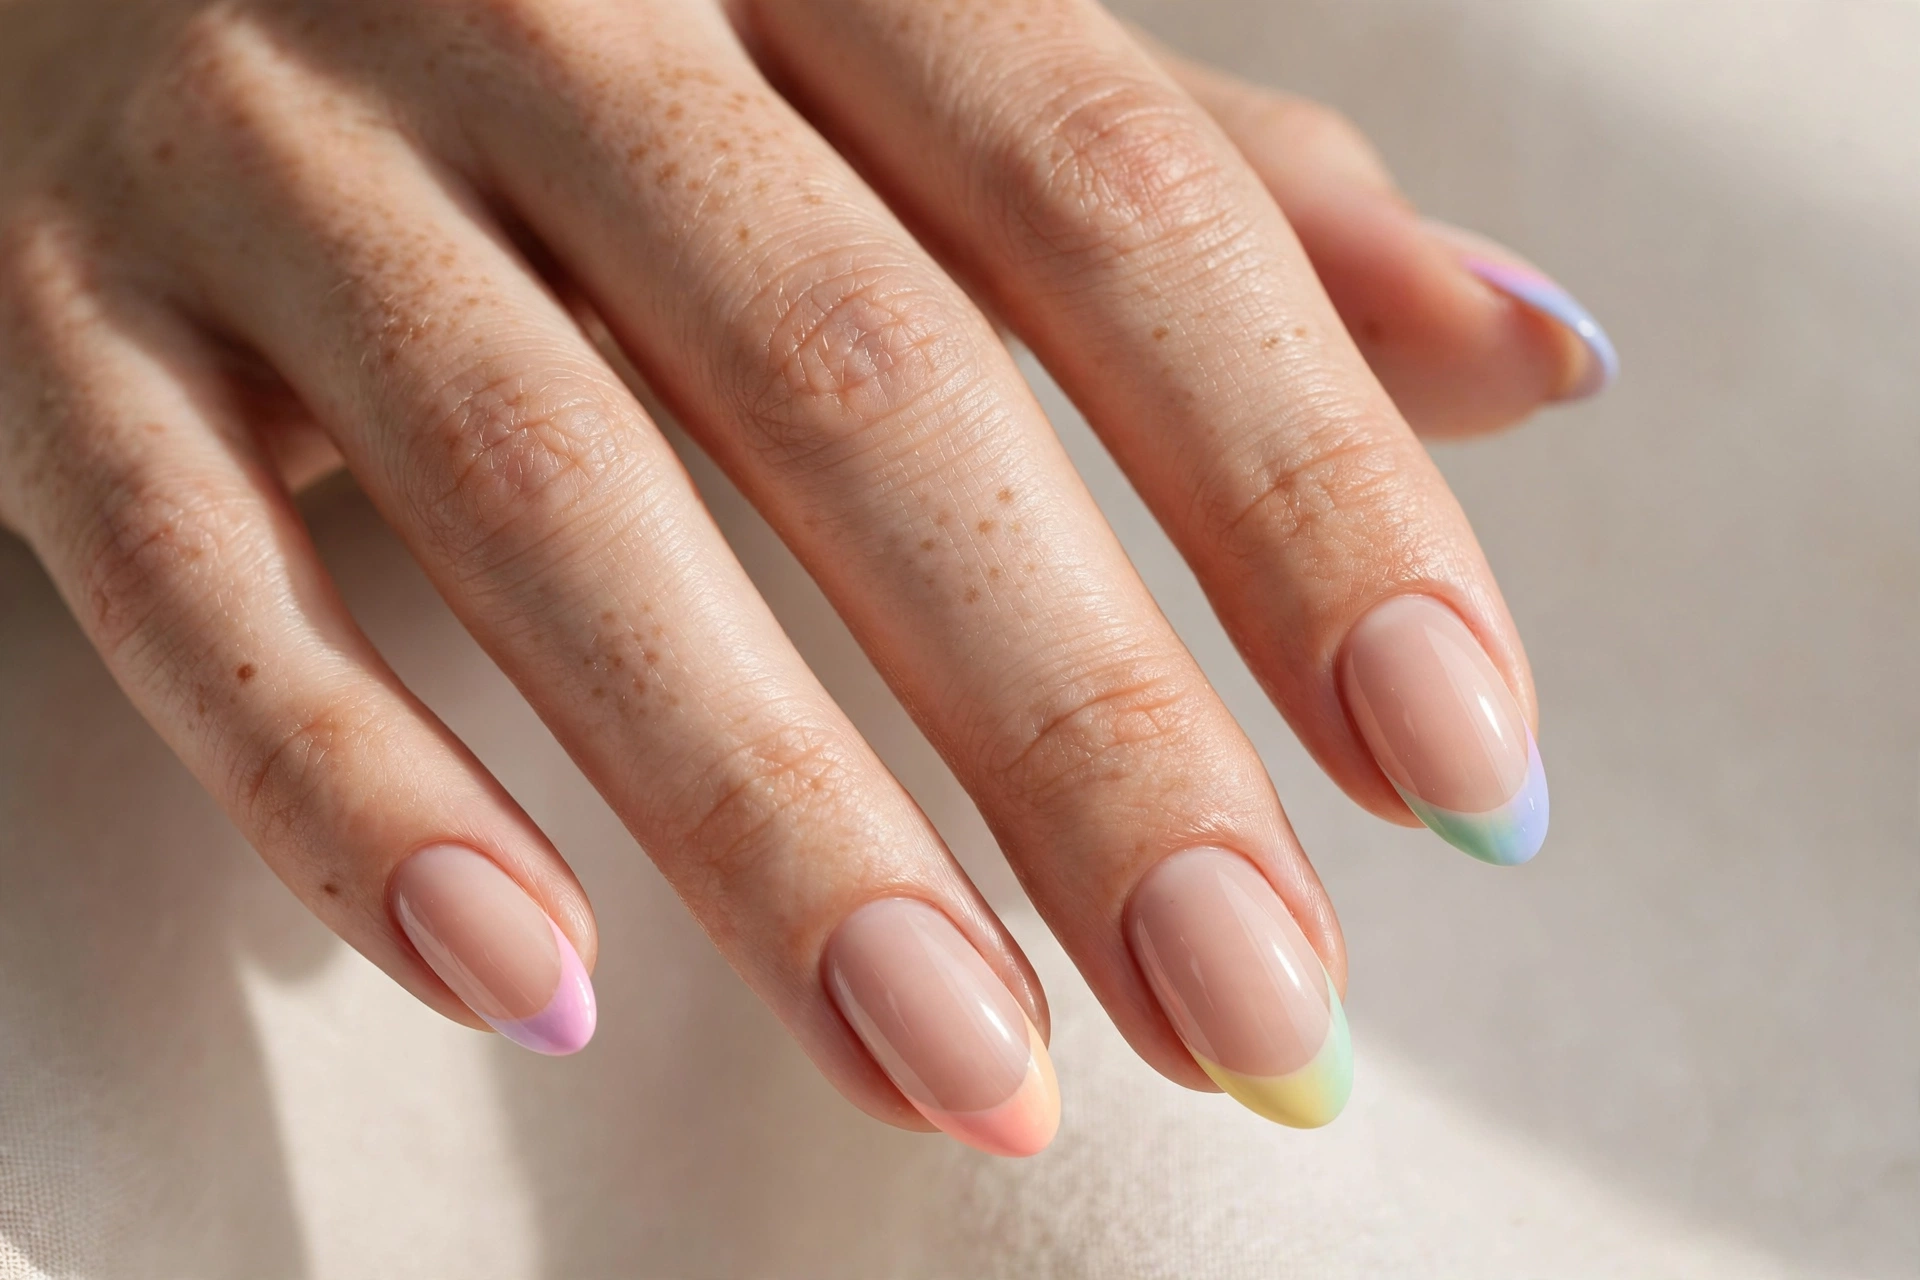
Pastel rainbow French tips are the grown-up way to wear fun nails. Each nail keeps a sheer nude base, but the tip is painted a different pastel shade — lilac, peach, mint, butter yellow, baby blue. The result is colorful yet refined, like a classic French manicure that learned how to have fun.
This design is ideal for work-friendly color, weddings, and anyone who wants playful nails that still look polished. It suits every nail shape, but it looks especially elegant on almond and oval nails. Use French tip guides or a steady hand with a flat brush to keep the smile lines neat, and paint each tip a different pastel for the full rainbow effect. Two thin coats per tip give the cleanest color.
13. Neon Animal Print
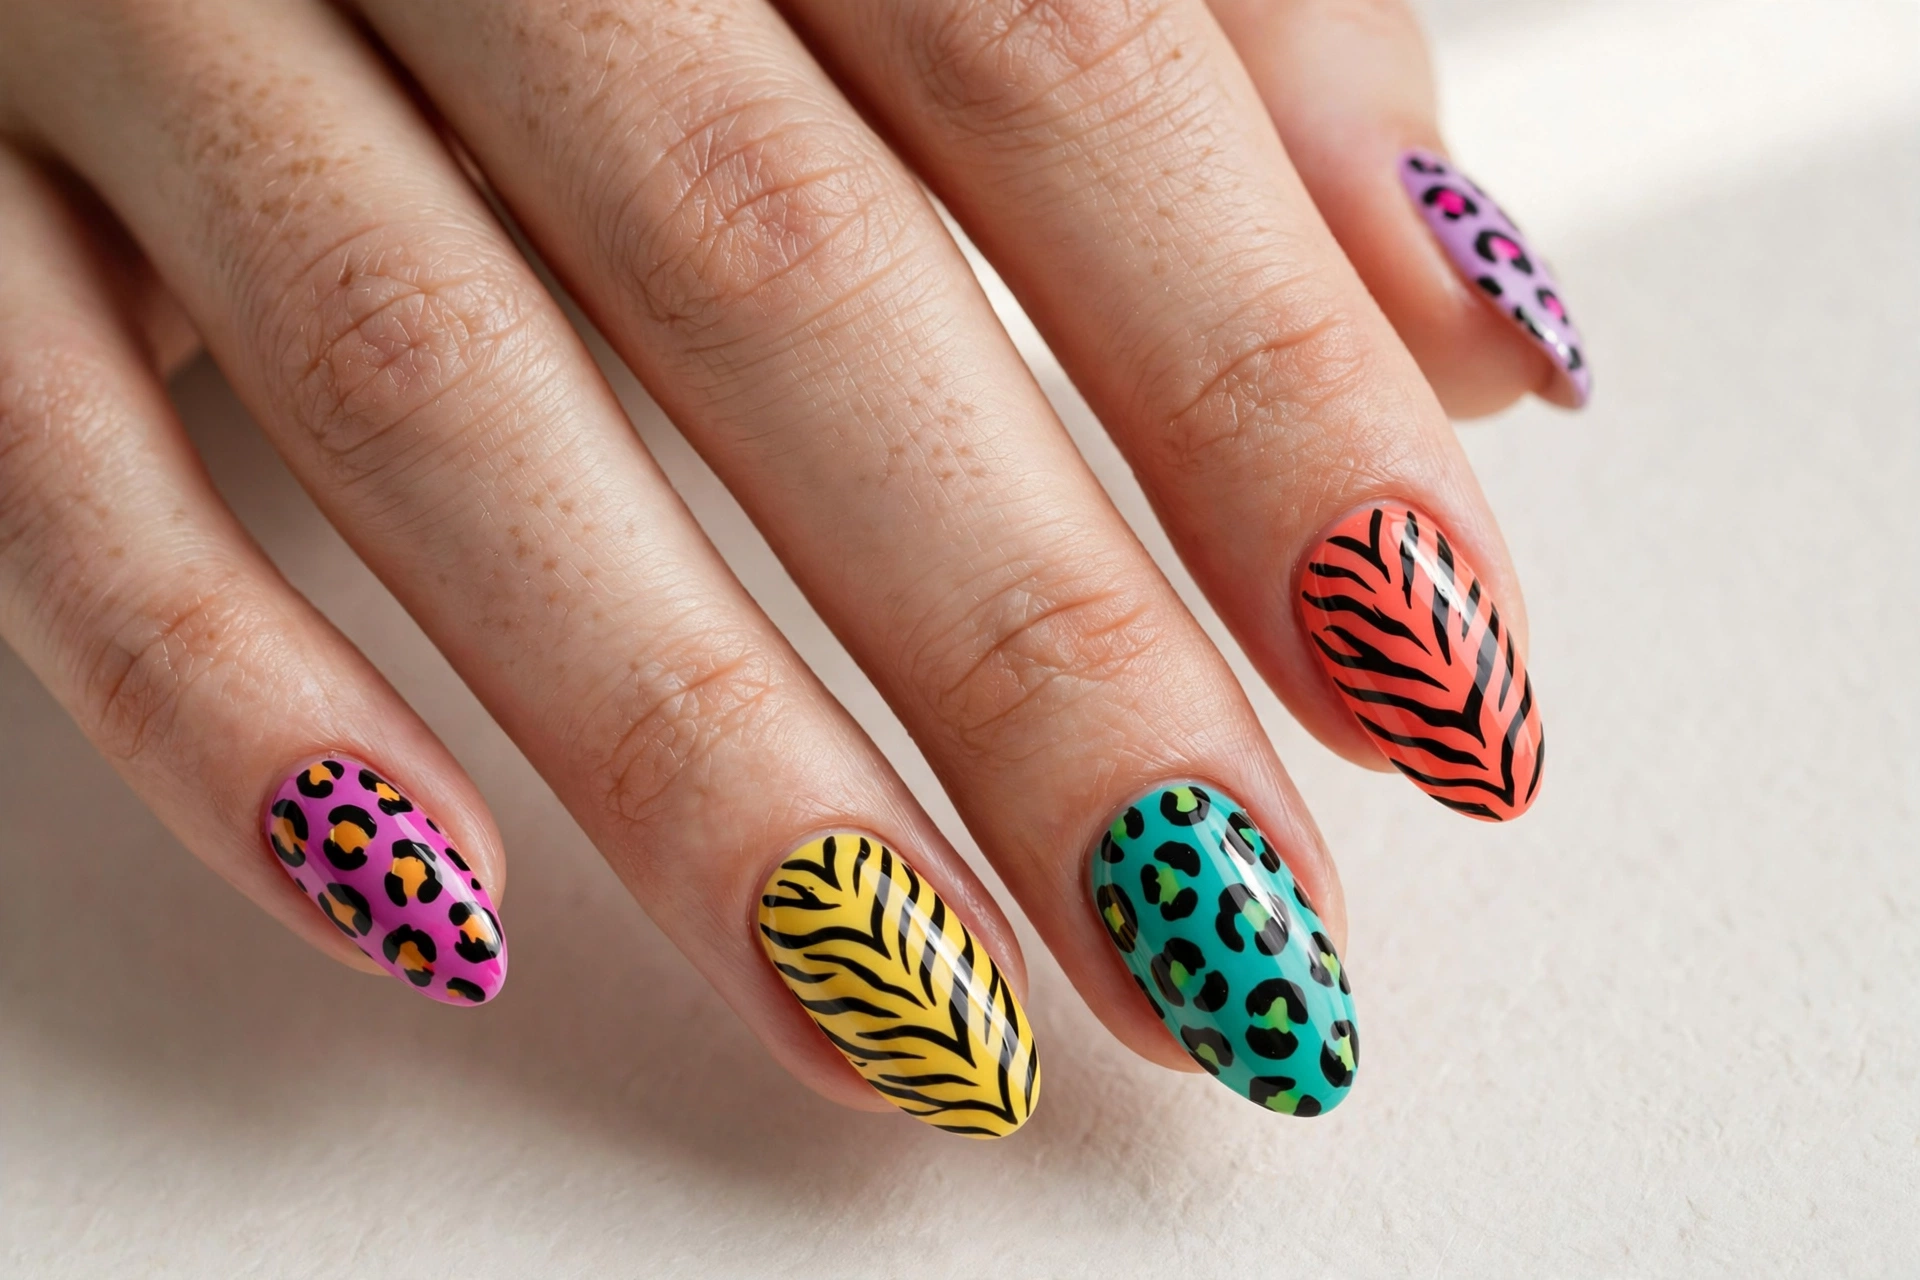
Neon animal print takes a classic pattern and turns the brightness all the way up. Leopard spots on hot pink, zebra stripes on sunny yellow, wild prints on teal and coral — every nail is a different neon jungle. The mix of prints keeps the manicure exciting, and the neon colors make it impossible to ignore.
This design is made for bold personalities, nights out, and summer holidays. It looks best on medium to long nails where the prints have space to show. Start with your neon base colors, then add the black spots and stripes with a thin brush or dotting tool. Do not aim for perfection — real animal prints are irregular, and that irregularity is what makes them look authentic.
14. Midnight Stars and Moons
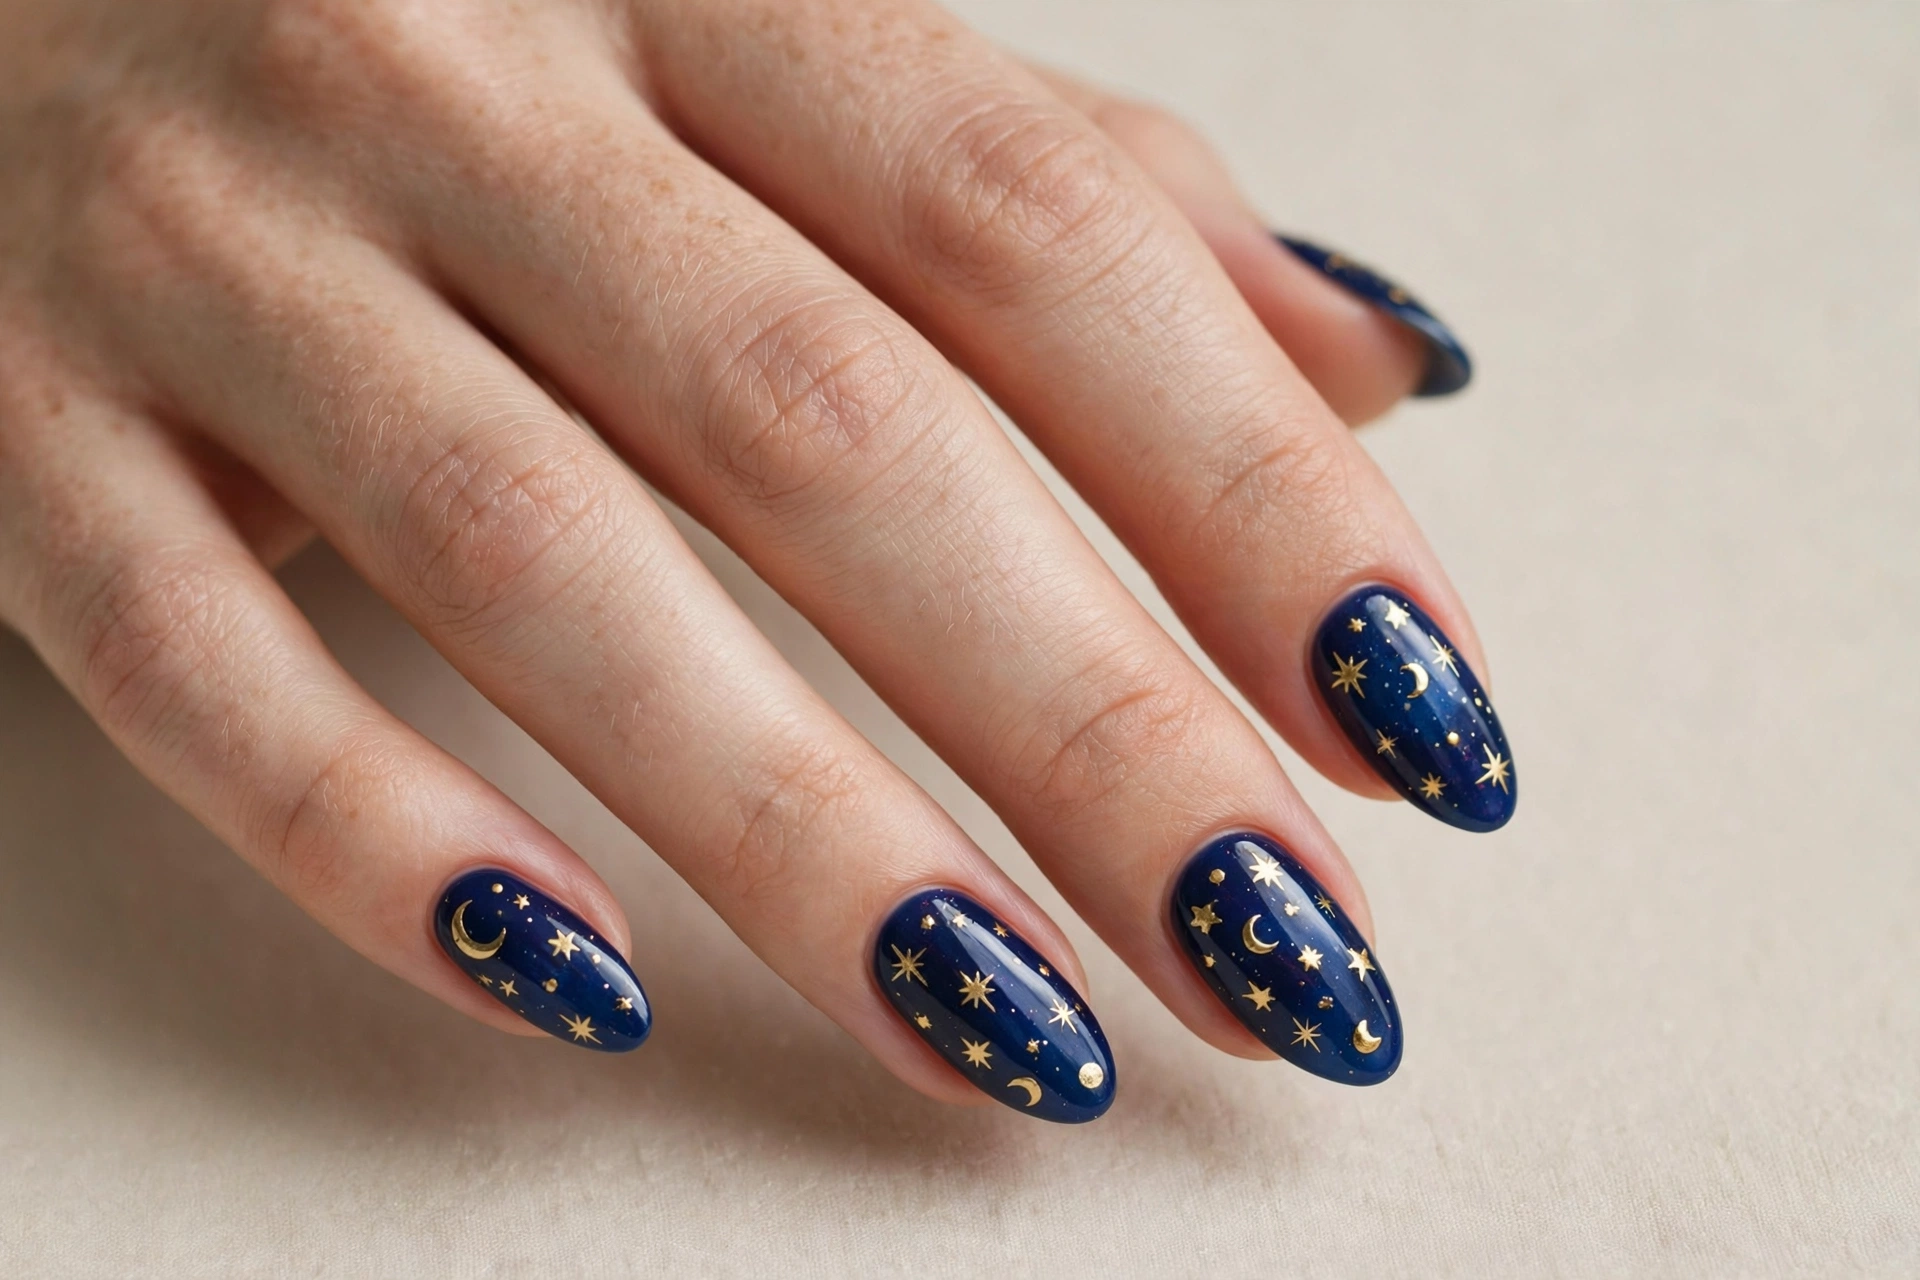
Midnight stars and moons nails are fun with a touch of magic. A deep navy base is scattered with gold stars, crescent moons, and tiny sparkles, like a clear night sky on your fingertips. The dark background makes the gold details glow, and the whole look feels dreamy rather than loud.
This design suits evening events, winter parties, and anyone who loves celestial themes. It works on all nail lengths and looks especially striking on shorter nails where the contrast is concentrated. Paint two coats of deep navy, then add the stars and moons with gold polish and a dotting tool, or use gold star stickers for a quicker version. A glossy top coat makes the gold shine like real starlight.
15. Candy Stripe Nails
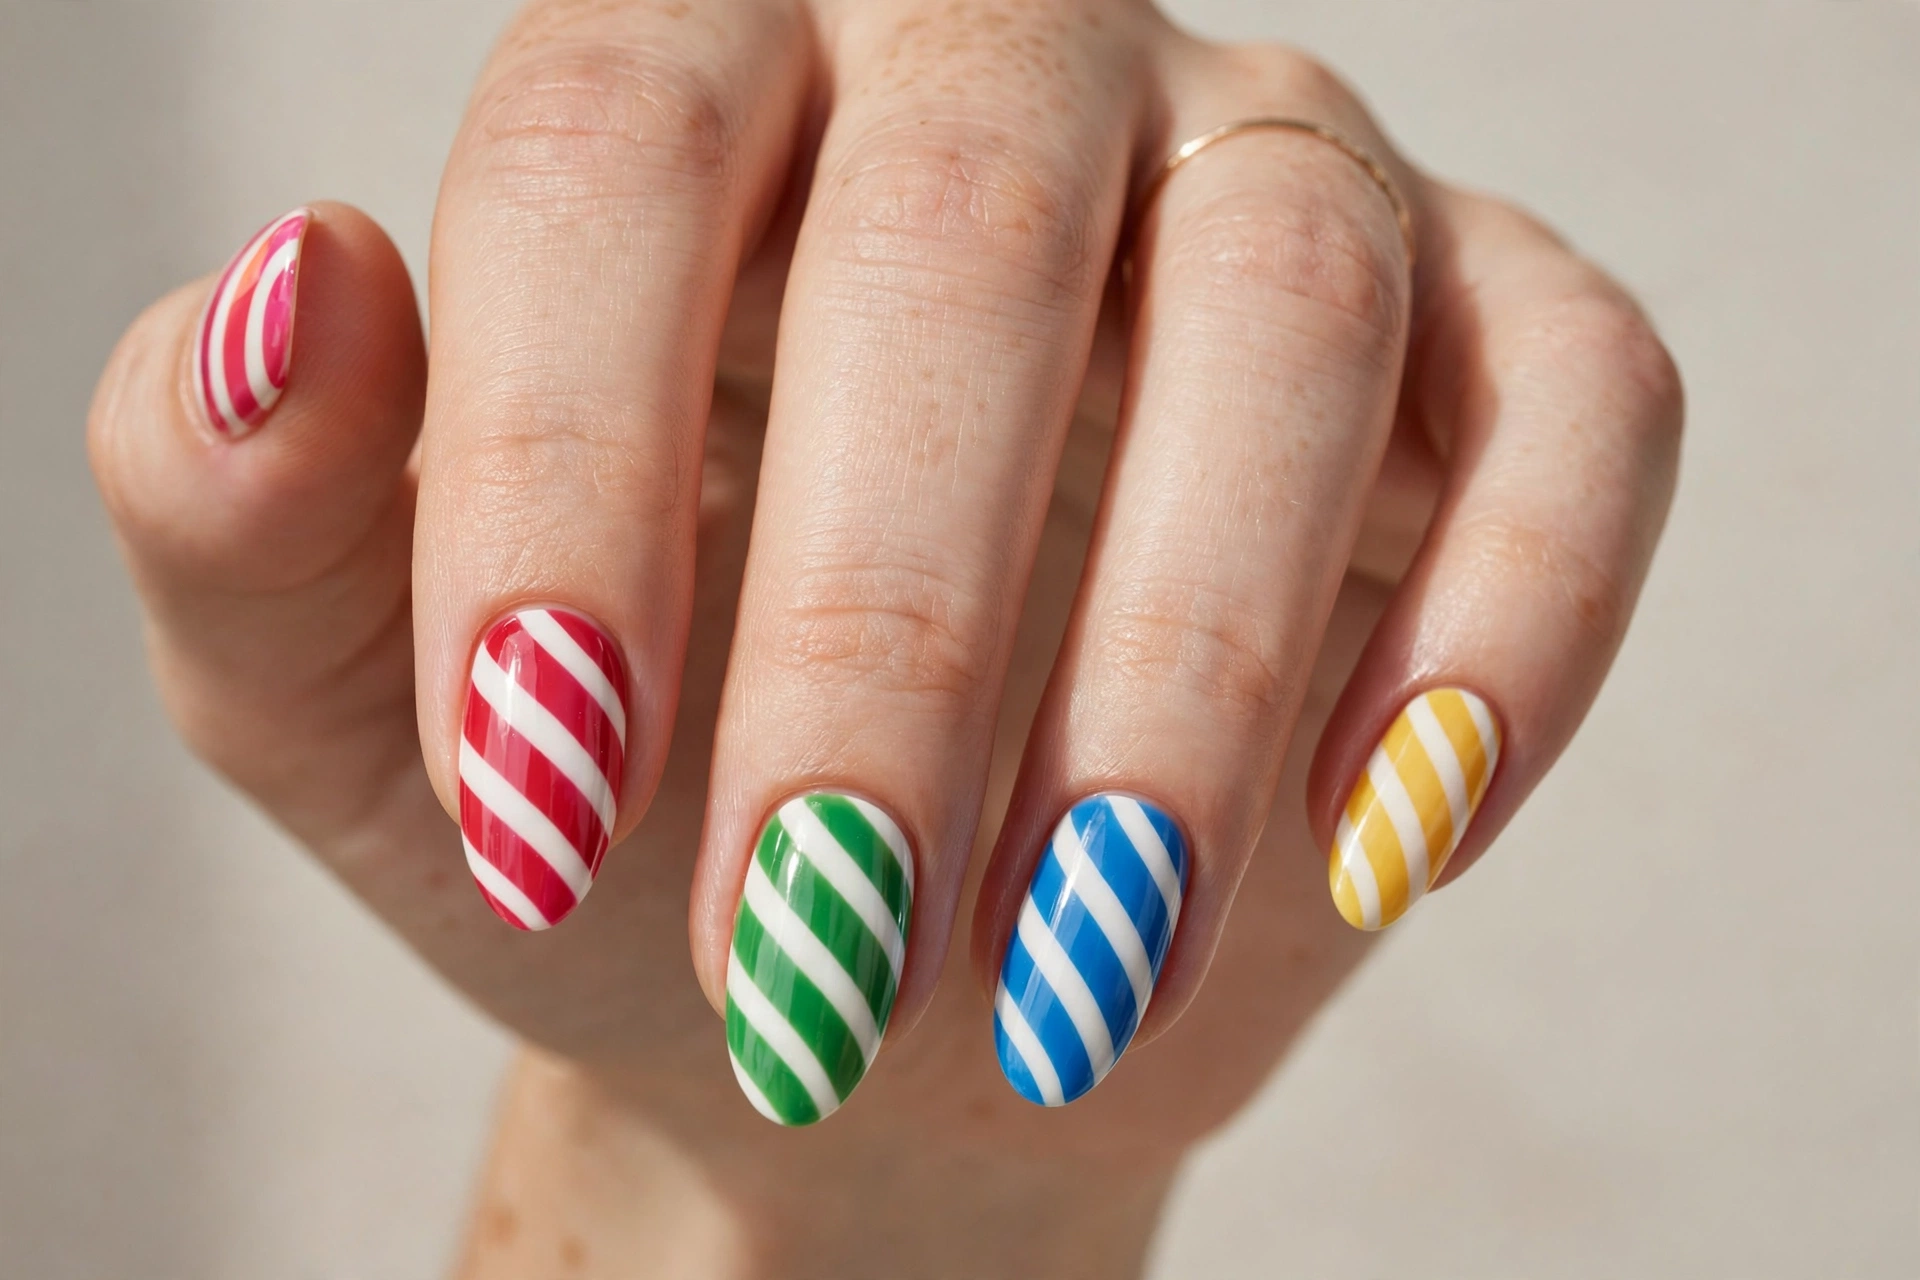
Candy stripe nails look good enough to eat. Diagonal stripes in cherry red, mint green, sky blue, and lemon yellow over a white base give every nail a sweet-shop feel. The diagonal angle keeps the stripes feeling dynamic, and the mix of colors across the hand makes the manicure feel like a pick-and-mix bag.
This design is perfect for summer fairs, birthday parties, and anyone who loves retro candy style. It suits medium-length nails best, where the diagonal stripes have room to run. Striping tape is the easiest way to get crisp lines: lay the tape diagonally, paint over it, and peel it off while the polish is still slightly wet. A glossy top coat smooths the edges and makes the colors shine.
16. Holographic Chrome
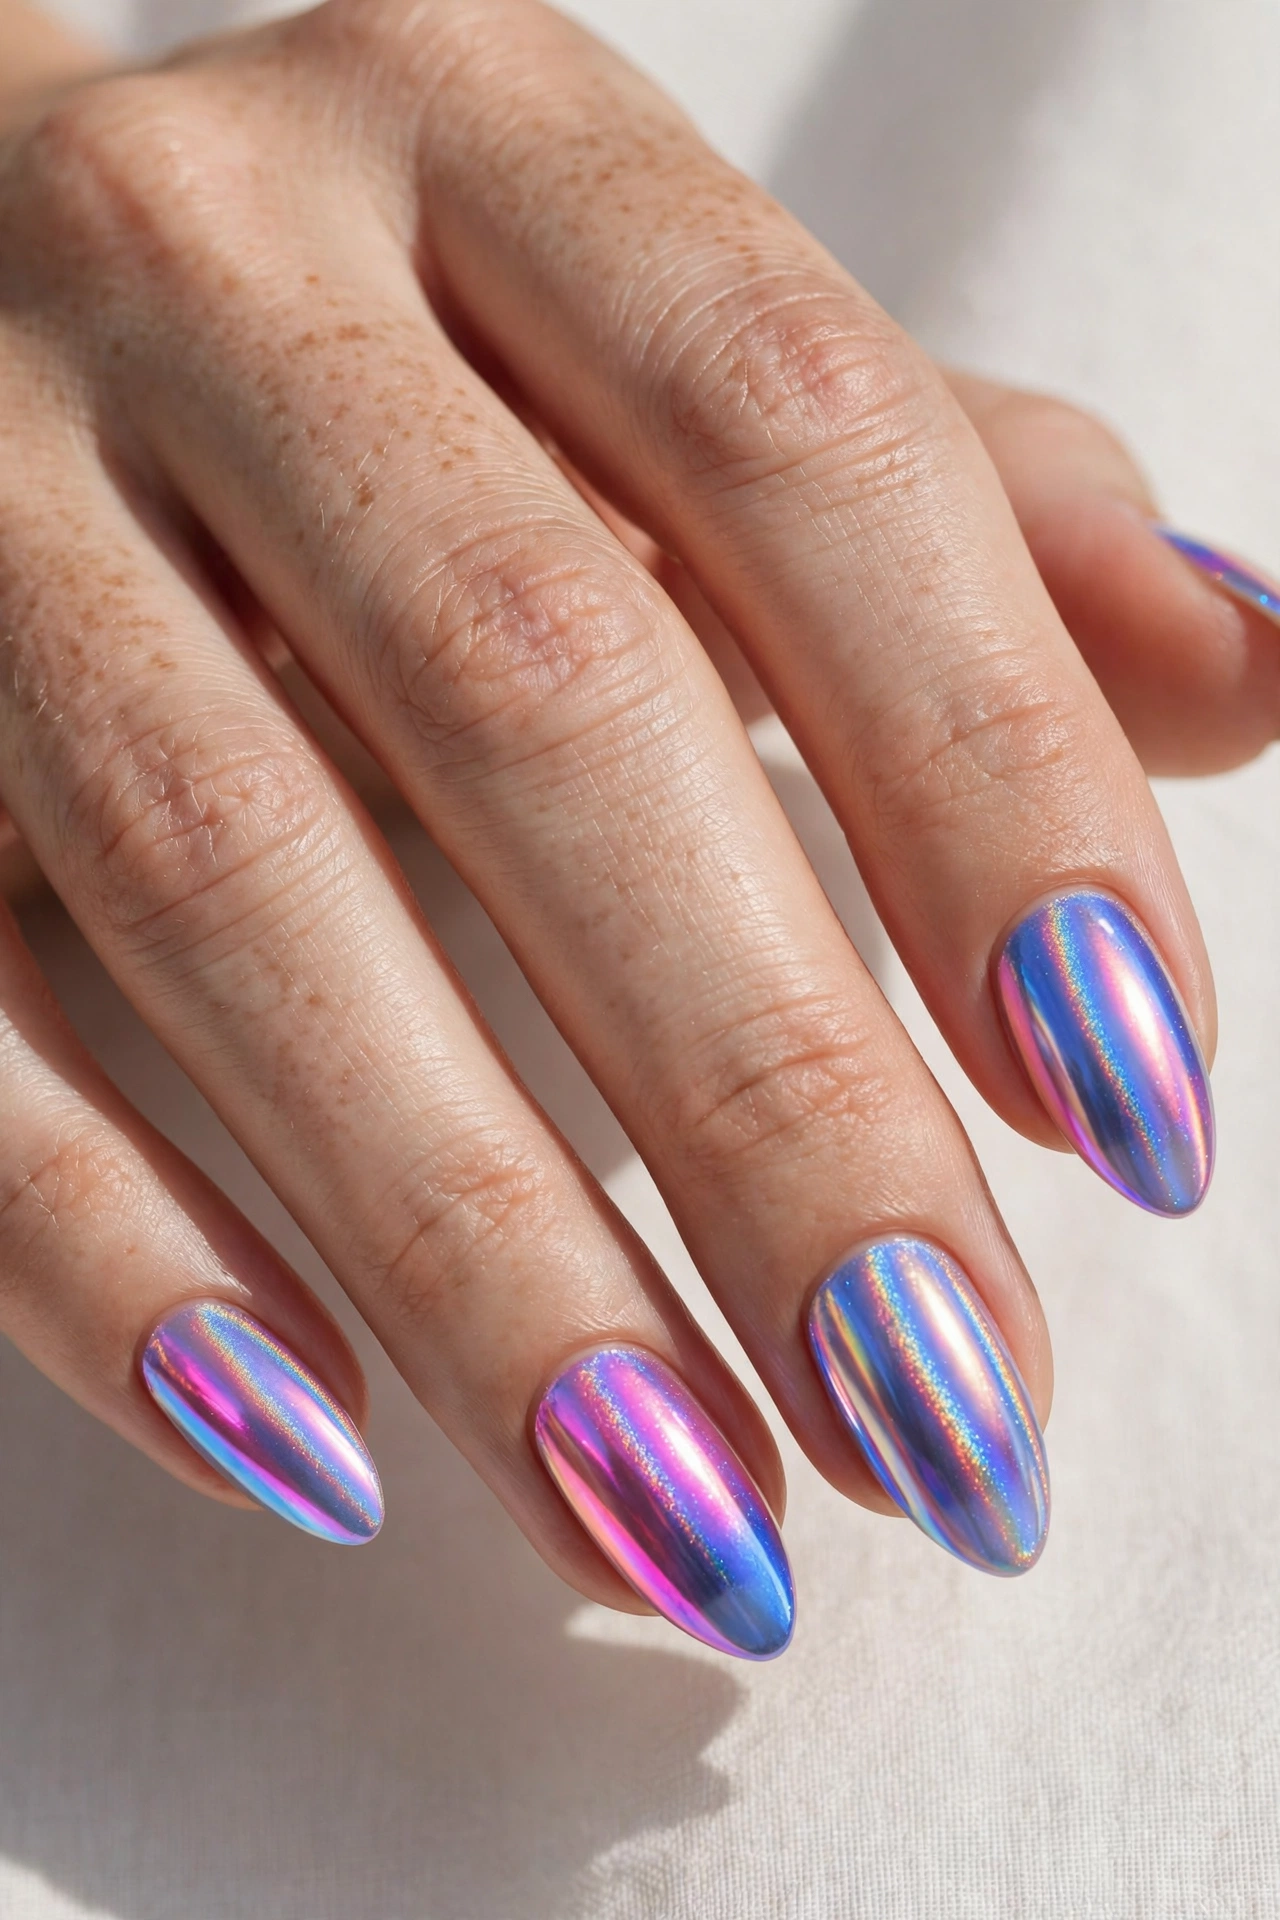
Holographic chrome nails are pure fun for anyone who loves a color shift. The chrome powder catches the light and flips between pink, blue, and purple as you move your hands, so your manicure never looks the same twice. The mirror-like shine makes even a simple solid color feel futuristic and eye-catching.
This design suits party season, concerts, and anyone who wants maximum impact with minimum artwork. It looks stunning on almond and coffin shapes, where the curved surface shows off the color shift best. Apply the chrome powder over a dark base with a no-wipe gel top coat for the strongest holographic effect, then seal it well so the chrome does not dull. The result is a manicure that practically glows.
17. Mix-and-Match Pastel Mismatch
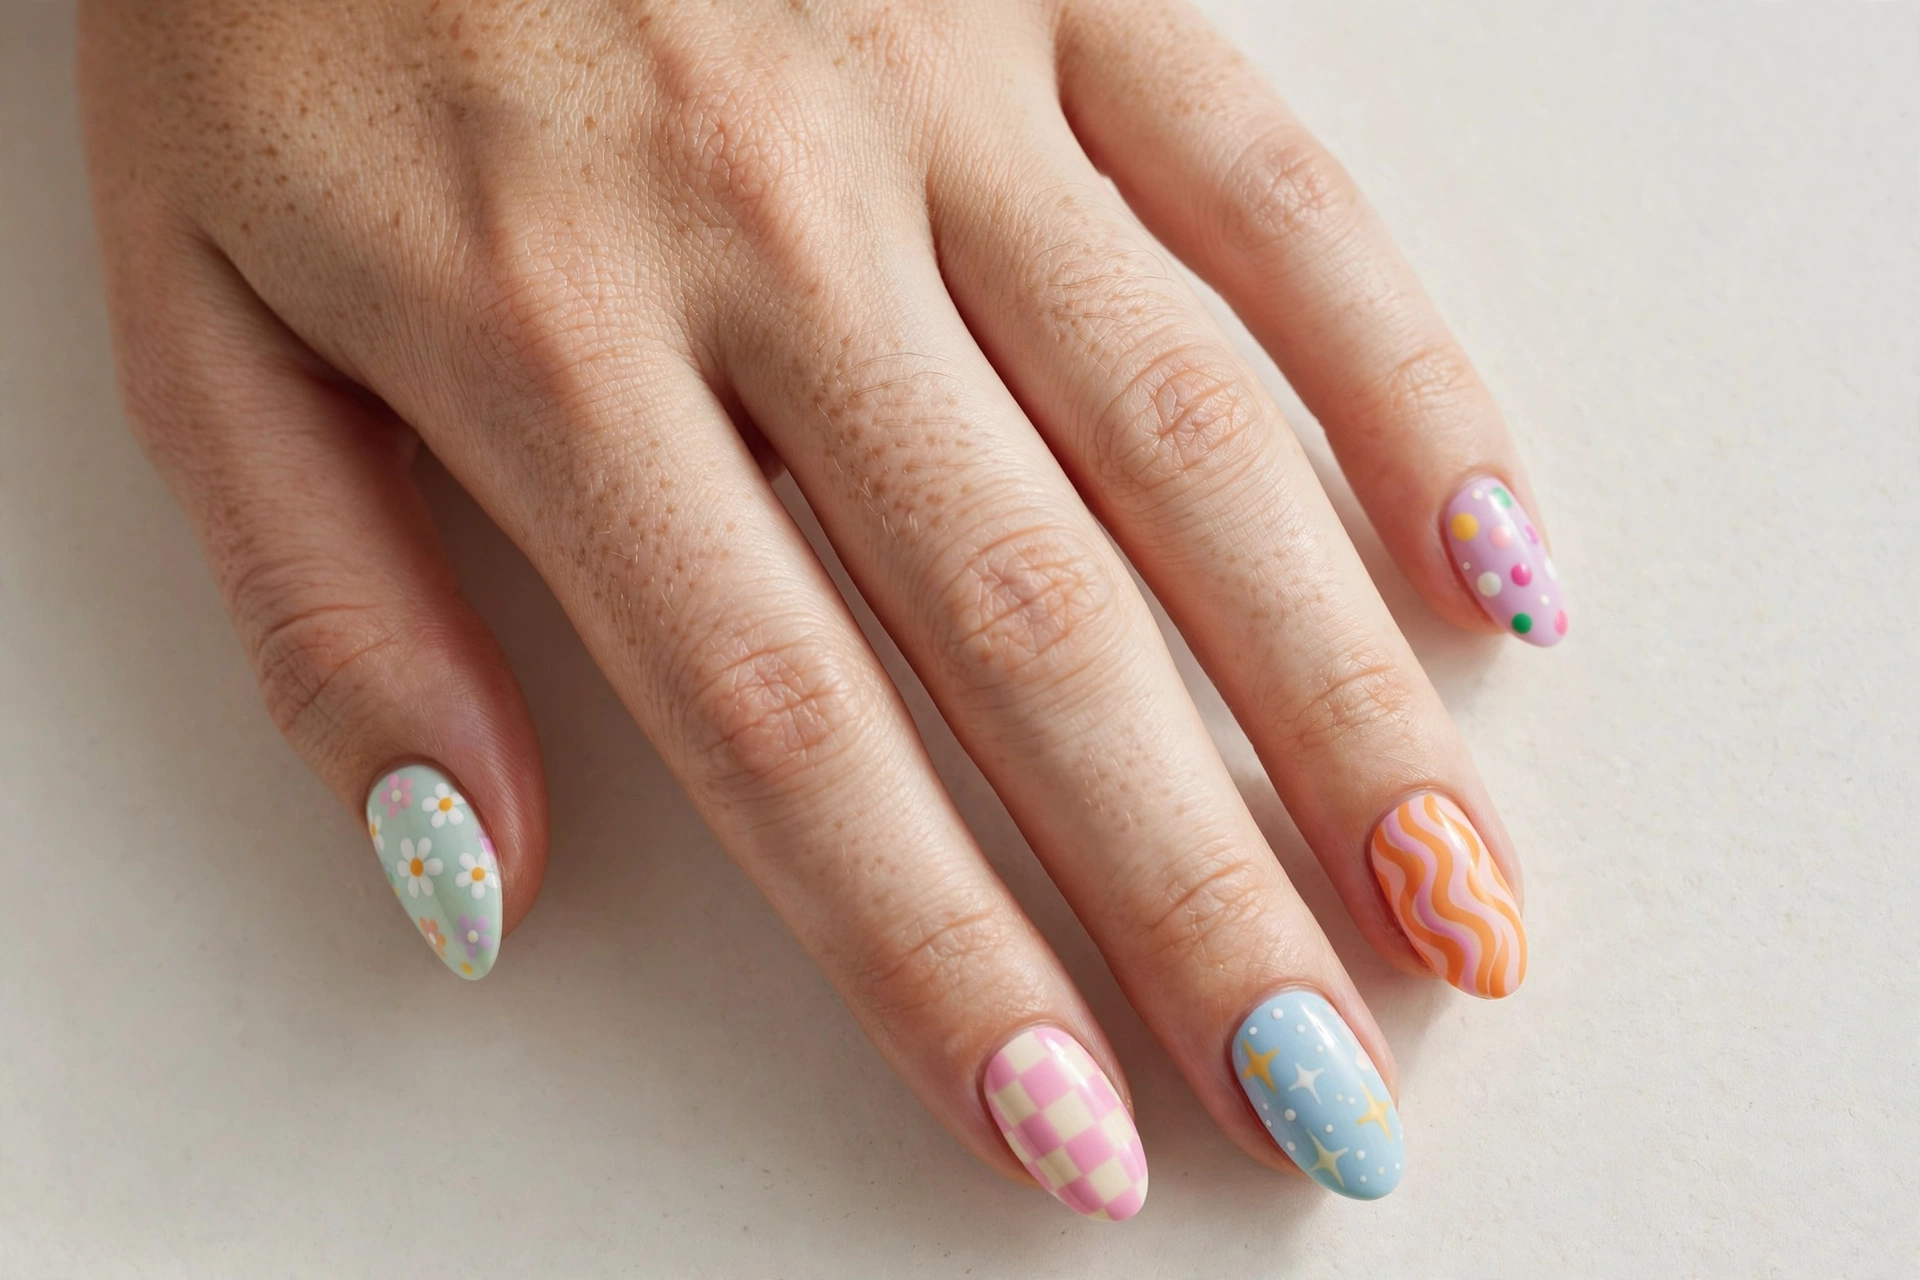
Mix-and-match nails are for people who cannot pick just one design — so they wear five. One nail gets daisies, another gets checkerboard, another gets stars, another gets wavy stripes, and the last gets polka dots, all in soft pastels. The mismatched set looks intentionally playful, like a curated little collection on one hand.
This design is perfect for creative types and anyone who gets bored of matching nails. It suits all lengths, and it is actually a great way to practice several techniques in one manicure. Keep the pastel palette consistent across all five nails so the mix feels cohesive rather than chaotic. If one design feels tricky, swap it for a simpler pattern — the mismatch style forgives everything.
How to Make Fun Nail Designs Last Longer
Bright, playful manicures deserve to last, and a few simple habits make a big difference. Start with clean, dry nails and push your cuticles back gently before you paint — polish sticks better to a smooth, oil-free surface. Always use a base coat, especially under neon and dark colors, or the shades can stain your natural nails. Apply your color in two thin coats rather than one thick one, letting each coat dry fully before the next, and cap the free edge of each nail with every layer including top coat.
For the design work itself, keep your tools simple: a dotting tool set and a thin detail brush cover almost every idea in this list. If you are building a nail art kit from scratch, this nail polish kit has the polishes, brushes, and dotting tools you need to try these looks at home. Once your manicure is done, wear gloves for washing up, reapply top coat every two or three days, and avoid using your nails as tools — that is the fastest way to chip even the toughest design.
Final Thoughts
Fun nail designs are a small change with a big payoff. They turn an ordinary week into something a little brighter, they start conversations, and they remind you not to take beauty too seriously. Start with one easy idea from this list — polka dots or candy stripes are great first picks — and work your way up to the trickier ones as your confidence grows.
The best manicure is the one that makes you happy when you catch sight of it, so pick the design that made you smile while reading and give it a try. Your nails are a tiny canvas, and there is no reason they should ever be boring.