20 Ideas for Nail Painting That Will Instantly Upgrade Your Manicure
Staring at a fresh bottle of polish and drawing a blank? You’re not alone — coming up with fresh ideas for nail painting is the hardest part of doing your own manicure. The good news is that you don’t need professional training or expensive salon tools to create nails that look genuinely impressive. With a few basic polishes, a steady hand, and the right inspiration, you can pull off designs that get compliments everywhere you go.
Whether you keep your nails short and practical or grow them long for a dramatic canvas, this collection has something for you. If you prefer shorter lengths, you might also love these cute nail designs for short nails that are adorable and easy to wear. Below, you’ll find twenty nail painting ideas ranging from simple weekend projects to show-stopping statement looks — each with tips on who it suits and how to achieve it at home.
Why Painting Your Own Nails Is Worth It
Learning to paint your own nails is one of those skills that pays off endlessly. Salon manicures add up fast, but a handful of quality polishes costs less than a single appointment and lasts for months of designs. Beyond the savings, there’s something deeply satisfying about creating your own nail art — it becomes a small creative ritual, a way to match your mood or the season, and a skill you can share with friends on a girls’ night in.
You also don’t need to be artistic to get great results. Many of the most striking designs — dots, gradients, foil accents — are beginner-friendly techniques that hide imperfections beautifully. Start with forgiving styles, invest in a decent base and top coat, and give yourself permission to redo a nail or two while you learn.
1. Classic French With a Pastel Twist
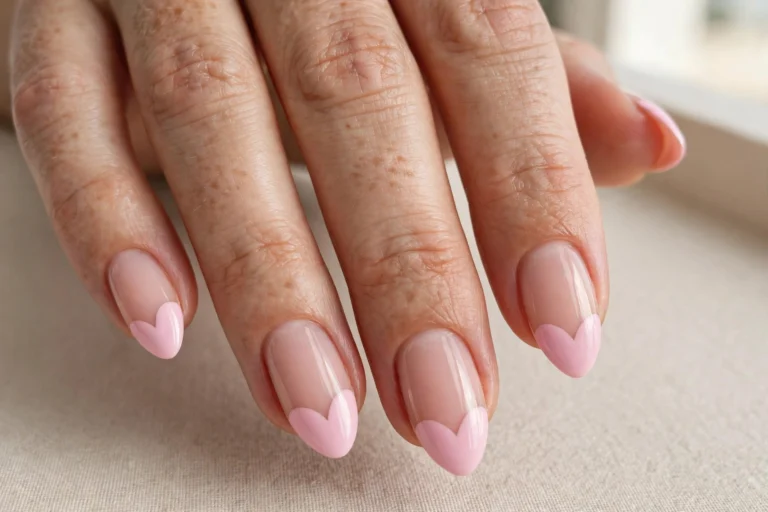
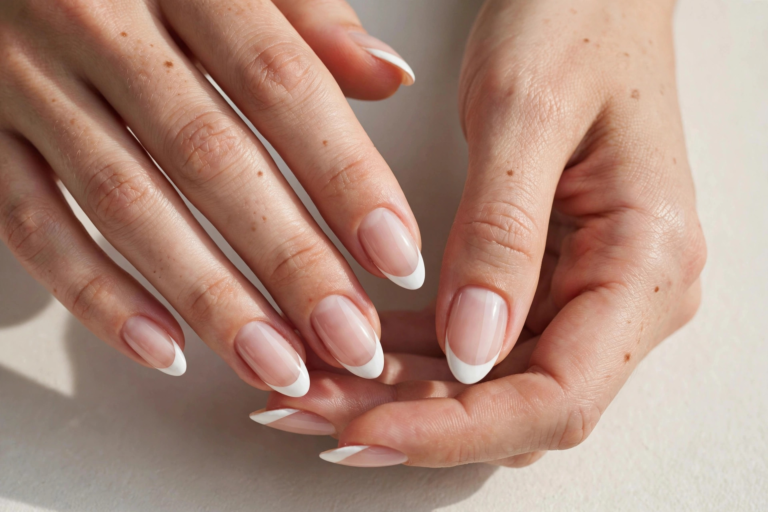
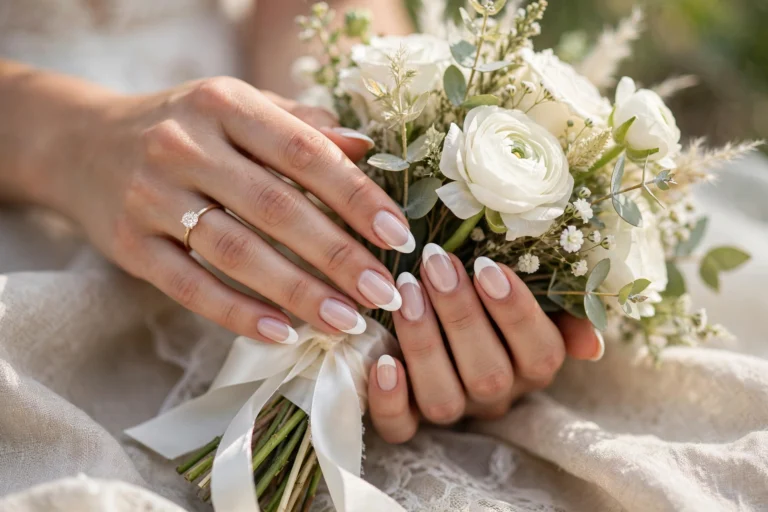
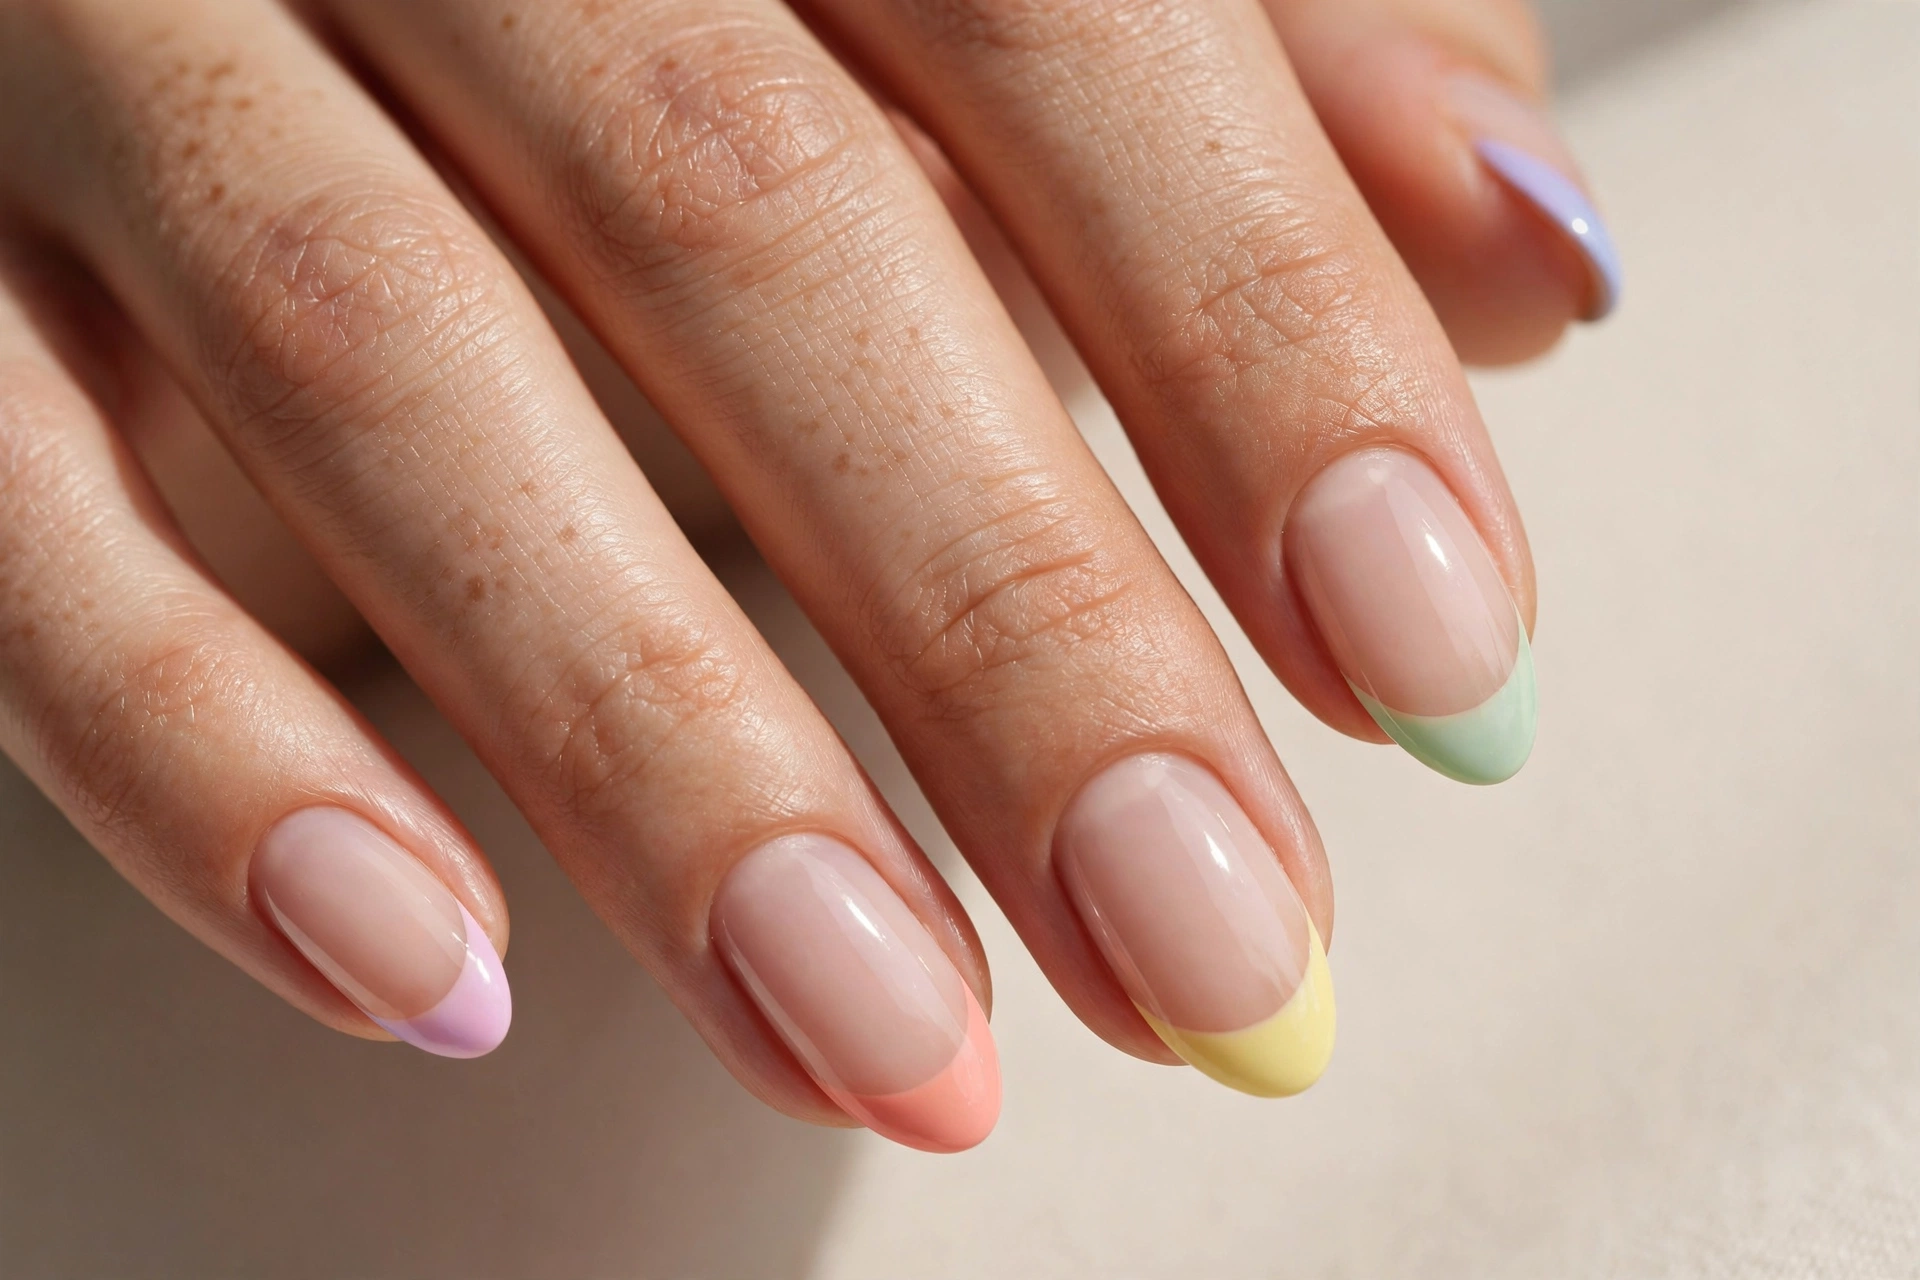
The French manicure never goes out of style, but painting the tips in soft pastel shades — baby pink, mint, lilac, butter yellow — gives this timeless look a playful modern edge. It suits absolutely everyone, from students to professionals, because the result is polished without being loud. It also grows out gracefully, so your manicure keeps looking good for weeks.
To get it at home, start with a sheer nude or clear base. Once dry, paint the tips with a thin brush or a French tip guide sticker. Don’t stress about perfection — a slightly freehand edge looks charmingly handmade. Finish with a glossy top coat to blend everything together.
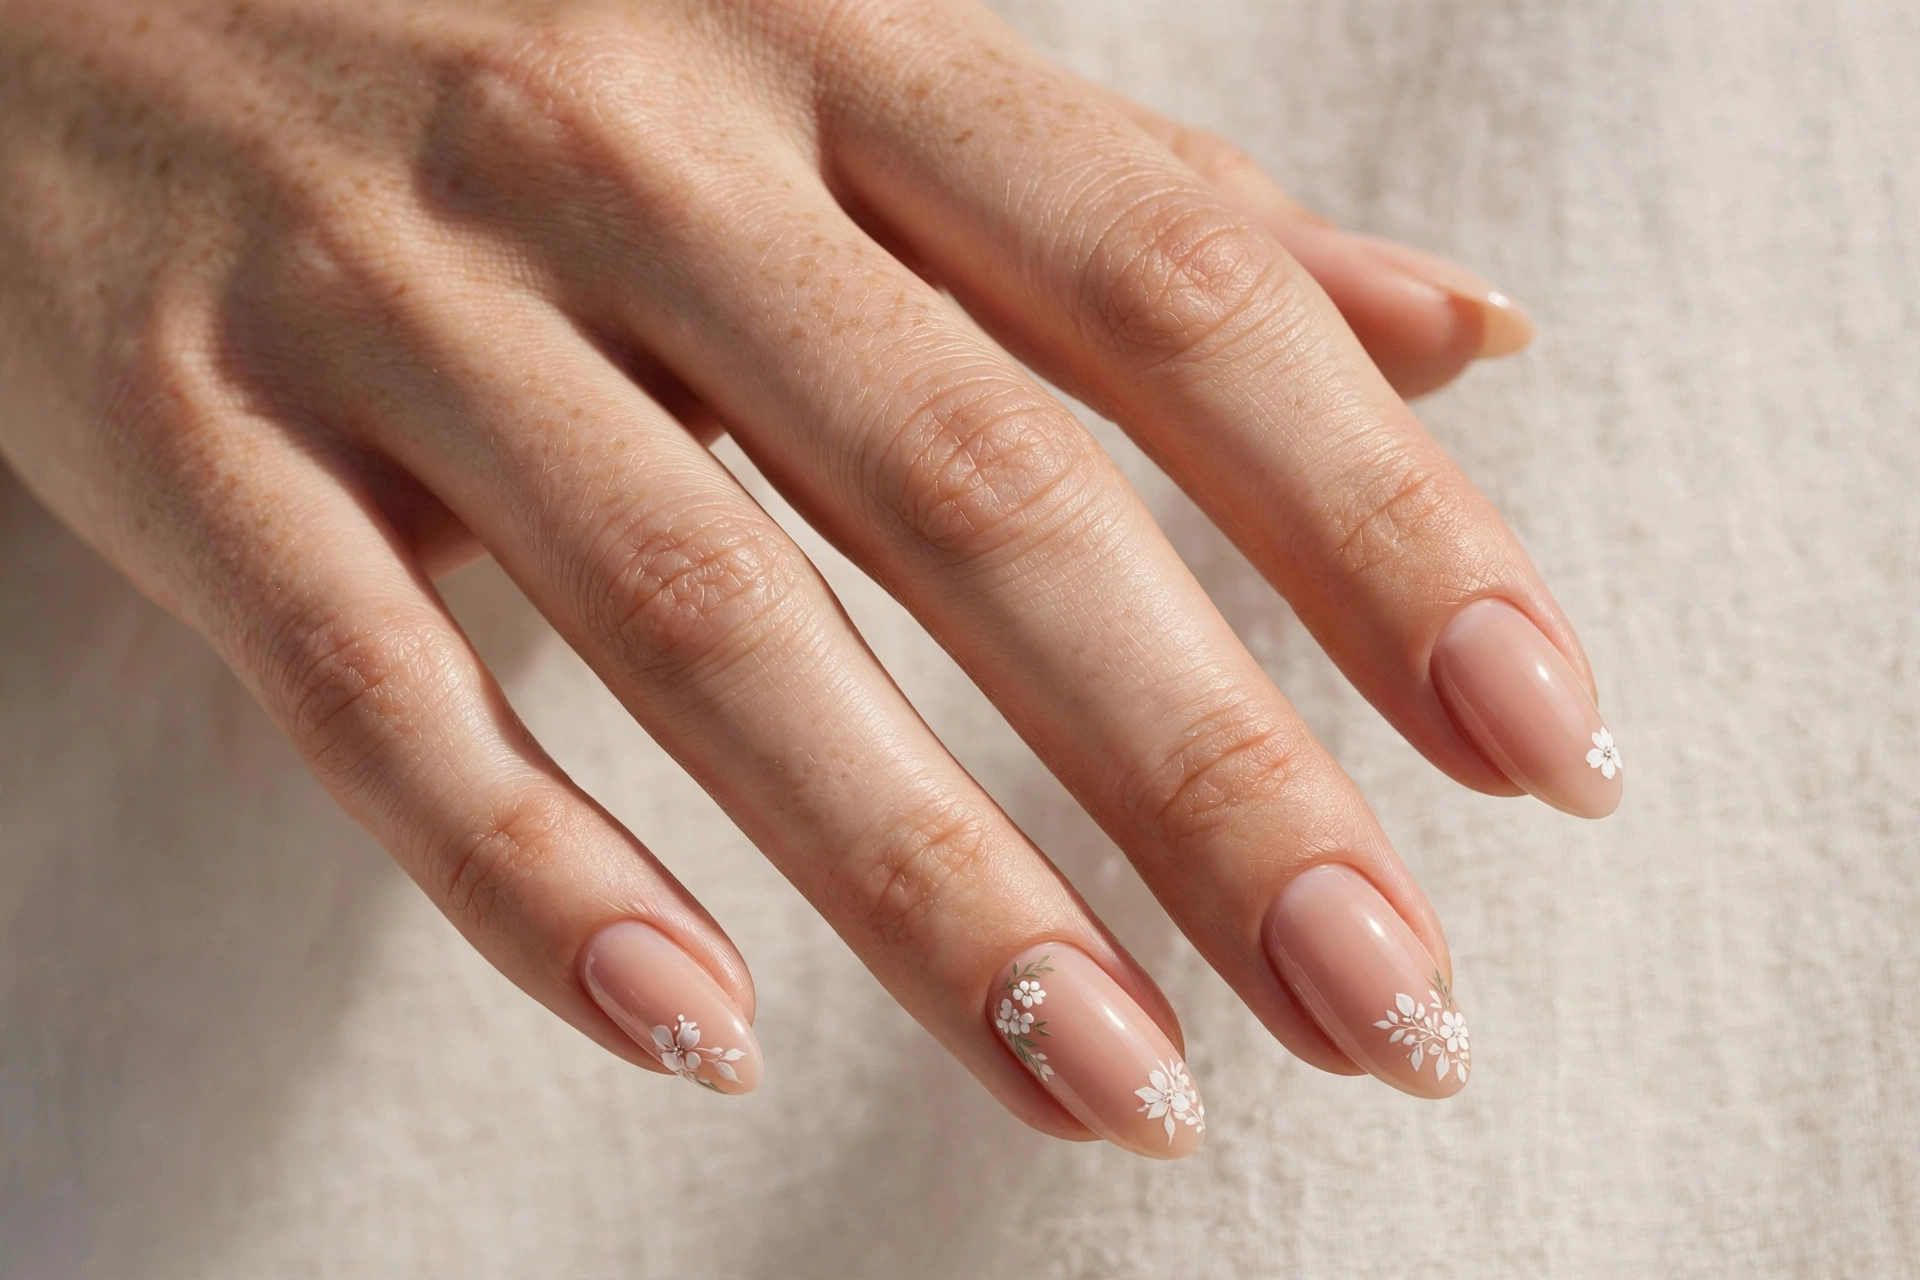
2. Nude Nails With Delicate Florals
A nude base with tiny hand-painted flowers is the definition of understated elegance. This design flatters every skin tone and works beautifully for weddings, job interviews, or anyone who wants nail art that whispers instead of shouts. The floral detail draws the eye without overwhelming the nail.
Use a dotting tool or the end of a bobby pin to place five small dots in a circle for each flower, with a contrasting dot in the center. White daisies on a beige base are the classic combination, but try blush flowers with a yellow center for a warmer feel. Seal with two layers of top coat so the tiny details stay protected.
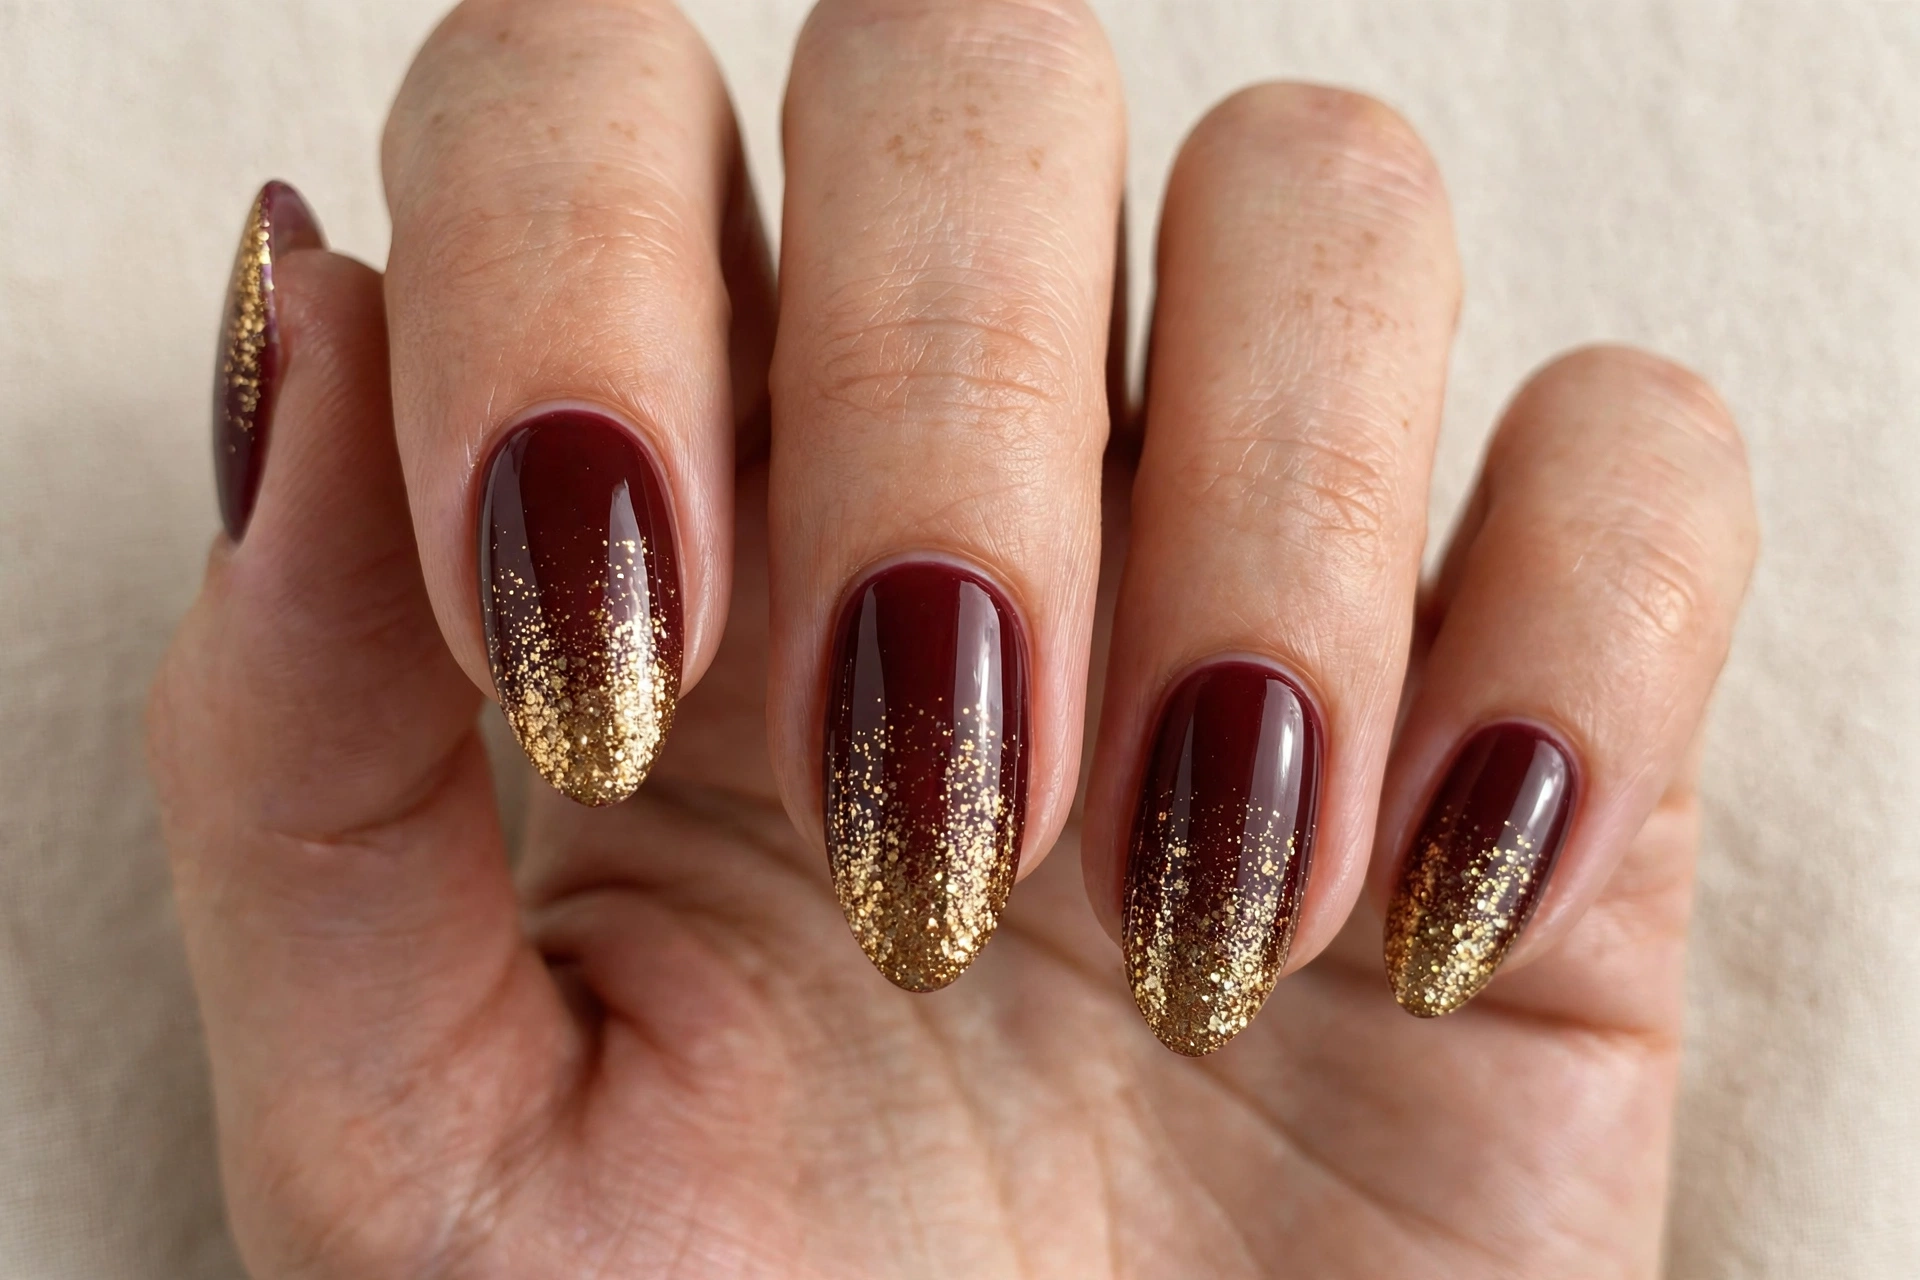
3. Burgundy and Gold Glitter Ombre
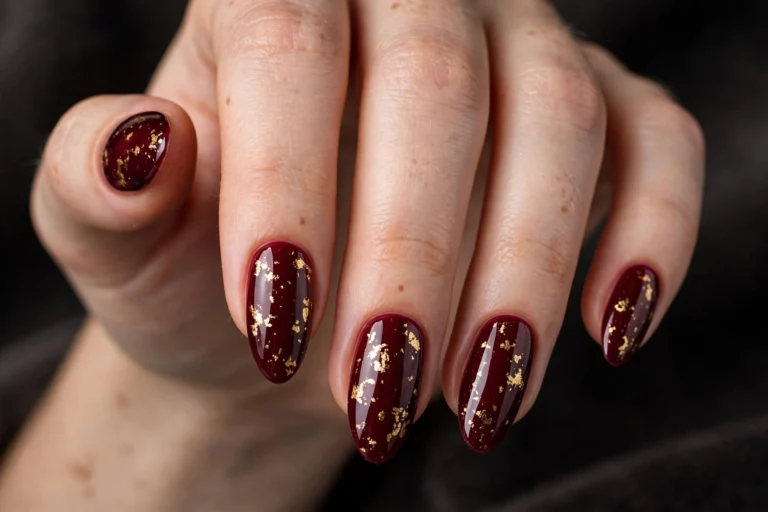
Deep burgundy melting into gold glitter creates a rich, evening-ready look that feels expensive and festive. This is a perfect choice for fall dinners, holiday parties, or anyone who loves a dramatic manicure with real depth. The glitter gradient makes the nail look longer and catches the light beautifully.
Paint the lower two-thirds of the nail in burgundy and the tips in a gold glitter polish, then blend the middle with a small sponge, dabbing where the colors meet. Two to three dabbing passes build a seamless fade. A peel-off liquid latex around your cuticles saves cleanup time.
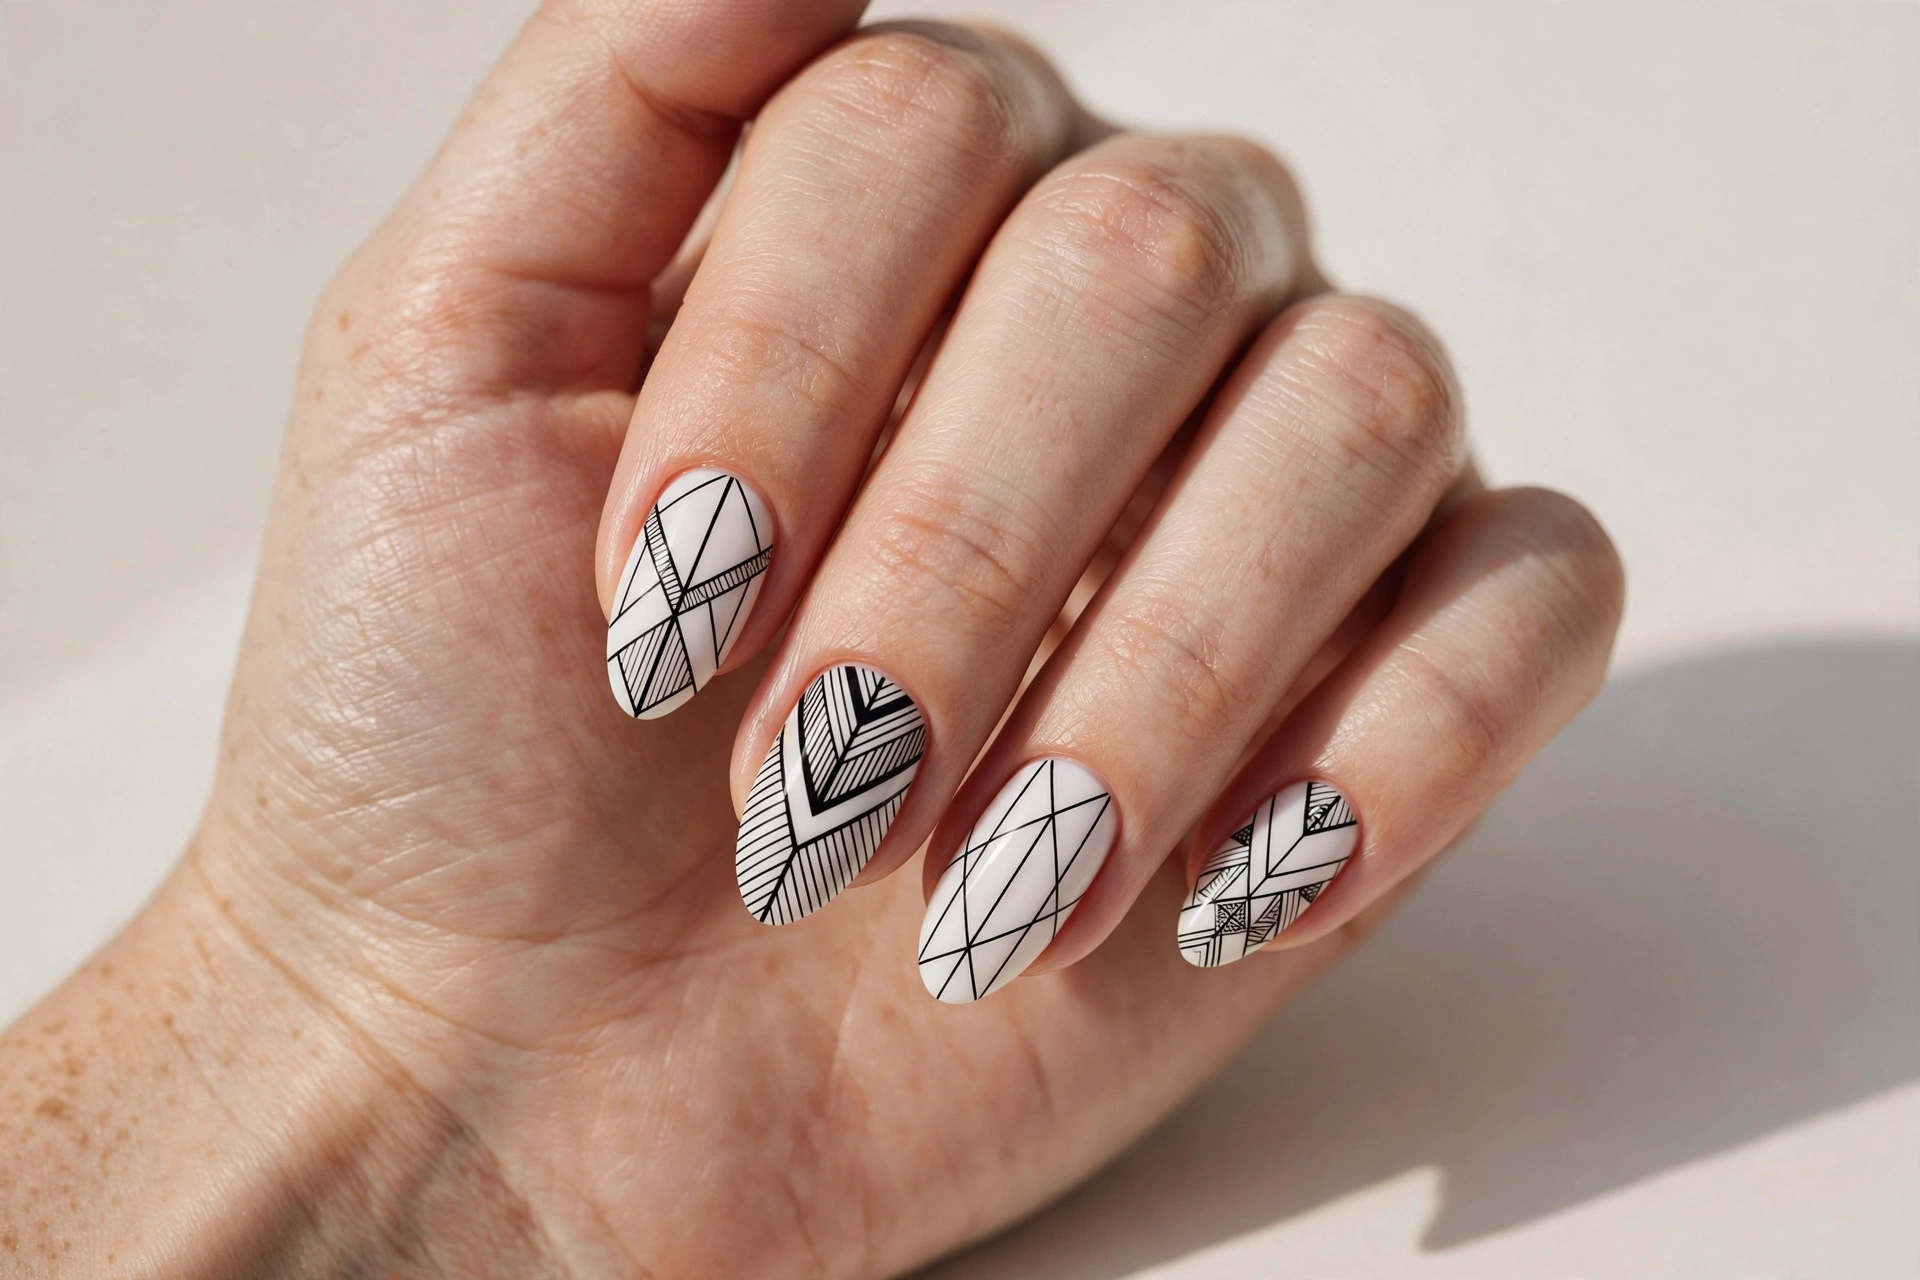
4. Black and White Geometric Lines
Sharp black linework on a white base delivers a graphic, fashion-forward look with a minimalist edge. It suits confident dressers who love monochrome outfits and modern accessories — the nails become part of the outfit. Because it relies on lines rather than color blending, it’s surprisingly achievable at home.
Start with an opaque white base and let it dry completely — this is non-negotiable for crisp lines. Then use a thin striping brush or a black nail art pen to draw triangles, grids, or abstract shapes. If you want more inspiration in this palette, browse these black and white nail designs for a timeless, chic look.
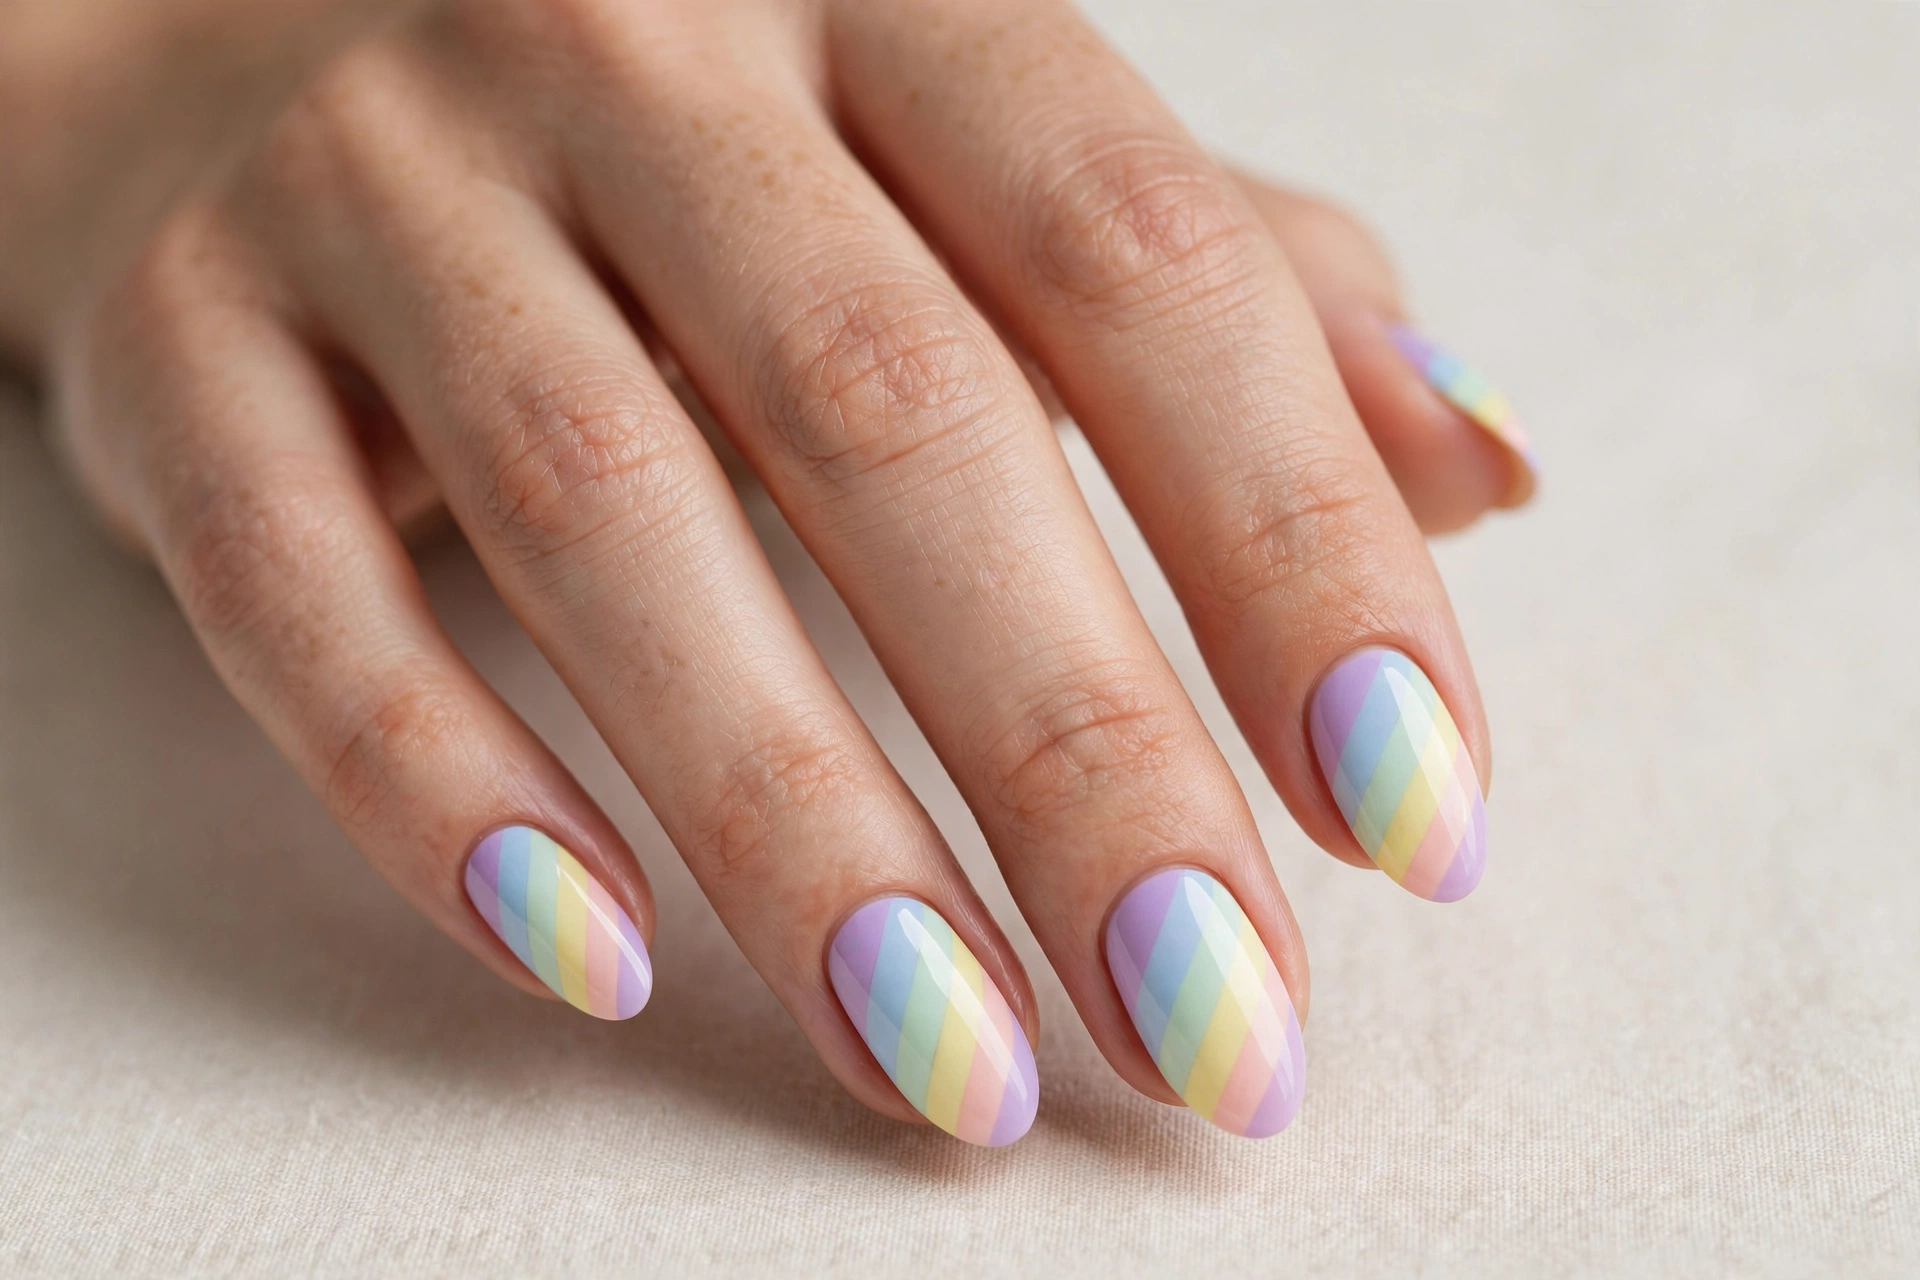
5. Pastel Rainbow Stripes
Diagonal stripes in sorbet shades are cheerful, youthful, and endlessly customizable — swap the palette to match any season or outfit. This look is ideal for beginners because the stripes don’t need to be perfectly even to look intentional and fun. It reads as artistic rather than messy.
Paint a white base, then lay thin strips of striping tape diagonally across each nail before painting pastel bands between them. Peel the tape while the polish is still slightly tacky for the cleanest edges. For more soft-color inspiration, these pastel nail designs will give you a dreamy manicure to dream about.
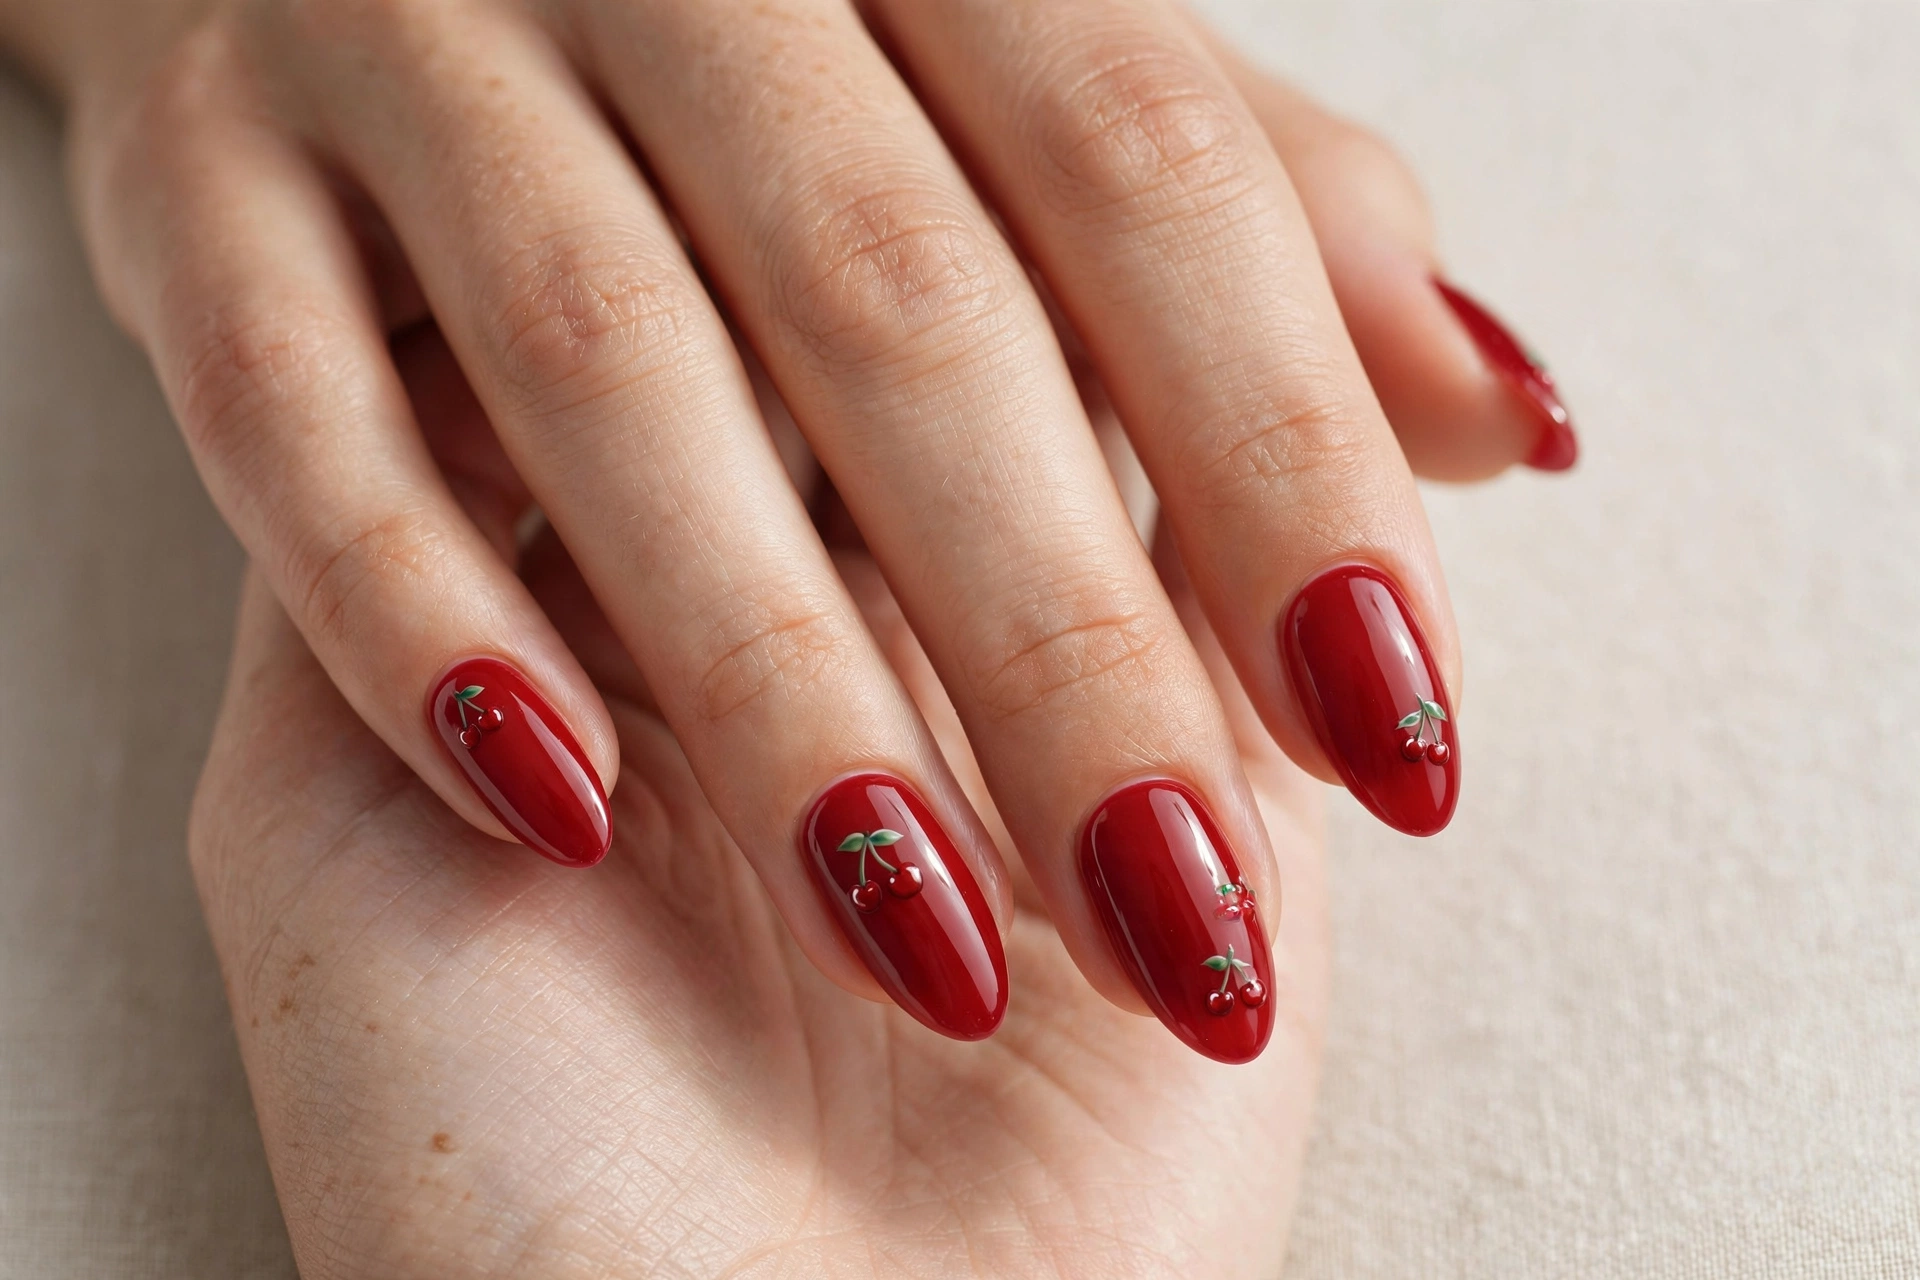
6. Cherry Red With Cherry Art
Glossy cherry-red nails with tiny painted cherries are the ultimate retro-cute look. This design suits anyone with a playful style — it pairs perfectly with summer dresses, denim, and red lipstick. The fruit motif is one of the easiest freehand designs to learn, since cherries are just circles and a stem.
Paint all nails in a true cherry red, then add one or two accent nails on a cream base. Dot two red circles close together for the cherries, add a tiny brown line for the stem, and finish with a white highlight dot on each cherry for shine. A glossy top coat is essential here — it gives that juicy, just-bitten look.
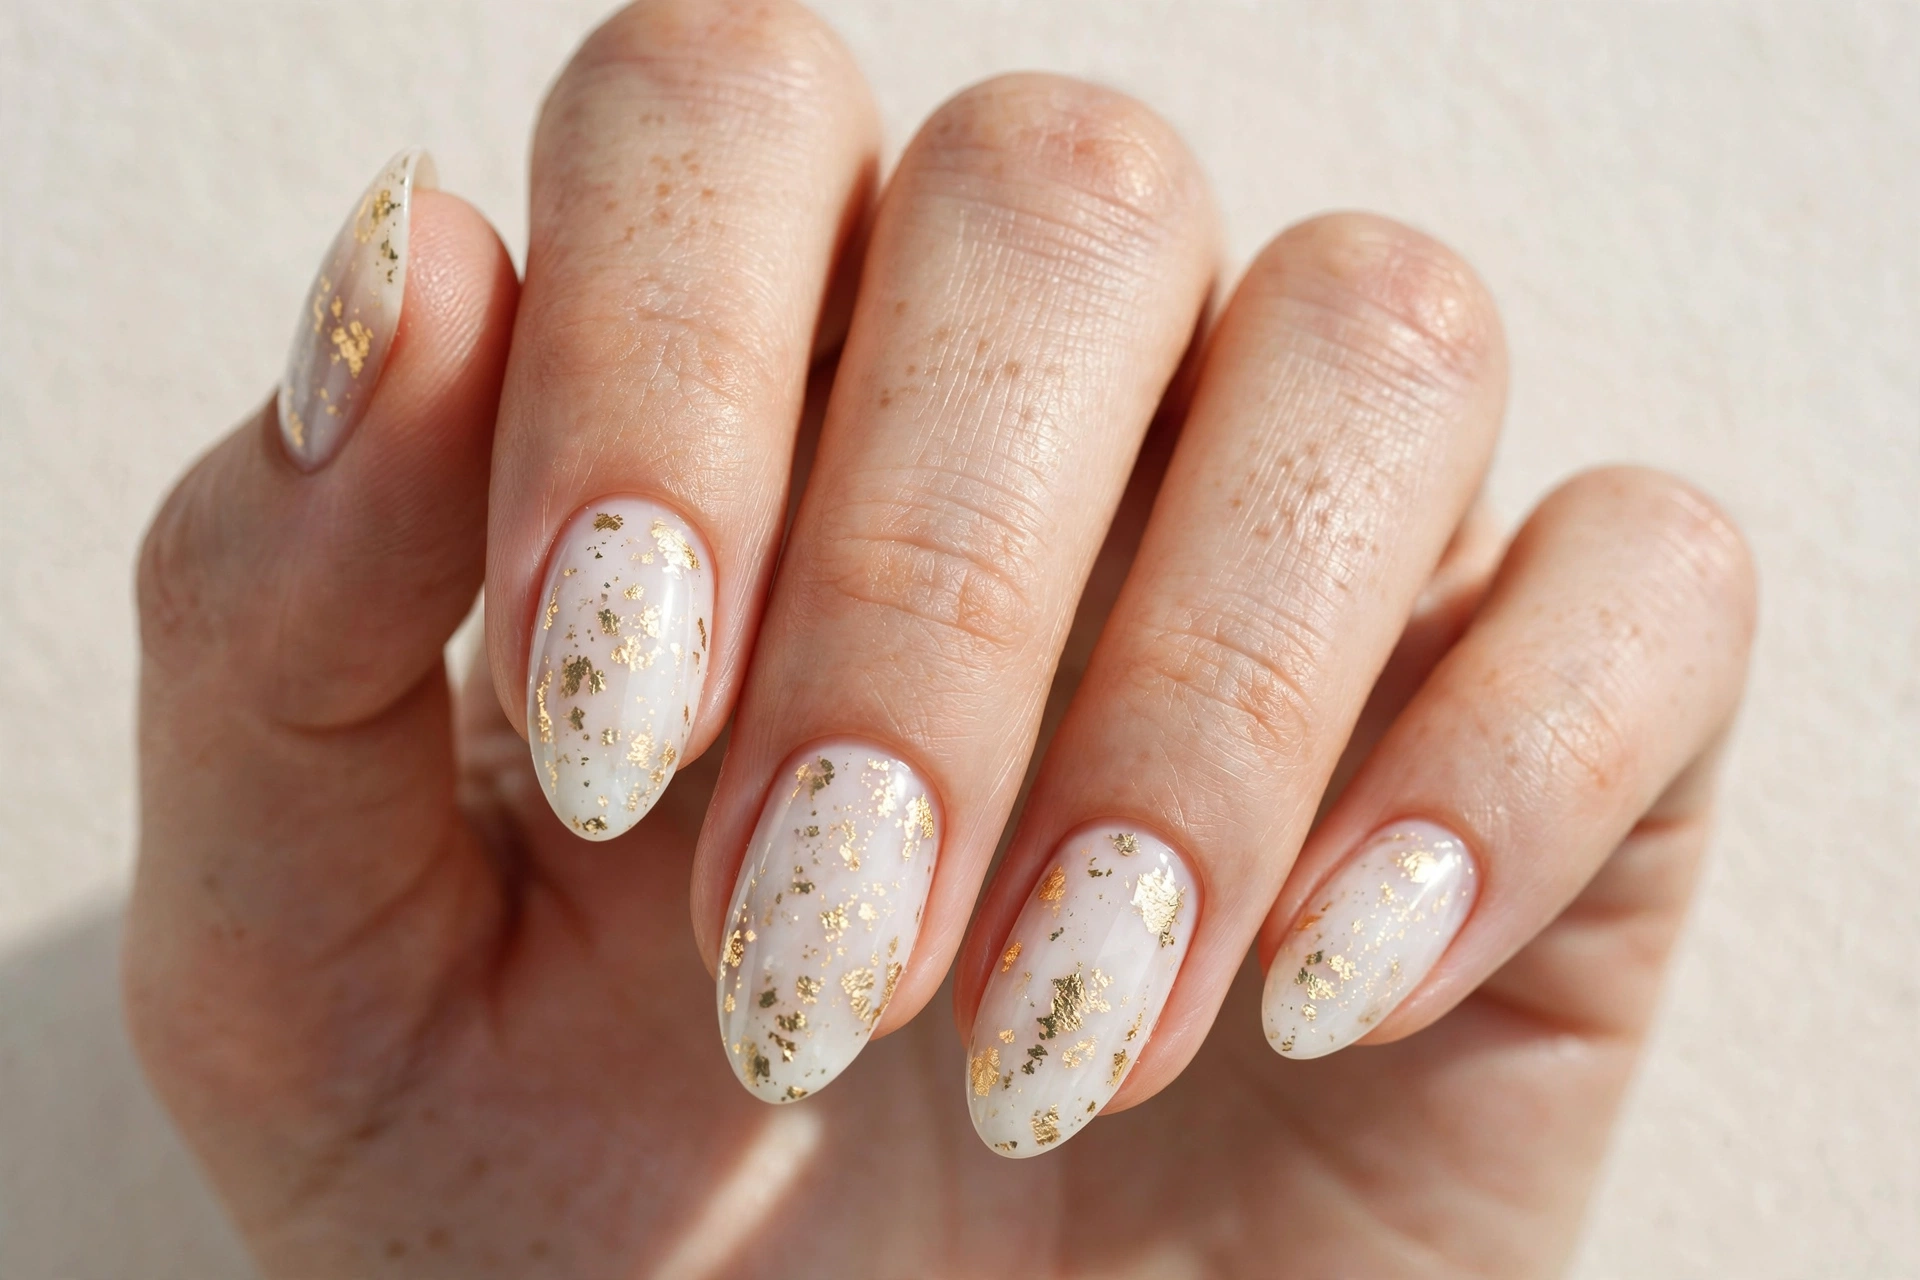
7. Milky White With Gold Foil
Milky white polish with flakes of gold foil looks like something straight out of a luxury salon, yet it’s one of the easiest elevated designs you can do yourself. It suits brides, minimalists, and anyone who wants their nails to look expensive with minimal effort. The foil catches light in a way that flat polish never can.
Apply two coats of a sheer milky white. While the second coat is still tacky, press small pieces of gold nail foil onto the nail with tweezers, then gently smooth them with a silicone tool. The foil sticks only to tacky areas, creating organic, artful patches. Seal with a thick top coat so the foil edges don’t lift.
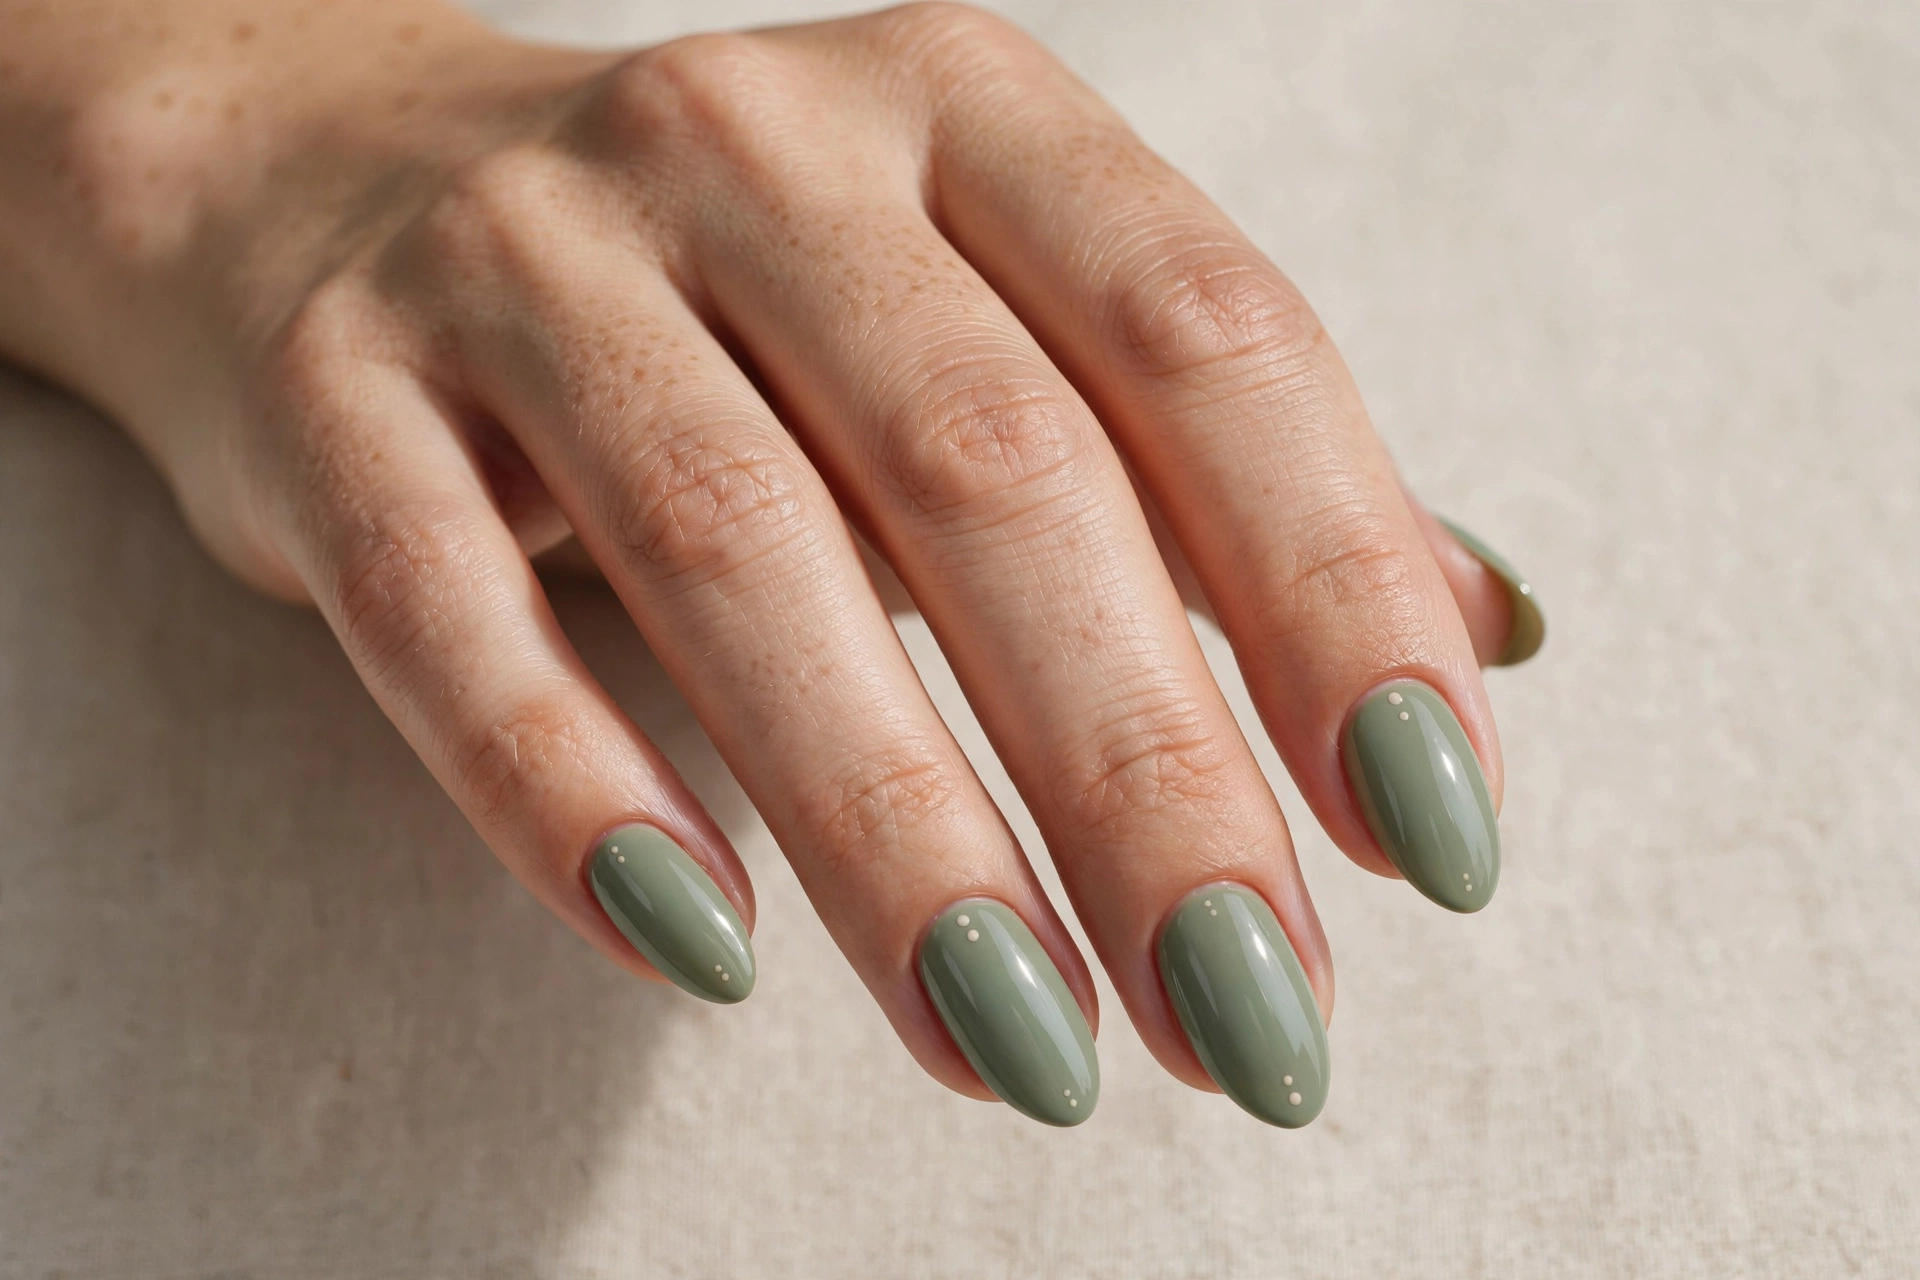
8. Sage Green Minimalist Dots
Sage green with a single contrasting dot near the cuticle is quiet luxury in nail form. This look appeals to fans of clean aesthetics — think neutral wardrobes and simple jewelry. The muted green is flattering on most skin tones and feels fresh without being loud.
Paint two even coats of sage green. Once dry, place one small dot in cream or gold near the base of each nail using a dotting tool. That’s genuinely the entire design — restraint is the point. If green is calling your name, these green nail designs for every mood and season offer more ways to wear it.
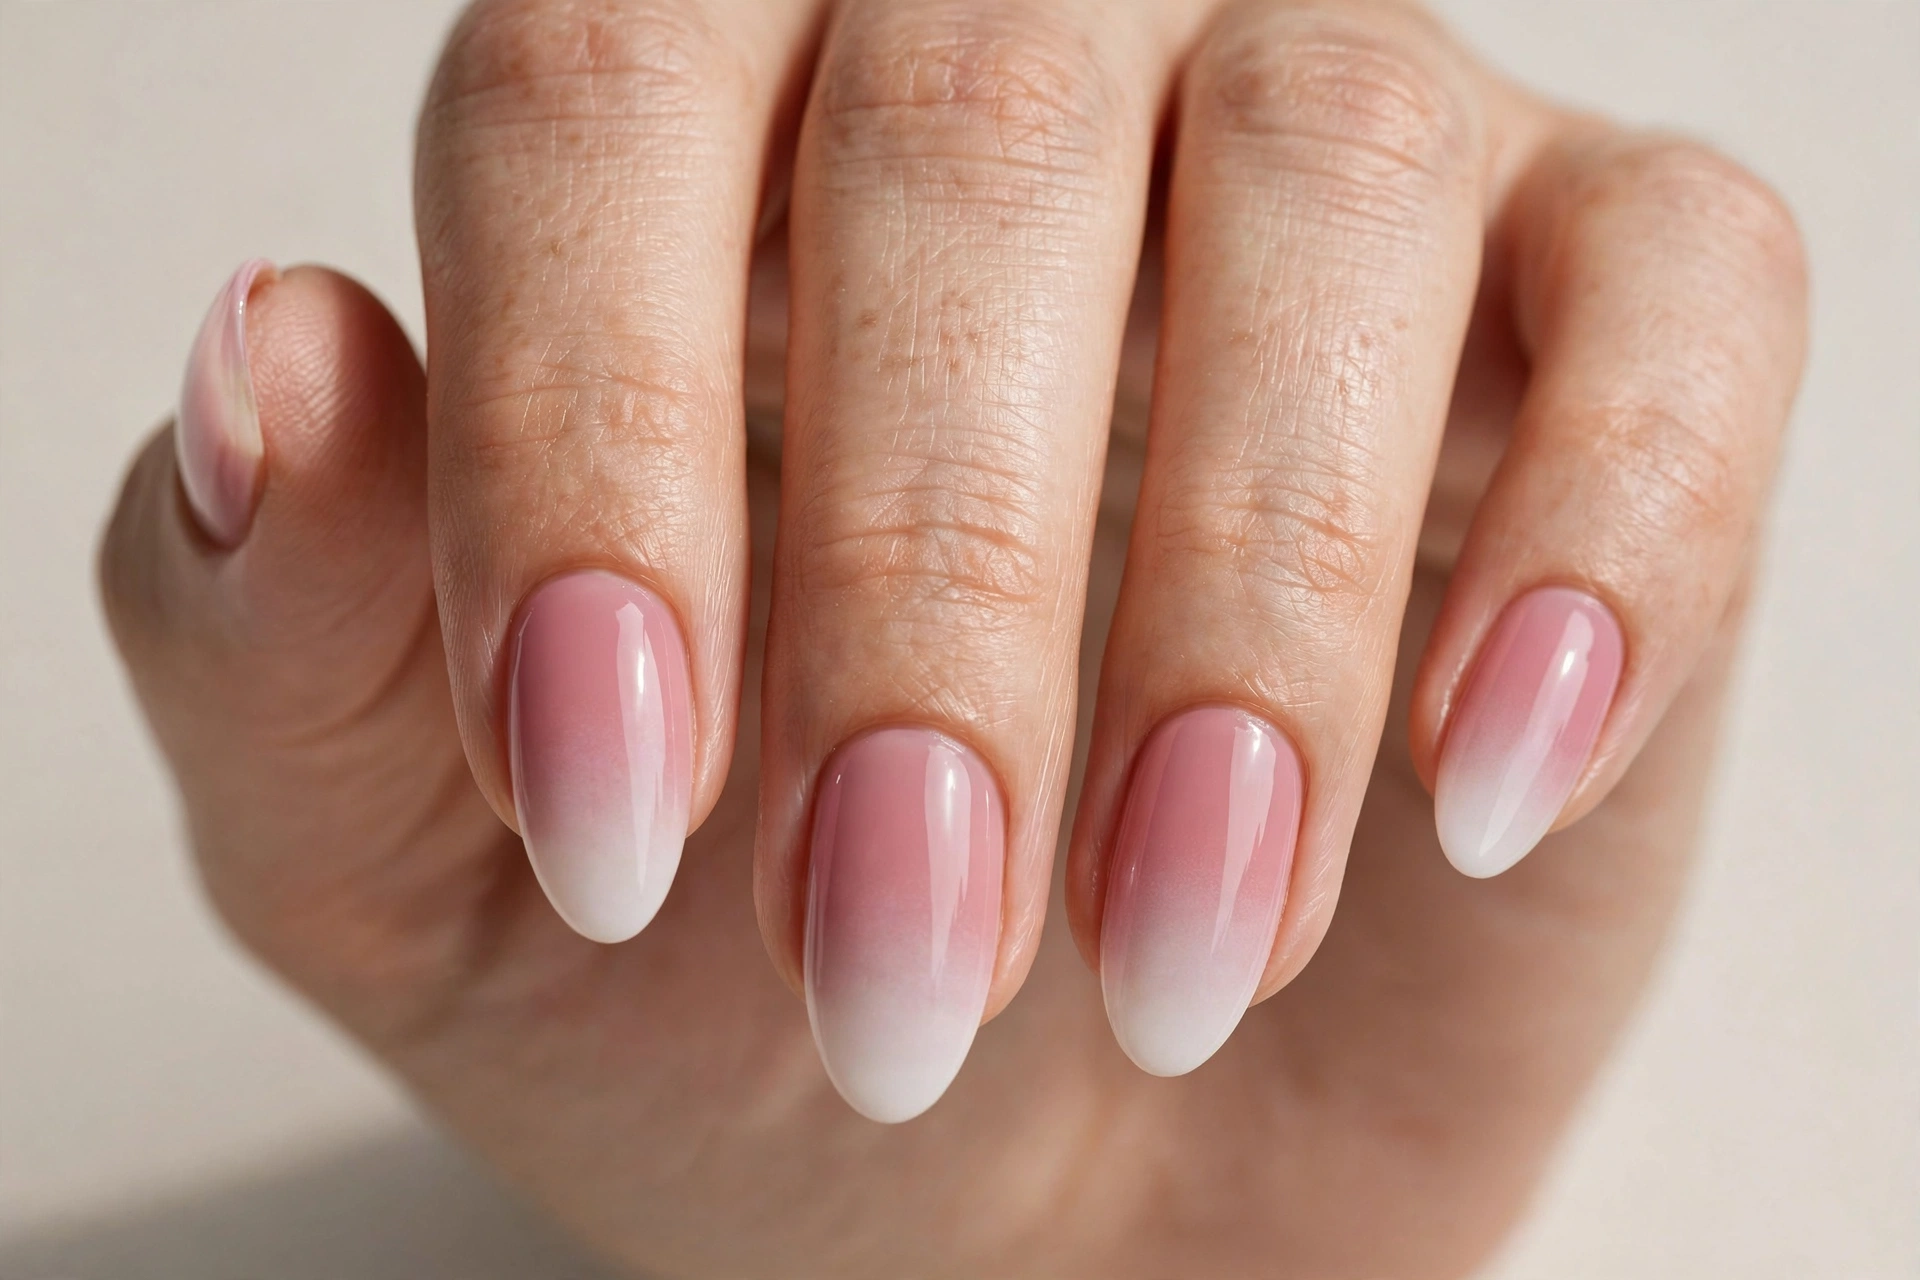
9. Pink Baby-Boomer Ombre
The baby-boomer fade — pink blending into white at the tips — is the softer, more modern cousin of the French manicure. It flatters every nail length and shape, and it’s a favorite for weddings and graduations because it photographs beautifully. The gradient is forgiving, making it a great first ombre attempt.
Use a makeup sponge: paint pink on one half and white on the other, then dab it onto the nail in gentle rolling motions. Repeat two or three times, letting each layer dry briefly. Clean up the edges with a small brush dipped in remover, then finish with a glossy top coat to melt the colors together.
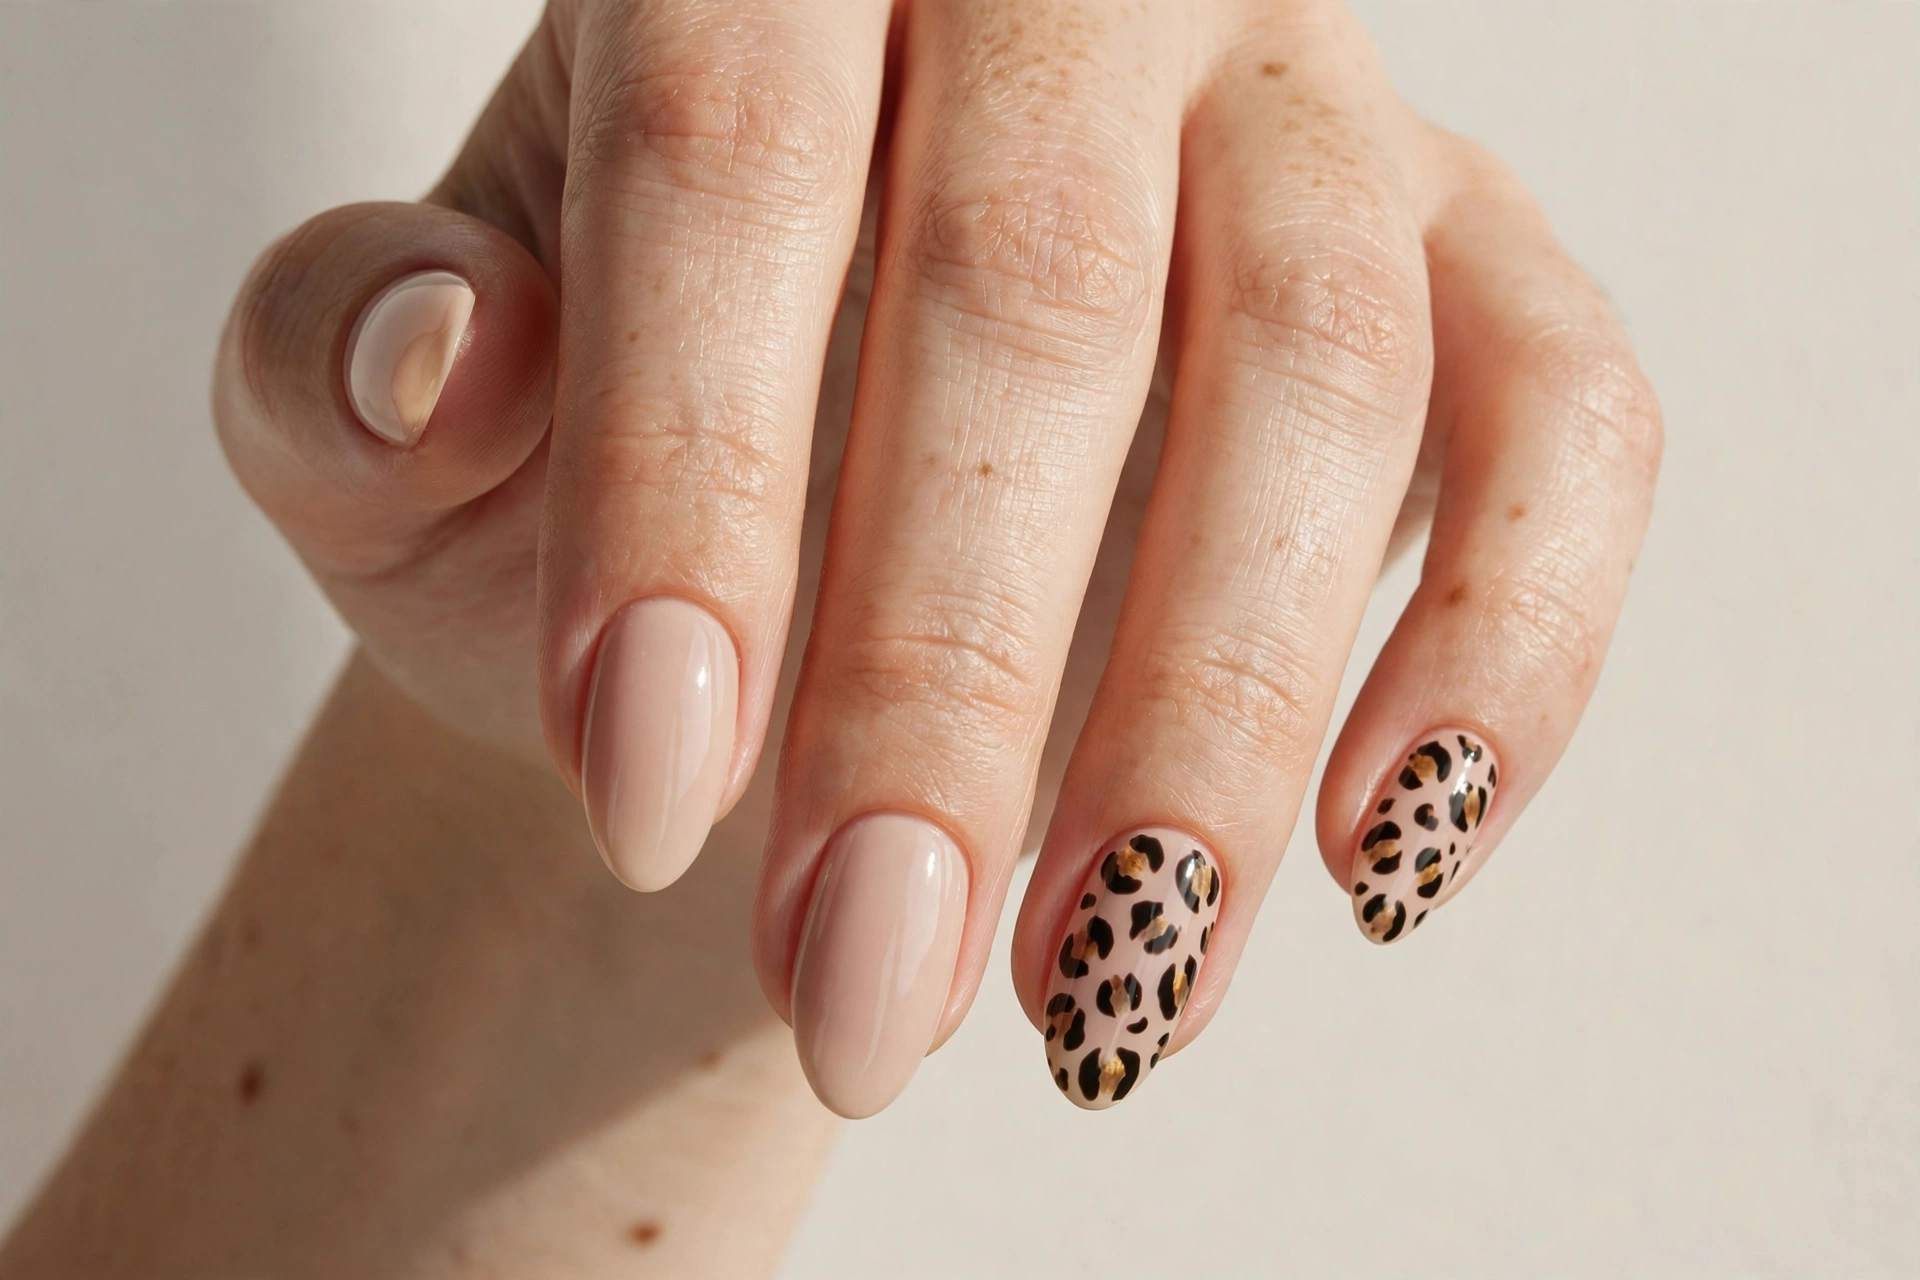
10. Leopard Print Accent Nails
Leopard print on one or two accent nails adds instant attitude to an otherwise simple manicure. Pair it with a solid neutral like beige or black on the remaining nails. This design suits bold personalities and anyone who wants a walk-on-the-wild-side look without committing every nail to the print.
Paint the accent nail in a tan base, then add irregular dark brown or black C-shaped spots — they don’t need to be symmetrical. Fill some spots with a darker center dot. A thin detailing brush gives the best control. Keep the other nails simple so the print stays the star of the show.
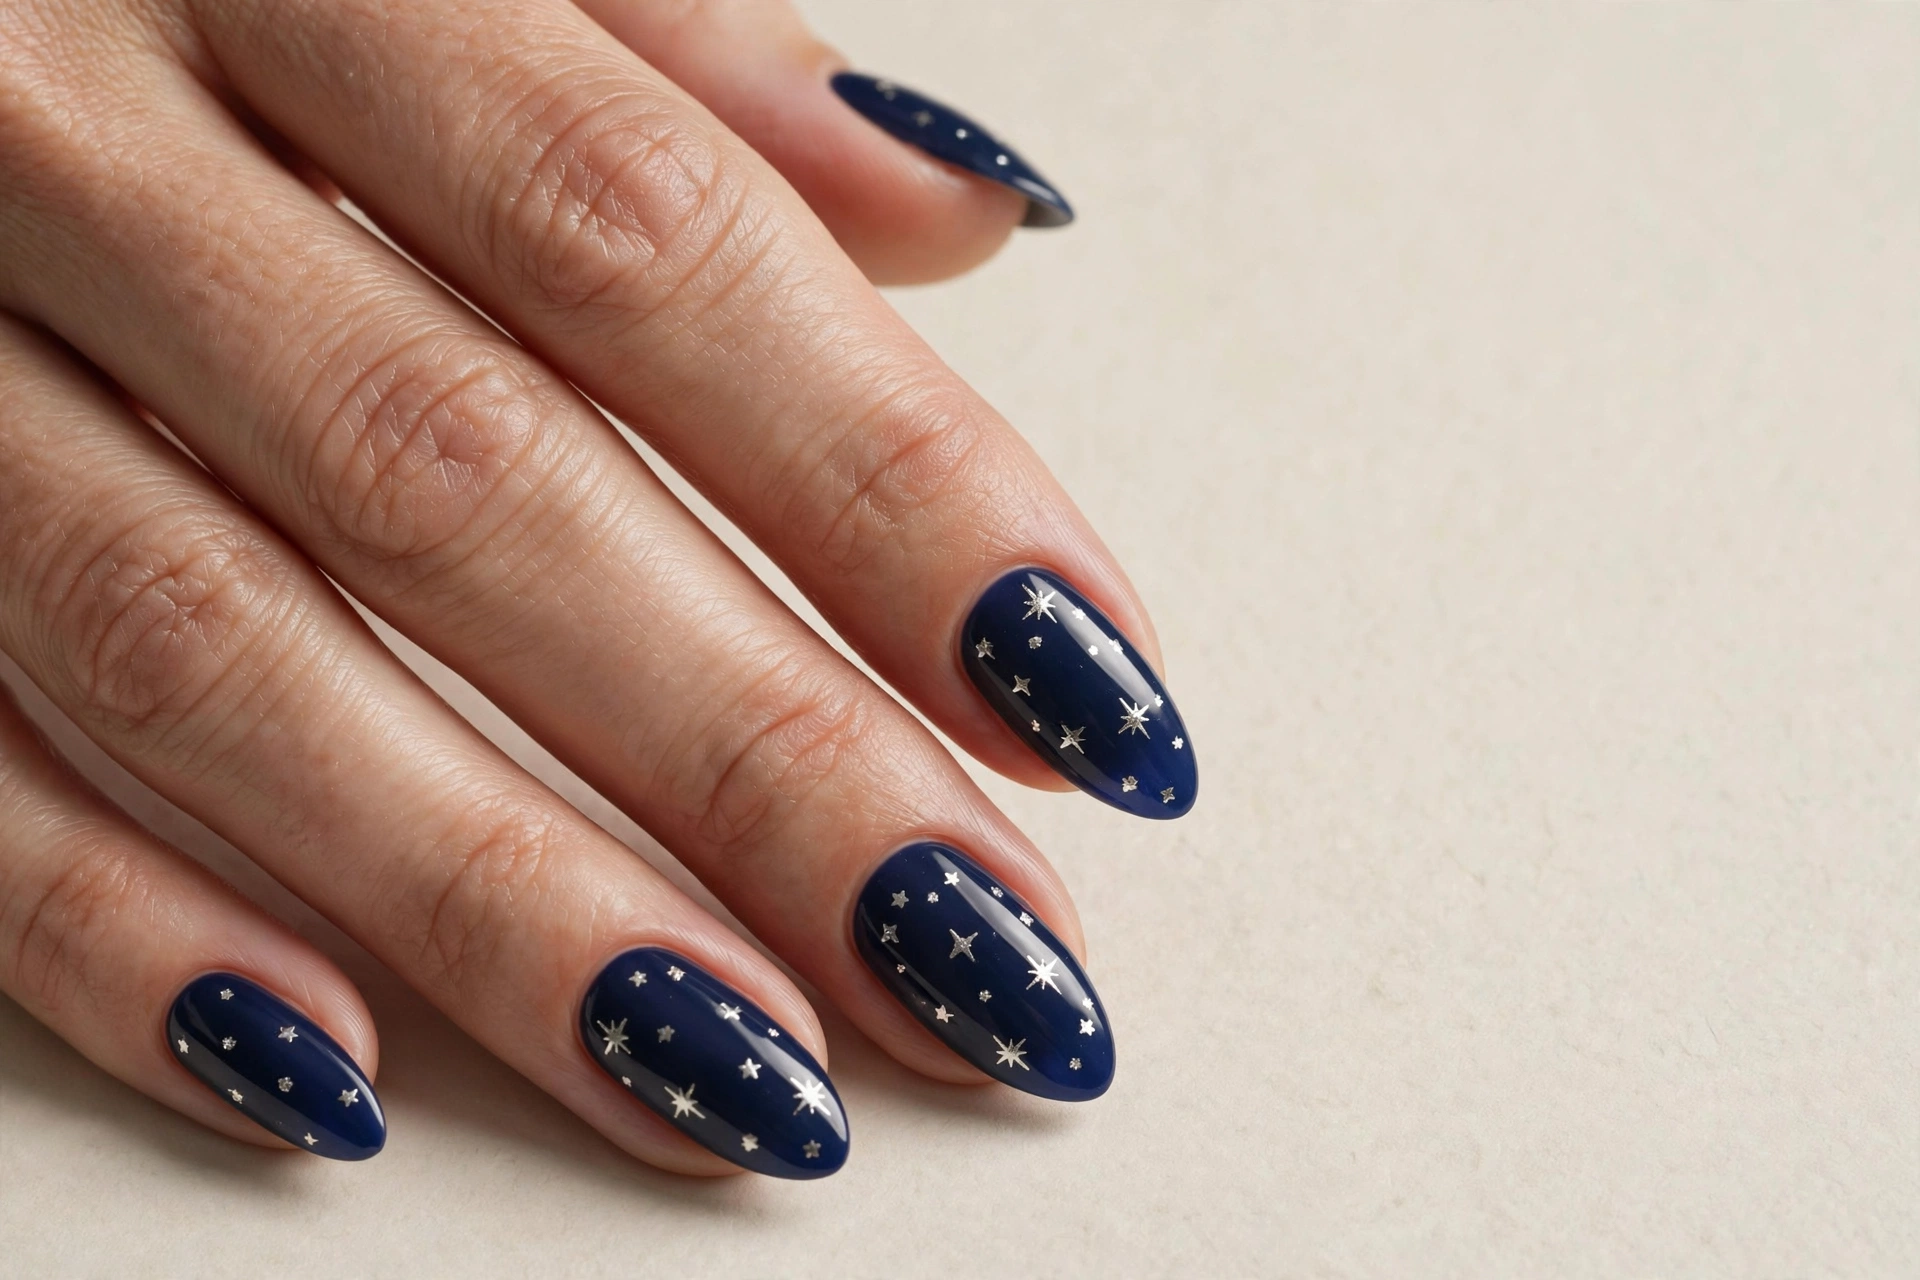
11. Navy Blue With Silver Stars
A midnight-navy base dotted with tiny silver stars gives you a galaxy-at-your-fingertips look that feels both dreamy and sophisticated. It’s perfect for evening events, winter months, or anyone who loves celestial themes. The deep blue makes hands look elegant, and the stars add just enough sparkle.
Paint two coats of a rich navy. Use a silver metallic polish and a fine brush or toothpick to draw five-pointed stars — or cheat with star-shaped nail stickers for perfectly crisp shapes. A few larger stars mixed with tiny dots as “distant stars” creates depth. Seal everything under a glossy top coat.
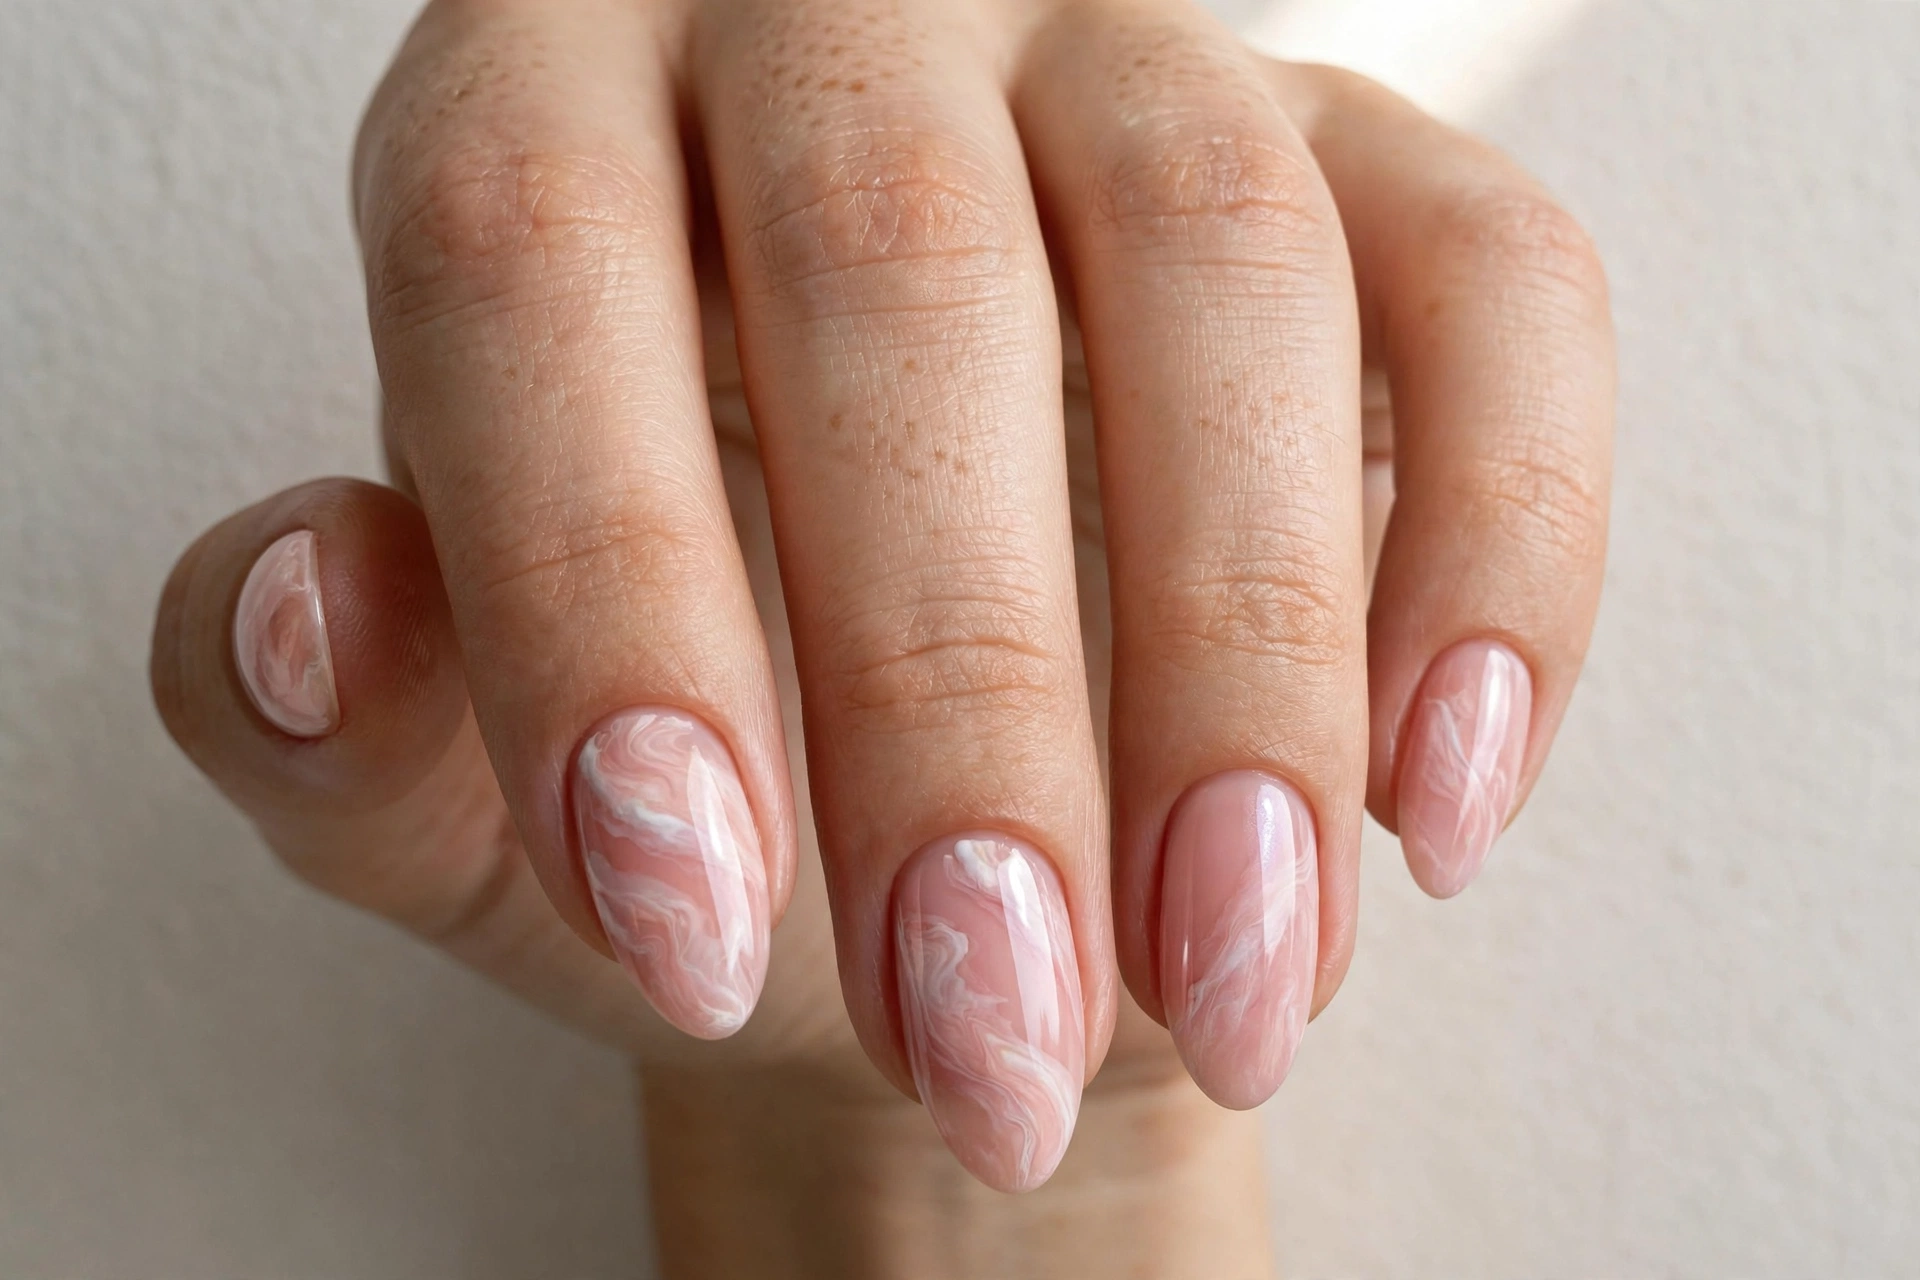
12. Blush Pink Marble Swirls
Blush pink with soft white marble veining looks delicate and high-end, like polished stone. This design suits romantic styles and pairs beautifully with rose-gold jewelry. Marble is wonderfully forgiving — the more organic and irregular the veins, the more realistic the stone effect.
Paint a blush base, then while it’s still slightly wet, drag a thin brush with white polish across the nail in wavy lines. Immediately soften the lines by dragging a clean, damp brush through them. Finish with a glossy top coat to give that polished-stone shine. No two nails will match, and that’s the charm.
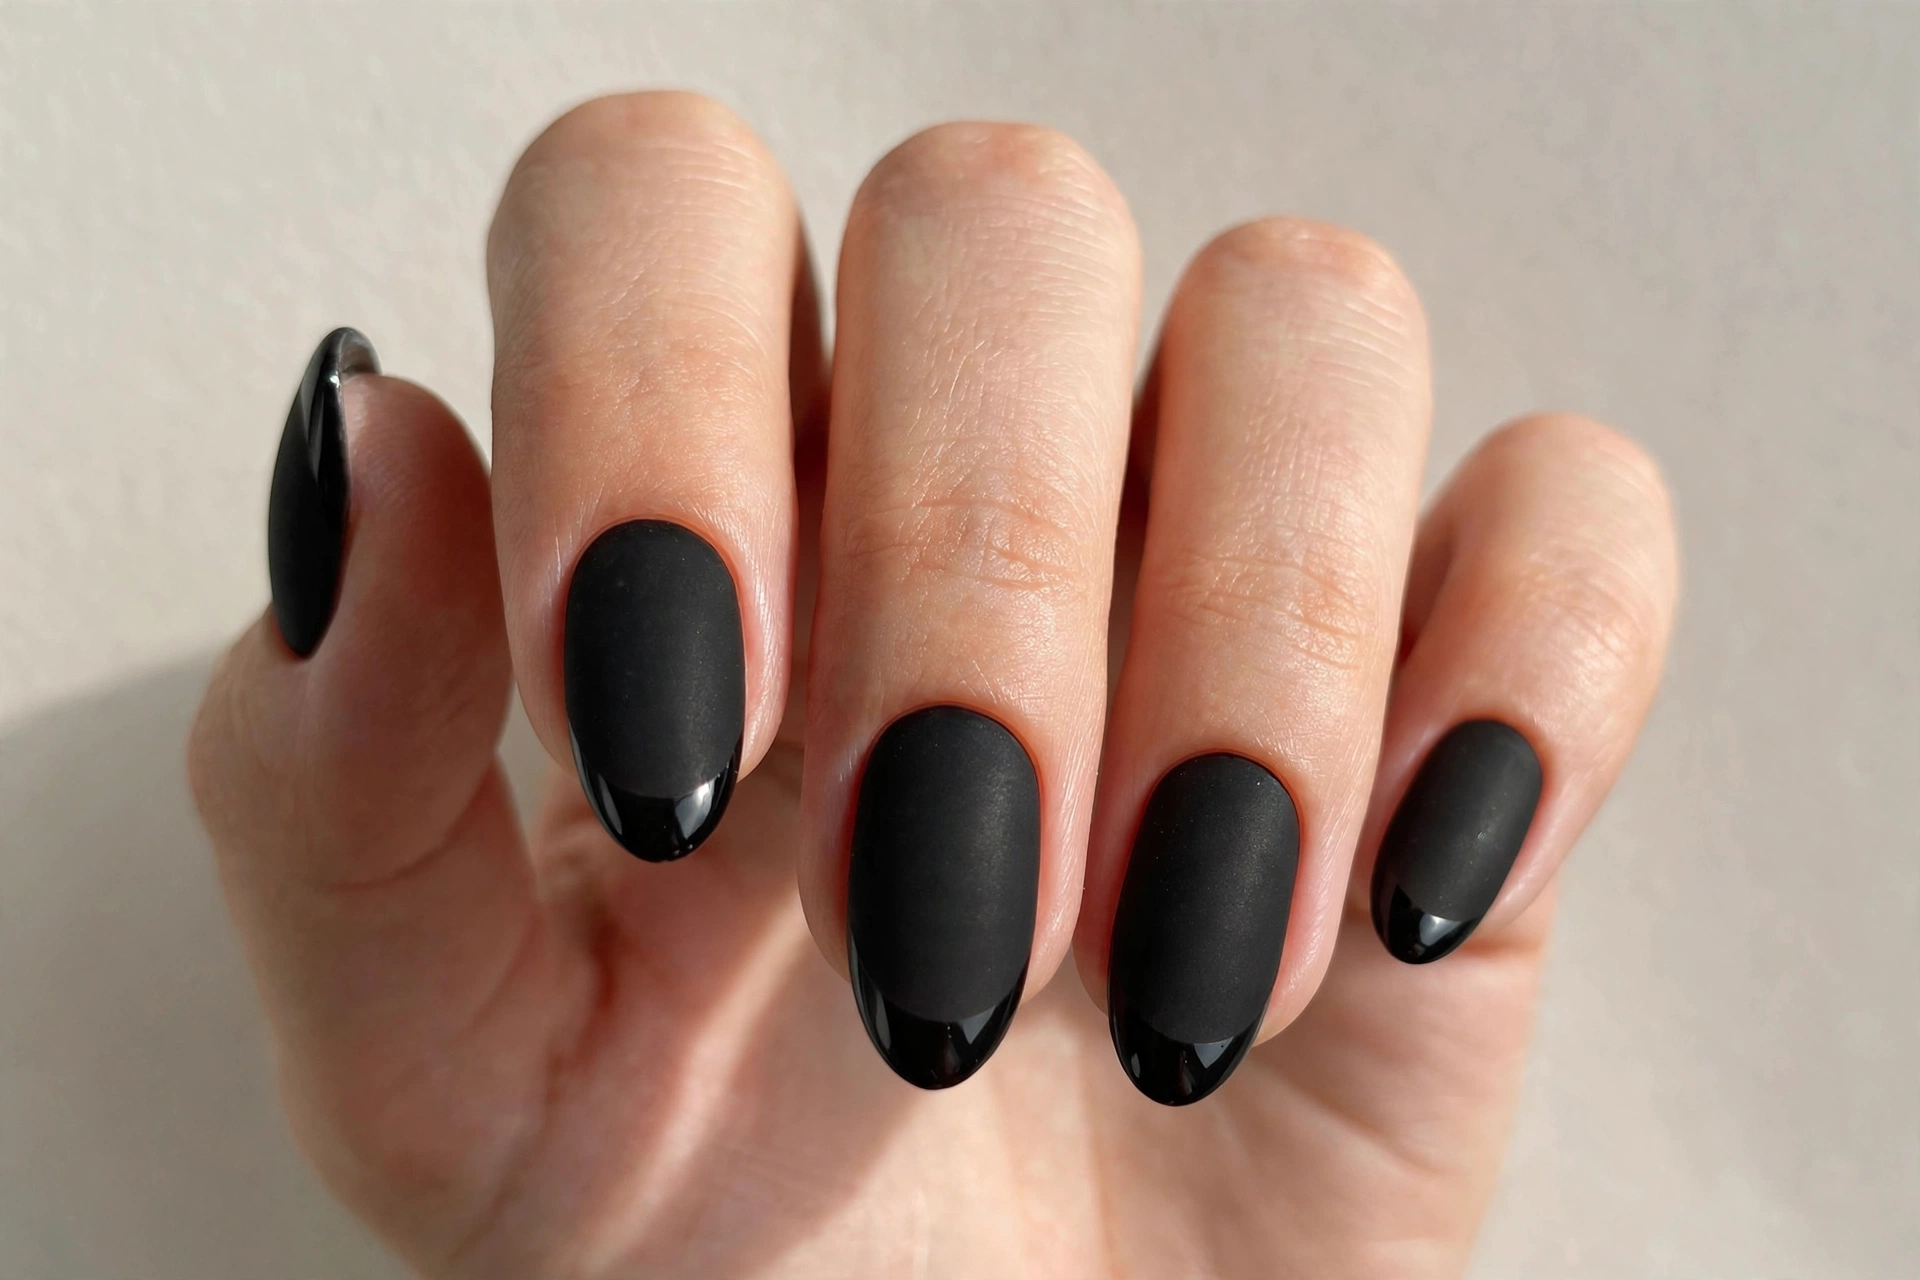
13. Matte Black With Glossy Tips
An all-black matte nail with a glossy black French tip is edgy, chic, and surprisingly office-appropriate. It suits anyone who loves dark polish but wants something more refined than plain black. The contrast between matte and shine is subtle up close and striking from across the room.
Paint the whole nail in black and add a matte top coat. Once dry, carefully paint just the tips with a glossy top coat — the shine-on-matte contrast creates the French effect without any color change. Use tip guides if your freehand line needs help. This one is all about precision, so take your time.
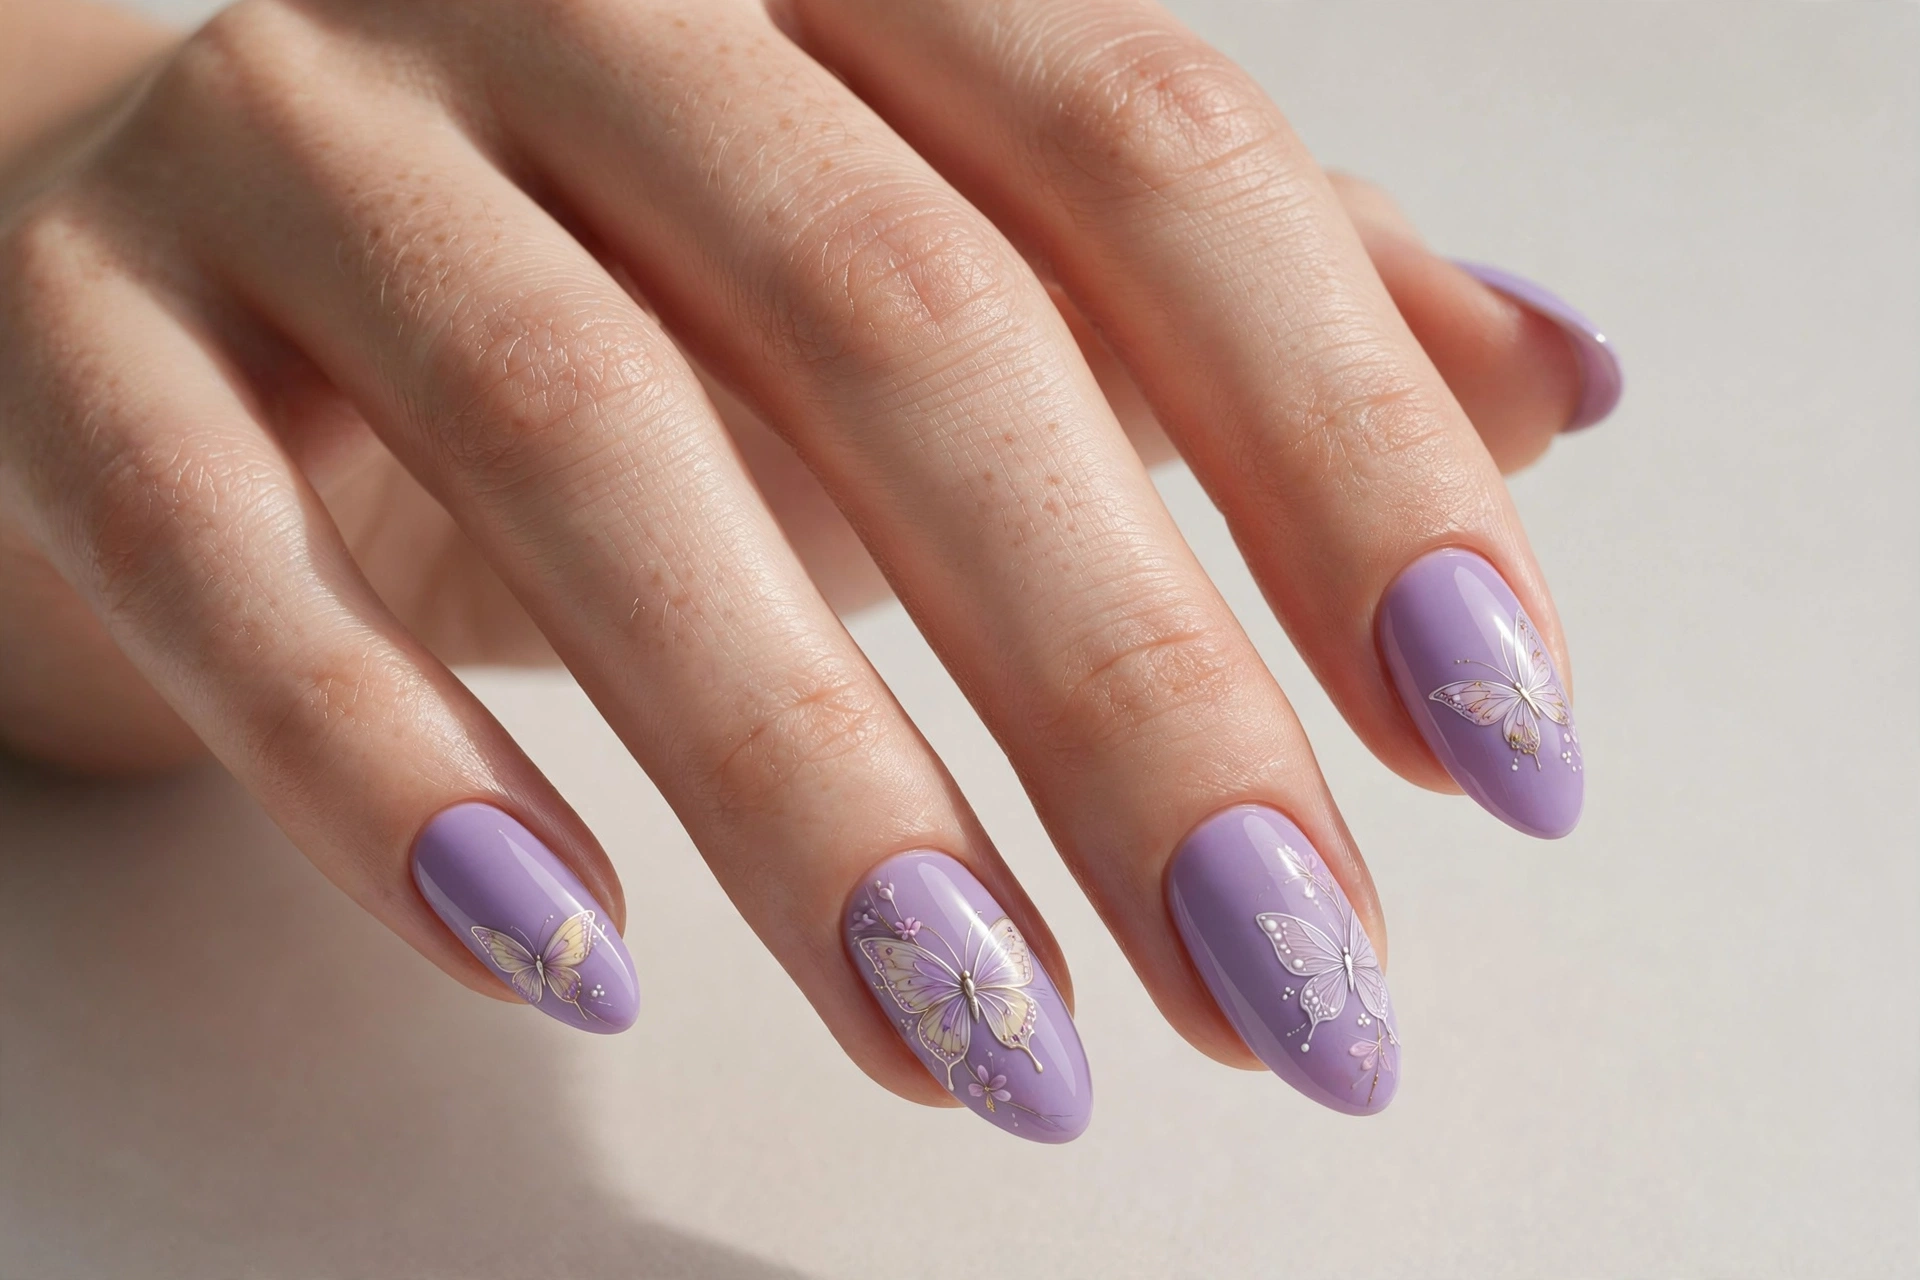
14. Lavender With Butterfly Art
Lavender nails with delicate butterfly wings are pure springtime romance. This look suits dreamy, feminine styles and works beautifully for garden parties, baby showers, or Easter. The soft purple base is universally flattering, and the butterflies add a whimsical focal point.
Paint two coats of lavender. On an accent nail or two, draw butterfly wings with white polish using a thin brush — two wing shapes on each side, then fill in with tiny dots. Butterfly nail stickers are a great shortcut and look remarkably clean. Finish with top coat to protect the delicate details.
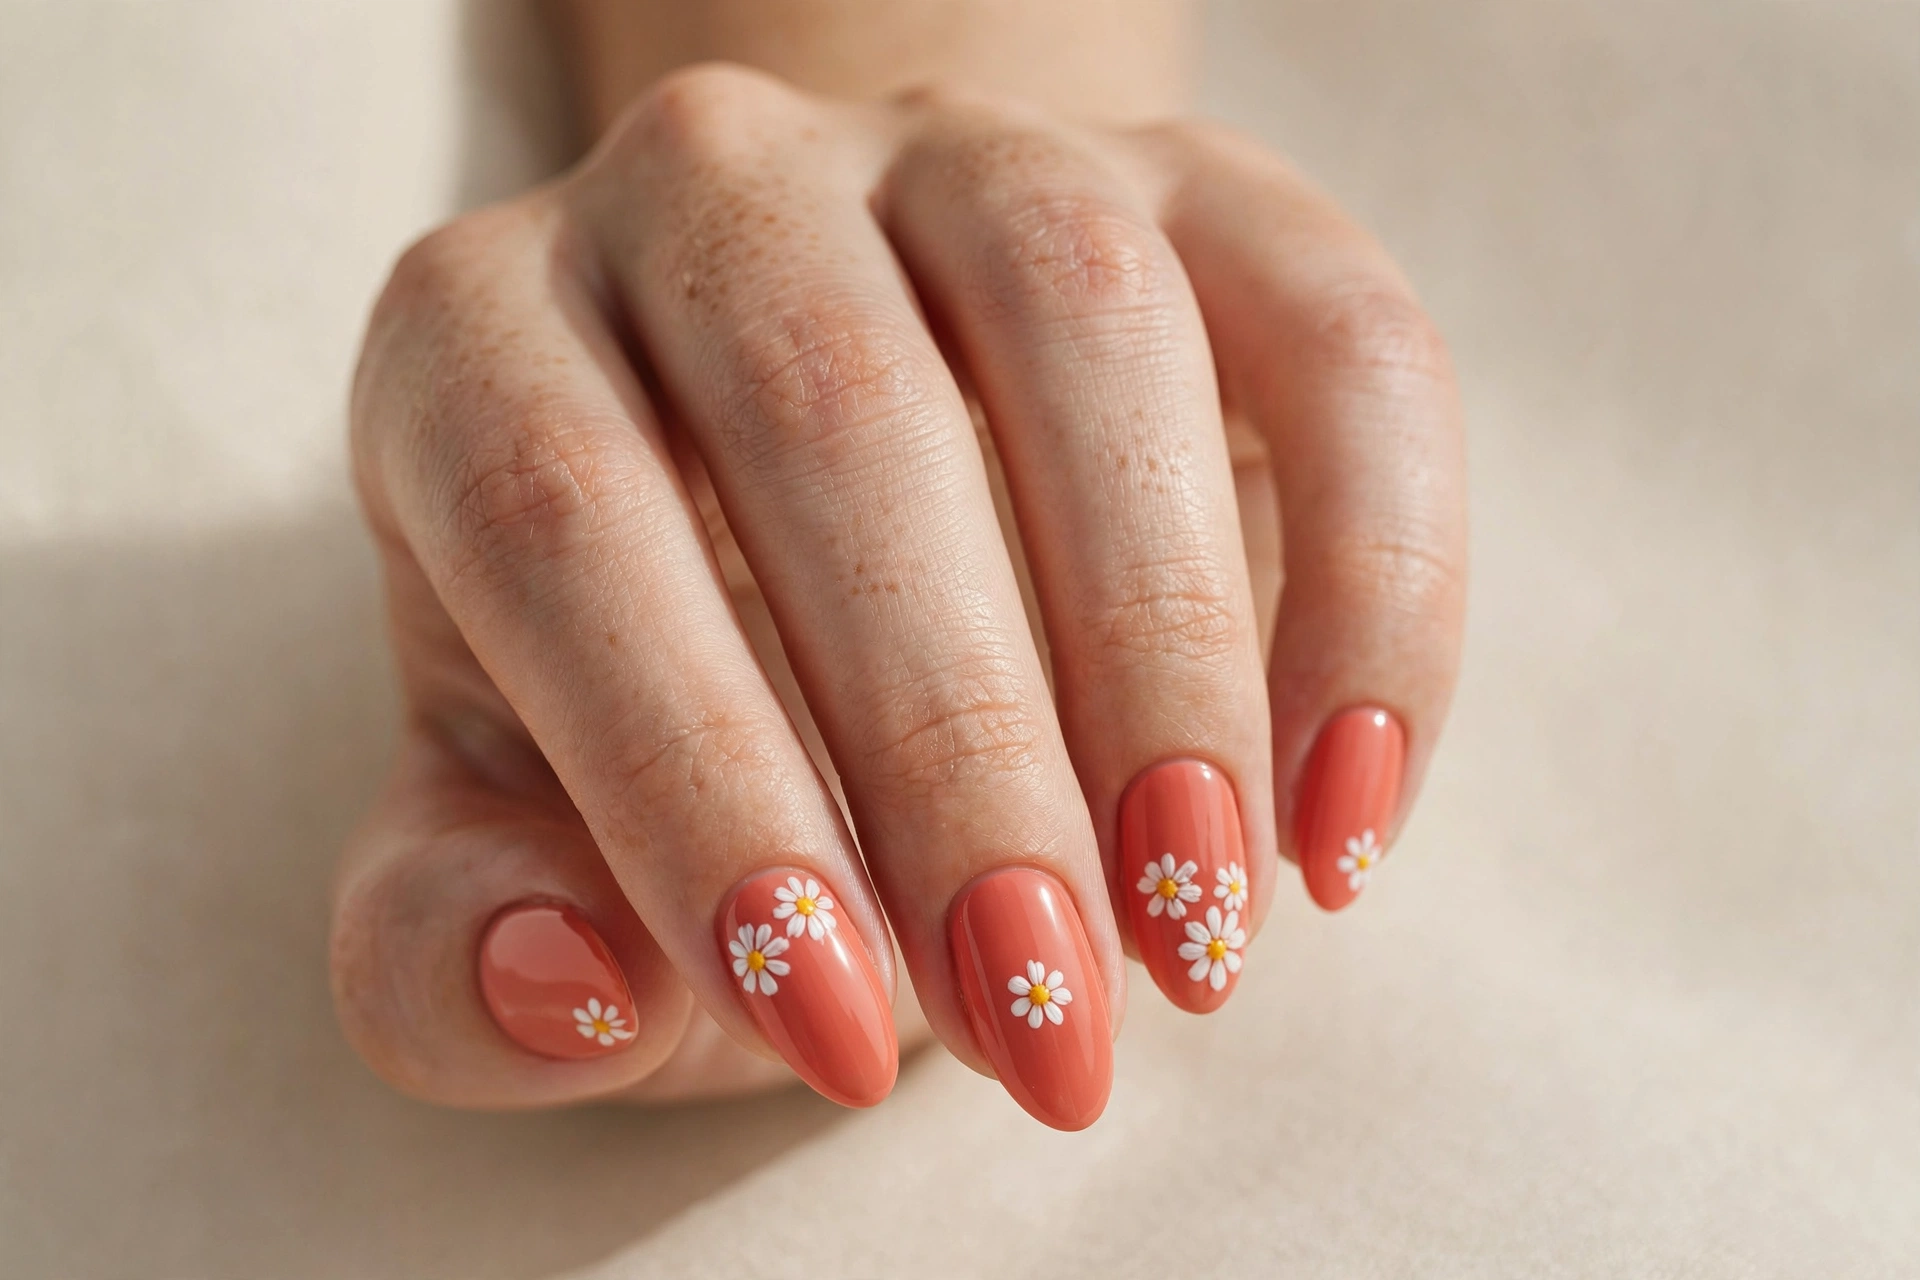
15. Coral With White Daisies
Vibrant coral with simple white daisies is summer in a manicure. This cheerful combination suits warm skin tones especially well and pairs perfectly with sundresses and sandals. The daisies are easy enough for beginners but look impressively detailed from a normal viewing distance.
Apply two coats of coral. Use a dotting tool to create five white petals in a circle, then add a yellow center dot. Place one daisy per nail near the cuticle or tip, alternating positions for a natural scattered look. A glossy top coat makes the colors pop and keeps the design chip-resistant.
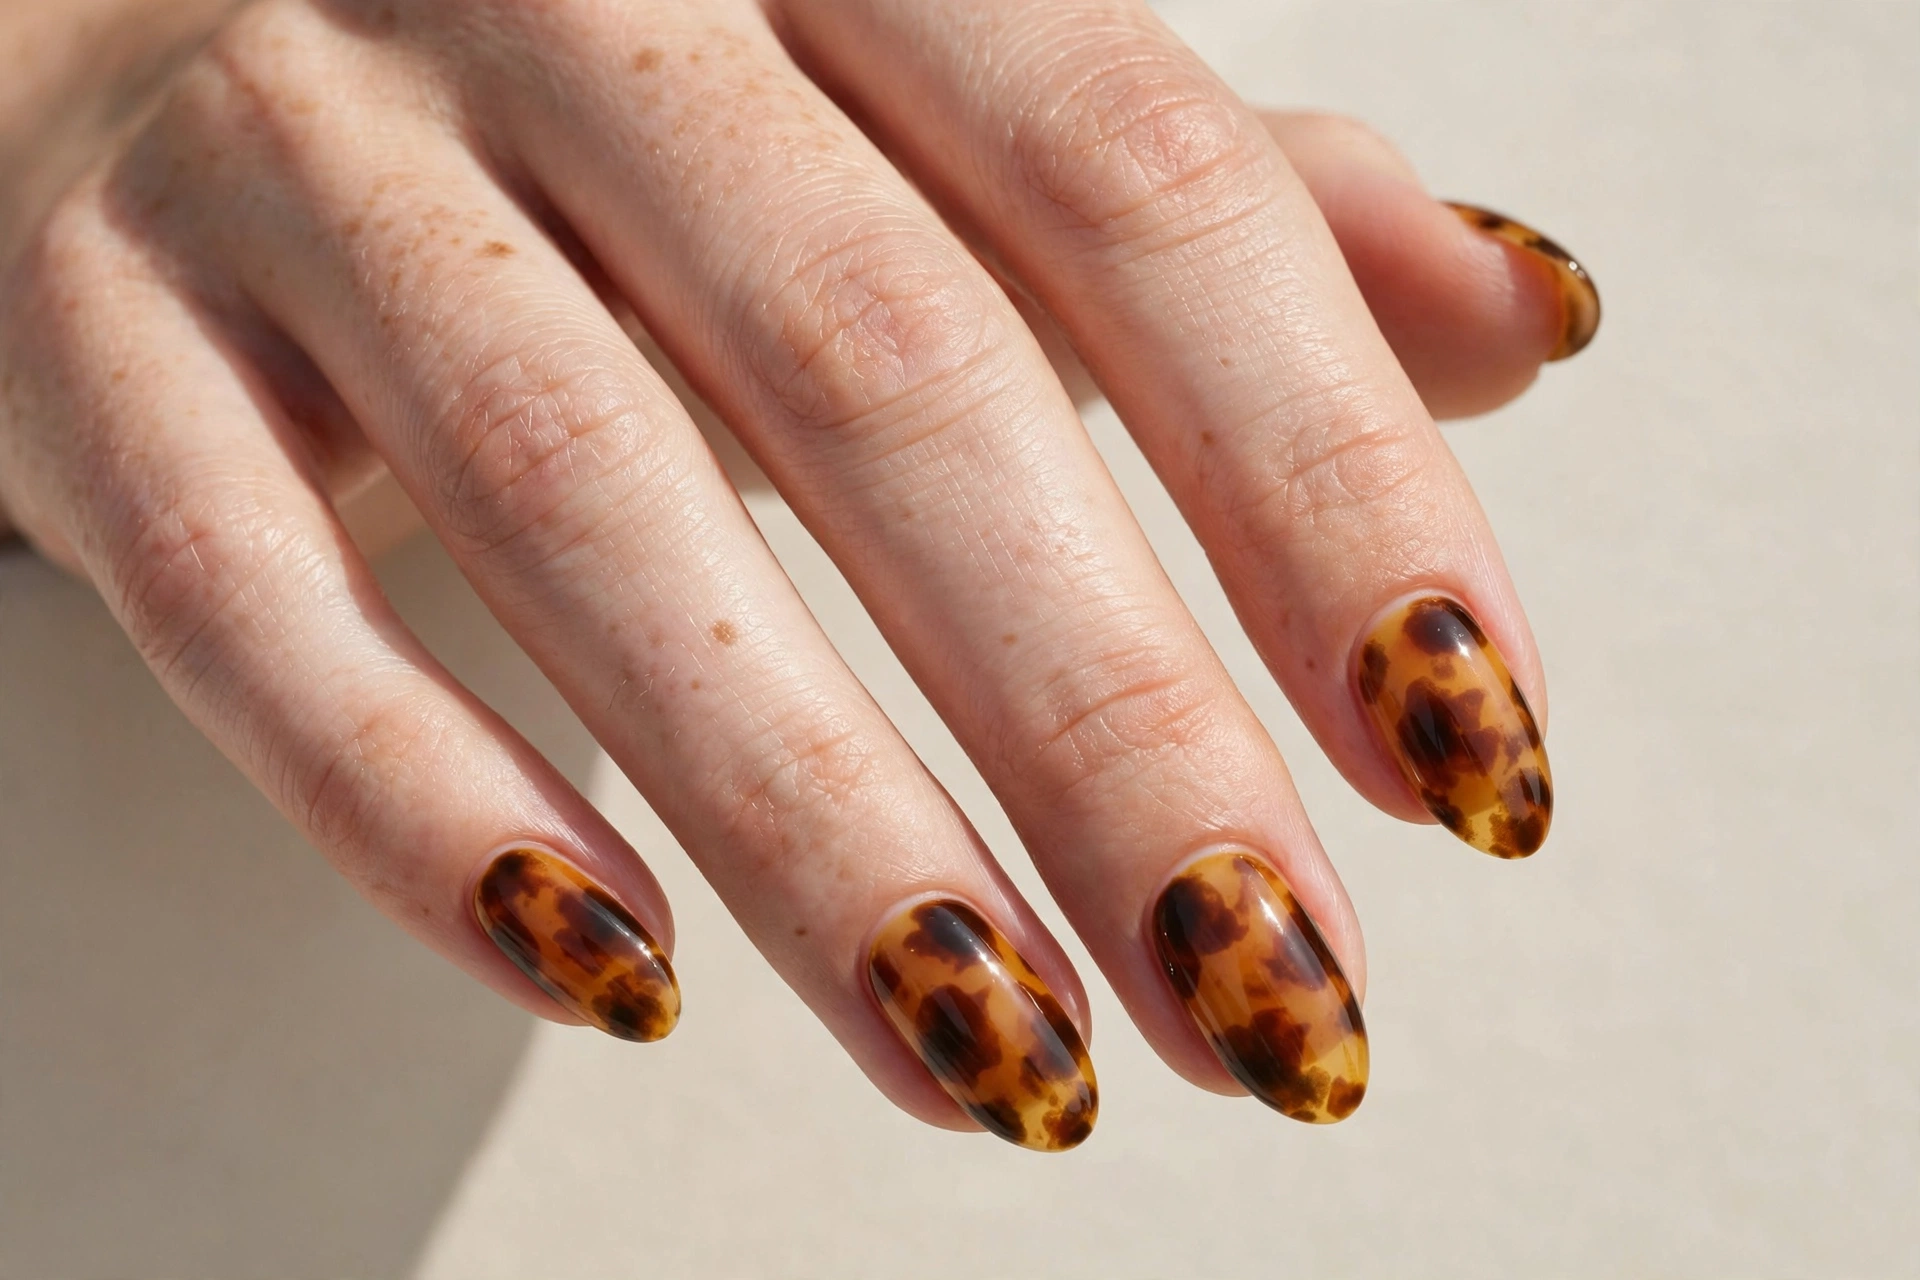
16. Tortoiseshell Pattern
Tortoiseshell — those amber, caramel, and chocolate swirls — is the pattern that makes people ask which salon you went to. It suits autumn wardrobes, neutral outfits, and anyone who loves rich, warm tones. The layered translucent look is easier than it appears because the blobs blend into each other.
Start with a sheer amber or nude base. Dab on irregular patches of brown and caramel with a small brush, slightly overlapping them. While still wet, add a few darker brown spots. Finish with a glossy top coat — the shine is what sells the tortoiseshell effect. Jelly polishes work best for the translucent depth.
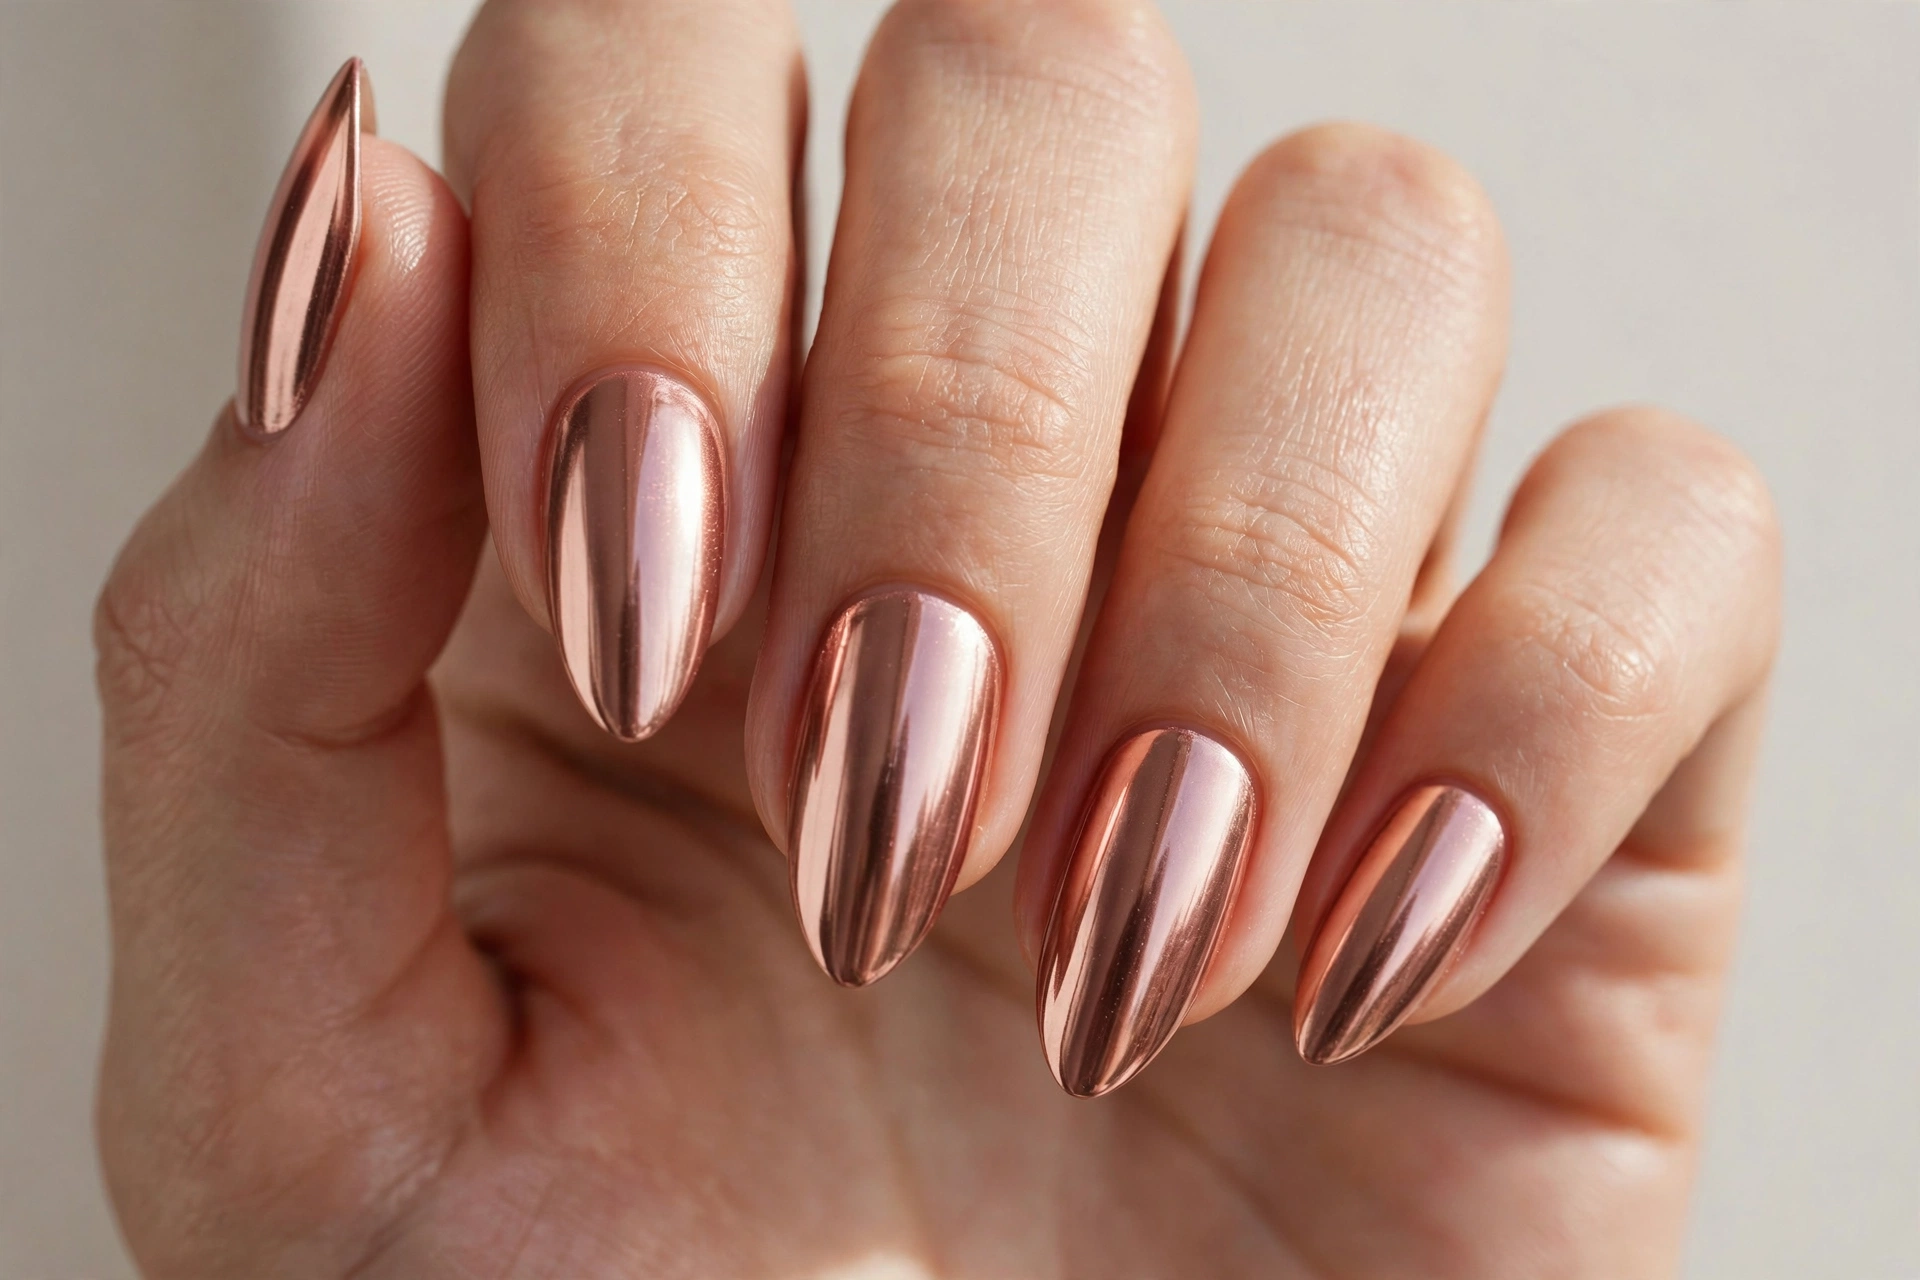
17. Rose Gold Chrome
Rose gold chrome nails are pure glamour — mirror-like, warm, and impossible to ignore. This is the look for parties, date nights, and anyone who wants maximum impact with minimum artistry. Chrome powder does all the heavy lifting; you just provide the base.
Paint nails with a black or dark pink base and a no-wipe gel top coat (this step usually needs a UV lamp, but chrome-effect regular polishes also work for a similar look without the lamp). Rub rose gold chrome powder over the tacky surface with a silicone applicator until it mirrors. Seal with a clear top coat.
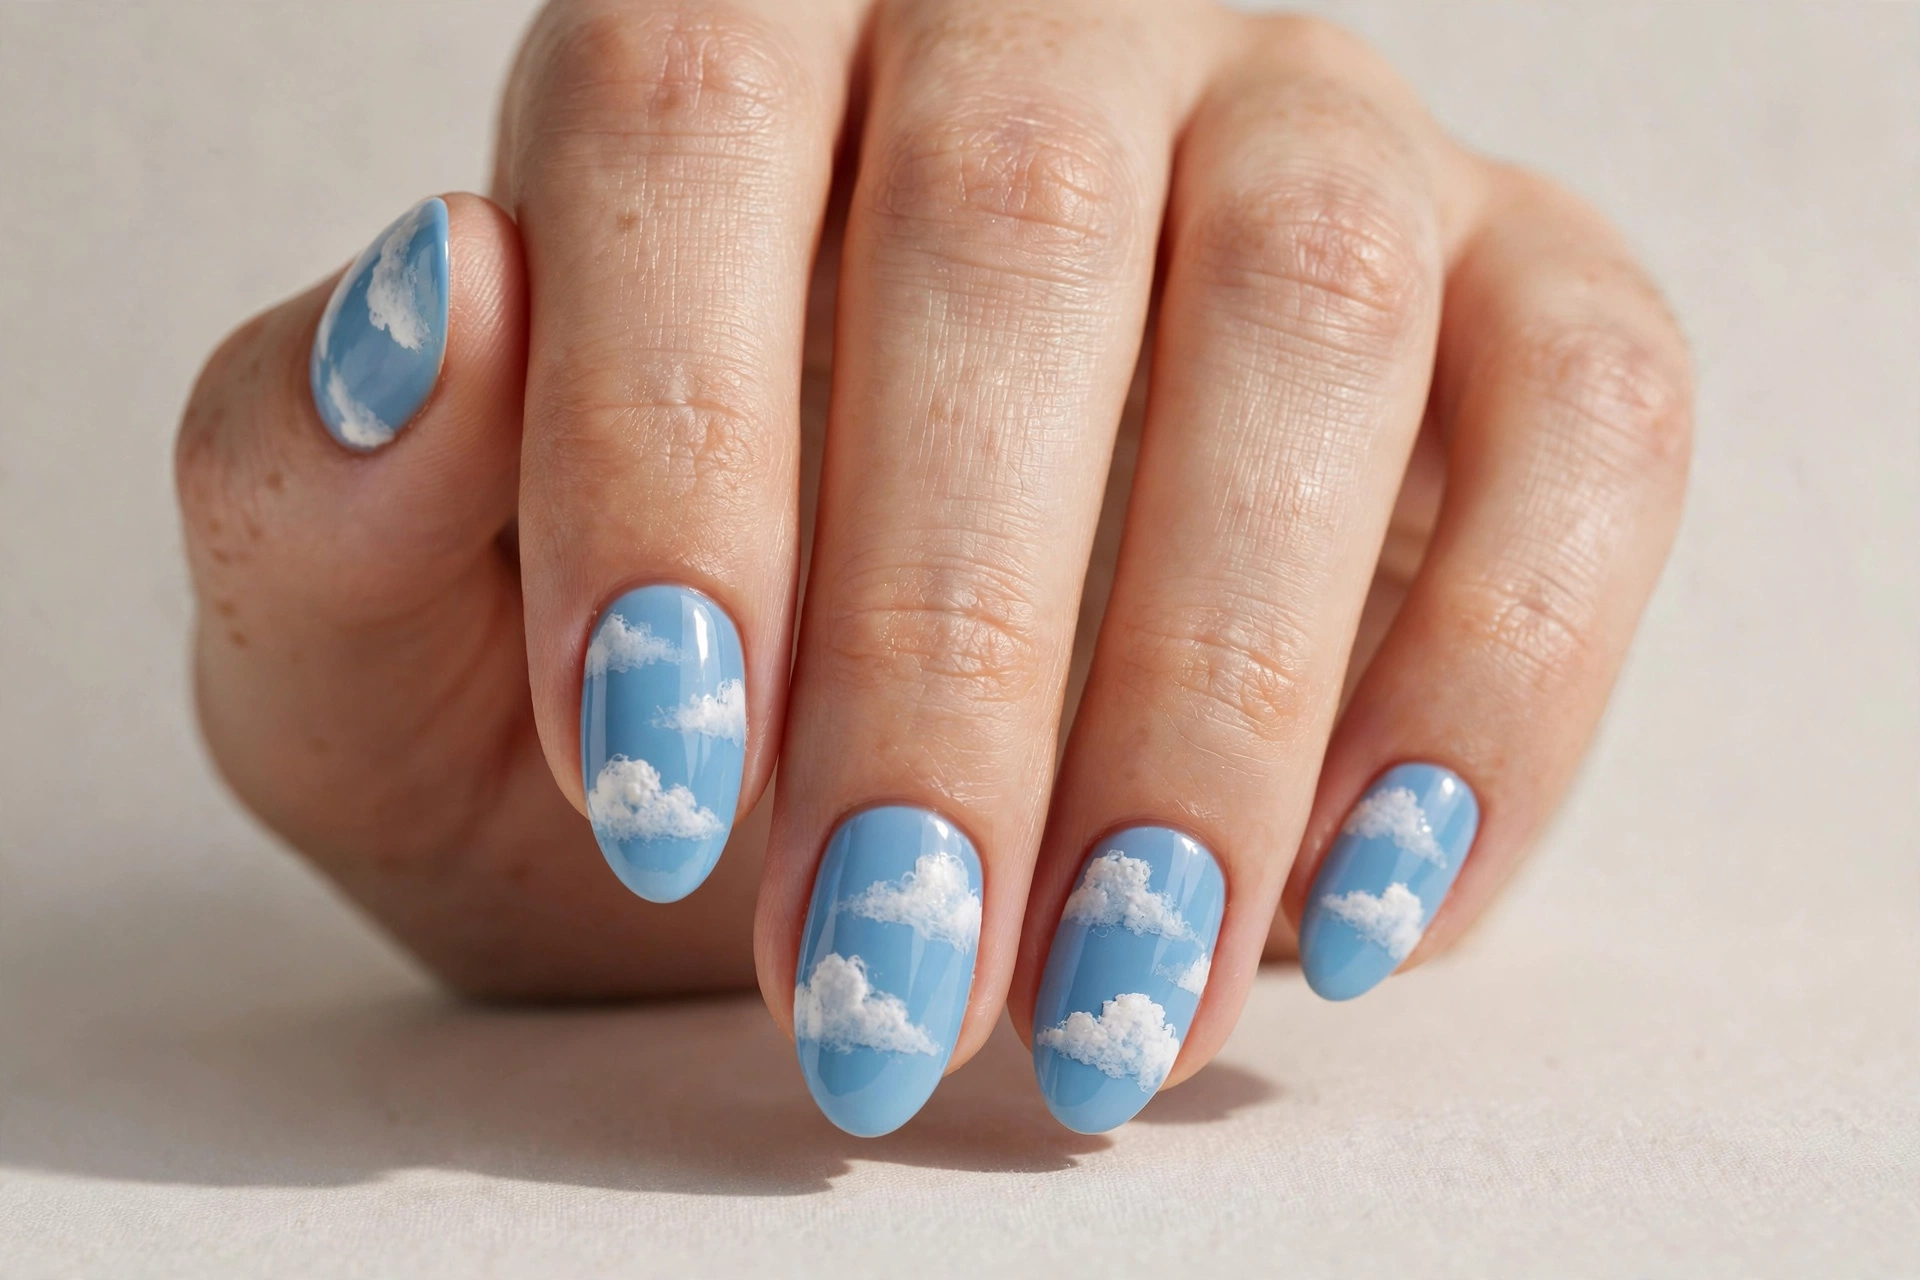
18. Sky Blue With Cloud Art
Sky-blue nails with fluffy white clouds are playful and nostalgic — like a cartoon sky on your fingertips. This design suits creative personalities and looks adorable with casual summer outfits. The clouds are simple blobs, so even shaky hands can pull them off.
Paint two coats of sky blue. Then use a small sponge or dotting tool to dab white polish in cloud shapes — three overlapping dots form a perfect little cloud. Keep some clouds small and one larger as a feature. A matte top coat gives a soft, dreamy finish; glossy makes the blue pop.
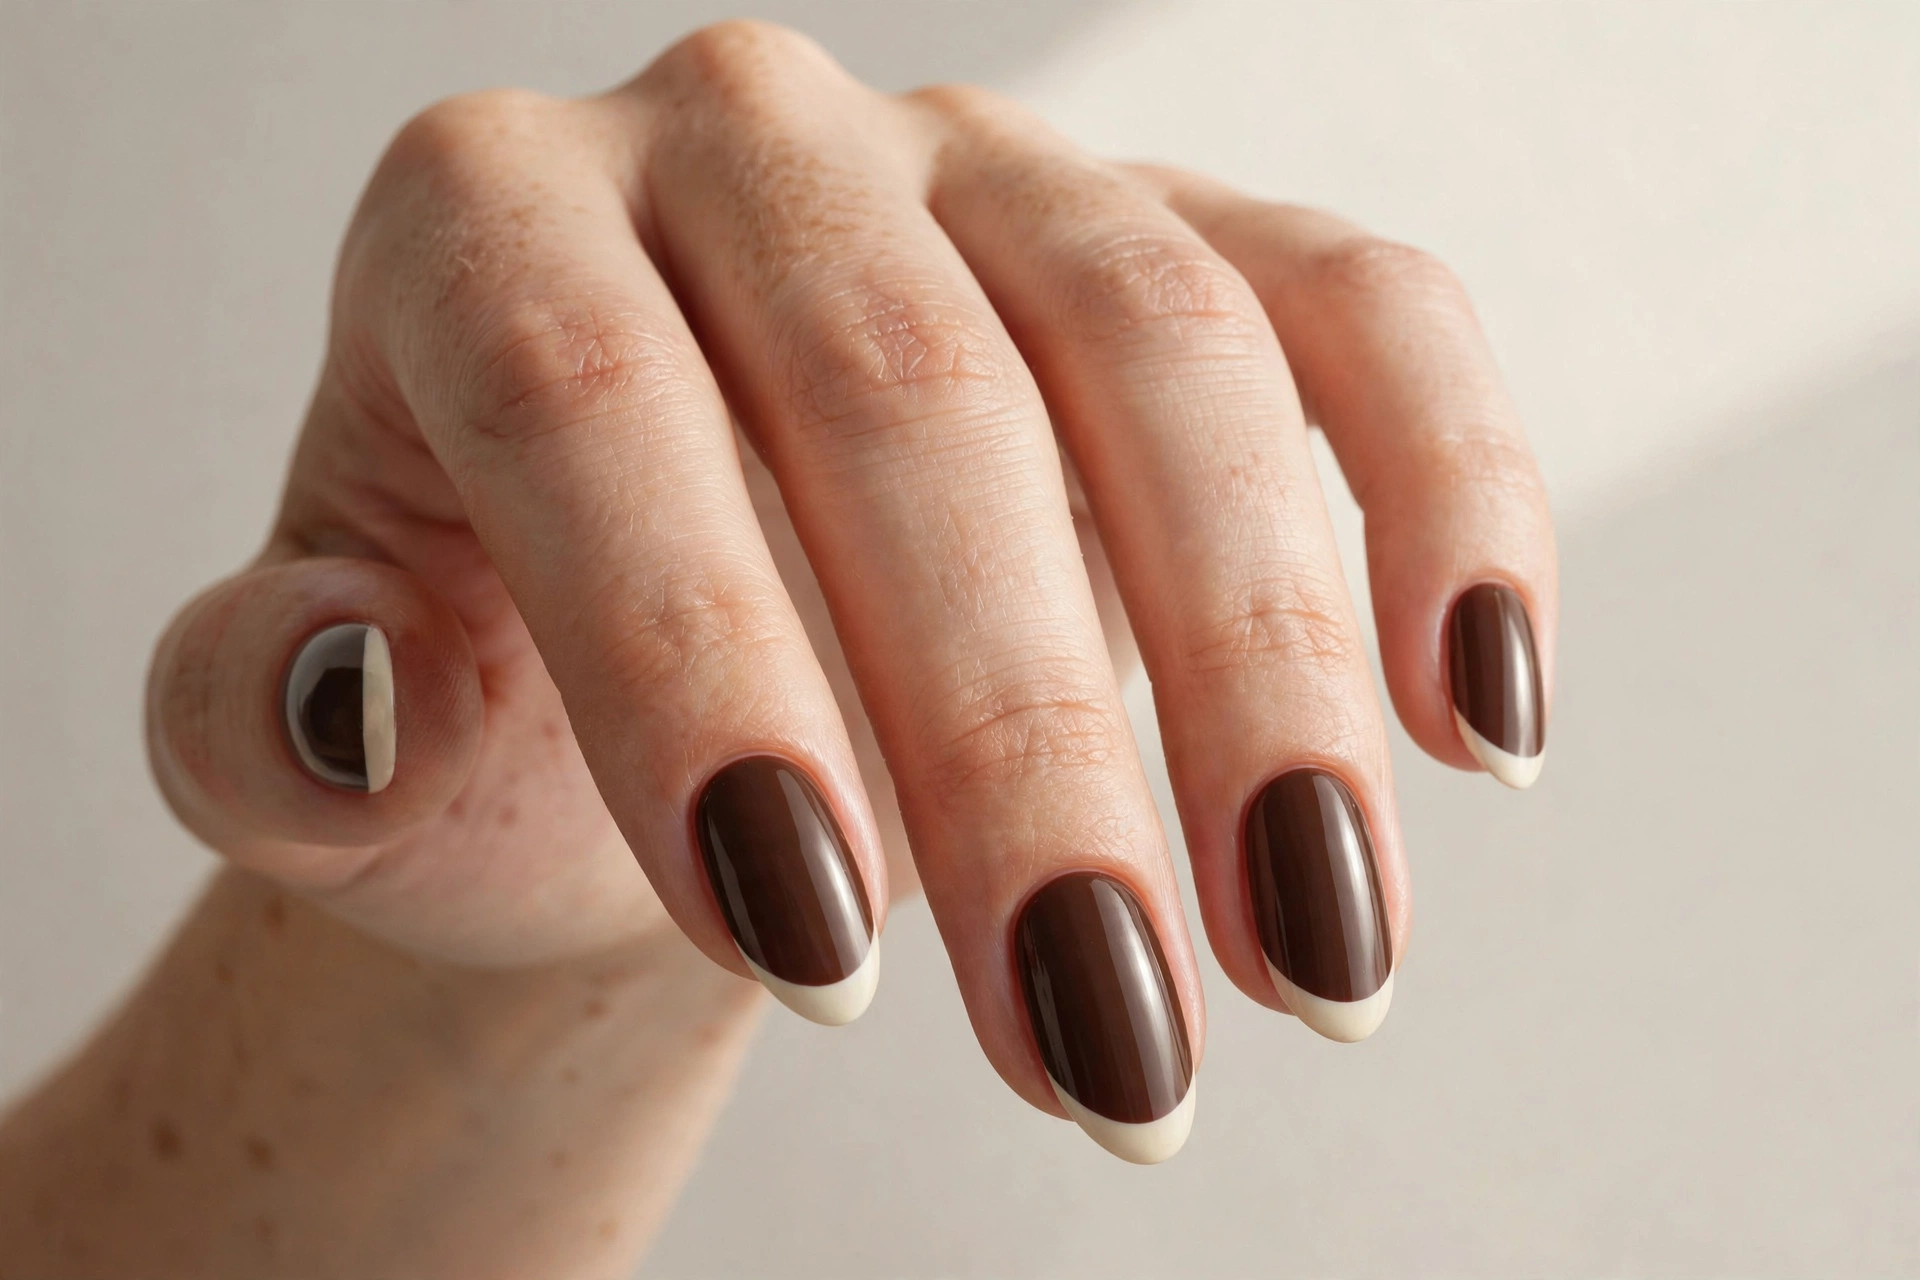
19. Espresso Brown With Cream Tips
Deep espresso with cream-colored French tips is the cozy, sophisticated take on the classic French — think lattes and cashmere sweaters. It suits fall and winter perfectly and flatters deeper skin tones beautifully. The contrast is softer than black-and-white, giving an elegant, understated finish.
Paint the nail in a rich espresso brown, then add cream tips with a French guide or steady freehand. The lighter tips visually lengthen the nail. Two thin coats of each color prevent bubbling. Finish with a glossy top coat for that fresh-from-the-salon shine.
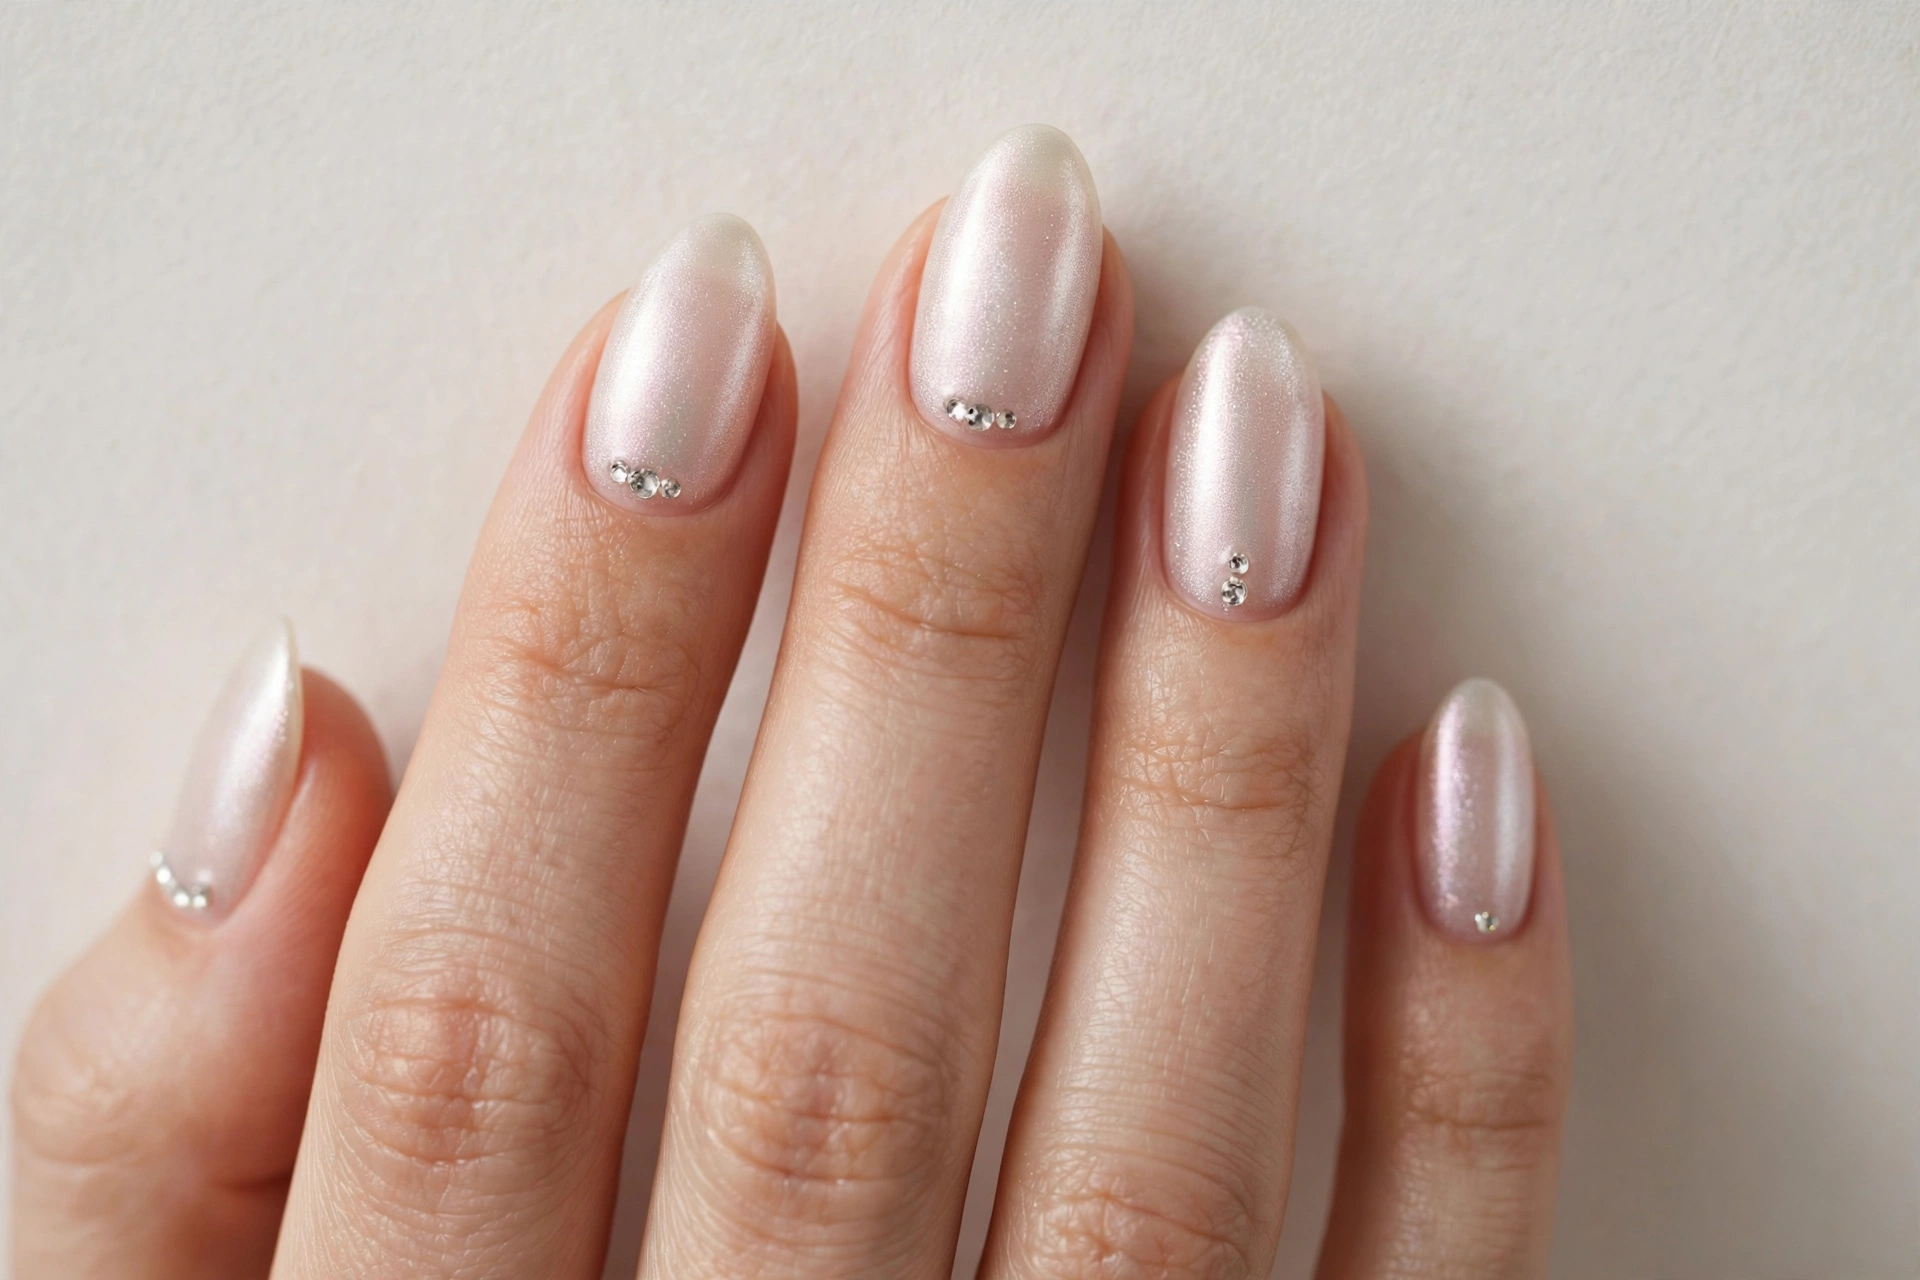
20. Pearl Shimmer With Rhinestones
A pearly shimmer base with a few carefully placed rhinestones is the ultimate special-occasion manicure — bridal, prom, New Year’s Eve. The iridescent finish flatters every skin tone, and the rhinestones catch light with every movement. Less is more here: a few gems make a bigger statement than a crowded nail.
Apply two coats of a pearl or iridescent polish. While the top coat is still wet, place 2–3 small rhinestones near the cuticle or along one edge using wax-tipped tweezers. Press gently, then seal with another layer of top coat, wrapping the edges of the stones so they don’t snag or fall off.
Nail Painting Tips for Longer-Lasting Results
Great designs deserve to last. Always start with clean, dry nails — push back cuticles, gently buff the surface, and wipe with remover to eliminate oils before your base coat. Thin coats are the golden rule: three thin layers dry faster and chip less than one thick, gloopy one. Cap the free edge by running polish along the tip of the nail, and reapply top coat every two to three days to refresh the shine and seal in the color.
Having the right supplies on hand makes all the difference between a frustrating session and a fun one. If your kit needs an upgrade, this nail polish kit includes the essentials — base and top coats, a good range of colors, and basic nail art tools — so you can try every idea in this list without a salon trip. (As an Amazon Associate I earn from qualifying purchases, at no extra cost to you.) Wear gloves for dishes and housework, and keep cuticle oil by your bed for nightly moisture — hydrated nails hold polish far better than dry ones.
With these ideas for nail painting in your back pocket, the hardest part — deciding what to paint — is already done. Pick the design that matches your mood, gather your polishes, and enjoy the process. Your nails are a tiny canvas, and every manicure is a chance to try something new.