18 Simple Halloween Nail Designs for an Easy Spooky Look
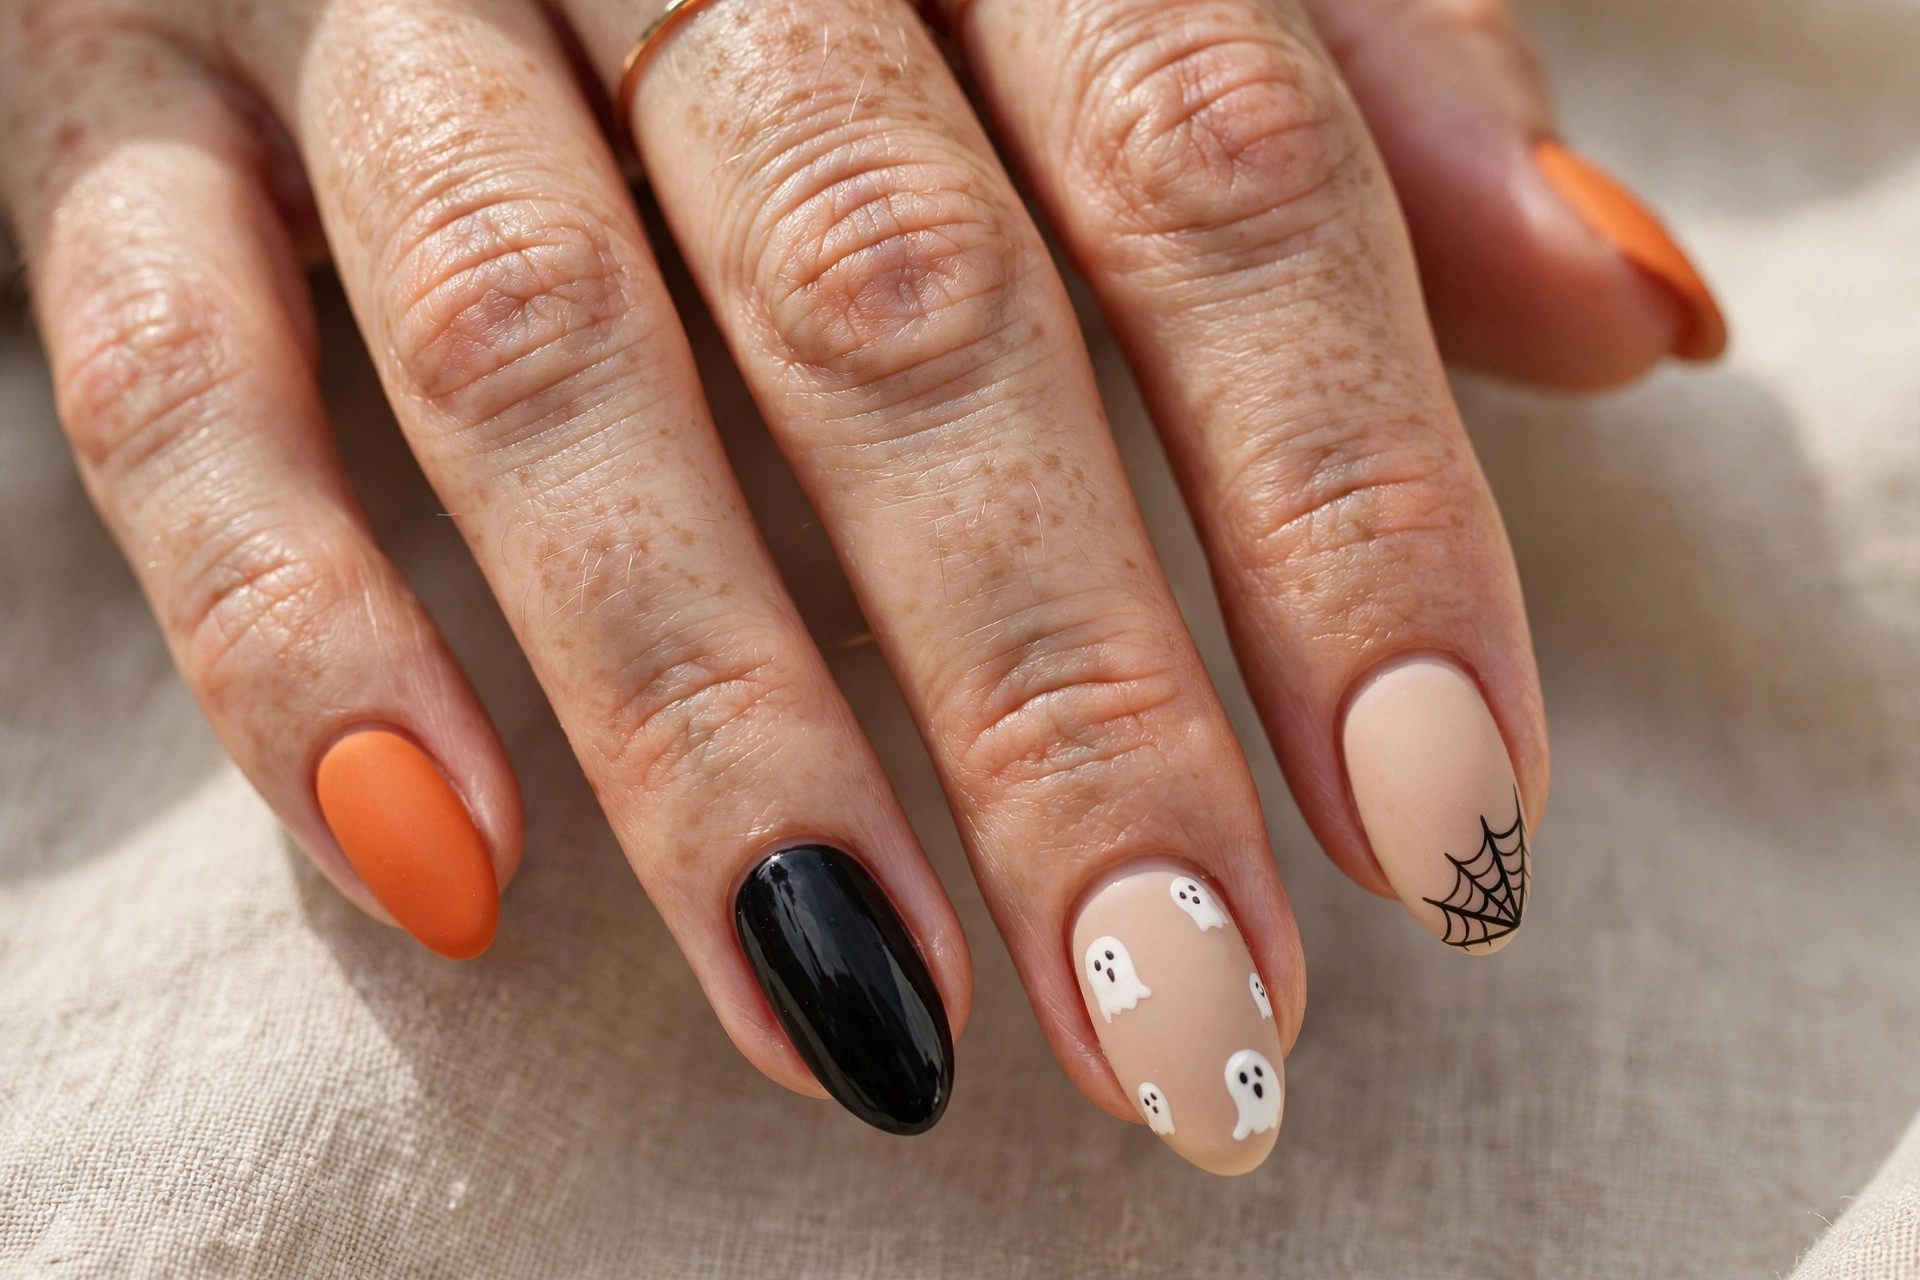
You don’t need a salon appointment or an afternoon of free time to pull off festive nails this October. These simple Halloween nail designs are the proof: a few coats of polish, a steady hand, and one or two tiny details are all it takes to look perfectly on theme for every costume party, pumpkin patch visit, and trick-or-treat night on your calendar.
What makes this list different is that every design is genuinely easy. There are no 40-step tutorials and no techniques that require professional tools. If you can paint a French tip or dot a toothpick, you can do all 18 looks on this page. Whether you’re a total beginner or someone who just wants cute spooky nails without the stress, you’ll find something here that fits. And if you want more drama after trying these, take a look at these Halloween nail designs that are spooky and chic for bolder ideas.
Why You’ll Love These Simple Halloween Nail Designs
Halloween nails have a reputation for being fiddly, but simple Halloween nail designs work for three very practical reasons. First, they’re fast — most of these take under 30 minutes for a full set, which means you can redo them the week of October 31st without blocking out an evening. Second, they’re forgiving. Simple designs hide wobbly lines and uneven coats far better than complicated art, and most of them look even better with a slightly imperfect, handmade feel.
Third, simple designs are easy to remove. Big spooky nail art often means layers of polish and glitter that take forever to come off. These looks use one or two coats and minimal detail, so when November arrives you can switch to your everyday style in minutes. If you’re building your autumn beauty routine, these pair beautifully with fall nail designs for a cozy autumn look, so you can keep your manicure seasonal all the way through October.
A quick tip before you start: always use a base coat and finish with a top coat. Halloween colors like black and orange are known for staining nails, and a good base coat is the one thing standing between you and orange-tinted nails for weeks. A top coat also makes tiny details like dots and stars last much longer. Another beginner-friendly habit: paint thin coats and let each one dry for two minutes before adding the next. Thin coats level out on their own, which is exactly what makes these 18 simple designs look neat instead of lumpy.
1. Black French Tips with a Ghost Accent
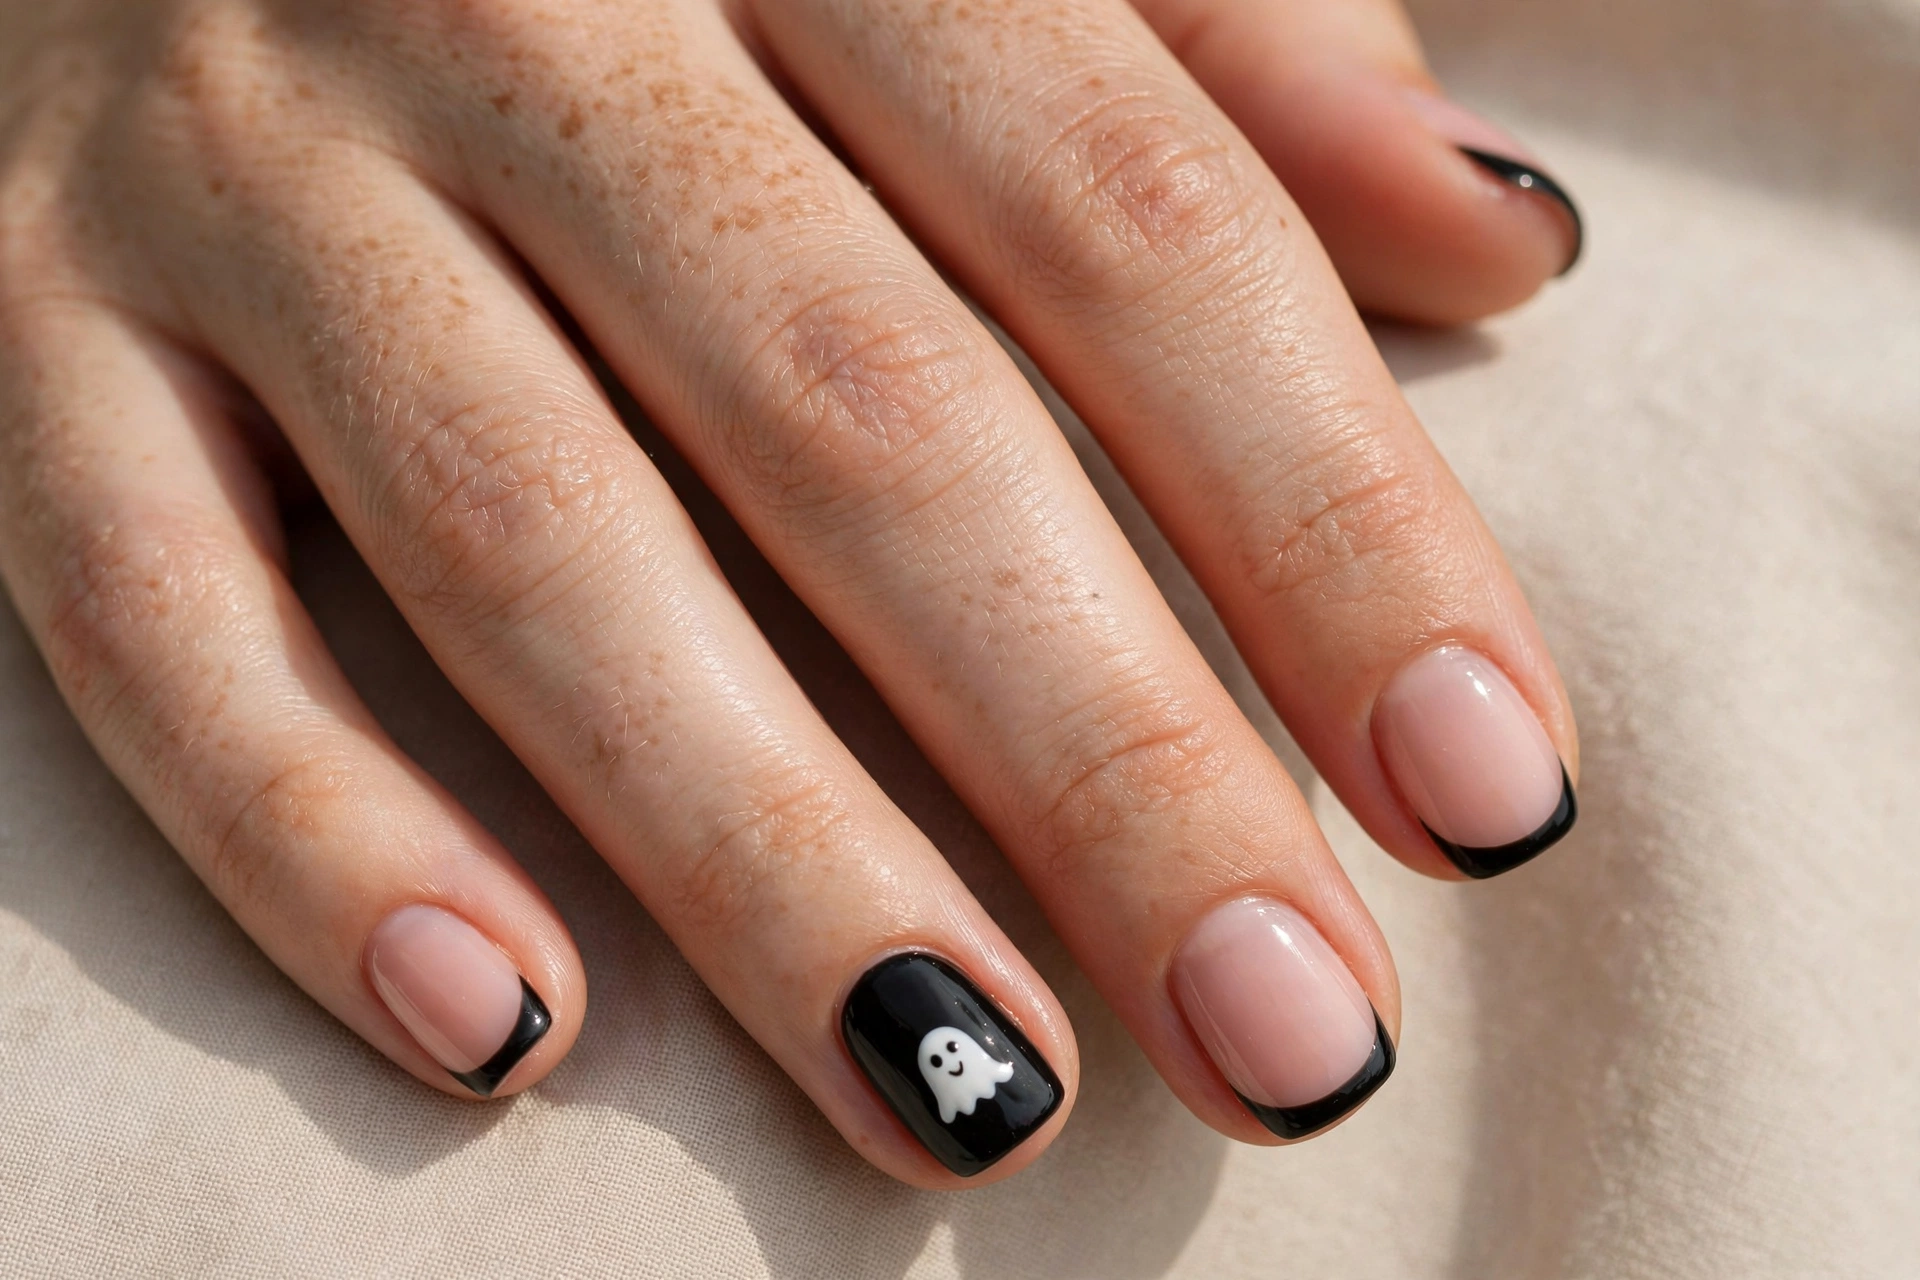
Start with a nude or soft pink base and paint black French tips. On one accent nail — usually the ring finger — paint the whole nail black and add a tiny white ghost: just a rounded white blob with two black dot eyes. It takes seconds and reads instantly as Halloween.
Black French tips are also a year-round favorite because they go with everything, so this Halloween version doubles as a chic everyday manicure. It’s one of those simple Halloween nail designs you can wear to the office without a second thought, then show off at a party after hours.
This design works on any nail length, but it looks especially clean on short to medium nails where the ghost detail stays crisp. Use a dotting tool or the tip of a bobby pin for the ghost’s eyes so they stay tiny and round.
2. Pumpkin Orange with Black Dot Details
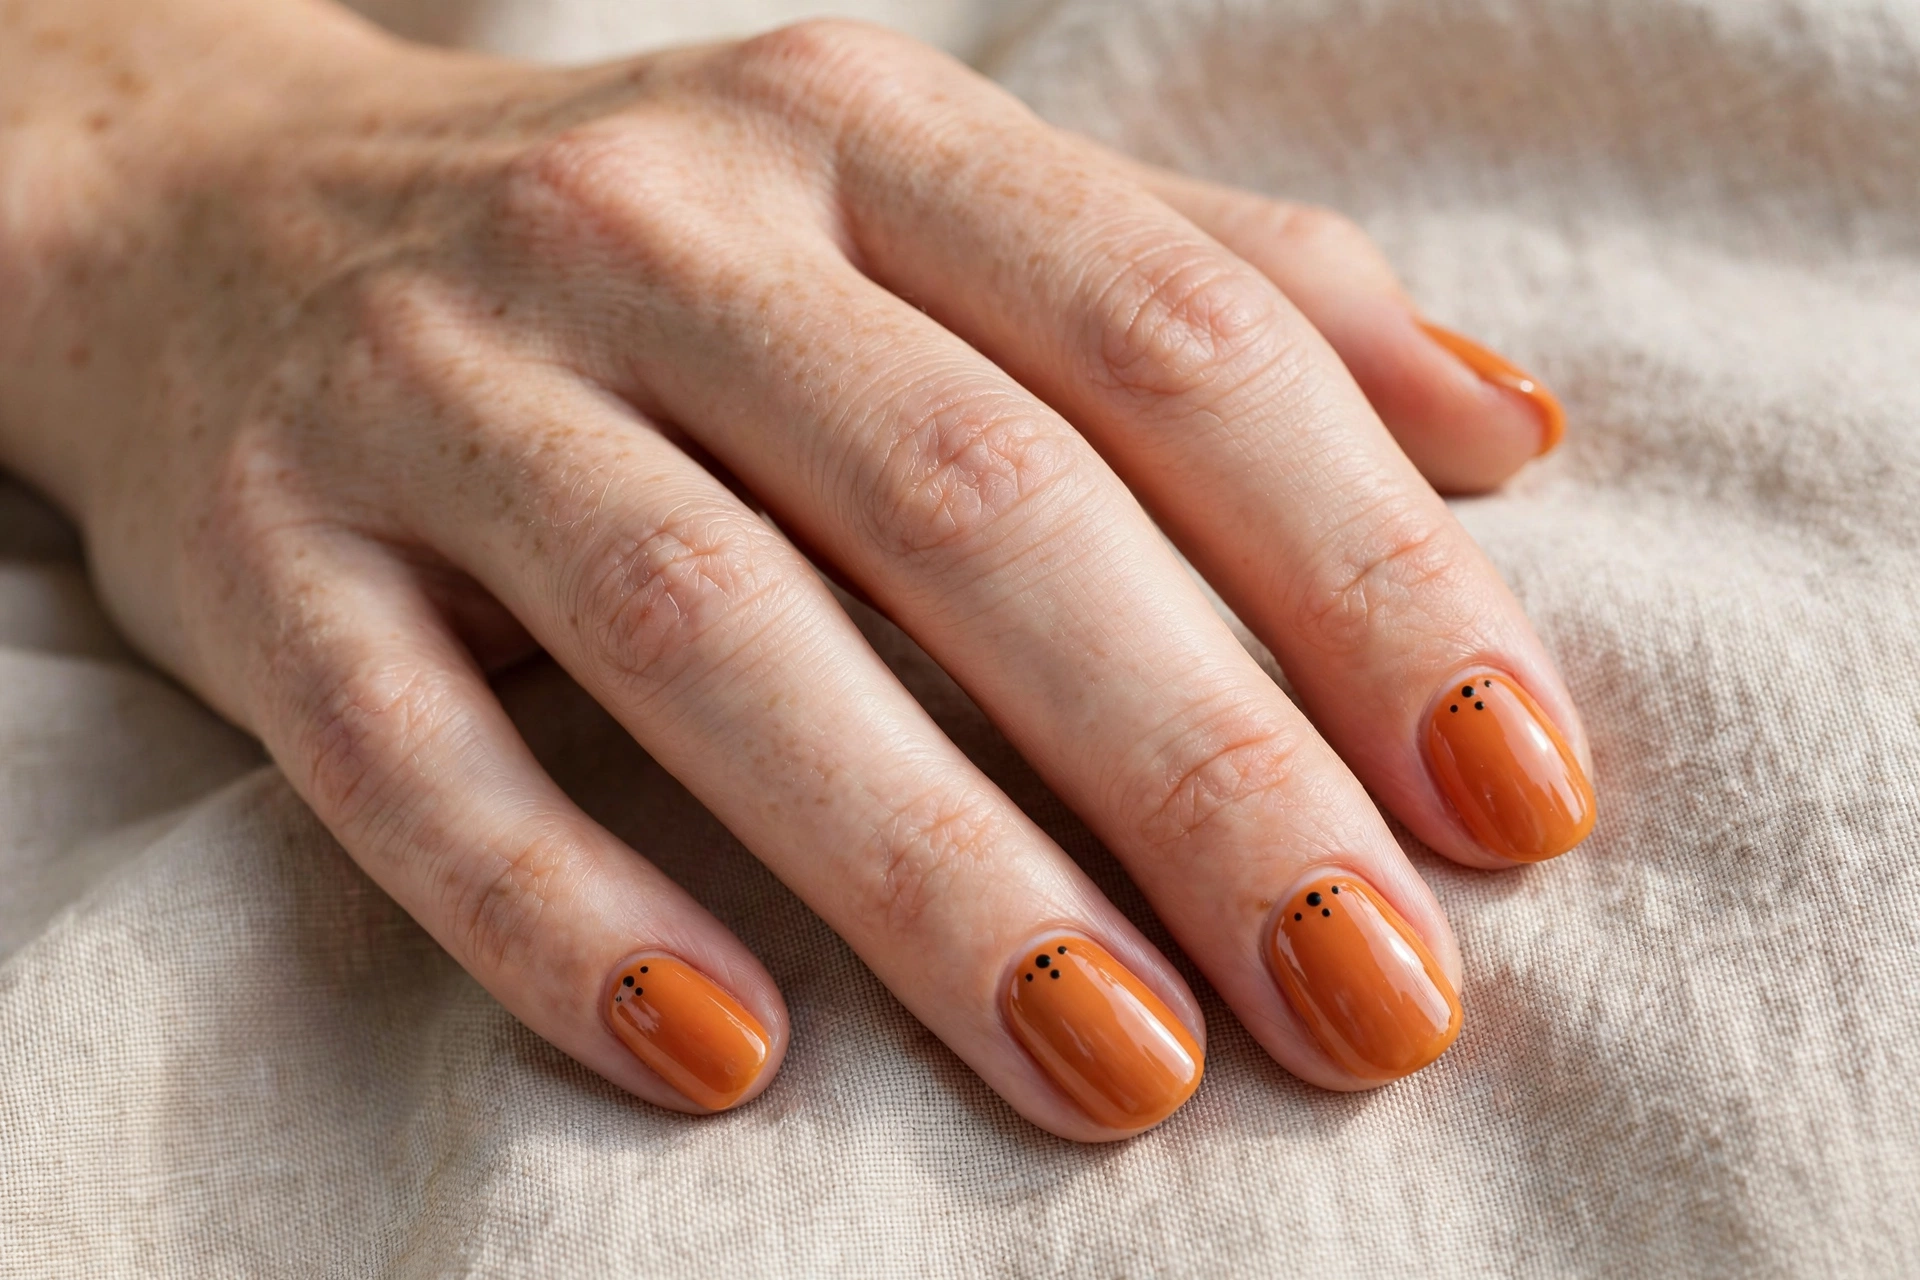
Sometimes the simplest idea is the best one. Paint all your nails a glossy pumpkin orange, then add small black dots near the cuticle on each nail. The result is playful and festive without any real art skills needed.
Keep the dots uniform in size for a polished look, or make them random for a more playful feel. A matte top coat over this design gives it a soft, modern finish that’s perfect for daytime.
If bright pumpkin orange feels too bold for you, try a burnt orange shade instead. It keeps the Halloween feel but looks more grown-up and elegant — and it transitions beautifully into your regular autumn wardrobe.
3. Simple Halloween Spider Web on a Nude Base
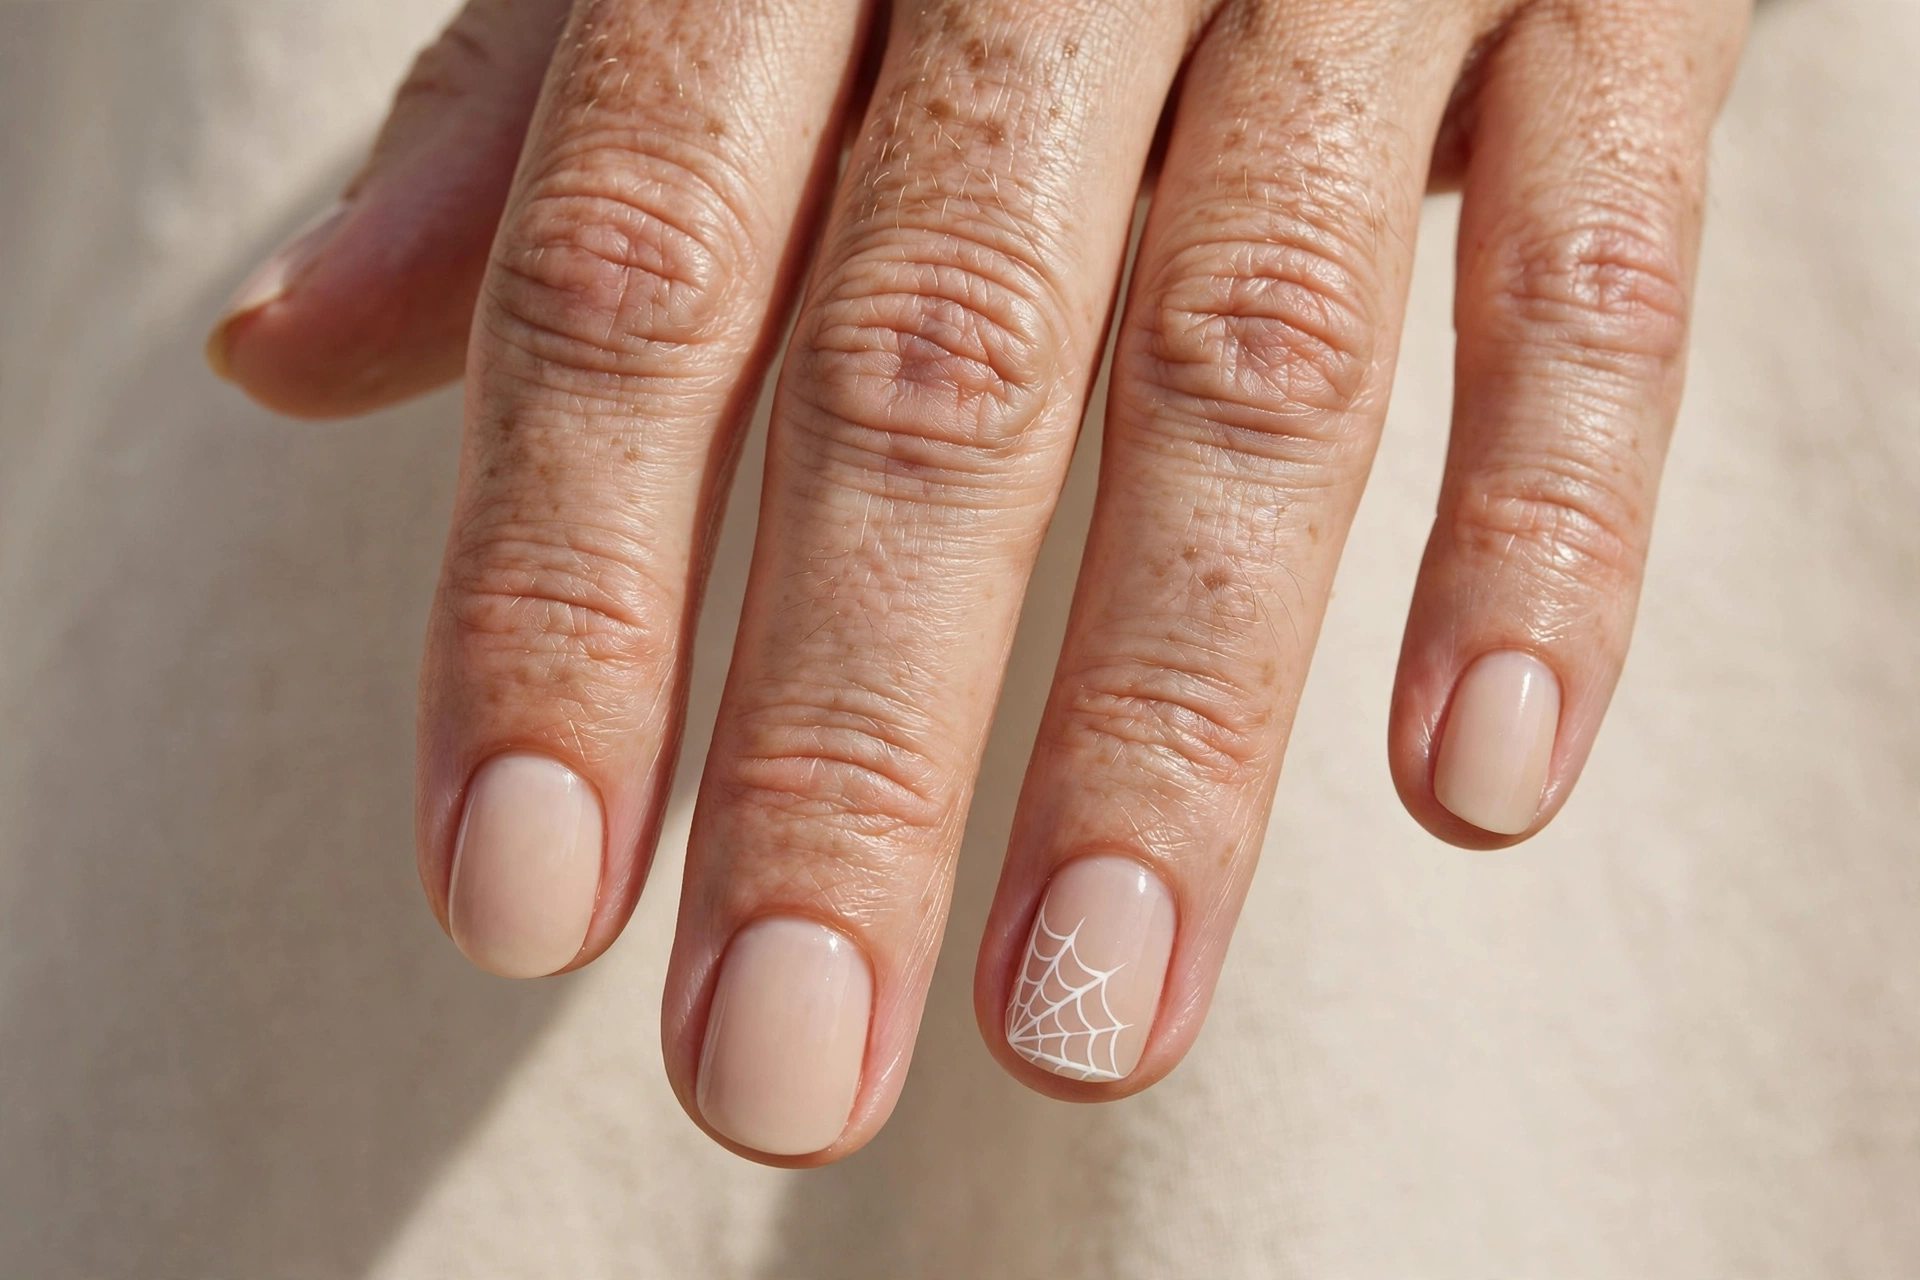
Paint your nails nude and add one delicate spider web on a single accent nail. Start with a small dot in the corner of the nail, draw three or four lines fanning out from it, then connect them with small curved lines. That’s the whole web — and it looks impressive.
This is the one design where a fine detail nail art brush set really pays off, because thin lines make the web look much cleaner than thick ones. If you don’t have one, a toothpick or the tip of a fine eyeliner brush works surprisingly well.
4. Blood-Red Gradient Tips
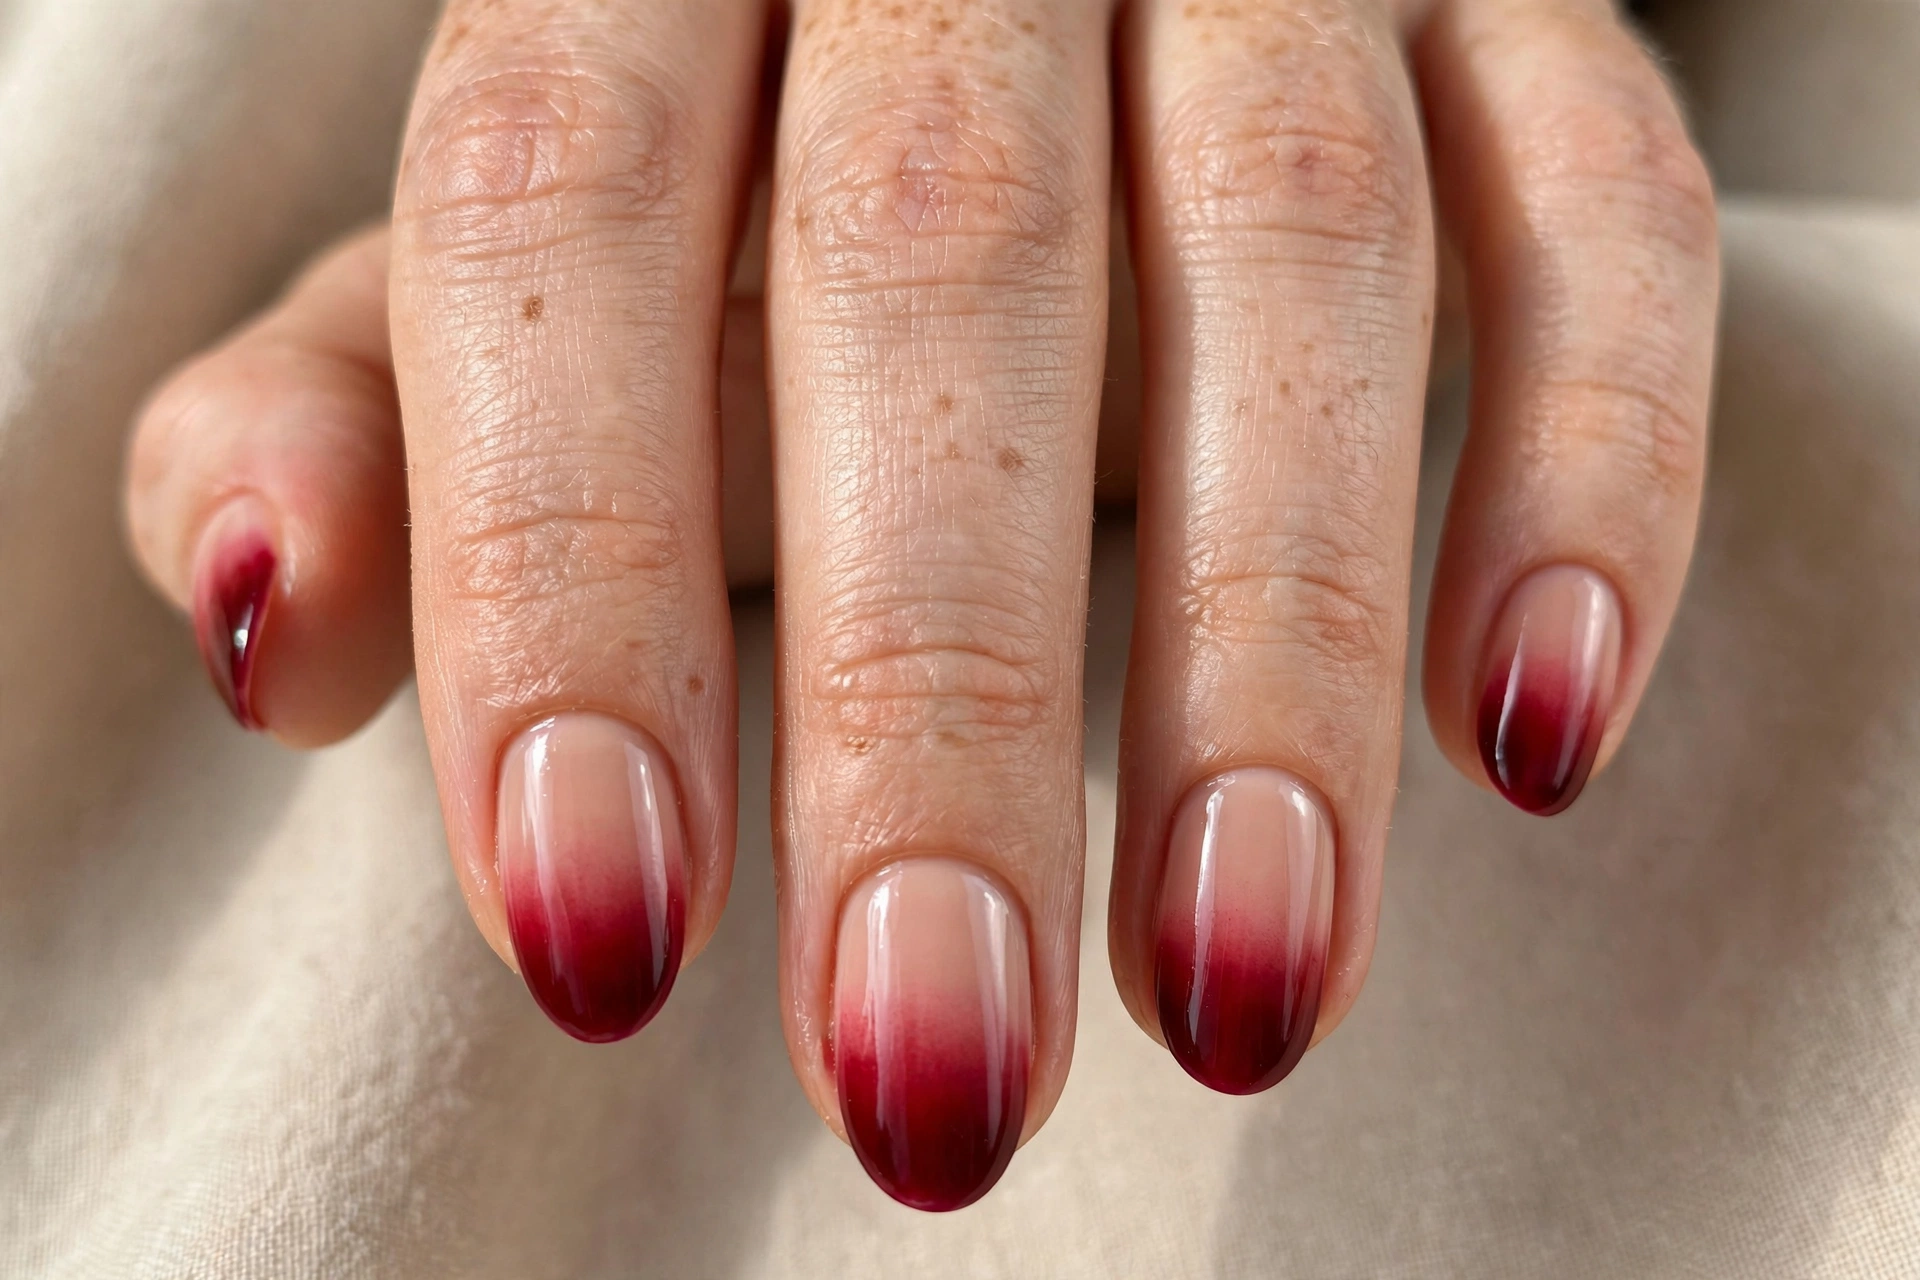
Paint a nude base, then sponge deep red polish onto the tips so it fades into the nude near the middle of the nail. The gradient effect looks like dripping blood without any scary detail work. Use a small makeup sponge and dab lightly for the smoothest fade.
Seal with a glossy top coat to make the red look wet and fresh. This design pairs perfectly with vampire or witch costumes, and it’s one of the fastest looks on this list.
5. Cute Ghost Faces on Black — a Simple Halloween Favorite
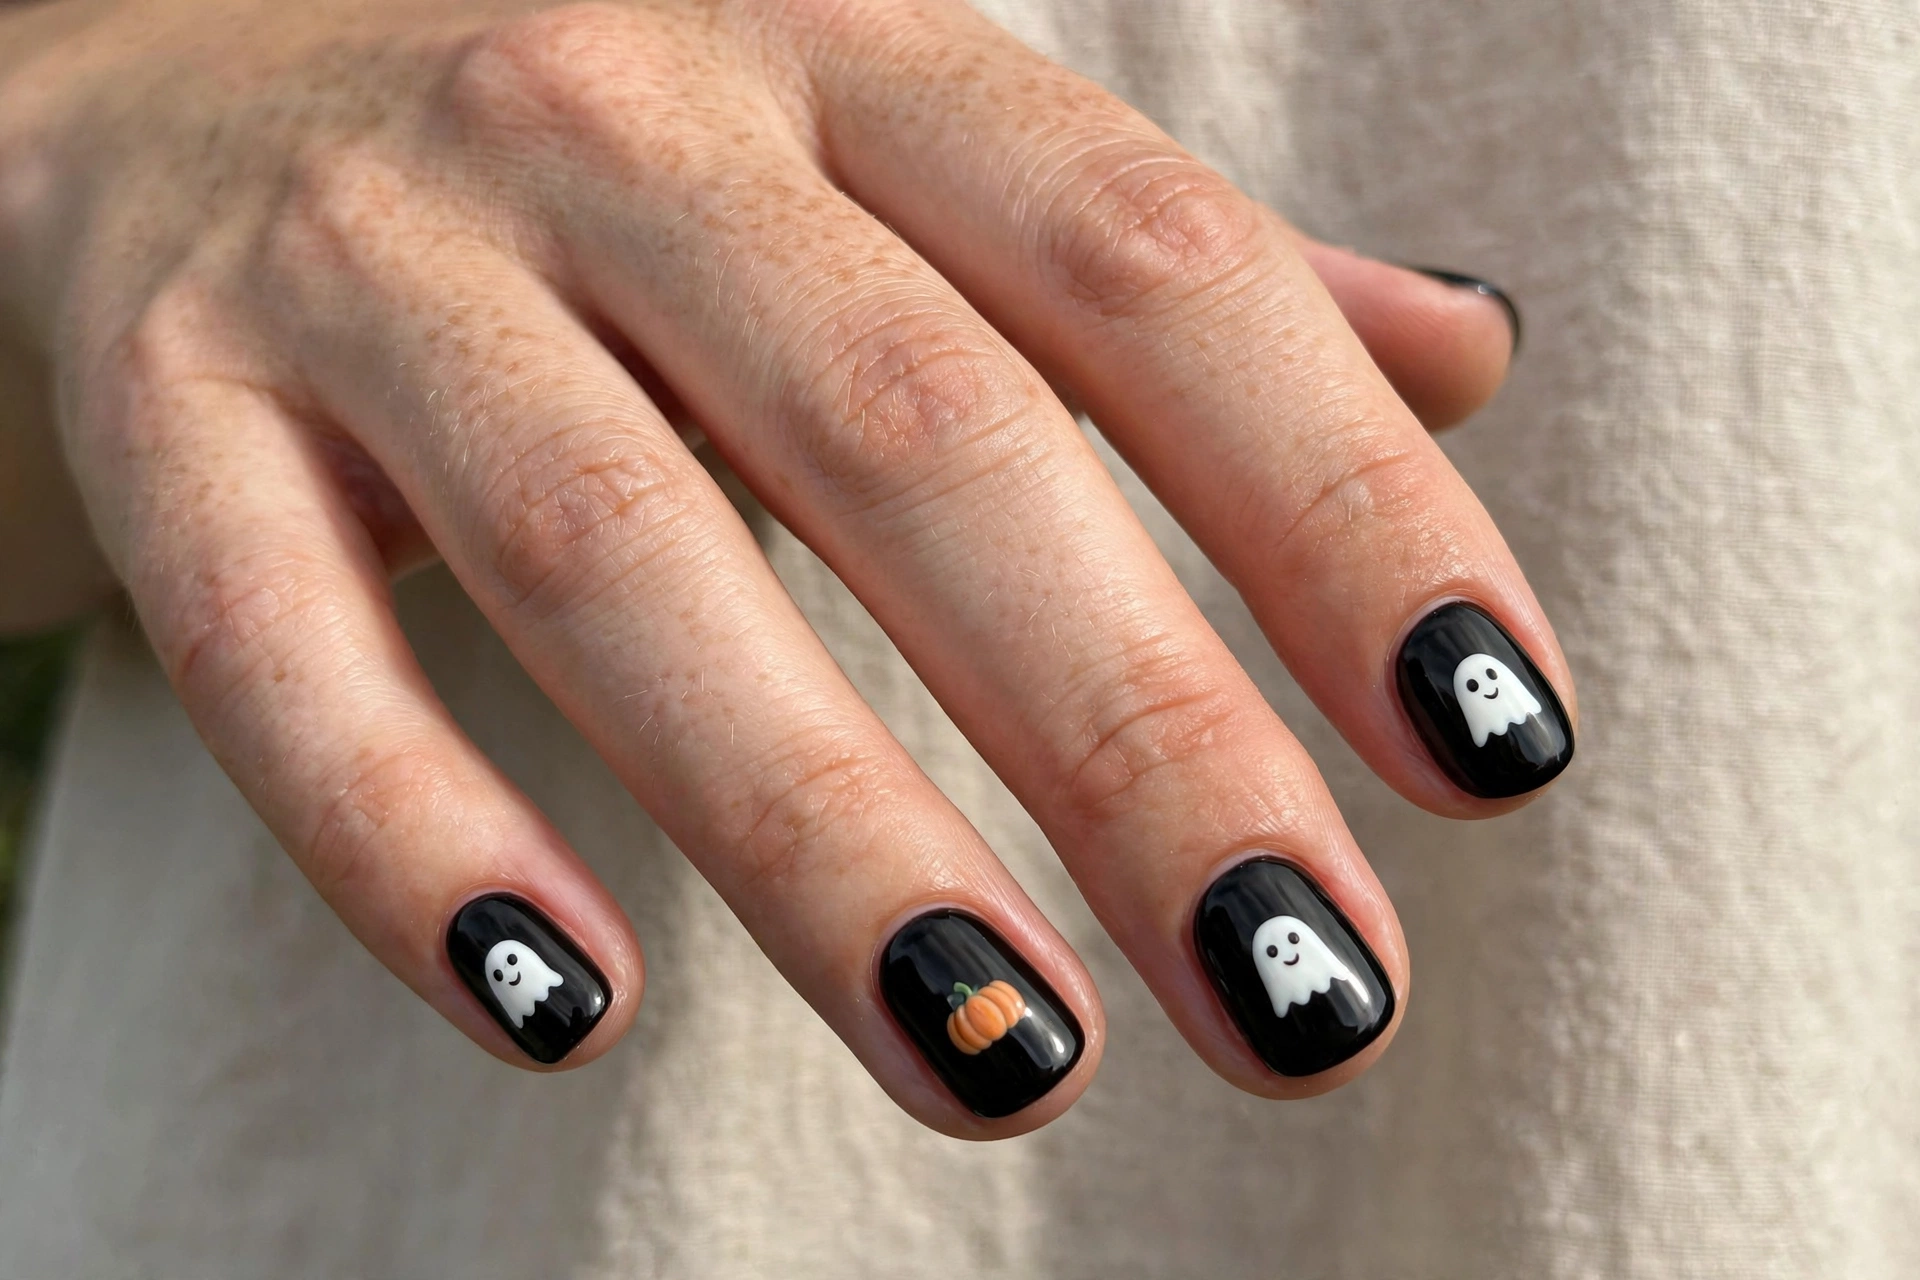
Paint all nails soft black, then add small white ghosts — rounded blobs with two dot eyes — on each nail. Cute, not creepy, and the high contrast makes them pop even on short nails.
For a quicker version, paint just two or three ghost accent nails and leave the rest plain black. The look stays festive but takes half the time.
6. Candy Corn Tips
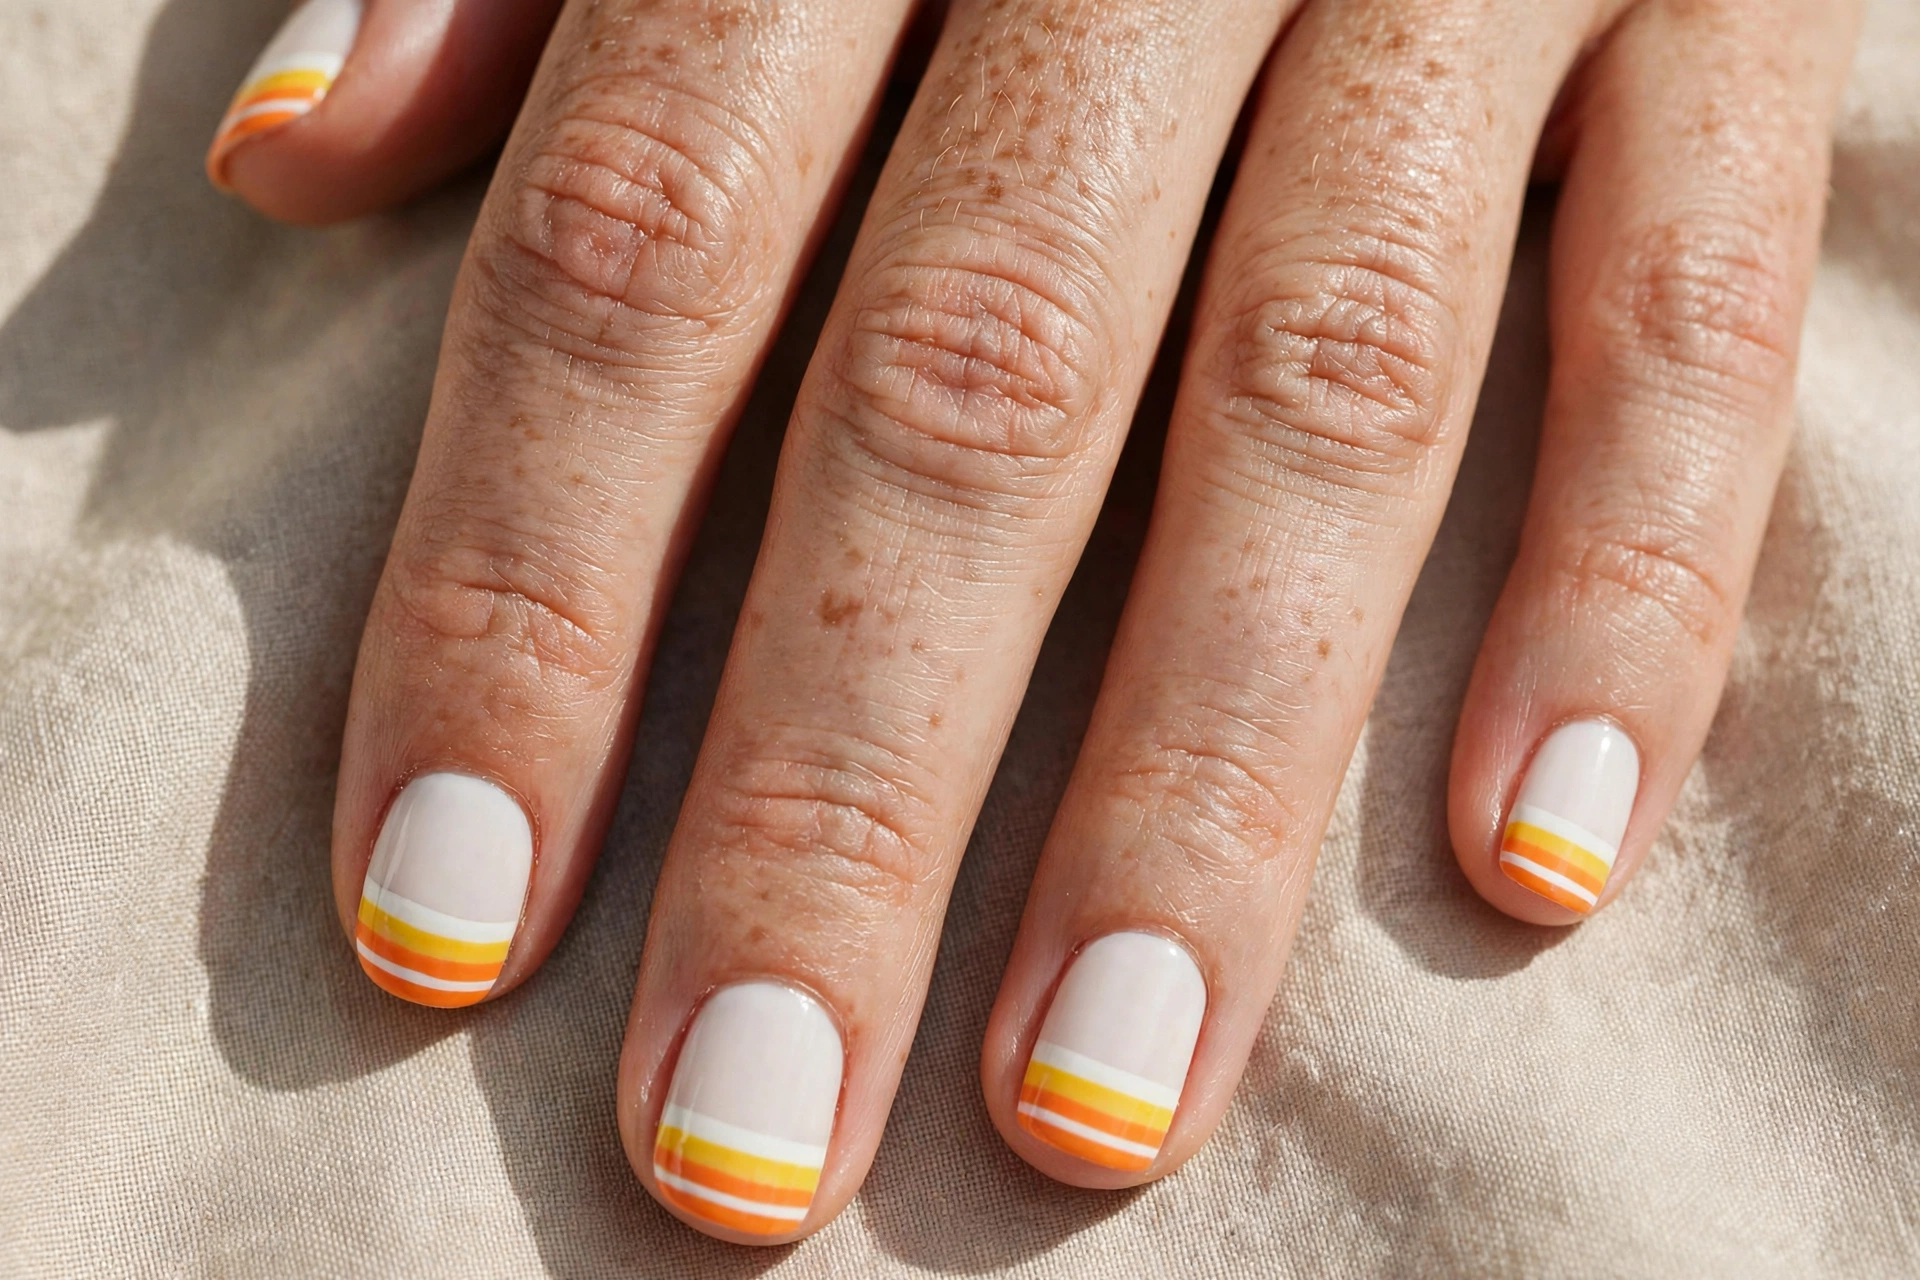
Paint your nails white, then stripe the tips with horizontal bands of yellow and orange to mimic candy corn. Use striping tape or a steady hand — the stripes don’t need to be perfect to read clearly.
These are a hit with kids and anyone who loves the classic Halloween candy look. After trying these, you’ll see why candy-inspired nails keep coming back every October — they work just as well at Christmas too, so save your striping skills for Christmas nail designs with a festive holiday look in December.
7. Black Cat Eyes
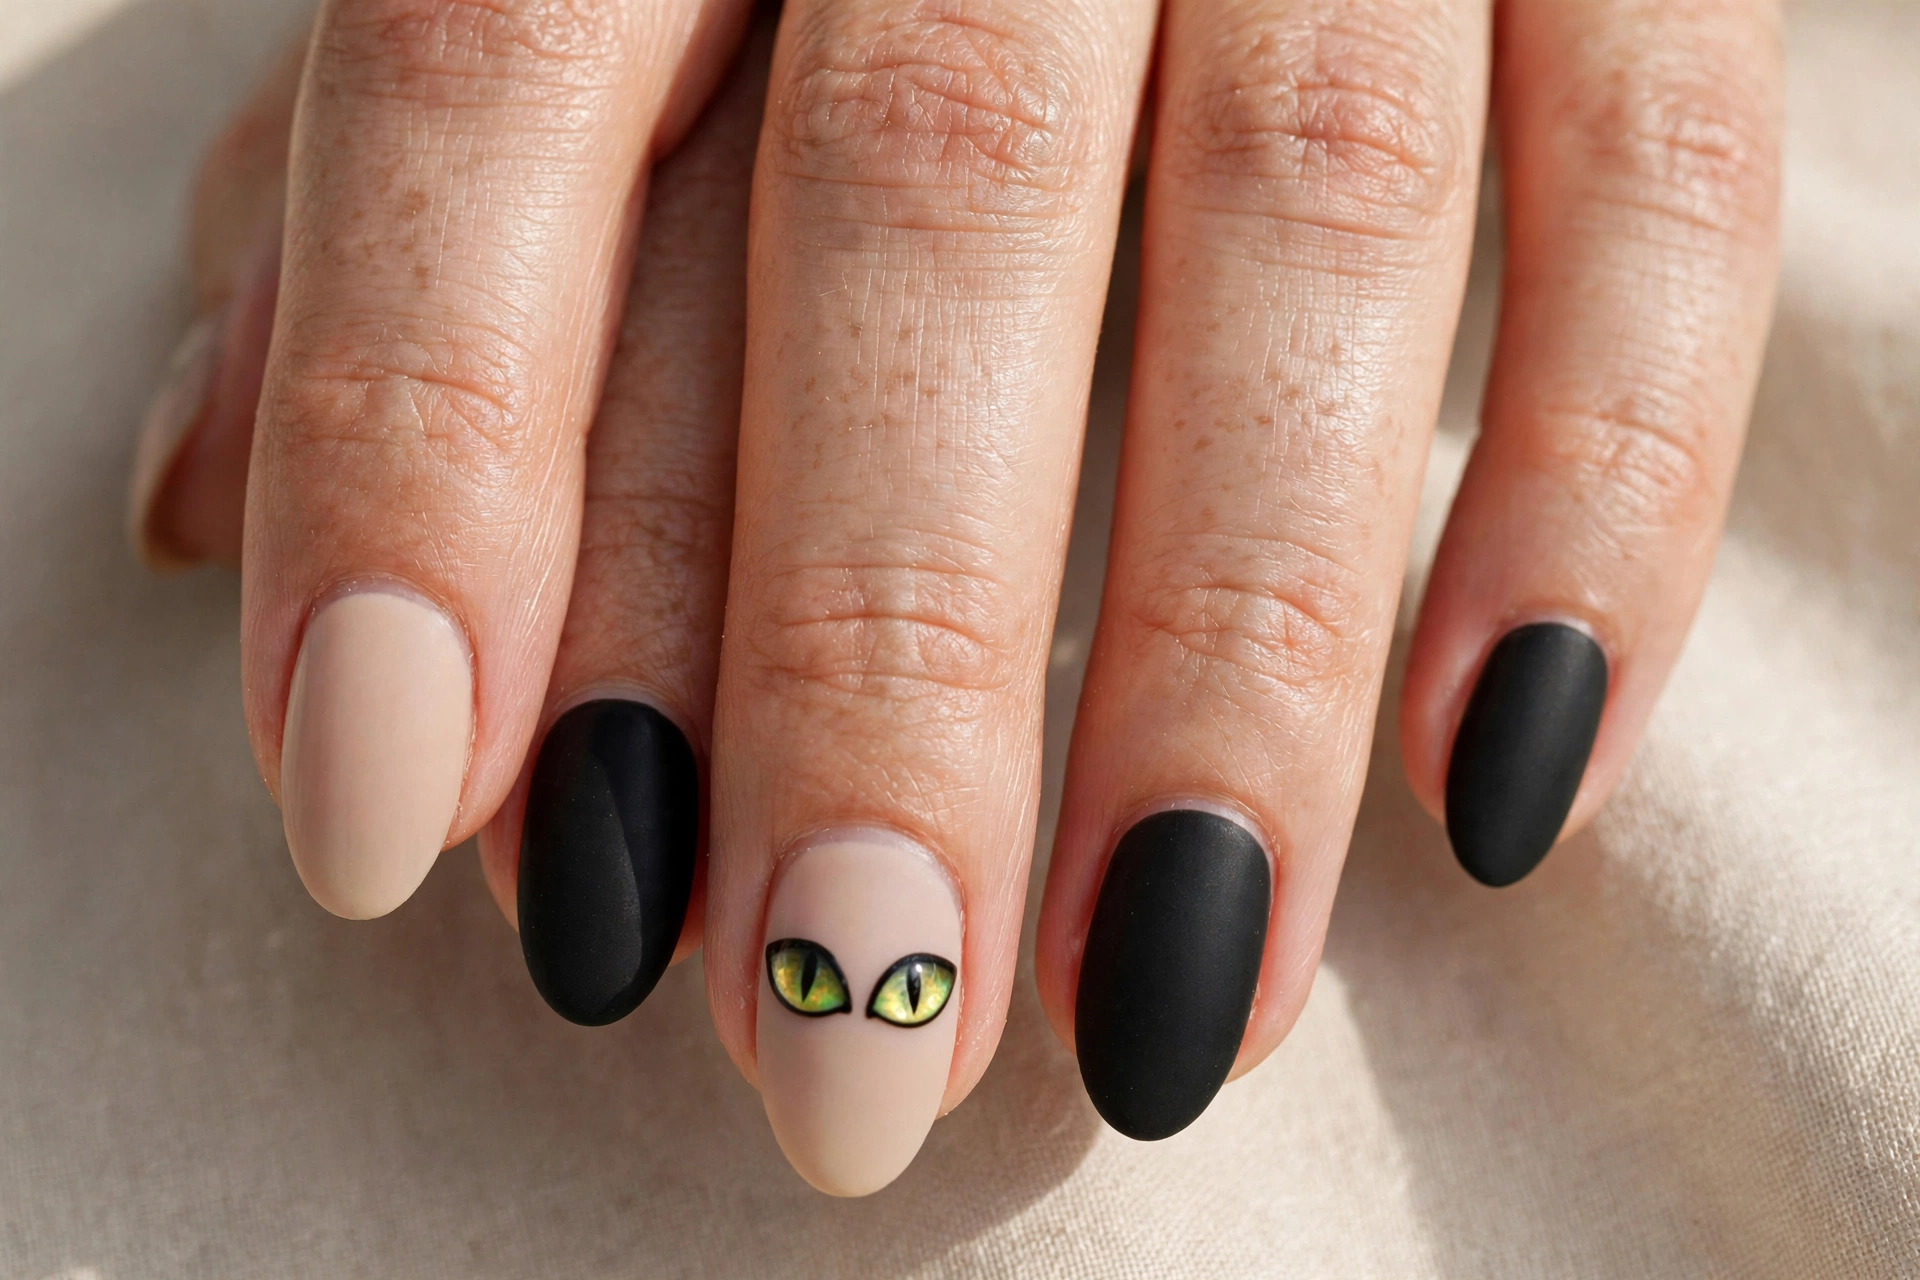
Paint most nails matte black, then add green-yellow cat eyes with black slit pupils on two accent nails over a nude base. Cat eyes are just two pointed ovals with a vertical black line down the middle — much easier than they look.
This design looks striking on almond-shaped nails, where the pointed eye shape follows the natural curve of the nail. Keep the rest of the nails plain black so the eyes stay the star of the show.
8. Orange and Black Checkerboard Tips
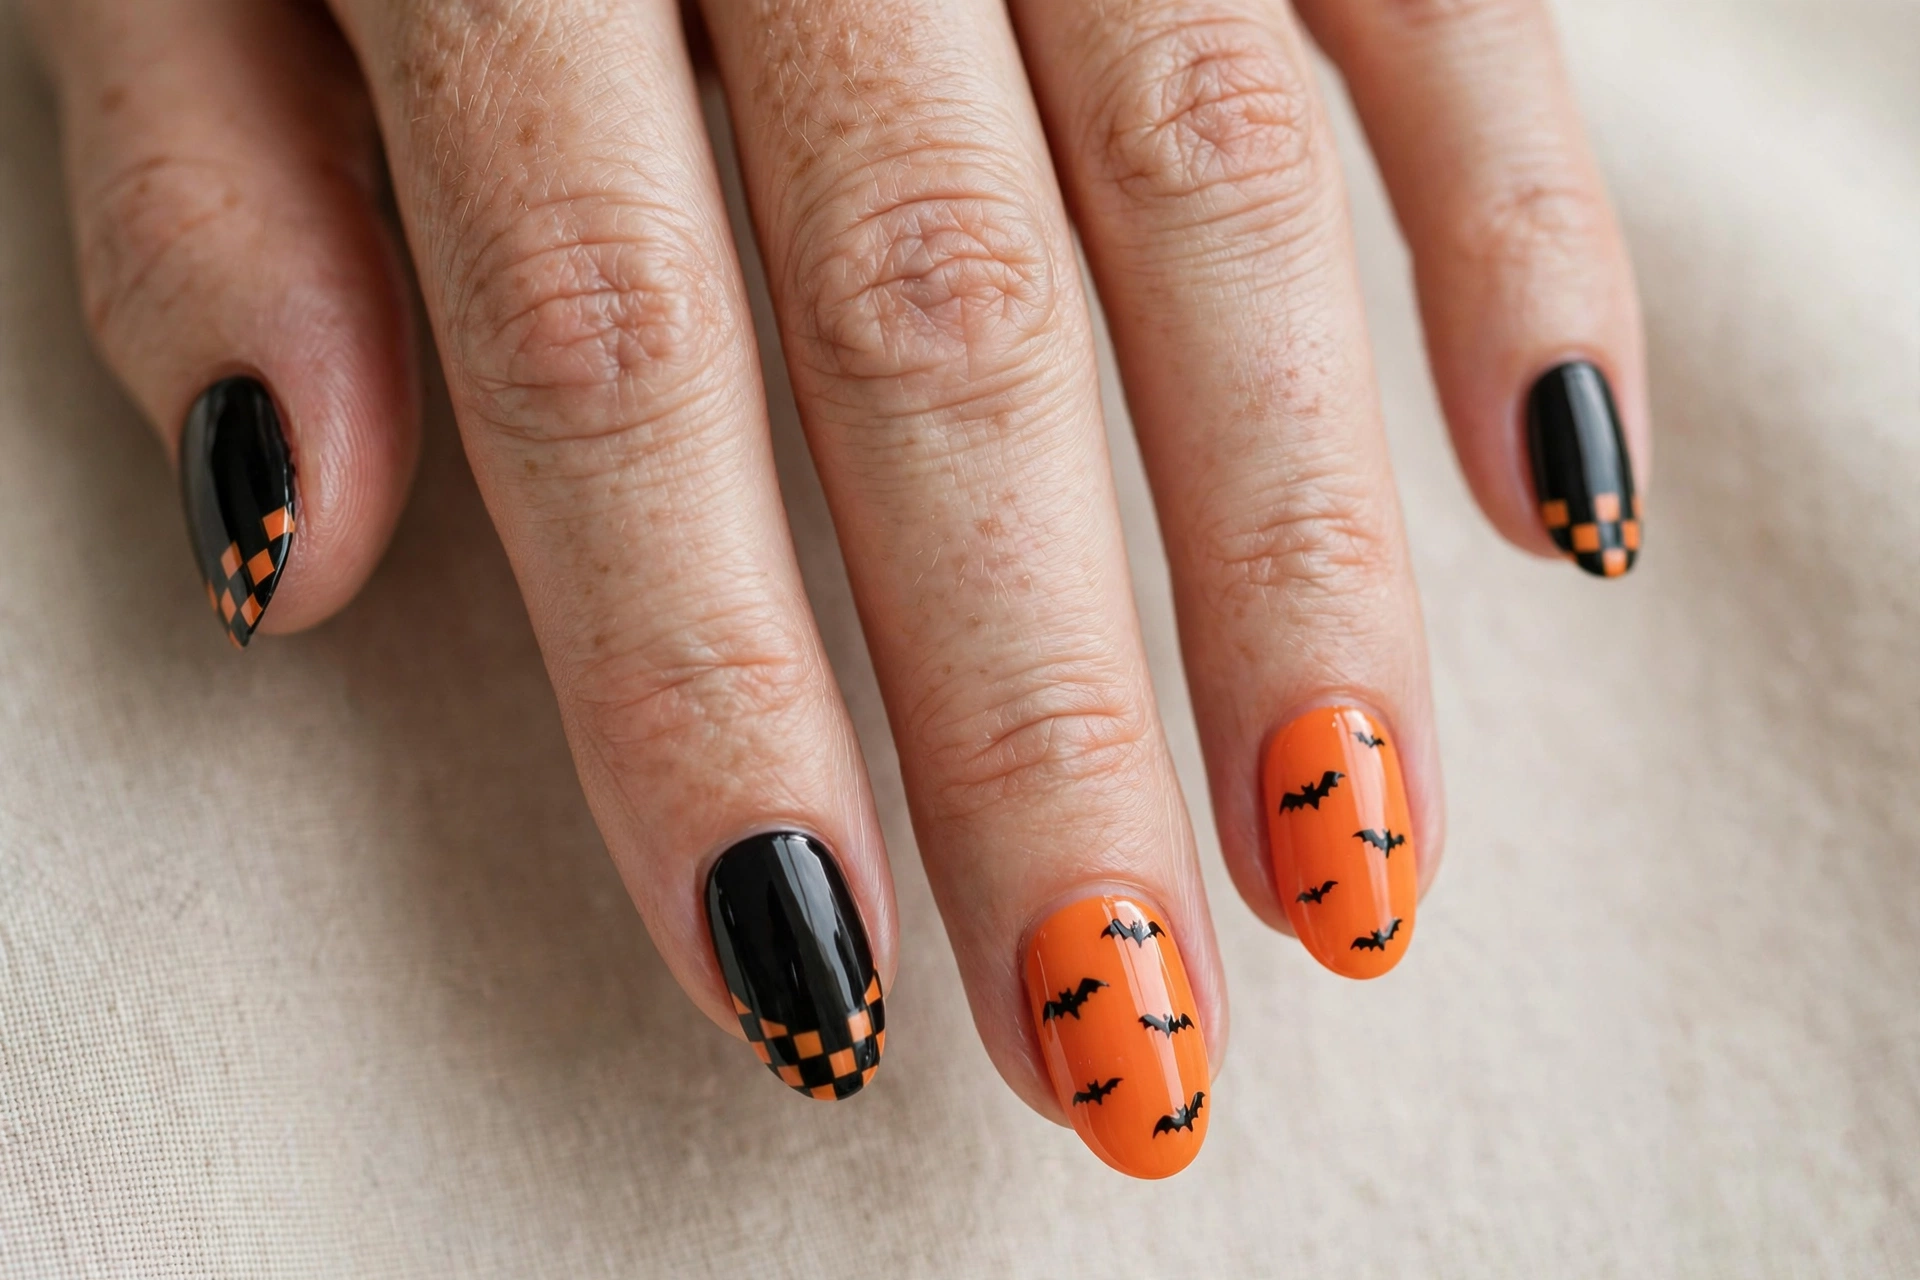
Paint your nails orange and add black checkerboard tips with two tiny bat silhouettes on an accent nail. The checkerboard is just alternating squares — use the corner of a thin brush or a striping sticker for crisp lines.
This retro pattern feels fun and a little spooky without being over the top. It’s a great choice if you want Halloween nails that still look stylish at work.
9. Tiny Witch Hats
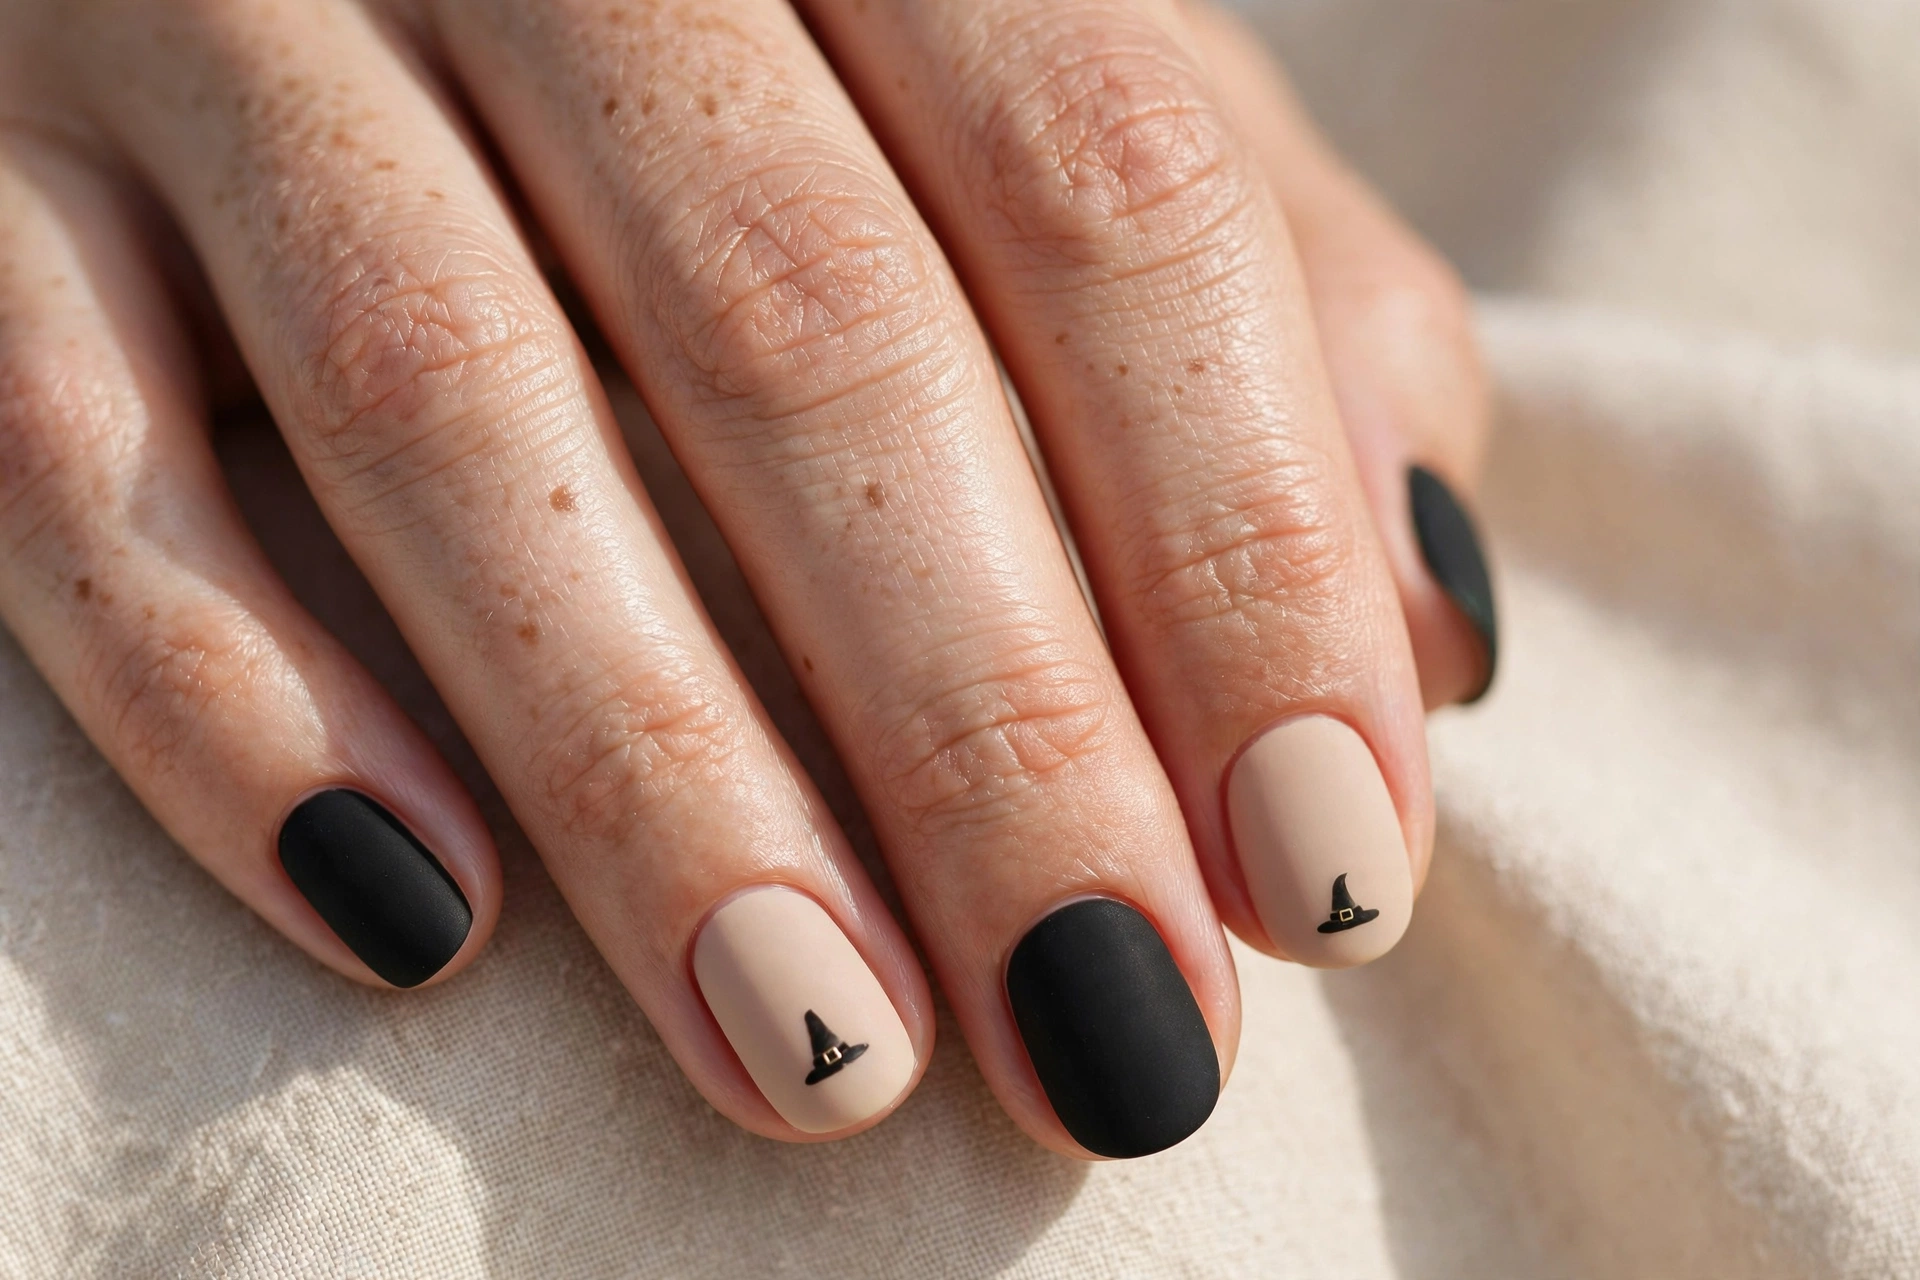
Paint your nails nude and add tiny black witch hat triangles on two accent nails, leaving the rest matte black. A witch hat is just a triangle with a thin line across the base — three brush strokes total.
Dot a tiny buckle or star on the hat if you want, but it’s completely optional. The hats alone say Halloween loud and clear.
For crisp triangles, load your brush lightly and work in single strokes rather than going back over the shape. Two thin coats of black look sharper than one thick coat, and they dry faster too.
10. Purple Shimmer with Black Stars
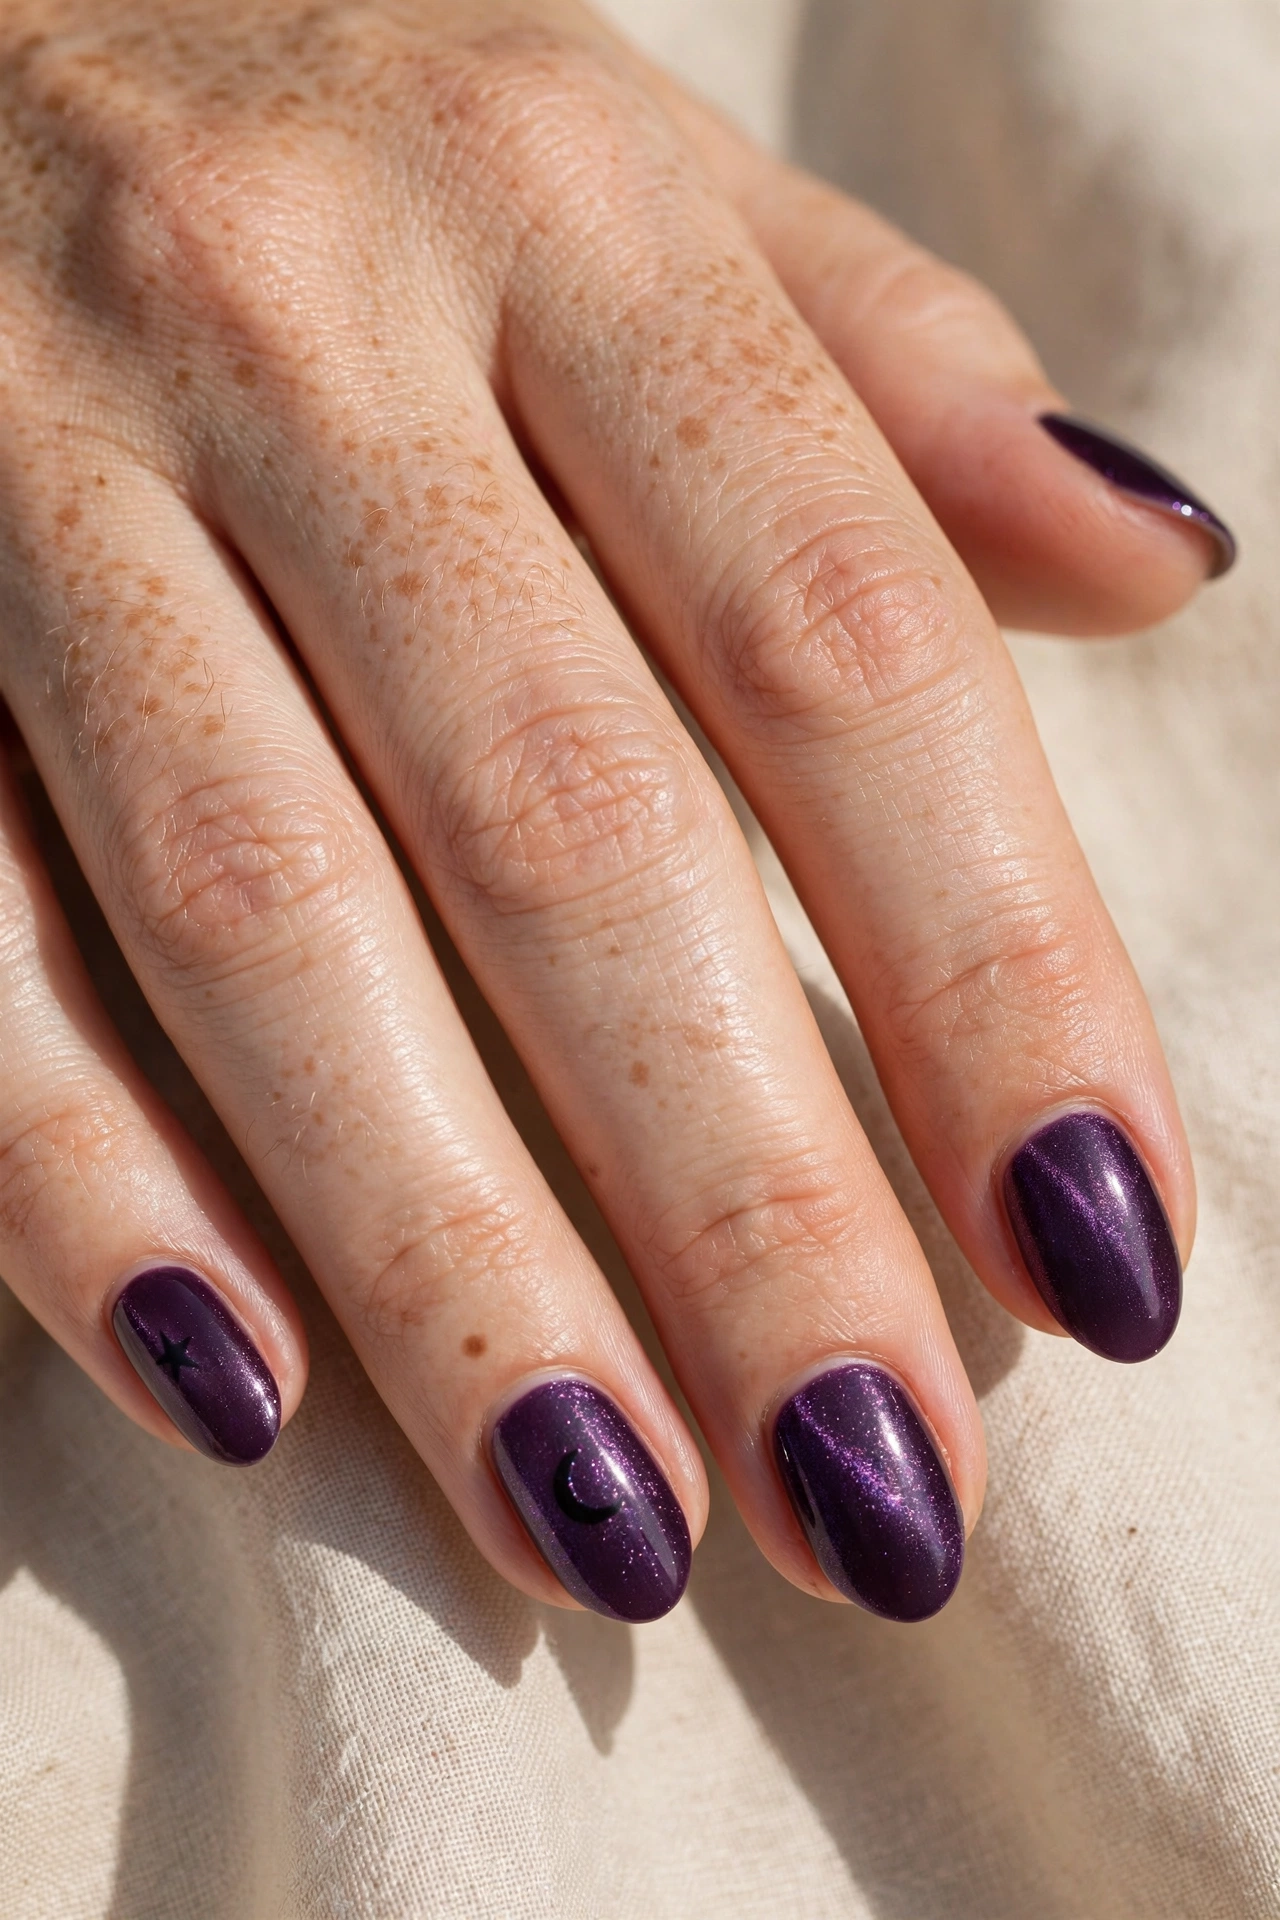
Paint your nails deep purple shimmer and add small black stars and crescent moons on accent nails. The shimmer base does most of the work here, so even simple star stickers look gorgeous.
This is one of the prettiest simple Halloween nail designs on the list — spooky enough for October but elegant enough to wear to dinner. A glossy top coat makes the shimmer catch the light beautifully.
11. Bat Silhouettes
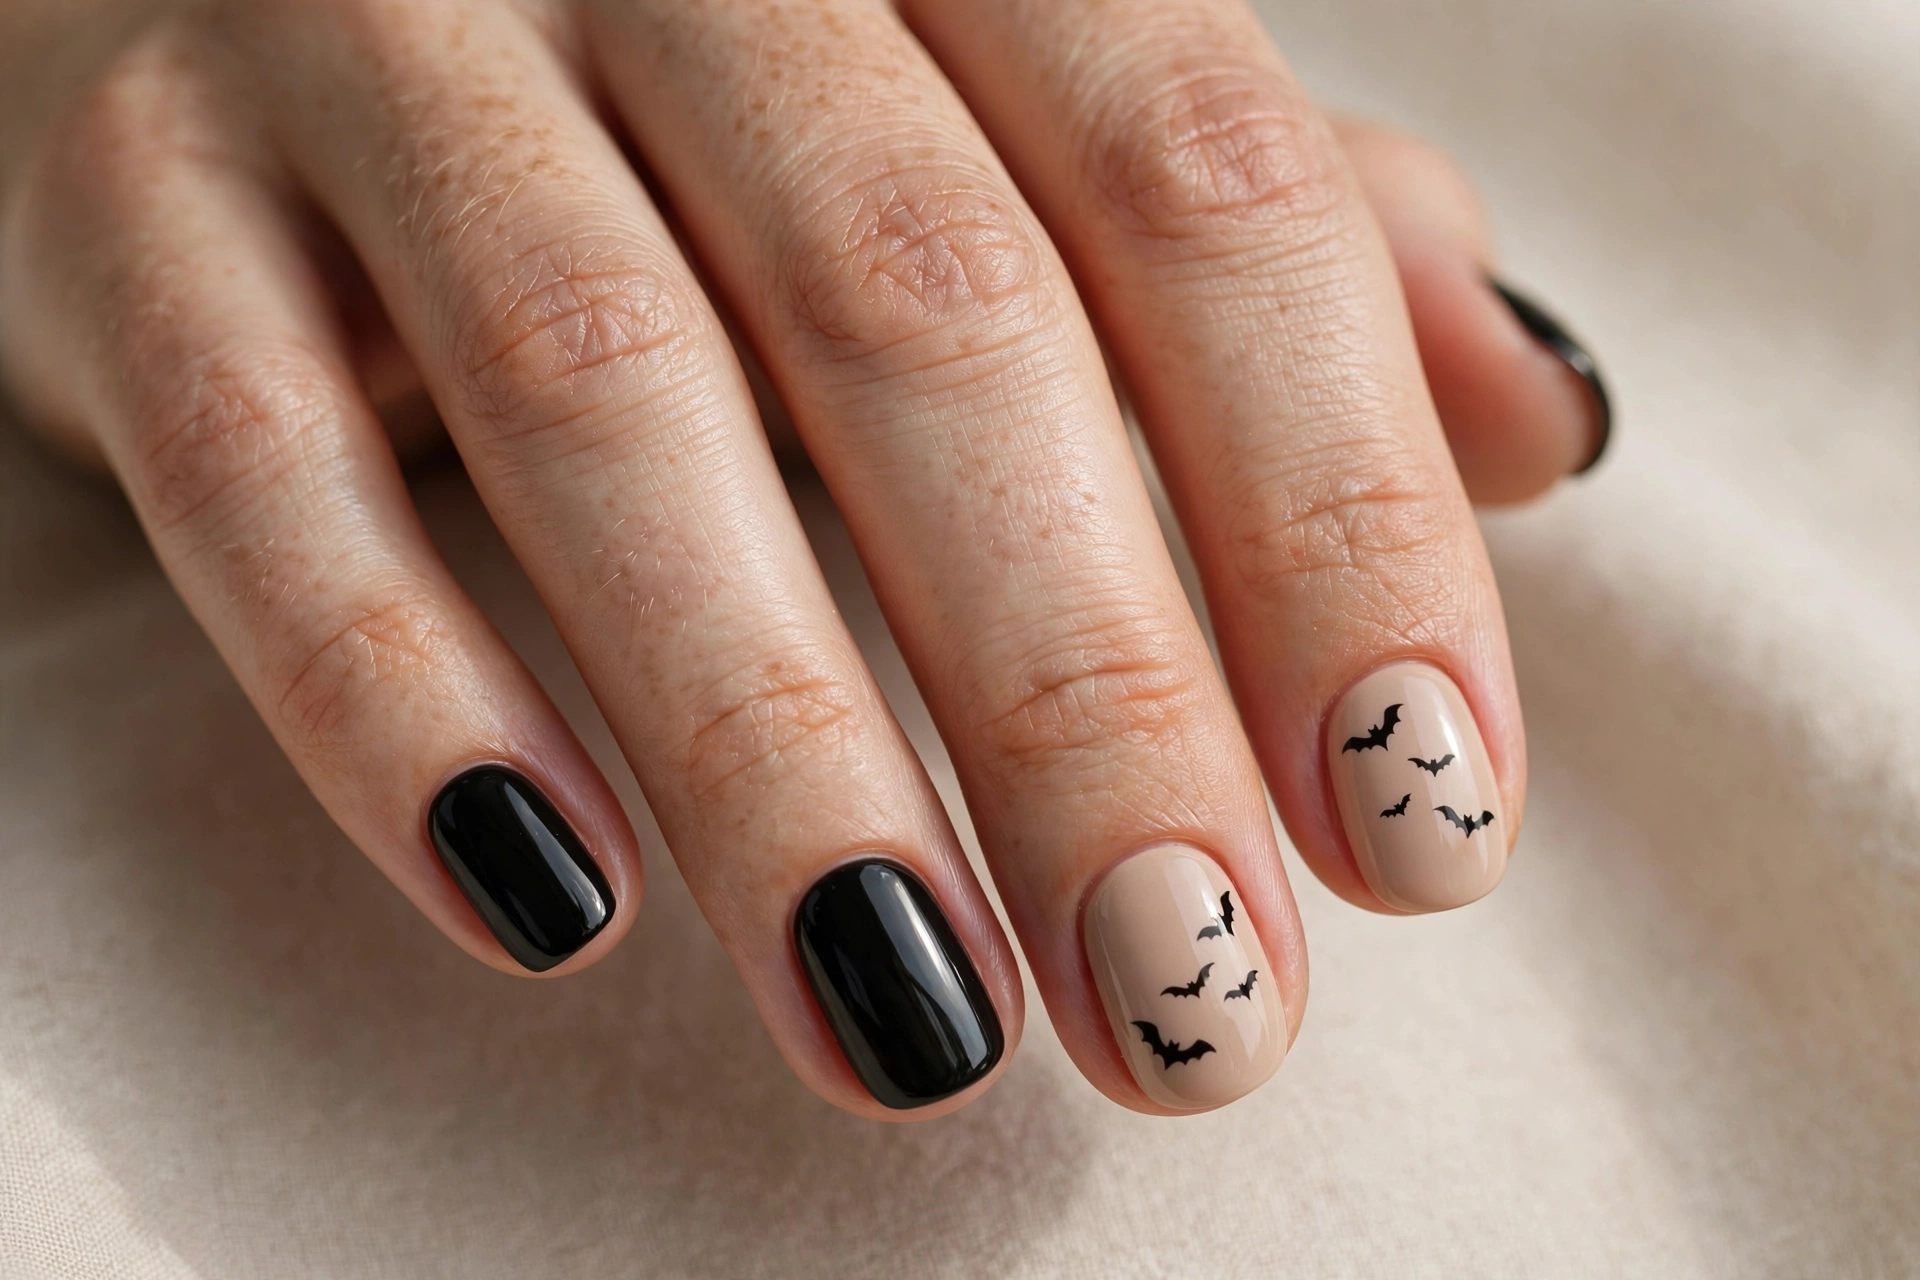
Paint your nails nude and add small black bat silhouettes across two accent nails, keeping the rest glossy black. A bat is just two curved wing shapes joined in the middle — practice once on paper and you’ll have it down.
Bats are the classic Halloween symbol, and on a nude base they look modern rather than cartoonish. If you’re planning a whole spooky-season look, bats also pair well with the cozy designs in our Thanksgiving nail designs for a cozy harvest look when you transition into November.
12. A Single Tiny Spider for a Minimalist Halloween Look
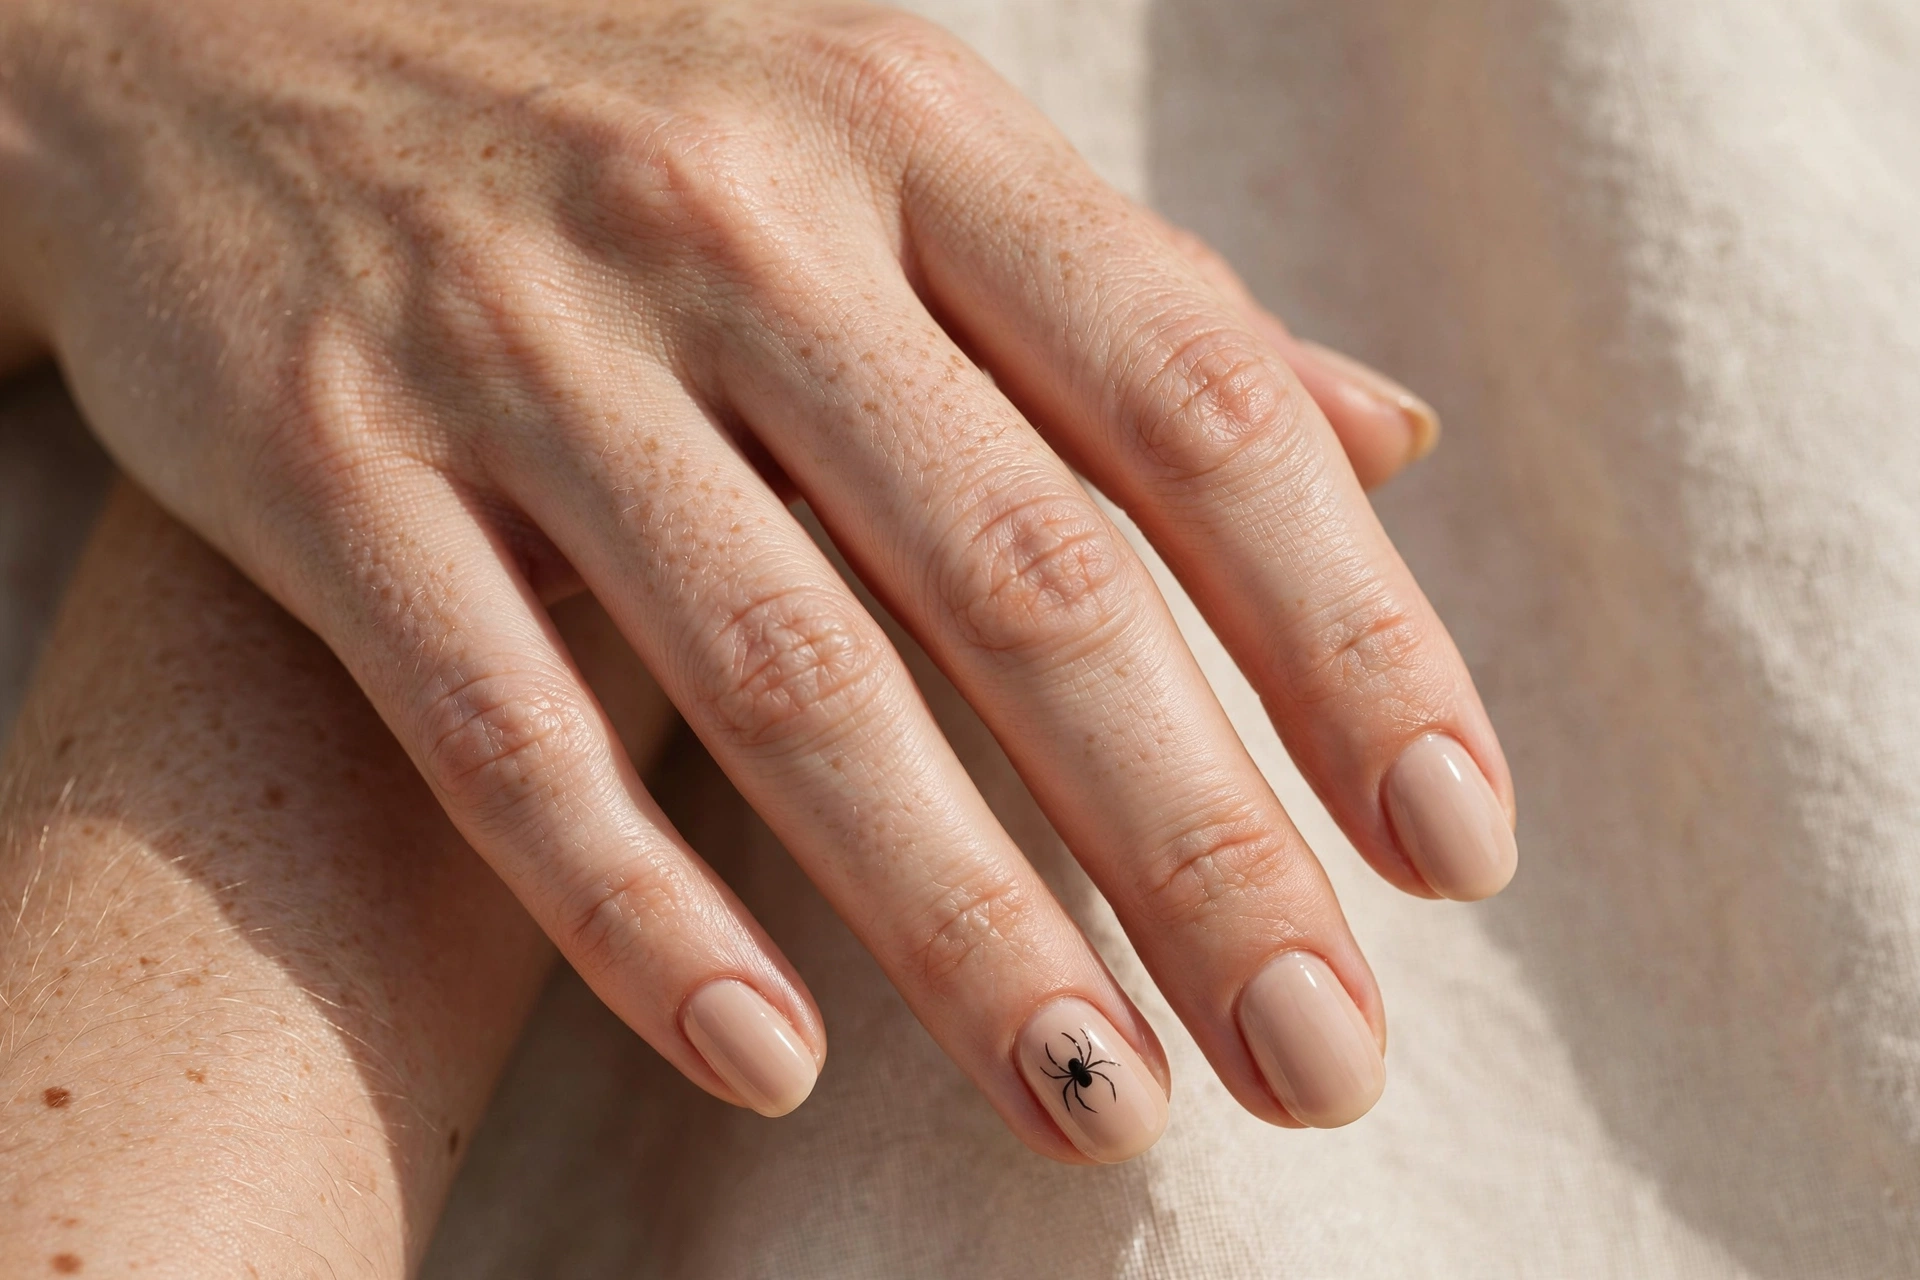
Paint your nails nude and add one tiny black spider on a single accent nail — a dot for the body and eight thin line legs. That’s it. One detail, maximum Halloween effect.
Less is more with this one. A single spider on an otherwise plain nude set looks chic and intentional, and it’s the fastest design on this entire list.
13. Simple Neon Green Halloween Tips
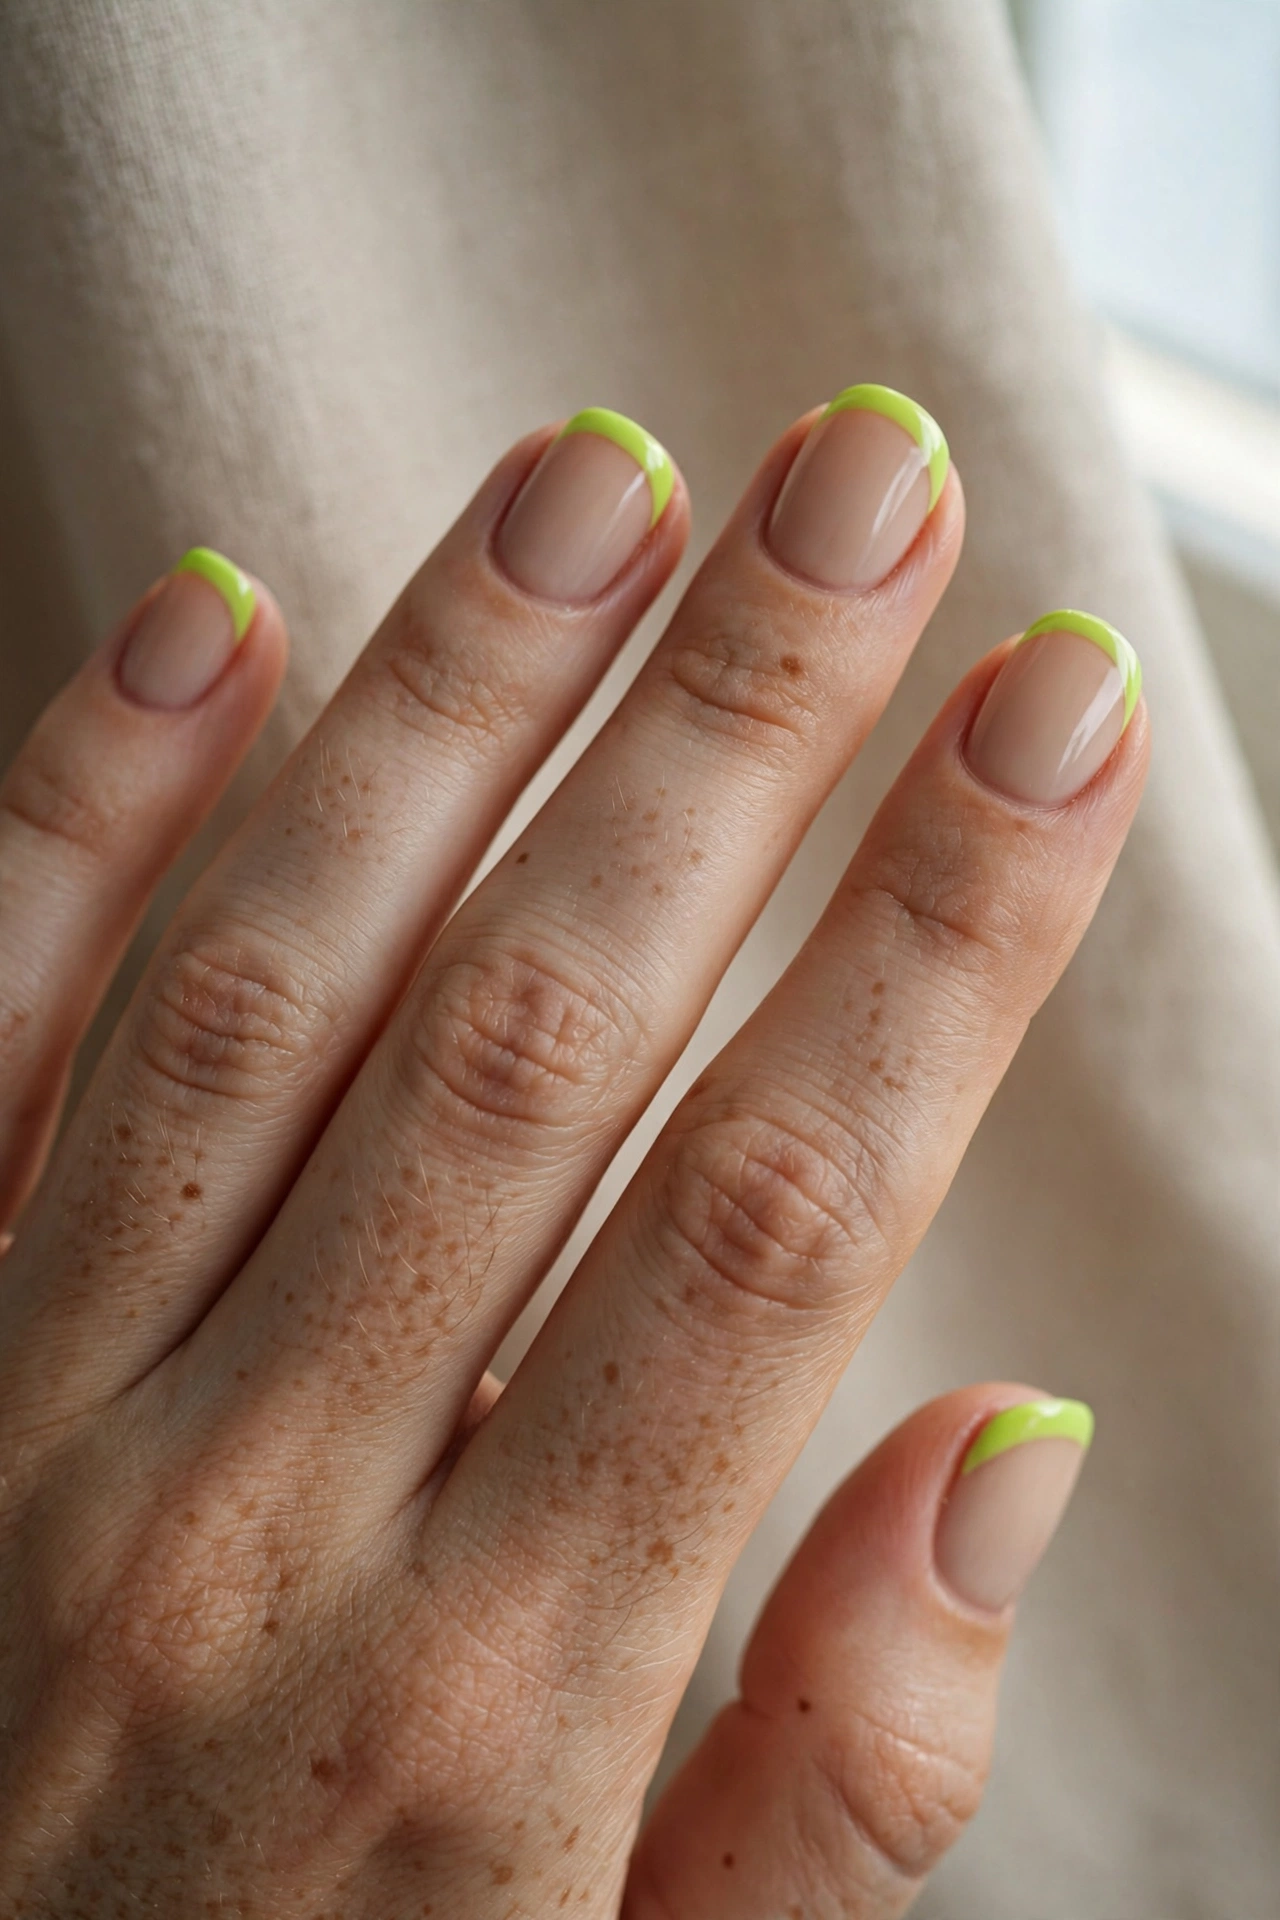
Paint a nude base and add neon lime green French tips. This electric twist on the classic French manicure screams Halloween without any art at all — the color does all the talking.
Neon shades pop best over a white base coat, so add one coat of white first to make the green really glow. This look is perfect for glow-in-the-dark party themes.
14. Frankenstein Stitches
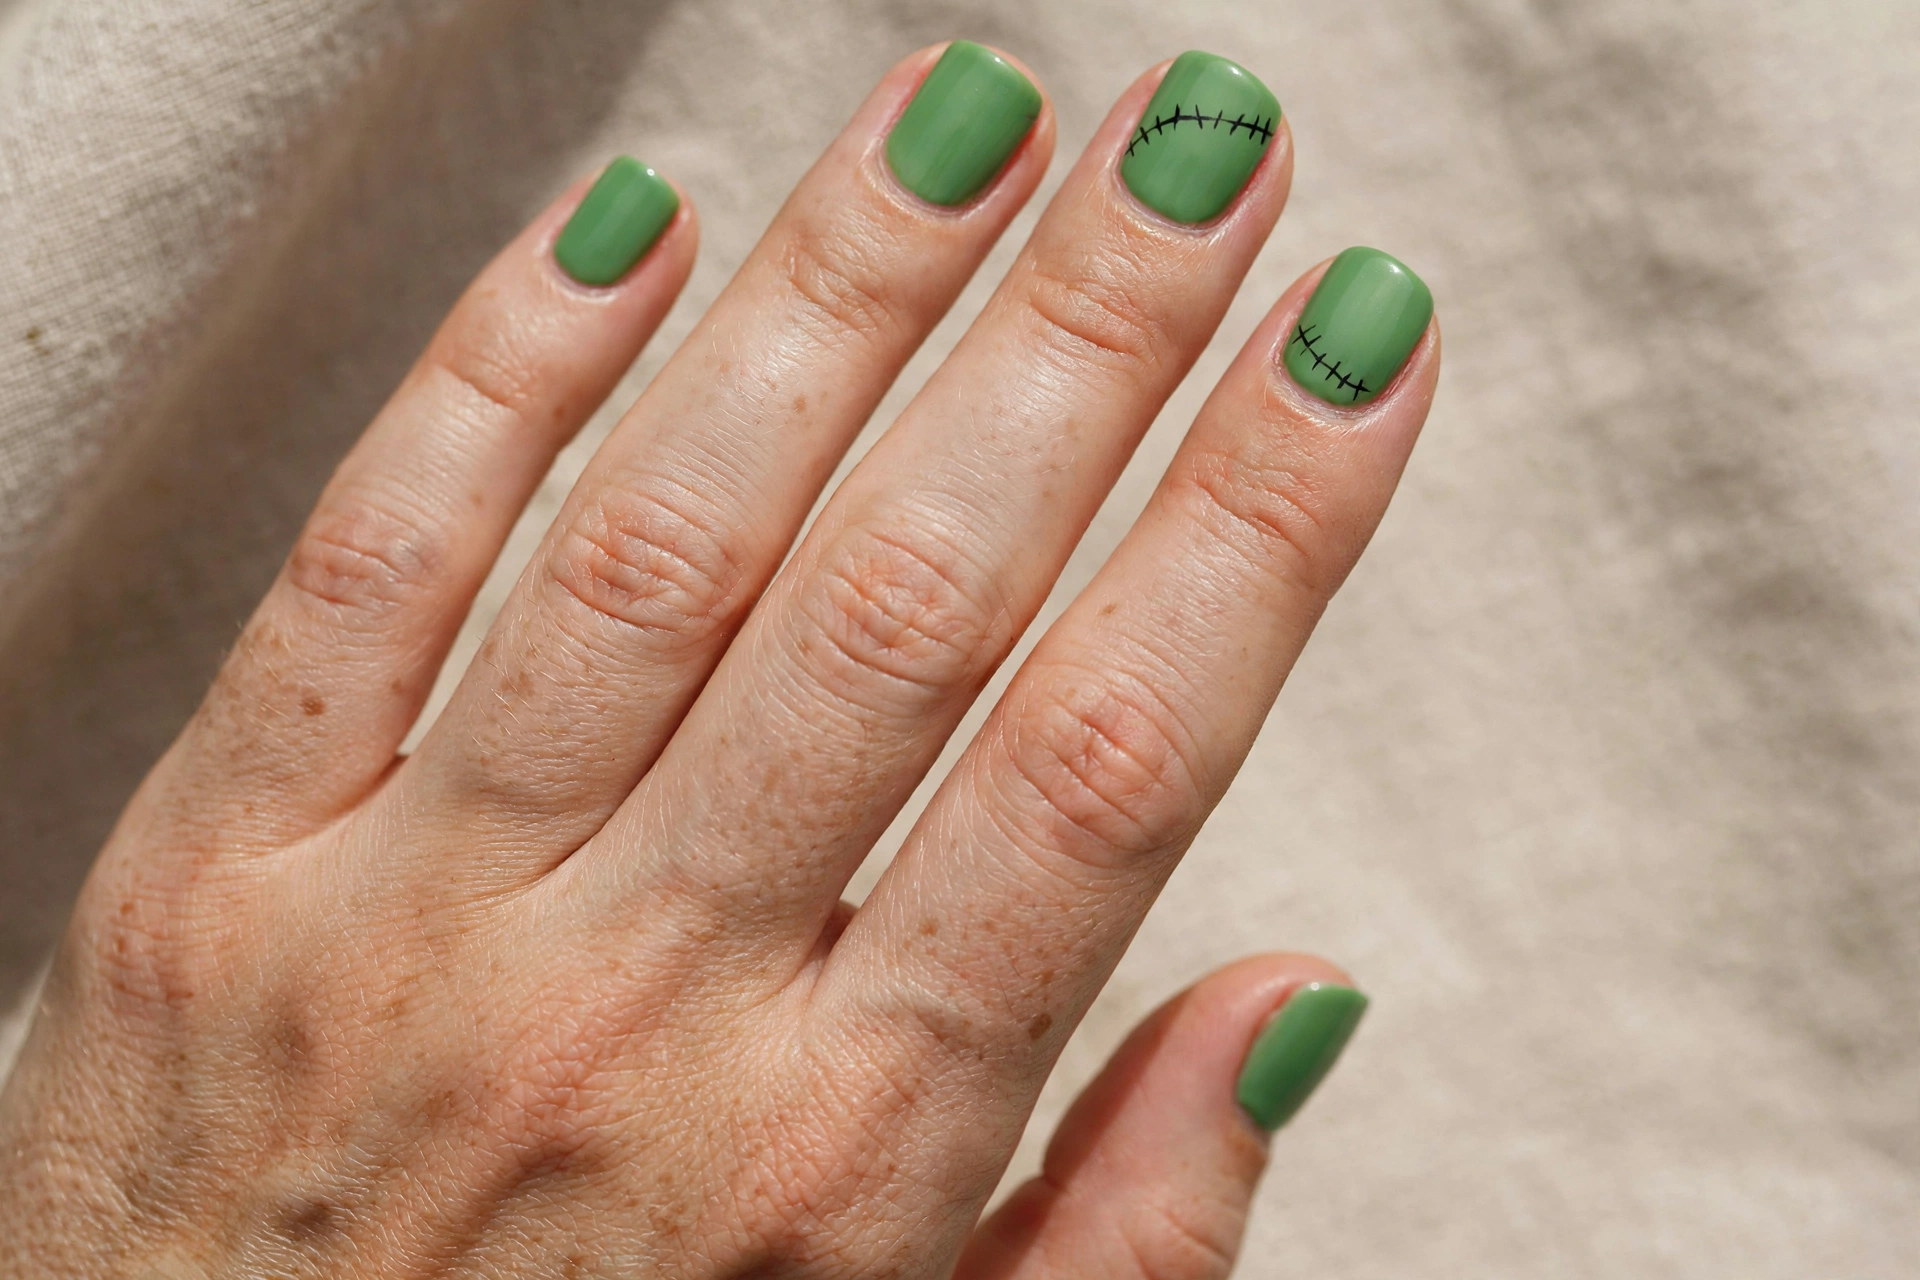
Paint your nails fresh green and add thin black stitch lines across two accent nails — short perpendicular dashes along a straight line. It looks like Frankenstein’s neck bolts with zero carving involved.
Keep the stitches neat and evenly spaced for the cleanest look. This design is playful, instantly recognizable, and great for last-minute costumes.
Green polish can stain just like black and orange, so don’t skip the base coat here. When Halloween is over, this one removes easily with regular polish remover — no soaking needed.
15. Midnight Moon and Stars
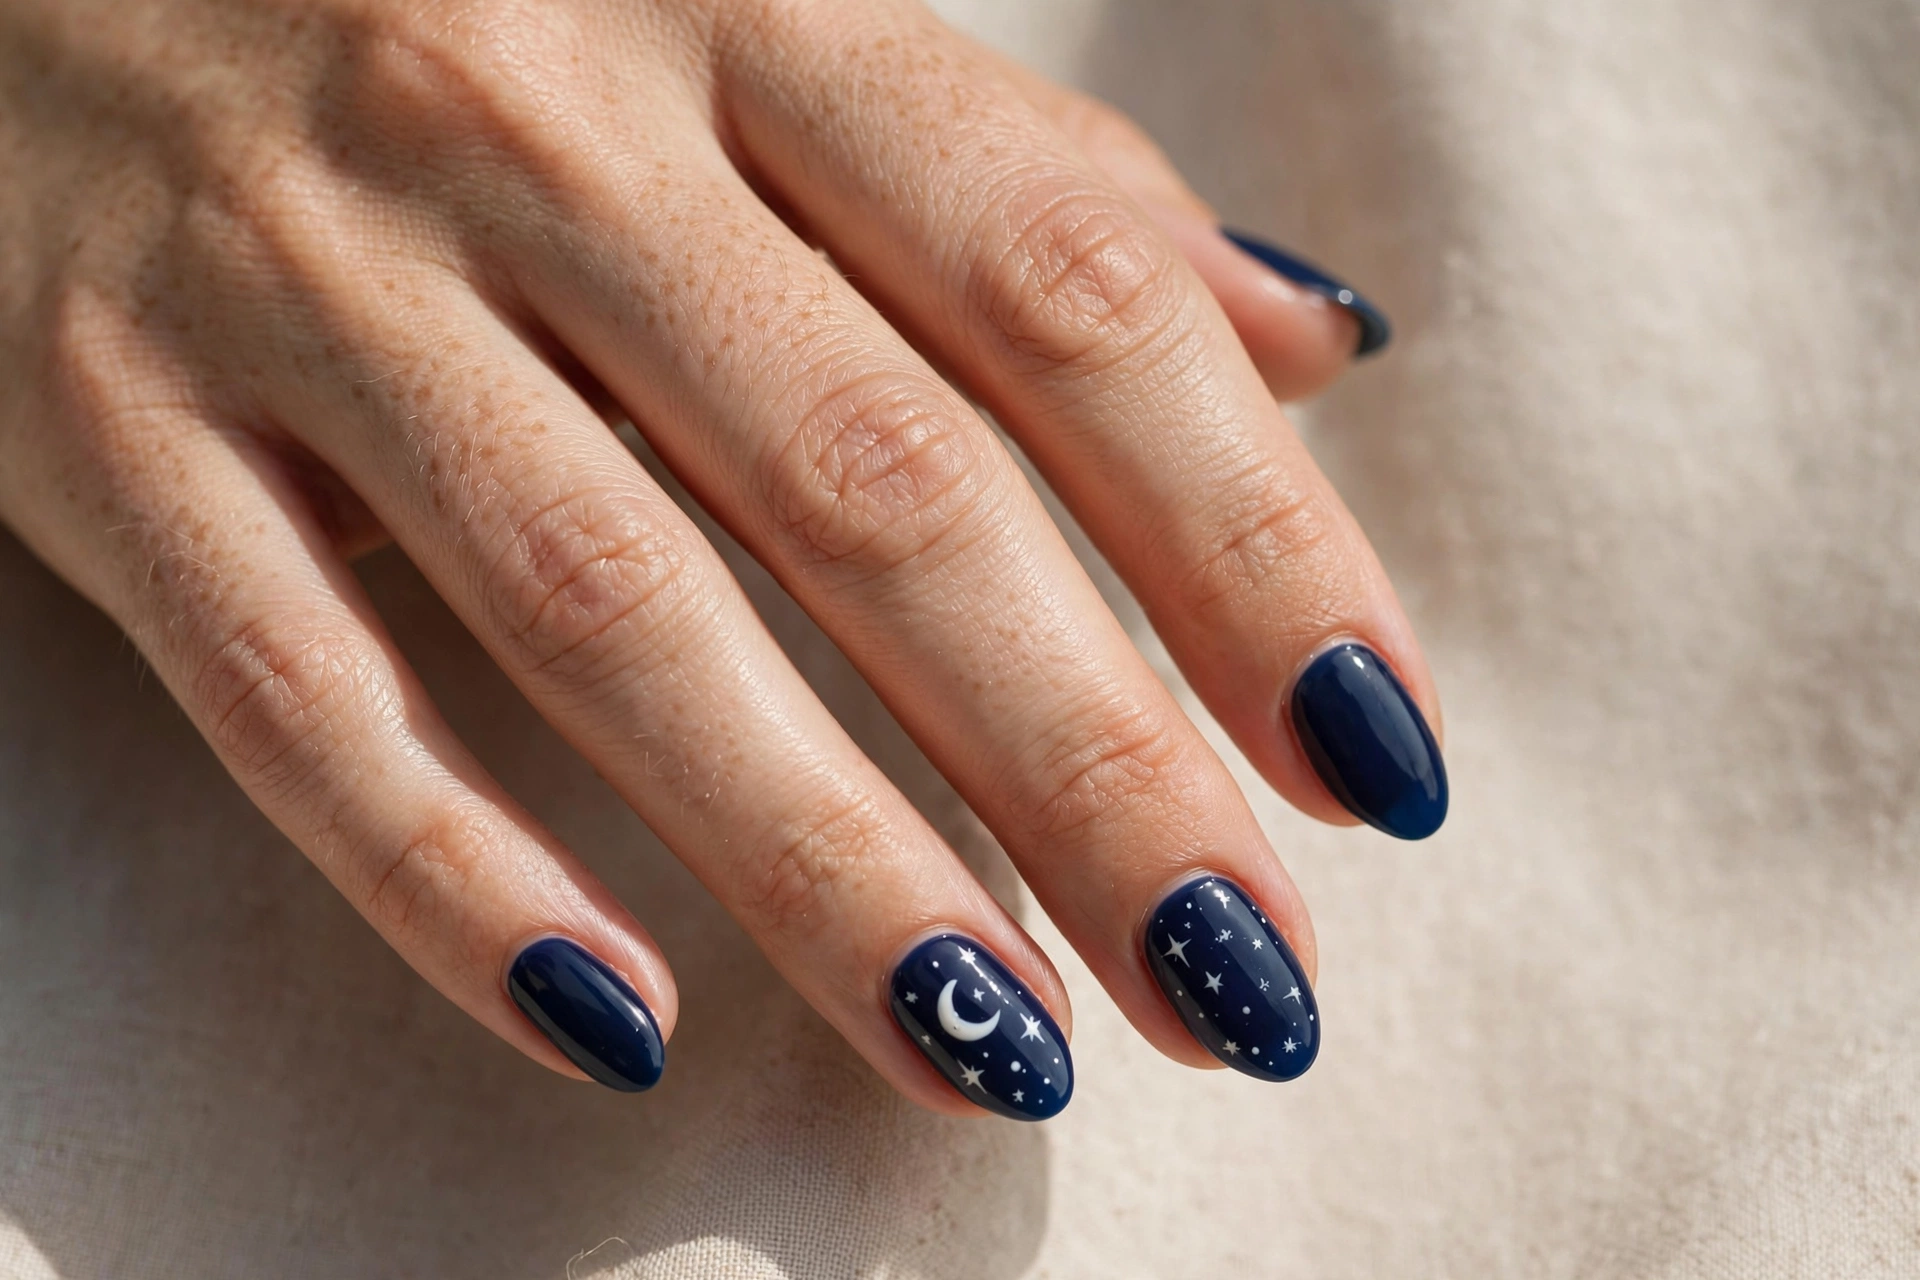
Paint your nails deep navy and add a small white crescent moon and tiny stars on accent nails. The dark blue background makes the white details glow like a night sky.
This is the most elegant design on the list — spooky enough for Halloween but refined enough to keep wearing into November. A glossy top coat makes the stars look like they’re really shining.
16. Matte Black with a White Pumpkin Accent
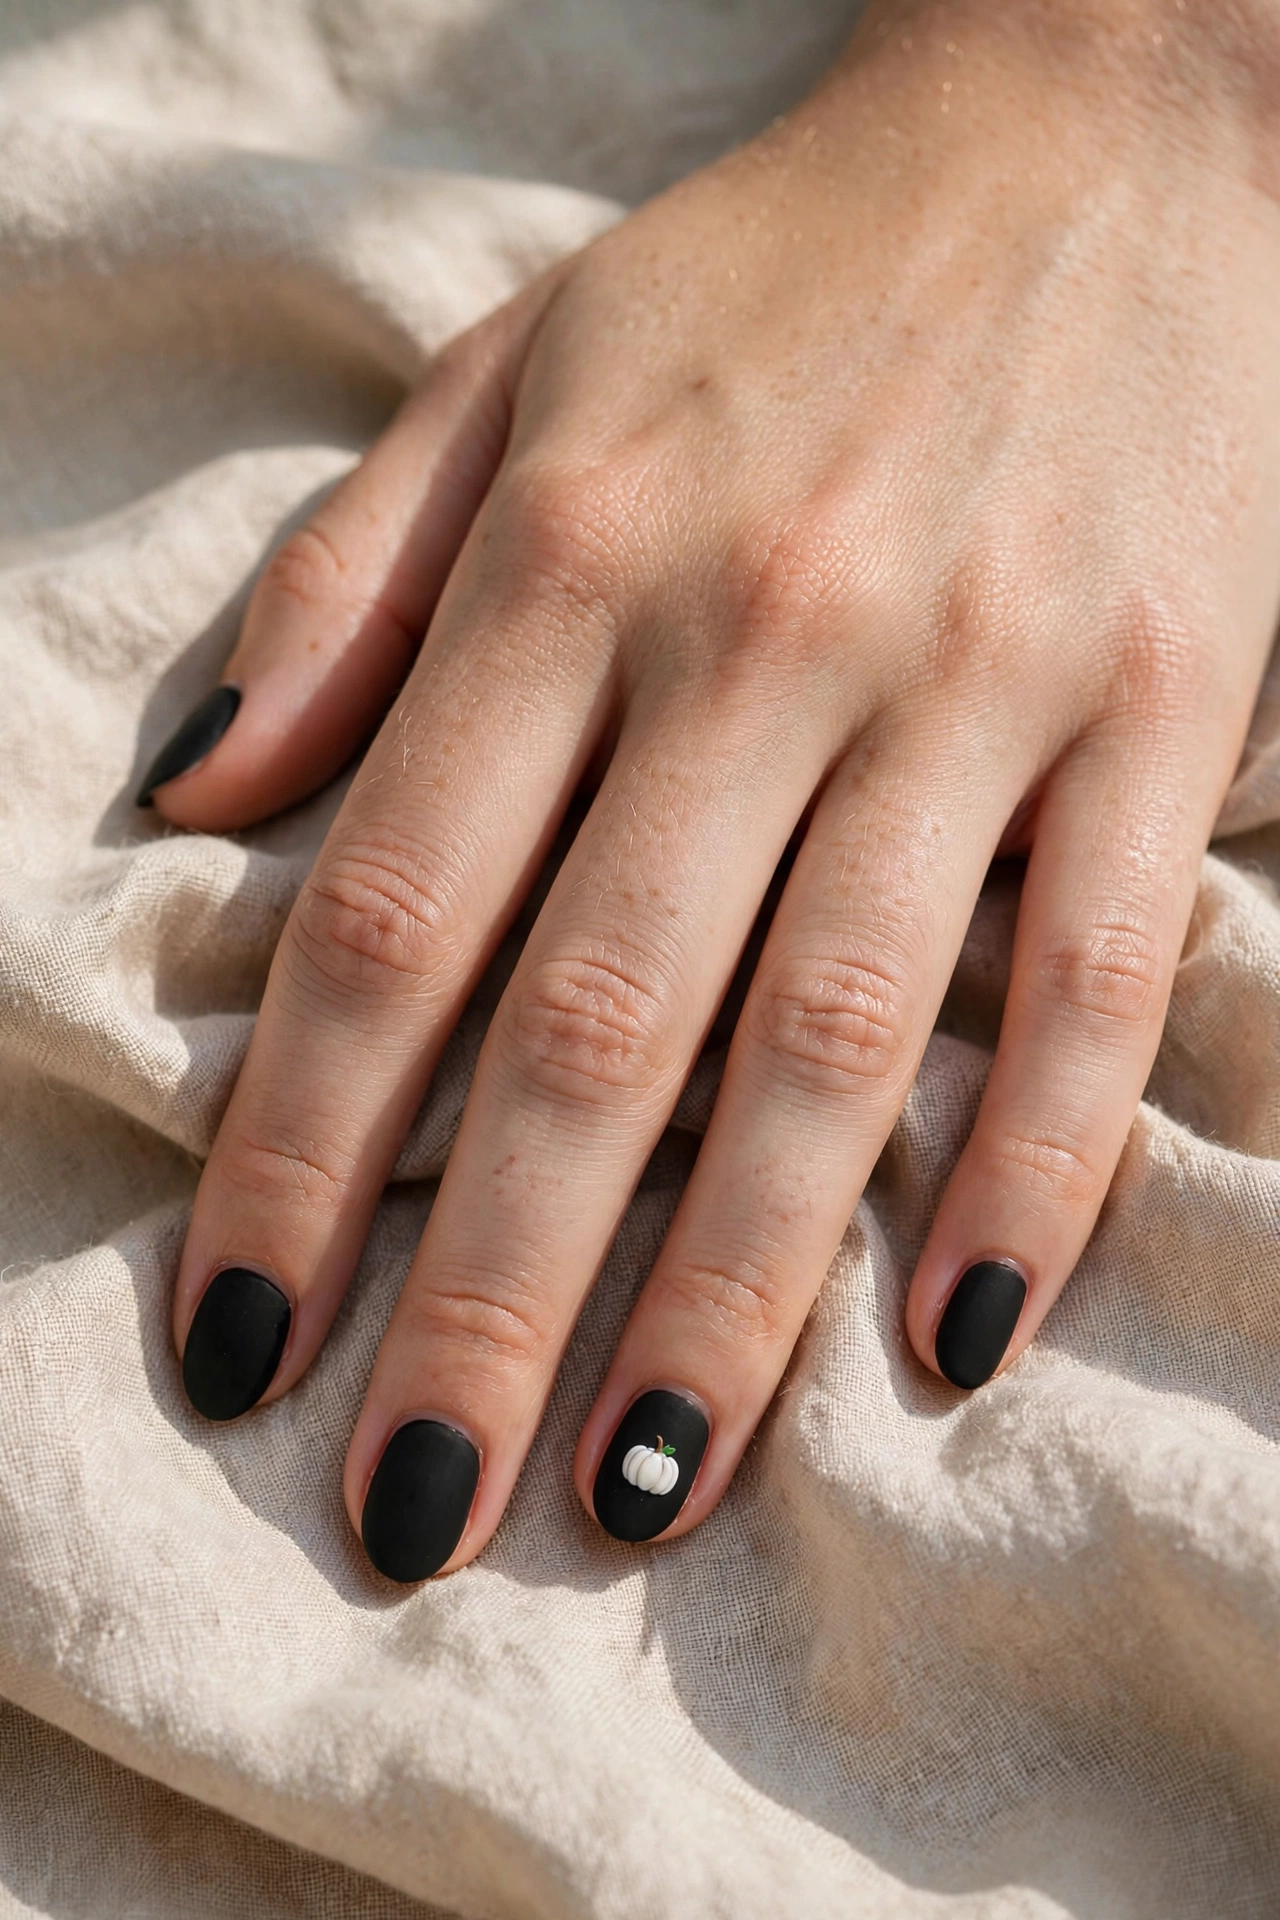
Paint all your nails matte black, then add one tiny white pumpkin on a single accent nail — a small white oval with a few curved lines and a tiny green stem. The contrast of chalky white against velvet matte black is striking, and the matte finish makes the design look expensive rather than spooky-costume cheap.
Matte top coats dry fast and don’t streak, which is why this is such a beginner-friendly look. Keep the rest of the nails plain so the pumpkin stays the centerpiece, and make sure the matte top coat goes on after the pumpkin detail is fully dry.
This design works beautifully on short nails, where the single pumpkin reads clearly without crowding. It’s also one of the easiest looks here to repair — a single chipped matte nail can be repainted and topped in minutes.
17. Minimal Skulls on a Nude Base
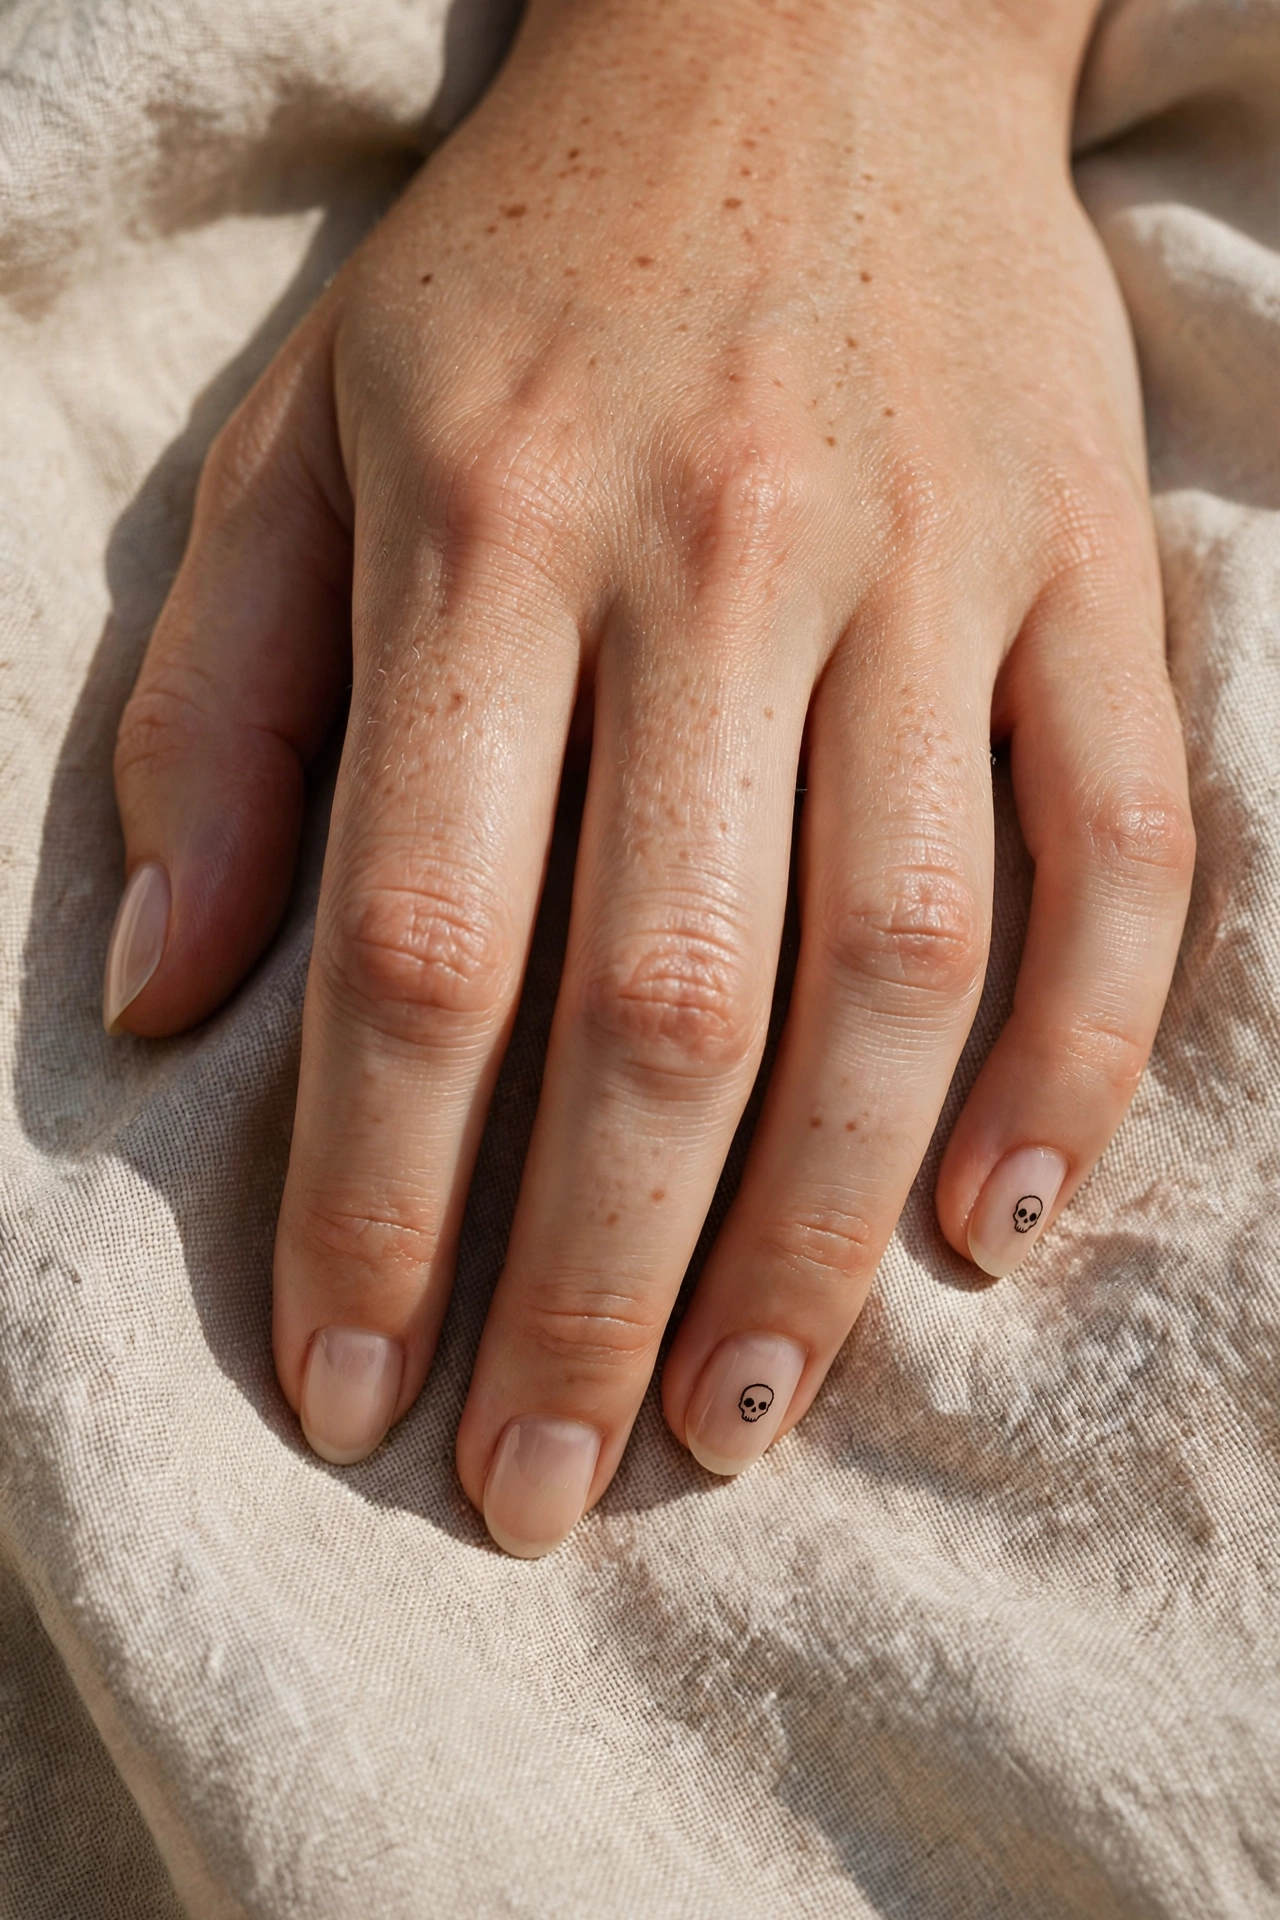
Paint your nails sheer nude and add tiny black skull outlines on two accent nails — a small circle head with two dot eyes and a couple of jaw lines. Skull nails sound bold, but done tiny on a nude base they look playful and almost jewelry-like.
The nude base is what keeps this one wearable. It lets you try skull art without committing to a full goth manicure, and the fine-line style means wobbly lines actually look handmade and charming rather than sloppy.
Use a striping brush or a fine liner brush and keep the skulls small — no bigger than a third of the nail. Two accent skulls are plenty; covering every nail makes the look much harder and less simple.
18. Oxblood with Gold Foil Dots
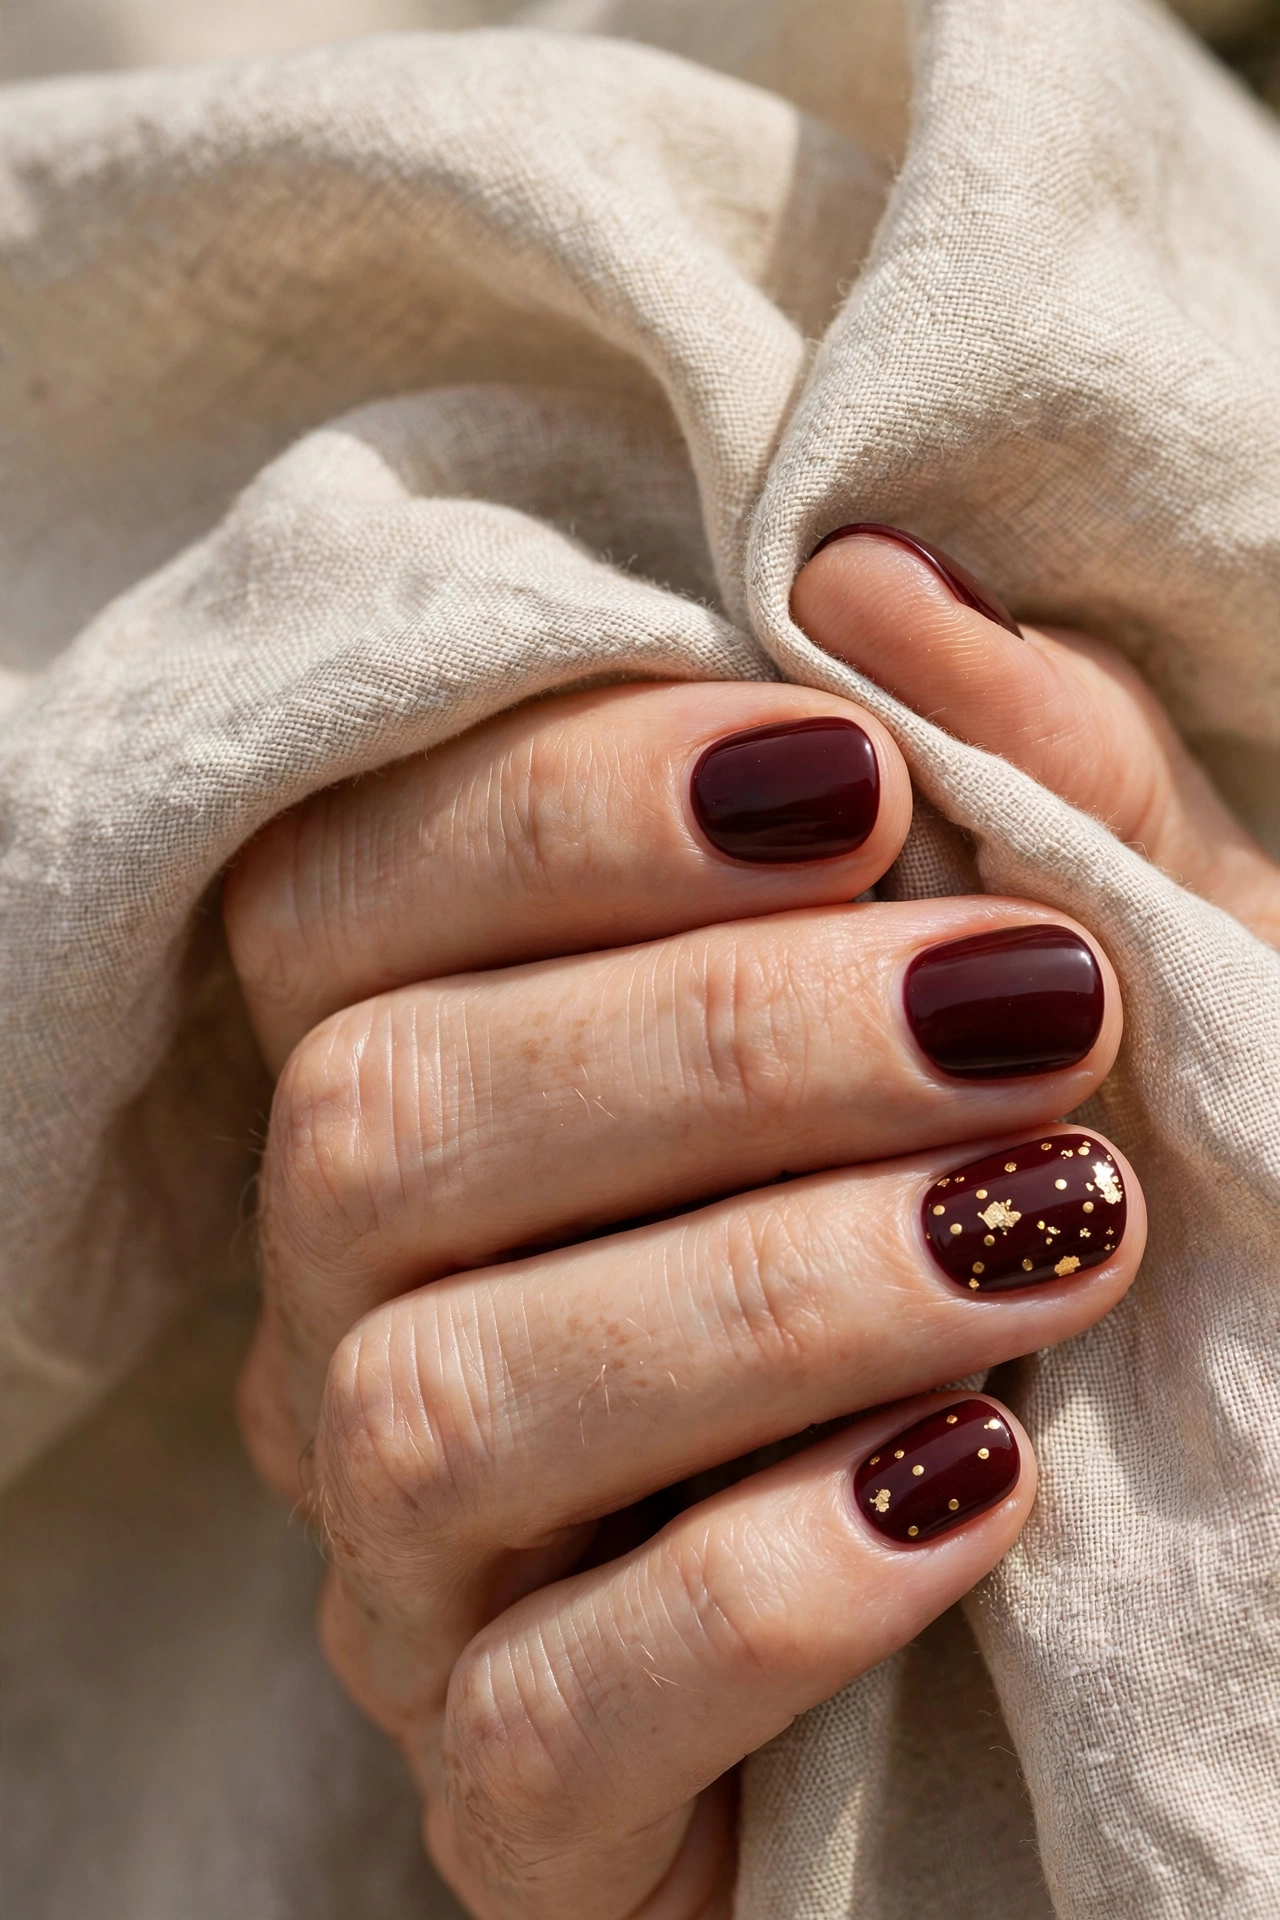
Paint your nails deep oxblood red — a dark, moody shade that feels very Halloween — and add a few gold foil dots on two accent nails. No drawing, no lines, no steady hand required: just press tiny pieces of gold foil onto the tacky polish with an orangewood stick and seal them in with top coat.
This is the dressiest design in the whole list, and the one you’ll wear on repeat. The oxblood-and-gold combination reads festive for Halloween but elegant enough for a holiday party, so it carries you straight through the season. It also looks stunning on short nails, where the dark color makes the nail bed look longer.
Gold foil is forgiving for beginners because there’s no right or wrong placement — a few scattered dots look intentional no matter what. Press the foil gently and cap it well with top coat so it doesn’t catch and lift.
Final Thoughts
Simple Halloween nail designs prove that you don’t need complicated art to look festive. Pick one design that matches your costume — or your mood — and you’ll have October-ready nails in under 30 minutes. The best part is how easy these 18 looks are to mix and match: try ghost accents one week and checkerboard tips the next, and you’ll never get bored before Halloween night.
Whichever design you choose, start with clean, shaped nails, use a base coat to prevent staining, and finish with a top coat so your work lasts through every Halloween party. Happy spooky season — and enjoy showing off your nails.
If you’re new to nail art, start with the simplest looks on this list — the blood-red gradient, the single spider, the neon green tips, or the oxblood gold-foil dots — and work your way up as your confidence grows. Every one of these 18 designs gets easier the second time you try it.
And don’t forget to take photos. Simple Halloween nail designs photograph beautifully in natural light, and your festive manicure deserves a spot on your feed before the jack-o’-lanterns get carved.