18 Snowflake Nail Designs for a Magical Winter Look
There is something about the first snow of the season that makes you want to carry winter with you — not just on your coat and scarf, but on your fingertips too. Snowflake nail designs do exactly that. They take one of nature’s most delicate patterns and turn it into wearable art that looks fresh, festive, and surprisingly elegant, whether you’re heading to a holiday party or just want your hands to match the weather outside.
What makes snowflake nails so popular is how versatile they are. A single hand-drawn flake on an icy blue base can look minimal and chic, while a full set of glittering navy-and-silver flakes feels like a night out under a winter sky. And if you’re building a whole cold-weather nail wardrobe, pair these with our 15 winter nail designs for a frosty elegant look for even more seasonal inspiration.
In this roundup, you’ll find 18 snowflake nail designs covering every mood — from barely-there accent art to full glitter glam. Each one includes tips on who it suits best and how to recreate it at home or ask for it at the salon.
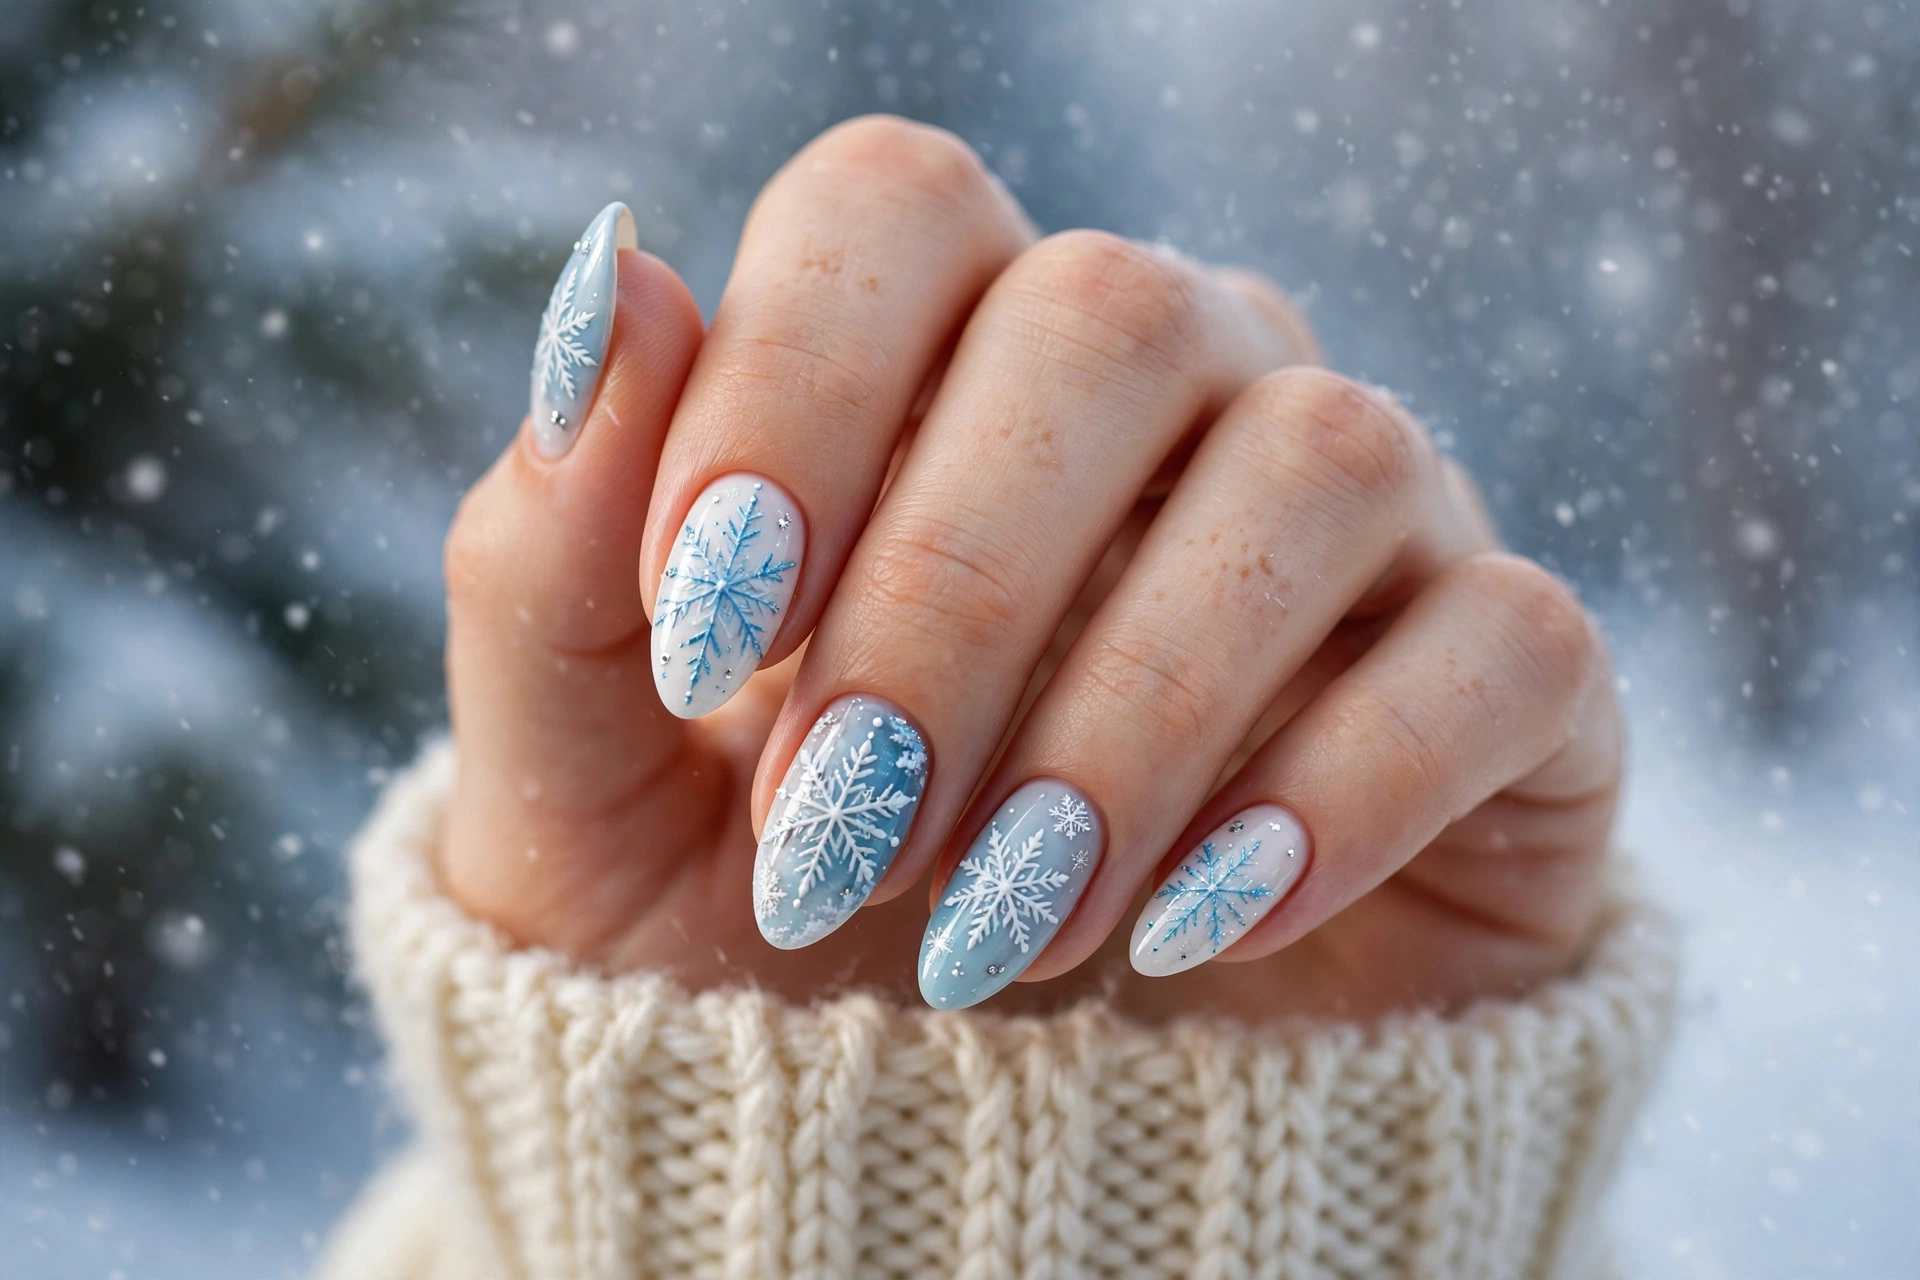
Why Snowflake Nails Are the Perfect Winter Manicure
Snowflakes are nature’s original lace — no two are alike, which gives nail artists endless room to play. Unlike bolder holiday motifs like Santa faces or Christmas trees, snowflakes read as winter rather than Christmas, so your manicure stays relevant from November straight through February. That longer wear window matters, especially if you’re paying salon prices.
They’re also forgiving for beginners. A snowflake is essentially six lines radiating from a center point with a few branch marks — much easier to freehand than a detailed winter landscape. With a thin striping brush or even a toothpick, most people can get a recognizable flake on their second or third try. For more easy cold-weather ideas you can actually pull off at home, our 15 simple winter nail designs for a cozy winter look is a great companion read.
Finally, snowflakes pair beautifully with the season’s best finishes: icy blues, frosted whites, deep navies, silver chrome, and glitter that catches holiday lights. Whatever your usual style, there’s a snowflake design that fits.
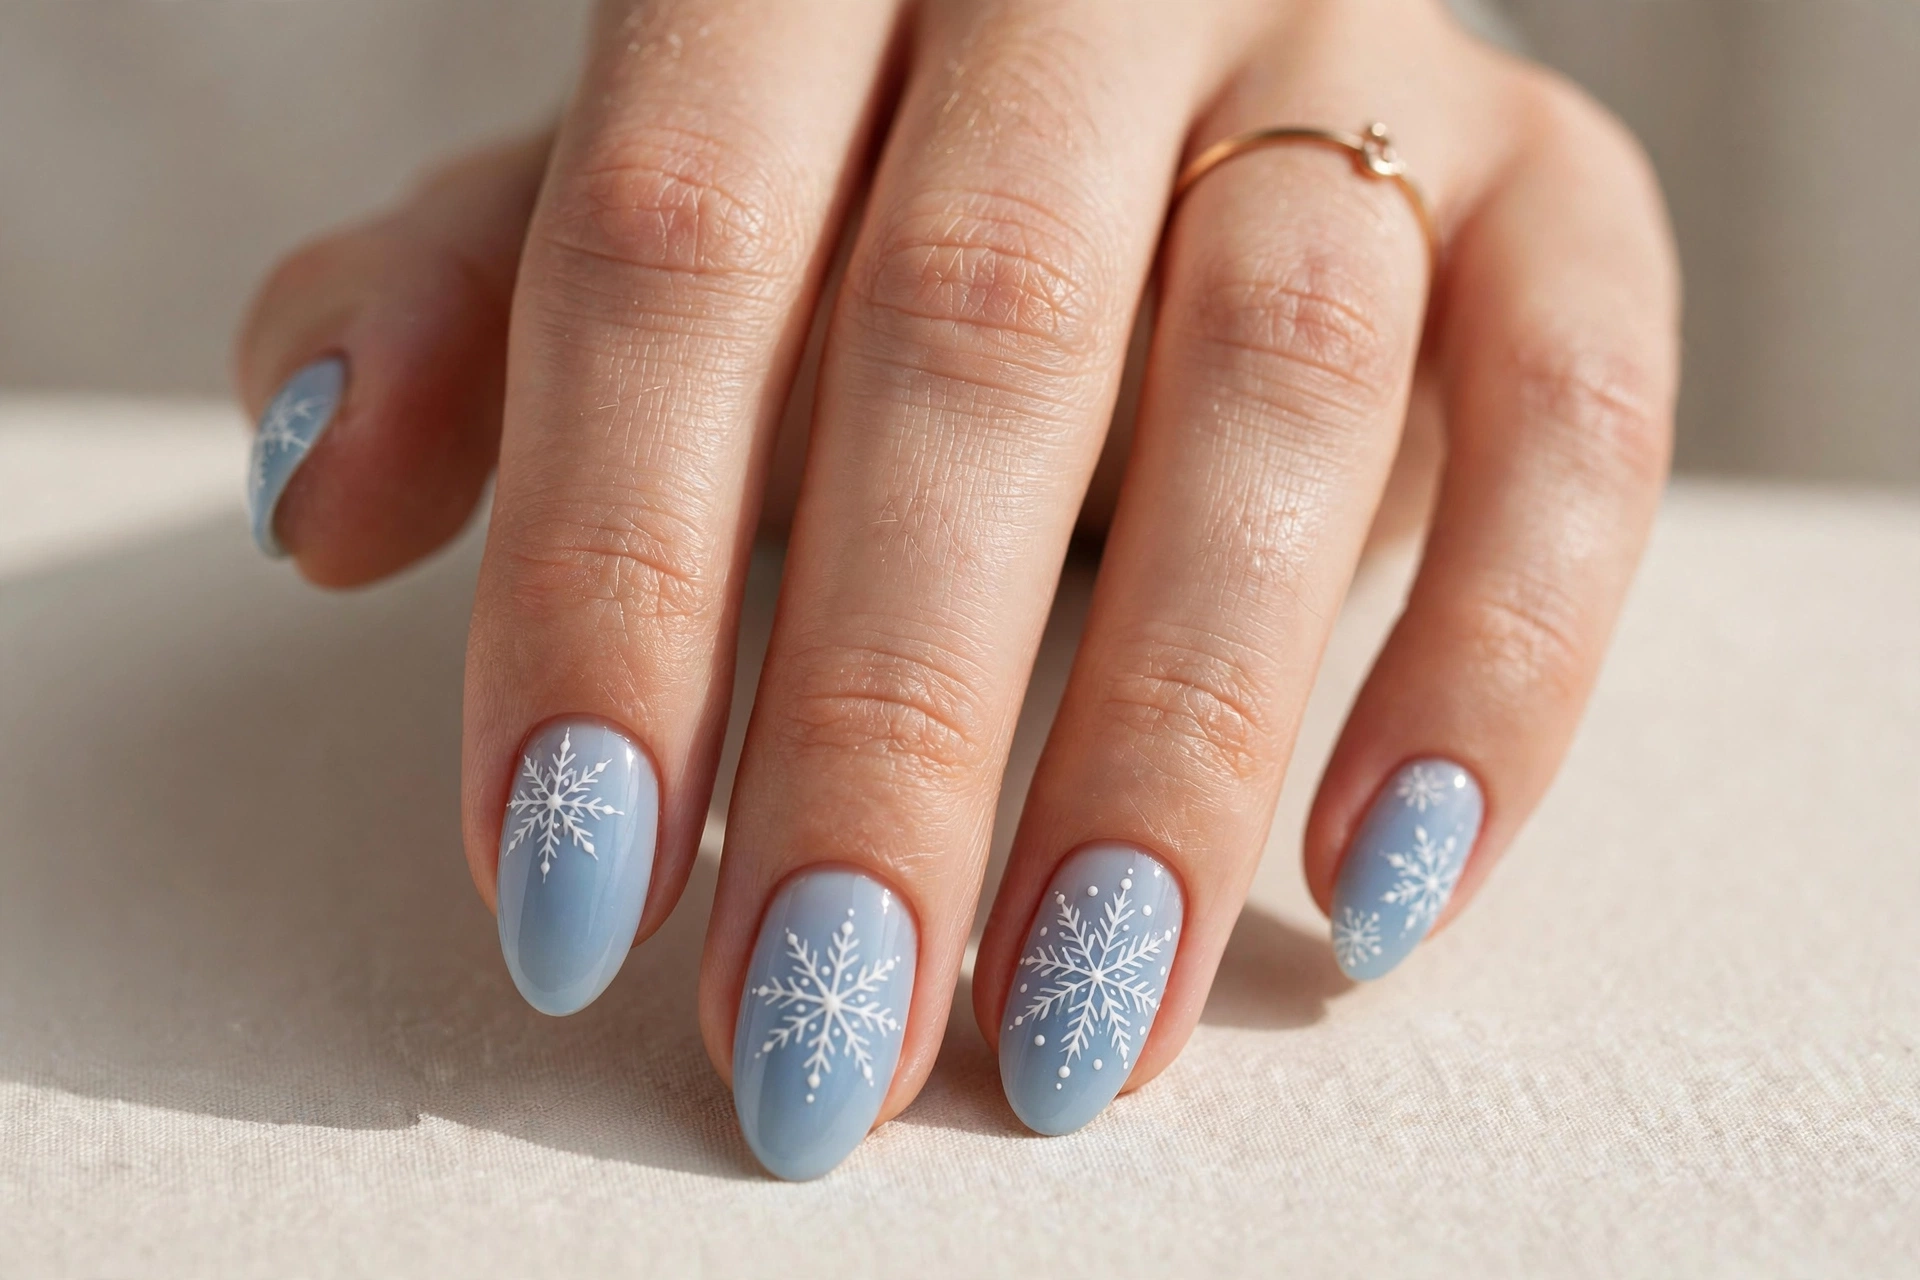
1. Icy Blue Snowflake Nails
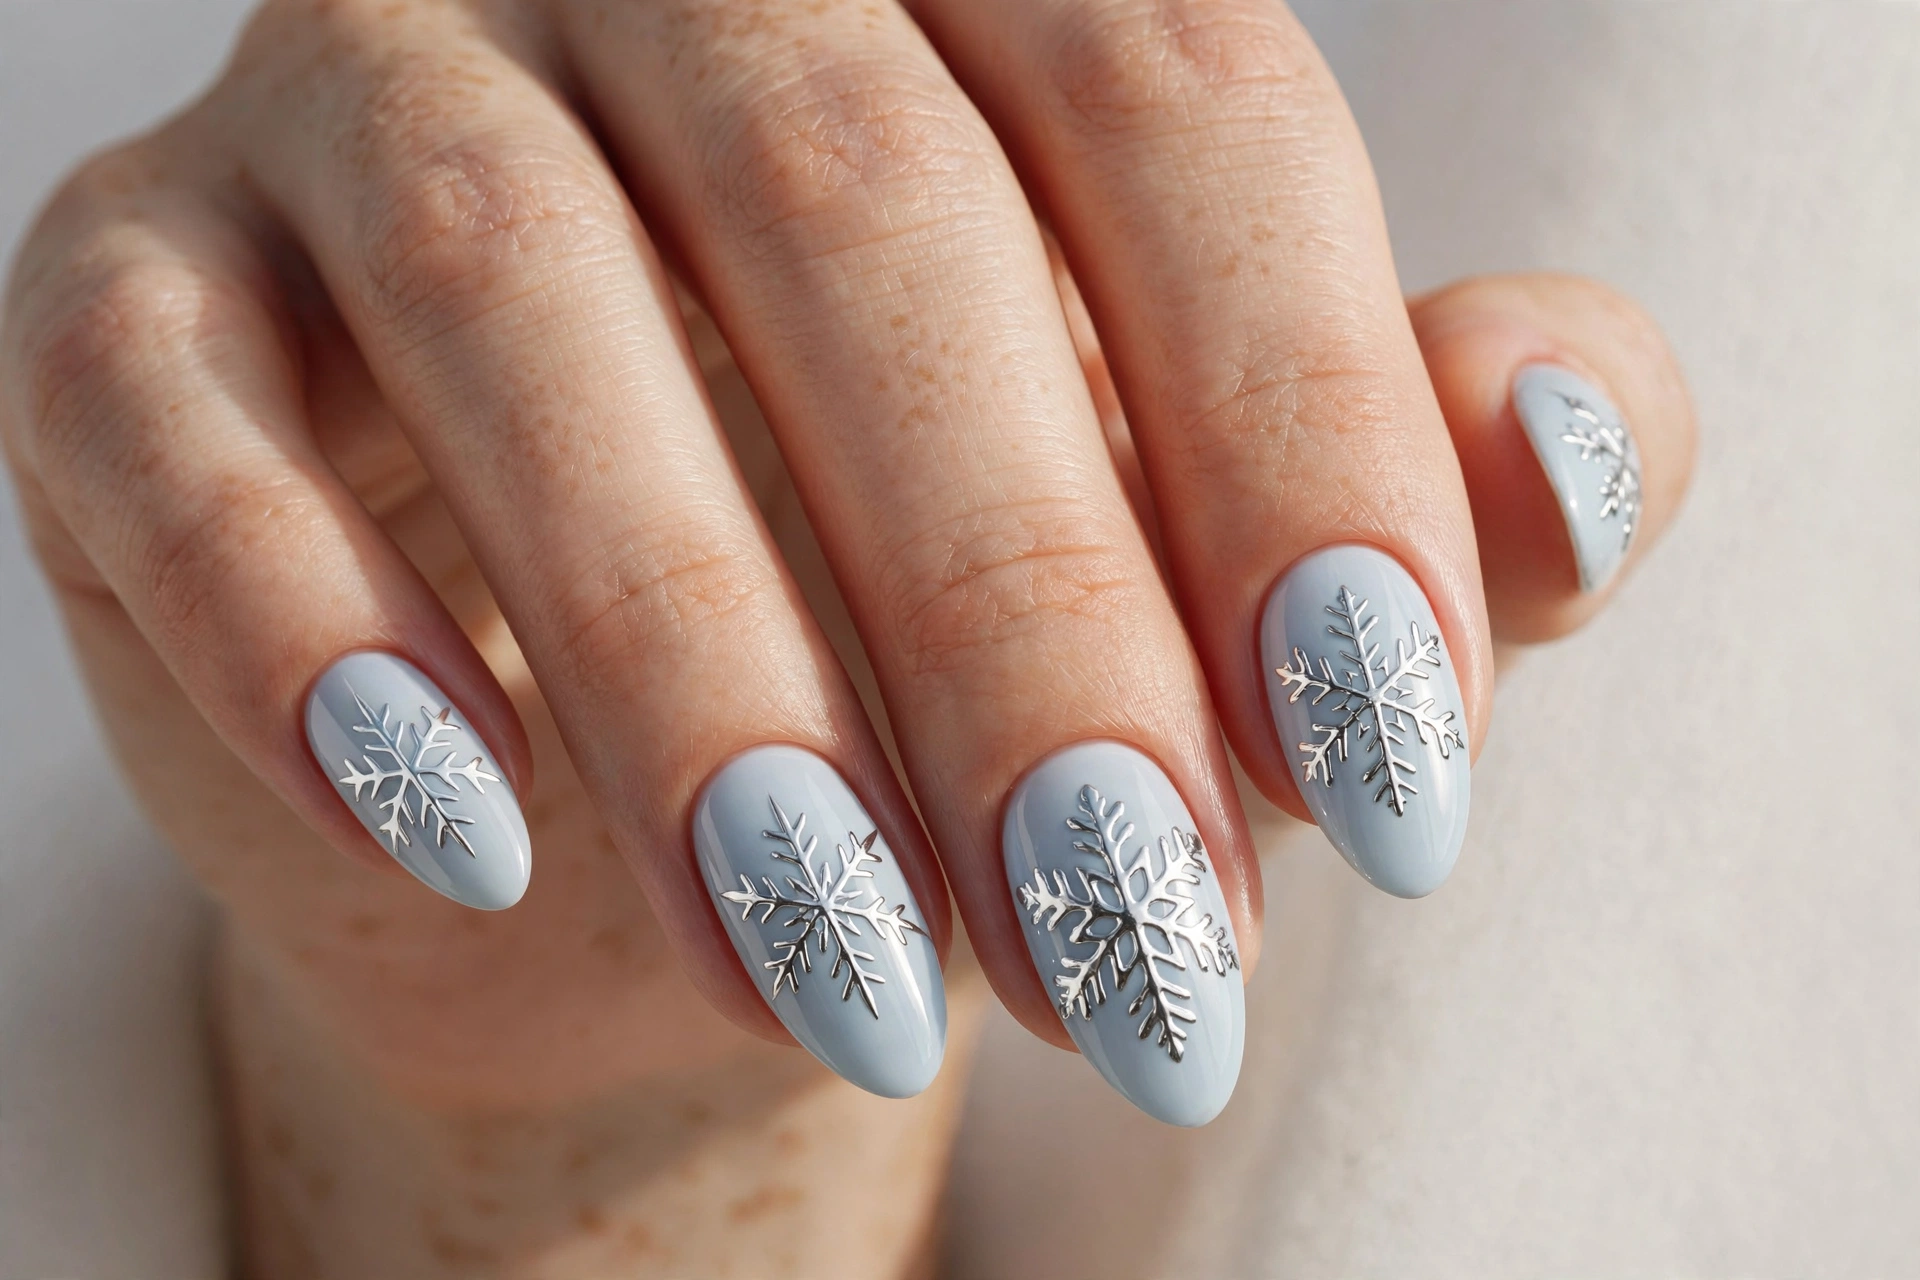
This is the classic that started the trend: crisp white snowflakes scattered over an icy blue base. The look is clean, fresh, and instantly recognizable as winter. It suits almost everyone, but it truly shines on medium to long nails where the flakes have room to breathe. For shorter nails, keep the flakes small and place one per nail so they don’t feel crowded.
To get it, paint two coats of an icy blue polish and let them dry fully — a tacky base will drag your white lines. Use a white nail art pen or a dotting tool dipped in white polish to draw each flake: one vertical line, one horizontal line, one diagonal each way, then tiny branches off each arm. Finish with a glossy top coat, which melts the white slightly into the blue for that frosted effect.
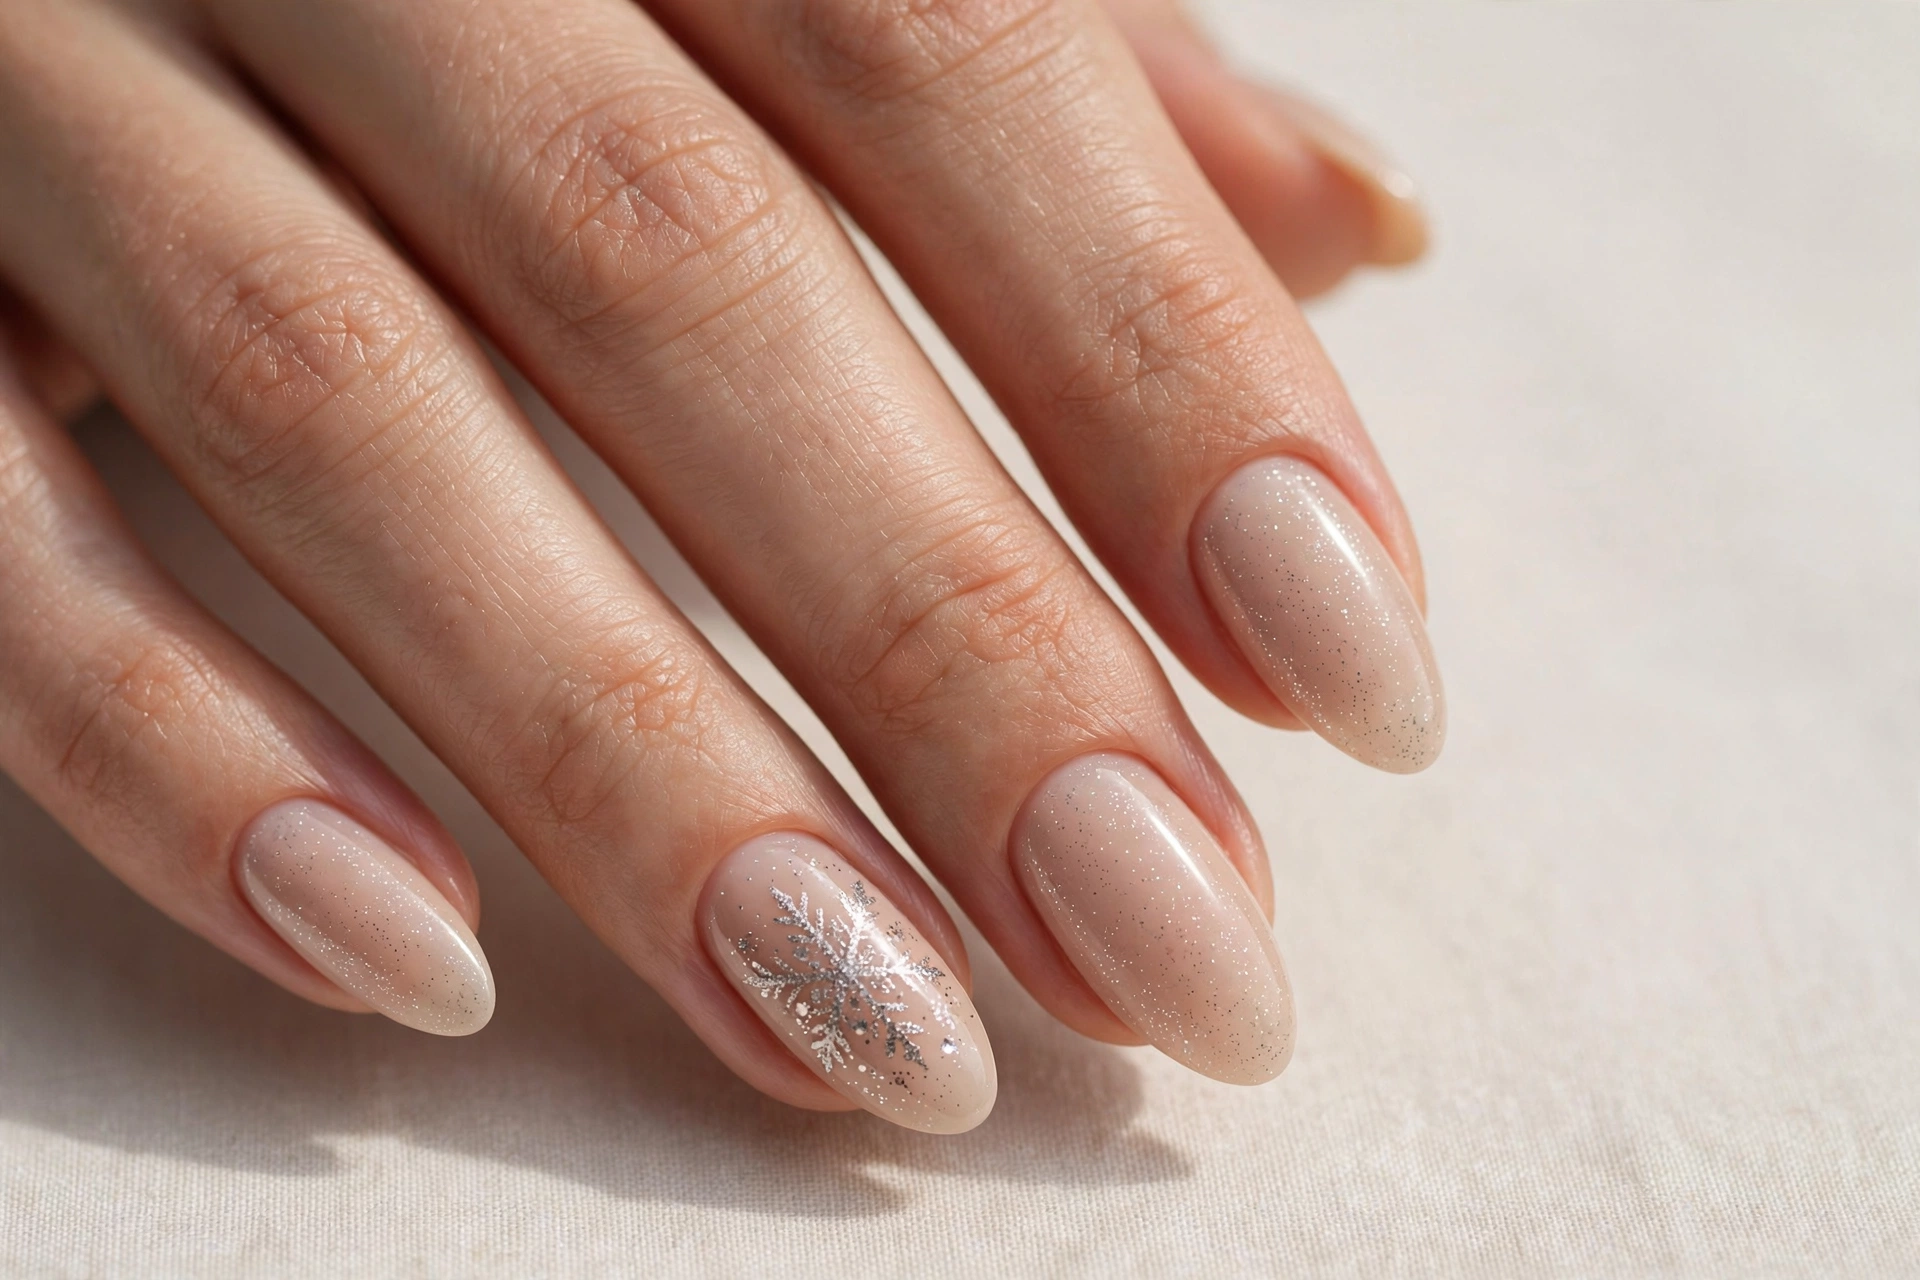
2. Silver Glitter Snowflake Accents
If full winter art feels like too much, this design gives you the best of both worlds: a nude, office-friendly base with one or two nails carrying glittering silver snowflakes. It’s the snowflake look for people who wear minimal jewelry and like their manicures quiet but polished. This one is especially flattering on short, neat nails because the nude base keeps fingers looking long.
Apply your favorite nude shade, then paint the accent nails (ring fingers are the classic choice) with a silver glitter polish as the base. Once dry, draw your snowflakes in plain silver or white over the glitter — the sparkle underneath peeks through and gives the flakes dimension. A peel-off glitter base coat makes removal far less painful.
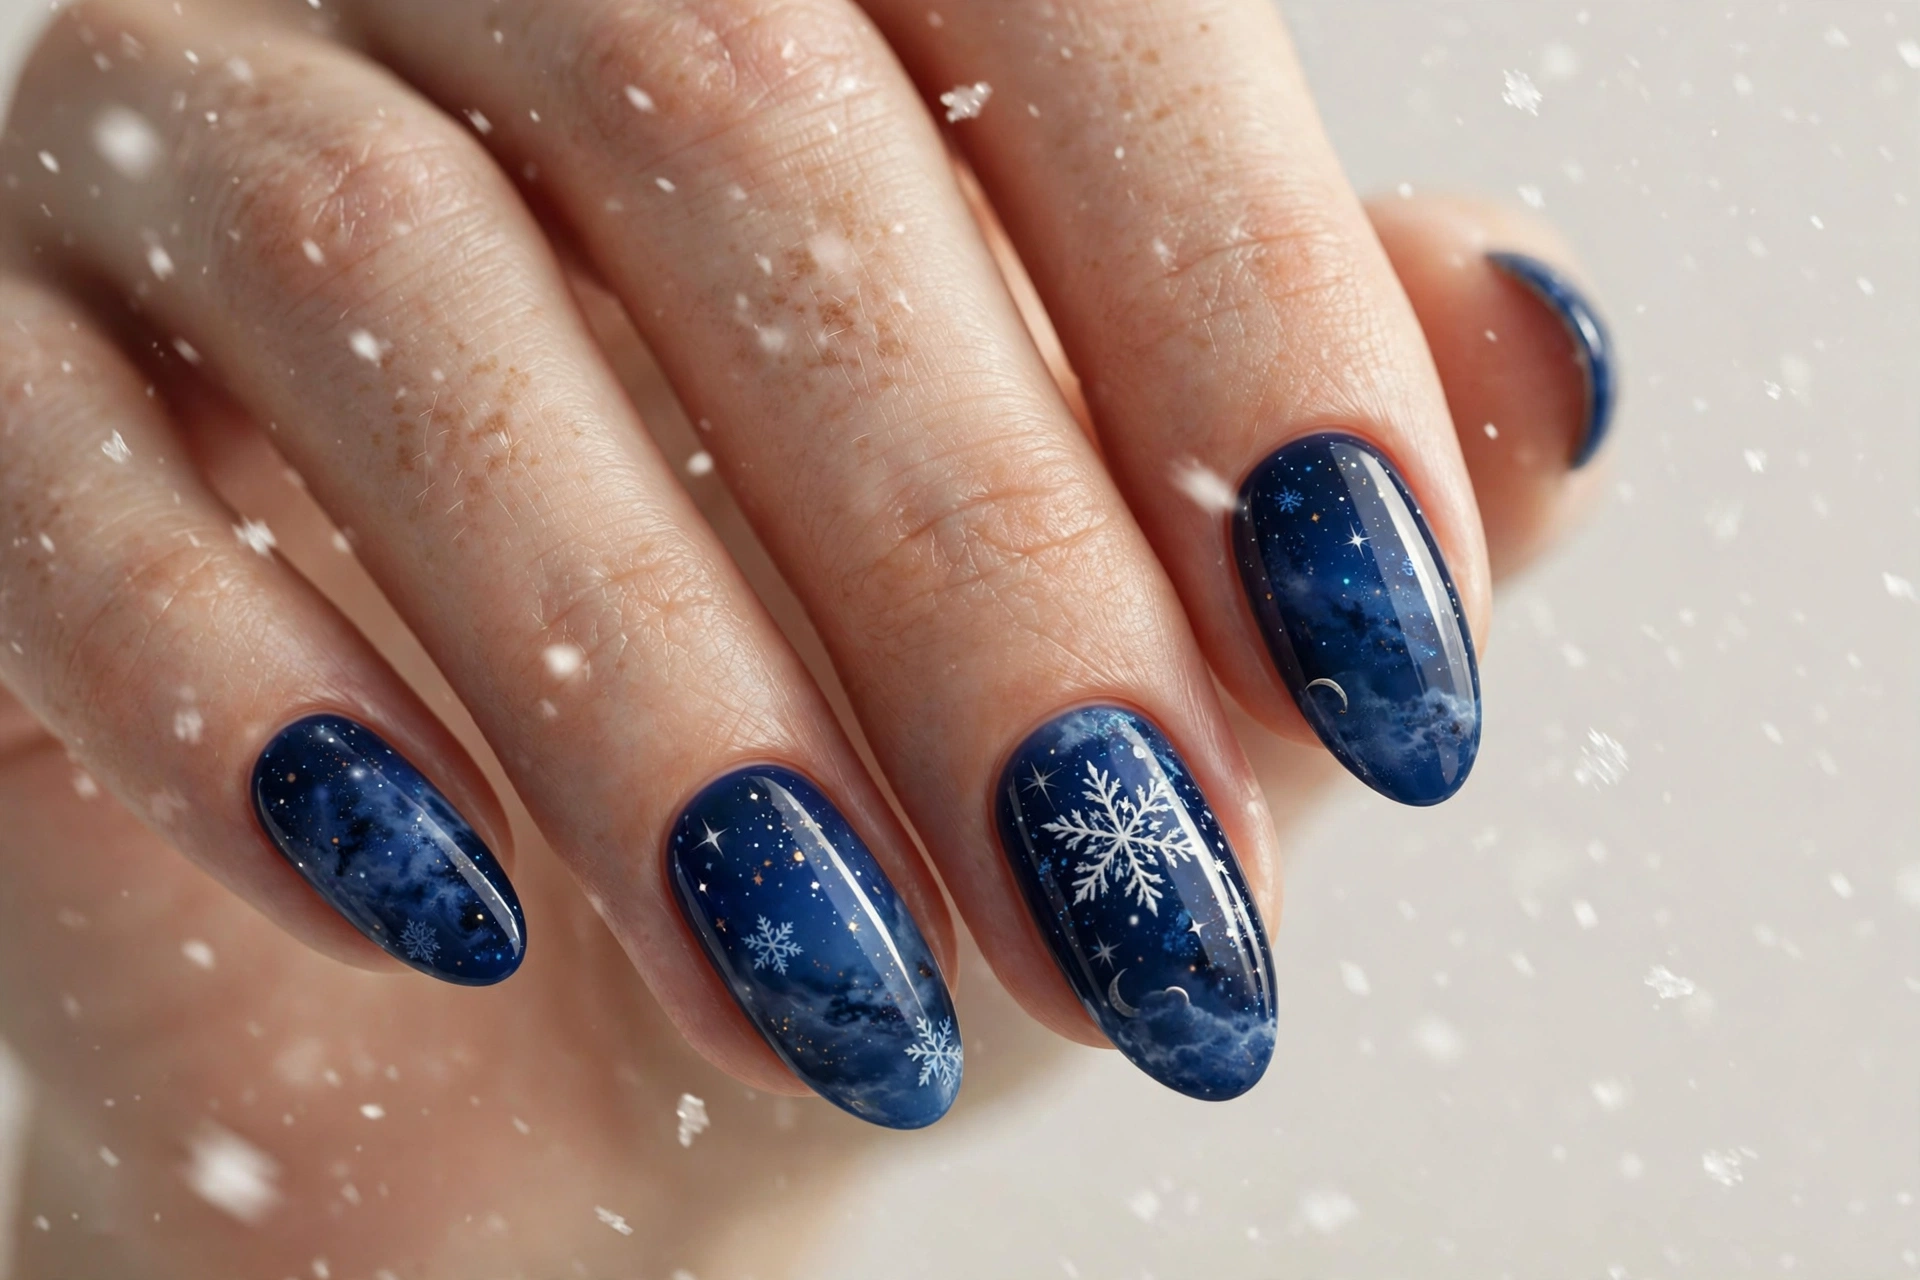
3. Navy Blue Snowflake Nail Art
Deep navy is winter’s answer to black — dramatic, elegant, and a gorgeous backdrop for white snowflakes. This design suits anyone who loves a bold manicure but wants it to feel seasonal rather than gothic. The high contrast makes even simple flakes look expensive, and it photographs beautifully against holiday outfits.
The key here is opacity: navy polishes can streak, so use thin coats and build to full coverage with three if needed. Draw the flakes in a bright, opaque white — cheap white polishes go chalky, so invest in a good art white. Add tiny white dots between the flakes to suggest falling snow. Matte top coat gives it a velvety winter-night feel; glossy makes the white pop harder.
4. Frosted Ombré Snowflake Manicure
Ombré nails already look like winter fading into spring, so adding snowflakes on top is pure magic. The gradient — white at the tip melting into pale blue at the cuticle — mimics frost creeping across a windowpane. This design suits medium-length nails best, since you need the length to show the gradient; on very short nails the fade gets lost.
Sponge the ombré with a makeup wedge: paint white and pale blue side by side on the sponge and dab onto the nail in thin layers, repeating until the blend is smooth. Let it dry completely, then stamp or hand-draw white snowflakes near the tips where the base is lightest — they’ll look like they’re forming out of the frost. Seal with two coats of top coat to smooth the sponged texture.
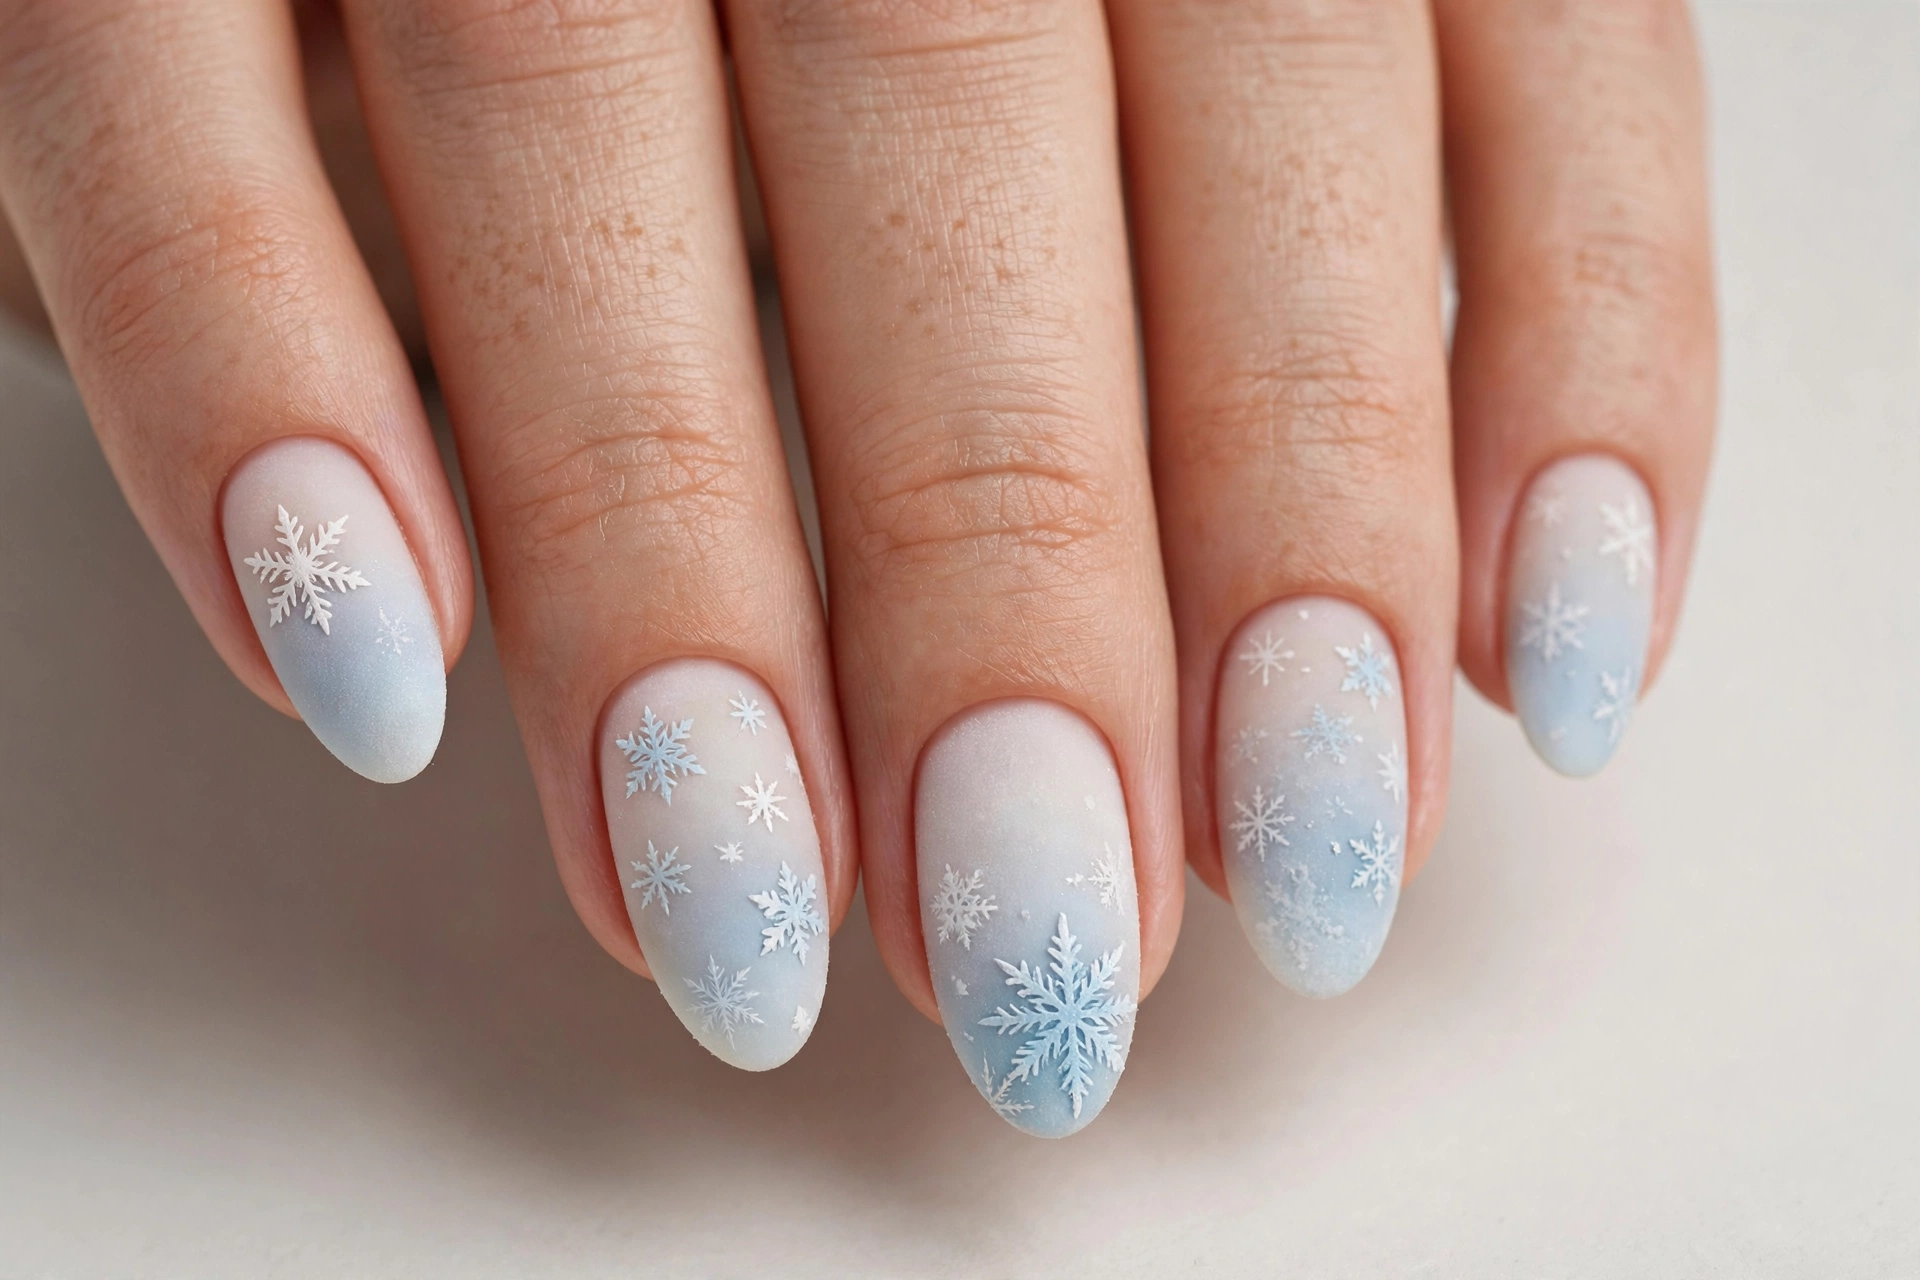
5. White Chrome Snowflakes
Chrome powder turns any manicure futuristic, and white chrome snowflakes over pale blue have an ice-sculpture quality that’s hard to beat. This is a salon-friendly design — chrome works best over gel — and it suits special occasions like New Year’s Eve or winter weddings where you want your nails to catch the light in photos.
Ask your tech for a pale blue gel base, then have them apply white chrome powder through a snowflake stencil or over hand-drawn gel flakes before curing. The chrome needs a no-wipe top coat to stay mirror-bright. If you’re DIY-ing with regular polish, chrome pigment rubbed over a tacky white flake gets you about eighty percent of the effect at home.
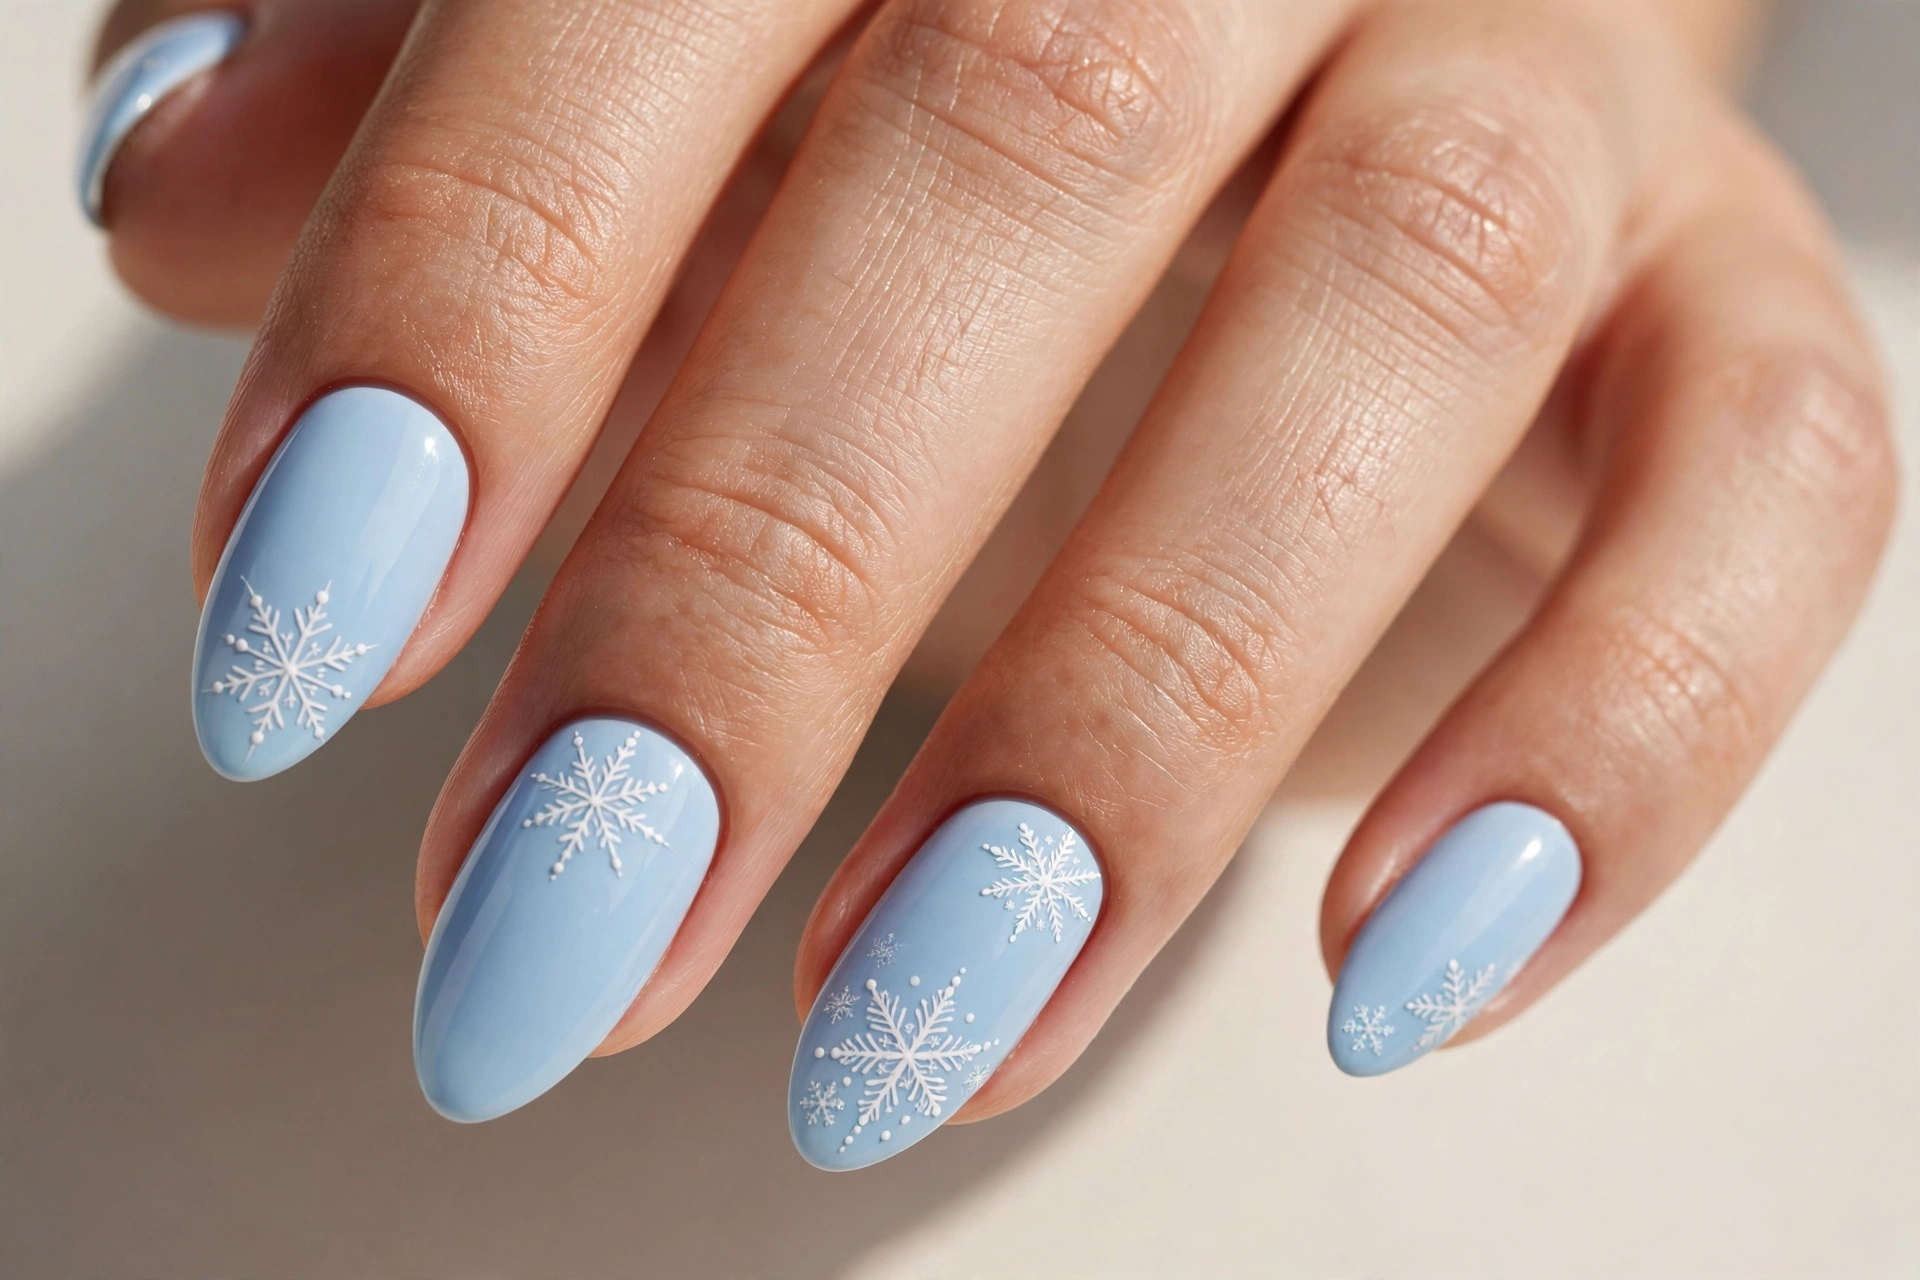
6. Icy French Tips With Snowflake Details
The French manicure gets a winter makeover: instead of classic white tips, the tips go icy blue, and tiny white snowflakes sit just below the smile line. It’s subtle enough for work, pretty enough for a holiday dinner, and it flatters every nail shape — especially almond and oval, which echo the curved tip.
Paint the nail sheer pink or nude, then create the blue tip with a guide sticker or a steady hand and a flat brush. While the tip is still slightly tacky, dot a small snowflake onto each tip with a dotting tool. Keep the flakes tiny — about a third of the tip’s width — so they read as detail rather than clutter. One coat of glossy top coat ties it together.
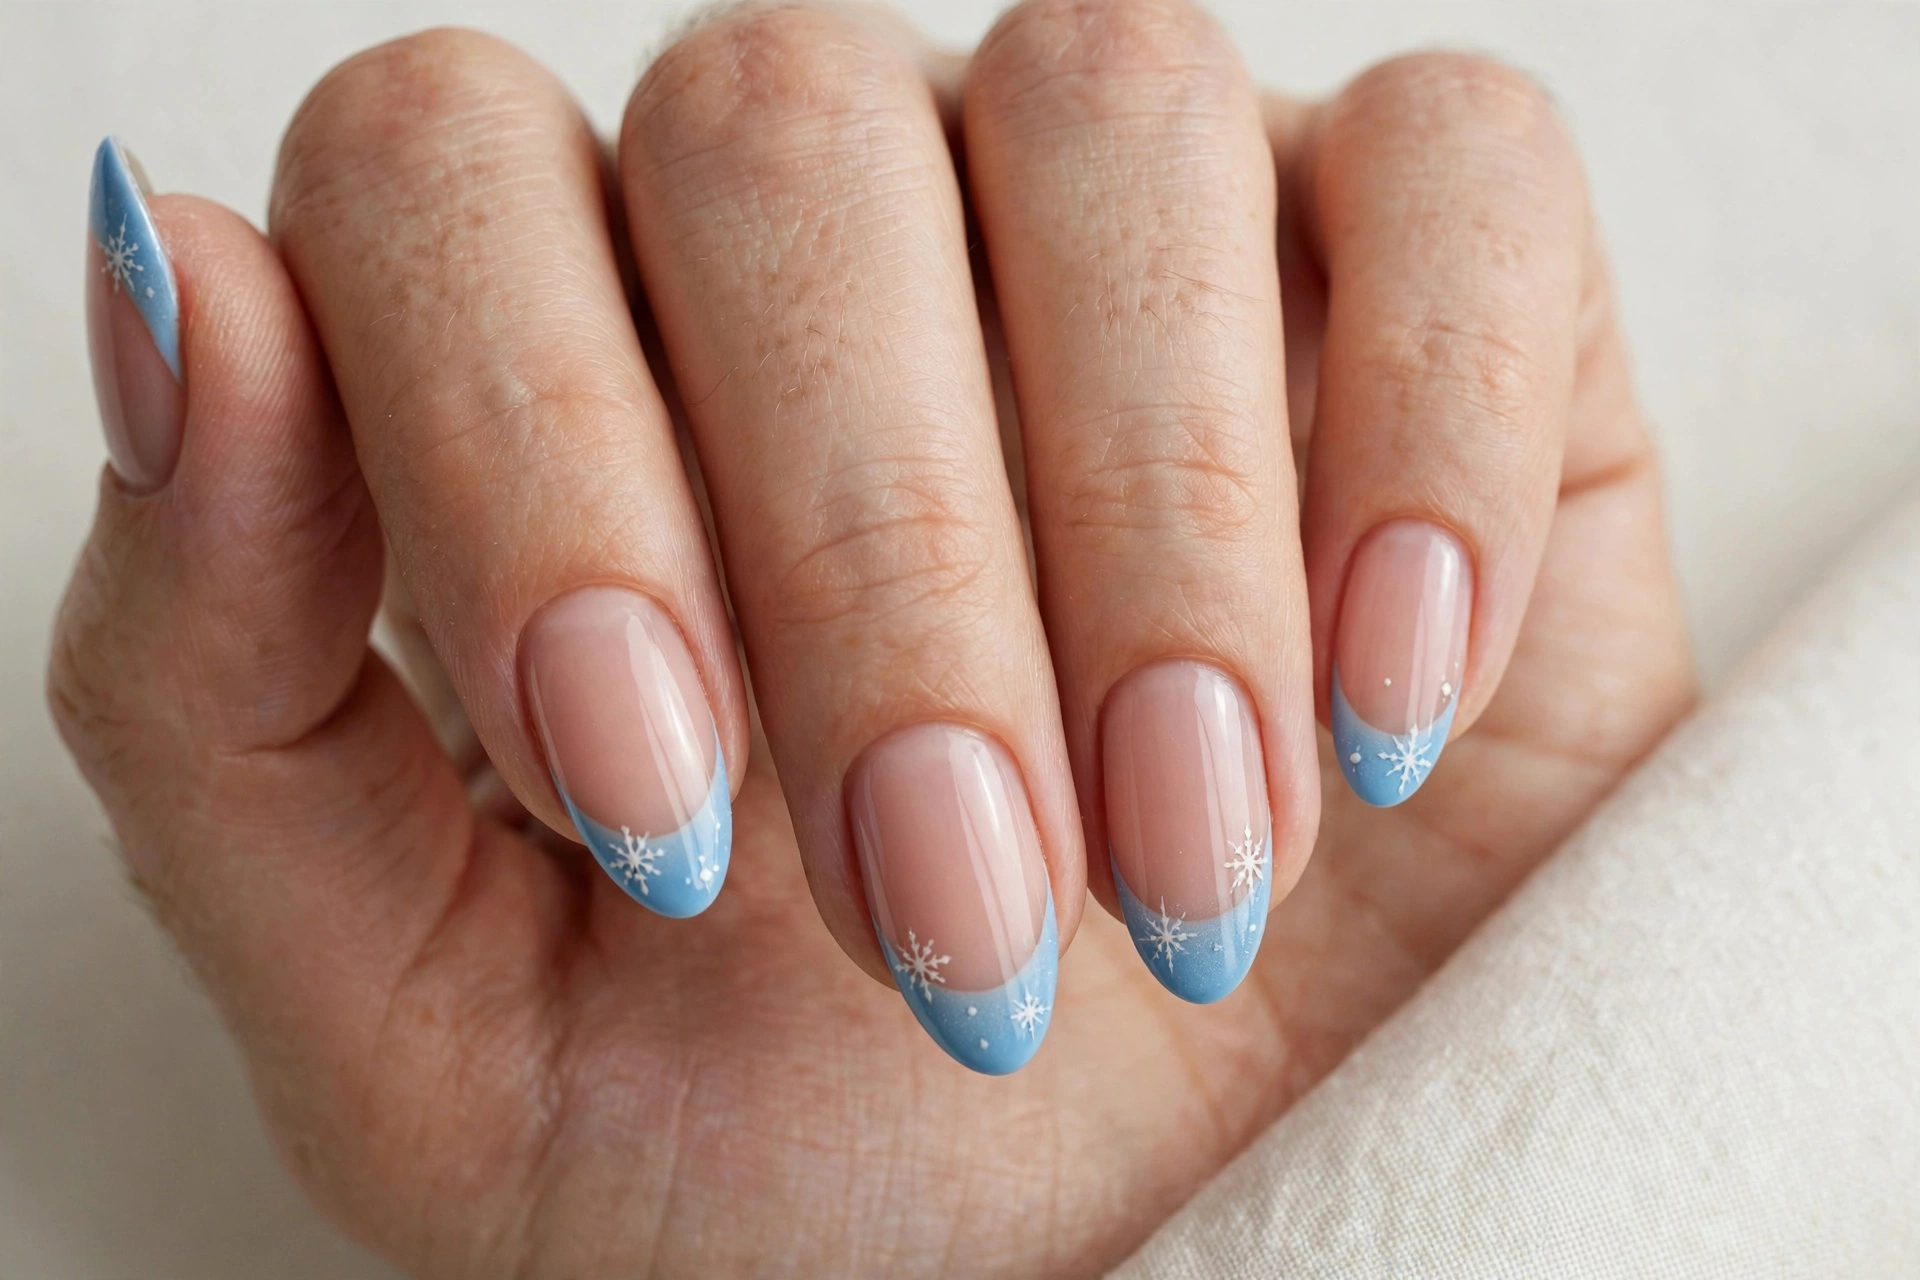
7. Frosty Mint Snowflake Nails
Mint is the underdog of winter nail colors — cool and fresh without being as expected as blue. White snowflakes over frosty mint feel like a breath of cold air, and the combination is especially lovely on fair to light skin tones, where the cool tones harmonize instead of washing out. It’s a great choice if you want winter nails that don’t scream “holiday.”
Mint polishes tend to be sheer, so start with a white base coat to make the color pop in two coats instead of four. Draw your flakes in white, then add a whisper of silver glitter topper just on the tips — it reads like frost forming at the edges. If mint isn’t quite your shade, the pale cool bases in our 22 Christmas gel nail designs for a festive holiday look include several frosty alternatives worth trying.
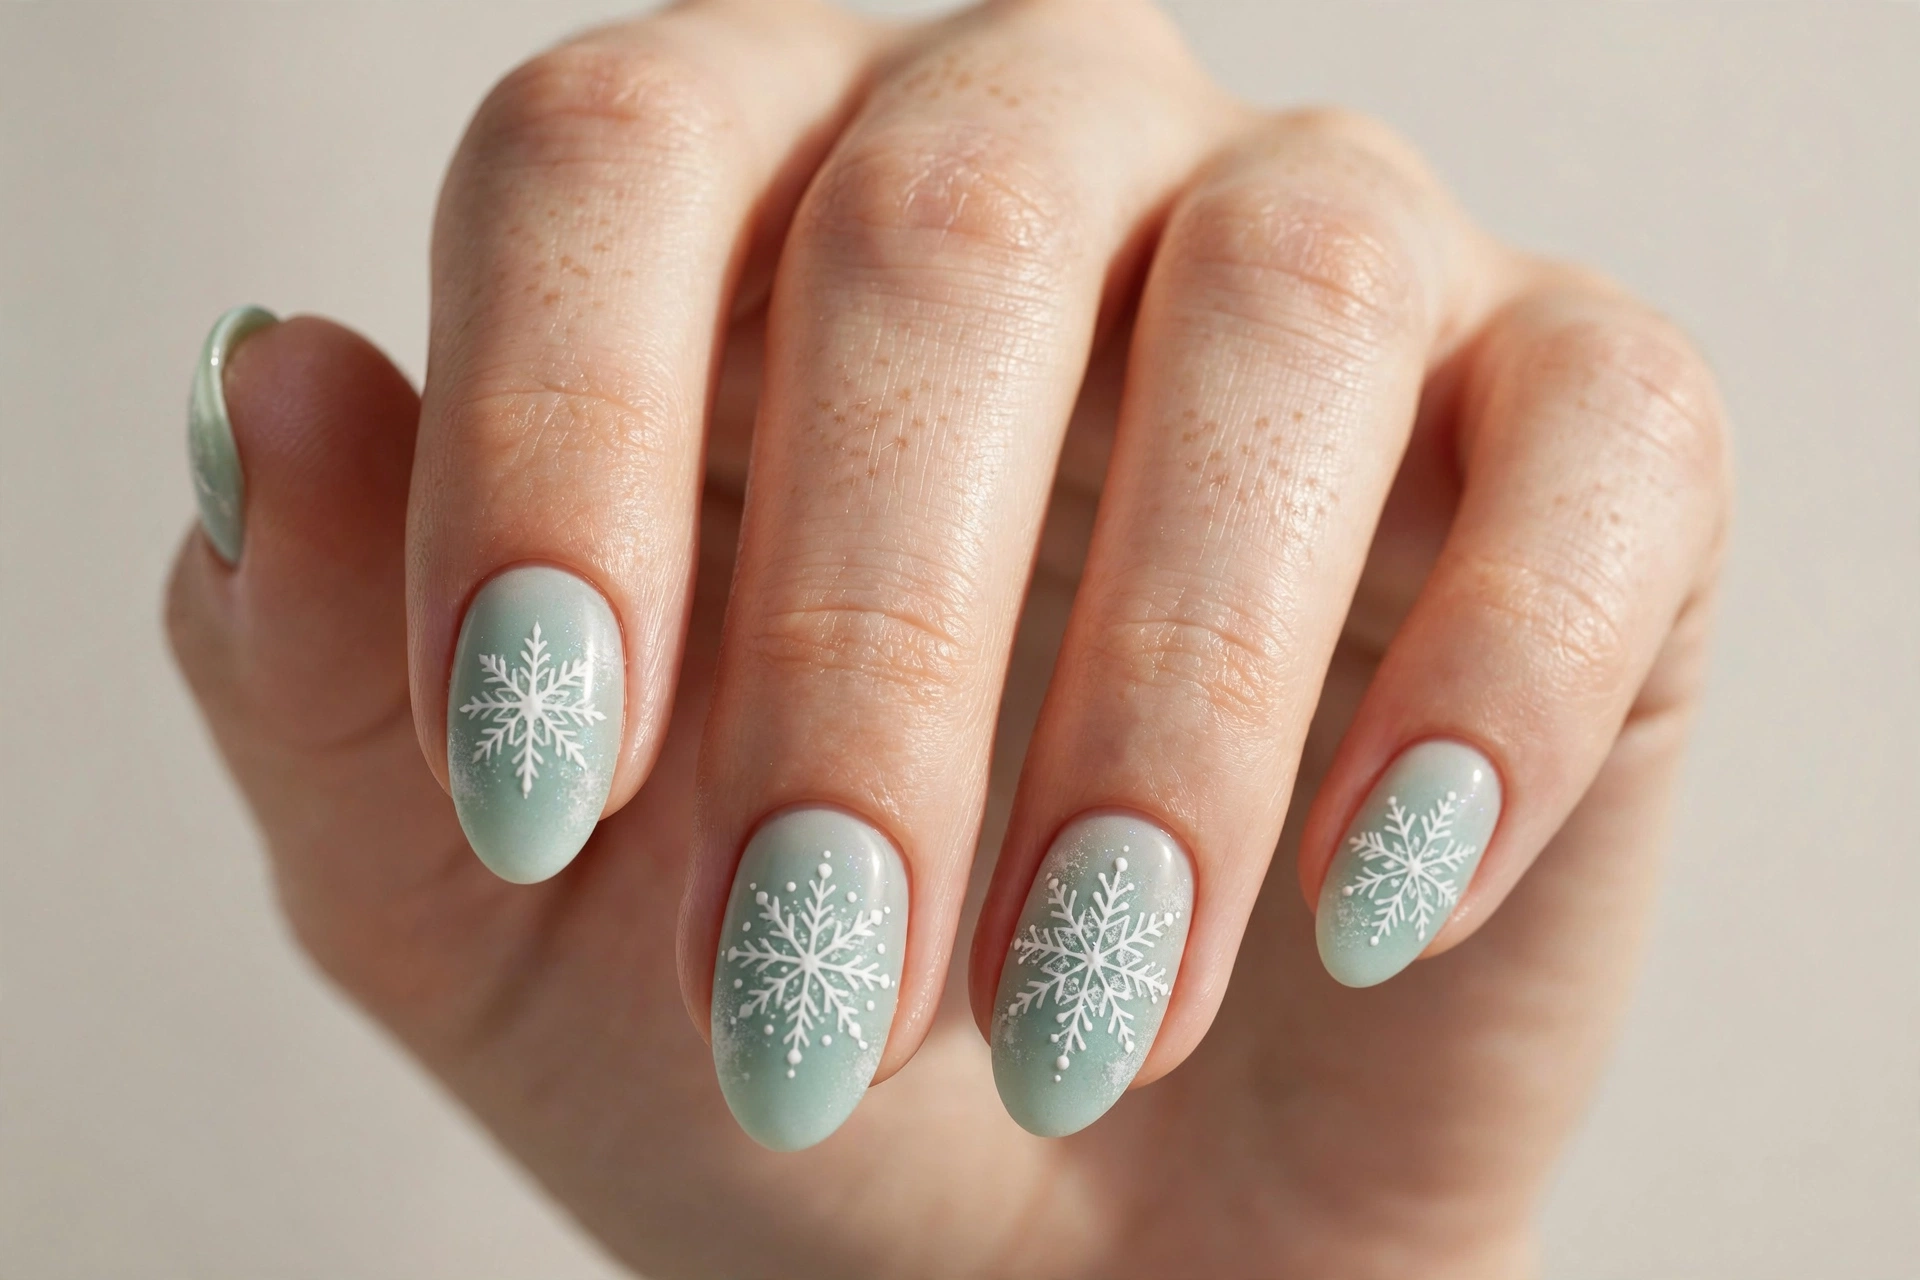
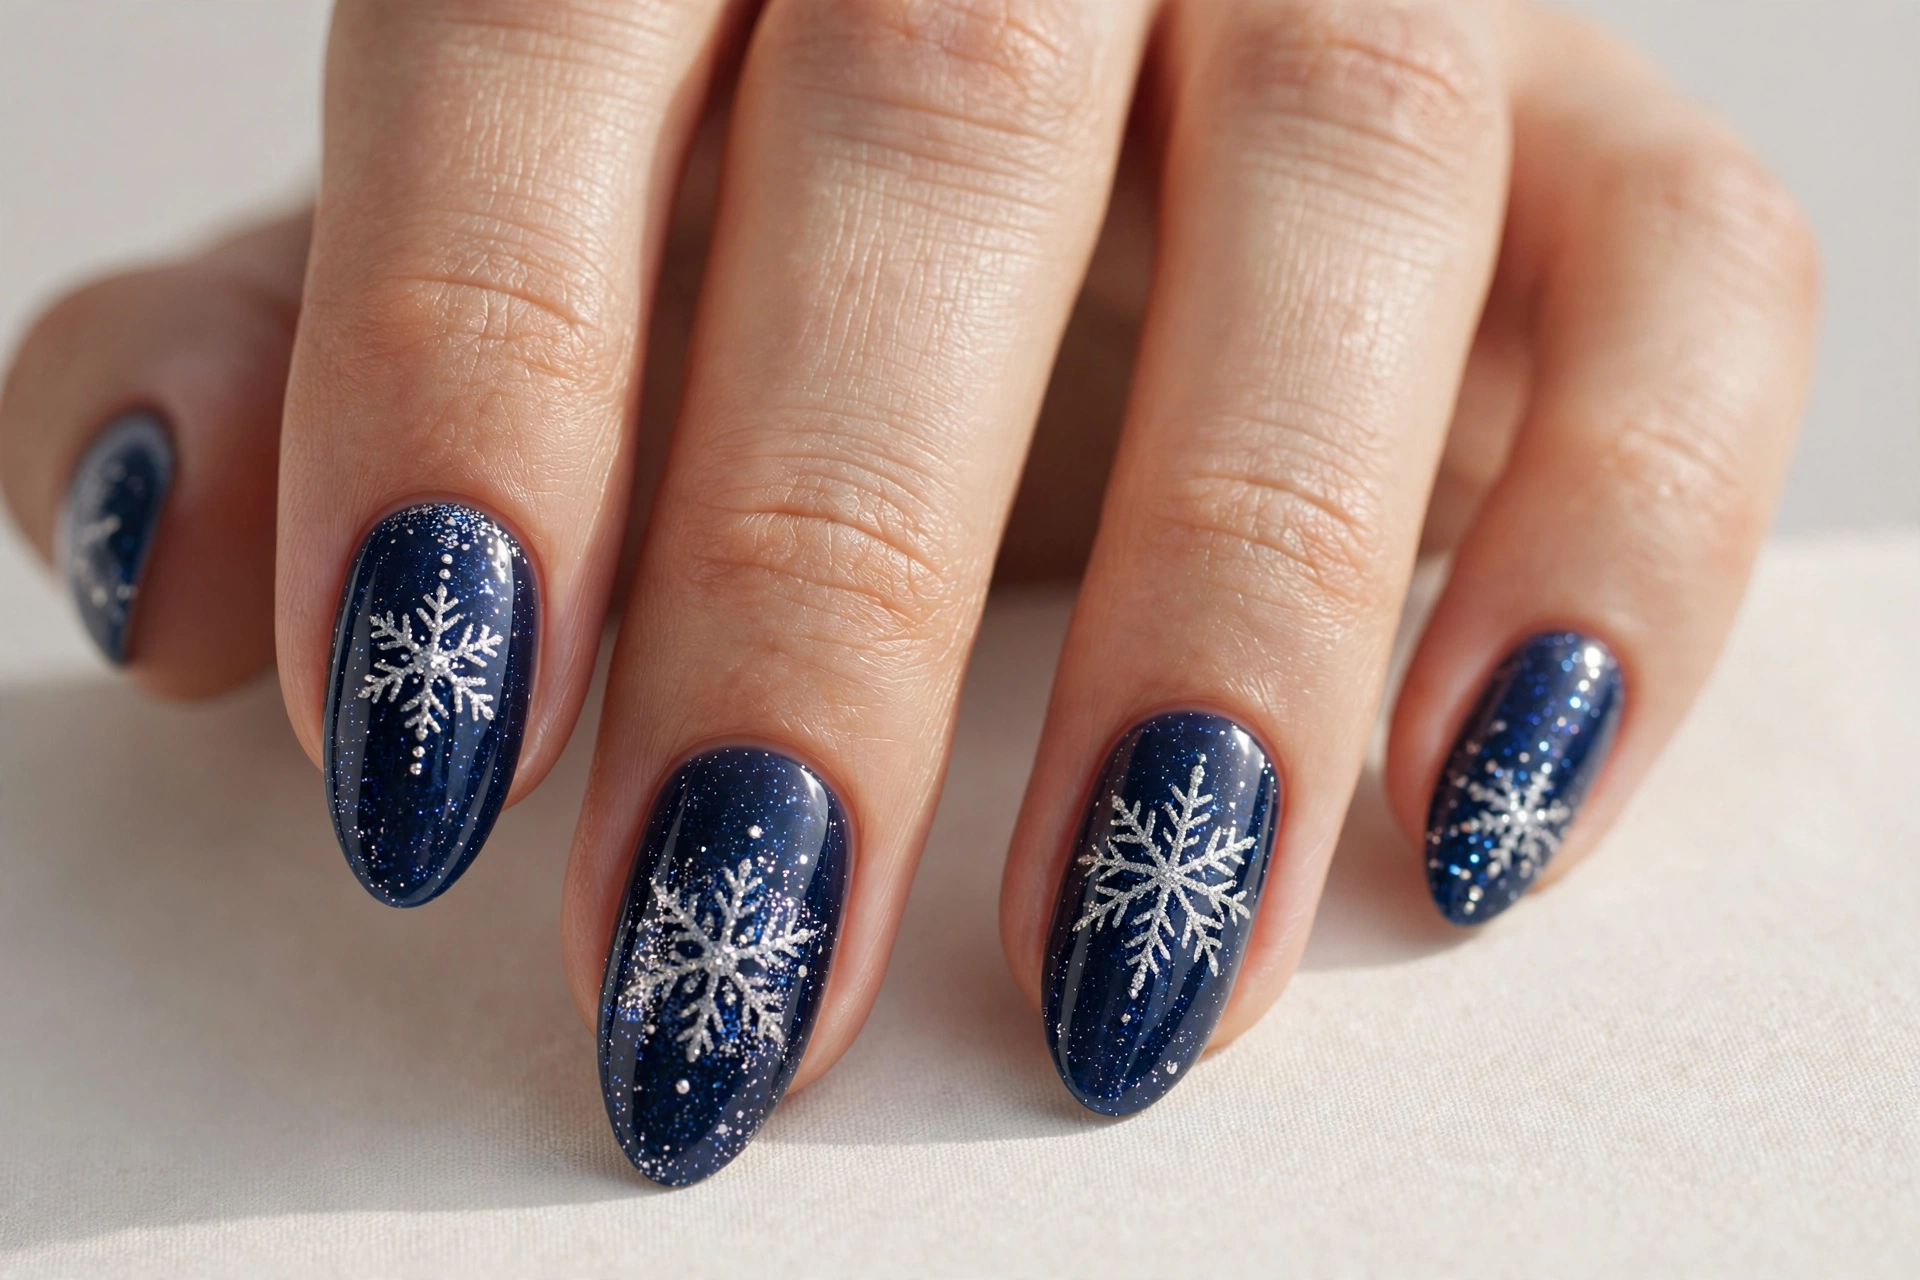
8. Winter Night Sky Snowflakes
This design tells a story: a deep blue gradient that darkens toward the tip like a night sky, scattered with white snowflakes of different sizes as if they’re falling past your fingertips. It’s the most artistic look on this list and a real conversation starter — perfect for holiday parties where your hands will be holding a wine glass all evening.
Build the sky first: sponge a gradient from medium blue at the cuticle to near-black blue at the tip. Then add flakes in three sizes — large, medium, tiny dots — varying the placement so it feels like natural snowfall rather than a pattern. A few silver star dots mixed in sell the night-sky effect. This one rewards patience, so put on a podcast and take your time.
9. Mix-and-Match Snowflake Nail Art
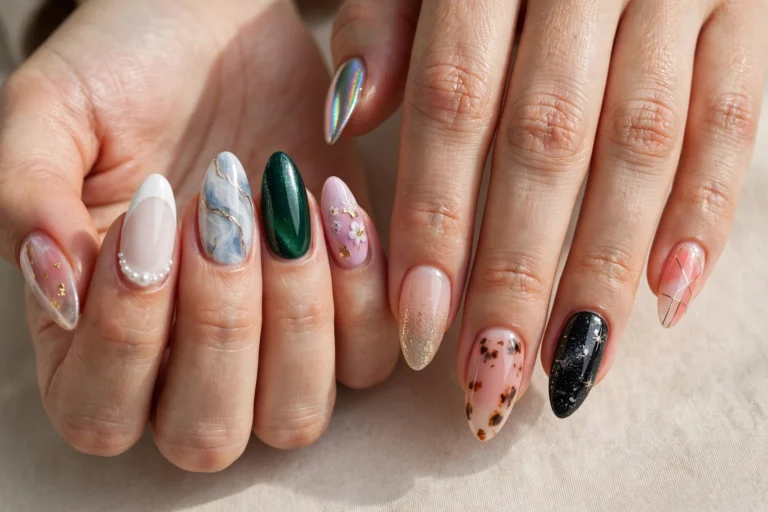
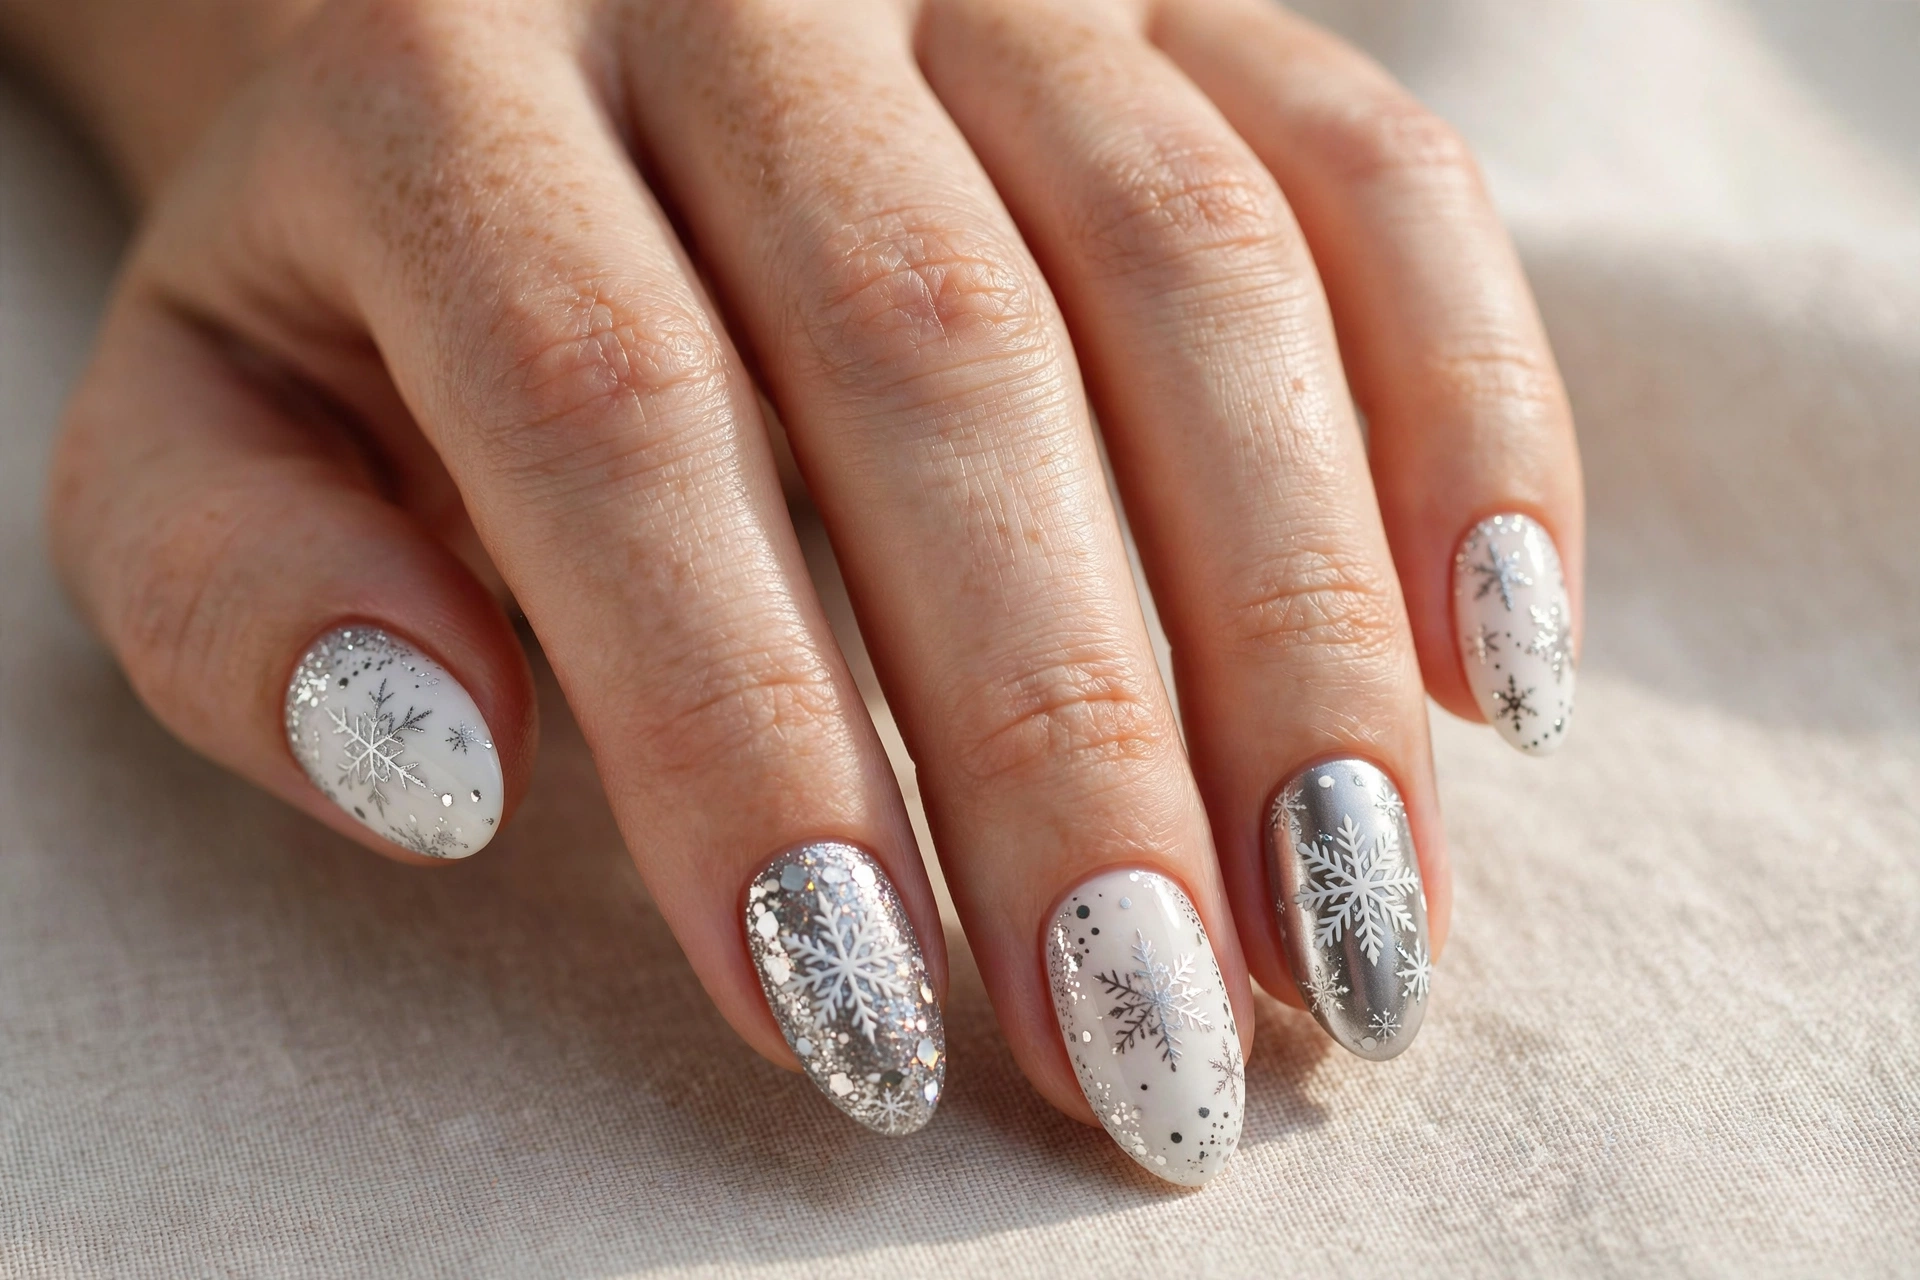
Can’t choose one design? Don’t. Mix-and-match nails put a different snowflake treatment on each finger — one solid icy blue, one glitter, one with a big statement flake, one with tiny scattered flakes. The result looks intentional and editorial, like something from a nail art Instagram account, and it suits creative personalities who get bored with uniform manicures.
The trick to making it look cohesive instead of chaotic is a shared palette: keep every nail within the white-silver-icy blue family so the variety reads as a collection. Plan the layout before you start — sketch it on paper or lay out your polish bottles in order — so you don’t end up with two glitter nails next to each other. Odd numbers of designs (five across five nails) actually look more balanced than repeating patterns.
10. Baby Blue Nails With Snowflake Decals
Decals are the secret weapon of anyone who loves nail art but can’t draw a straight line. Baby blue with white snowflake water decals gives you salon-looking art in about ten minutes, and the soft pastel base keeps the whole thing sweet and wearable. This is an ideal first snowflake design for beginners, teens, or anyone doing their nails the night before an event.
Paint two coats of baby blue and let them dry hard — decals slide around on tacky polish. Cut the decals close to the design, soak in water for ten seconds, slide into place with tweezers, and press out any bubbles with a silicone tool. The critical step: seal with two coats of top coat, wrapping the free edge, or the decals will lift within a day or two.
11. Silver Holographic Snowflakes
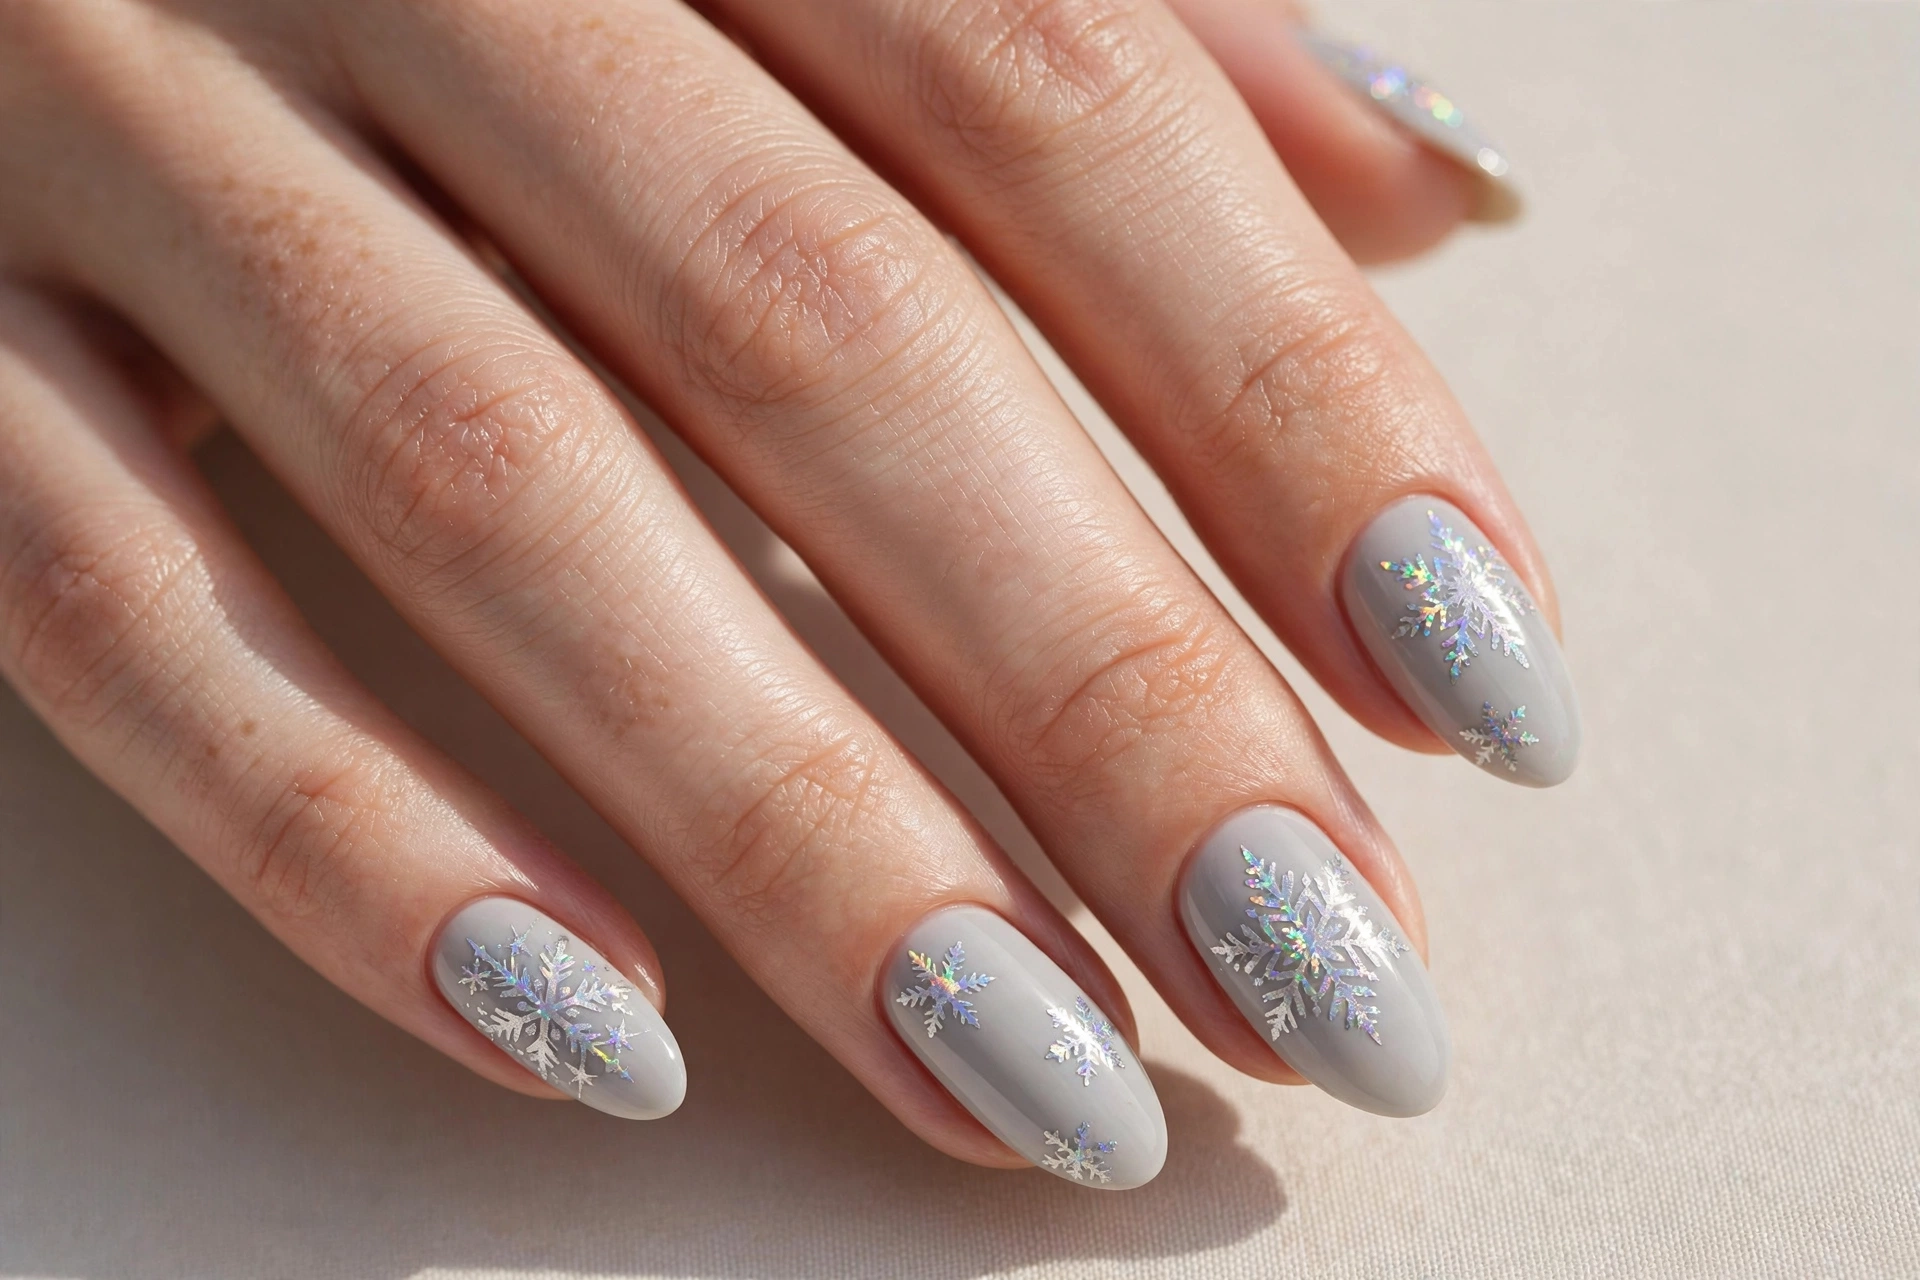
Holographic polish shifts color as it catches the light, so silver holo snowflakes over pale gray look different every time you move your hand — like real ice crystals refracting sunlight. This design is pure winter glam and photographs incredibly well, making it a favorite for New Year’s Eve. It suits medium to long nails where the holo effect has space to play.
Use a pale gray or silver base so the holo flakes blend seamlessly, then draw the snowflakes with a silver holographic nail art polish or stamp them with holo stamping polish. The magic ingredient is a glossy, non-dulling top coat — some top coats flatten holo, so test on one nail first. If you love this level of sparkle, you’ll also want to see our 23 rhinestone nail designs for maximum sparkle for the full glam treatment.
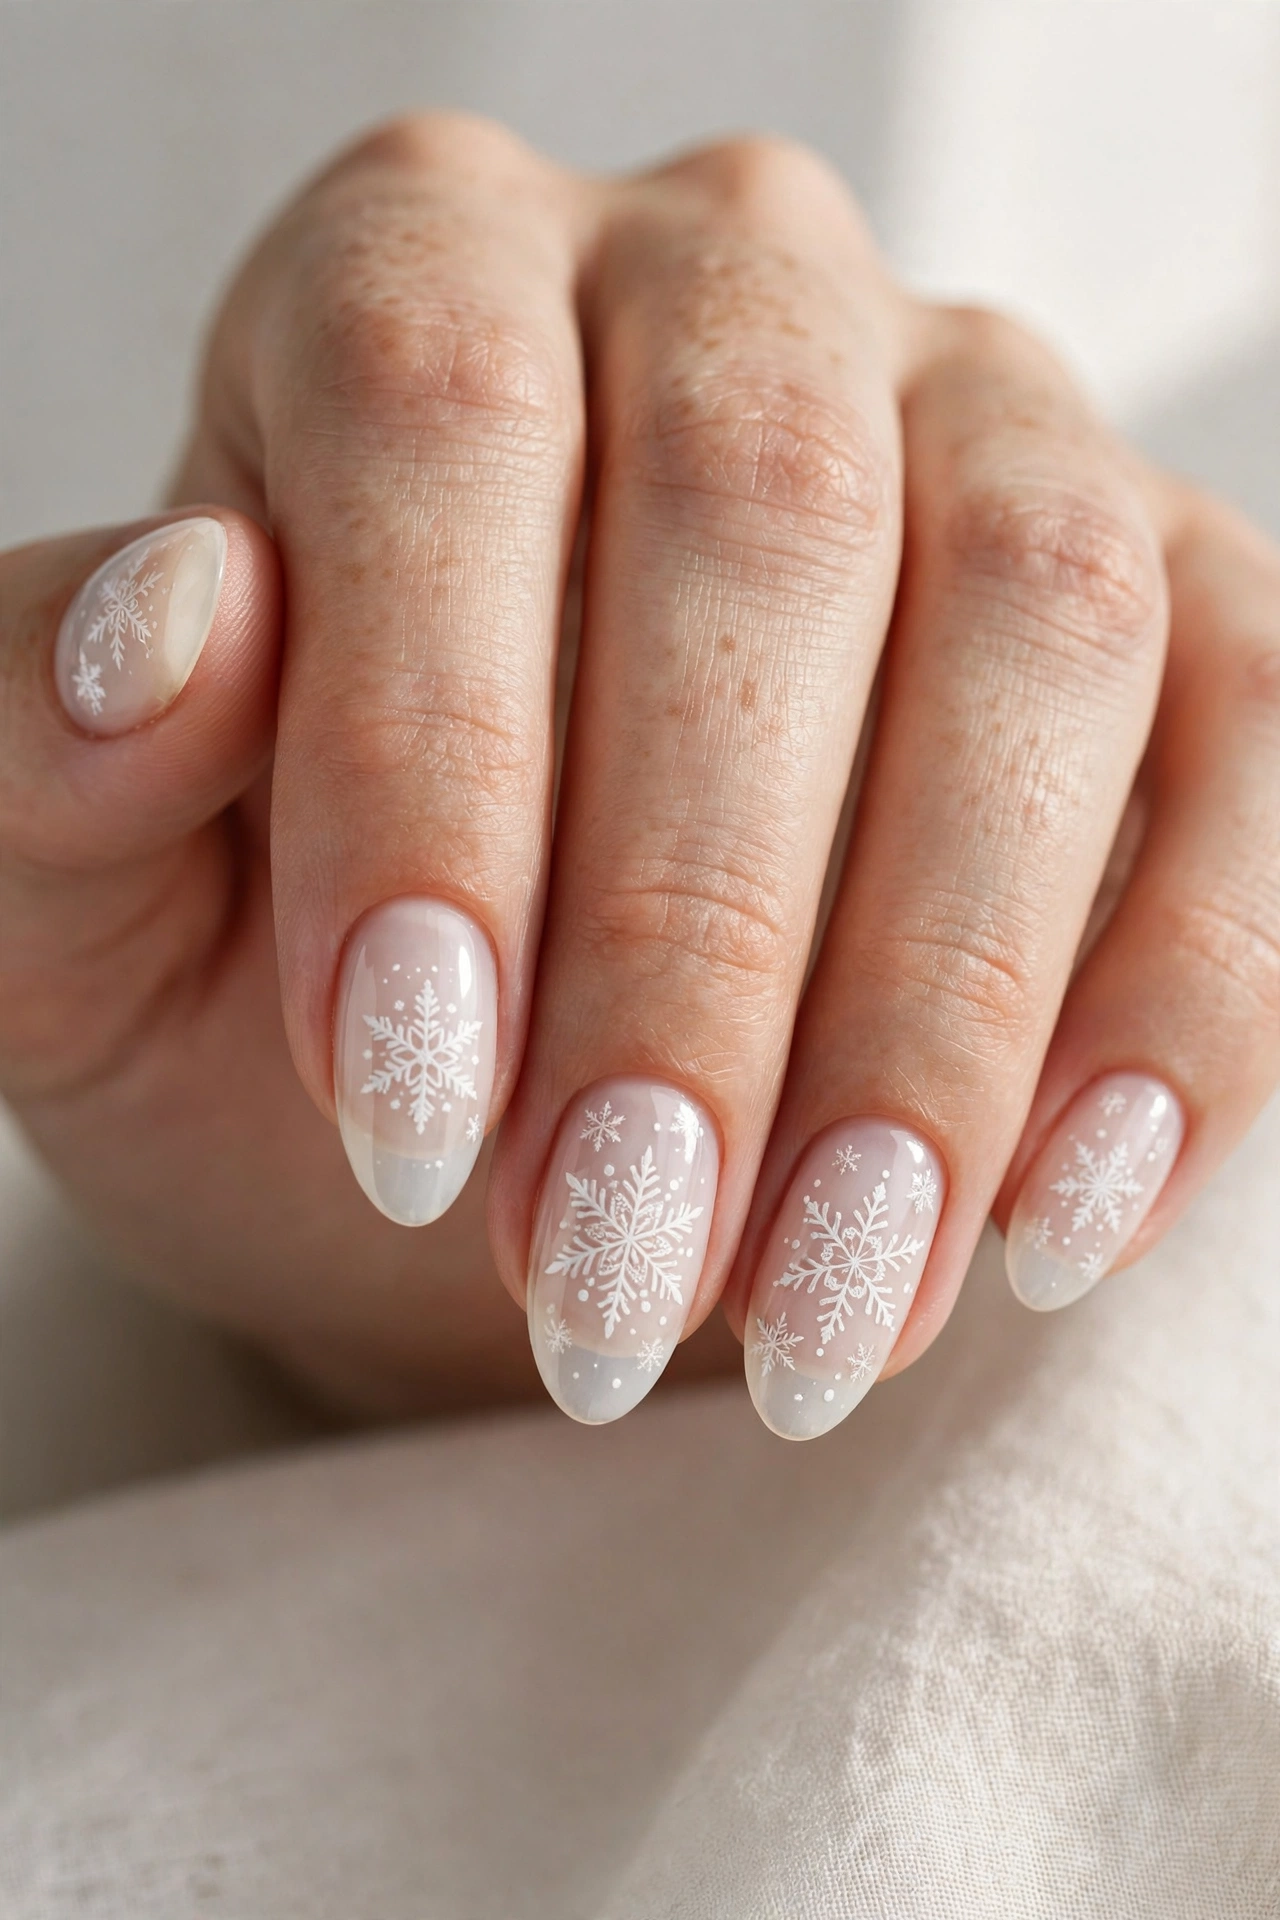
12. Milky White Snowflake Stamping
Sheer milky white is the “your nails but better” of winter — clean, bright, and flattering on every skin tone. Stamped white snowflakes add just enough interest to make it feel intentional. This is the snowflake design for minimalists, brides, and anyone whose workplace frowns on obvious nail art.
Stamping is the easiest path to perfect flakes: apply a milky white sheer polish, then stamp snowflake images with an opaque white stamping polish using a clear stamper so you can place each flake precisely. The most common mistake is pressing too hard — a light, quick roll picks up the image cleanly. Finish with top coat, applied in one smooth stroke so you don’t smear the stamped art.
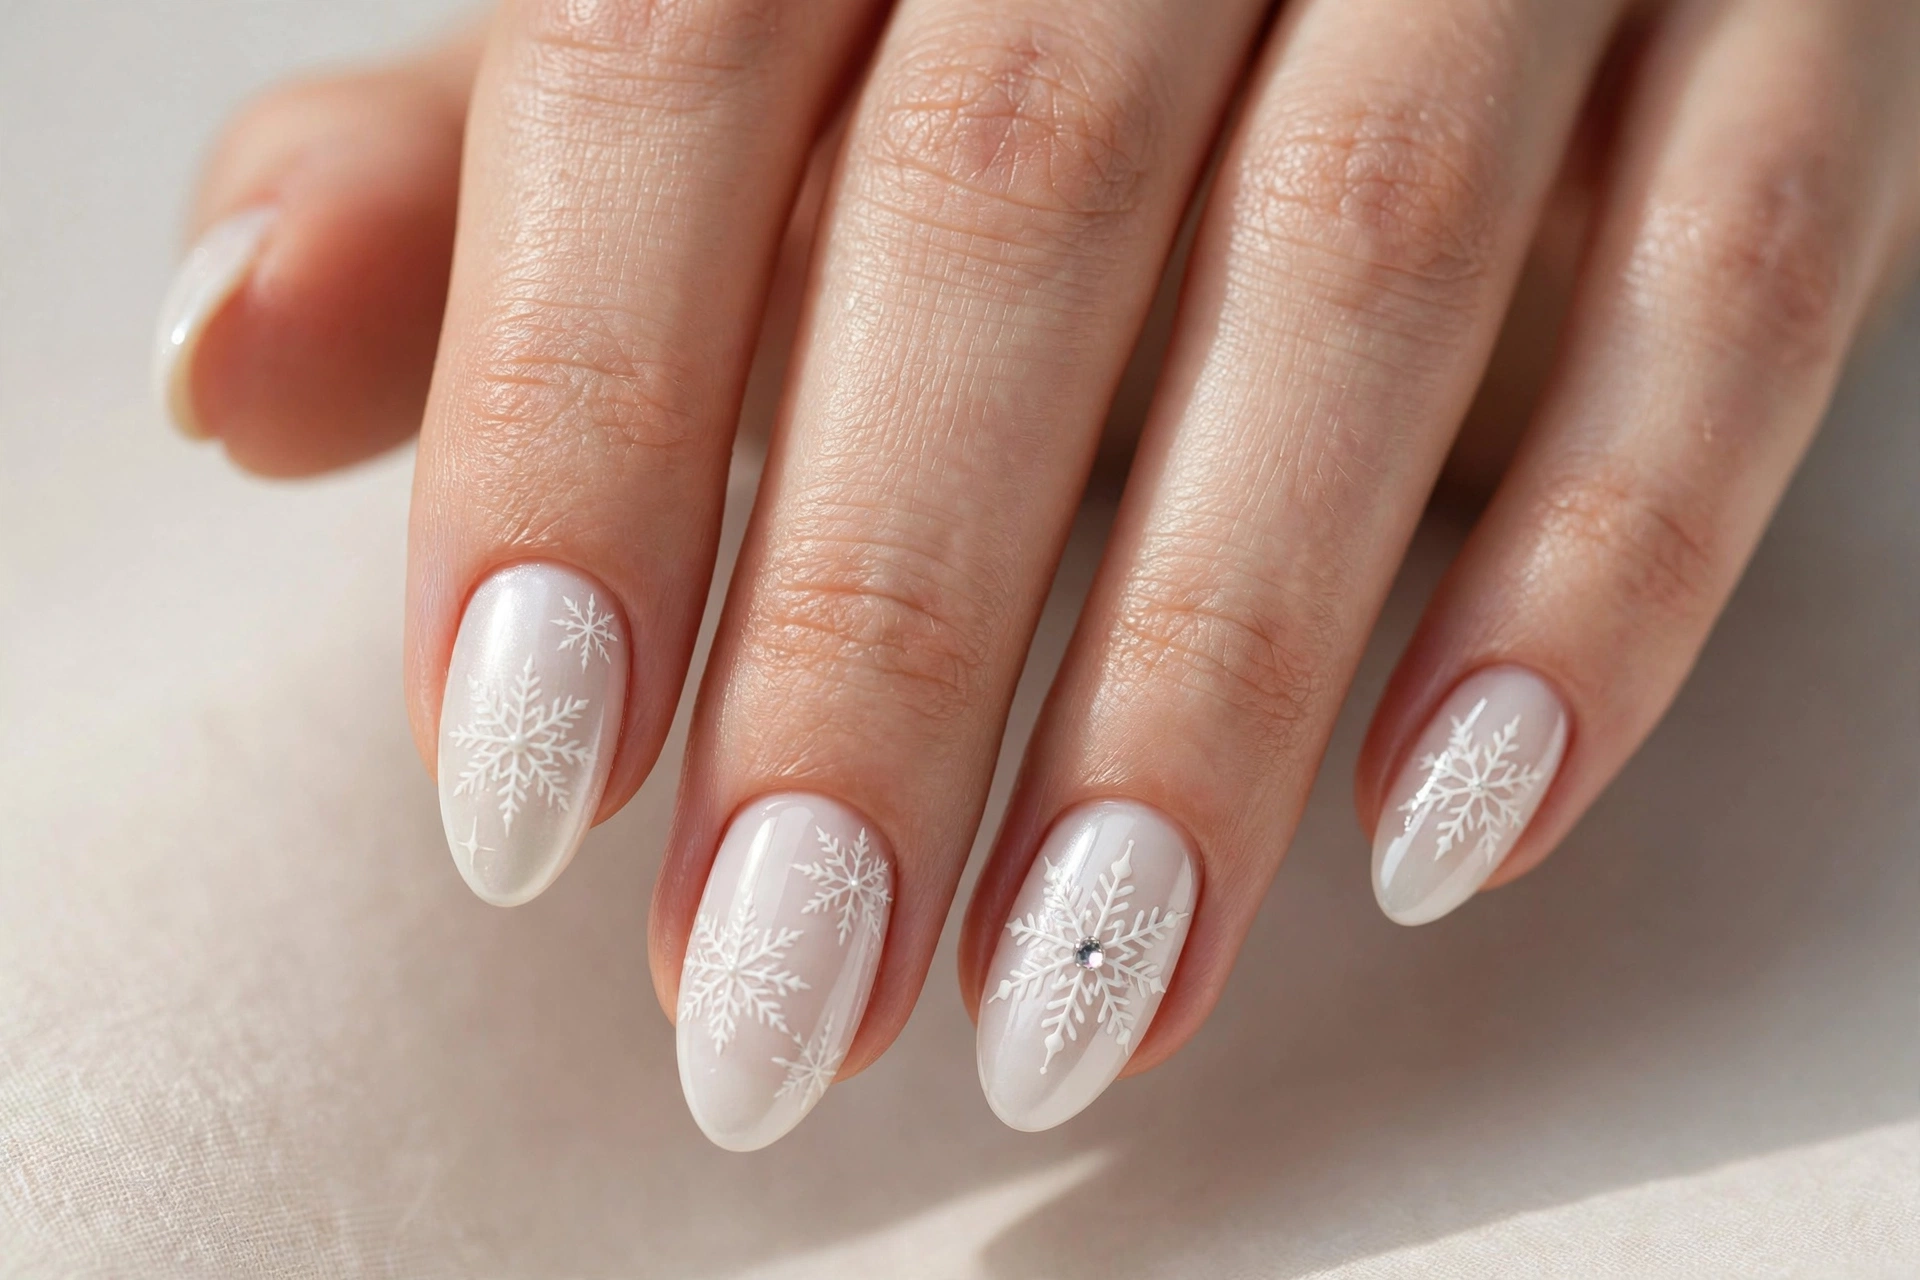
13. Glittery Ice-Blue Snowflake Accents
Some manicures are meant to be seen from across the room, and this is one of them. A full glitter ice-blue base with white snowflake art on the accent nails is maximum winter sparkle — think holiday party, office Secret Santa reveal, or any evening where the lights are low and your hands are on display. Fair warning: this much glitter commits you to a soak-off removal session.
Build the glitter base in thin layers rather than one thick glob — three thin coats of glitter polish give smoother coverage and dry faster. Draw the white flakes over the glitter once it’s fully dry; the texture underneath adds dimension to the white lines. Use a glitter-specific top coat or two regular coats to lock everything down, and when it’s time to remove, the foil-wrap method saves your nails from aggressive scraping.
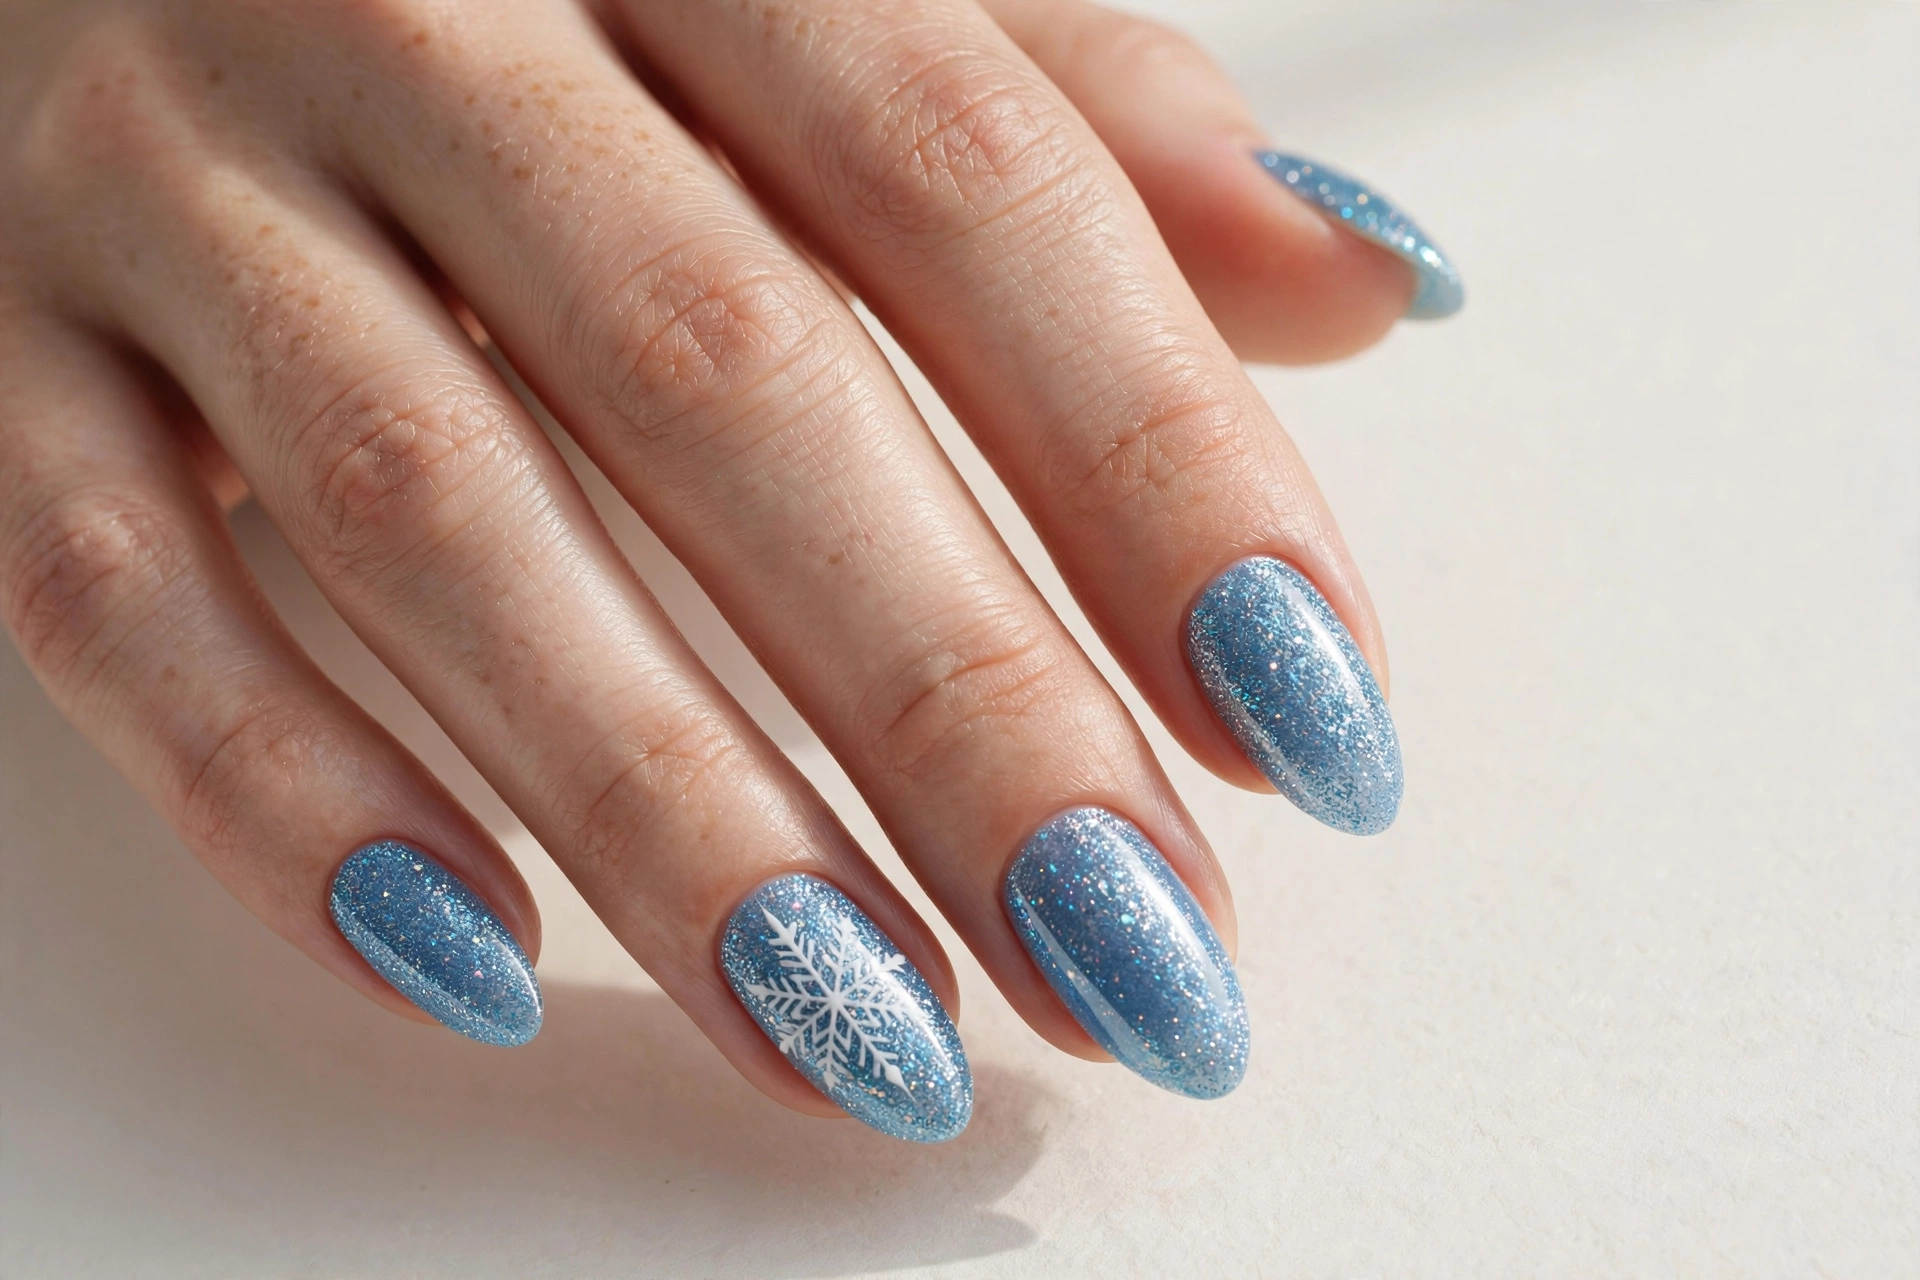
14. Frosted Lilac Snowflake Manicure
Lilac is winter’s softest statement — cooler than pink, warmer than blue, and unexpectedly gorgeous with white snowflakes. The frosted finish (achieved with a matte top coat) gives it a dreamy, almost watercolor quality. This design suits anyone who finds icy blue too cold but still wants a seasonal look, and it’s particularly flattering on cool and neutral undertones.
Paint two coats of a dusty lilac, add your white snowflakes, then finish with a matte top coat for that frosted effect. One tip: matte top coat shows every imperfection, so make sure your base color is perfectly smooth before you mattify. If you want just a hint of the effect, matte only the snowflake accent nails and leave the rest glossy — the contrast is striking.
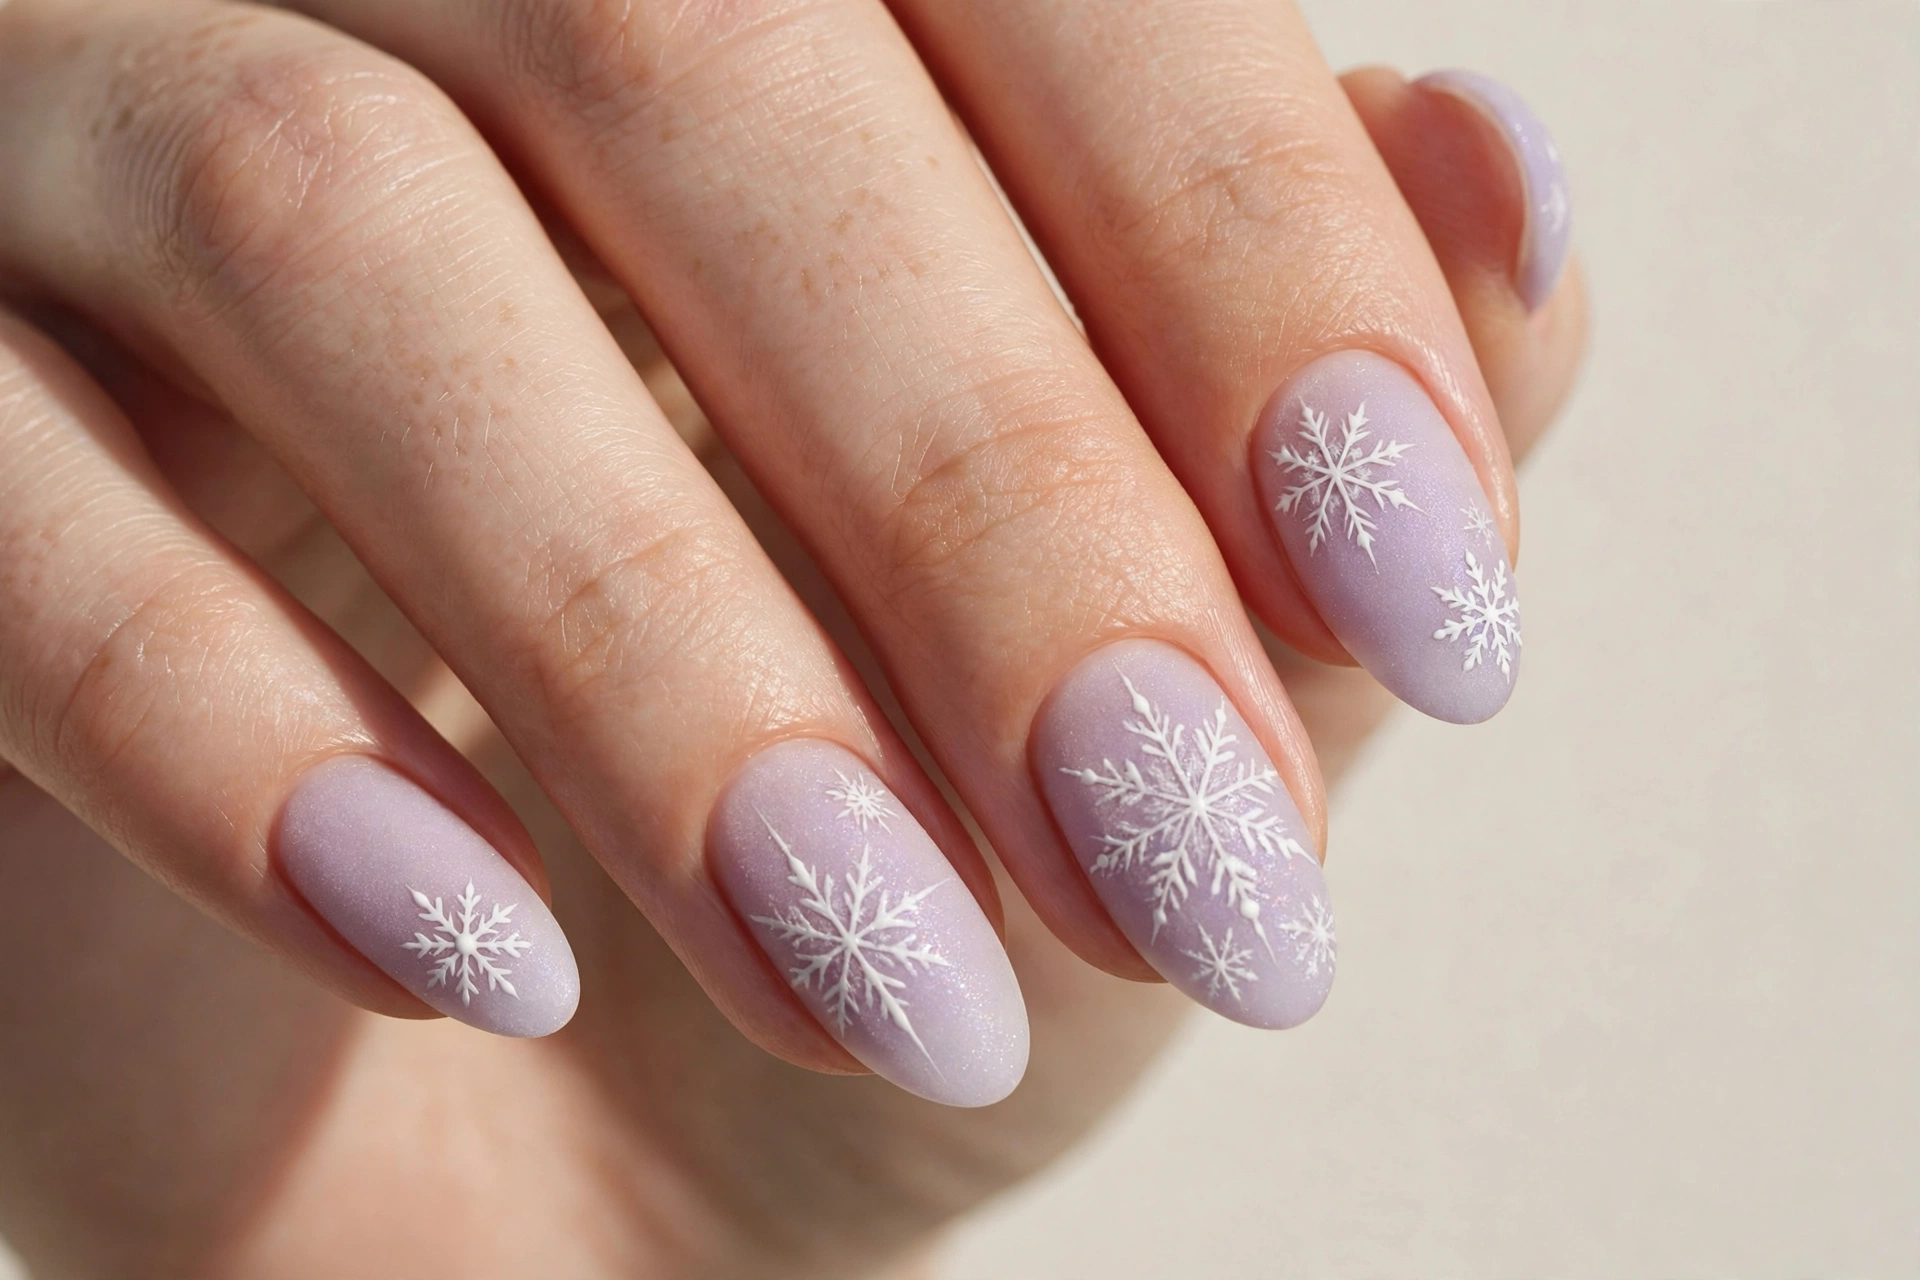
15. Midnight Blue Glitter Snowflakes
If navy (design #3) is winter elegance, midnight blue with silver glitter flakes is winter drama. The near-black blue base makes silver snowflakes glow like constellations, and the overall effect is moody, luxurious, and perfect for evening events. This design looks phenomenal on long almond or stiletto nails where the dark color elongates the fingers.
Dark polishes show every ridge, so start with a ridge-filling base coat. Apply the midnight blue in two to three thin coats for full, even opacity. Draw the flakes in silver glitter polish rather than plain silver — the texture catches light and keeps the design from looking flat against the dark base. A glossy top coat is non-negotiable here; matte would swallow all the drama.
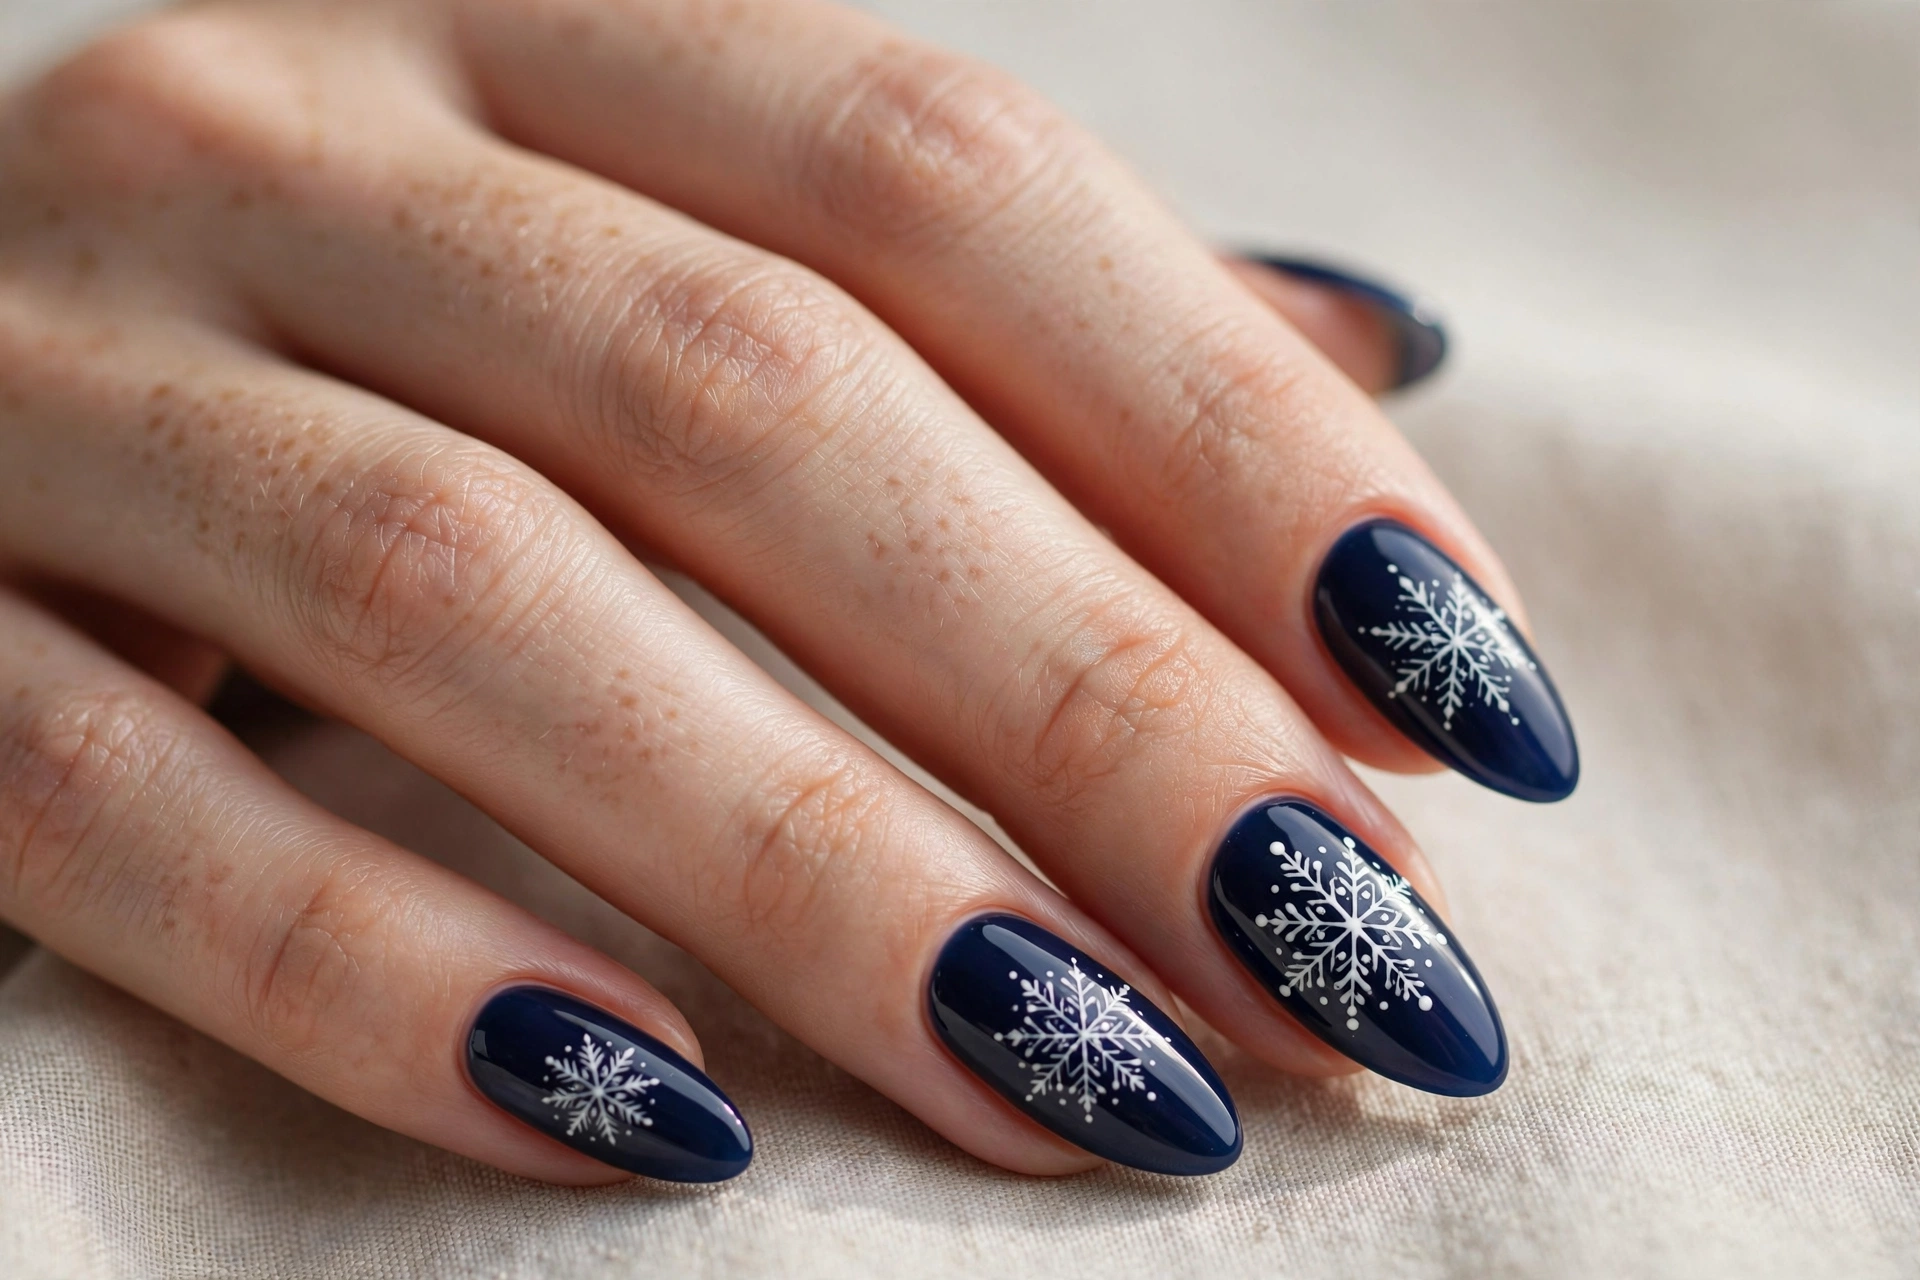
16. Pearl White Snowflakes With Rhinestone Centers
A single rhinestone at the center of each snowflake turns simple nail art into jewelry. The pearl white base keeps it soft and bridal, while the crystal centers catch the light with every gesture. This is the design to choose for winter weddings — yours or someone else’s — holiday galas, or any occasion where your manicure needs to hold its own next to real jewelry.
Paint the pearl white base and add your snowflakes, then place one small rhinestone at the center of each flake using a wax pencil or damp dotting tool for precision. The rhinestones will not stay put with top coat alone — use a drop of nail glue under each one, then carefully float top coat around (not over) the stones so they keep their facets. Carry one spare stone and a dot of glue in your bag for emergency repairs.
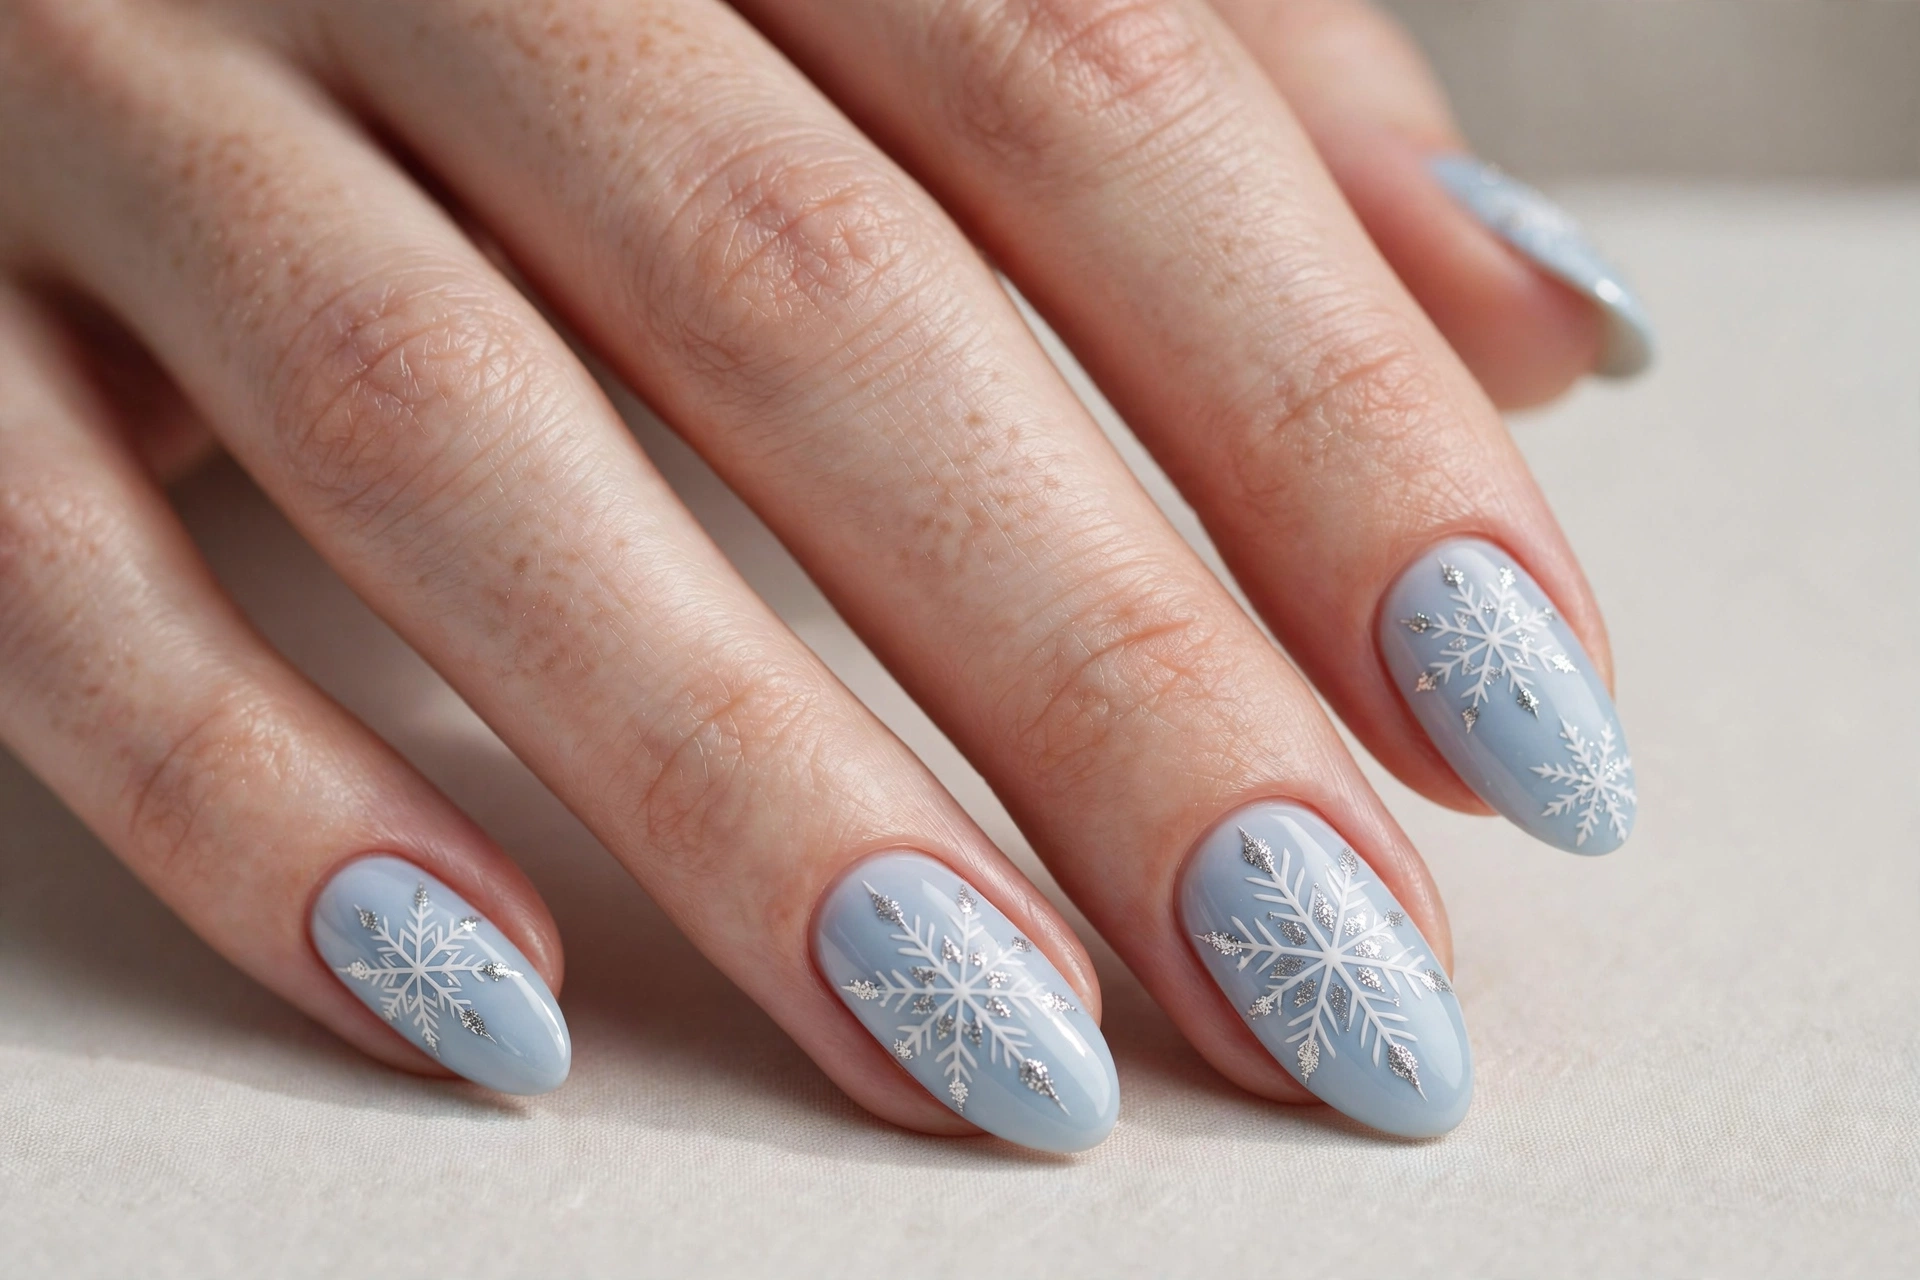
17. Pale Blue Snowflakes With Silver Tips
This design layers two trends at once: a pale blue base with white snowflakes, finished with metallic silver tips. The silver tips frame the nail and make the whole manicure look sharper and more “done,” almost like a winter version of a French manicure with art. It suits square and squoval shapes especially well, since the straight tip line plays nicely with the flake details.
Do the snowflake art first on the pale blue base and let it dry completely. Then paint the silver tip freehand with a flat brush, or use French tip guides for a crisp line. The order matters — painting tips over dry art is far easier than drawing flakes under a wet metallic edge. One coat of top coat blends the layers into a single smooth surface.
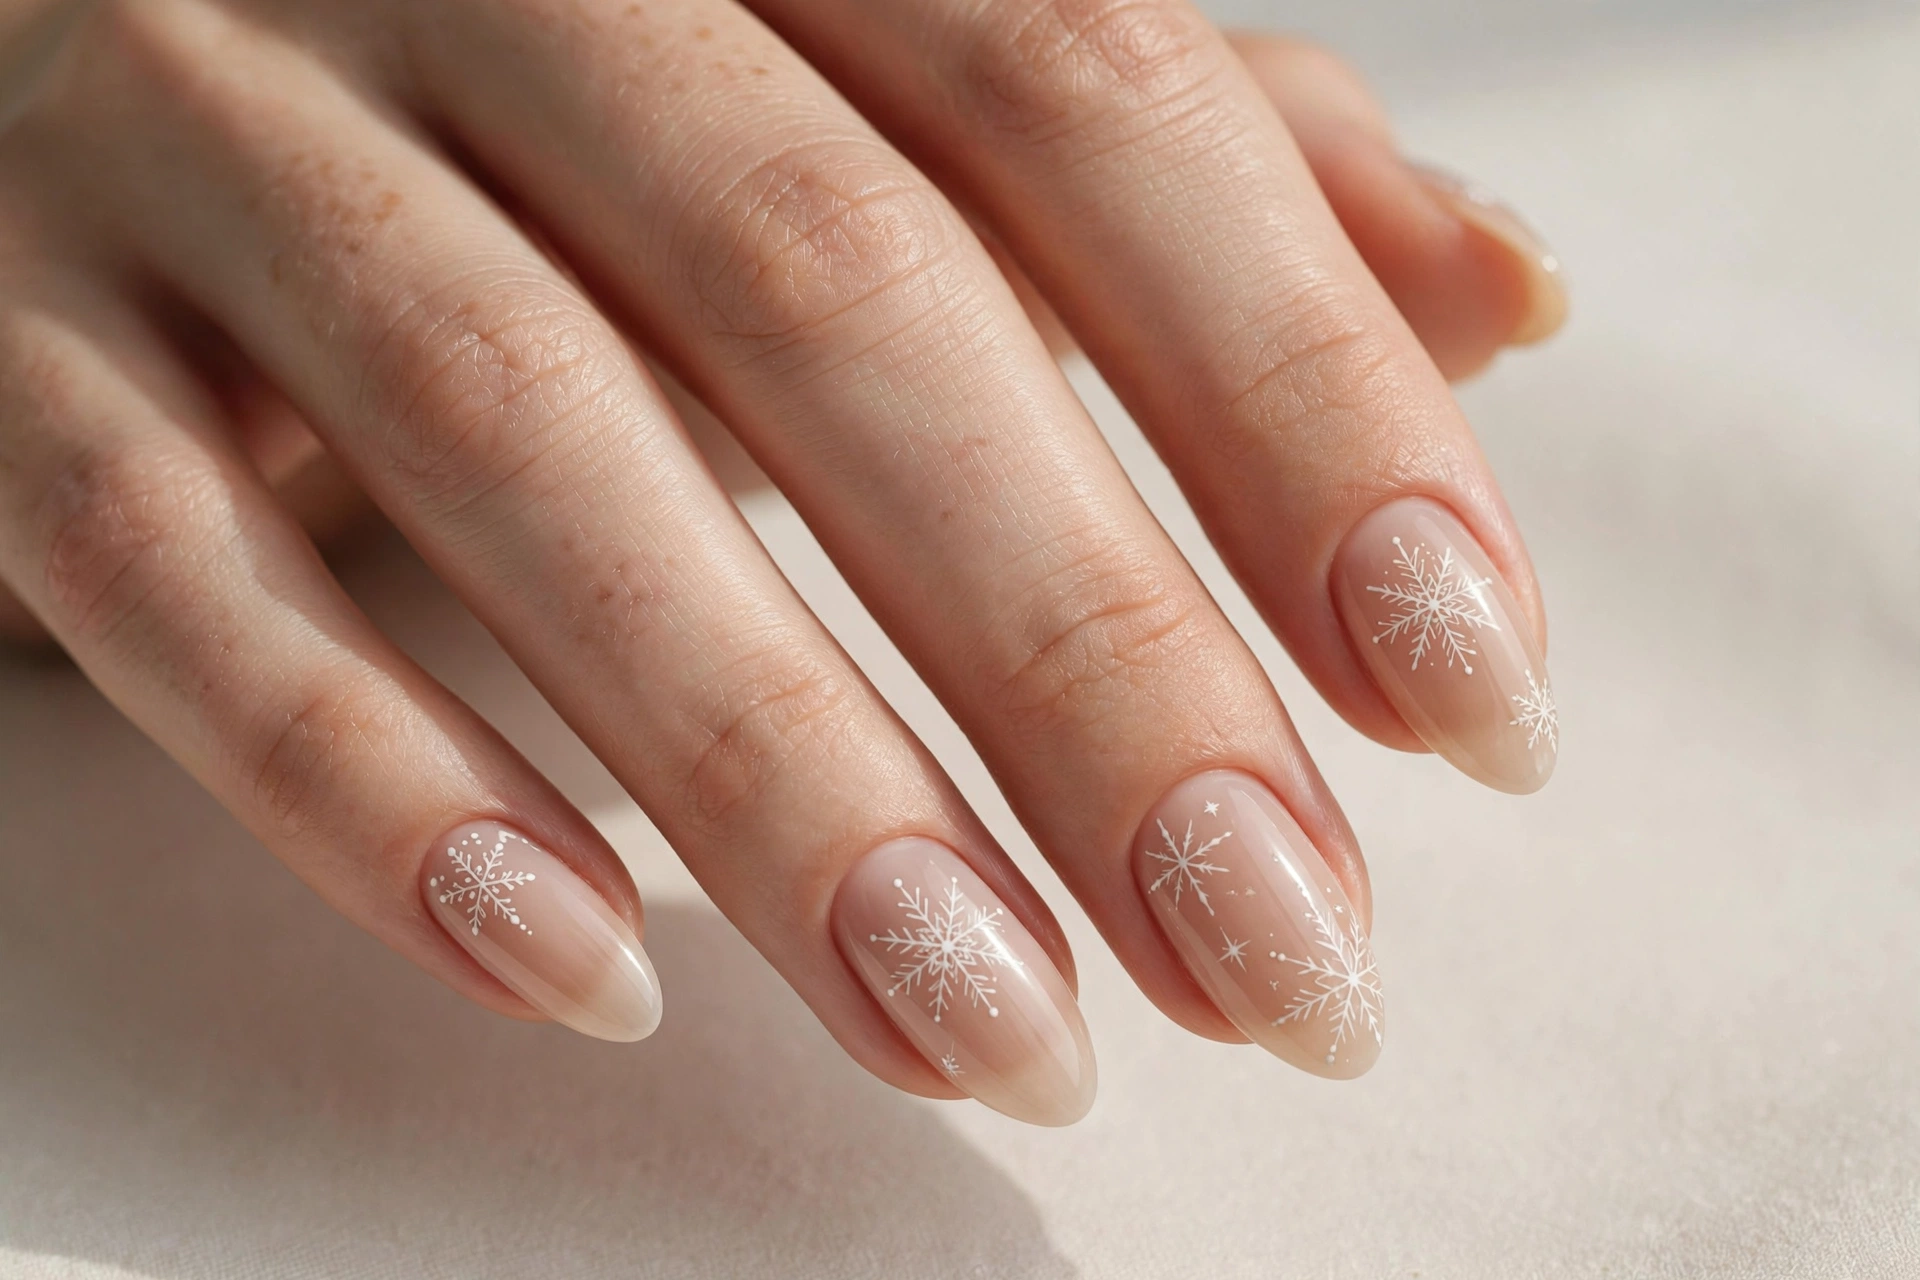
18. Sheer Nude Snowflake Line Art
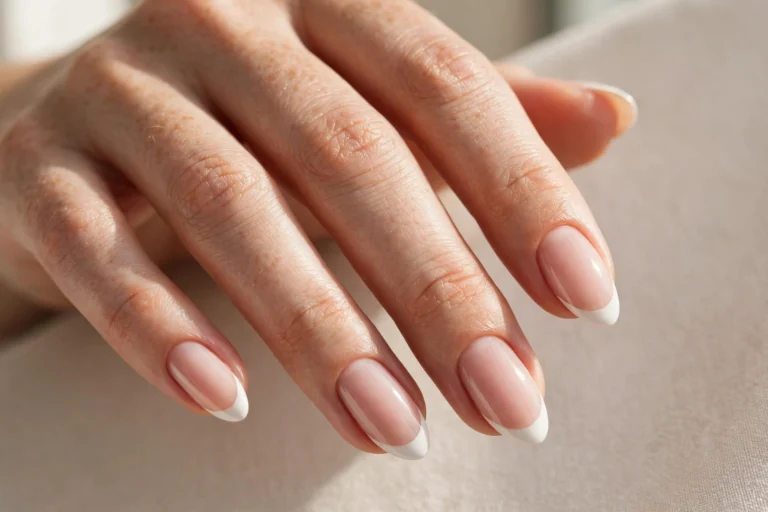
The quietest design on this list is also one of the chicest: delicate white snowflake outlines drawn on a sheer nude base, like frost etched on glass. There’s no fill, no glitter, no color — just fine white lines. It’s the snowflake look for people who love the idea but live in neutrals, and it works beautifully on short nails and in conservative workplaces.
Sheer nude is unforgiving of uneven application, so apply it in thin, even coats and don’t chase perfection — slight translucency is the point. Draw the flakes with the finest brush you own or a white nail art pen, keeping the lines thin and the flakes small (two or three per nail maximum). Because the design is so delicate, a good top coat is essential to keep the fine lines from wearing off at the tips.
How to Make Your Snowflake Nails Last Through Winter
Winter is brutal on manicures. Cold air, indoor heating, and constant hand-washing dry out both polish and cuticles, which is why winter nail art chips faster than summer sets. The fix starts before you ever open a polish bottle: push back cuticles gently, lightly buff the nail plate, and always use a base coat — it gives the color something to grip and prevents the blue and navy shades from staining your nails.
Cap the free edge with every coat, including top coat — that thin sealed edge is what stands between your manicure and the zipper that will chip it. Reapply top coat every two to three days; it takes ninety seconds and can easily double the life of your design. Keep cuticle oil by the sink and use it after every hand wash, since dry cuticles lift polish from the edges inward.
If you’re building a DIY kit for designs like these, a nail art brush and dotting tool set covers nearly every technique on this list, from fine snowflake lines to stamped accents. One affordable set replaces a drawer full of improvised toothpicks and bobby pins.
For gel or salon sets, ask for a structured manicure or builder gel base — the added strength prevents the winter breakage that ruins good nail art. And when it’s time for a change, soak off glitter and dark colors with the foil method rather than peeling; peeling takes layers of your natural nail with it, and thin nails won’t hold your next snowflake design nearly as well.
Final Thoughts
Snowflake nail designs earn their place as a winter staple because they do something few seasonal trends manage: they feel festive without feeling costume-y, and they stay wearable for months, not weeks. Whether you go bold with midnight blue glitter or keep it whisper-quiet with sheer nude line art, the flake itself does the heavy lifting — simple lines, endless variation.
Start with the design that matches your skill level, not the one that photographs best. A well-executed simple snowflake always looks better than an ambitious design done in a rush. And once you’ve mastered the basic six-armed flake, every design on this list is just a variation away. Happy painting — winter looks good on you.