15 Easy Christmas Nail Designs for a Stress-Free Holiday
Christmas nail art has a reputation for being complicated — tiny reindeer, hand-painted winter scenes, glitter on every single nail. But here is the truth most nail techs will tell you: the prettiest holiday manicures are usually the simplest ones. These 15 easy Christmas nail designs prove you do not need salon skills, expensive tools, or a free afternoon to get festive nails. Every look below uses basic techniques — dots, stripes, stickers, and one-color polish — that anyone can do at the kitchen table in twenty minutes or less. If you keep your nails on the shorter side, our roundup of short nail ideas pairs perfectly with this list, since nearly every design here looks great on short lengths.
You also do not need a drawer full of supplies. Most of these designs need only a base coat, two or three polish colors, a top coat, and one simple tool — a toothpick, a bobby pin, or a dotting tool you can buy for a couple of dollars. That is the whole point of easy Christmas nails: doing less and still looking like you tried. Pick one design, give yourself twenty minutes, and your nails are ready for every party, photo, and present-wrapping session December throws at you.
Why Easy Christmas Nail Designs Always Win
December is the busiest month of the year, and your manicure should not add stress to it. Elaborate nail art takes hours, chips faster, and grows out awkwardly — right in the middle of the season you want to look polished. Simple designs solve all of that. One accent nail, a few dots, or a single stripe takes minutes, lasts longer, and still reads as festive the second someone sees red, green, or gold on your nails.
Simple also forgives mistakes. A slightly wobbly stripe or an uneven dot looks charming on a homemade manicure, while the same flaw would ruin a detailed painted scene. That is why the keep-it-simple approach works for real life — and it is the same thinking behind our fall nail designs roundup, which leans into wearable seasonal looks that do not demand professional skills either.
1. Single Red Accent Nail
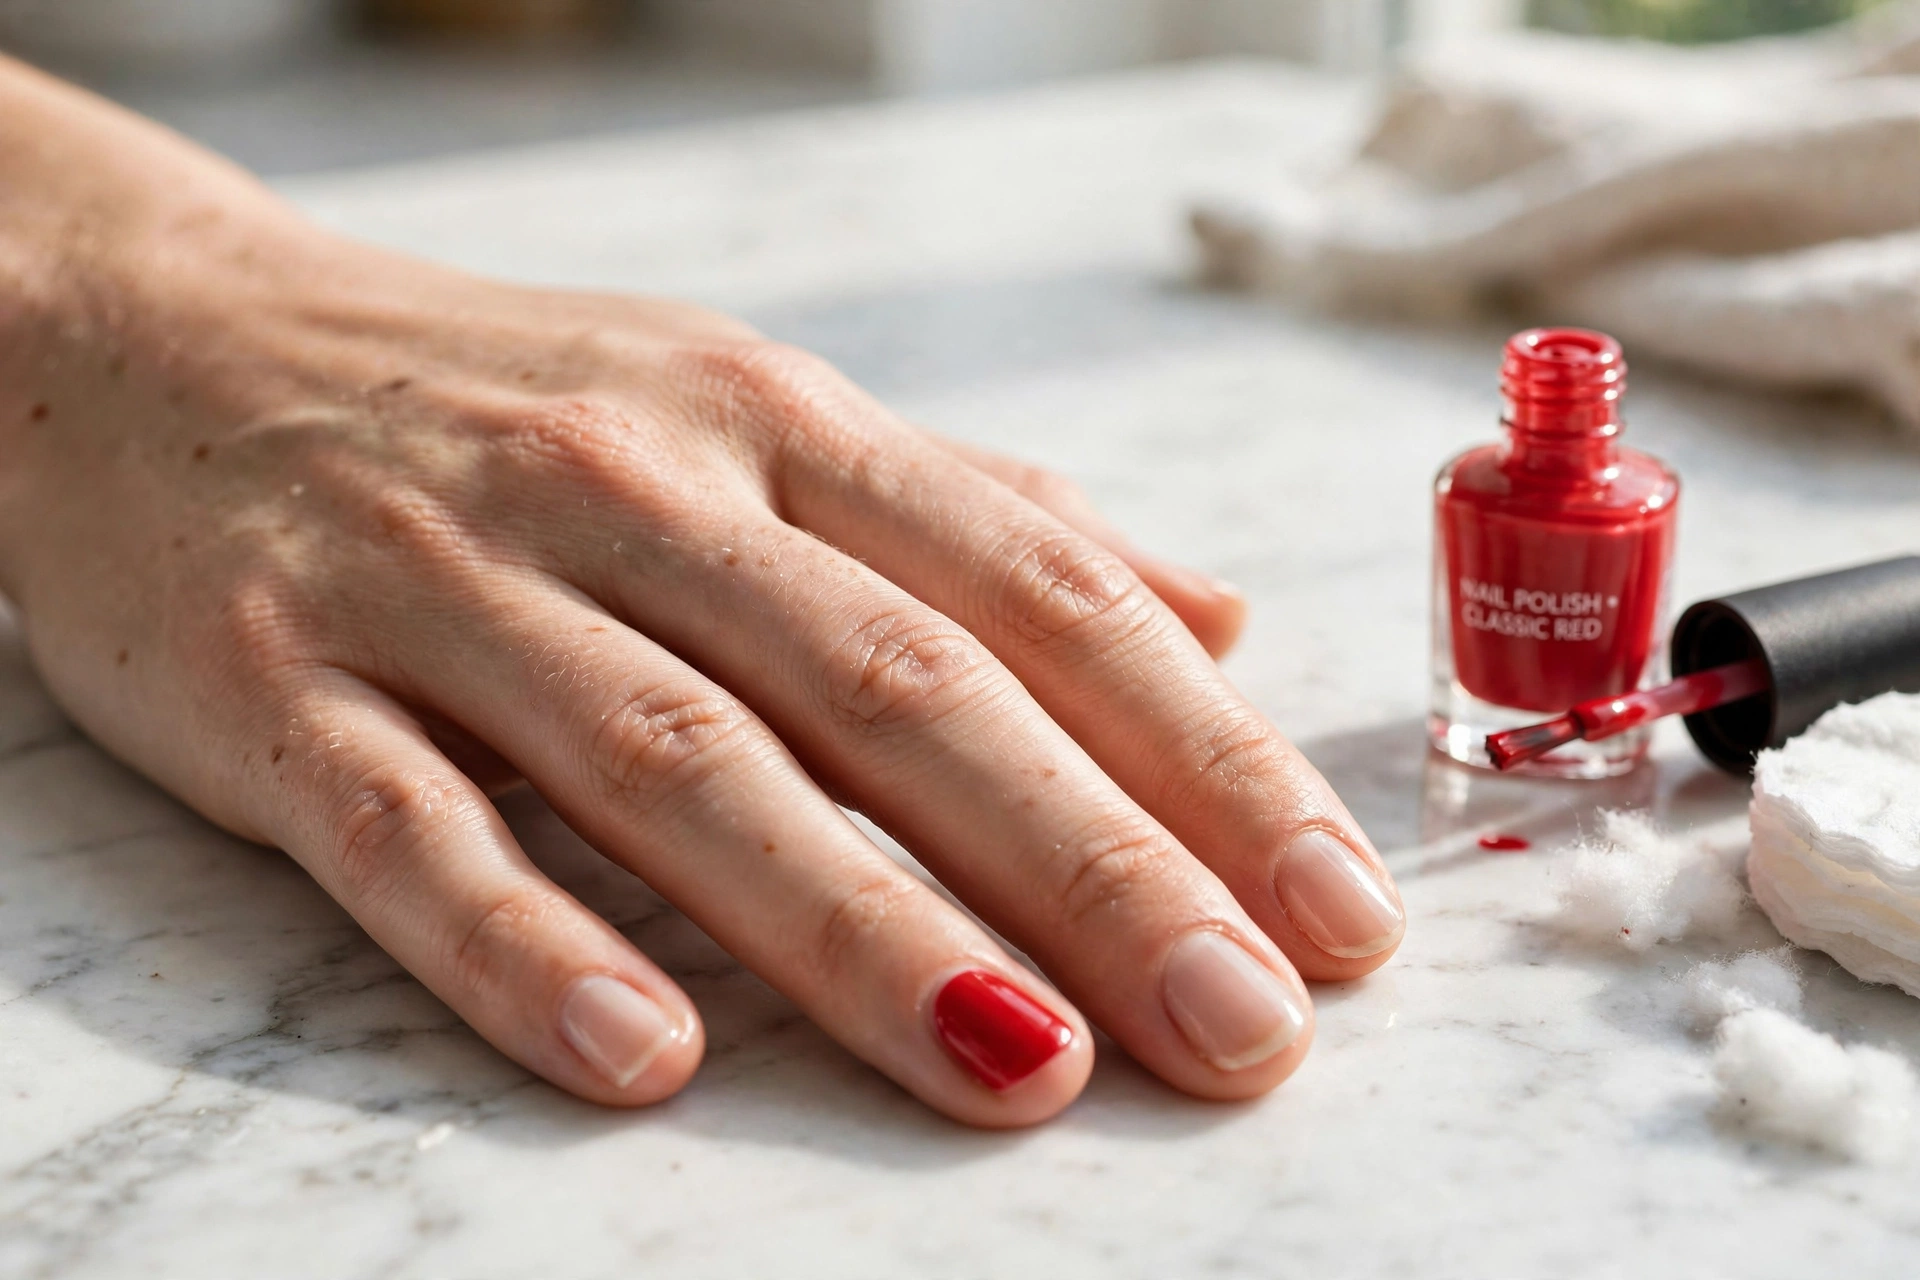
Paint every nail a sheer nude and make just one — usually the ring finger — a glossy true red. That is the entire design, and it works because the contrast does all the talking. The nude keeps it understated and office-friendly while the single red nail says Christmas without shouting. It is the easiest entry point on this list: if you can paint your nails at all, you can do this.
It suits absolutely everyone, which is why it is the perfect starting point if you have never tried nail art. Short nails look especially clean with this design, and it works in any setting from the office to a holiday dinner. At home, paint all nails with two coats of nude, then paint the accent nail with two coats of red — no tools needed. If you want more ways to wear this shade, our collection of red nail ideas has plenty of inspiration. Finish with a glossy top coat and you are done in fifteen minutes.
2. Gold Dot Tips
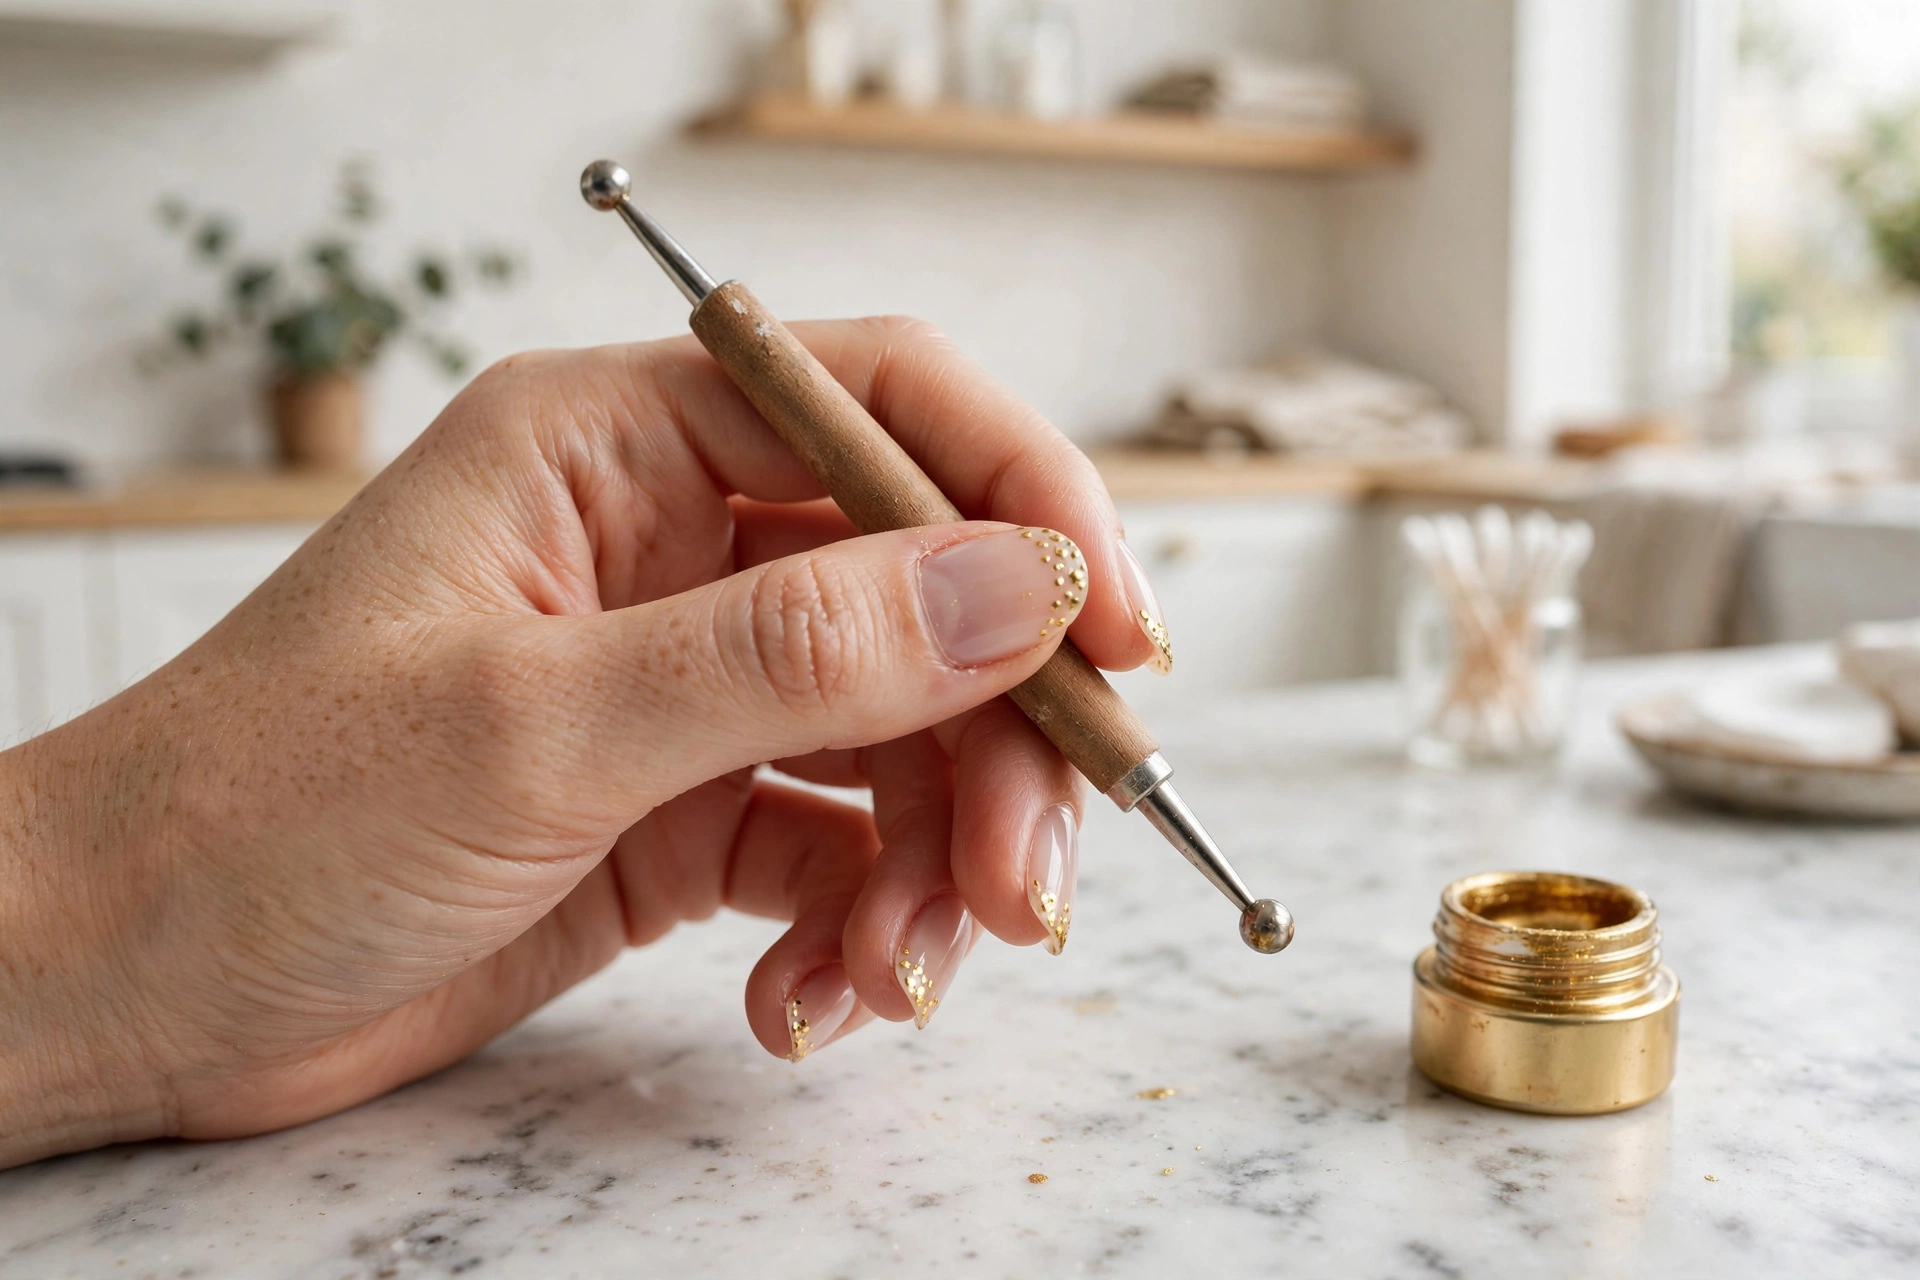
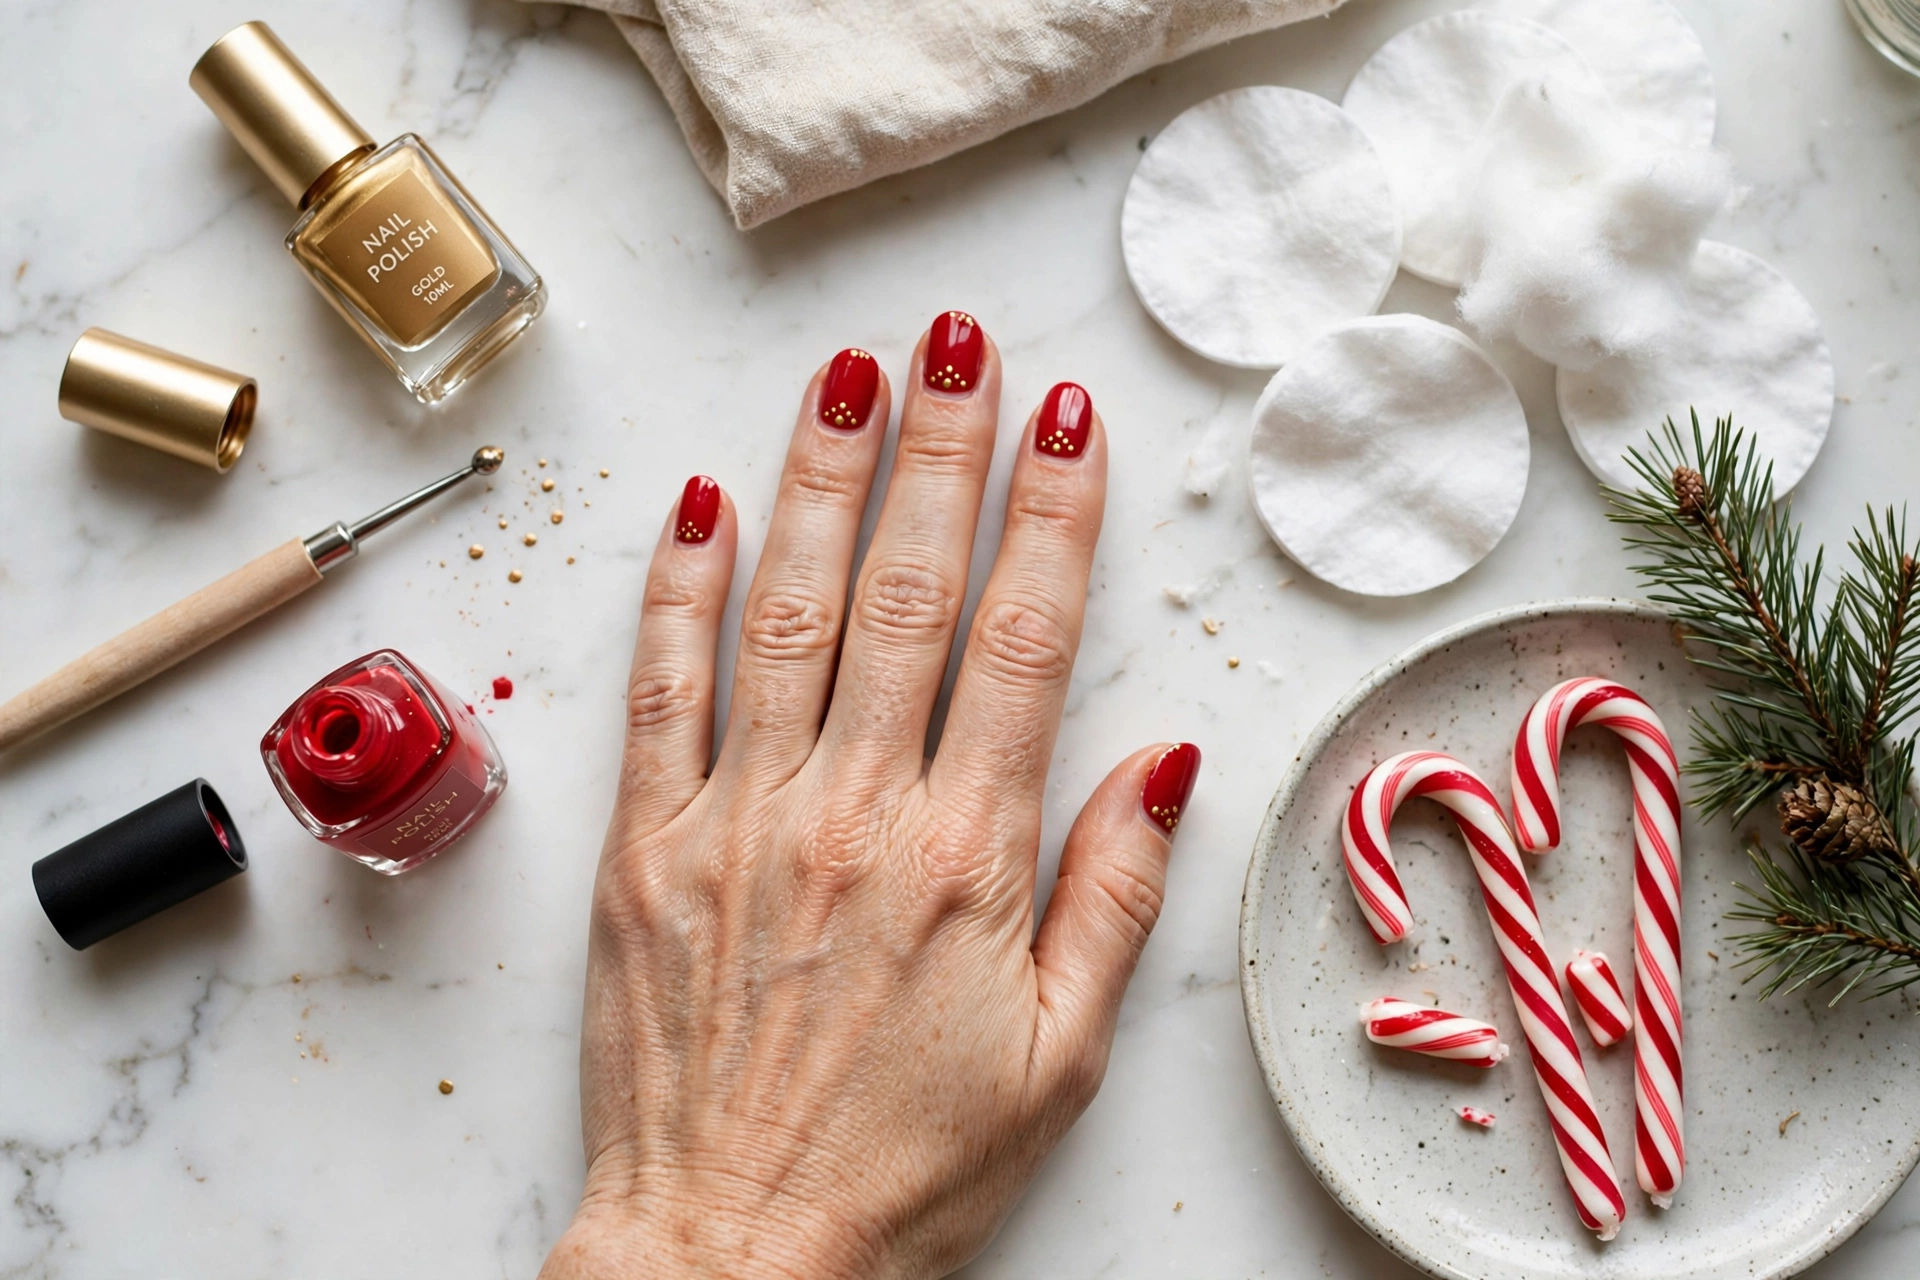
A sheer nude base with tiny gold dots clustered along the tips is Christmas sparkle without any of the glitter-mess. The dots catch the light like tiny ornaments, and because they sit only at the tips, the design grows out gracefully — no harsh regrowth line. It looks delicate and expensive, but all you need is a dotting tool or the rounded end of a bobby pin.
This suits anyone who wants festive nails that still look refined. The gold flatters every skin tone and the nude base makes fingers look longer. To do it at home, paint two coats of sheer nude, let it dry completely, then dip your dotting tool in gold polish and press small dots along each tip — three to five dots per nail is plenty. Vary the dot sizes slightly for a hand-done look. Seal with top coat and the dots stay put for a week.
3. Candy Cane Stripes
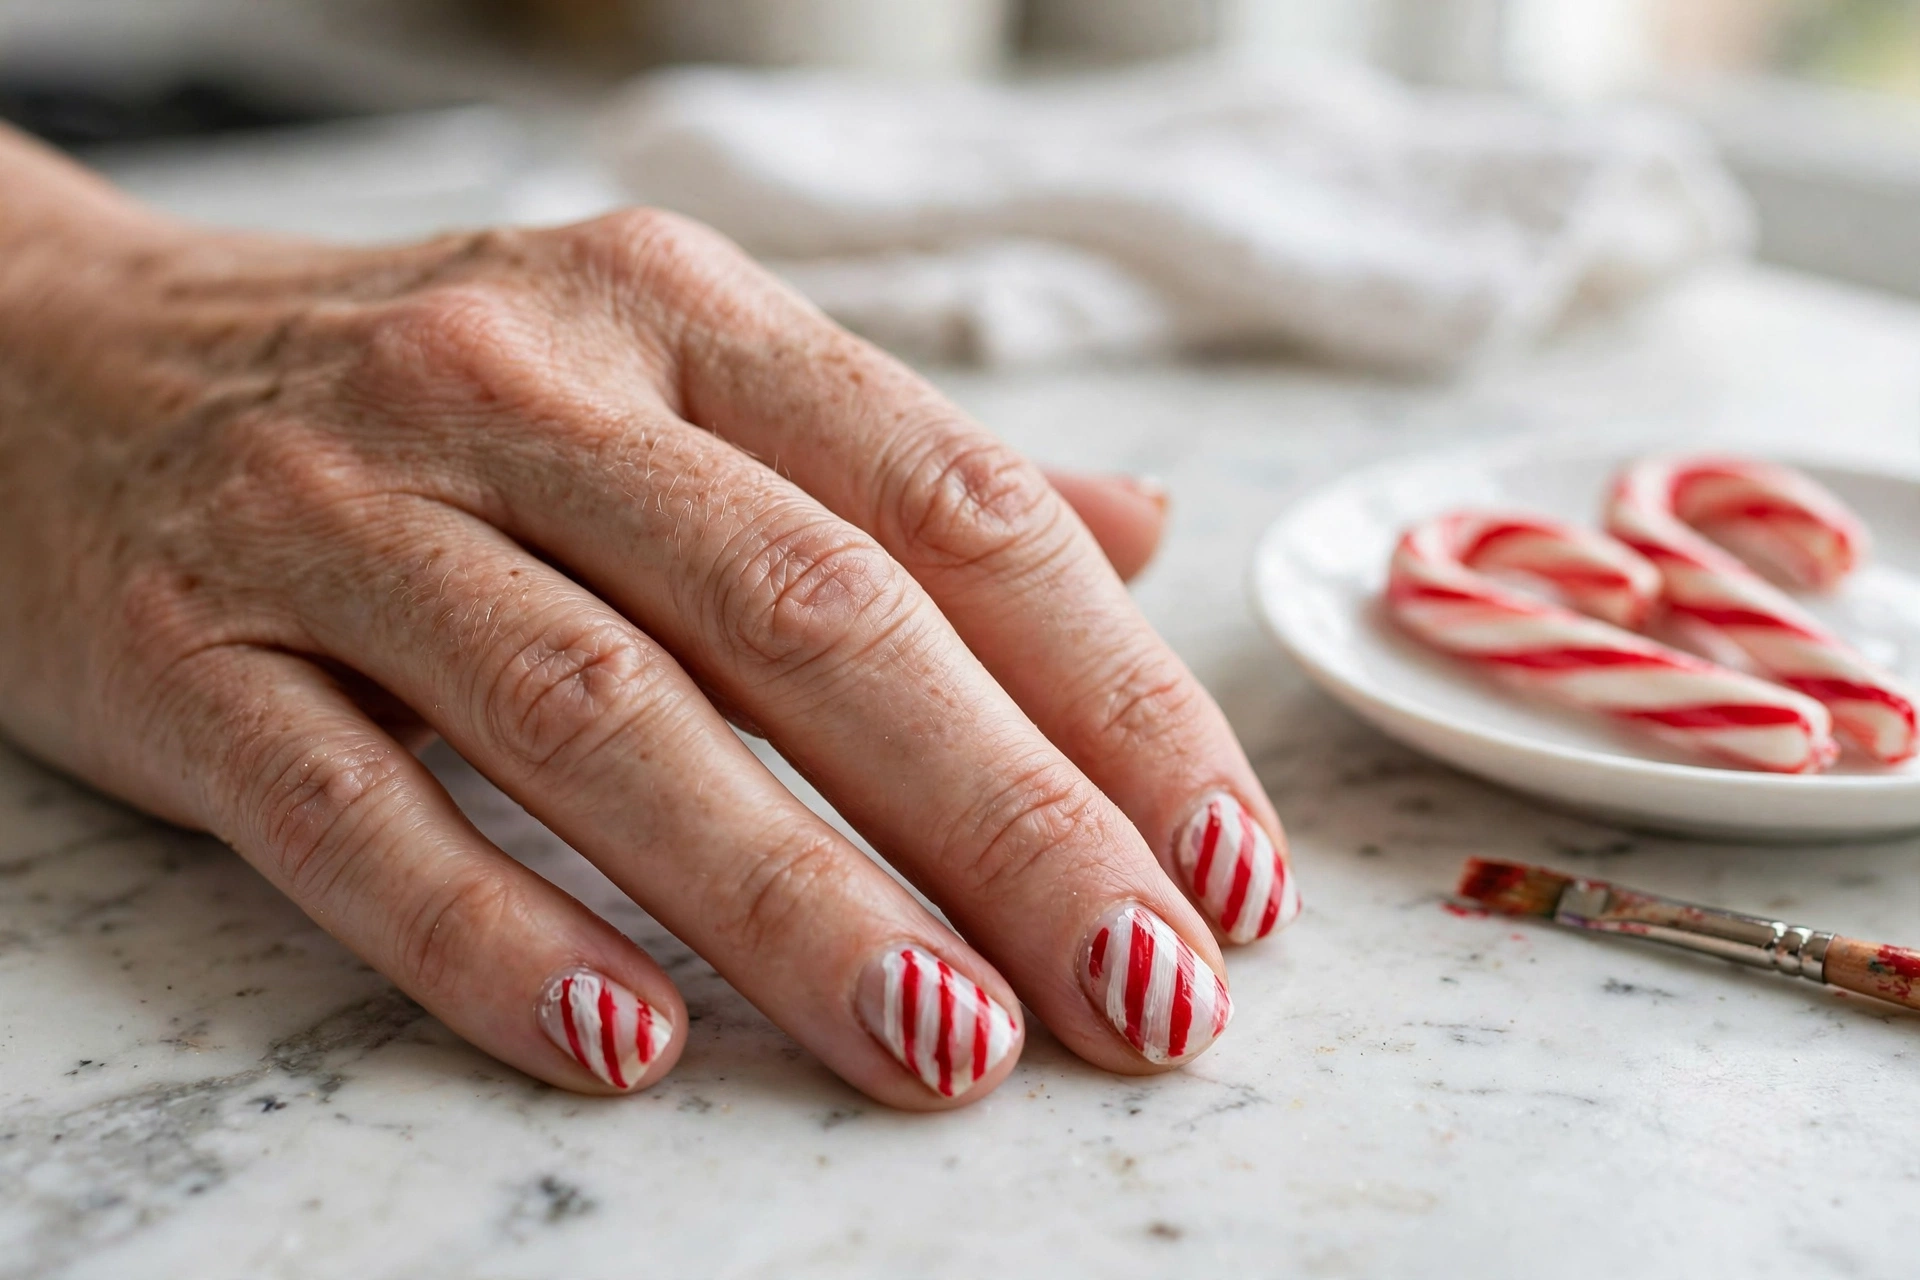
Red and white diagonal stripes are the most recognizable Christmas nail design there is, and they are far easier than they look. The stripes do not need to be perfect — slightly uneven lines actually look more like real candy canes. This design is pure holiday cheer, and it gets compliments from people who never notice nails.
It suits anyone with a playful streak and works on every nail length. The easiest method uses striping tape: paint nails white, lay thin strips of tape diagonally, paint red over the top, and peel the tape while the polish is still slightly tacky. No tape? A thin nail art brush works too — paint the white base, then drag red diagonal lines across. Two coats of glossy top coat smooth everything out and make the stripes look crisp.
4. Tiny Dot Christmas Trees
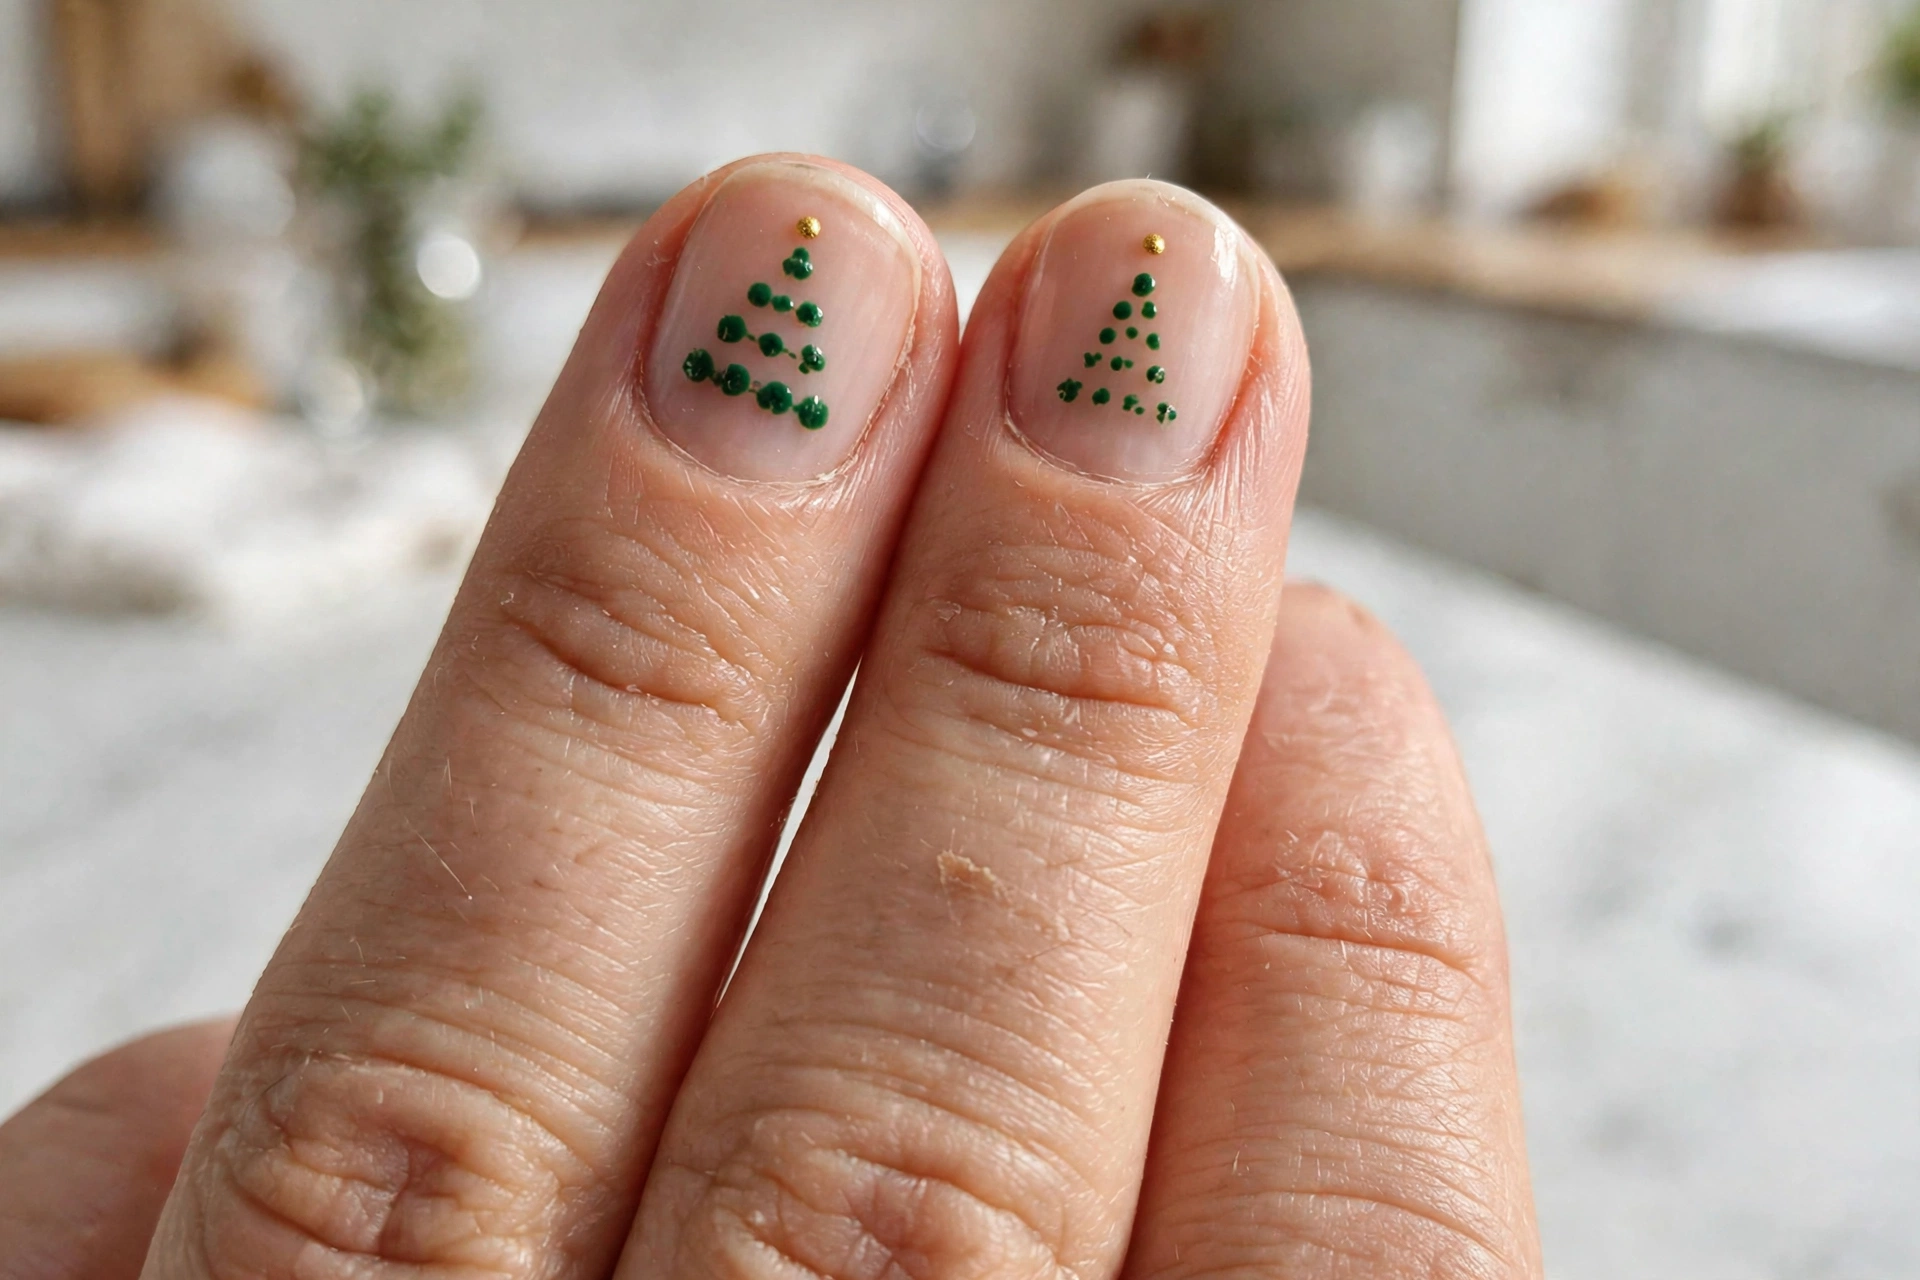
A Christmas tree made entirely of dots sounds too simple to work, but it does. Start with one small green dot near the cuticle, then add wider rows of dots below it until you have a triangle — instant tree. A tiny gold dot on top is the star. Done on a nude base with one tree per nail, it looks sweet and handmade in the best way.
This suits anyone who wants actual nail art without any drawing skill. The dot method means every tree comes out slightly different, which is part of the charm. At home, use a dotting tool with green polish: one dot, then two, then three, then four, each row slightly wider. Add the gold star dot last. Keep the trees small and centered — less is more here. It is a great design to do with kids, too, since there is no wrong way to place a dot.
5. Dotting-Tool Snowflakes
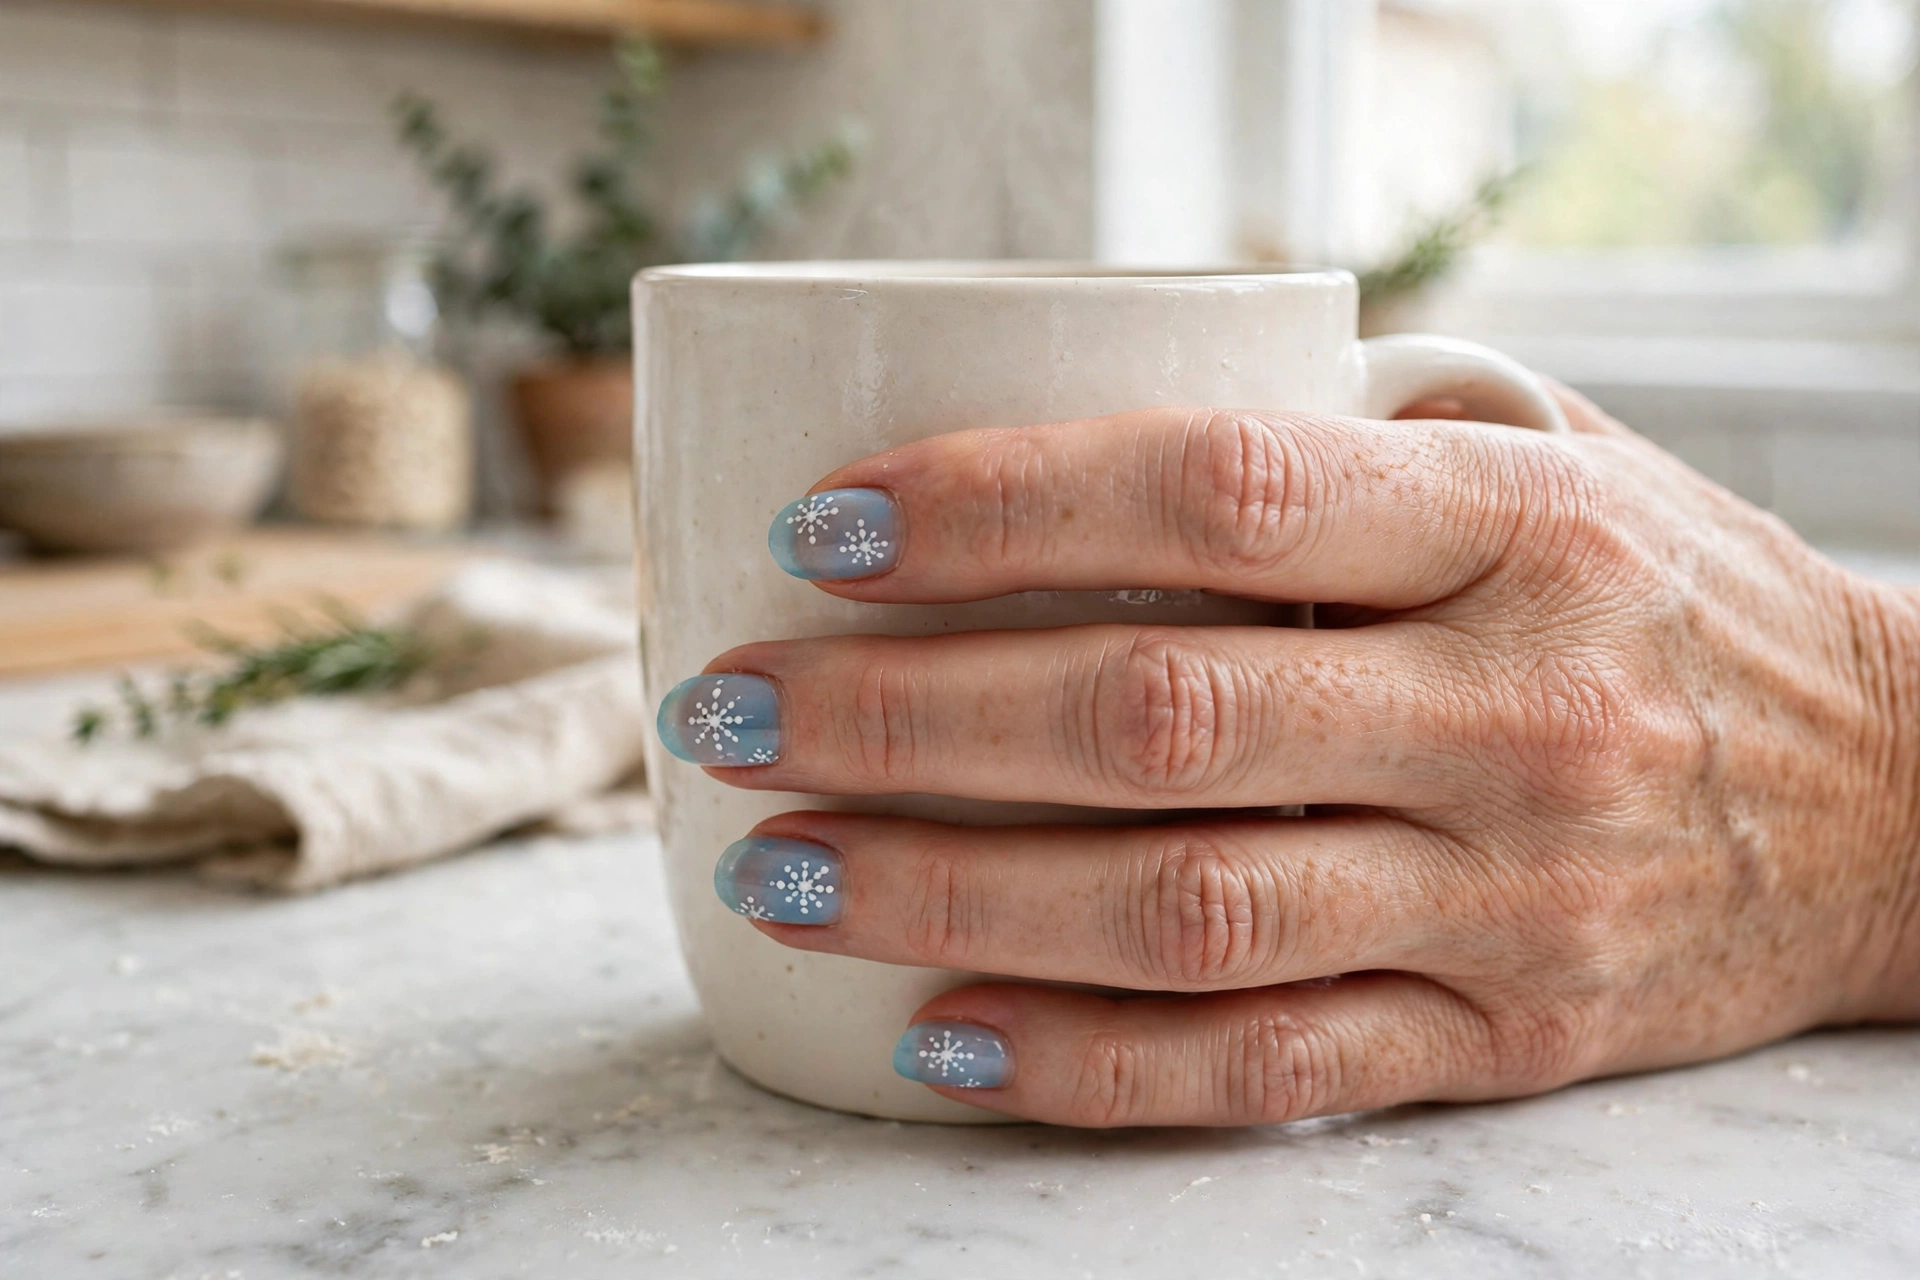
Snowflakes sound hard until you learn the dot trick: one center dot, six dots around it, and tiny lines connecting them — that is a snowflake. On a sheer icy-blue base, white dot snowflakes look like real frost, delicate and pretty. Each flake takes about thirty seconds once you get the rhythm.
This suits people who want winter nail art that is not tied to one specific holiday — snowflakes work from December through February. It looks best on short to medium nails where one flake per nail has room to breathe. At home, paint the blue base first and let it dry fully, then use a small dotting tool with white polish. Do not aim for perfect symmetry; real snowflakes are irregular too. One flake per nail is plenty — leave some nails plain blue for balance.
6. Green French Tips
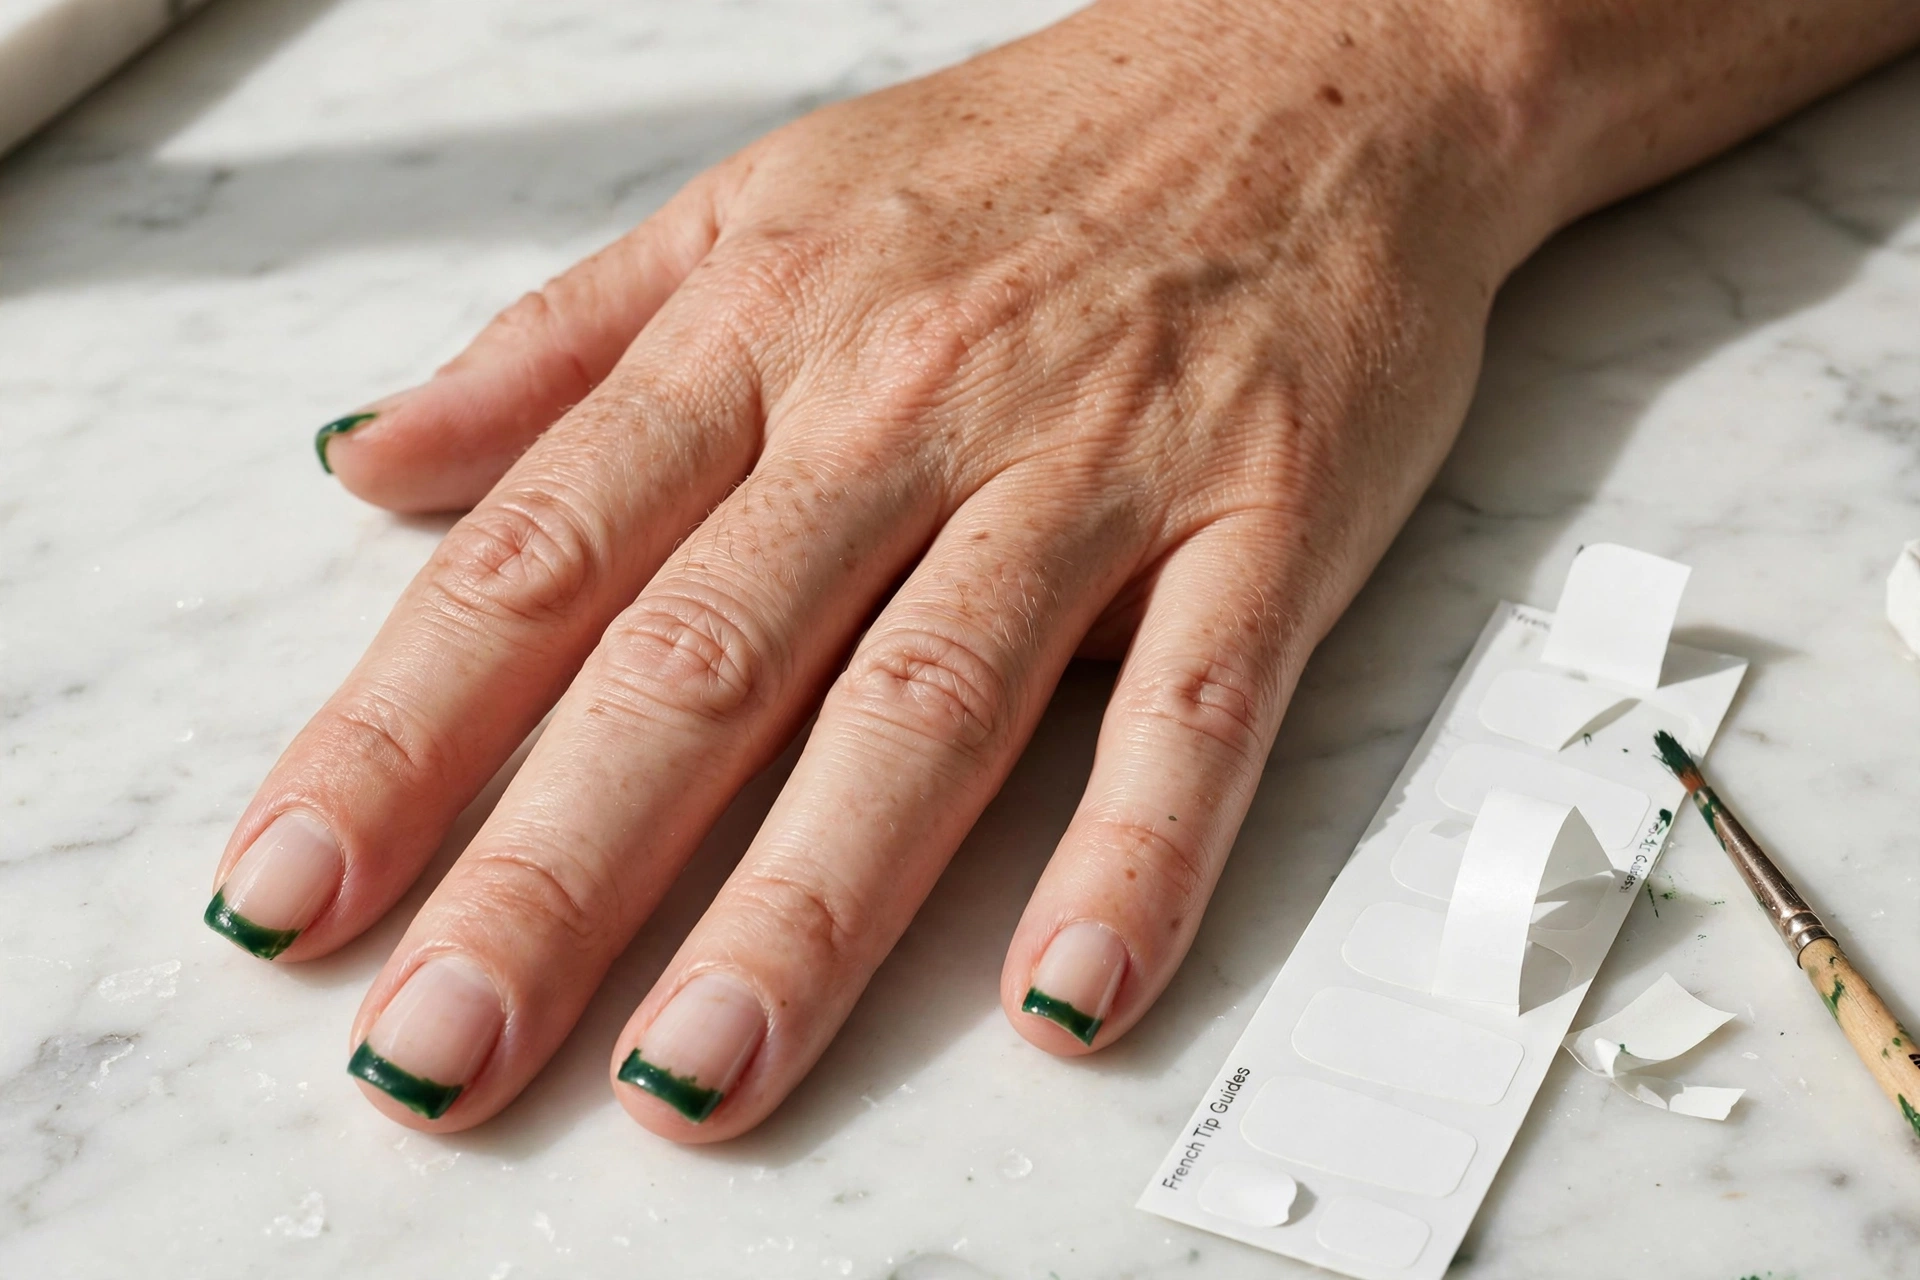
Take the classic French manicure and swap the white tip for deep Christmas green. Everything you like about a French — clean, neat, elongating — stays intact, but the green tip makes it instantly festive. It is the most office-friendly design on this list while still clearly saying December.
This suits French-manicure lovers who want a holiday version without committing to full nail art. It is especially flattering on short nails, where a colored tip adds interest without overwhelming. The foolproof method uses French tip guide stickers: paint the nude base, stick the guides on, paint the tips green, and peel the guides while the polish is still slightly tacky. A glossy top coat blends the tip line and makes it look professionally done.
7. Striping-Tape Plaid
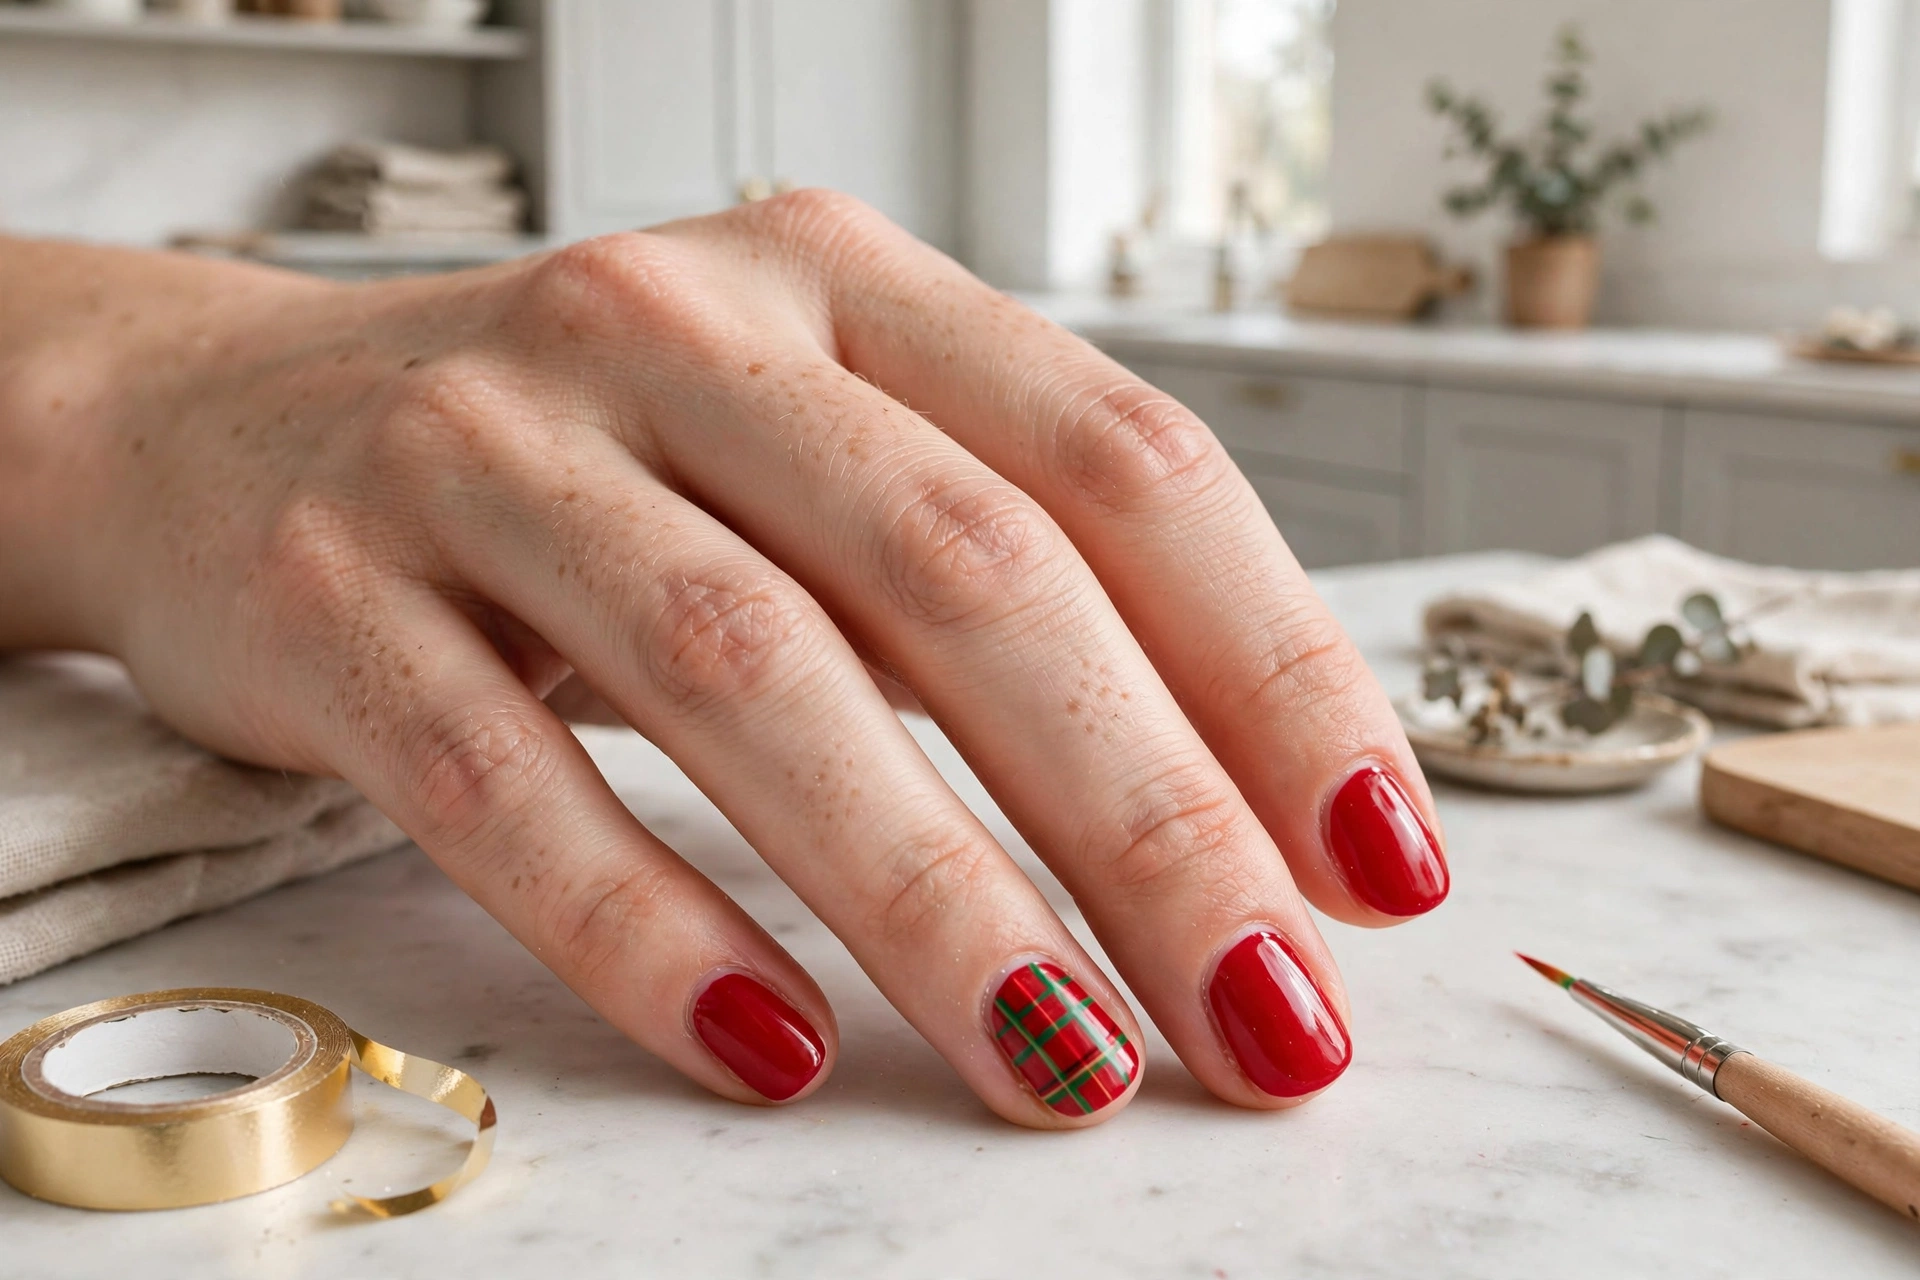
Plaid sounds advanced, but with striping tape it is just straight lines. Paint the accent nail a warm base color, lay thin tape strips in a grid, paint red and green lines over the gaps, and peel. The result is a cozy flannel-check pattern that looks like it took real skill. Keep the other nails solid red so the plaid stays the star.
This suits anyone whose December wardrobe runs to sweaters and scarves — the plaid ties the whole look together. Doing it on one or two accent nails keeps the effort low and the impact high. At home, let each layer dry before adding tape for the next, or the tape will pull up the base color. Thin striping tape gives the cleanest lines, and a glossy top coat seals everything smooth. The busy pattern also hides chips well.
8. Gold Star Accents
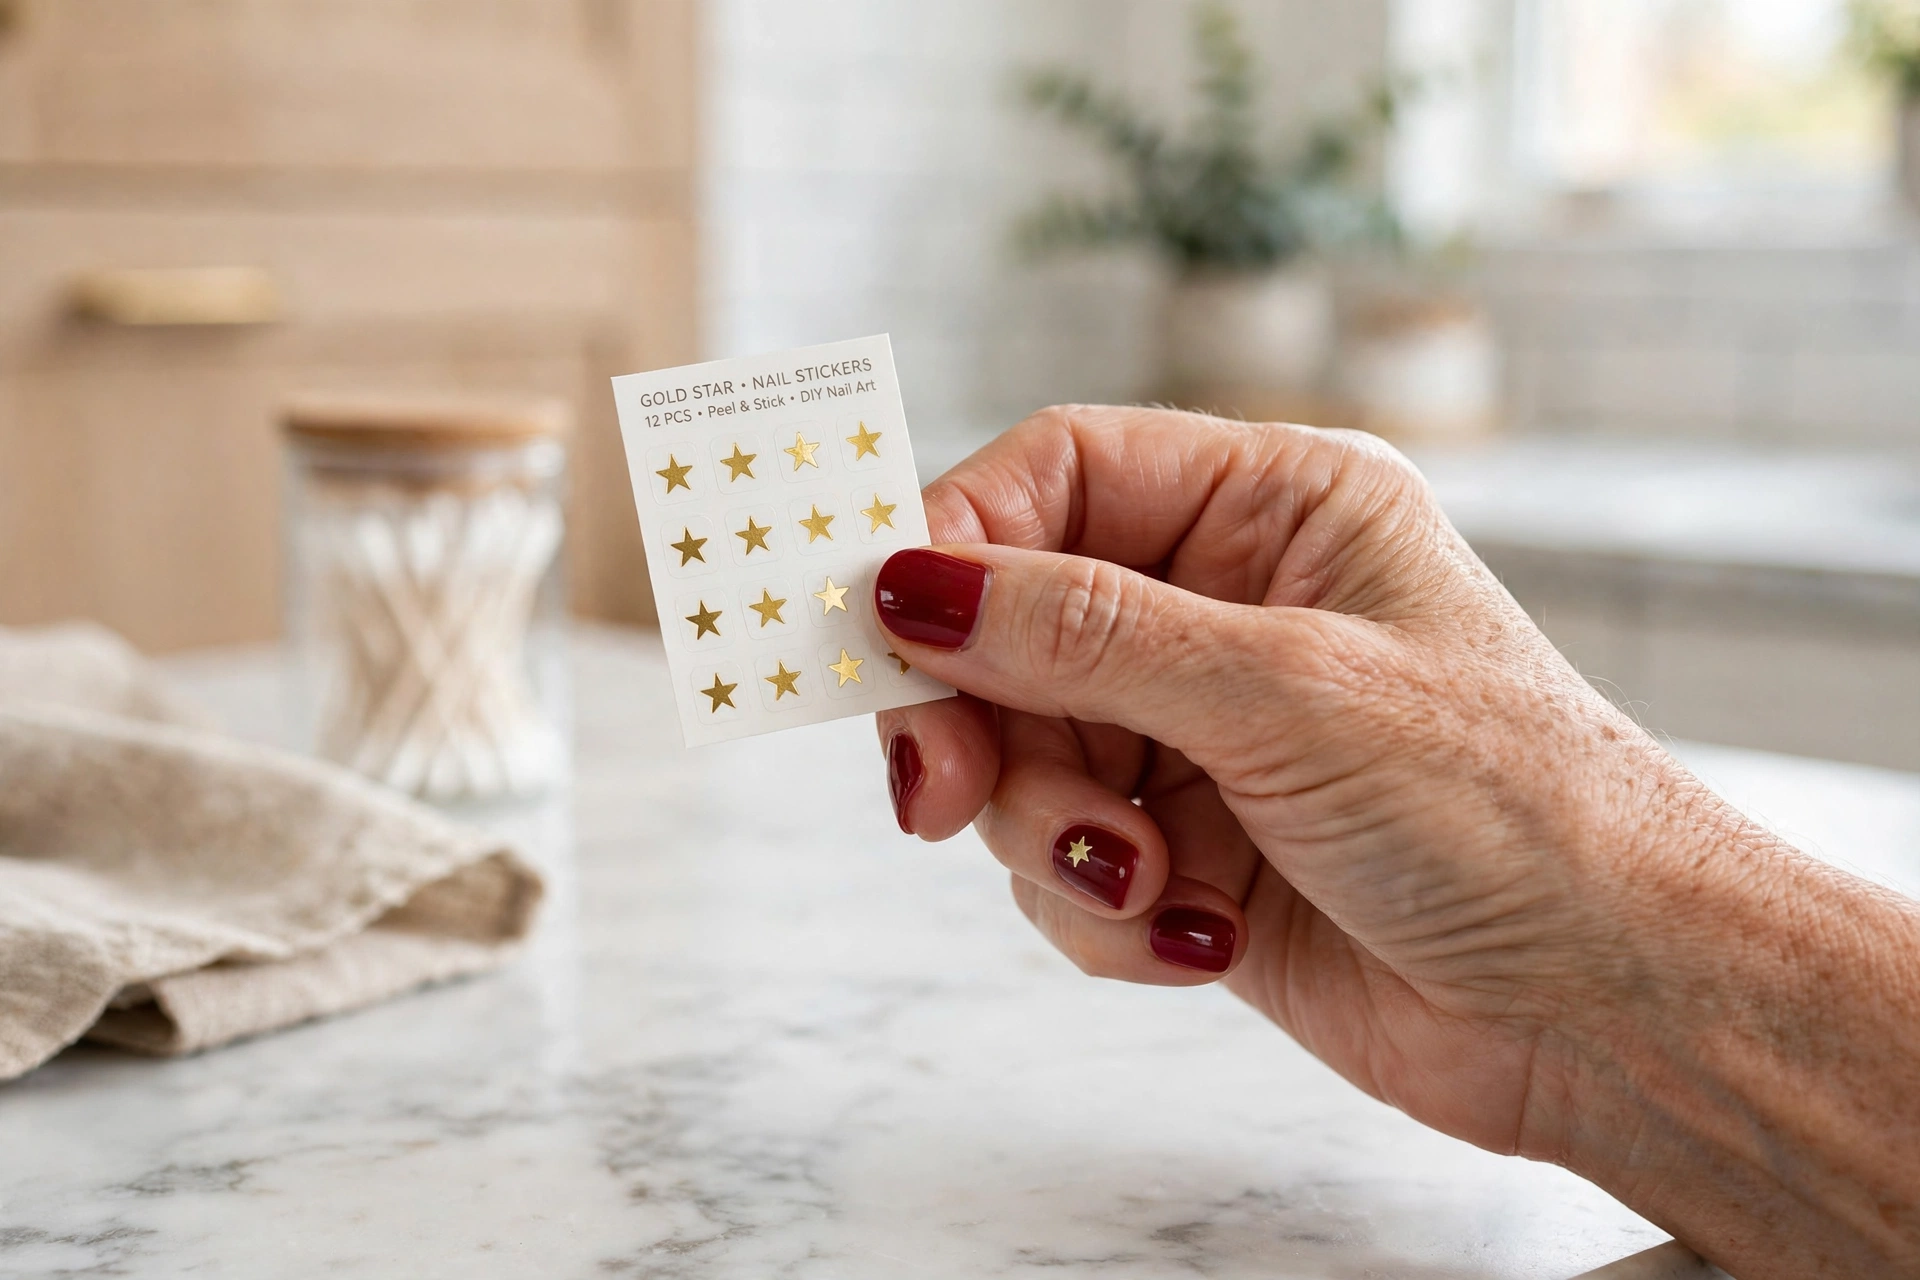
Deep red nails with one tiny gold star on each ring finger is the definition of easy elegance. The stars do all the festive work — no painting, no tools, just peel-and-stick nail stickers sealed under top coat. Against the dark red they glow like the star on top of the tree.
This suits anyone who wants maximum holiday impact with literally zero art skill. Star stickers come in sheets for a couple of dollars and take seconds to place. At home, paint two coats of red and let them dry completely — stickers stick best to fully dry polish. Place one star per ring finger with tweezers, press down firmly, then seal with two coats of top coat so the edges do not lift. It looks like a salon design and takes twenty minutes.
9. Cranberry Half-Moons
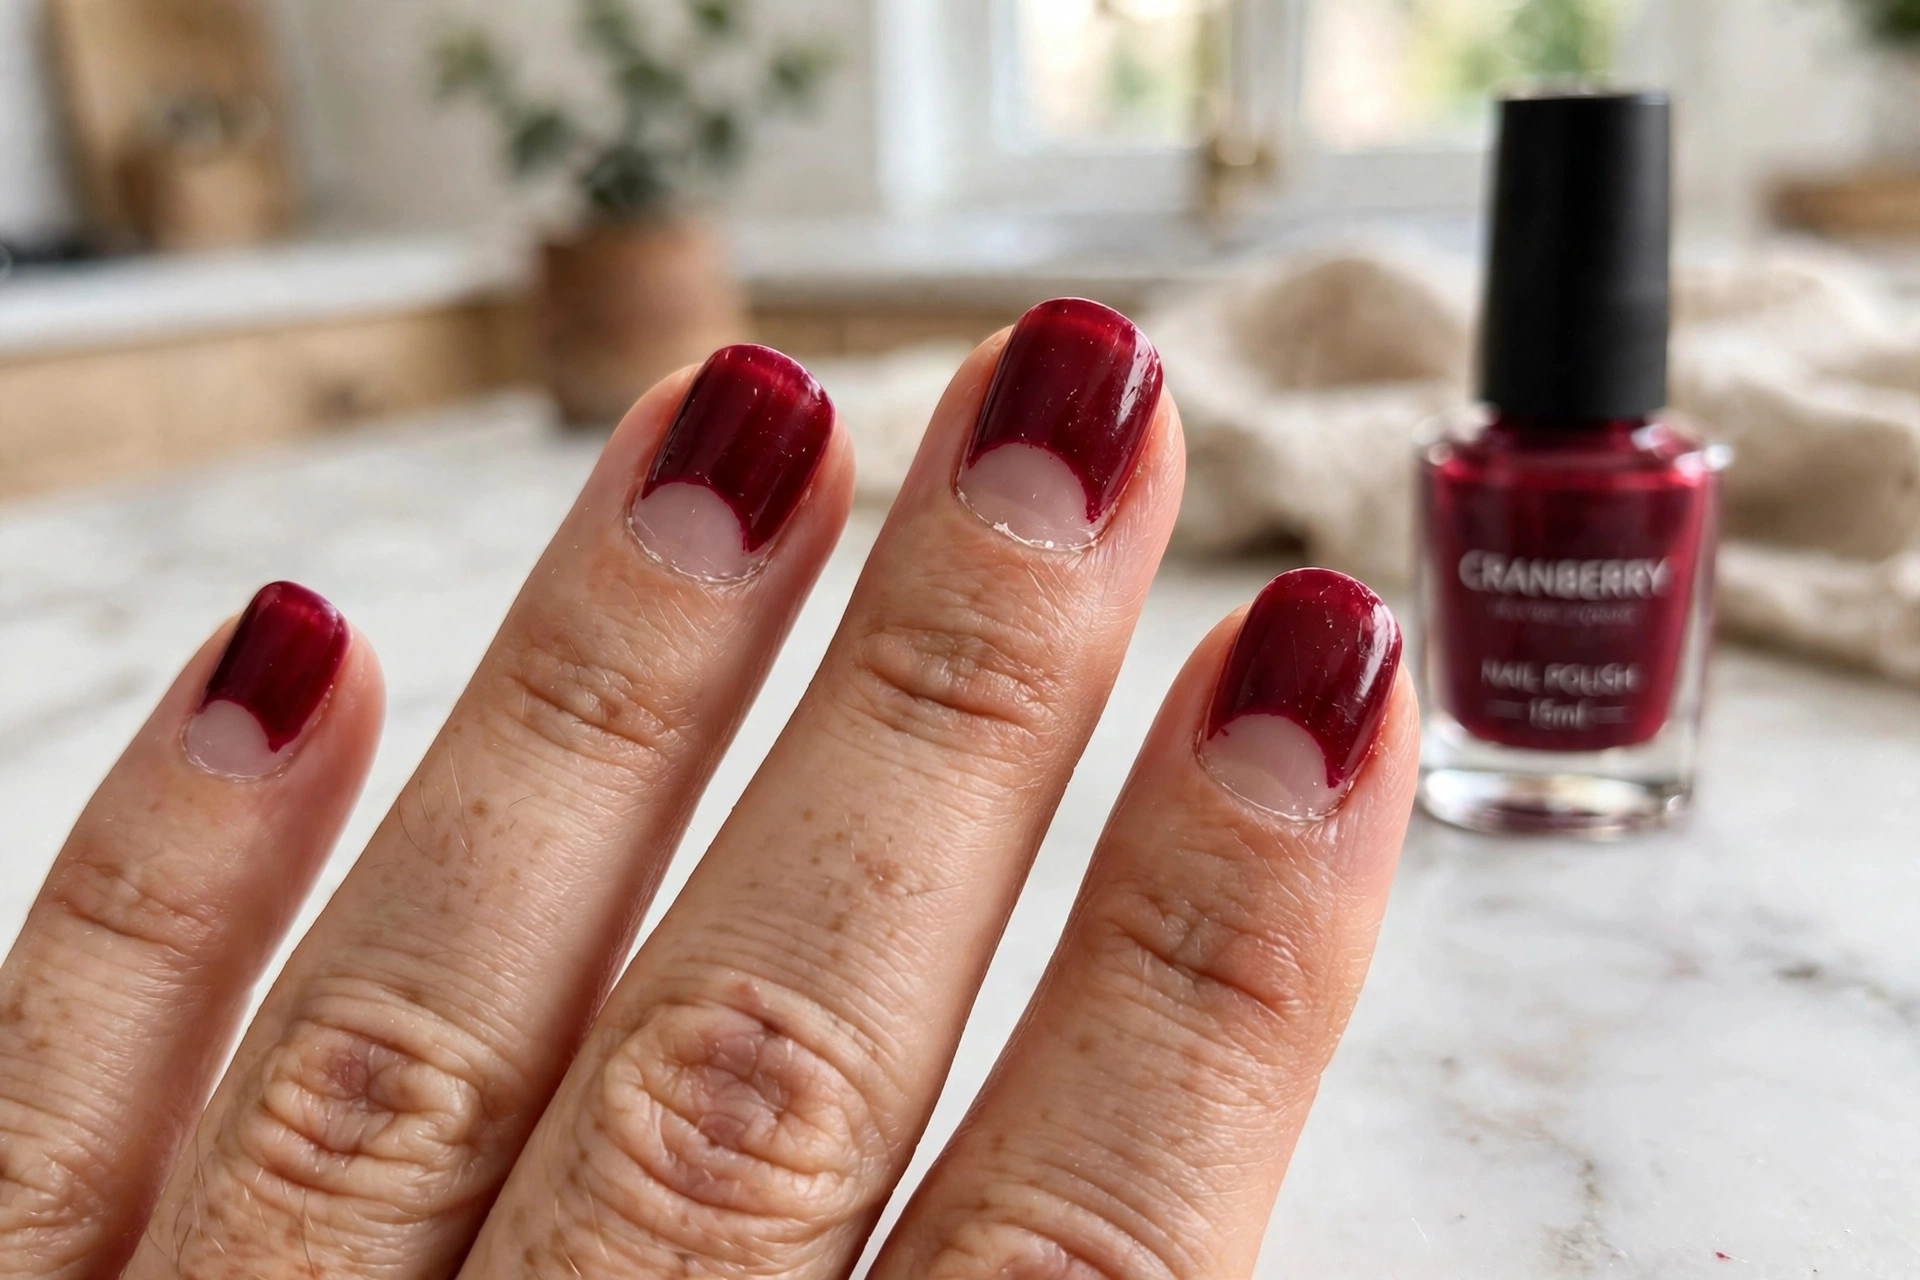
Paint your nails cranberry but leave a small half-moon of bare nail at the cuticle — that is the whole design, and it looks incredibly chic. The negative space keeps the dark color from feeling heavy, and the curved line is flattering on every nail shape. It is a vintage-inspired look that happens to be perfect for Christmas.
This suits people who love dark nails but want something with a twist. The half-moon also grows out invisibly, so the manicure looks fresh for longer. The easy method uses small round stickers or hole-punch reinforcements: stick one at the base of each nail, paint cranberry over the top, and peel the sticker while the polish is tacky. Clean up the curve with a small brush if needed. Two coats of top coat make the edge look sharp.
10. Holly Berry Dots
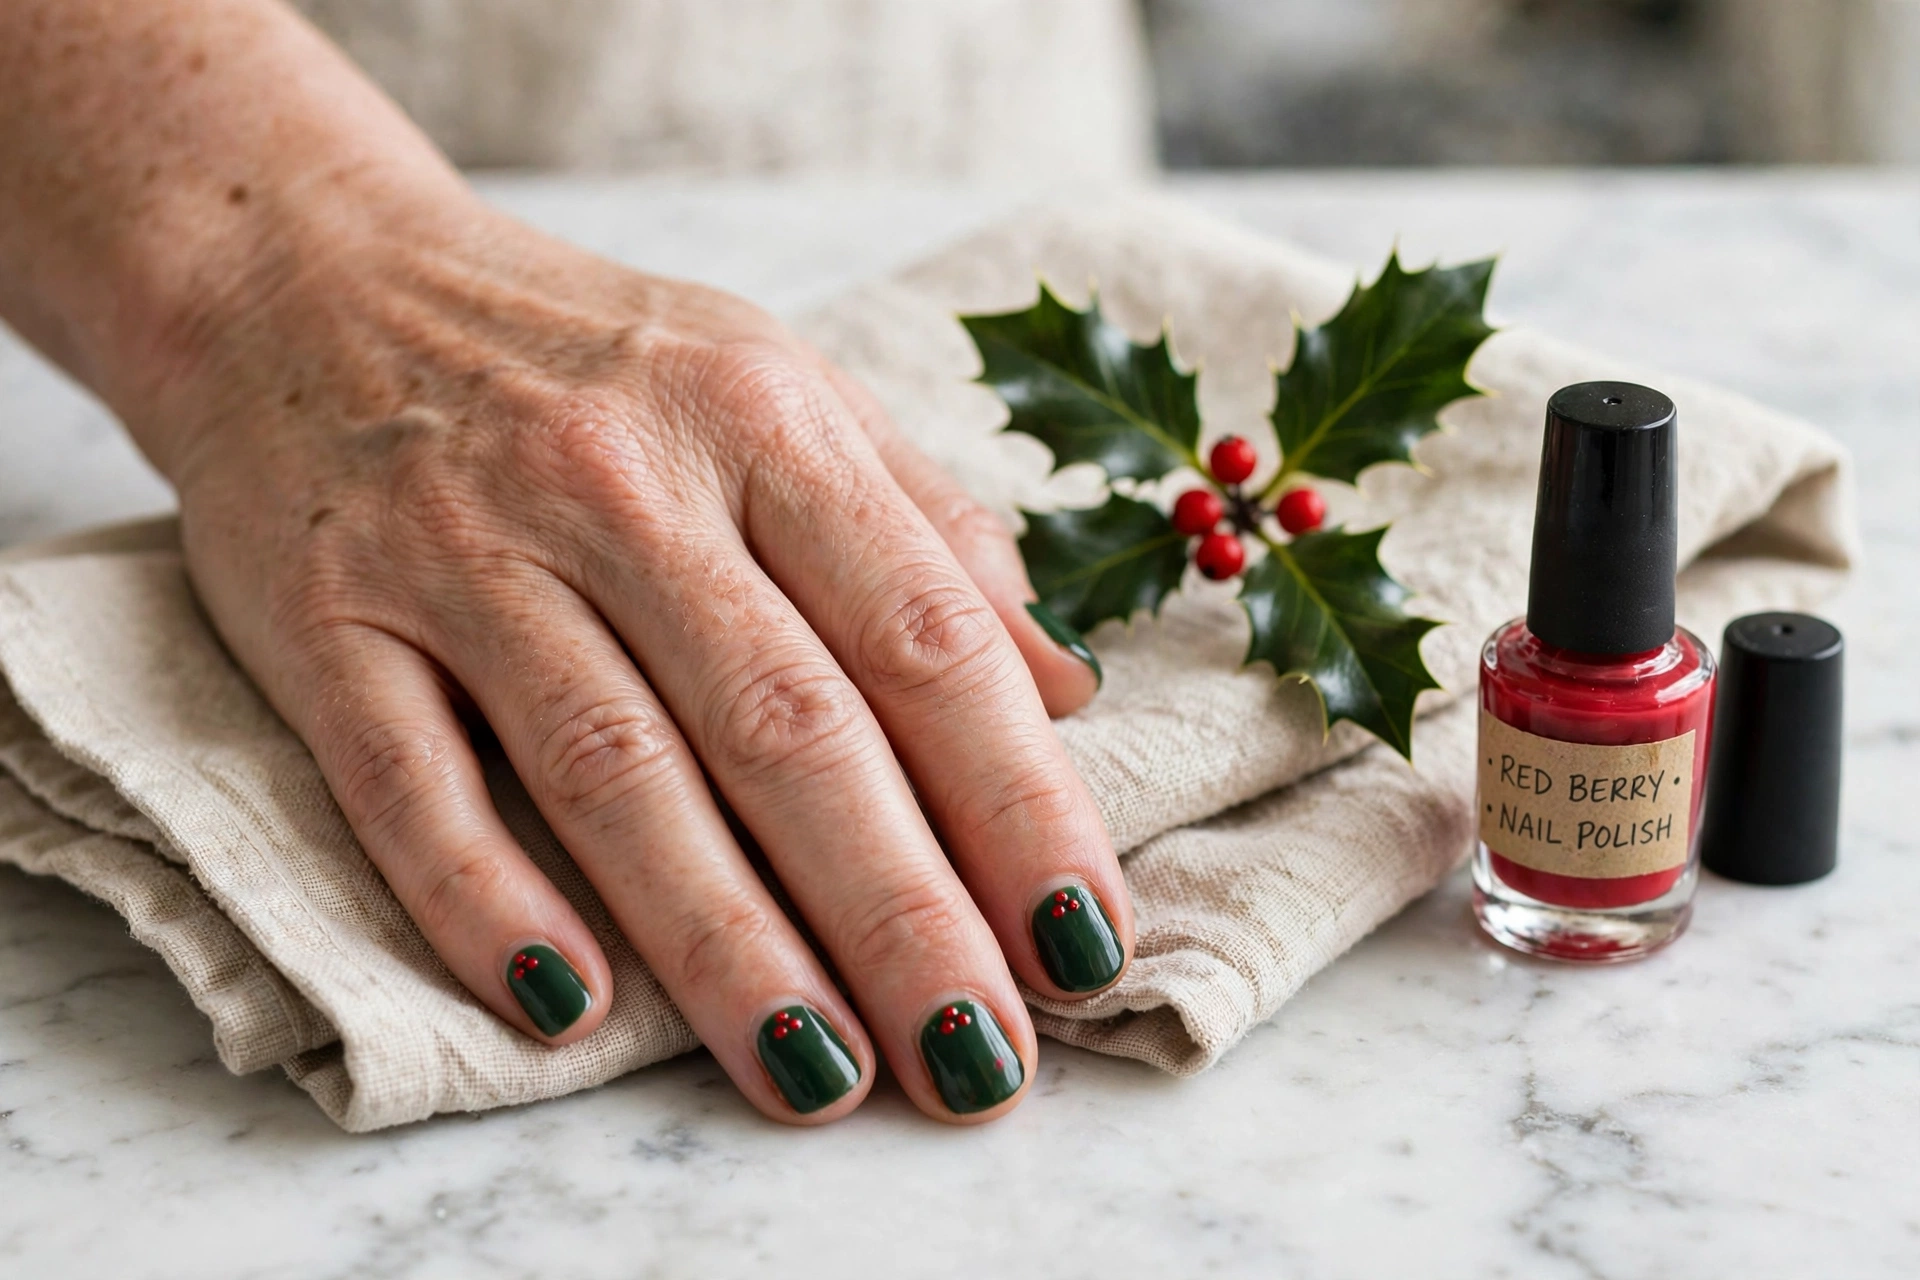
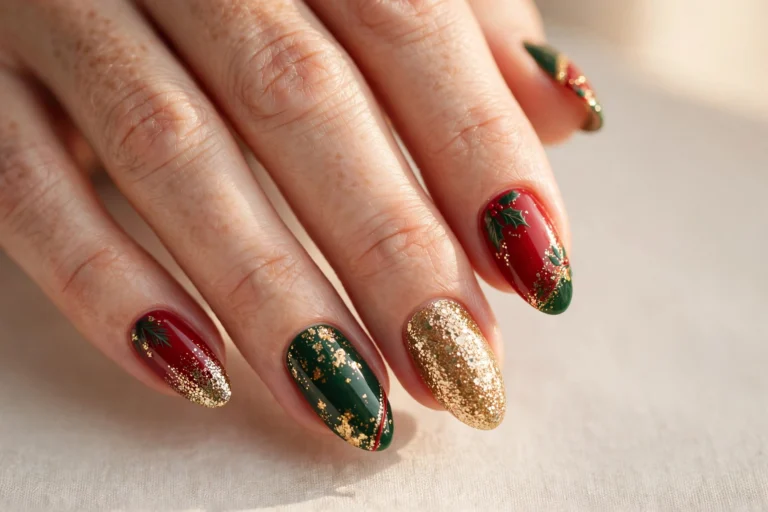
Deep green nails with clusters of tiny red dots near the cuticle read instantly as holly berries — no leaves required. Three small red dots grouped together on each nail is all it takes. The green-and-red combination is the most classic Christmas palette there is, and the dot technique keeps it firmly in easy territory.
This suits anyone who wants a festive design that is still simple enough for everyday wear. The green base is rich and seasonal on its own, so the berries are just the finishing touch. At home, paint two coats of deep green, let dry, then use a dotting tool with red polish to place three-dot clusters near the base of each nail. Keep the dots small and tight together so they read as berries. A glossy top coat makes the red pop.
11. Champagne Shimmer

One color, zero art, completely festive: champagne shimmer is the easiest design on this list and one of the prettiest. A metallic champagne polish gives you glow and warmth without any technique at all — it looks like candlelight on your nails. It also doubles as a New Year’s Eve manicure, so one bottle covers both holidays.
This suits anyone who wants festive nails with no effort whatsoever. Champagne flatters every skin tone and works on all nail lengths and shapes. The only trick is application: metallics show brush strokes, so use thin, even coats and let each layer dry fully. Two thin coats over a good base coat is the recipe. It wears well because the shimmer disguises tip wear better than flat cremes — expect a full week easily.
12. Frosted White Tips
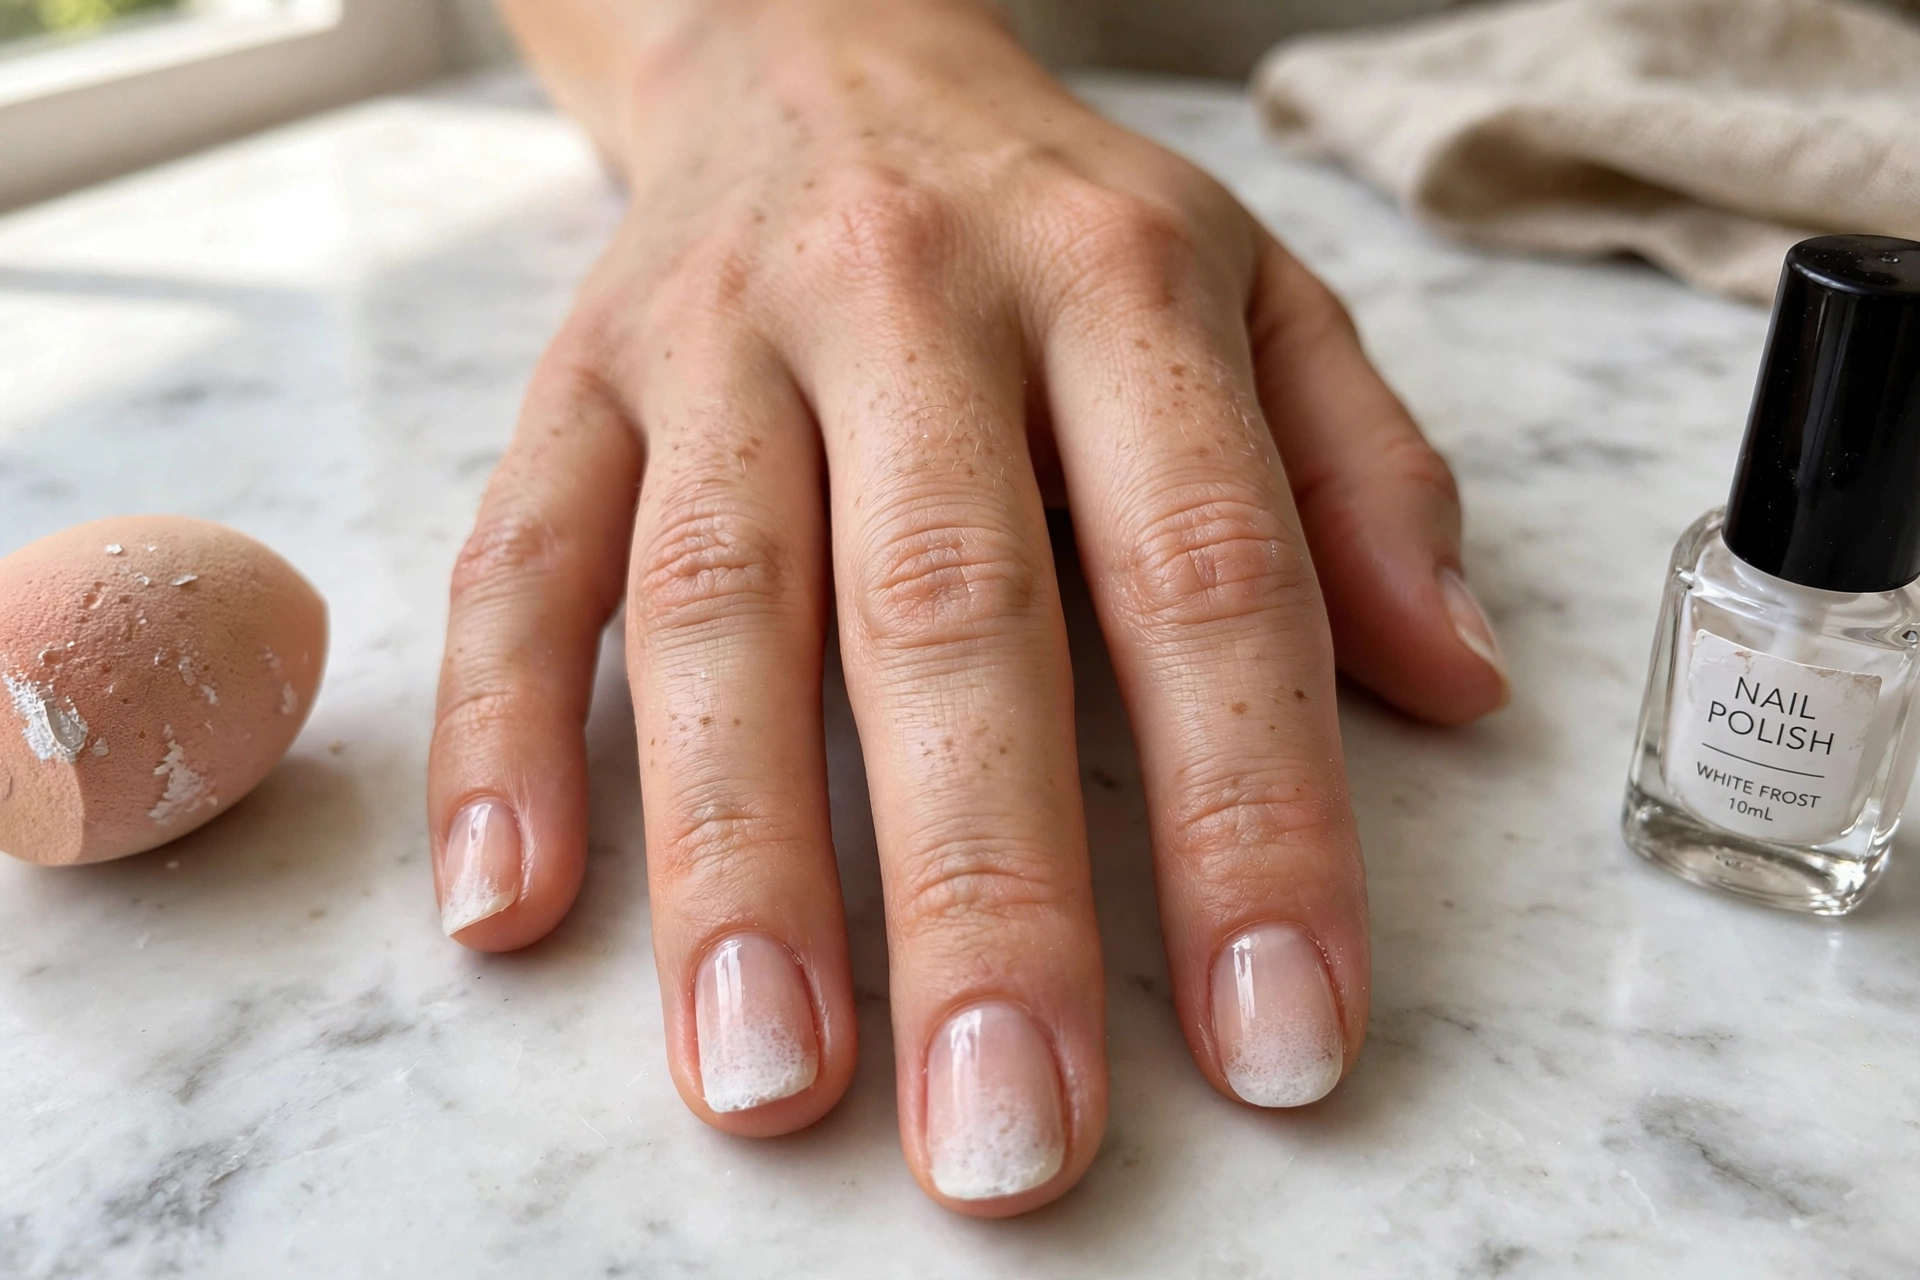
A nude base with white tips sponged on to look like frost is the winter version of a French manicure, and the sponge does the hard work for you. Dab white polish onto a makeup sponge, press it onto the tips, and you get a soft gradient that looks like snow settling on your nails. No steady hand required.
This suits minimalists who want a seasonal touch without color. The frosted fade is forgiving — uneven edges just look more like real frost. At home, paint the nude base first, then dab the sponge onto the tips two or three times, building the white denser at the very edge. Clean up around the nails with acetone, then seal with glossy top coat to melt the sponge texture smooth. It is subtle enough for work and pretty enough for parties.
13. Pine Needle Sprigs
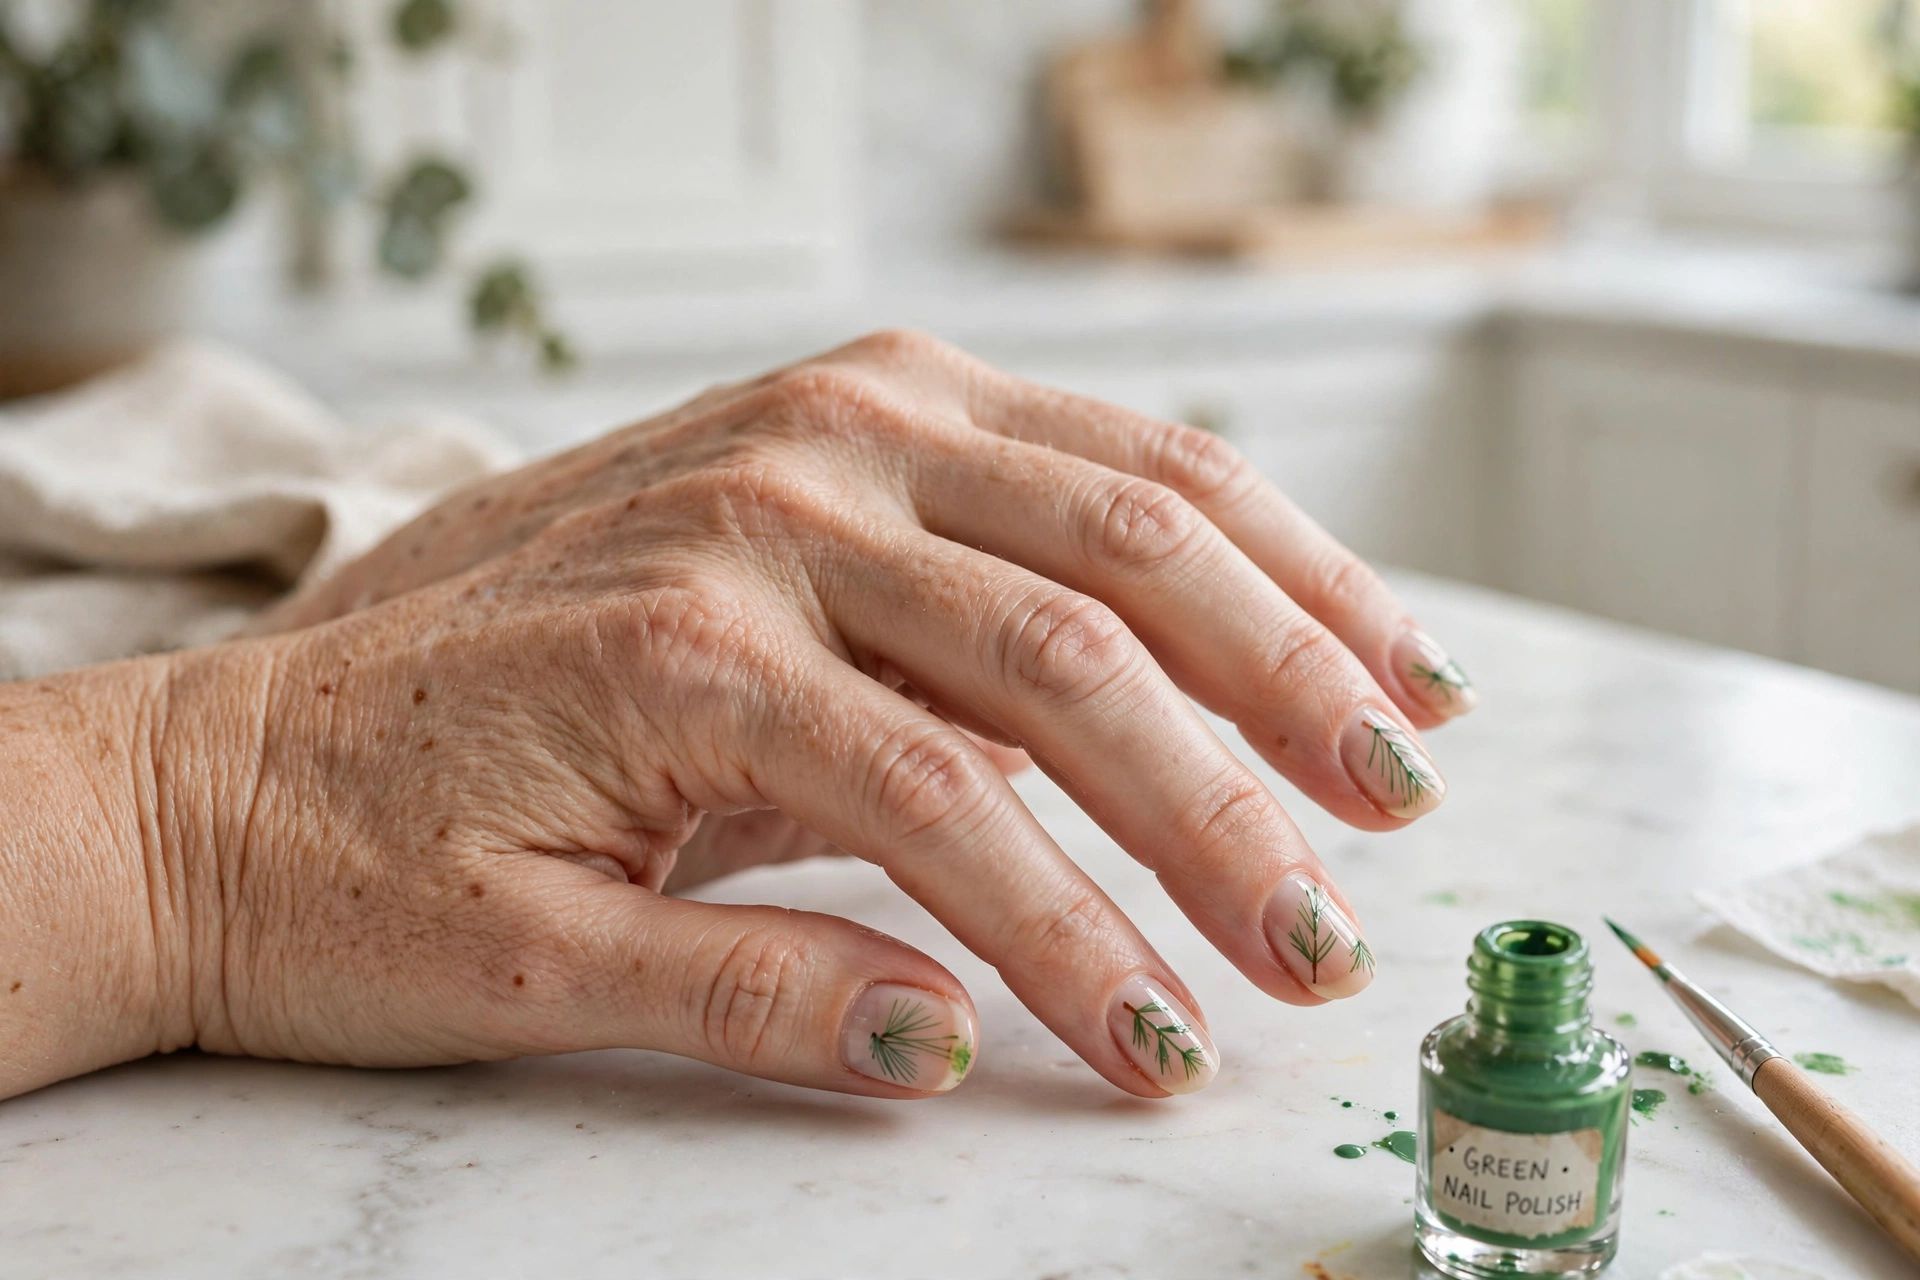
A few simple green strokes on a nude base read as pine branches — you do not need to paint a realistic tree, just the suggestion of one. One central line with short angled strokes off each side is a sprig. Two or three sprigs per nail, kept sparse, looks hand-drawn and elegant rather than crafty.
This suits people who like botanical, understated nail art. The nude base keeps it wearable anywhere, and the green adds just enough Christmas. At home, use a thin nail art brush or even a toothpick with green polish — the strokes do not need to be even. Less is more: stop after a few sprigs per nail. This is one of the fastest art designs here, about two minutes per nail once the base is dry.
14. Ornament Dot Nails
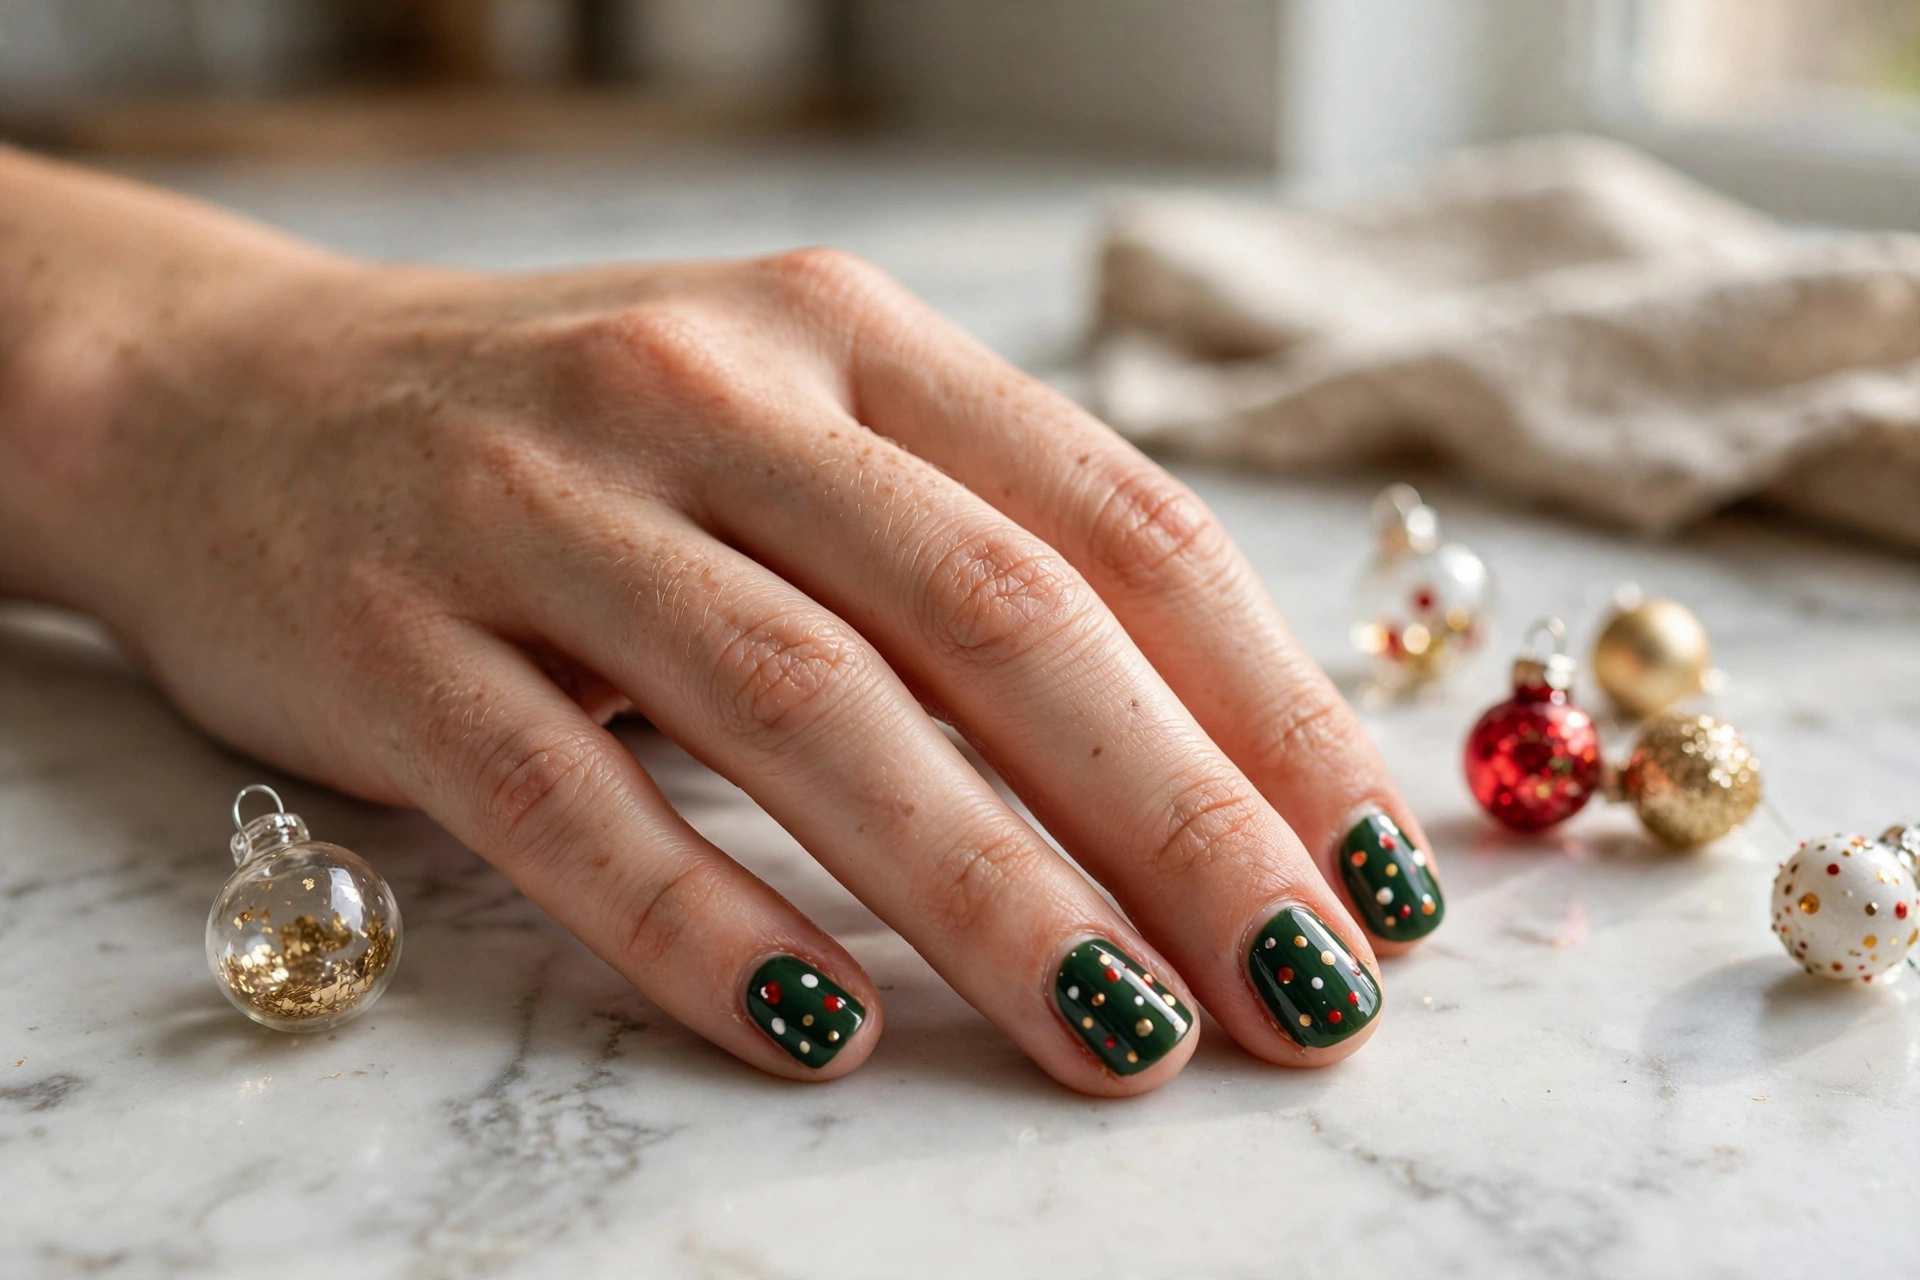
Deep green nails covered in colorful dots look exactly like a Christmas tree covered in ornaments — and dots are the easiest nail art there is. Red, gold, and white dots scattered over the green base give you a playful, festive manicure with zero drawing. It is cheerful without being childish, especially in a glossy finish.
This suits anyone who cannot pick one accent color and does not want to. It works on any nail length, and there is no wrong placement as long as you spread the dots out. At home, paint two coats of green, then use a dotting tool to scatter dots in three colors — vary the sizes for a natural ornament look. Keep the finish consistent with a glossy top coat over everything. It is a great last-minute design: fast, fun, and unmistakably Christmas.
15. Classic Solid Red
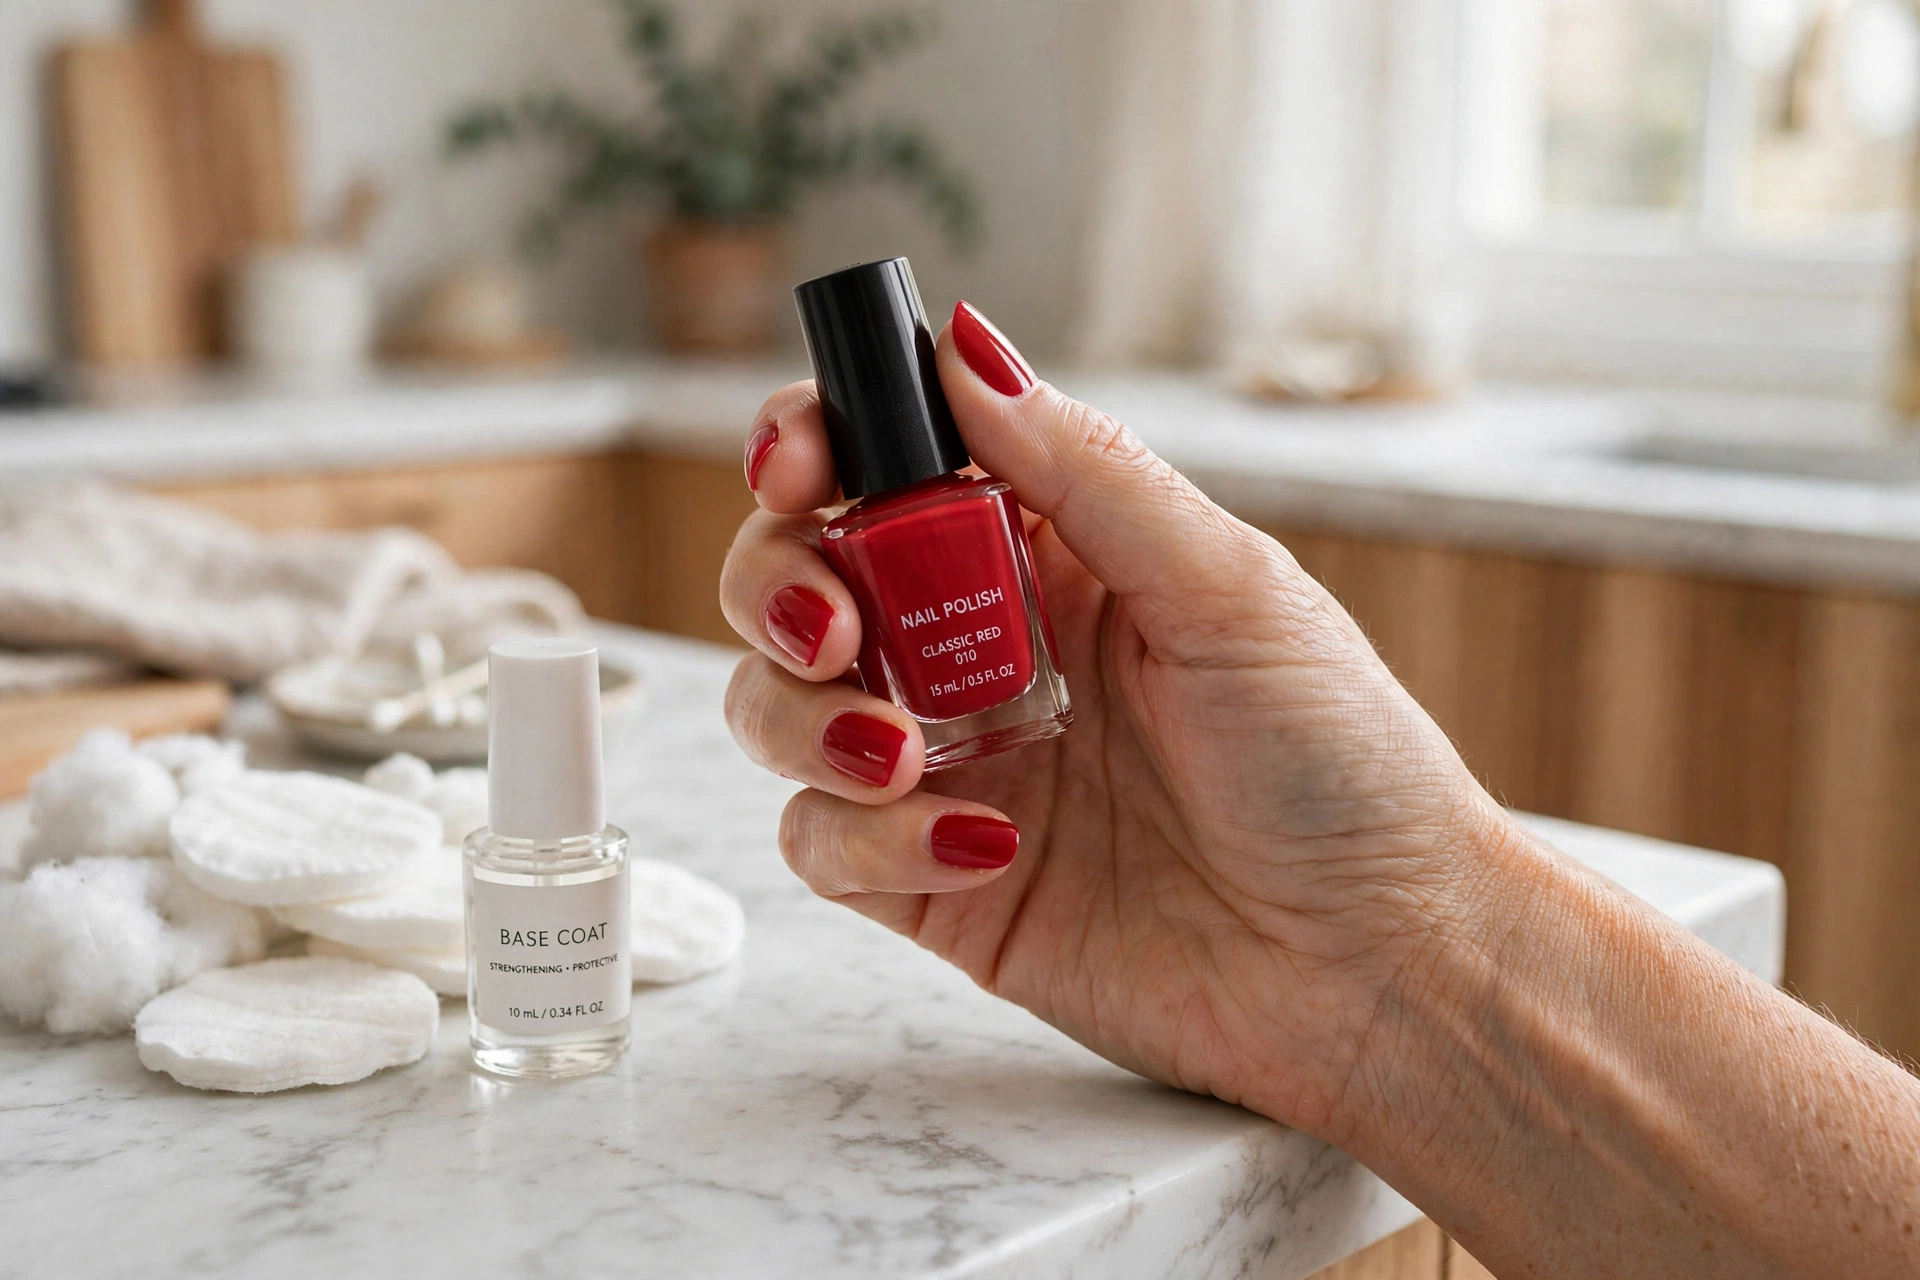
Sometimes the easiest Christmas nail design is no design at all. A true, rich, Santa-suit red with a high-gloss finish is the most requested holiday manicure for a reason: it flatters every skin tone, matches every outfit, and reads as festive without a single dot or stripe. Two coats and a top coat — done.
This suits literally everyone, which is why it never goes out of style. Red looks best on neat, medium-length nails, and the trick is in the prep rather than the art: push back cuticles, use a good base coat, apply two thin coats of a highly pigmented red creme, and finish with glossy top coat. Red shows every flaw, so take time cleaning up the edges. A gel version wears for three weeks with almost no visible chipping.
How to Make Easy Christmas Nail Designs Last
Simple designs have a secret advantage: they are the easiest to maintain. A solid color or a dot design can be touched up in minutes, while detailed art needs a full redo. Still, the basics matter. Always start with a proper base coat, cap the free edge of every nail with each layer including the top coat, and keep coats thin — thick polish is what chips, no matter how simple the design.
Cuticle oil is the cheapest way to make any manicure last longer. Cold December air dries out nails fast, and dry polish cracks instead of flexing. Massage a drop of oil into each nail every night. Wear gloves for dishes and cleaning, since hot water and detergent are the fastest way to ruin good nails. If you are putting together a basic at-home kit for all the designs above, this nail art kit covers the essentials — dotting tools, striping brushes, and detail pens that make every technique on this list easier.
For stickers and decals like the gold stars above, the rule is simple: apply them to fully dry polish and seal with two coats of top coat, or the edges will lift within a day. And when it is time to remove everything in January, soak cotton pads in acetone, wrap nails in foil for ten minutes, and never peel — peeling takes layers of your natural nail with it.
Final Thoughts
Easy Christmas nail designs are really about giving yourself permission to keep it simple. One accent nail, a few dots, a single stripe — these small choices add up to a manicure that feels festive all month without eating your December. The best part is that simple designs are also the most forgiving: a slightly imperfect dot or a wobbly stripe just looks handmade and charming.
Start with whichever design caught your eye, keep your tools basic, and remember that neat application matters more than complicated art. Do one hand, let it dry properly, then do the other — rushing is the only real enemy of a good at-home manicure. Pour something warm, put on a holiday movie, and enjoy doing your nails the easy way this Christmas.