13 Black and Orange Nail Designs for a Bold Fall Look
Black and orange is the color pairing that never has to try hard. Black brings the drama, orange brings the warmth, and together they cover everything from Halloween night to the whole of autumn. The contrast is strong enough that even the simplest design looks intentional — a plain black manicure with one orange accent nail reads as styled, not unfinished. Our fall nail designs roundup pairs well with this list, and the thirteen ideas below each note which shapes and skill levels they suit.
What makes this pairing so wearable is how forgiving it is. Orange flatters most skin tones, from pale to deep, and black grounds it so the brightness never feels loud. These designs work on short nails and long ones. Below are thirteen black and orange nail designs, starting with the classics and moving toward the bolder statement looks.
Why Black and Orange Nails Work Beyond Halloween
Most people file black and orange under Halloween and move on, which is a shame, because the pairing has a much longer season. Burnt orange with black reads as autumn itself — falling leaves, bonfires, warm scarves — and it stays relevant from September through Thanksgiving.
The practical case is strong too. Dark polish hides tip wear better than pale shades, and orange rarely stains the nail plate the way red does. For the full spooky-season treatment, pair these with our halloween nail designs — but most looks below need no costume to make sense.
1. Black French Tips with an Orange Edge
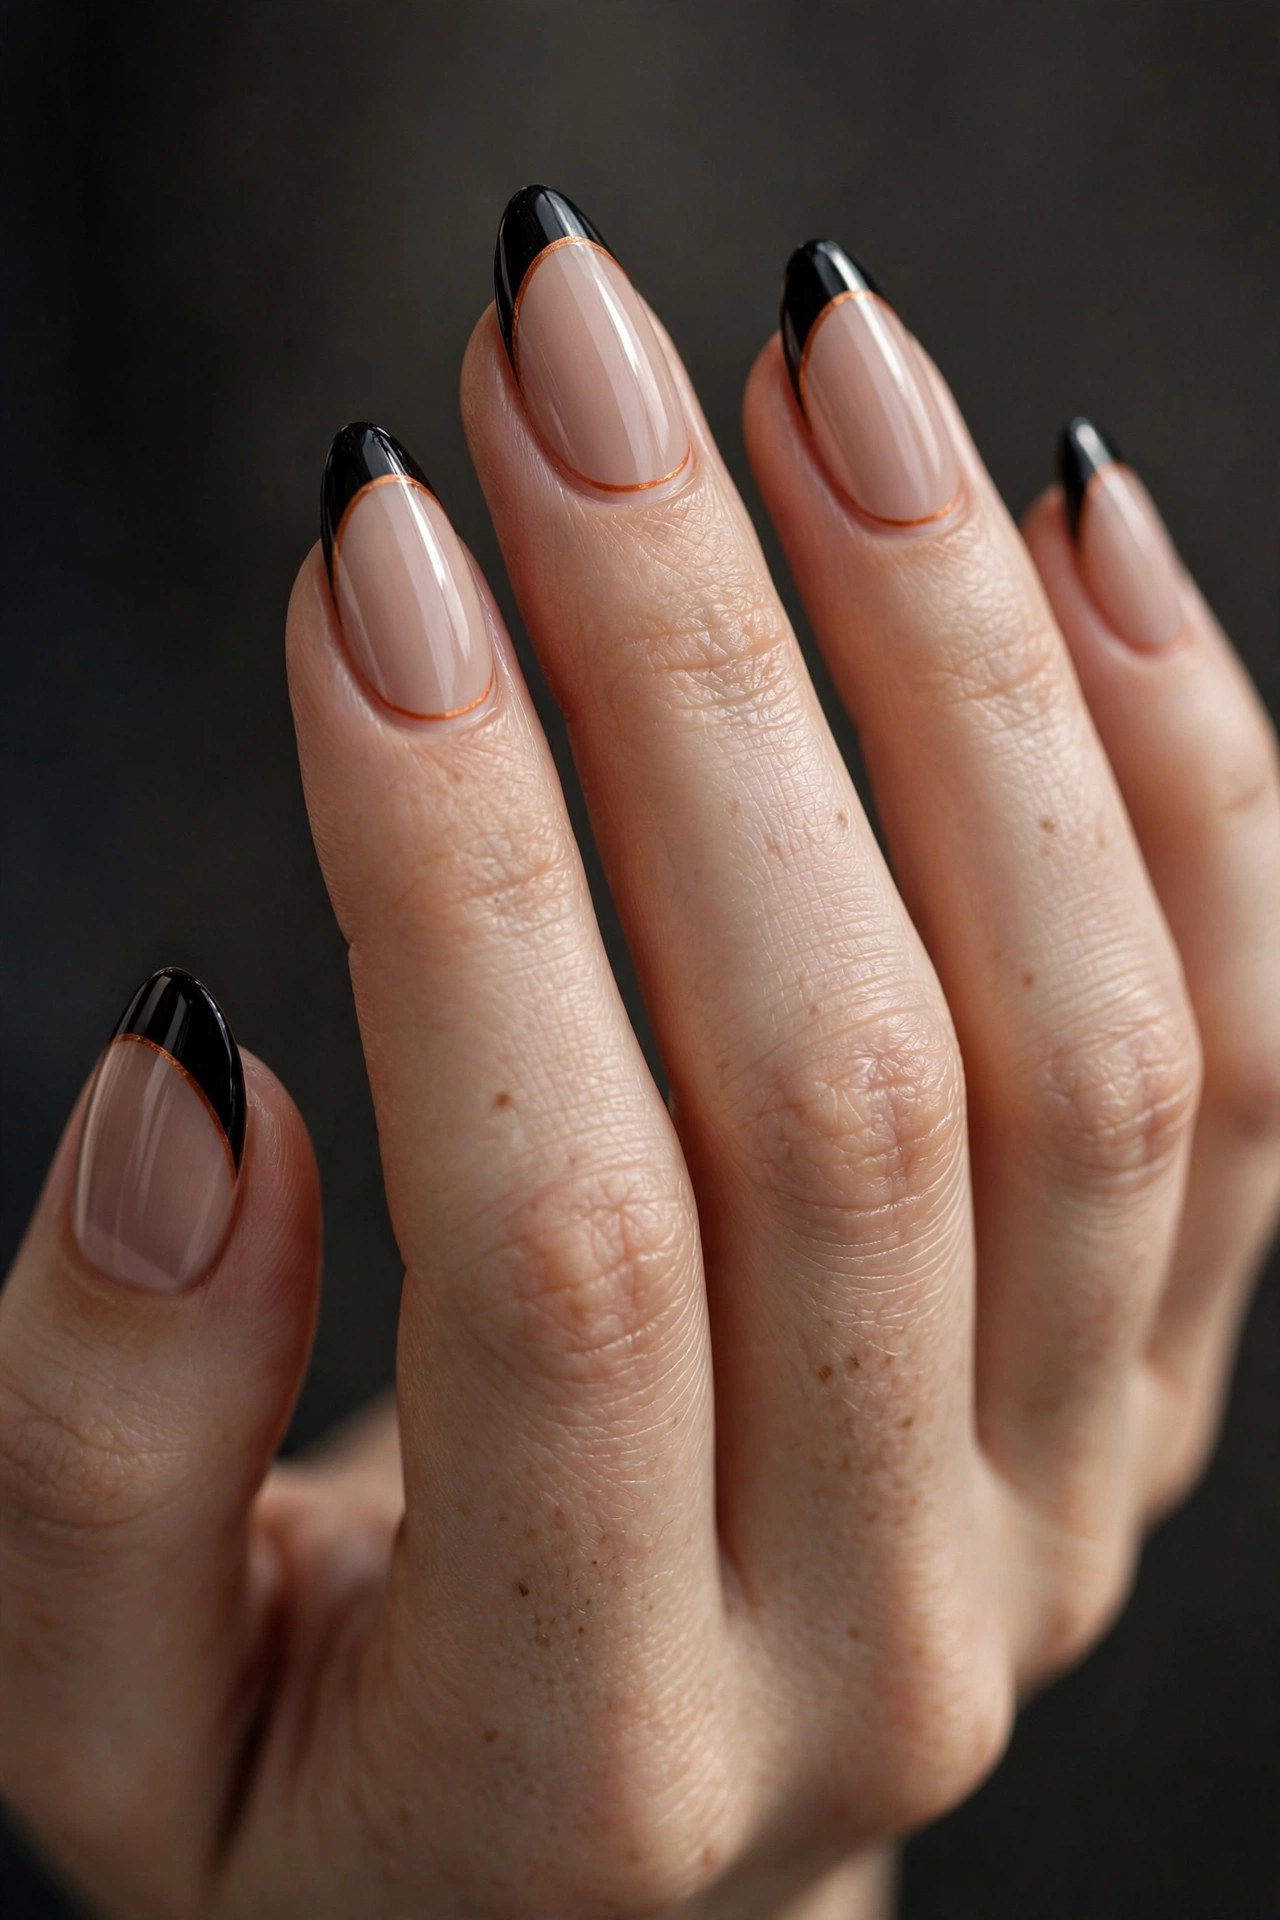
The French manicure gets a fall makeover here: a nude or sheer base, classic black tips, and a hairline of burnt orange tracing the smile line where the two meet. It is the most office-friendly design on this list — from a distance it reads as a dark French, and the orange only reveals itself up close. Almond or oval shapes show the curved line best. Paint the black tip first, let it dry fully, then run the orange line along its edge with a striping brush.
2. Matte Black with Flame Art
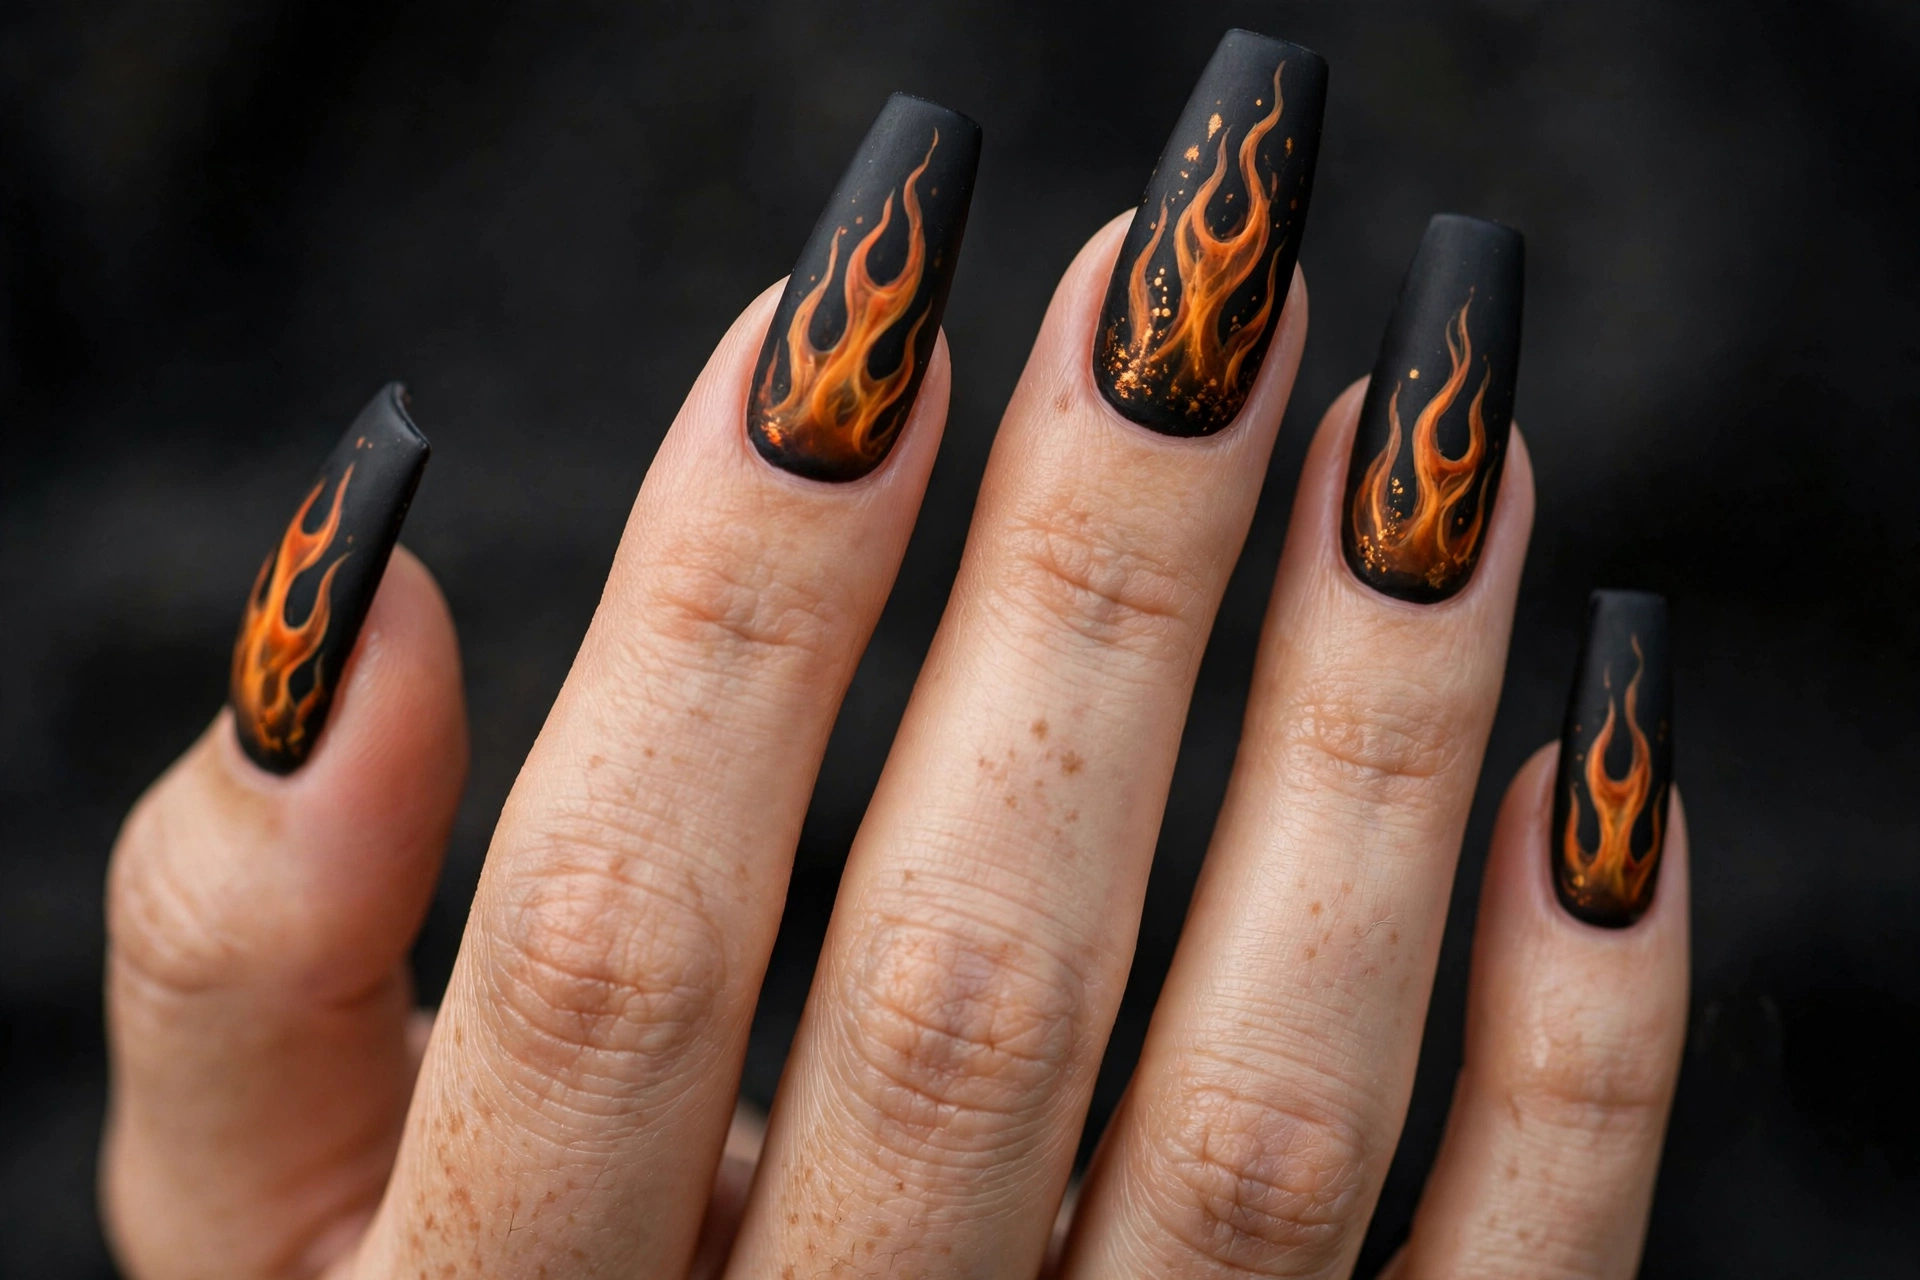
Nothing says confidence like flames, and orange-yellow flames on a matte black base look expensive rather than cartoonish when the shapes are kept soft and tapered. The matte finish is doing half the work — it makes the glossy flame colors glow by contrast. This one suits long coffin or stiletto nails where the flames have room to stretch. Freehand the flames with a detail brush, starting each lick at the cuticle and flicking upward, layering yellow over orange for depth. Seal with a matte top coat, not glossy, or the effect collapses.
3. Black-to-Orange Ombré
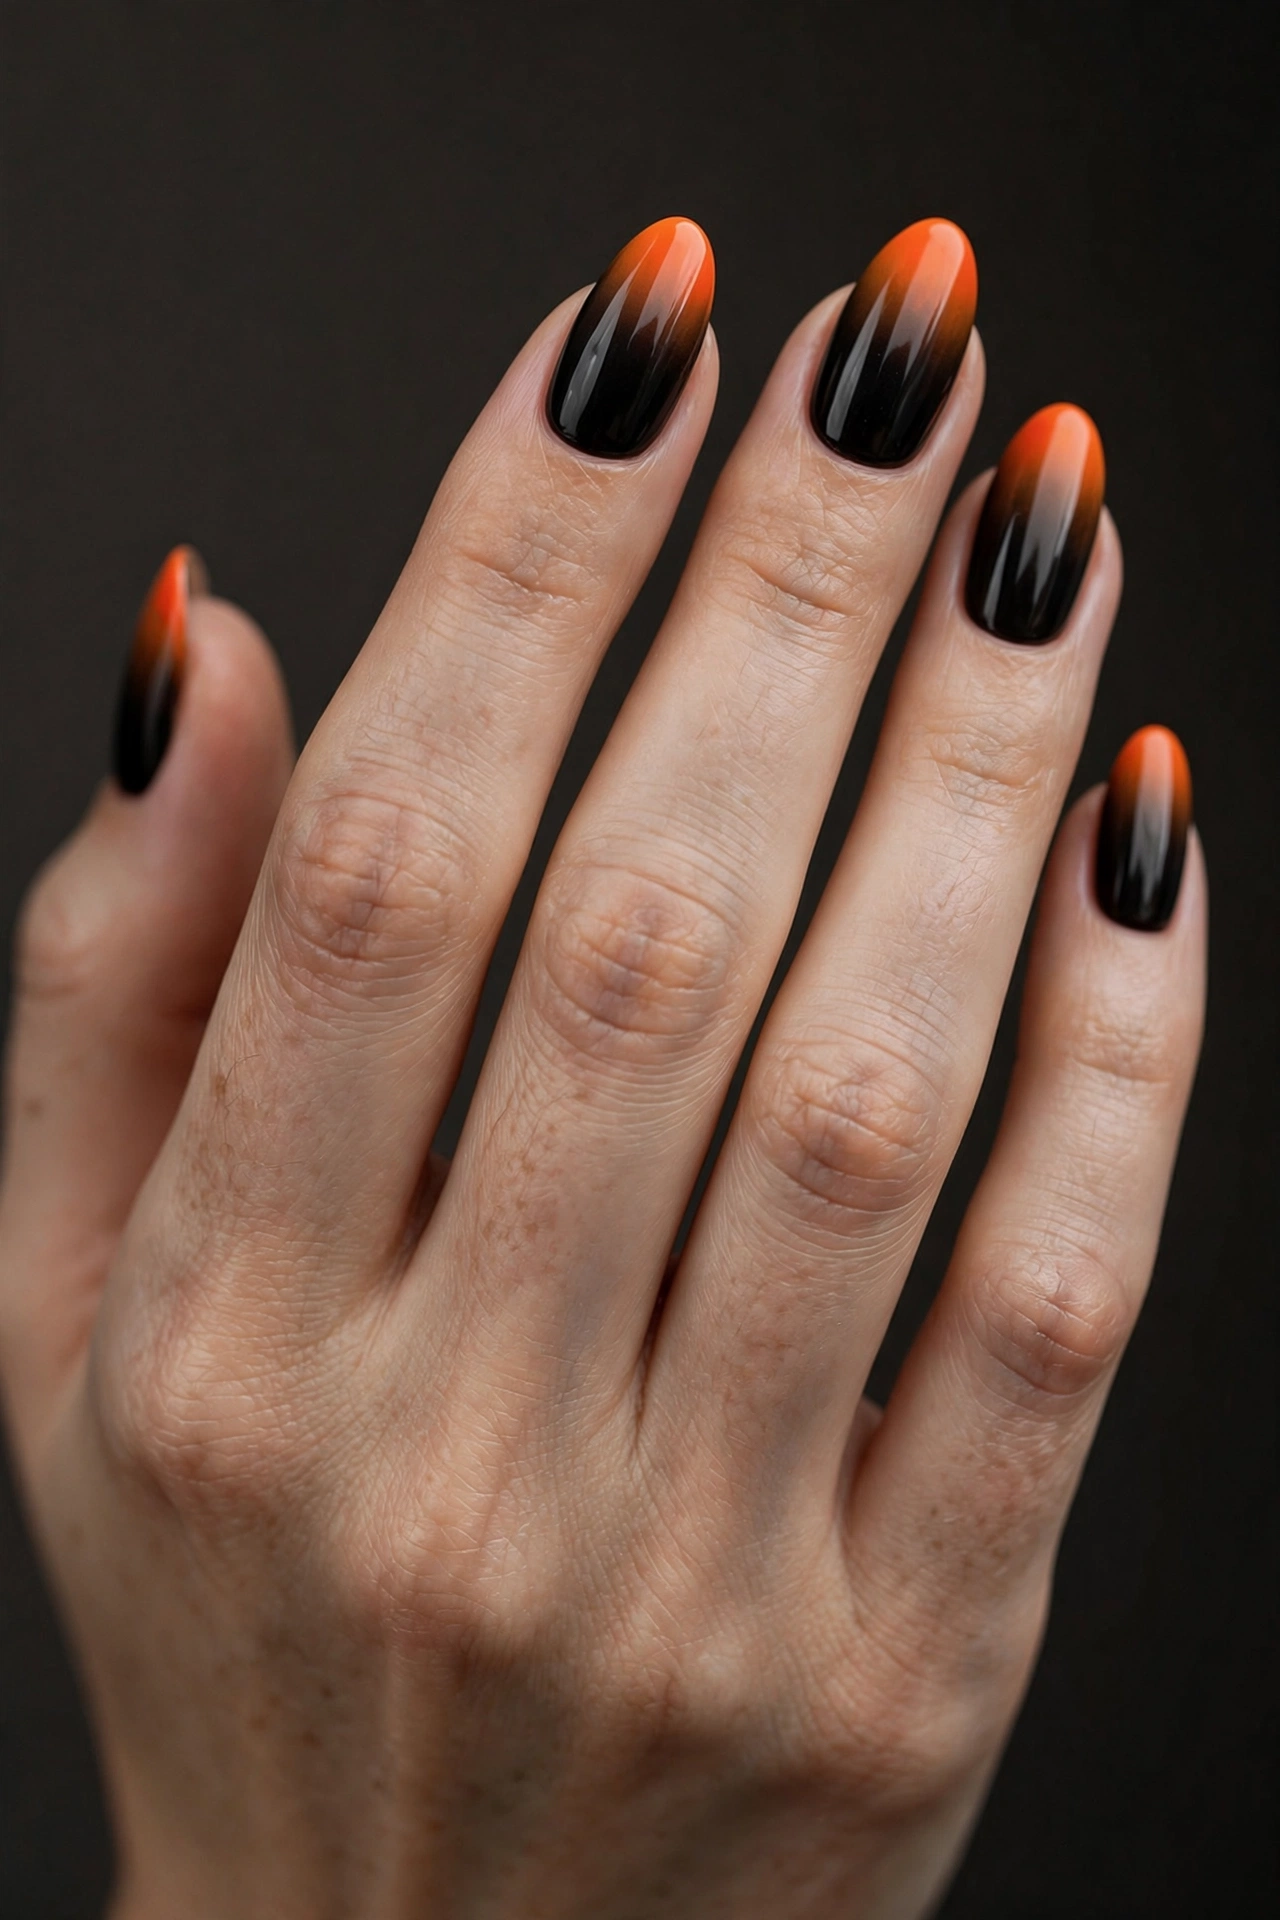
An ombré that moves from near-black at the cuticle to vivid tangerine at the free edge looks like a sunset trapped on your fingertips. The trick is the middle transition: without a brown or burnt-orange bridge shade, you get a harsh line instead of a melt. Sponge the gradient on in three passes — black, burnt orange, bright orange — dabbing with a makeup sponge and cleaning up the cuticles after. Almond nails carry this gradient beautifully.
4. Tortoiseshell Swirls
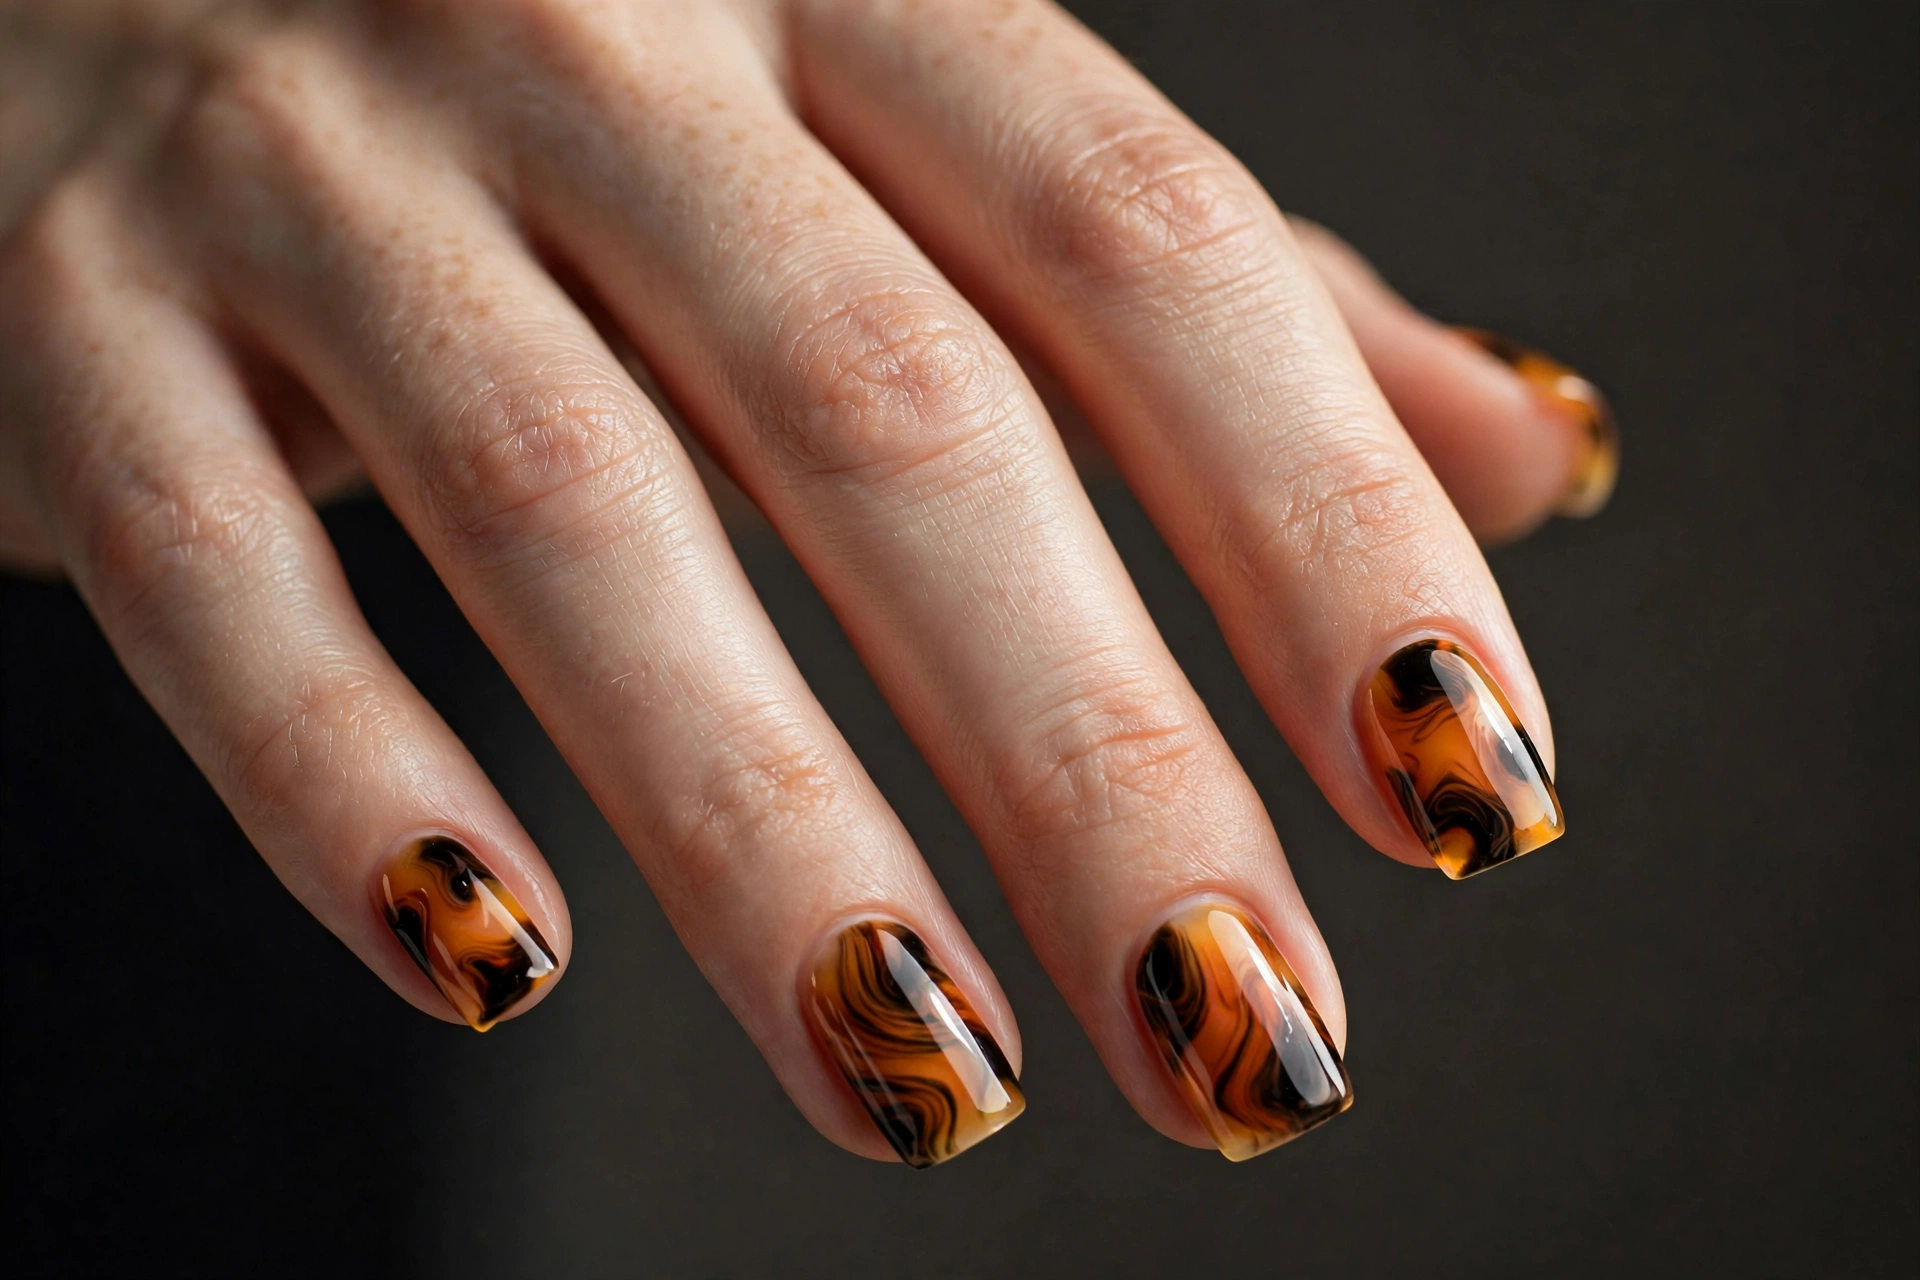
Tortoiseshell is the quiet luxury pick of this list. Translucent amber and caramel blobs suspended over a warm orange-tinted base, veined with black, give nails the look of vintage acetate sunglasses. It is patterned without being busy, and it suits square or squoval shapes best. The technique is forgiving: layer sheer amber jelly polish, drop in irregular black and brown spots while tacky, then drag them slightly before sealing. No two nails match, and that is the point.
5. Pumpkin Faces on Black
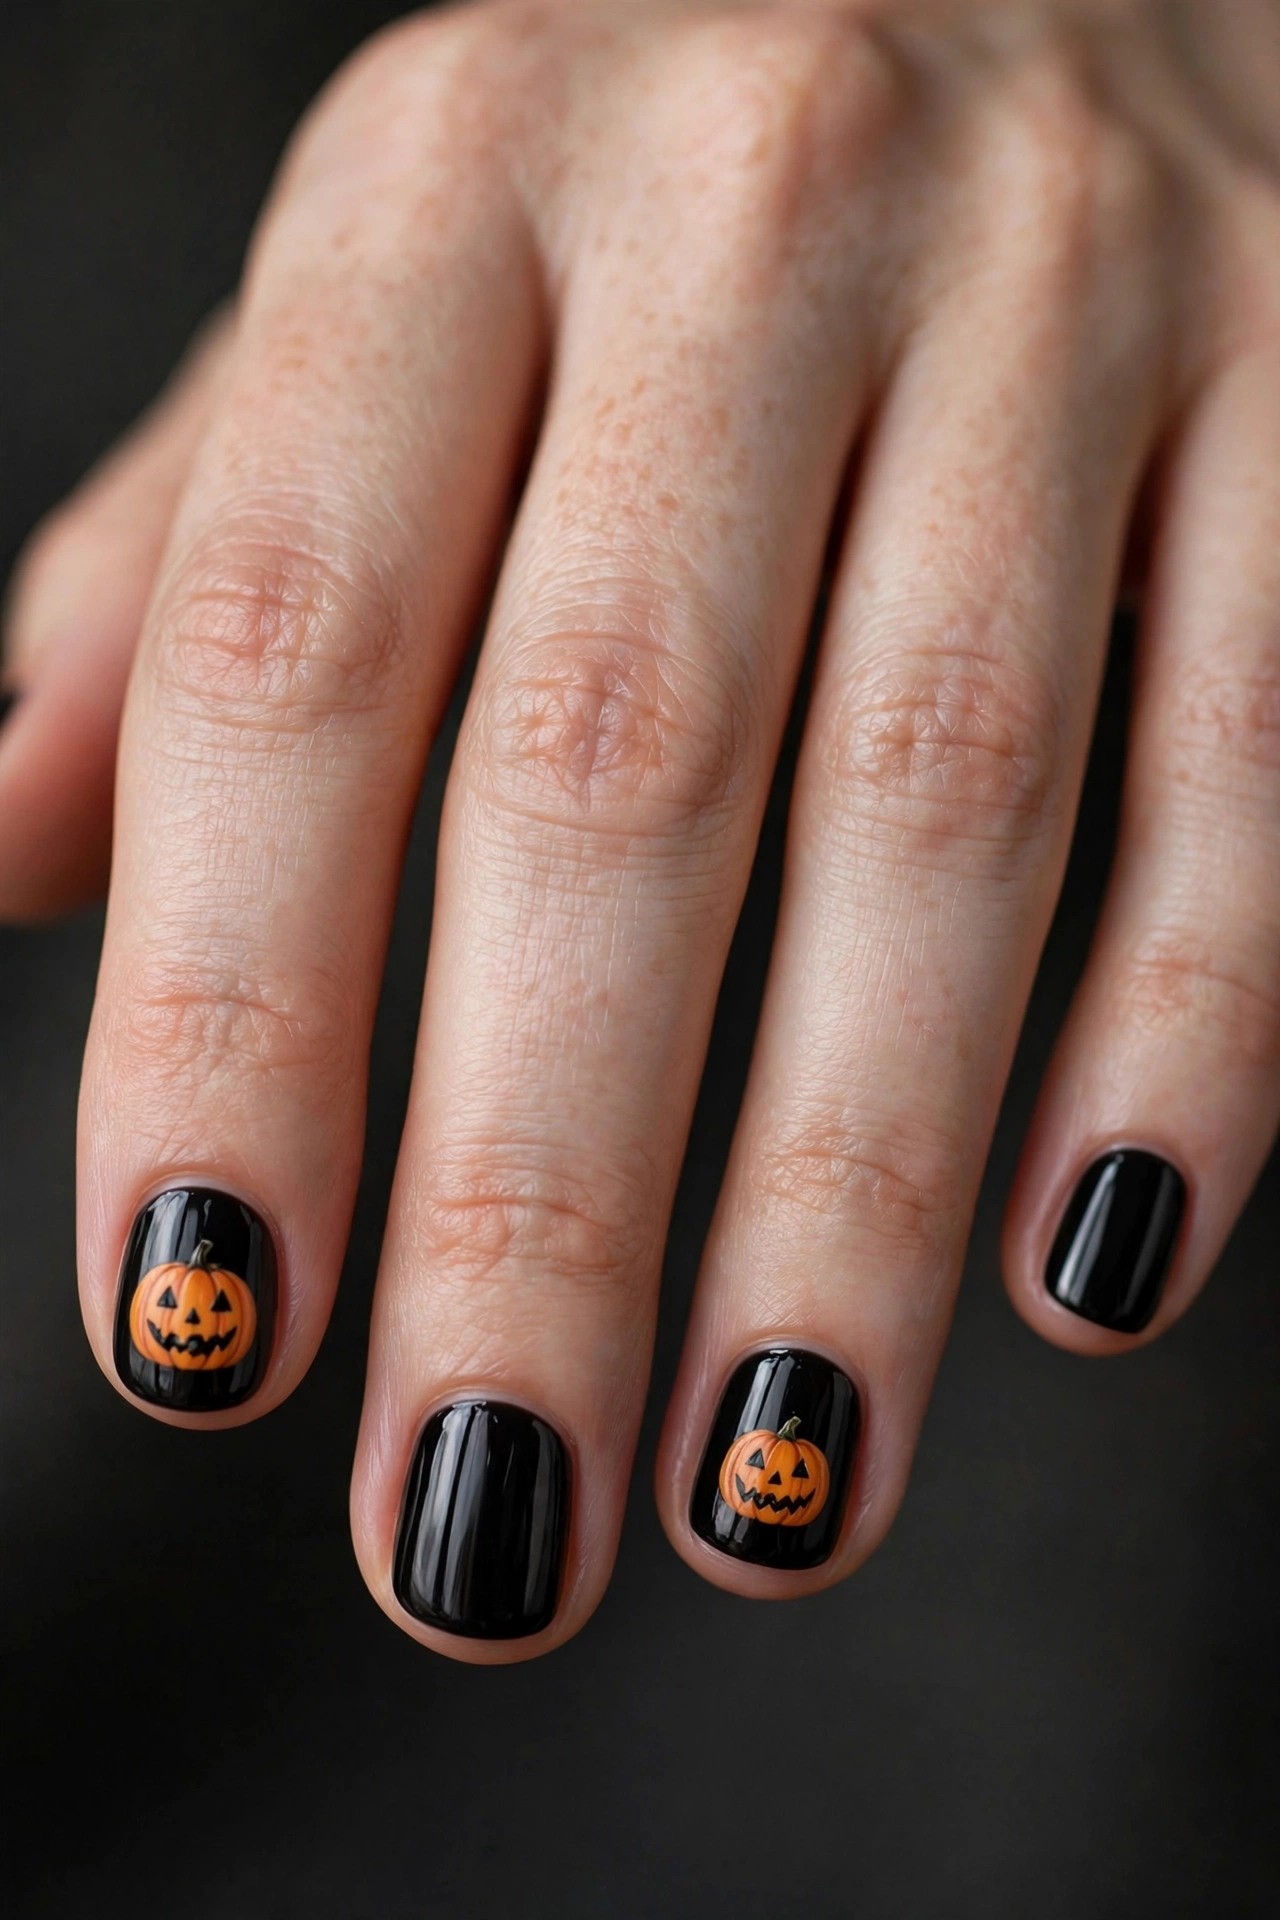
The most literal Halloween entry here, and the most fun. Keep most nails a clean glossy black and paint two accent nails as jack-o-lanterns: an orange pumpkin shape with simple triangle eyes and a jagged grin in black. Short round nails suit this best — the small canvas keeps the faces cute instead of creepy. Paint the pumpkin orange first, then add features with a dotting tool. For more detailed spooky art, see our black halloween nail designs.
6. Orange Glitter with Black Lace
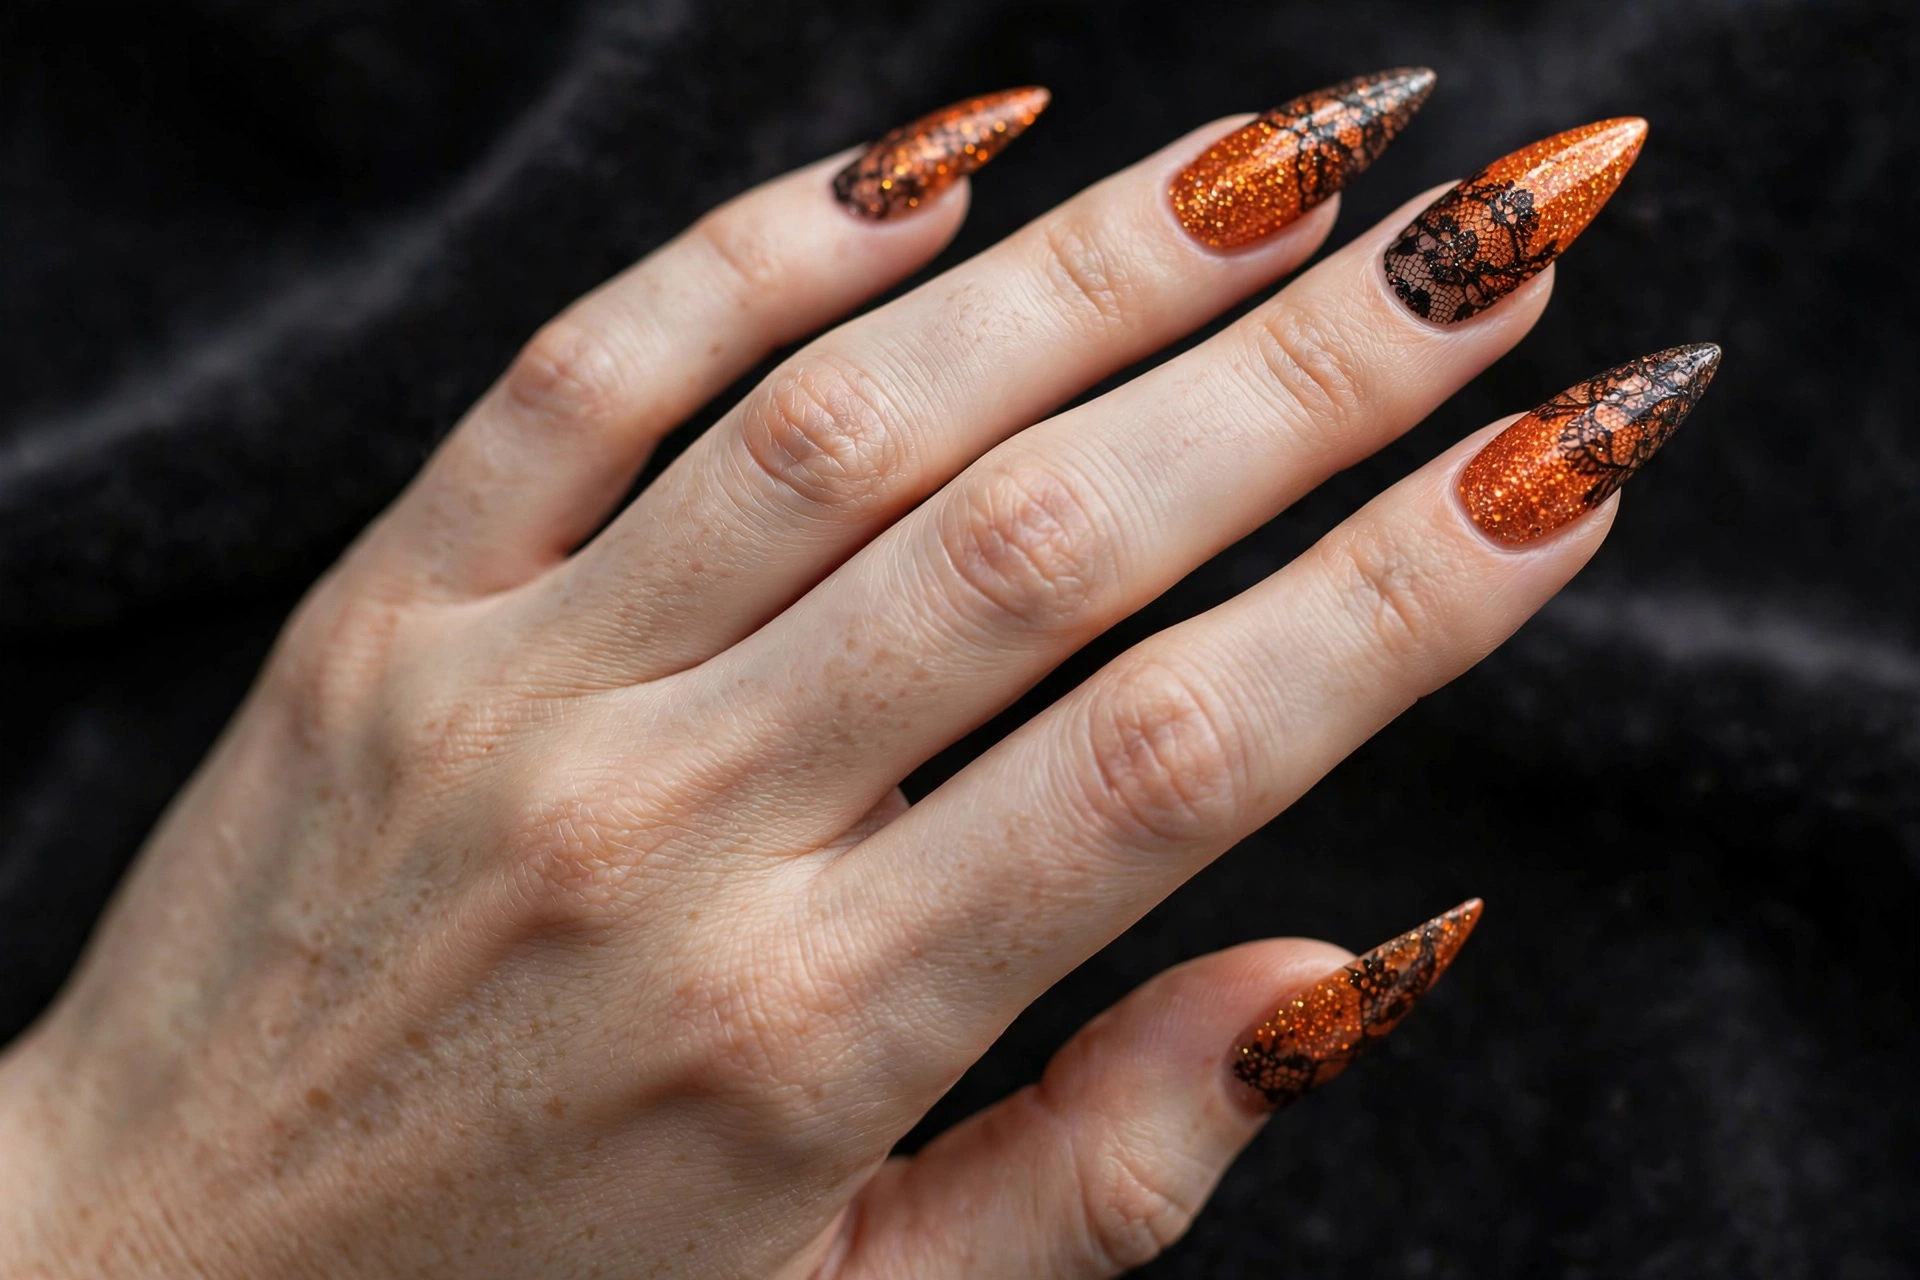
This is the evening-out design: a dense orange glitter base with a black lace pattern stamped or painted over it. The glitter catches light while the lace keeps it from reading as a craft project — the combination lands somewhere between gothic and glamorous. Stamping plates make the lace easy. Use a peel-off base coat under glitter — glitter removal is the true horror story here.
7. Geometric Color-Block
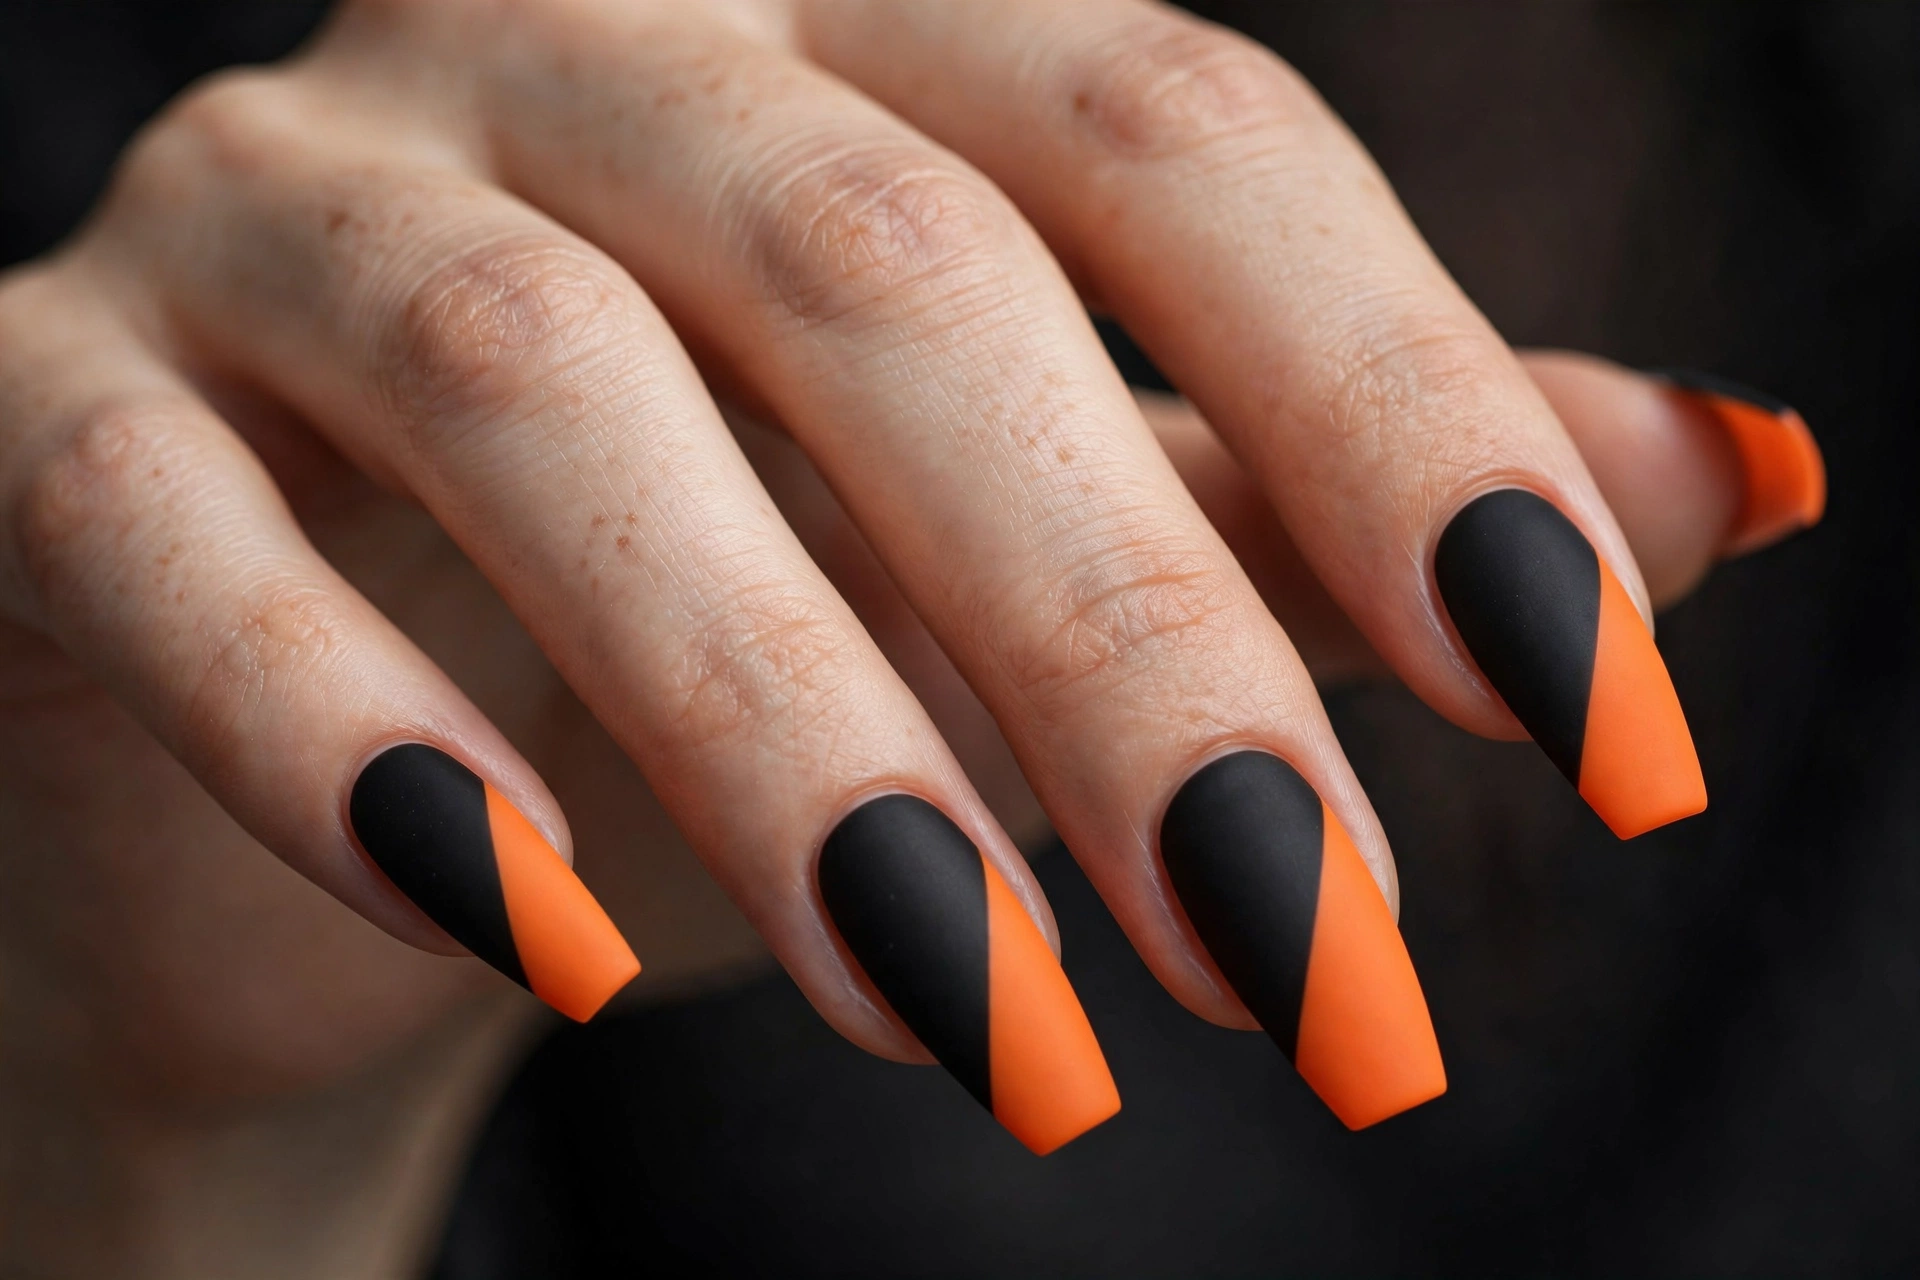
Diagonal blocks of matte black and bright orange, split by a clean straight line, give a modern art-deco feel that needs no extra decoration. The precision is the design, so take your time with striping tape: lay the tape, paint one color, remove the tape while the polish is still slightly wet for the crispest edge. Long coffin nails give each block room to breathe. Matte feels architectural here; glossy feels retro.
8. Black Drip Tips over Orange
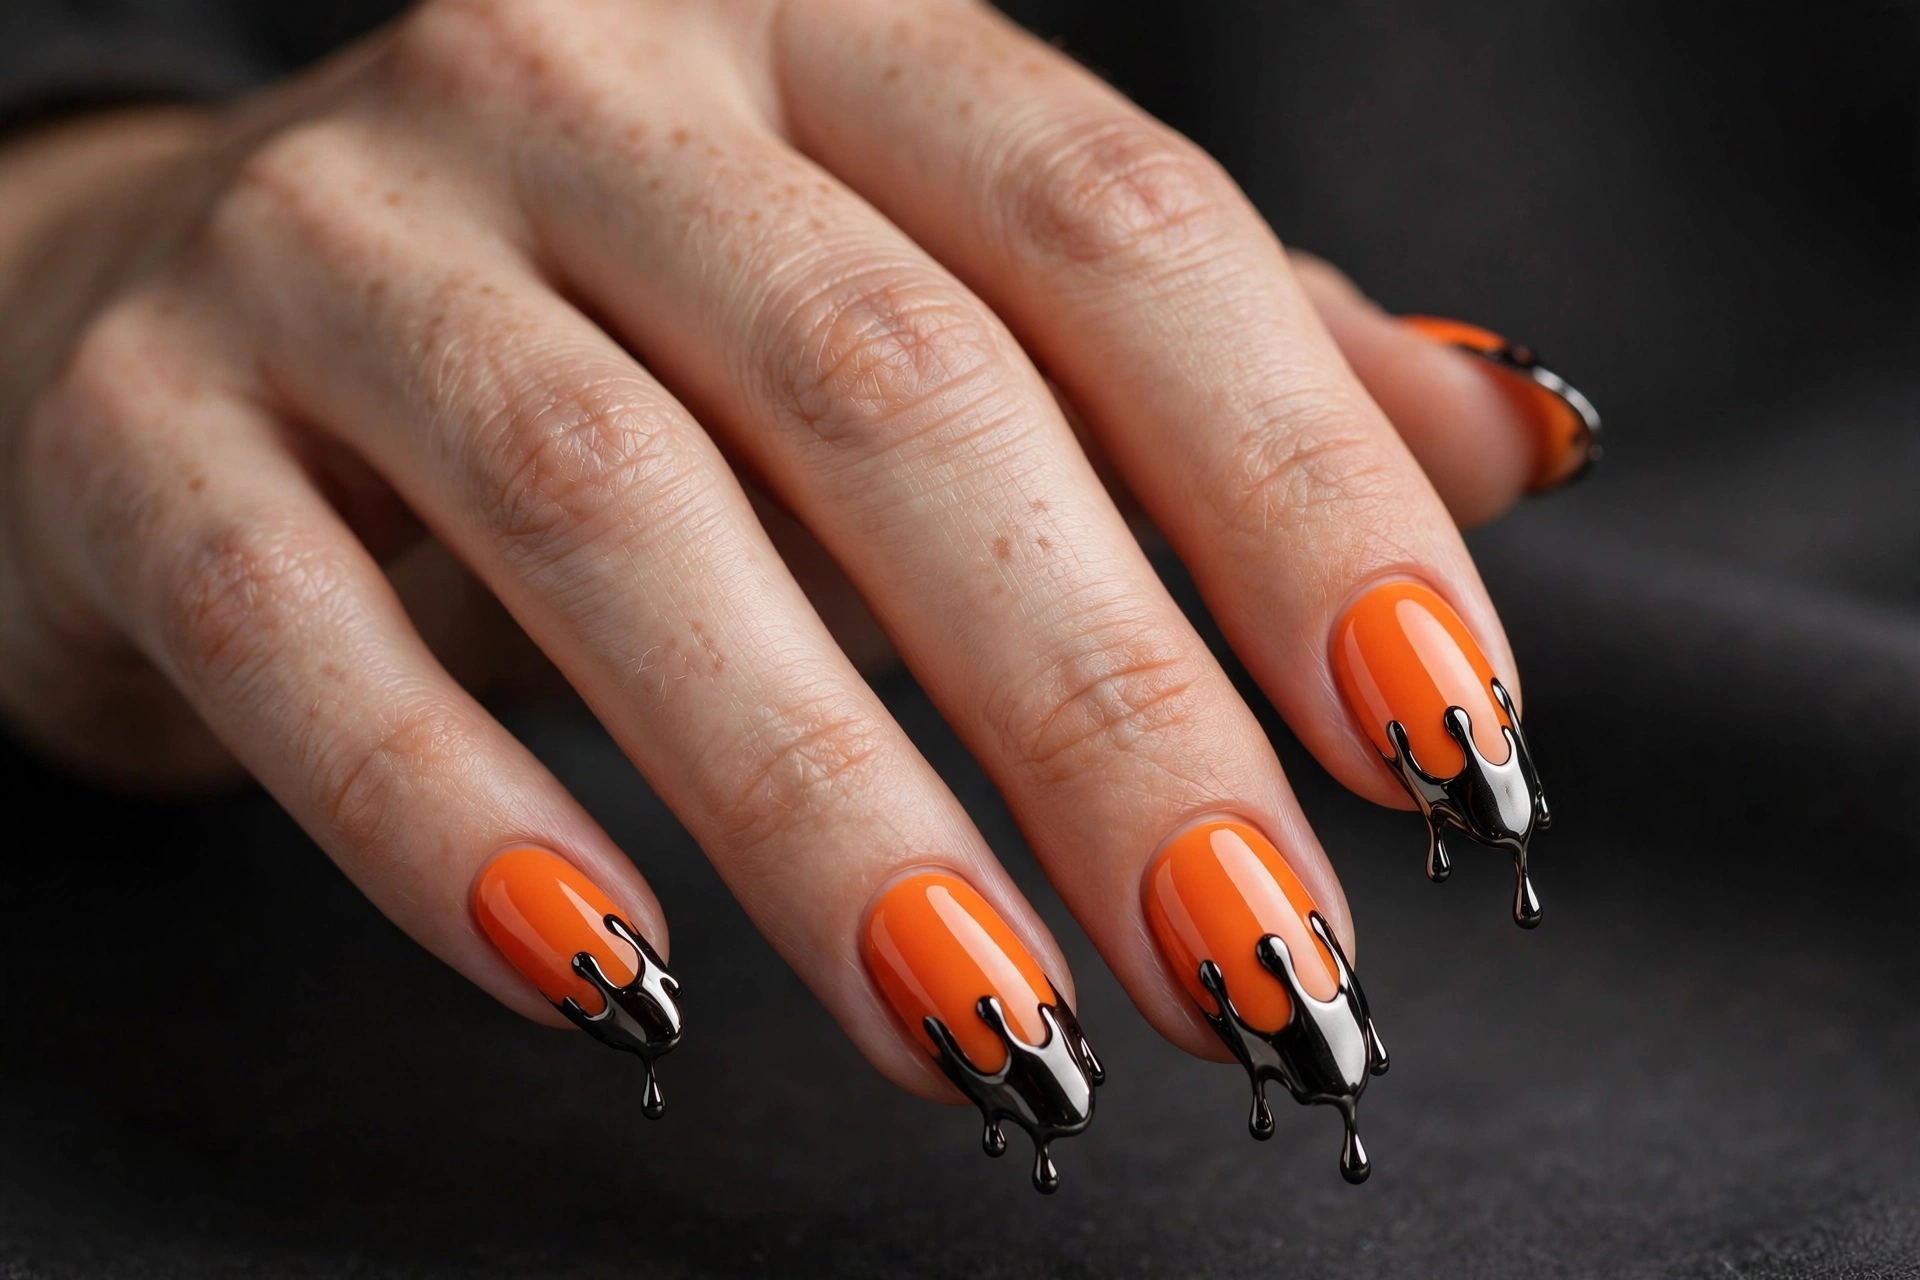
A vivid orange base with glossy black “drips” melting down from the tips looks like candle wax or melting chocolate, depending on your mood. The drips are easier than they look: paint the orange base, then use a dotting tool to place black dots along the tip edge and drag them downward into teardrops while wet. A high-gloss top coat sells the liquid effect.
9. Spiderweb Line Art
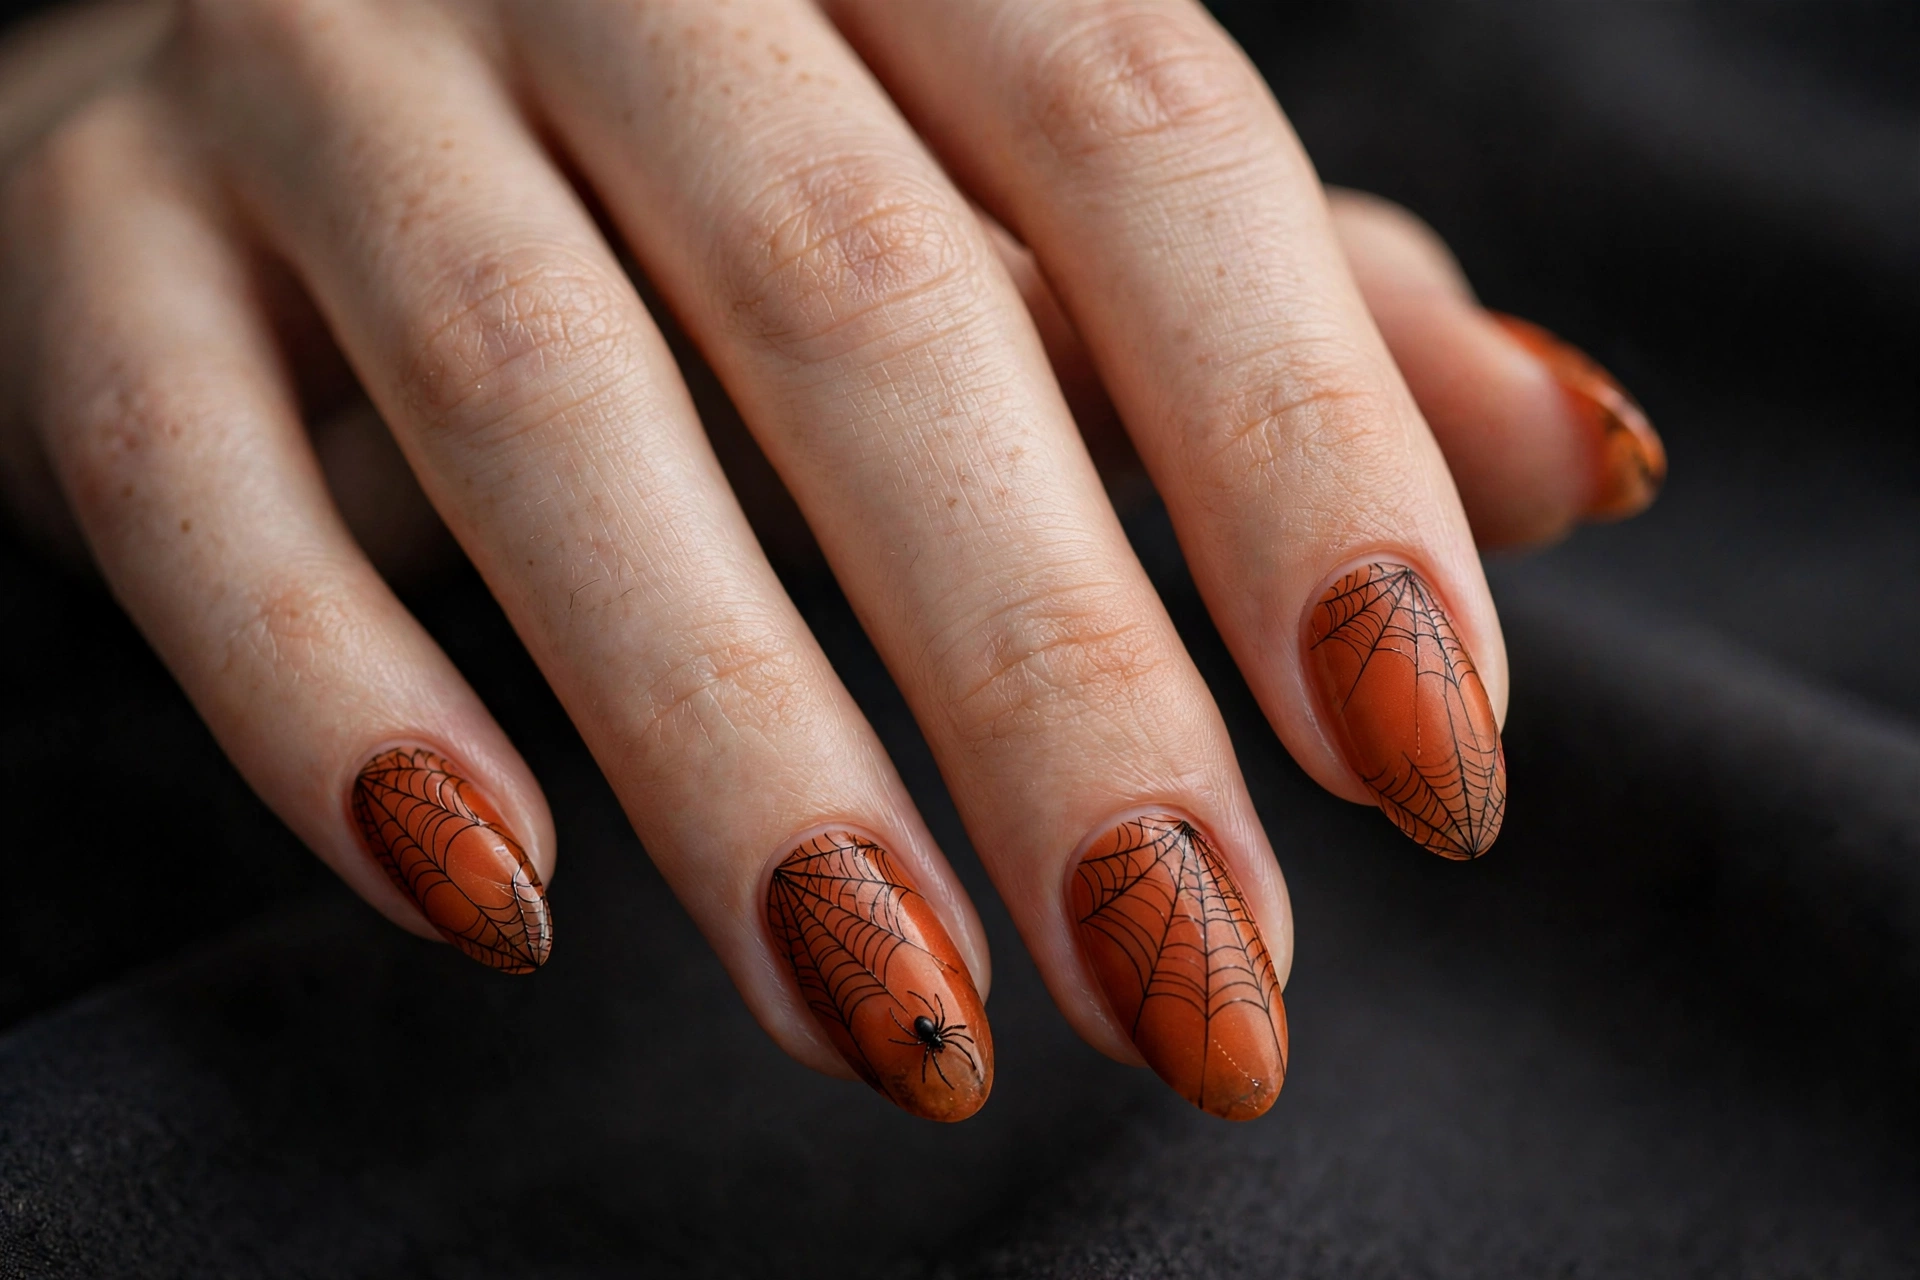
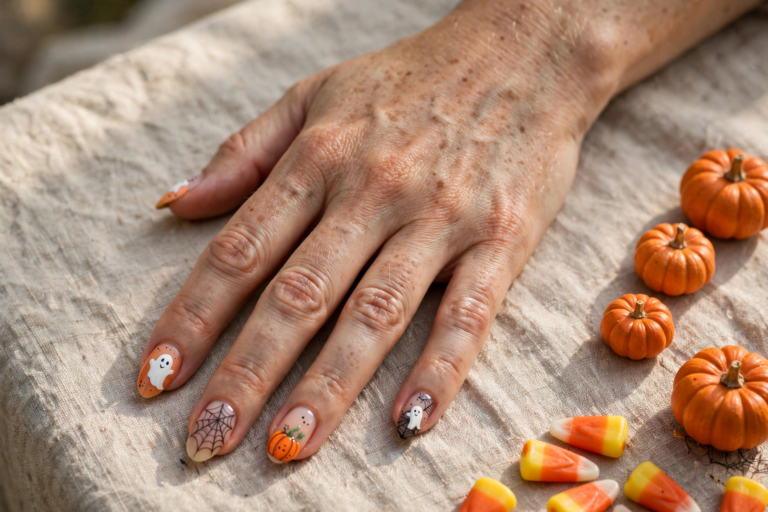
Fine black spiderwebs on a burnt-orange base are Halloween-adjacent without screaming costume. The key is line weight — thin, delicate strokes in black striping polish, radiating from one corner of the nail, with concentric arcs connecting them. One tiny spider on a single accent nail is enough. This design flatters almond nails at any length — find more detailed ideas in our halloween design nail art guide.
10. Black Velvet with an Orange Aura
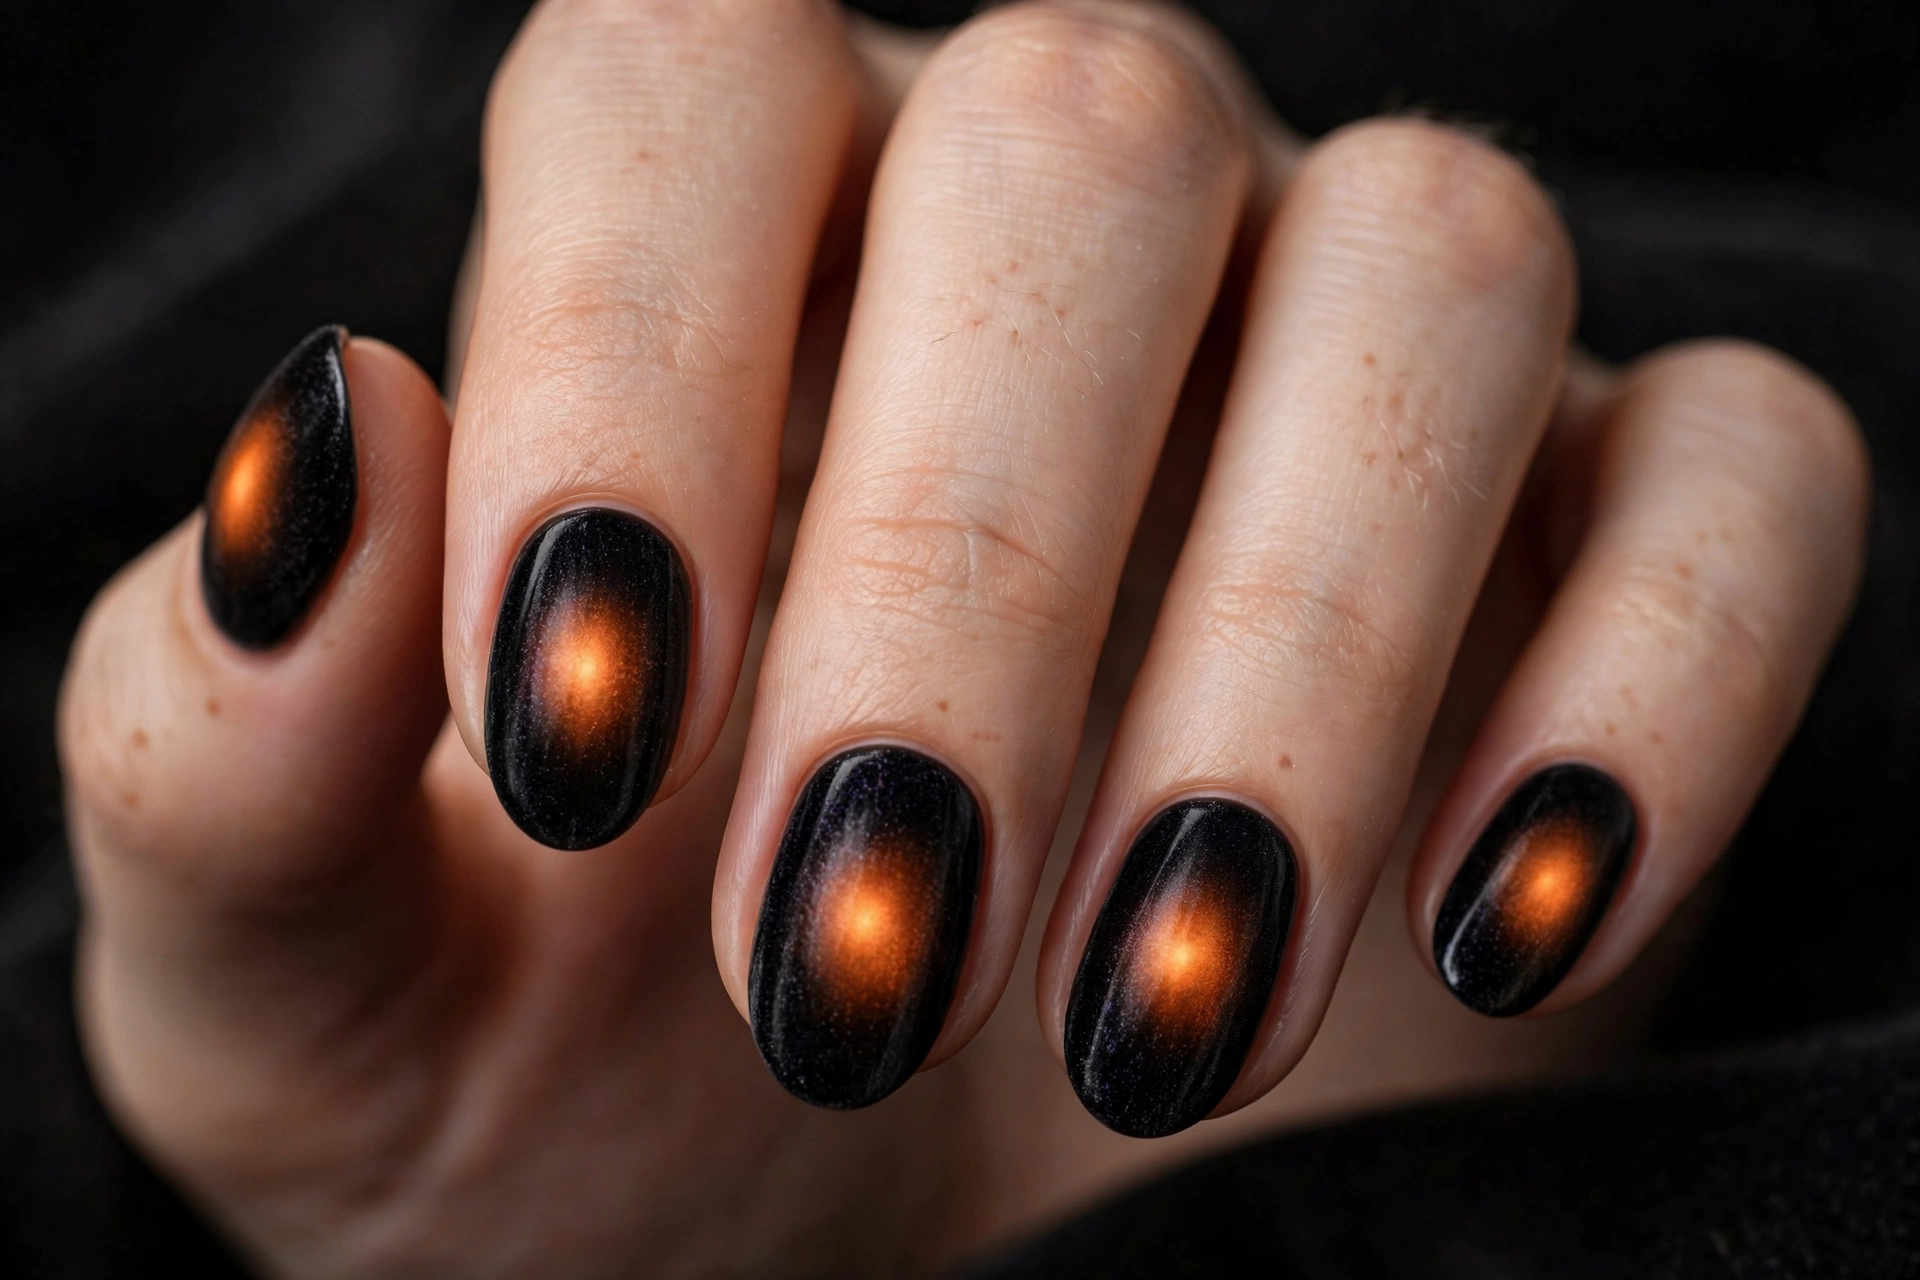
Magnetic “velvet” polish in black, with the magnet held to concentrate an orange-toned shimmer at the center of each nail, creates an aura effect that shifts as your hands move. It requires almost no art skill — the magnet does the work. Use a black magnetic polish with orange or copper shimmer rather than layering two products; the effect is cleaner and lasts longer.
11. Checkerboard
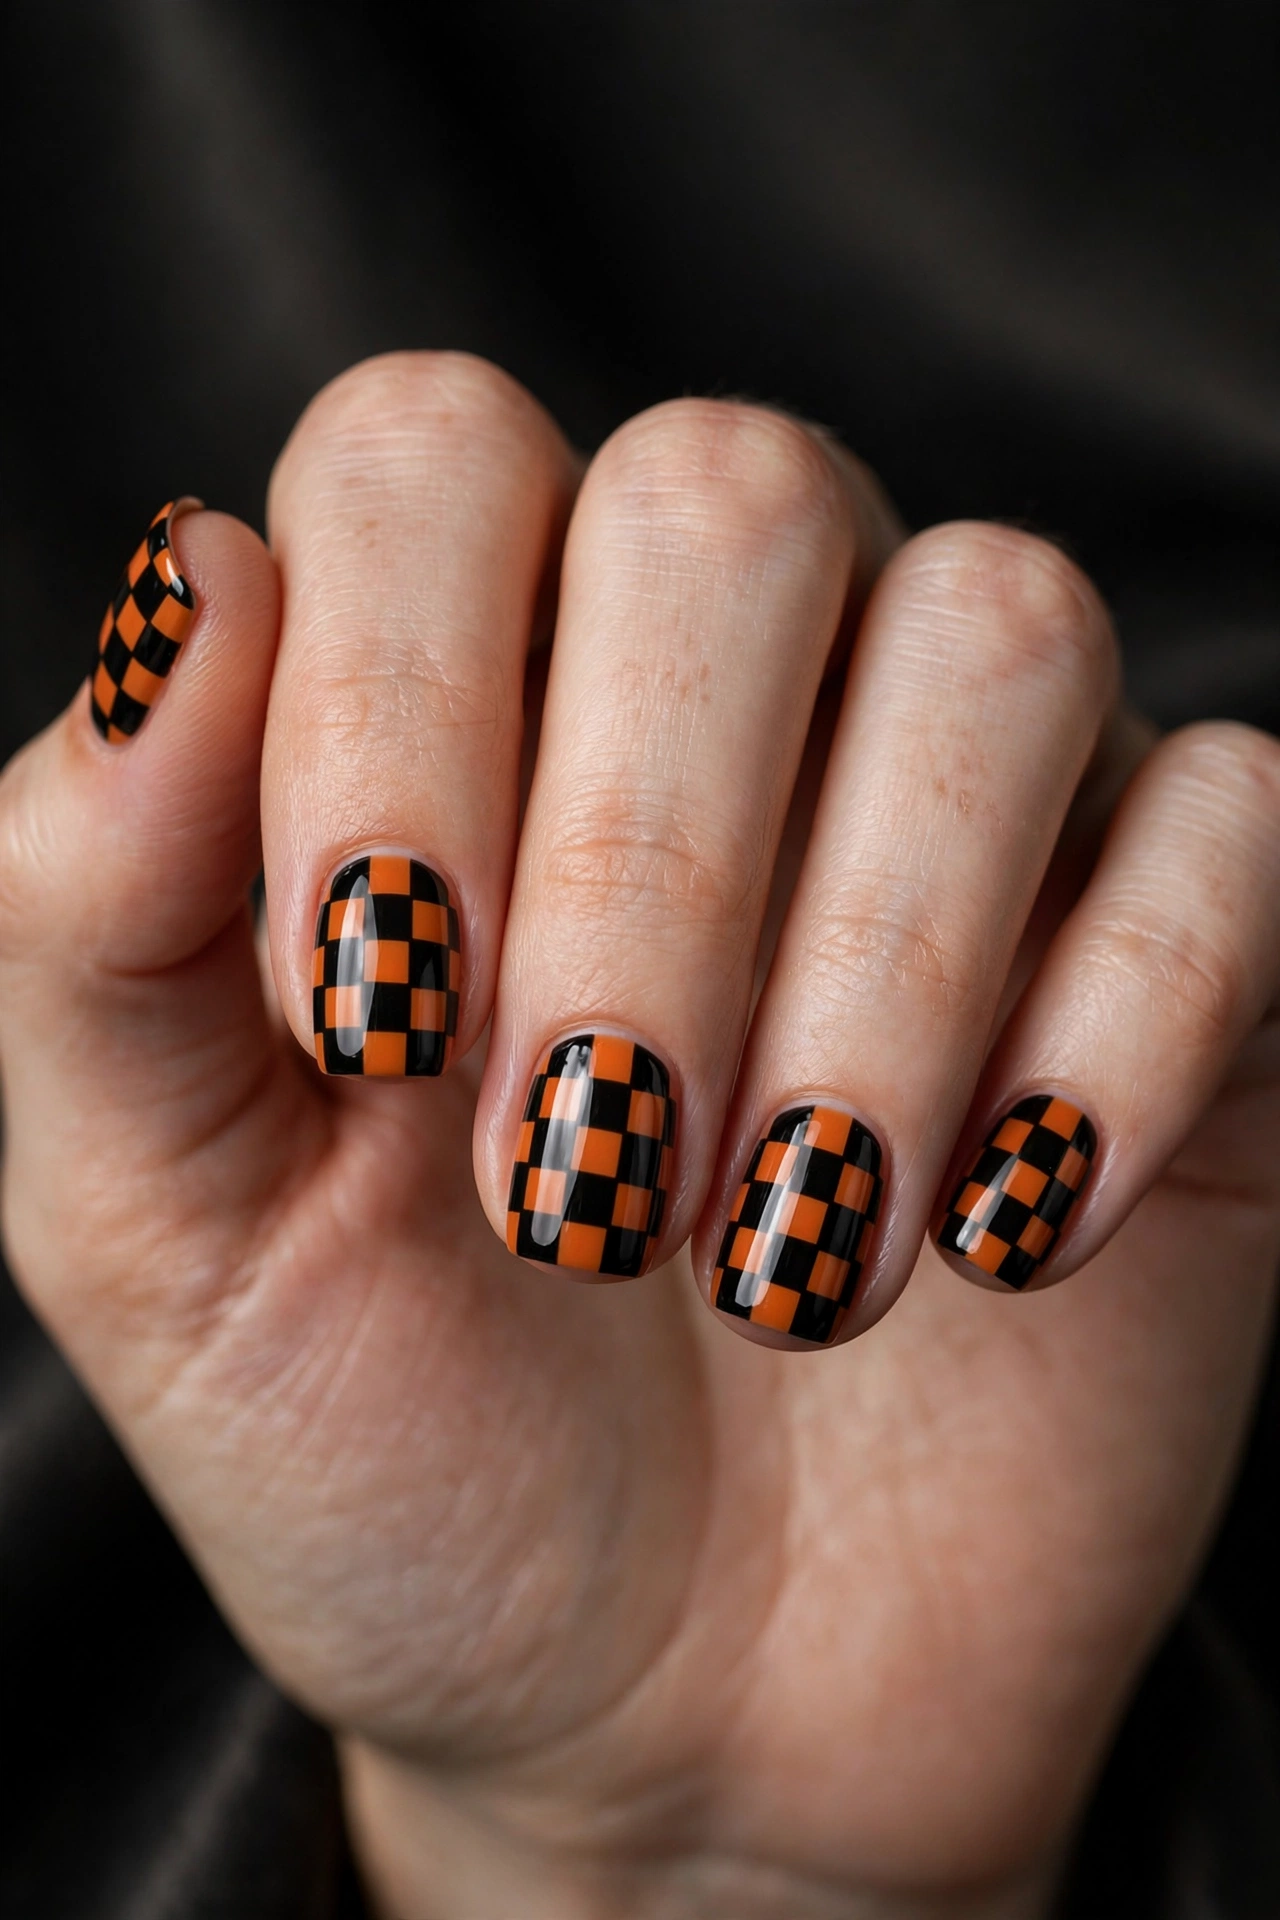
Black and orange checks are bold, graphic, and oddly versatile — they read as skater-cool on short square nails and high-fashion on longer ones. The pattern demands patience: paint the orange base, then fill alternating squares with black using a small flat brush or nail vinyls. Keep the squares small — four to six per nail. High gloss is non-negotiable; it makes the checks look printed rather than painted.
12. Smoky Marble Swirls
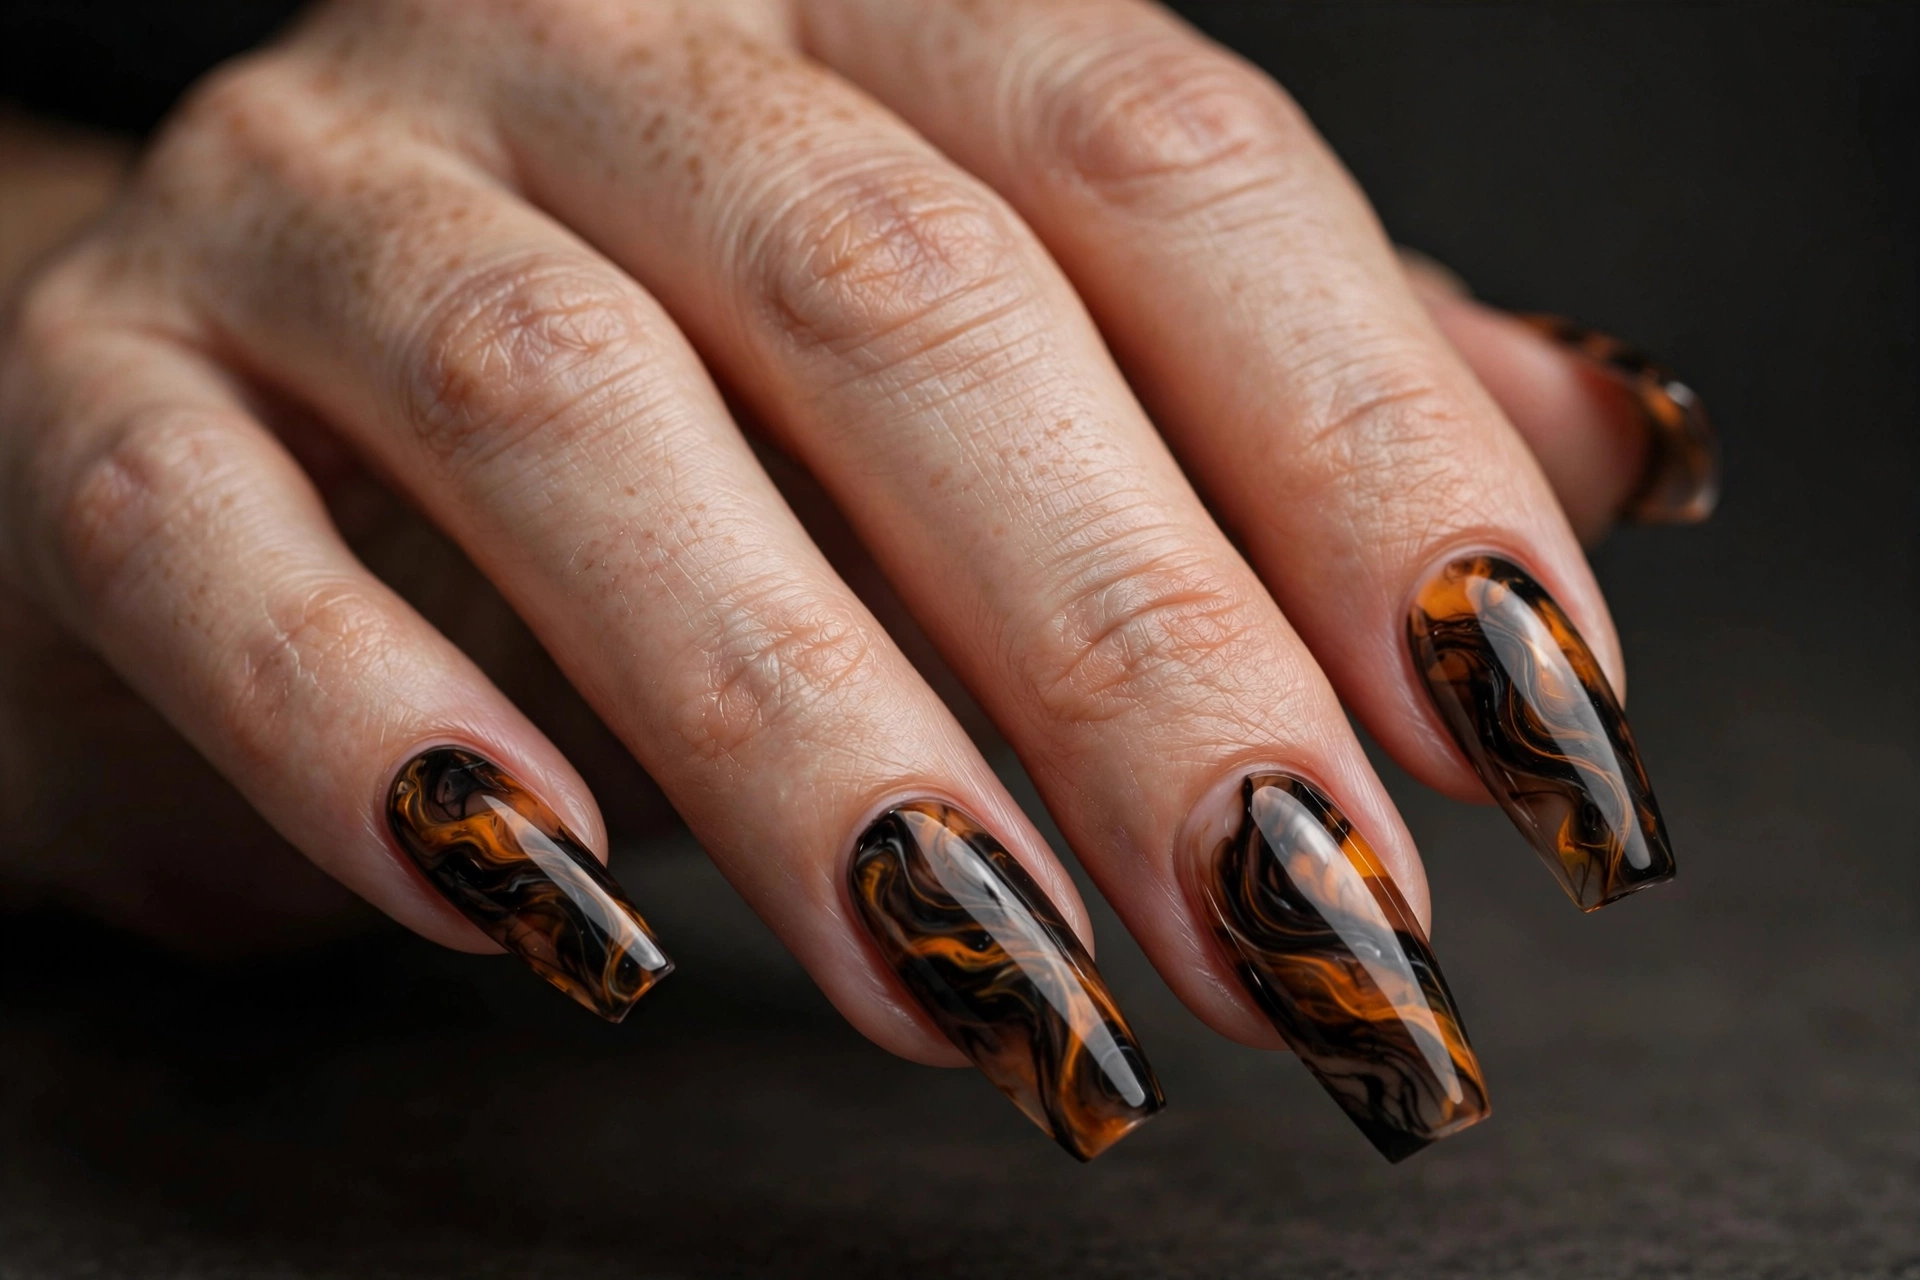
Black and orange marbled together look like smoke over embers, especially on long coffin nails where the swirls have space to drift. Skip water-marbling and use the “blooming gel” method instead: lay a wet clear base, drop in black and orange, and let the colors bleed before curing. Seal with two layers of glossy top coat — marble looks unfinished without serious shine.
13. Leopard Spots on Orange

Leopard print in black over bright orange is maximalist in the best way — it has the energy of a vintage silk scarf. Try it on two or three accent nails with the rest in solid black or orange. The spots are simple: irregular black C-shapes and dots over the orange base. Almond nails suit the print’s curves.
How to Make Black and Orange Last
Dark manicures show chips faster than pale ones, so prep matters more than usual. Push back cuticles, dehydrate the nail plate, and never skip base coat — black pigment can stain nails a murky gray if it sits directly on the plate. Cap the free edge with every layer, including top coat, and reapply top coat every two to three days to keep the shine alive.
If you are doing these at home, a black and orange nail polish kit with a detail brush and dotting tool covers nearly every design on this list. Work in thin layers and let each one dry fully — thick coats are the top reason DIY nail art smudges.
Final Thoughts
Black and orange is one of those rare pairings that is both easy and high-impact. Pick the French-tip update or the tortoiseshell swirls if you want something wearable every day, go for flames, drips, or checkerboard when you want the full statement. Whichever of these thirteen you try, the formula stays the same: strong contrast, clean lines, and a glossy finish to pull it all together.